Reaver's Squaredrop Camper Build!!

  • HTML tutorial

reaver

Rank VI
Member

Explorer I

3,680
Caldwell, ID, USA
First Name
Brian
Last Name
McGahuey
Member #

23711

Ham/GMRS Callsign
GMRS WRMV941
Had a great day working on the trailer today.

While I was measuring the back wall in preparation to cut out the rear door, @David H was busy cutting out some of the expanded metal, so we can pass wires and water hose through the floor.


We also managed to get the stabilizer jacks mounted.

I need shorter bolts, but they're quite solid, and can easily lift the trailer off the ground.


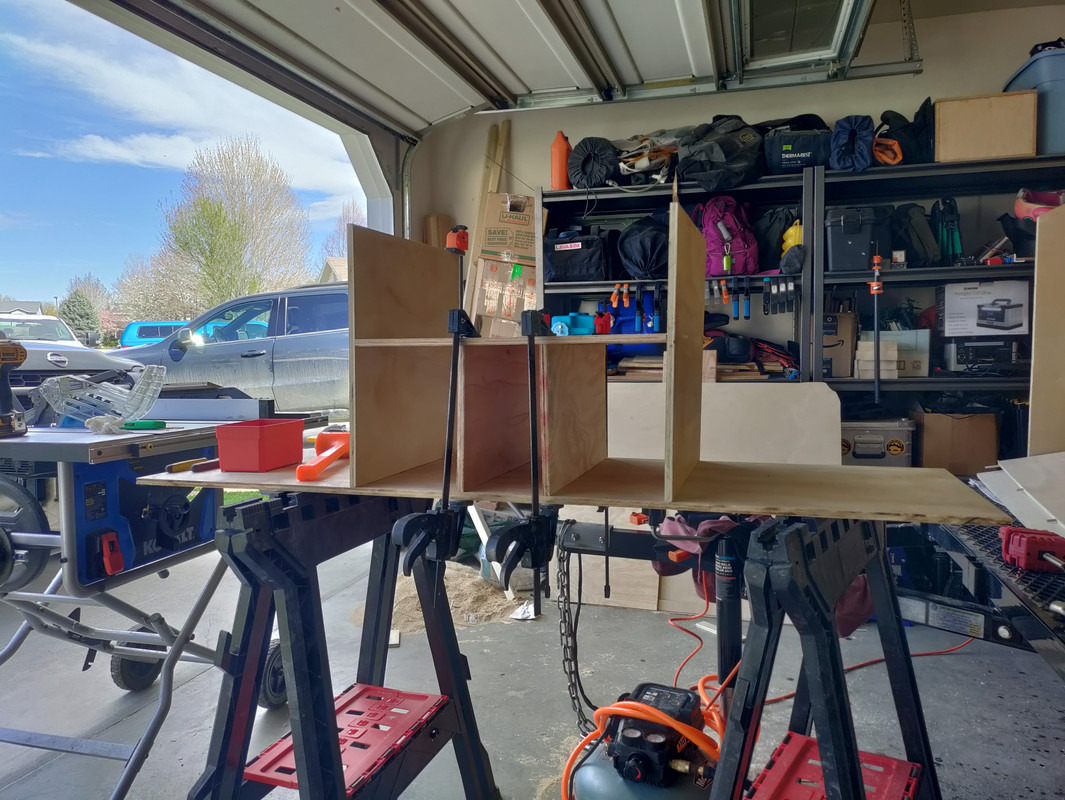
We also managed to get ALL the panels cut out for the cabinetry. 4 sheets of 1/2 in plywood....


And the glue for the canvas dried enough to put the first coat of paint on the floor.


We should be able to get two more coats on the floor tomorrow. We also get the inner skin on the back wall, and hopefully we can flip the floor, and get the side and rear walls glued and screwed to the floor.
 
  • Like
Reactions: DangitDad

reaver

Rank VI
Member

Explorer I

3,680
Caldwell, ID, USA
First Name
Brian
Last Name
McGahuey
Member #

23711

Ham/GMRS Callsign
GMRS WRMV941
Had another great day working on the trailer today. Got the floor fully pmf'd, and flipped back over!

Using Pl premium adhesive, we attached the walls at the base, and screwed them into the 2x4s along the edge of the floor.
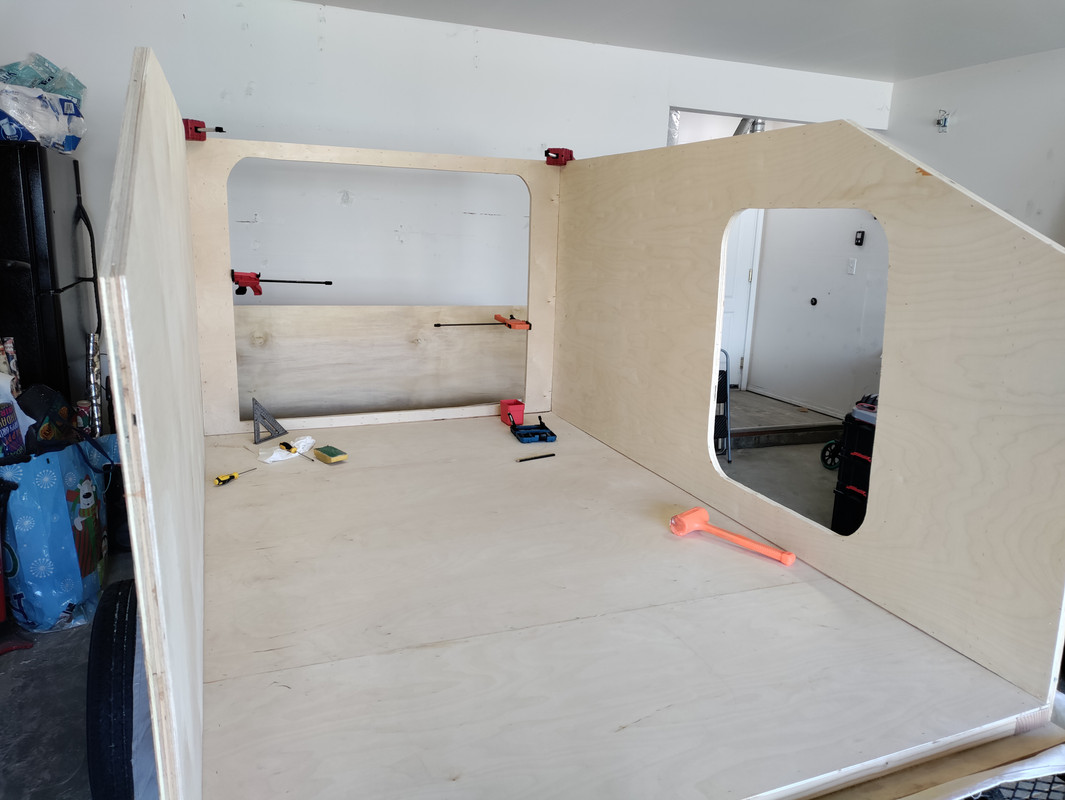


I just bought a doweling jig, and that's what I'm going to use to assemble all the cabinetry. I made some tests on scrap with the pocket hole jig, and with 1/2 ply, I just don't like the way it looks. Lots of dowels and glue will likely be stronger anyways.

Cabinetry will be going in next weekend!
 

reaver

Rank VI
Member

Explorer I

3,680
Caldwell, ID, USA
First Name
Brian
Last Name
McGahuey
Member #

23711

Ham/GMRS Callsign
GMRS WRMV941
I managed to find some 3/4 inch rigid foam insulation board today. I had to call several places, but found some with an R5.6 rating for the side walls. Ordered it, and they'll call me when it comes in.

Friday, I start dry fitting, staining, and poly coating the interior pieces.
 

reaver

Rank VI
Member

Explorer I

3,680
Caldwell, ID, USA
First Name
Brian
Last Name
McGahuey
Member #

23711

Ham/GMRS Callsign
GMRS WRMV941
Since I'm planning on drilling and dry fitting all the cabinets tomorrow, as well as pre-finishing all the wood, I figure it was time to figure out how I was going to finish the interior of the trailer.

I knew I wanted a two-tone finish, so I took my model over to my 3D rendering software, and came up with the following two-tone finish.

Front Overhead Cabinets:


Rear Cabin Storage:


Galley:
 
  • Like
Reactions: Smileyshaun

reaver

Rank VI
Member

Explorer I

3,680
Caldwell, ID, USA
First Name
Brian
Last Name
McGahuey
Member #

23711

Ham/GMRS Callsign
GMRS WRMV941
Got the interior rear shelves built and glued yesterday.


I still need to stain the front piece, and cut out the openings though.

I also got all the interior wall skins poly coated.

By the end of today, the galley should be fully assembled.
 

reaver

Rank VI
Member

Explorer I

3,680
Caldwell, ID, USA
First Name
Brian
Last Name
McGahuey
Member #

23711

Ham/GMRS Callsign
GMRS WRMV941
The aftermath of this weekend is as follows...

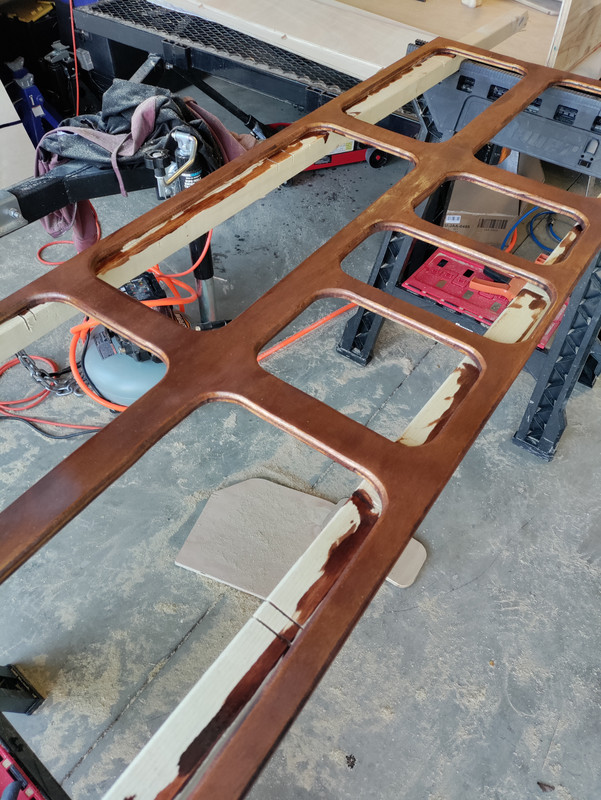
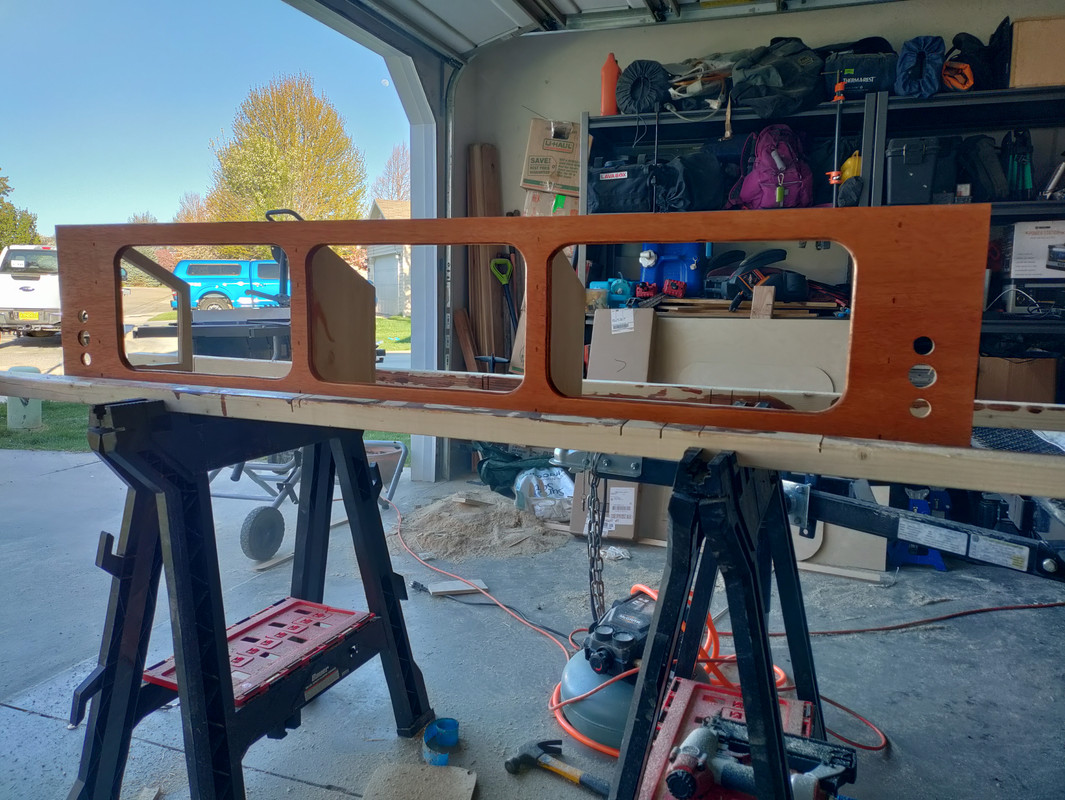
Got the front of the main interior storage stained:


After putting on a second coat of stain, we then glued and pin nailed it to the front of the main storage. After it dried, we managed to slide it onto the supports:


We the focused on building the rear galley cabinets.

I forgot to take pictures of the counter supports, but cutting voids out, allowing for me to get my arm in there to run wires and water lines, leaves them weighing only a couple of lbs, at most.

We put those in, making sure we had room to clear the door frame, and glued and screwed them to the floor.

We the put the counter top on, and started working on the upper cabinets.

Got them cut, routed, glued and stapled, and set in place, prior to staining.

Very happy with them!


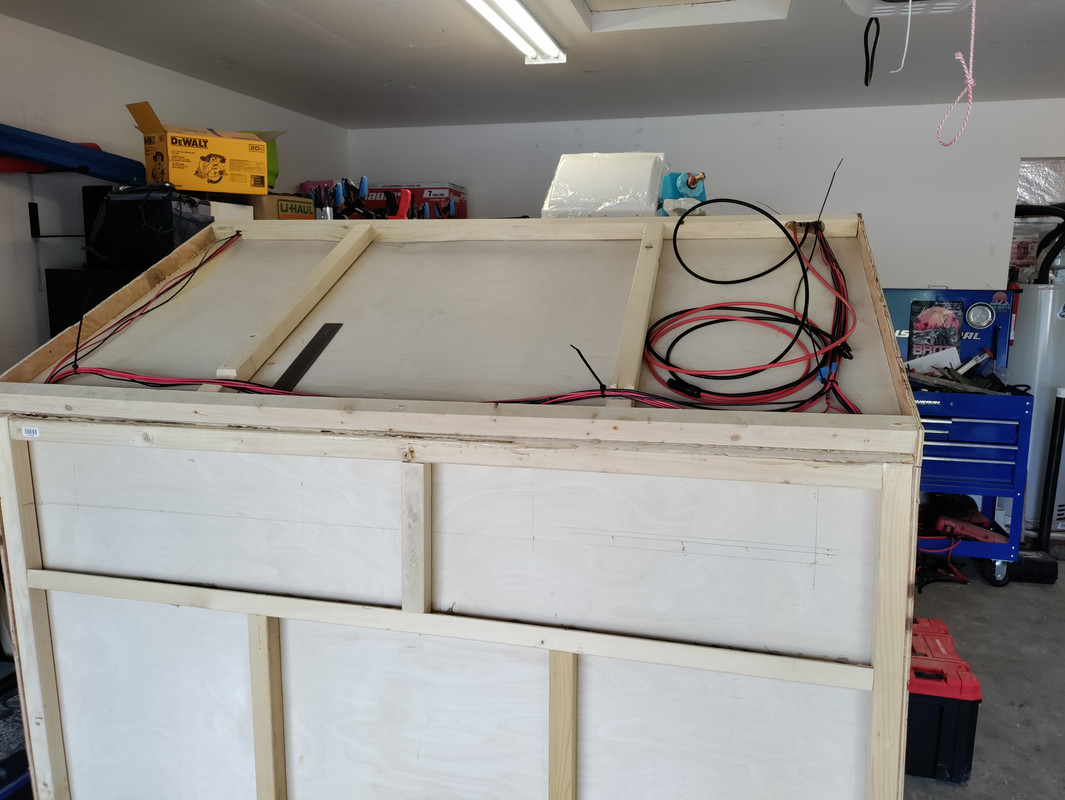
That's it for now. The goal next weekend is to get the spars and sidewall skins on, and start running wires!
 

DangitDad

Rank III
Member

Enthusiast III

646
Wyoming
First Name
Ken
Last Name
Veltkamp
Member #

47213

I like the festive wrap you have there, to go on the trailer. One of a kind! Except maybe your kids will keep tearing at it... :)
 

reaver

Rank VI
Member

Explorer I

3,680
Caldwell, ID, USA
First Name
Brian
Last Name
McGahuey
Member #

23711

Ham/GMRS Callsign
GMRS WRMV941
I like the festive wrap you have there, to go on the trailer. One of a kind! Except maybe your kids will keep tearing at it... :)
Wait... What now?

**EDIT** I see what you did there. I should have put that somewhere, then poly'd over the top of it. Unfortunately, it's not mine. LOL
 
Last edited:

reaver

Rank VI
Member

Explorer I

3,680
Caldwell, ID, USA
First Name
Brian
Last Name
McGahuey
Member #

23711

Ham/GMRS Callsign
GMRS WRMV941
Got a whole bunch of small stuff knocked out that needed to be done before we put the outer side skins on today, as well as the headliner skins.

Galley is stained, and temporary switch plate is in.

These four switches control the water pump, tank anti freeze mat, overhead lights, and part lights.


Dave got all the insulation cut for the sidewalls while I was working on the galley.

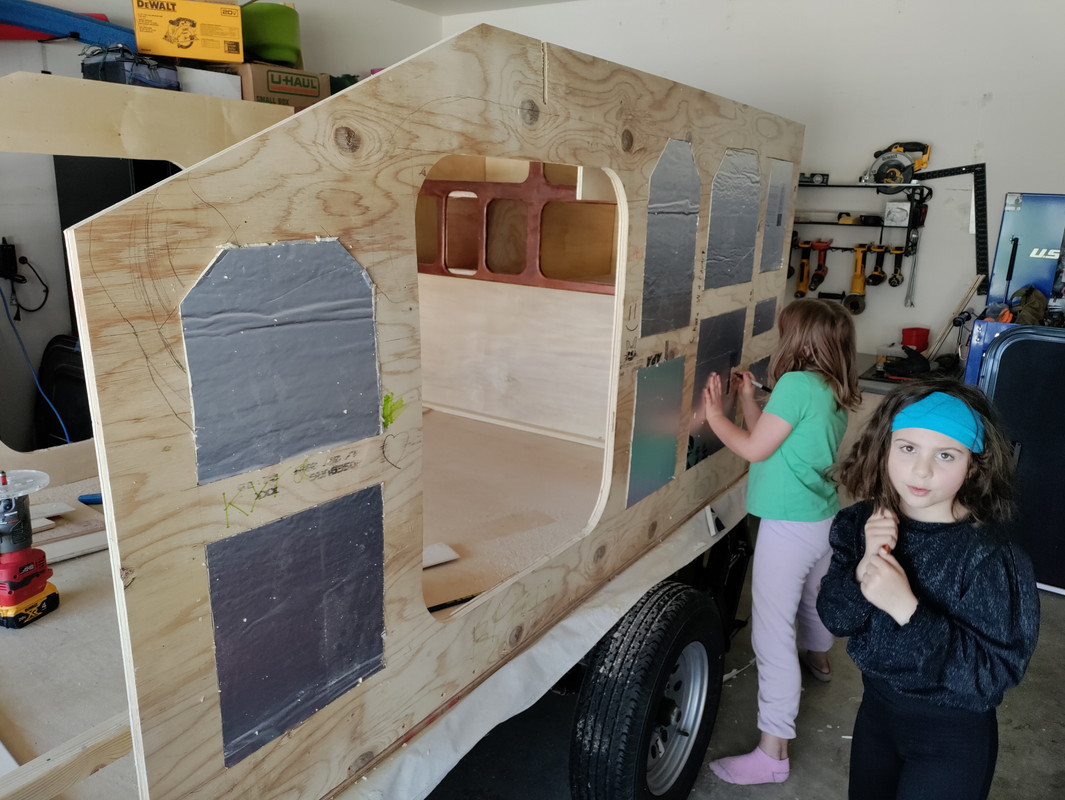
We also let the girls draw all over the side of the skeletons. Nobody will ever see it, but they loved it, and we all know it's there.


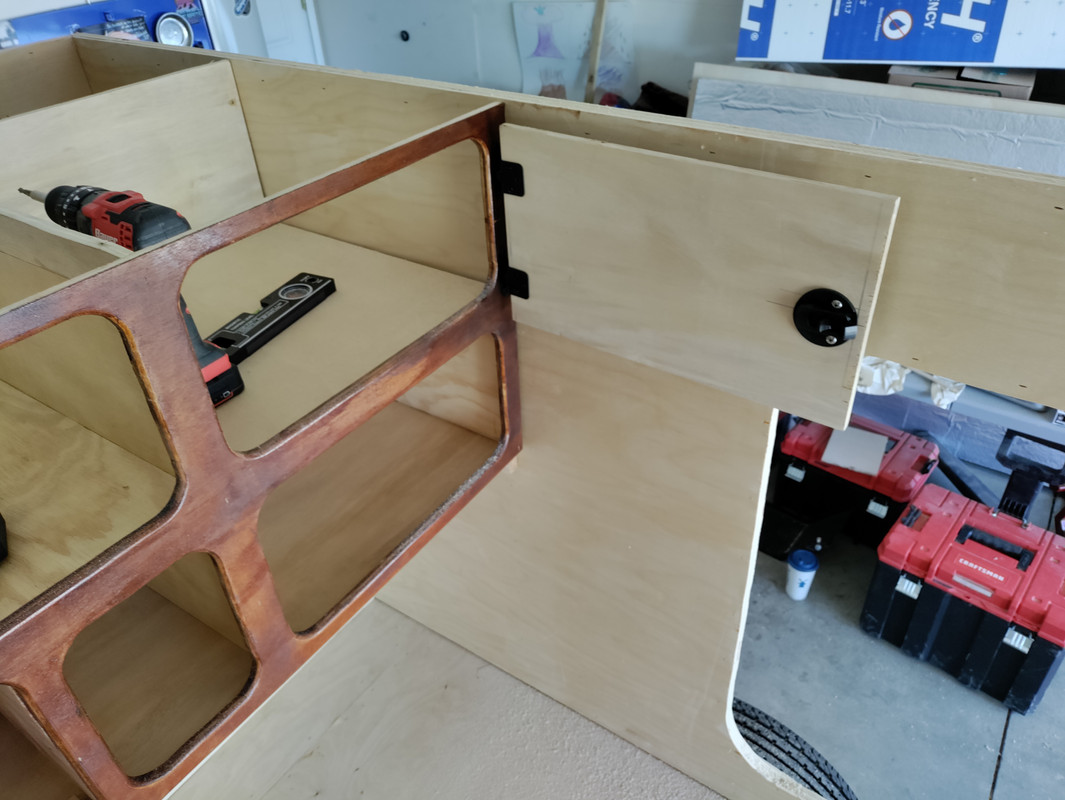
I then proceeded to start working on figuring out how the latches were going to work on the cabinet doors.


The latches have just enough room to catch, and keep the doors from opening.

I guess I can order the other 4 now.


I still need to pull the door off, and decide if I want to stain it, or keep it naturally colored. And round the corners, but I now have a template for the other 3 doors.


The last thing we did was worked on the front overhead storage.

Got the face stained earlier in the day, and got it all assembled.


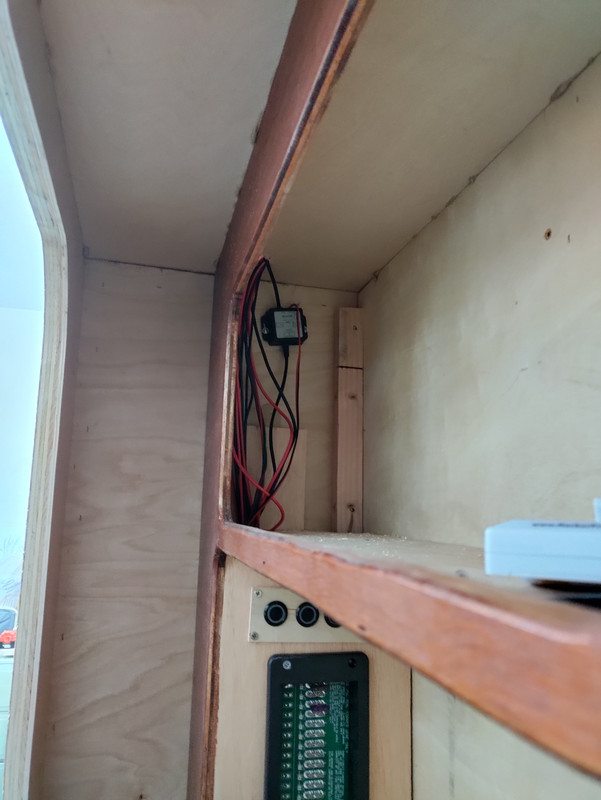
You can see a void in the skeleton on the left side... This is mirrored on the right side. These will get aluminum panels that house a 12v socket on each side. This will allow us to plug in the cpaps, and leave them up there. That way we don't have to pack theme up everytime we move.

The holes on the front are for switches and usb charger outlets.

Today, we start putting the final skins on the outer wall, and putting in the head liner.
 

reaver

Rank VI
Member

Explorer I

3,680
Caldwell, ID, USA
First Name
Brian
Last Name
McGahuey
Member #

23711

Ham/GMRS Callsign
GMRS WRMV941
So, update from sunday. Throughout this whole process, we've been dealing with warped 3/4 ply for the skeletons. Spent much of sunday morning building a frame for the front spars that would be used to basically pull the whole front to be more straight.


We went through a whole 28oz tube of PL Premium adhesive gluing on the side walls, front interior wall, and framework


We also slid the front interior skin in, and got the front storage glued and clamped into place.


We should be able to permanently attach the rear cabin storage, and galley cabinets next weekend, as well as finish up the interior roof panels and spars. Then we start running all the wires...
 
Last edited:
  • Like
Reactions: DangitDad