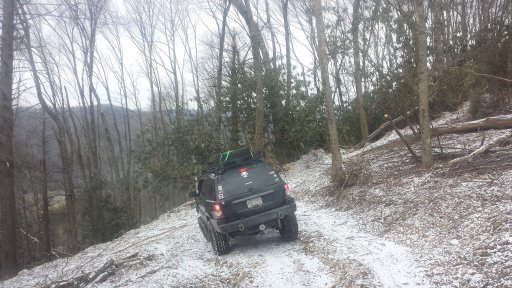
Traveler III
We don’t get snow very often in the DC area and I love it when we do!


Traveler III
We don’t get snow very often in the DC area and I love it when we do!
View attachment 81961
View attachment 81962

World Traveler III


Educator I
12989


Member III
You all who weld just amaze me. Nice job.Removed the old bumper so we could tack up this kit from coastal offroad in delta,bc. It went together so nicely. Price was great for a great product if you dont mind a little diy.View attachment 81927 View attachment 81926


Advocate III
Here are a few more pics of mu coastal offroad bumper build. The bumper comes flat in a box.
After the stock bumper is gone, the mounting plate gets bolted on the stock location
View attachment 82036
Next is the 2 side plates in factory holes. Bolt to the frame then tack.
View attachment 82037
The winch mount plate goes inand rests on a nice spot. No winch yet. Maybe later. Then the front plate. Fog lights ready. I had a set and he custom cut the holez my size.
View attachment 82038
The front fairlead piece. The mid part is done.
View attachment 82039
The wings are 4 or 5 pieces each. One side done.
View attachment 82040
And the other side.
View attachment 82041
That is as far as i got this day. Shell of the old bumper put back on with a few clips and a prayer until next time.
There is a front plate that goes on after some beads are layed. Then more beads and grinding and flapping.
More updates as the progress progresses.

Traveler I

Off-Road Ranger I

Member III
Finished up my sliders.. hoping to paint and attach tonight..View attachment 82093


Off-Road Ranger I


Advocate III
Got em painted and installed!! #rocksliders #bodyarmorView attachment 82179View attachment 82180

Contributor III


Expedition Master I
13728


Off-Road Ranger I
Awesome! I'll see you guys tomorrow!Took it to Hurricane, Utah for the 2019 Winter 4X4 Jamboree! Got to help @overlandbound set the booth, very nice to finally meet Michael!
View attachment 82237View attachment 82238
Expedition Master I
13728
Awesome! I'll see you guys tomorrow!