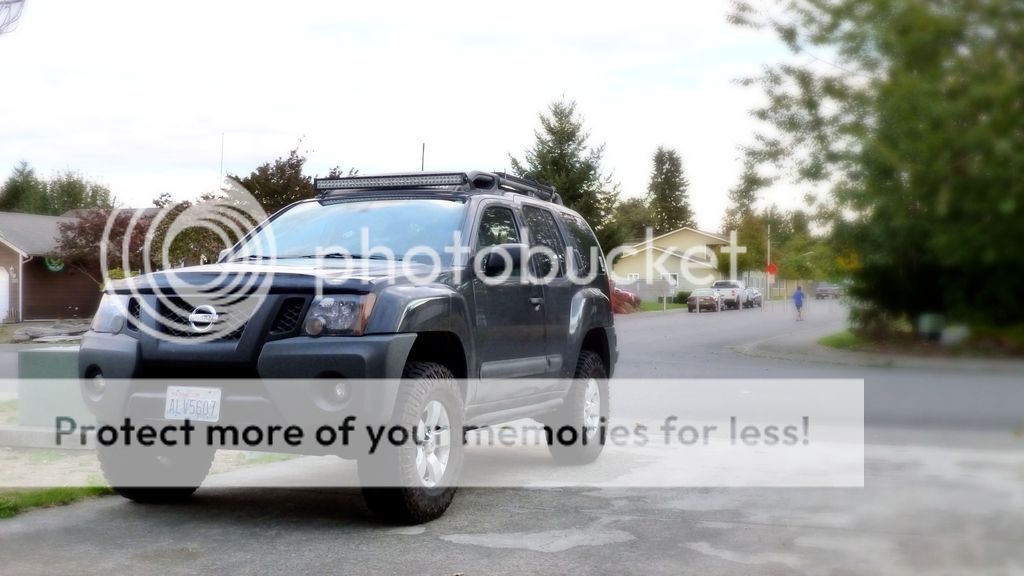
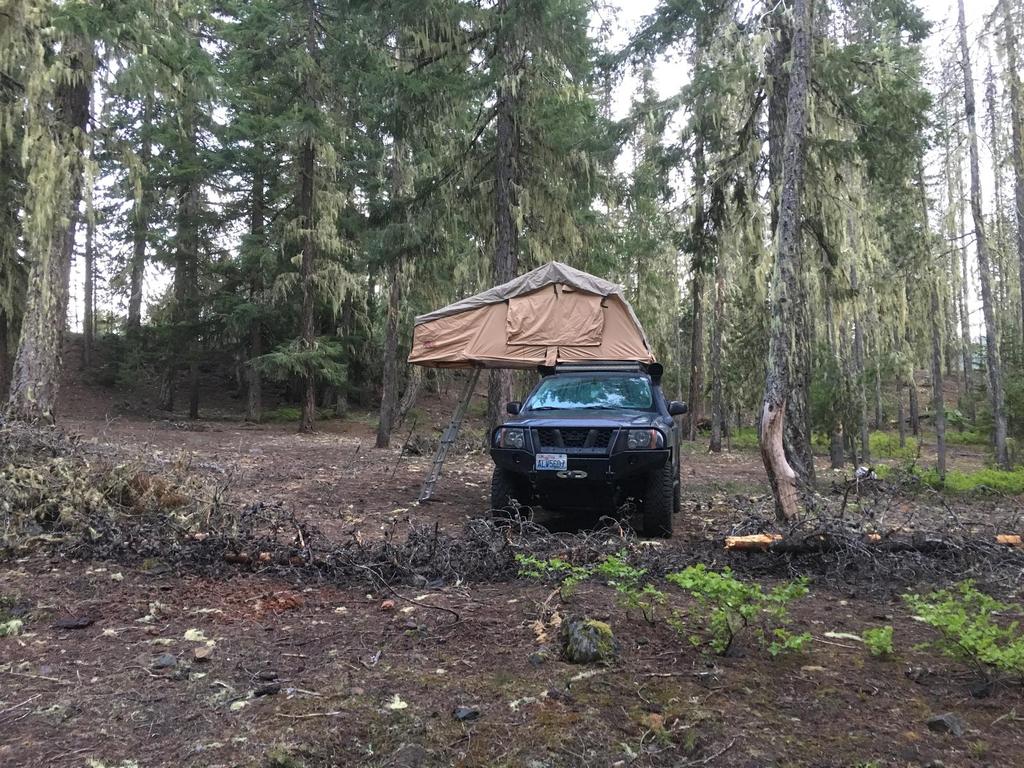
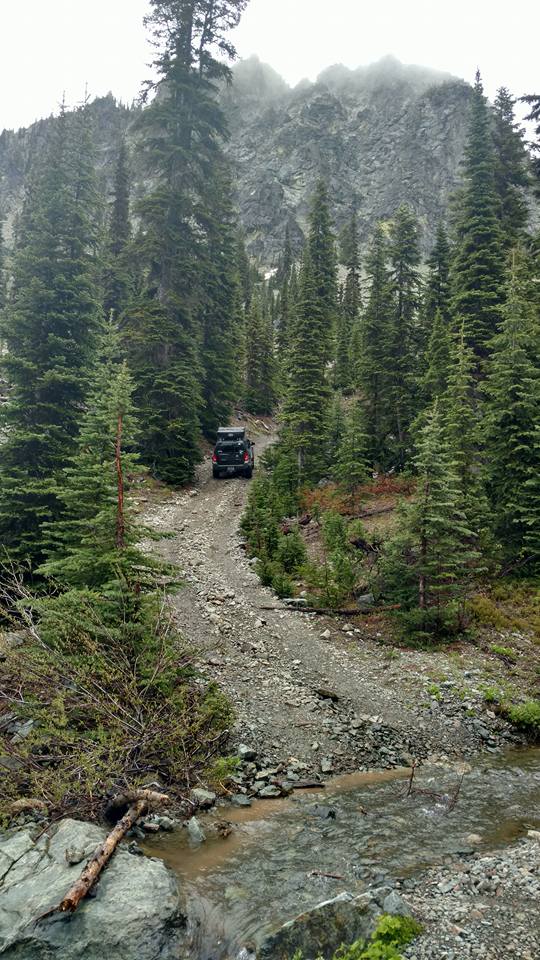
Trixter404's 2011 Nissan Xterra Build & Adventure Thread

  • HTML tutorial

Trixter404

Rank IV
Launch Member

Advocate II

1,337
Olympia, WA, USA
First Name
Steve
Last Name
Hannum
Member #

0658


Make: Nissan
Year: 2011
Model: Xterra
Trim: S
Color: Night Armor (dark gray)

MODIFICATIONS

Suspension, Lift and Tires:
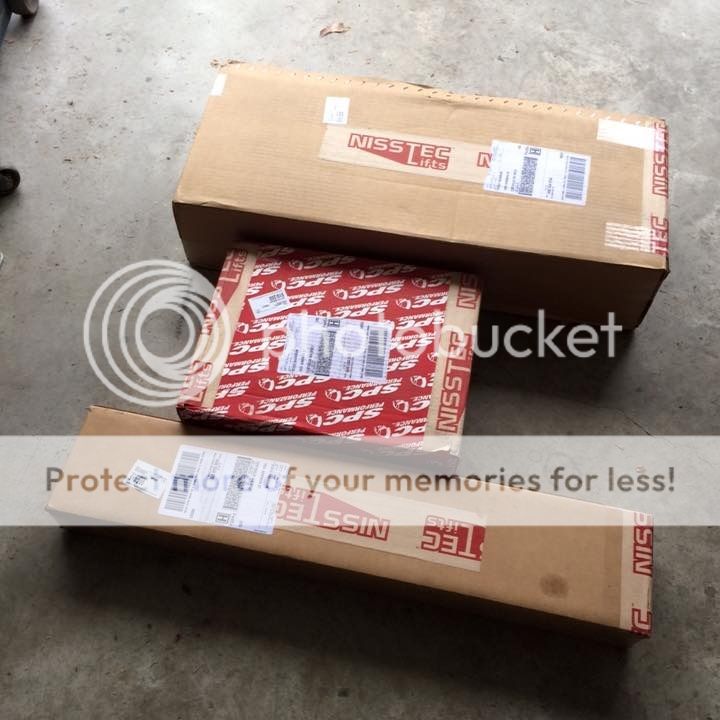
Nisstec 1" Lift Top Plate Spacer
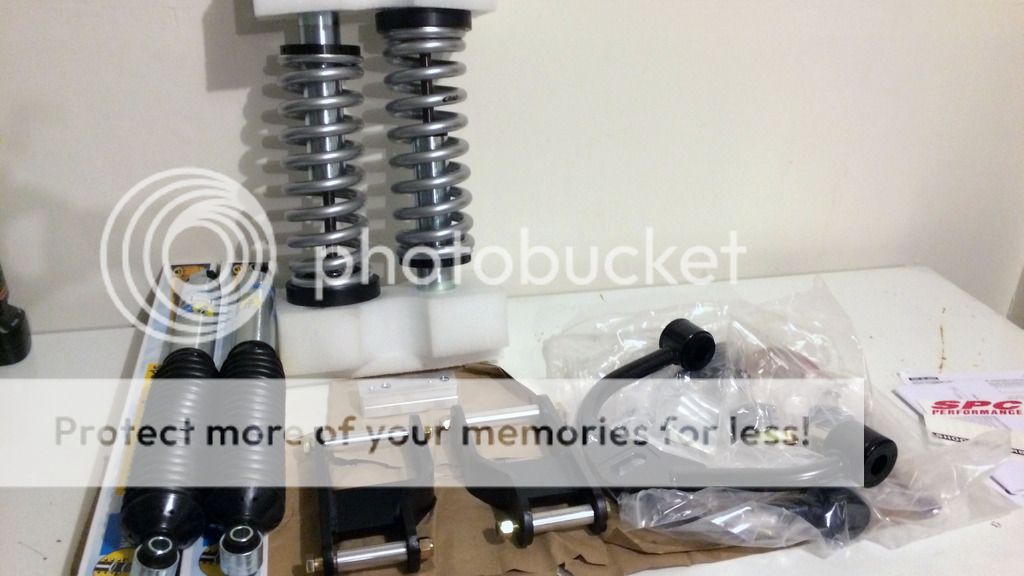
Radflo 2.0 Extended Travel Coilovers w/ 650 lb. springs
SPC Extended Travel UCA's
Moog LCA's
Nisstec Adjustable Rear Shackles
Bilstein 5100 Series Extended Travel Rear Shocks
Rugged Rocks Offroad 4-spring Rear AAL
Helper Springs
PRG Cam Bolts
Goodyear Wrangler Duratracs 285/75/16 x5
SpiderTrax 1.5" Hub Centric Wheel Spacers x4
Front & Rear Sway Bars removed

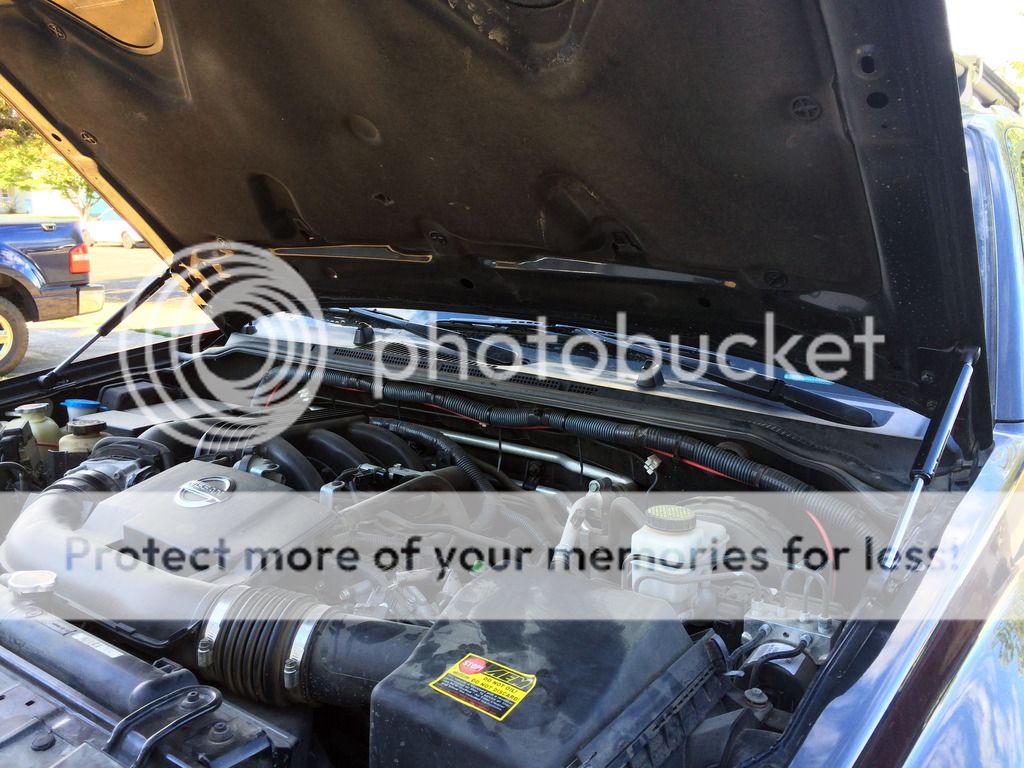
Engine/Drivetrain/Performance:
Airflow Snorkel
Volant CAI w/AEM Dryflow Air Filter
Rear Diff. Breather Extension
No -Spill Systems Oil Drain Plug & Tubes
My Lead Foot

Armor:
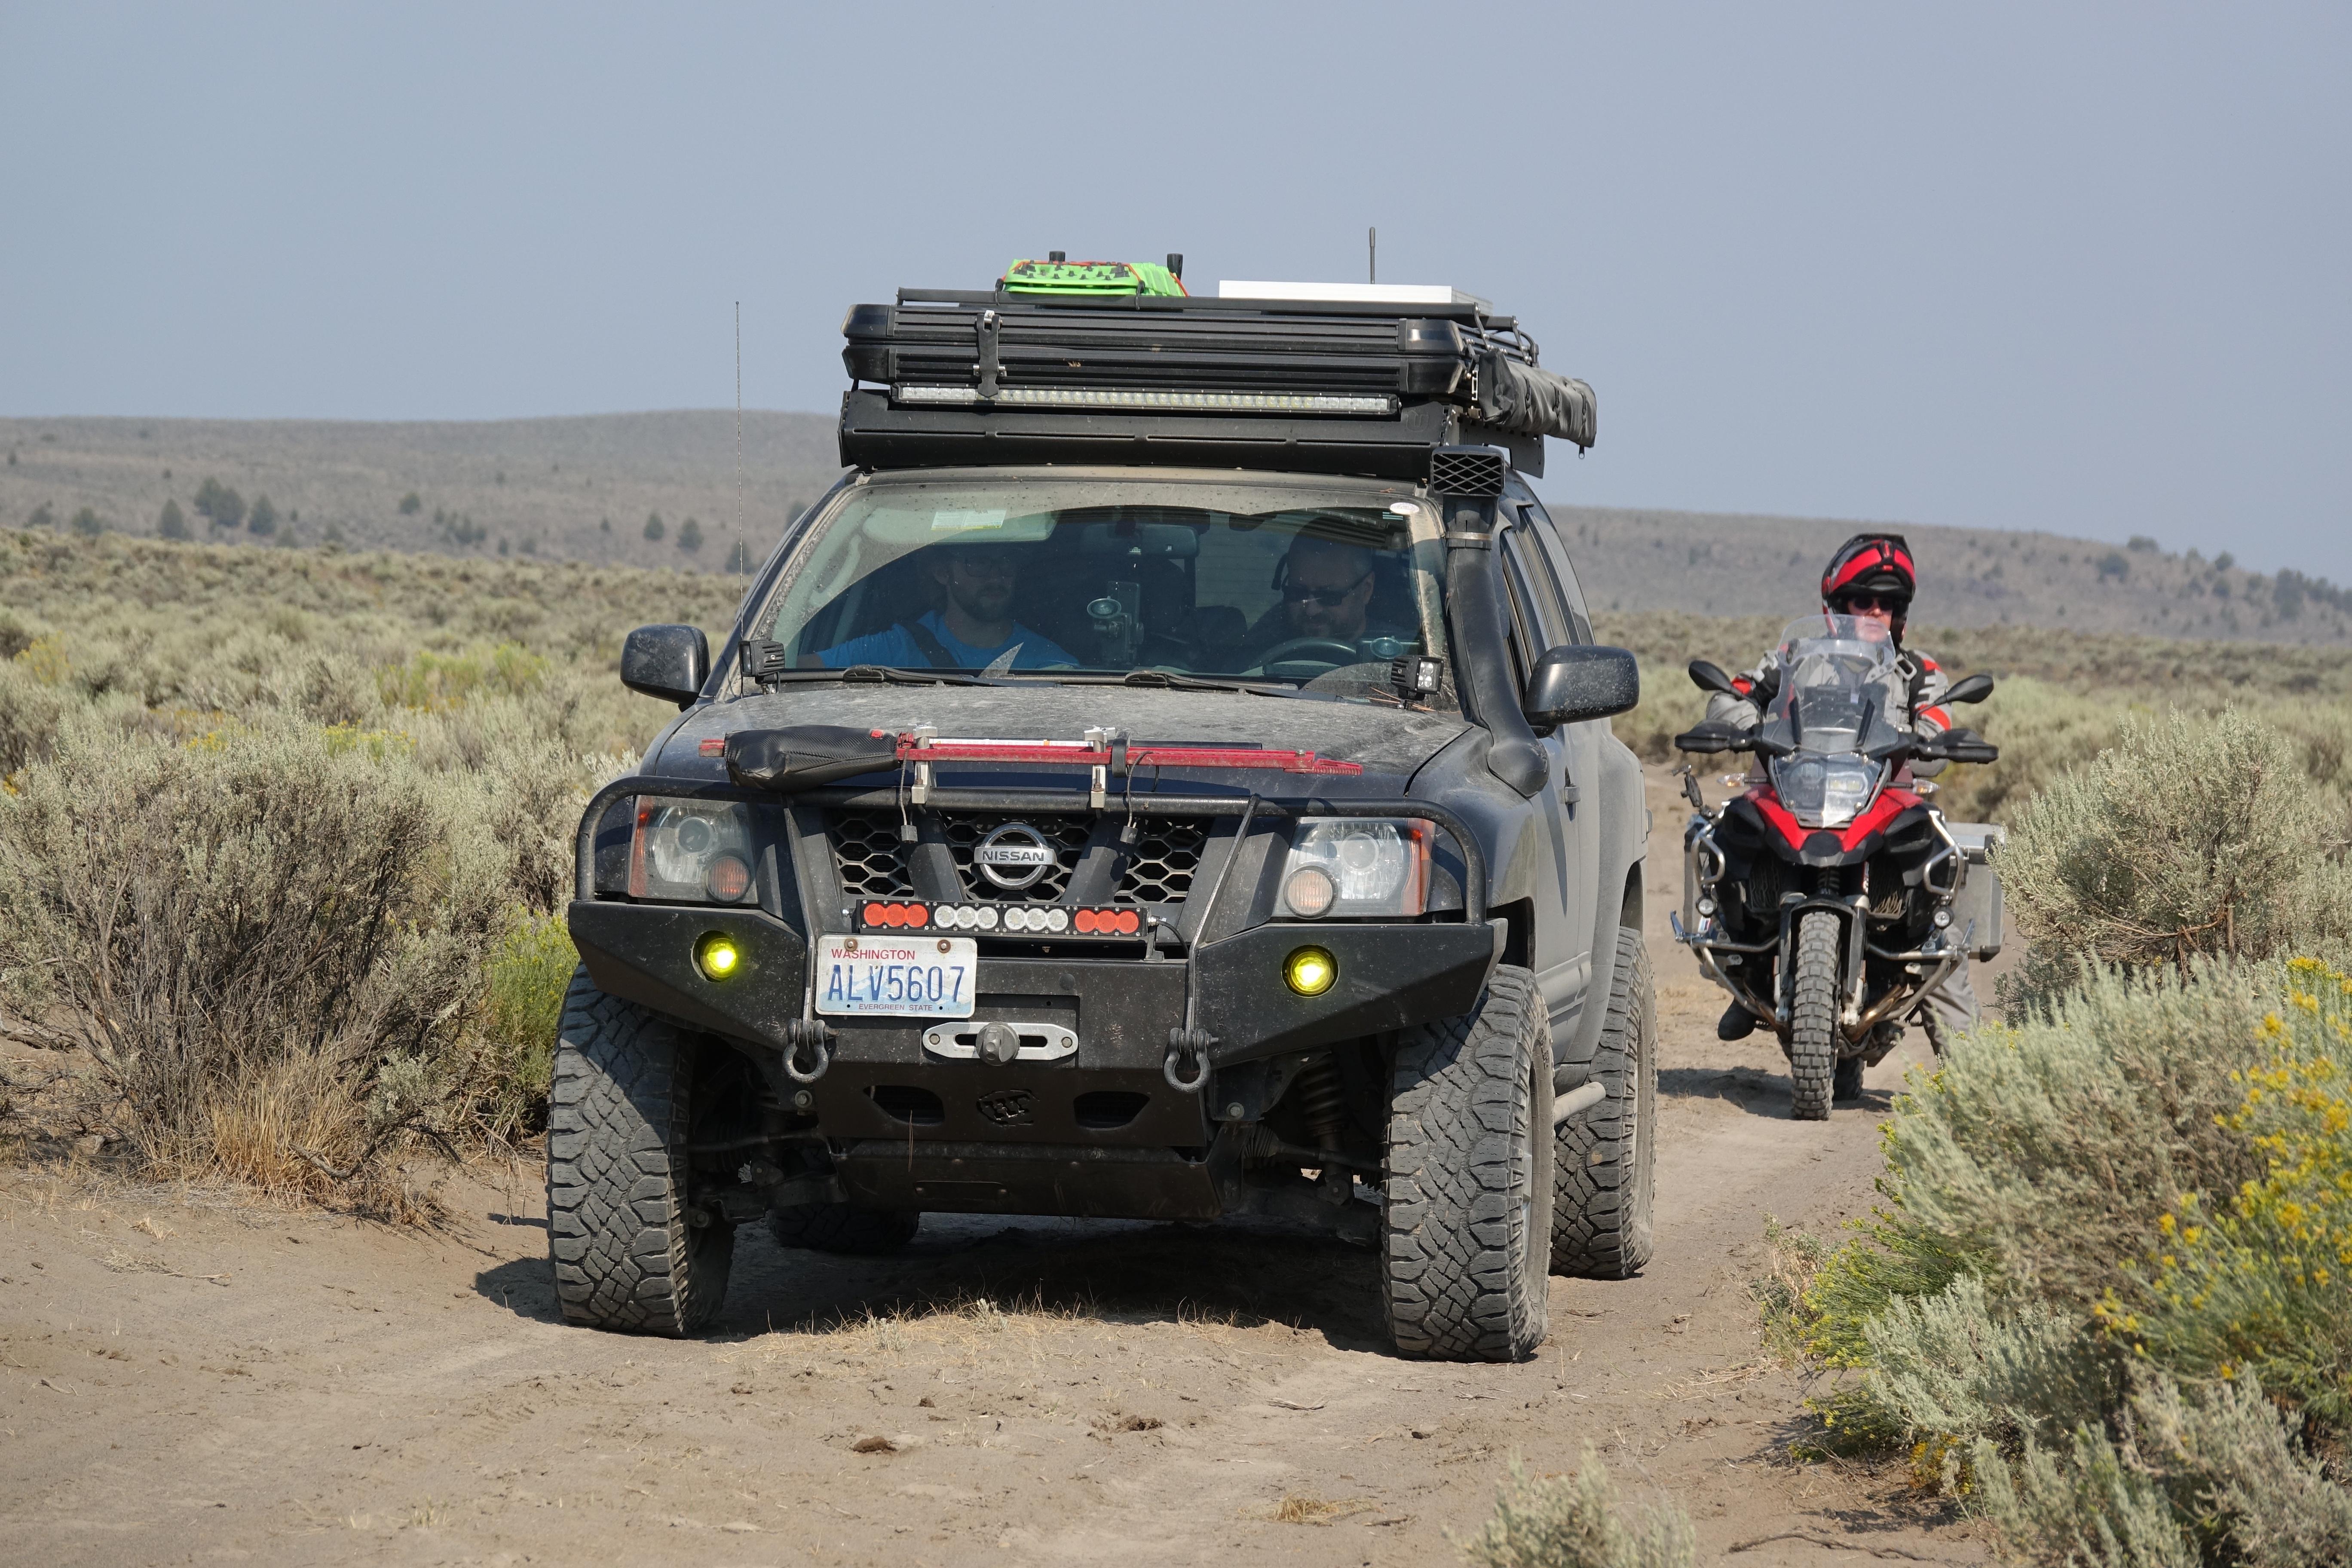
Hefty Fabworks Front Winch Bumper
Max-Gear Armor (Maxterra) Rear Bumper w/Tire Carrier & Jerry Can Holder
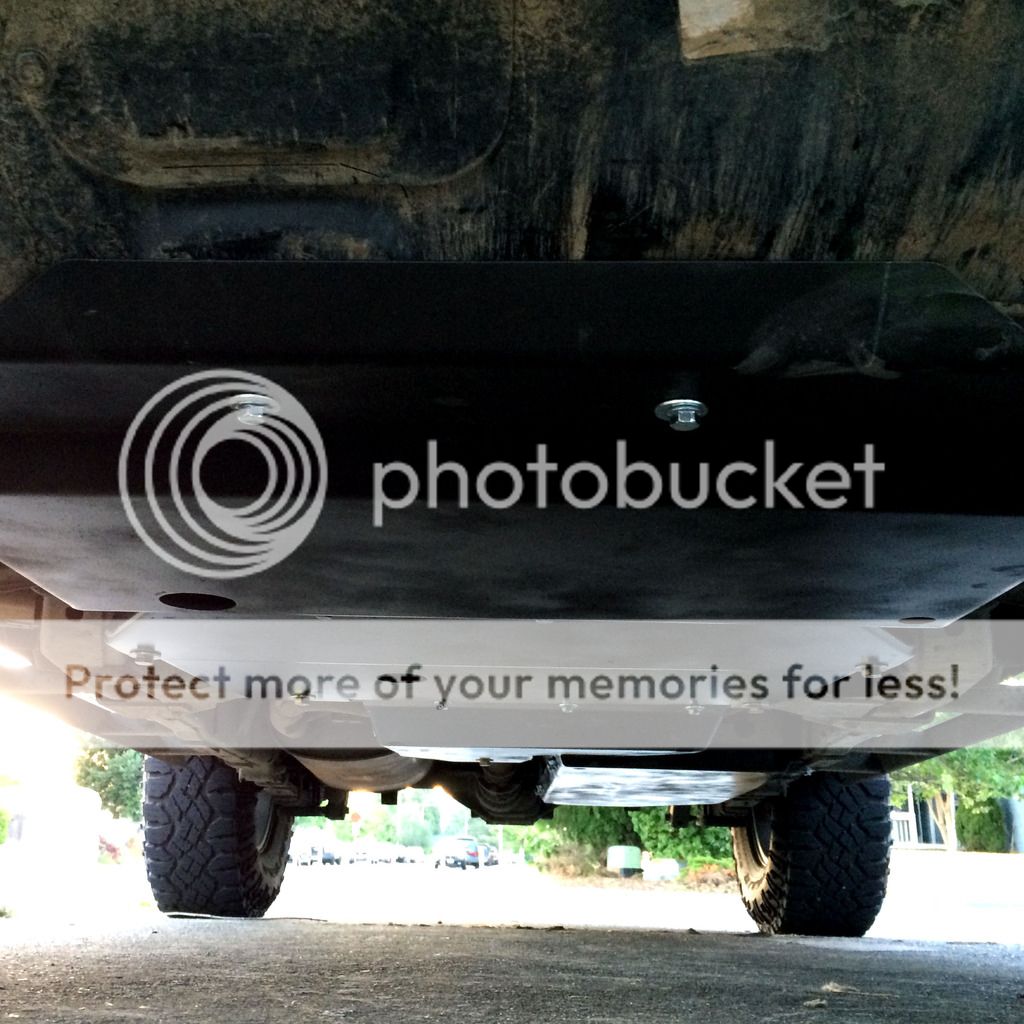
Hefty Fabworks Skids
• Radiator
• Engine
• Transmission
• Transfer Case
• Fuel Tank
White Knuckle Sliders
Ballistic Fabrication Rear Differential Cover

Exterior:
Gobi Passenger Side Ladder
Gobi Tailgate Gas Struts
Offroad Gorilla Hood Gas Strut Kit
Nissan Side Window Deflectors
Freespirit Recreation Odyssey 49"
Yakima RidgeBack 4-bike Hitch Rack (seasonal)
Yakima Big PowderHound (seasonal)
Hi-Lift Jack 2" Tube Mounts
"Blacked Out" '05-'08 Grille
Shadow Chrome Black Grille Emblem
Splash Guards removed
Melt Mod

Electrical & Lighting:
Renogy 100-watt Solar Panel
HID Projector Retrofit
• Kensun 35w HID Headlight Conversion Kit
• Nilight 2.5" Mini HID Bi-Xenon Projector Lens/Shroud x2
• Kensun HID H1 Bulbs - 5000k
DNA Motoring Yellow LED Fog Lights
Uniden PRO520XL CB Radio
Astatic 302-636L Noise Cancelling CB Microphone
FireStik FireFly 3' Tunable Tip CB Antenna
FireStik SS-3H HD Antenna Spring
FireStik SS-184A Antenna Mount
Switch-Pro SP-8100
Rigidhorse 42" LED Lightbar
Lightronic 22" LED Lightbar - Amber/White

Kawell Rear 4" Offroad LED Ditch Lights x2

Interior & Electronics:
Pioneer FH-X700BT Stereo
Garmin Nuvi 50LM GPS
Excelvan Car Floor Seat Bolt Mount Tablet Holder Stand
WeatherTech DigitalFit FloorLiner (front only)
Nissan All Weather Floor Mat (rear seats only)

Recovery & Trail Gear:
Engo E10000S Winch w/ Synthetic Line (4/16)
Factor 55 ProLink
CSI D-Ring Recovery Hitch
ARB Recovery Gear Bag
• ARB 4" x 30' Recovery Strap
• Smittybilt 3" x 30' Recovery Strap
• Driver 3" x 10' Tree Saver Strap
• Smittybilt D-Ring Shackles
• Smittybilt Snatch Block
• ARB E-Z Deflator
48" Hi-Lift Jack
TRED Pro Recovery Boards x2 (Kickstarter)
VIAIR 400P-Automatic Air Compressor
Trasharoo (ExPo group buy)

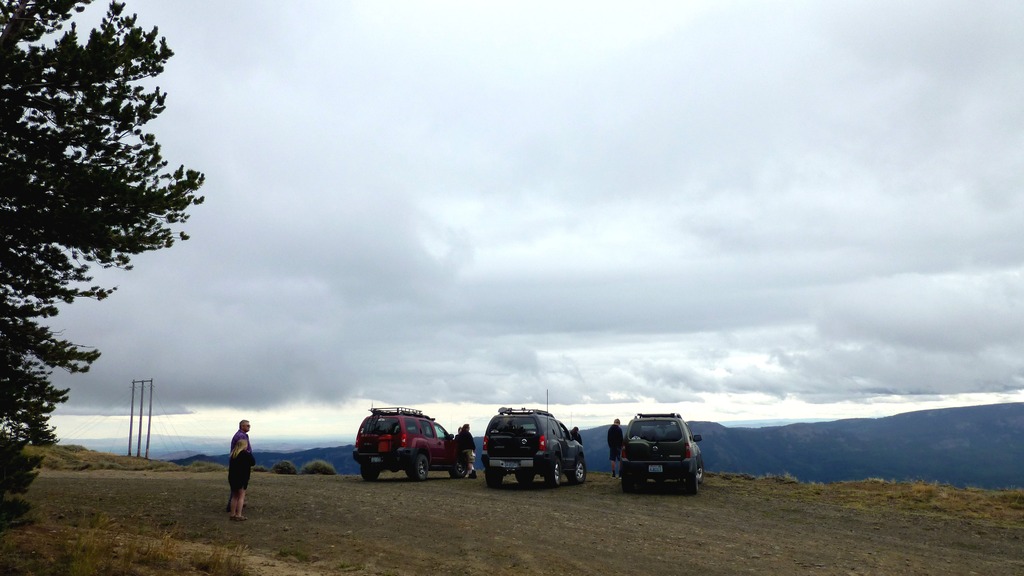
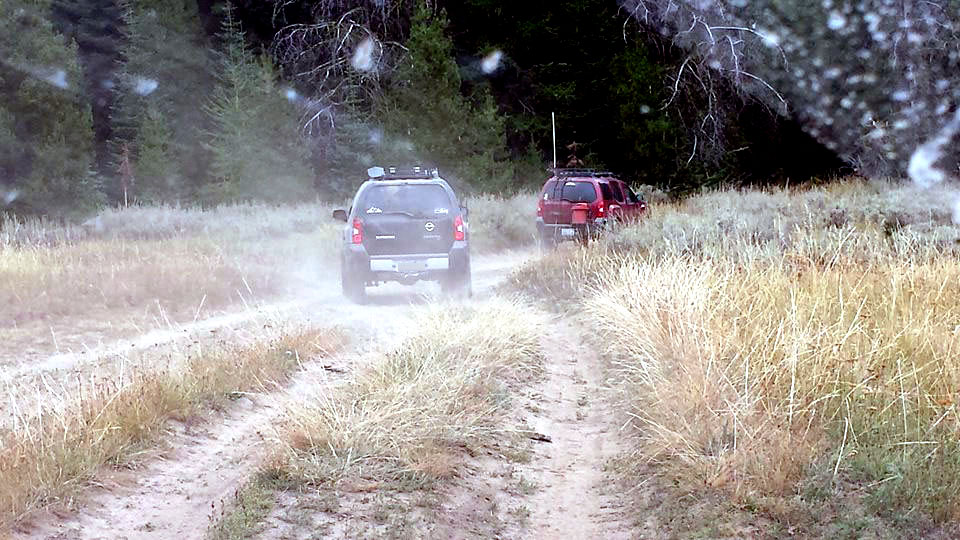
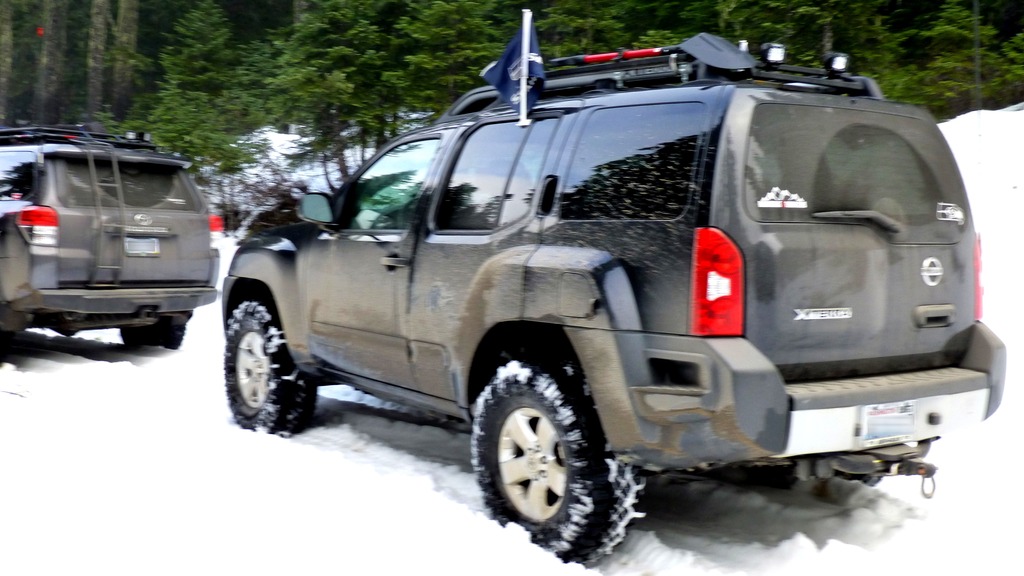
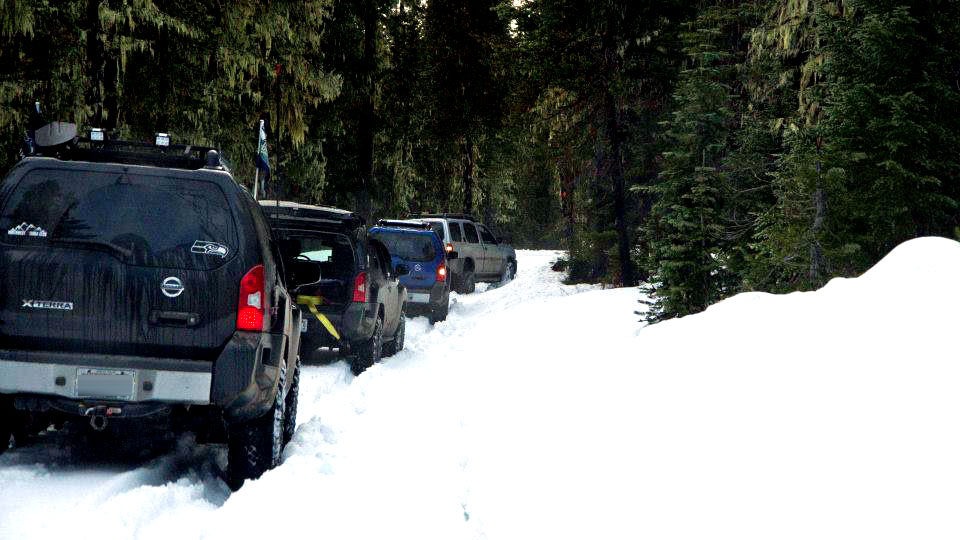
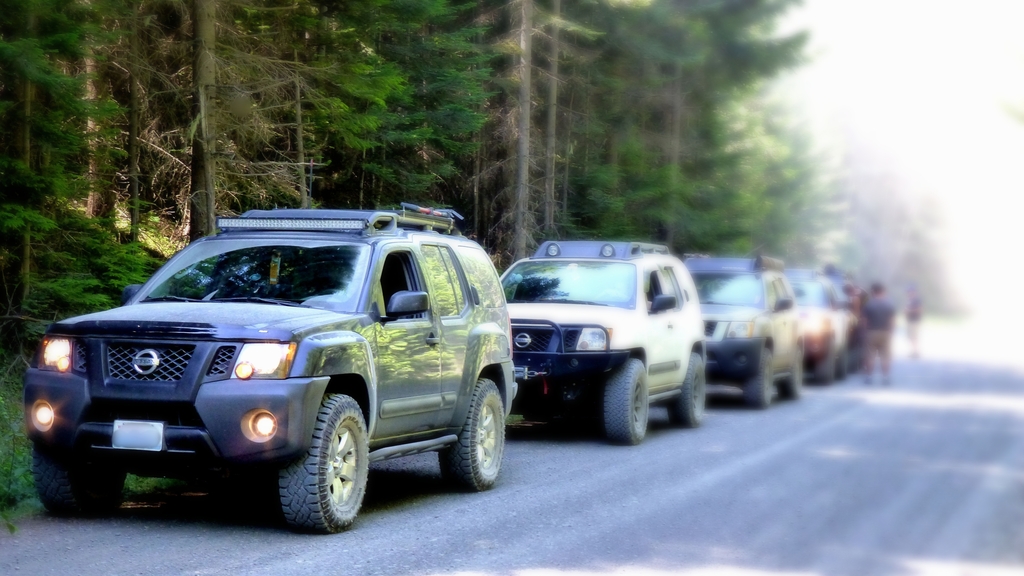
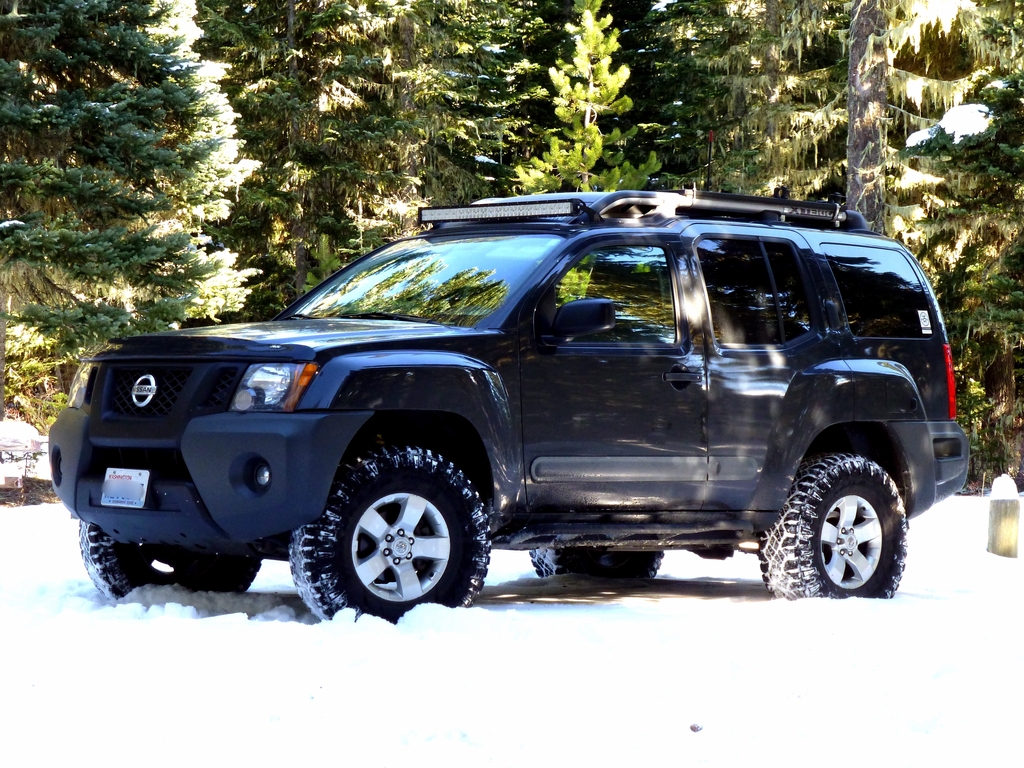
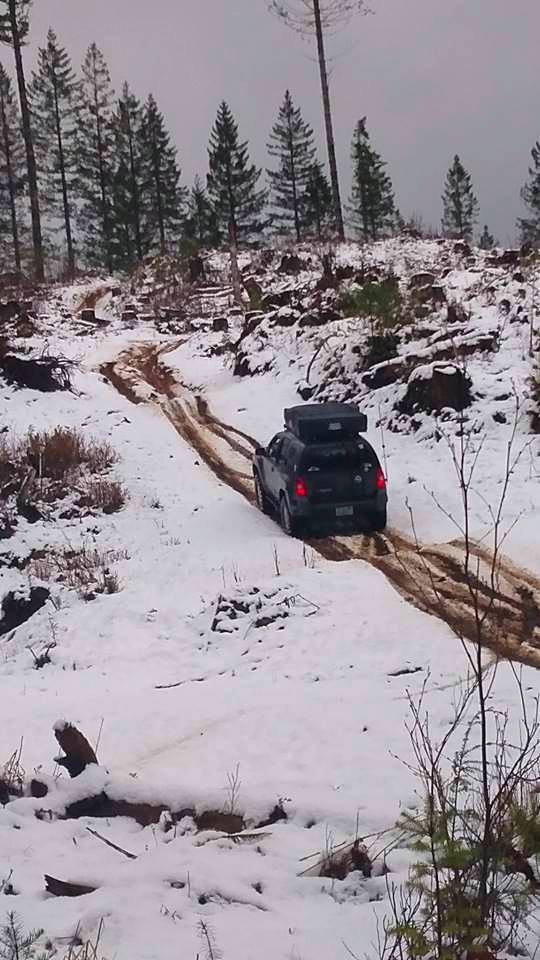
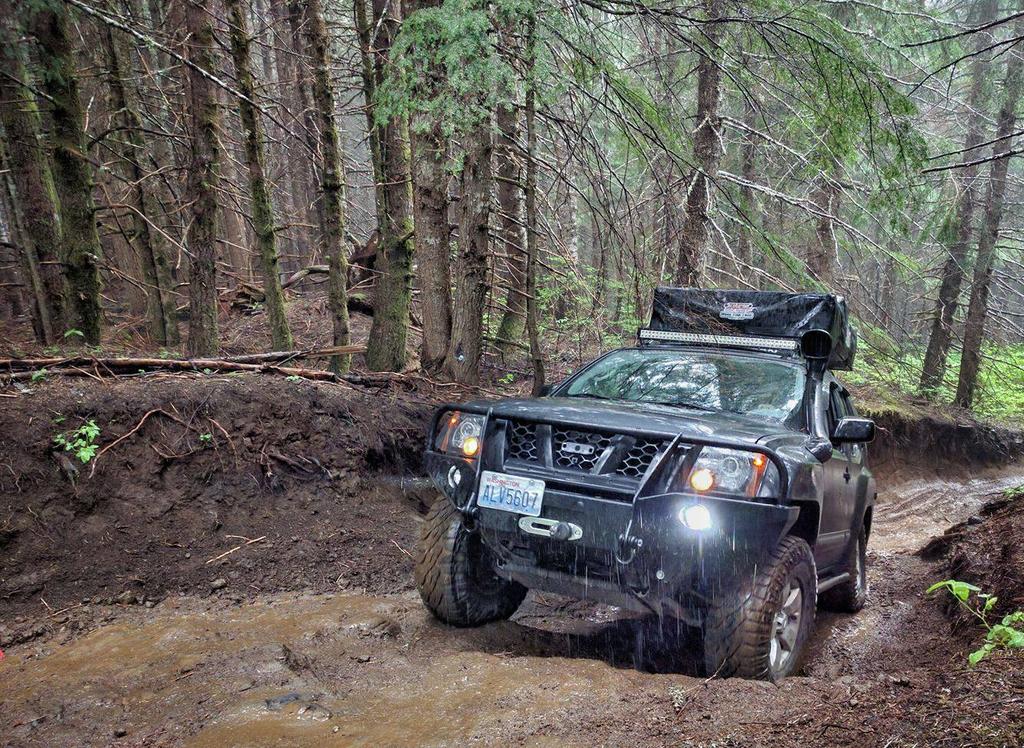
PHOTOS (need updated)


Last edited:

Trixter404

Rank IV
Launch Member

Advocate II

1,337
Olympia, WA, USA
First Name
Steve
Last Name
Hannum
Member #

0658

Thanks for the positive comments guys! More pics have been added. Unfortunately, I had to remove all of the links due to having a 10,000 character limit per post.
 

Trixter404

Rank IV
Launch Member

Advocate II

1,337
Olympia, WA, USA
First Name
Steve
Last Name
Hannum
Member #

0658

My recent upgrades? A set of Hefty Fabworks skid plates (way overdue) and Offroad Gorilla hood gas struts to replace the OEM rod. I can't wait to receive and install the new Nisstec lift that I ordered last week to replace the PRG lift spacers that I currently have.


utspoolup

Rank V
Founder 500
Launch Member

Member III

2,741
Murray Utah
Member #

0457

Nice plates, I went the shrockworks route, but they are all about the same. One thing, did you replace the oil drain plug with a valve? It makes changing the oil super easy and less of a mess with skid plates. I went with a Femco valve and bought 3 hoses, one for the truck (keep it in tool boxes under the rear seat), one for the maintenance kit, and one spare JIC. Yes the oil comes out of the valve slower than just popping the plug, but no more crush washers, ever having a possibility of stripping, and you are screwing on a hose and walking away for 10 minutes. Who cares if it take 3 minutes longer? But the hose will fit the hole in the place, and you can just barely reach up and screw it on, wait till you try it without a valve, Im sure the valve will be ordered shortly there after.

Now its time to earn some points with them, first time out with mine I earned 30 points via "new shorts" take all 5 plates down to steel on one pass. Thought I could make it, once the rad skid hit, I knew I was in trouble.
 
  • Like
Reactions: Trixter404

Trixter404

Rank IV
Launch Member

Advocate II

1,337
Olympia, WA, USA
First Name
Steve
Last Name
Hannum
Member #

0658

Nice plates, I went the shrockworks route, but they are all about the same. One thing, did you replace the oil drain plug with a valve? It makes changing the oil super easy and less of a mess with skid plates. I went with a Femco valve and bought 3 hoses, one for the truck (keep it in tool boxes under the rear seat), one for the maintenance kit, and one spare JIC. Yes the oil comes out of the valve slower than just popping the plug, but no more crush washers, ever having a possibility of stripping, and you are screwing on a hose and walking away for 10 minutes. Who cares if it take 3 minutes longer? But the hose will fit the hole in the place, and you can just barely reach up and screw it on, wait till you try it without a valve, Im sure the valve will be ordered shortly there after.

Now its time to earn some points with them, first time out with mine I earned 30 points via "new shorts" take all 5 plates down to steel on one pass. Thought I could make it, once the rad skid hit, I knew I was in trouble.
Actually, a Femco valve and hoses are on my list to get before my next oil change. As for the skid plates...I've only run the fuel tank skid over a log so far but we are doing an old mining trail in a couple of weeks so I'm sure I'll have some contact on some rocks at that point. My next purchases will likely be a Shrockworks front bumper and Engo winch.
 

utspoolup

Rank V
Founder 500
Launch Member

Member III

2,741
Murray Utah
Member #

0457

Also, not sure if you are aware so I am going to just toss it out there, sorry if it is a repeat but maybe someone later who buys the SPC arms wont run into this issue...

You are likely going to have to trim a little bit of the shock tower to allow the control arm to get to full droop without the ball joint hitting it, tearing the boot, or causing other issues. What I did was temporarily mount the upper arm and not the shock, then just hold the ball joint in place and slide it as far in as it will go, then use a scratch awl mark approx. where there is going to be interference, then go to town with a grinder. You will quickly see that if the ball joint is out all the way, nothing interferes, but once it starts to go in, you will see interference. For my 3+" lift (radflo extended with 1" top plate) for alignment we had to tuck the ball joints in all the way, so if I did not assume worse case I would have had damage the first time the suspension moved. I knew I was about at limits on everything based off of others that had installed similar setups so I went with it from second one and when I had the alignment they just had to adjust toe on the passenger side. Not bad since I replaced everything down there at once.

Also I do not see any cam bolts, do you already have them for the lower arms? Or plan on trying without them? Also keep an eye on your front brake lines, they may stretch a bit. I replaced all 4 lines on mine.

Look good and keep us updated.
 

Trixter404

Rank IV
Launch Member

Advocate II

1,337
Olympia, WA, USA
First Name
Steve
Last Name
Hannum
Member #

0658

Also, not sure if you are aware so I am going to just toss it out there, sorry if it is a repeat but maybe someone later who buys the SPC arms wont run into this issue...

You are likely going to have to trim a little bit of the shock tower to allow the control arm to get to full droop without the ball joint hitting it, tearing the boot, or causing other issues. What I did was temporarily mount the upper arm and not the shock, then just hold the ball joint in place and slide it as far in as it will go, then use a scratch awl mark approx. where there is going to be interference, then go to town with a grinder. You will quickly see that if the ball joint is out all the way, nothing interferes, but once it starts to go in, you will see interference. For my 3+" lift (radflo extended with 1" top plate) for alignment we had to tuck the ball joints in all the way, so if I did not assume worse case I would have had damage the first time the suspension moved. I knew I was about at limits on everything based off of others that had installed similar setups so I went with it from second one and when I had the alignment they just had to adjust toe on the passenger side. Not bad since I replaced everything down there at once.

Also I do not see any cam bolts, do you already have them for the lower arms? Or plan on trying without them? Also keep an eye on your front brake lines, they may stretch a bit. I replaced all 4 lines on mine.

Look good and keep us updated.
I had read that on TNX and thought that I had also read that SPC had made a change so that it would no longer be a concern, but I noticed the install instructions that I received in the box note to check the clearance so that's what I will do. Thanks for making sure that I was aware. How much did you end up grinding off? From what I've read, it shouldn't be more than a 1/4" or so. As for the cam bolts, I already have them from when I installed my PRG lift spacers and add-a-leaf.
 

utspoolup

Rank V
Founder 500
Launch Member

Member III

2,741
Murray Utah
Member #

0457

I lifted a hair over 3" with my setup. My truck is a 2015. Adjusting the ball joint to be like "D" (0*) in the SPC instructions, and pushing the ball join in as far as it can go, I ended up having to take off 3/4" almost 1" of material. Now you only need to do this, at the exact point the ball joint will hit so it is only like that for about 1" if width, when you mount the arms, and leave the ball joint loose and just push it all together the swing it down you will see exactly what I mean and will be able to go from there, but your setup with shocks, springs, and top plate is pretty much identical to my lift.

And again when I got my alignment, everything was almost perfectly dialed in from my doing it this way from the get go. They just tweaked the cam bolts a bit.

One guy on TNX (TK214 or something like that) didn't know this and just ground a bit and left the ball joint in center position, during alignment they pushed his ball joint into the shock tower, and aligned it, later that week found the boot was cut in half and torn and rubbing the cup.

Also see the note about the drivers rear bolt and the PITA that can be as noted in the SPC document. I was lucky and it just slipped out, most people need to separate the pinch bolt or cut the control arm bolt and replace it to do this.
 

utspoolup

Rank V
Founder 500
Launch Member

Member III

2,741
Murray Utah
Member #

0457

Nice, what lights did you go with? I have diode dynamics XP80s in the tail turn and backups of the X, waiting for front turns but need them to get into stock first.

Be sure to post of some nite time photos.