
Member III
If some entrepreneur on here wants to fab some parts for less than what these big dogs are charging - I fully endorse that and I am willing to pay! I'm not confident in my welding skills.

Member III
An Amico 200 DC TIG/stick welder. They can be had on Amazon.com and Home Depot online as well. I think Home Depot is actually a bit less $$$ now.Which welder did you buy?

Enthusiast III

Member III
I know there is a filter somewhere above the rear diff that can set off all the warning lights on the car's computer that could be problematic. I found that out the hard way - working my way through deep water for a long way on flooded streets. However, most of the time on the trails I am on, I am not in deep enough water long enough to adversely really effect anything.Love to hear feedback as I have same question about my 2019
I was looking at this ARB breather system;
and this LP Adventure Canister bypass kit;
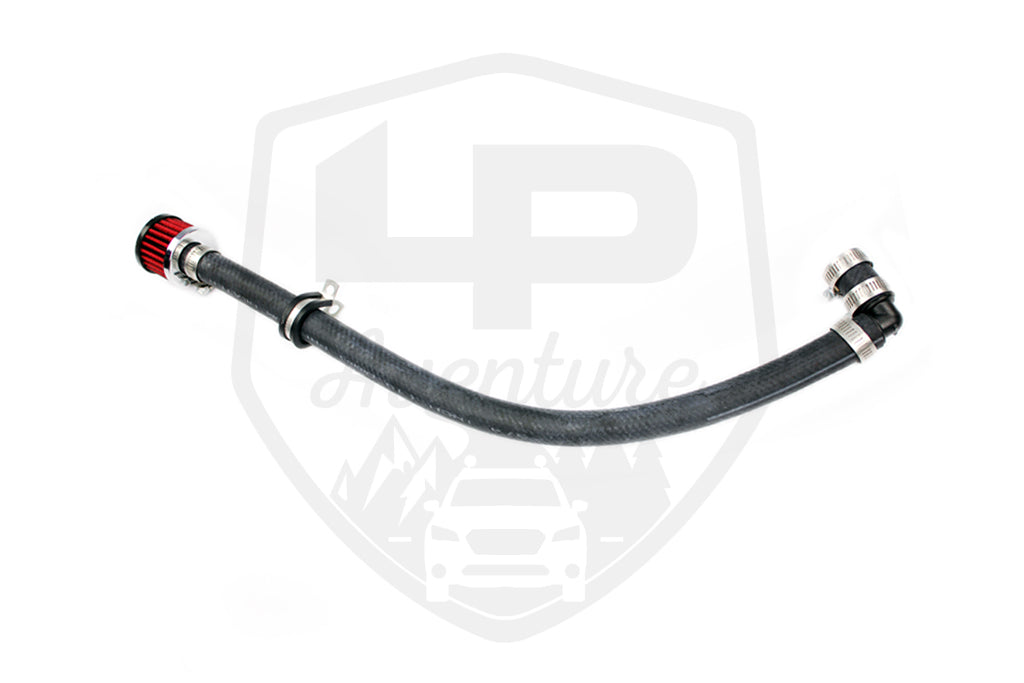
LP Aventure - Canister filter bypass - Subaru Ouback 2015-2019
Your Outback need this kit if you want to go in the water with your subaru. This kit bypass the oem canister filter. The oem one is located under the car near the rear subframe (DRIVER SIDE)...and taking water easily. With this kit, the new filter is well hidden and located on top of the inner...lpaventure.com

Influencer III
1537

Enthusiast III
Based on this video that doesn't seem really worth it vs. putting the parts together yourself.Love to hear feedback as I have same question about my 2019
I was looking at this ARB breather system;
and this LP Adventure Canister bypass kit;

LP Aventure - Canister filter bypass - Subaru Ouback 2015-2019
Your Outback need this kit if you want to go in the water with your subaru. This kit bypass the oem canister filter. The oem one is located under the car near the rear subframe (DRIVER SIDE)...and taking water easily. With this kit, the new filter is well hidden and located on top of the inner...lpaventure.com

Enthusiast III

Contributor II
Lookin' good! I routed mine down from the front lights - similar location to this setup - along the inside of the roof rack bars to the back of my Forester, and in through the tail gate. I put a hole in the rubber grommet that the tail gate's own wires run though, then sealed it with "spray-on electrical tape". Plastidip would do too.Got this guy installed today, had to make up some brackets cause the ones it came with were just a little too tall and wide cause at 42" the light just barely fits.
Any suggestions on how to make entry with the wire?
View attachment 121649

Enthusiast III
Thanks ill likely run it like that as well.Lookin' good! I routed mine down from the front lights - similar location to this setup - along the inside of the roof rack bars to the back of my Forester, and in through the tail gate. I put a hole in the rubber grommet that the tail gate's own wires run though, then sealed it with "spray-on electrical tape". Plastidip would do too.

Member III
For my CB antenna, because it's on the front of the roof, I came down in the roof rail gutter, then in a gutter that runs down the side of my windshield (I can't tell from the picture if your windshield has the same), then into the engine bay, then through the electrical grommet in the firewall. For my Ham antenna, which is mounted on my back gate, I ran the cable above the roof liner, then behind the plastic piece covering the pillar between the front and rear passenger seats, to come out under the front passenger seat (where my base unit is located).Got this guy installed today, had to make up some brackets cause the ones it came with were just a little too tall and wide cause at 42" the light just barely fits.
Any suggestions on how to make entry with the wire?
View attachment 121649

Enthusiast III
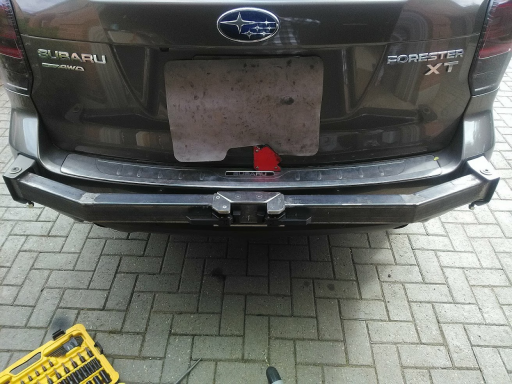
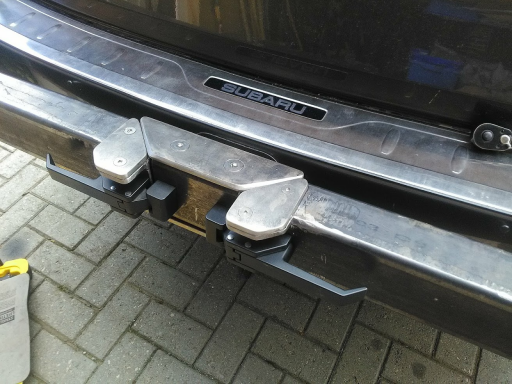
That looks so clean!Finished the structural bits and the latch on my bumper build:
View attachment 121675
View attachment 121676
Very happy with how the stainless sill plates turned out. All cut, ground, and polished with an angle grinder and a handheld belt sander in one afternoon!
All that's left now is paint, a few weld-nuts for the jerry can holder and spare tire carrier, and to make some wear surfaces for the swing-out. I'm thinking of using Kydex for that.
Thanks for the nice words! You can find my build here. I really need to update the bumper photos, because a lot of changed or been added, but nevertheless... Subaru Forester - '18 XTLooks great! would love to see a build thread on this. How do you have it attached? Do you have a receiver hitch below the center mount/latch point? I was planning to build a tire carrier myself, and would like to copy your design.

Enthusiast III

Enthusiast III
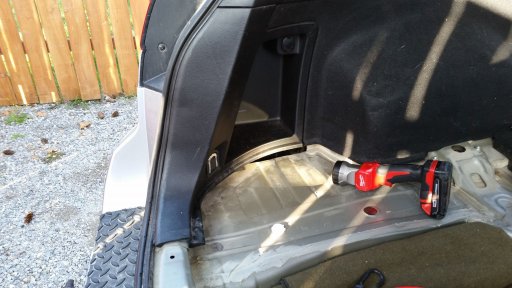
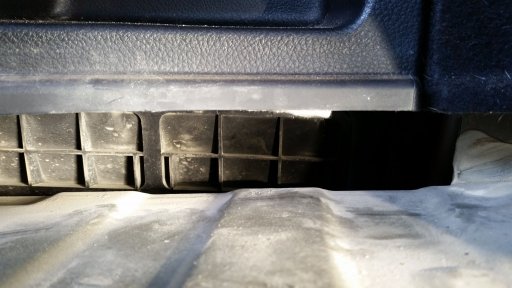
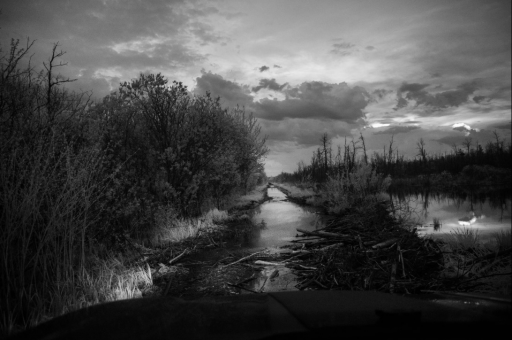
I can say from experience, having forded this...
View attachment 122076
...that even when the rear-driverside vents went underwater each time I exited a puddle or hit a rut within them, I did not take any water in. My SJ Forester has vents in the same location behind the rear wheelwells. As long as you're moving, you shouldn't be bringing anything in. I'd assume that, because of how the vents are designed to open outwards, a little bit of water splashing against them would force them to seal. That said; always better safe them sorry. So maybe work on waterproofing more critical and vulnerable parts of the vehicle before you worry about this.
