Explorer I
- 3,680
- First Name
- Brian
- Last Name
- McGahuey
- Member #
23711
- Ham/GMRS Callsign
- GMRS WRMV941
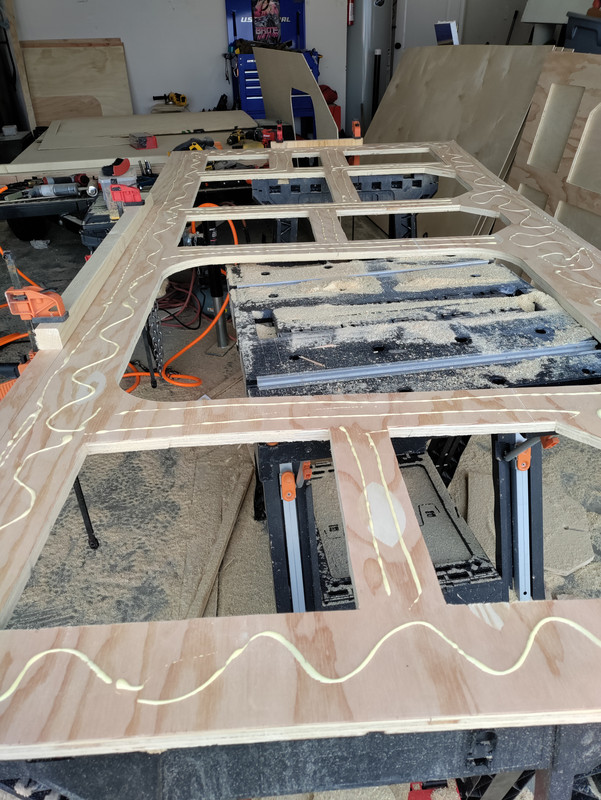
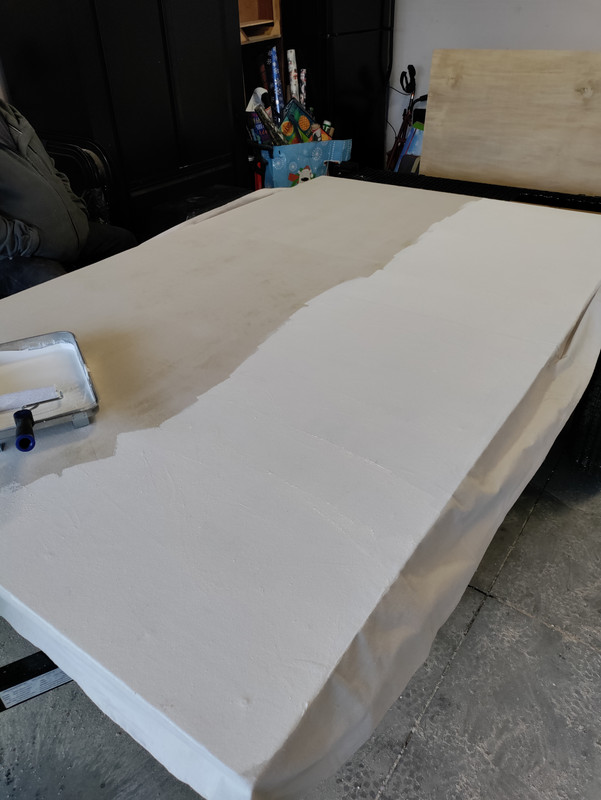
I'm not sure what you mean about making the surface uniform. There will be an outer layer of plywood that will be pin nailed or stapled to the 3/4 plywood structure, along with an adhesive. A touch of wood filler will smooth out the fasteners, and the pmf process will happen on top of that.So glad I found this thread! What you're doing is very similar to what I'm imagining for my build. Some significant differences in the configuration, but you have me thinking about changing from a true fiberglassed solid plywood panel to the "cutout" plywood panel with inner paneling and insulation + PMF. Curious to know how you'll make the surface for the canvas uniform and smooth. Epoxy filler?
You're doing roof struts, which I did on my first camper build and it worked well to accept the aluminum roof sheet, as well as bury lighting wiring and insulation, but this time I think I will create the roof structure with plywood panels instead, rabbit joints glued and screwed to an inner brace/moulding piece. I realize it may end up with something of a "drop ceiling" to add a little insulation and hide wiring, but it won't need to be structural. And I'll skip that if I can accomodate wiring somehow, without it looking like crap...
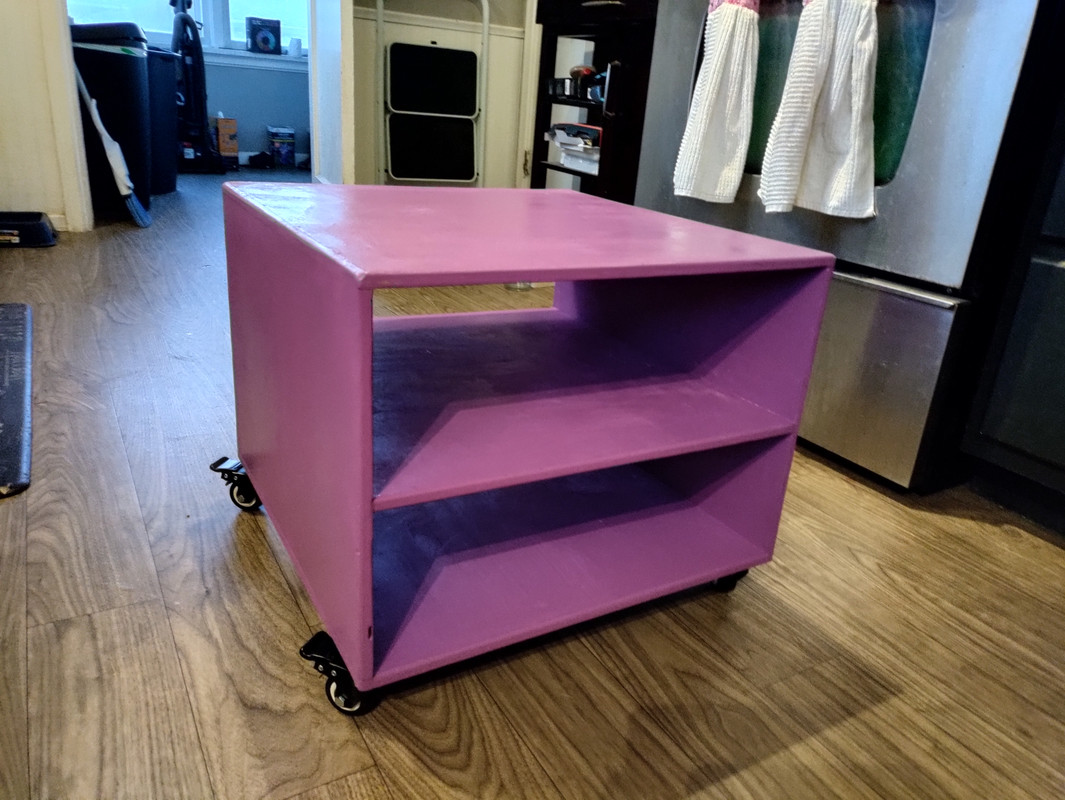
Also, I really like your kitchen box. I had planned on making a side-swing galley hatch that would carry modular pieces like a stove and countertop, maybe a molle panel or french cleat setup, but you have me rethinking again!
Very cool build and kudos on putting in the modeling time.
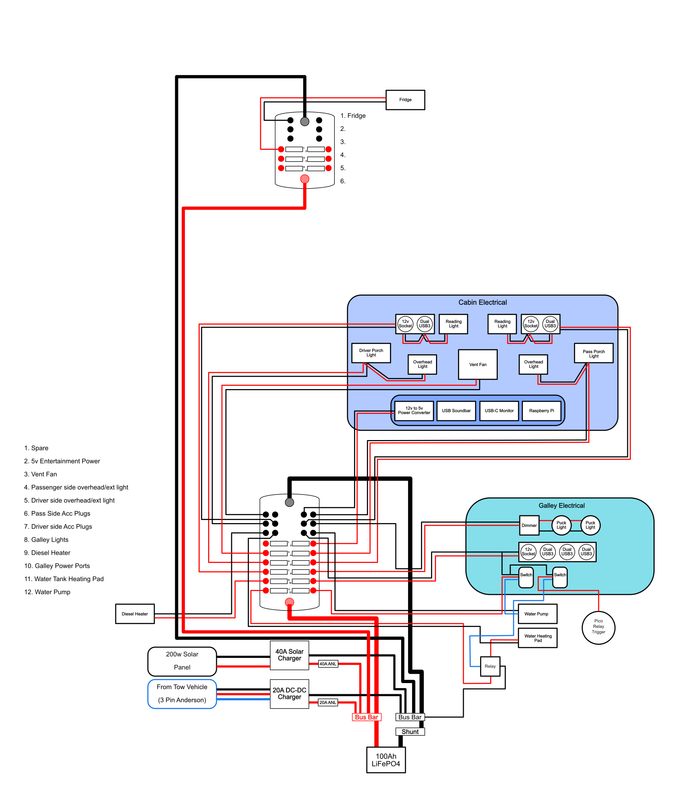
The only wires I plan on running through the roof will be for the overhead lights, and the fan. Everything else will run through either the wall or the floor.
I have to go and buy a new dishwasher tomorrow, so that will delay some of the upcoming purchases.