Influencer I
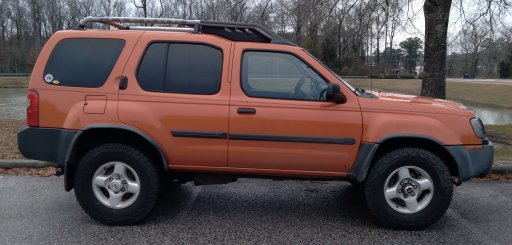
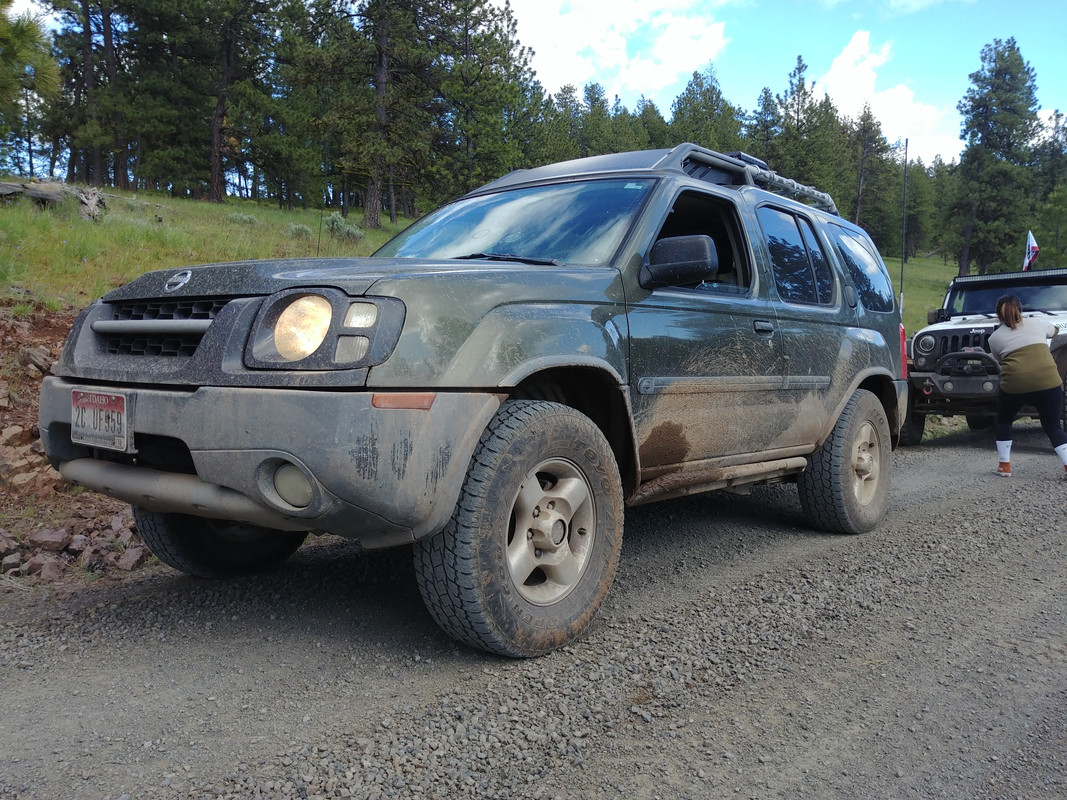
So i finally decided to start a build thread on my Nissan Xterra. He is a 2003 Nissan Xterra XE 4X4 Auto in the incredibly rare Atomic Orange (only 993 ever built). At the time of purchase (February 2020) he only had 127,000 but kinda sorta neglected by the previous owners. I managed to scoop this rig up for $2650 so no complaints thus far. There is some rust but runs decent, 4WD works, a/c and heat work, shifts smooth so overall not too bad.
Condition as purchased:

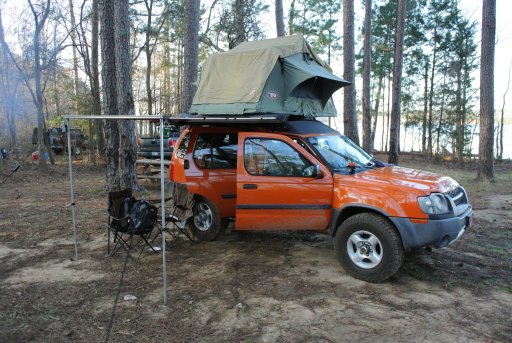
Current state: As of 158,000 miles


Current specs and mods:
3.3l normally aspirated S.O.H.C V6 (vg33e)
4spd auto
Traditional 4x4 with hi/lo floor shifter
R200 front differential and H233B rear axle with 4.90:1 final drive
Warn premium manual locking hubs (29091)
PML (Poor Man's Lift) along with full chassis overhaul
Camping Set-up (Tepui Kukenam 3 & Smittybilt Awning)
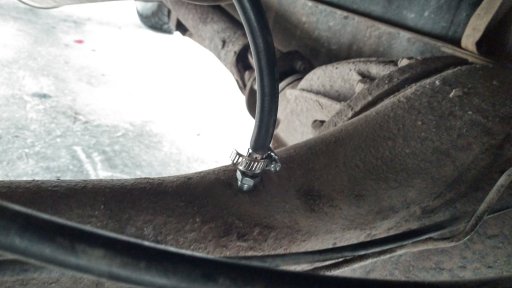
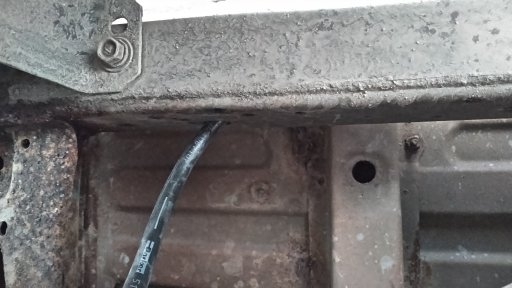
Rear Differential Breather Extension Mod
Rear tire carrier bumper
Future mods (as the wallet permits):
Performance exhaust with ceramic coated headers
Stage 1 cams
5.14 gears with arb lockers
Front bumper with 8000lb winch
Rock sliders
Skid plates
Snorkel
Drawer system
I will do my best to document the progress of this build so please follow along.
The situation that no overlander ever wants to be in. Luckily I was not on a trip and was only 30 minutes from the house.
R.I.P. Tigger
Condition as purchased:
Current state: As of 158,000 miles
Current specs and mods:
3.3l normally aspirated S.O.H.C V6 (vg33e)
4spd auto
Traditional 4x4 with hi/lo floor shifter
R200 front differential and H233B rear axle with 4.90:1 final drive
Warn premium manual locking hubs (29091)
PML (Poor Man's Lift) along with full chassis overhaul
Camping Set-up (Tepui Kukenam 3 & Smittybilt Awning)
Rear Differential Breather Extension Mod
Rear tire carrier bumper
Future mods (as the wallet permits):
Performance exhaust with ceramic coated headers
Stage 1 cams
5.14 gears with arb lockers
Front bumper with 8000lb winch
Rock sliders
Skid plates
Snorkel
Drawer system
I will do my best to document the progress of this build so please follow along.
The situation that no overlander ever wants to be in. Luckily I was not on a trip and was only 30 minutes from the house.
R.I.P. Tigger
Last edited: