Enthusiast I
Hi Tinker, its Nick from the Cummins Land Rover Group on facebook!
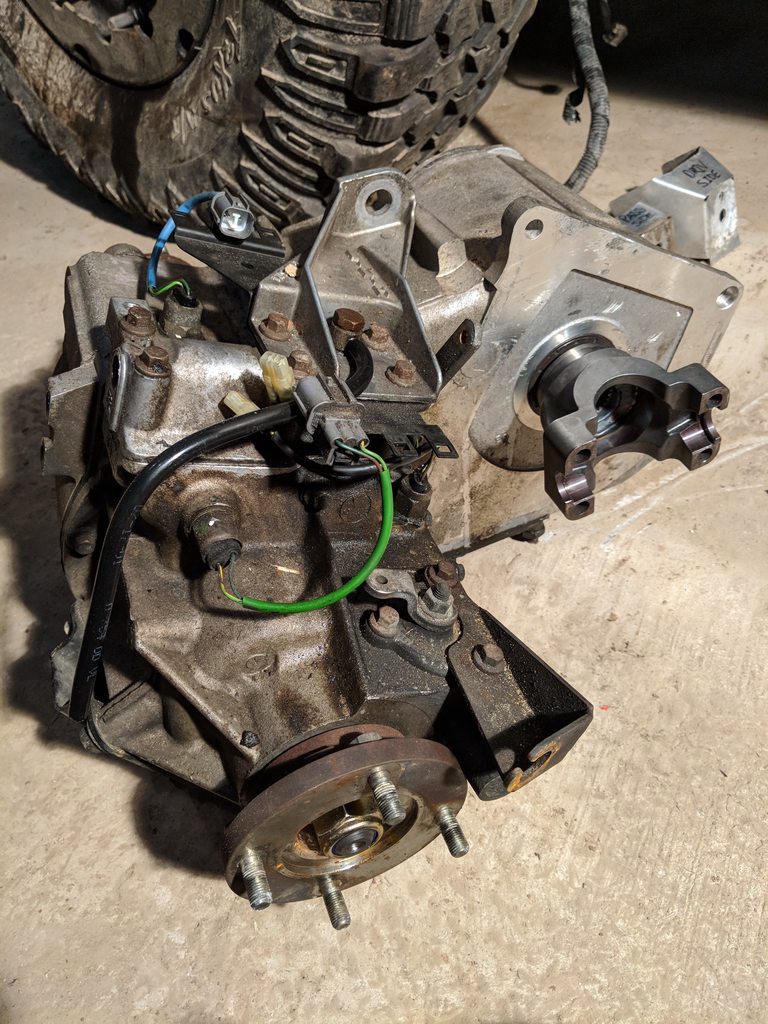
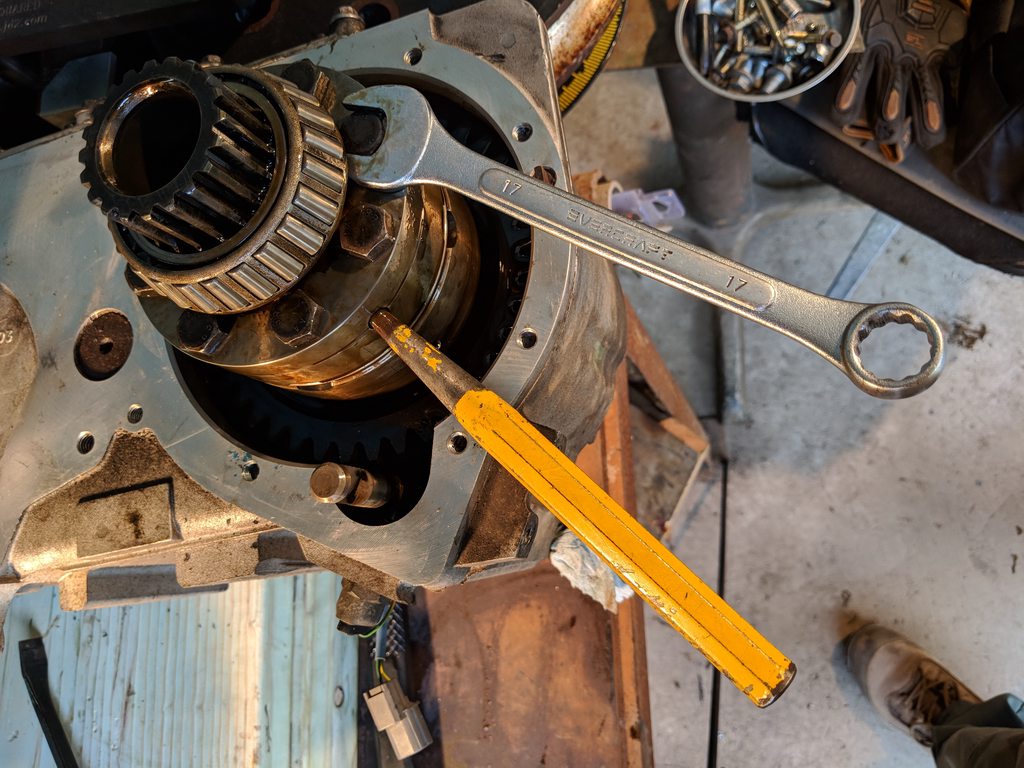
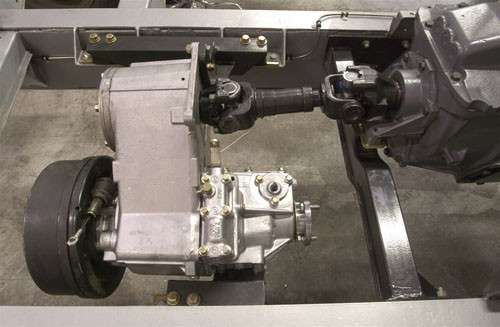
I am enjoying following your build progress, just one query, do you think you may have effected the hardening of the FTC5090 output shaft or the prop yoke when you combined them to make your spud shaft?
Some of the early 6BT conversions on the facebook group used a home made spud shaft made in a similar way which later gave up due to splines stripping...
We now use brand new custom made billet 1 piece LT230 input gears to close couple the ZF S5-42 gearbox we get behind 6BTs to 1:1.003 Ratio LT230 transfer boxes, expensive but Aussie bush tough and well tested in the UK too.
Keep up the good work!