DIY 12V Power Supply with Schematic

  • HTML tutorial

Is this helpful


  • Total voters
    3

Tallen79

Rank IV
Launch Member

Enthusiast III

1,146
Jamestown, Fentress County, Tennessee, United States
First Name
Travis
Last Name
Erskine
Member #

14283

Ham/GMRS Callsign
KE8KTR
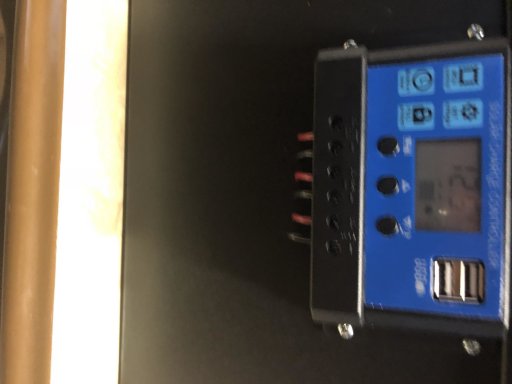
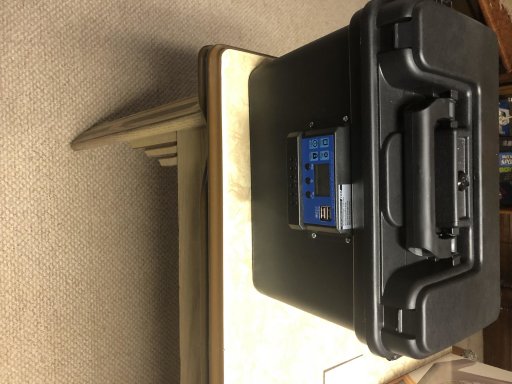
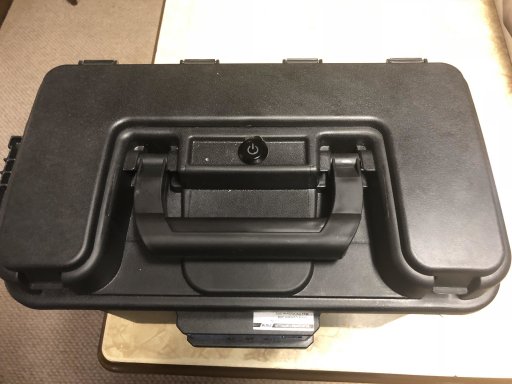
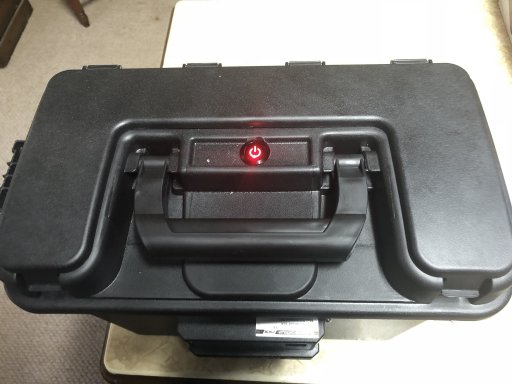
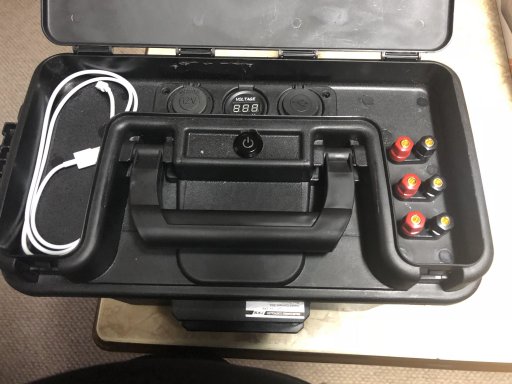
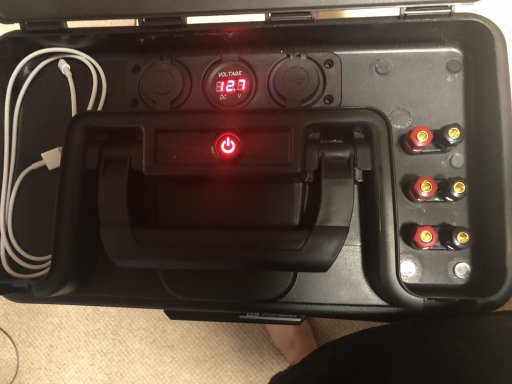
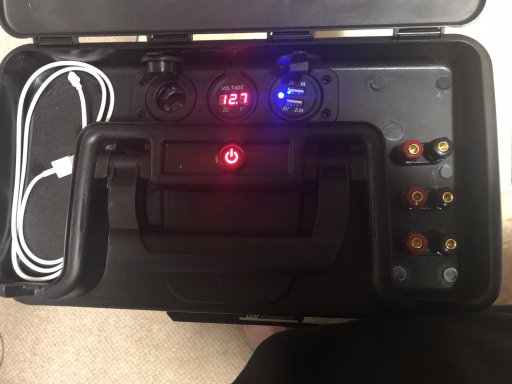
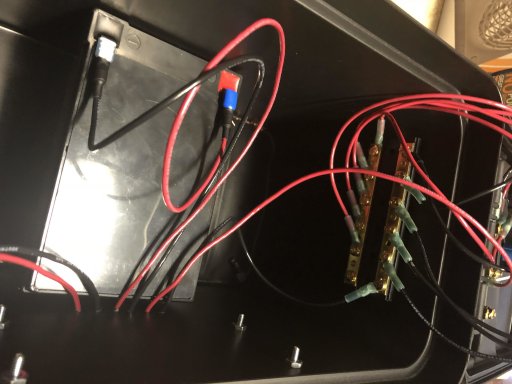
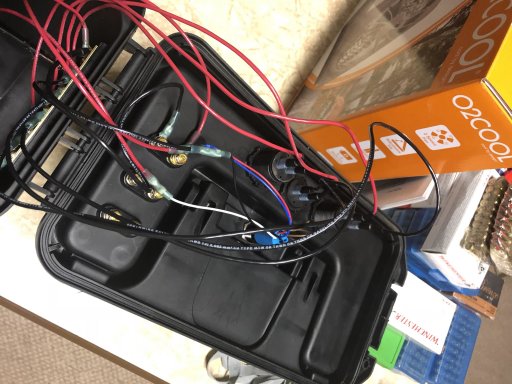
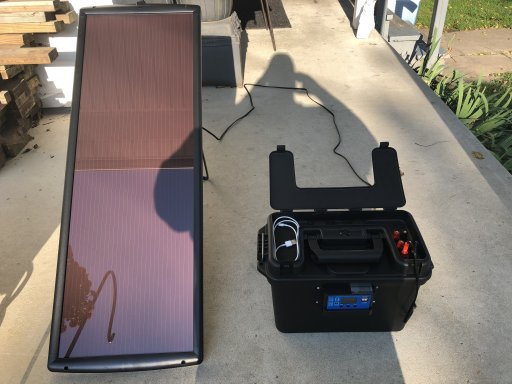
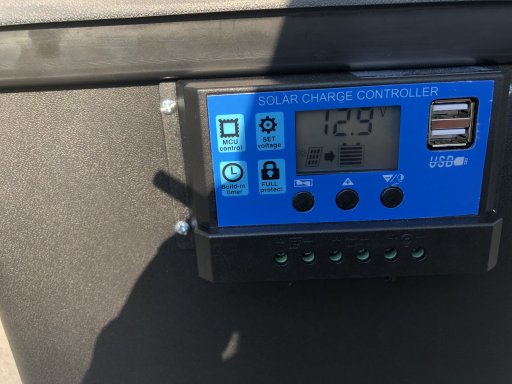
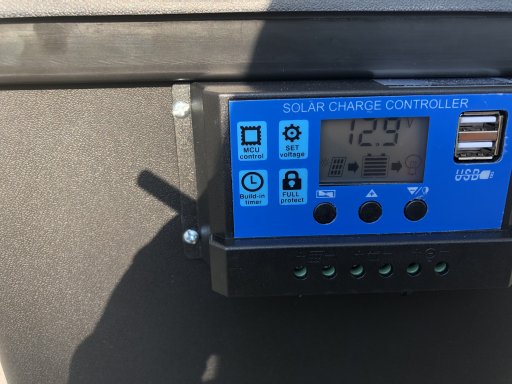
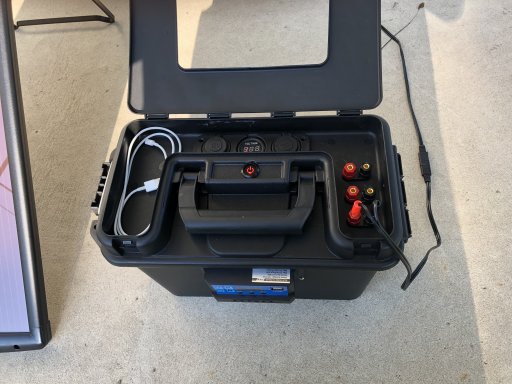
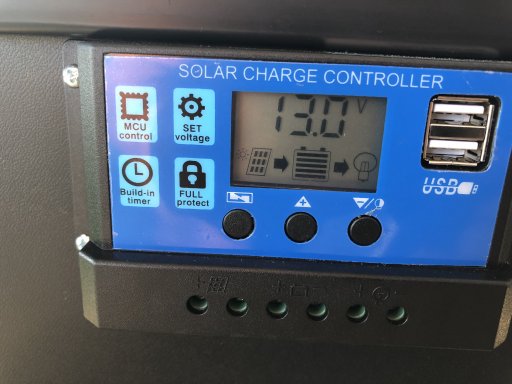
Here is a schematic I have drawn up for a 12 volt power supply that I am currently working on. Please disregard the power inverter being direct wired to the battery. I have changed this because I have wired banana jacks to the battery for direct power so I can plug the inverter into them because I want it to be separate from the container.
 

Attachments

  • Like
Reactions: Russell Peters

Cpol

Rank IX
Launch Member

World Traveler III

15,013
Jackson Heights, Queens, NY, USA
First Name
Chris
Last Name
Pol
Member #

14325

Nice. Been looking for this type of level of hands on. Are there more options for a twin battery setup and the crank battery separate. Powered by solar.
 

Tallen79

Rank IV
Launch Member

Enthusiast III

1,146
Jamestown, Fentress County, Tennessee, United States
First Name
Travis
Last Name
Erskine
Member #

14283

Ham/GMRS Callsign
KE8KTR
Yes. Just add another battery and connect them in parallel i.e. negative to negative and positive to positive. This will increase your amp hour. I am currently using a 12 ah battery and will be adding another two 12 ah batteries which will give me 36 ah. Reasoning for the smaller batteries is the size of ammo can and portability. If you are wanting to separate a battery and also have a dual battery system the ammo can is not big enough for all of the connections if I am understanding the crank battery portion of the question correctly. This is for nothing more than charging my phone and a few other mediocre things and using a power inverter for small loads that I do not want to use my car battery for. But mainly was looking for something to tinker with. I will upload pics once it is complete. I am working a lot of OT right now for a 3wk vaca in October.
 
Last edited:
  • Like
Reactions: Jason Jackson

Tallen79

Rank IV
Launch Member

Enthusiast III

1,146
Jamestown, Fentress County, Tennessee, United States
First Name
Travis
Last Name
Erskine
Member #

14283

Ham/GMRS Callsign
KE8KTR
Right now it only has 12 Amp Hours because there is only one 12 amp hour battery. I will be changing this battery to a different one because the terminals are not user friendly to add more batteries to the system to increase the Amp Hours. This battery was one I had sitting around and used strictly to get it up and going for now. Once I change the batteries to the ones that I want and connect them in parallel I will have a minimum of 36 Amp Hours. Possibly more but it just depends how the batteries fit into the case will determine how many batteries I can use and that will give me the final Amp Hours. I still have to wire the solar charge controller to one of the banana jacks for the power in from the solar panel. However I do not have the solar panel yet and will be ordering it this coming Friday so I am just leaving it disconnected for now. Once that is hooked up and I have the other batteries I want I will be posting more pics and the wiring will be more organized as well. I am just not messing with the final details until everything is the way I want it.
 
  • Like
Reactions: Luis Merlo

Tallen79

Rank IV
Launch Member

Enthusiast III

1,146
Jamestown, Fentress County, Tennessee, United States
First Name
Travis
Last Name
Erskine
Member #

14283

Ham/GMRS Callsign
KE8KTR
Just got the solar panel solar panel today. Here are the pics with it fully hooked up and functioning. I have not gotten the new battery yet, still looking at different options. So I will not fully clean up the wiring until I have that in place. The multiple pictures of the charge controller show just the battery being charged with the load output turned off and then on. They also show the progression of the charge. When I first connected the solar panel the charge was at 12.4V and it did not take long for it to reach 13V. The solar panel is the 25 watt panel from harbor freight with a very long cord and it also came with multiple ways to hook it up. It actually came with a cord to plug into the main cord that allowed me to put the banana plugs on without having to cut and modify anything. Just be sure to save the box for the panel when its not in use for protection while being stored as well as being transported. The voltmeter in the top center was showing 13.1V but it just wouldnt show up very well on camera. There is a couple pictures I forgot to take of the box for the panel and the connection inside for the input after being connected. Now I am just writing words to make the pictures go all the way to the bottom lol. 12V solar 1.jpg 12V solar 2.jpg 12v solar 3.jpg 12V solar 4.jpg 12V solar 5.jpg 12V solar 6.jpg 12V solar 7.jpg
 
Last edited:

Tallen79

Rank IV
Launch Member

Enthusiast III

1,146
Jamestown, Fentress County, Tennessee, United States
First Name
Travis
Last Name
Erskine
Member #

14283

Ham/GMRS Callsign
KE8KTR
This is just cool as heck, thanks for sharing. thumbs up.
If you or anybody else decides to make this just remember to connect the negative wire from the load side of the solar charge controller to the buss bar and also connect the negative wire from the switch to the buss bar then connect the positive wire from the load side of the solar charge controller directly to the positive wires of the switch. This will make it much easier. The positive has to be connected directly to the switch then it does not matter where the negative of the switch is connected as long as it completes the circuit. But the power must flow through the switch first then everything else must be connected to the buss bar. Do not connect the power from the charge controller to the buss bar first then connect the switch and everything else to the buss bar because then you will not have switched power, just constant power. The switch will still function but it will not control anything, it will just strictly turn itself on and off when you push it with no other function. I will be posting a parts list in due time along with prices. Just bear with me and once I get everything together I will list it on here.
 
Last edited:
  • Like
Reactions: DignTRDoffRoad

Tallen79

Rank IV
Launch Member

Enthusiast III

1,146
Jamestown, Fentress County, Tennessee, United States
First Name
Travis
Last Name
Erskine
Member #

14283

Ham/GMRS Callsign
KE8KTR
Keep me posted on a video or live pic reference
I will be posting more pictures. I am having trouble figuring out how to do videos on here from my phone. I am able to do a lot of things but struggle slightly when it comes to this. Basically I just have not put a lot of time into figuring it out due to the amount of hours I am working right now getting ready for vacation but I will get it figured out eventually. I am a new member and new to using this site and forums in general so once I figure it out it won't be a problem. Thanks for your patience.