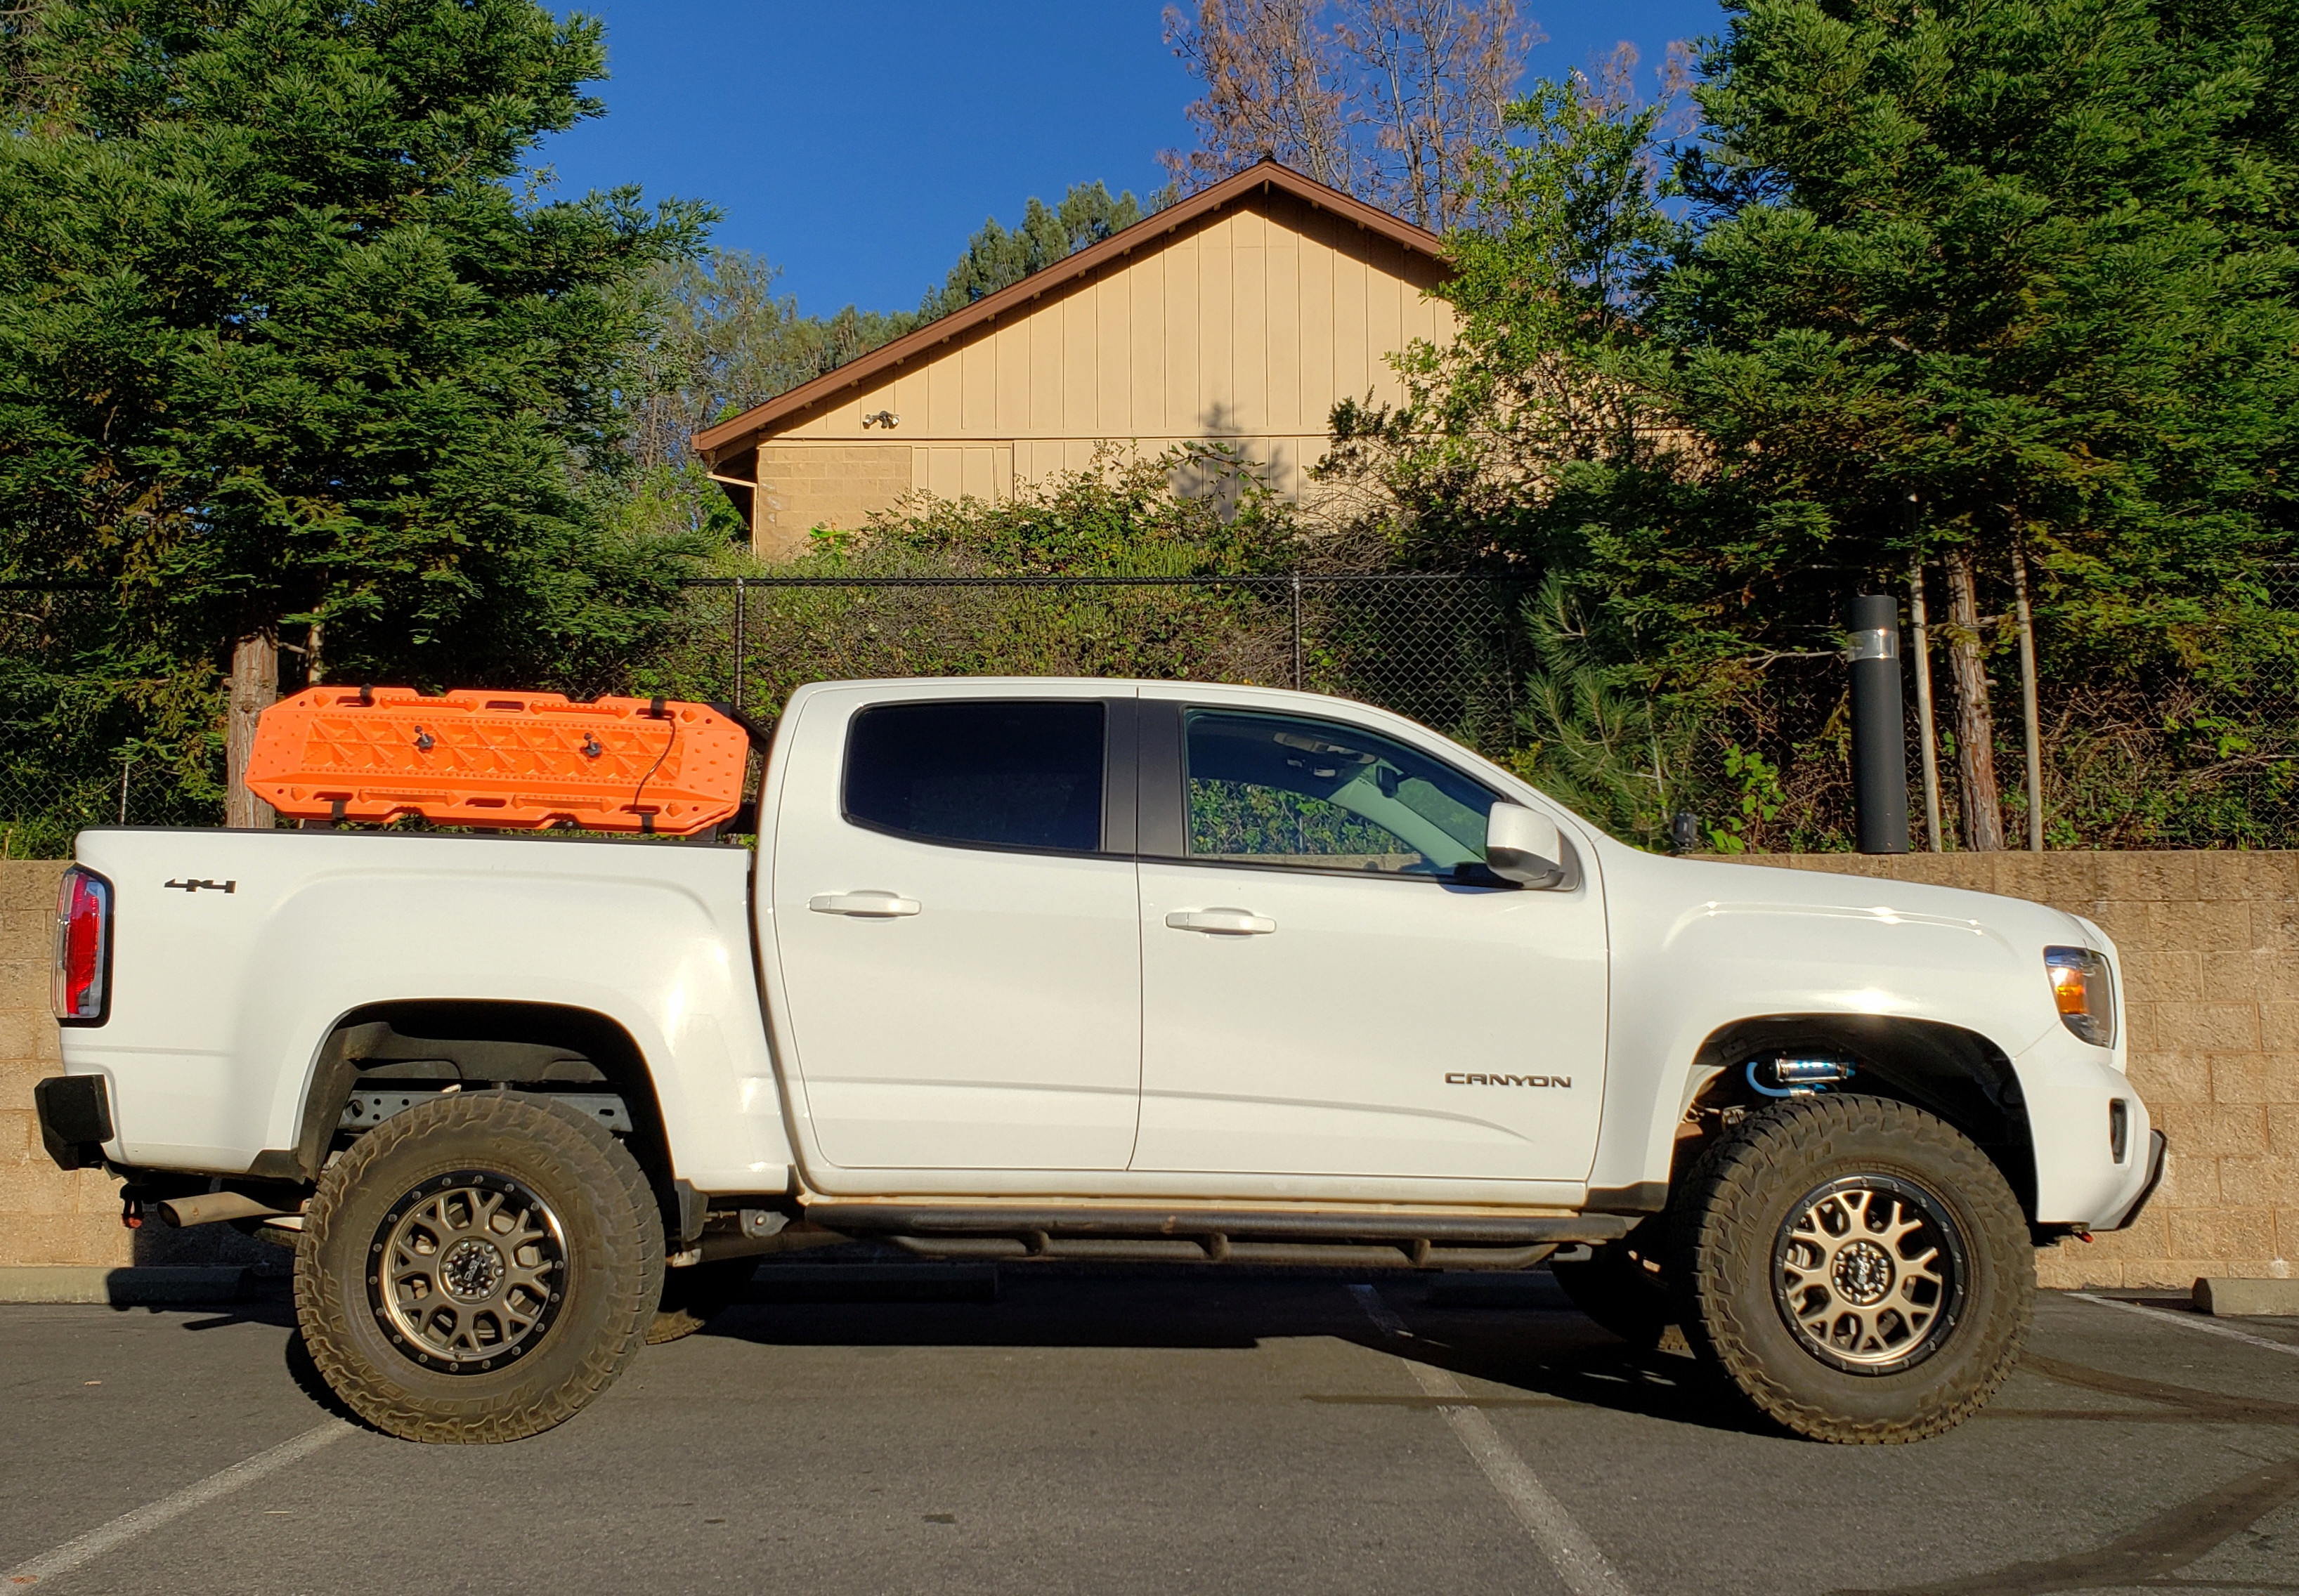
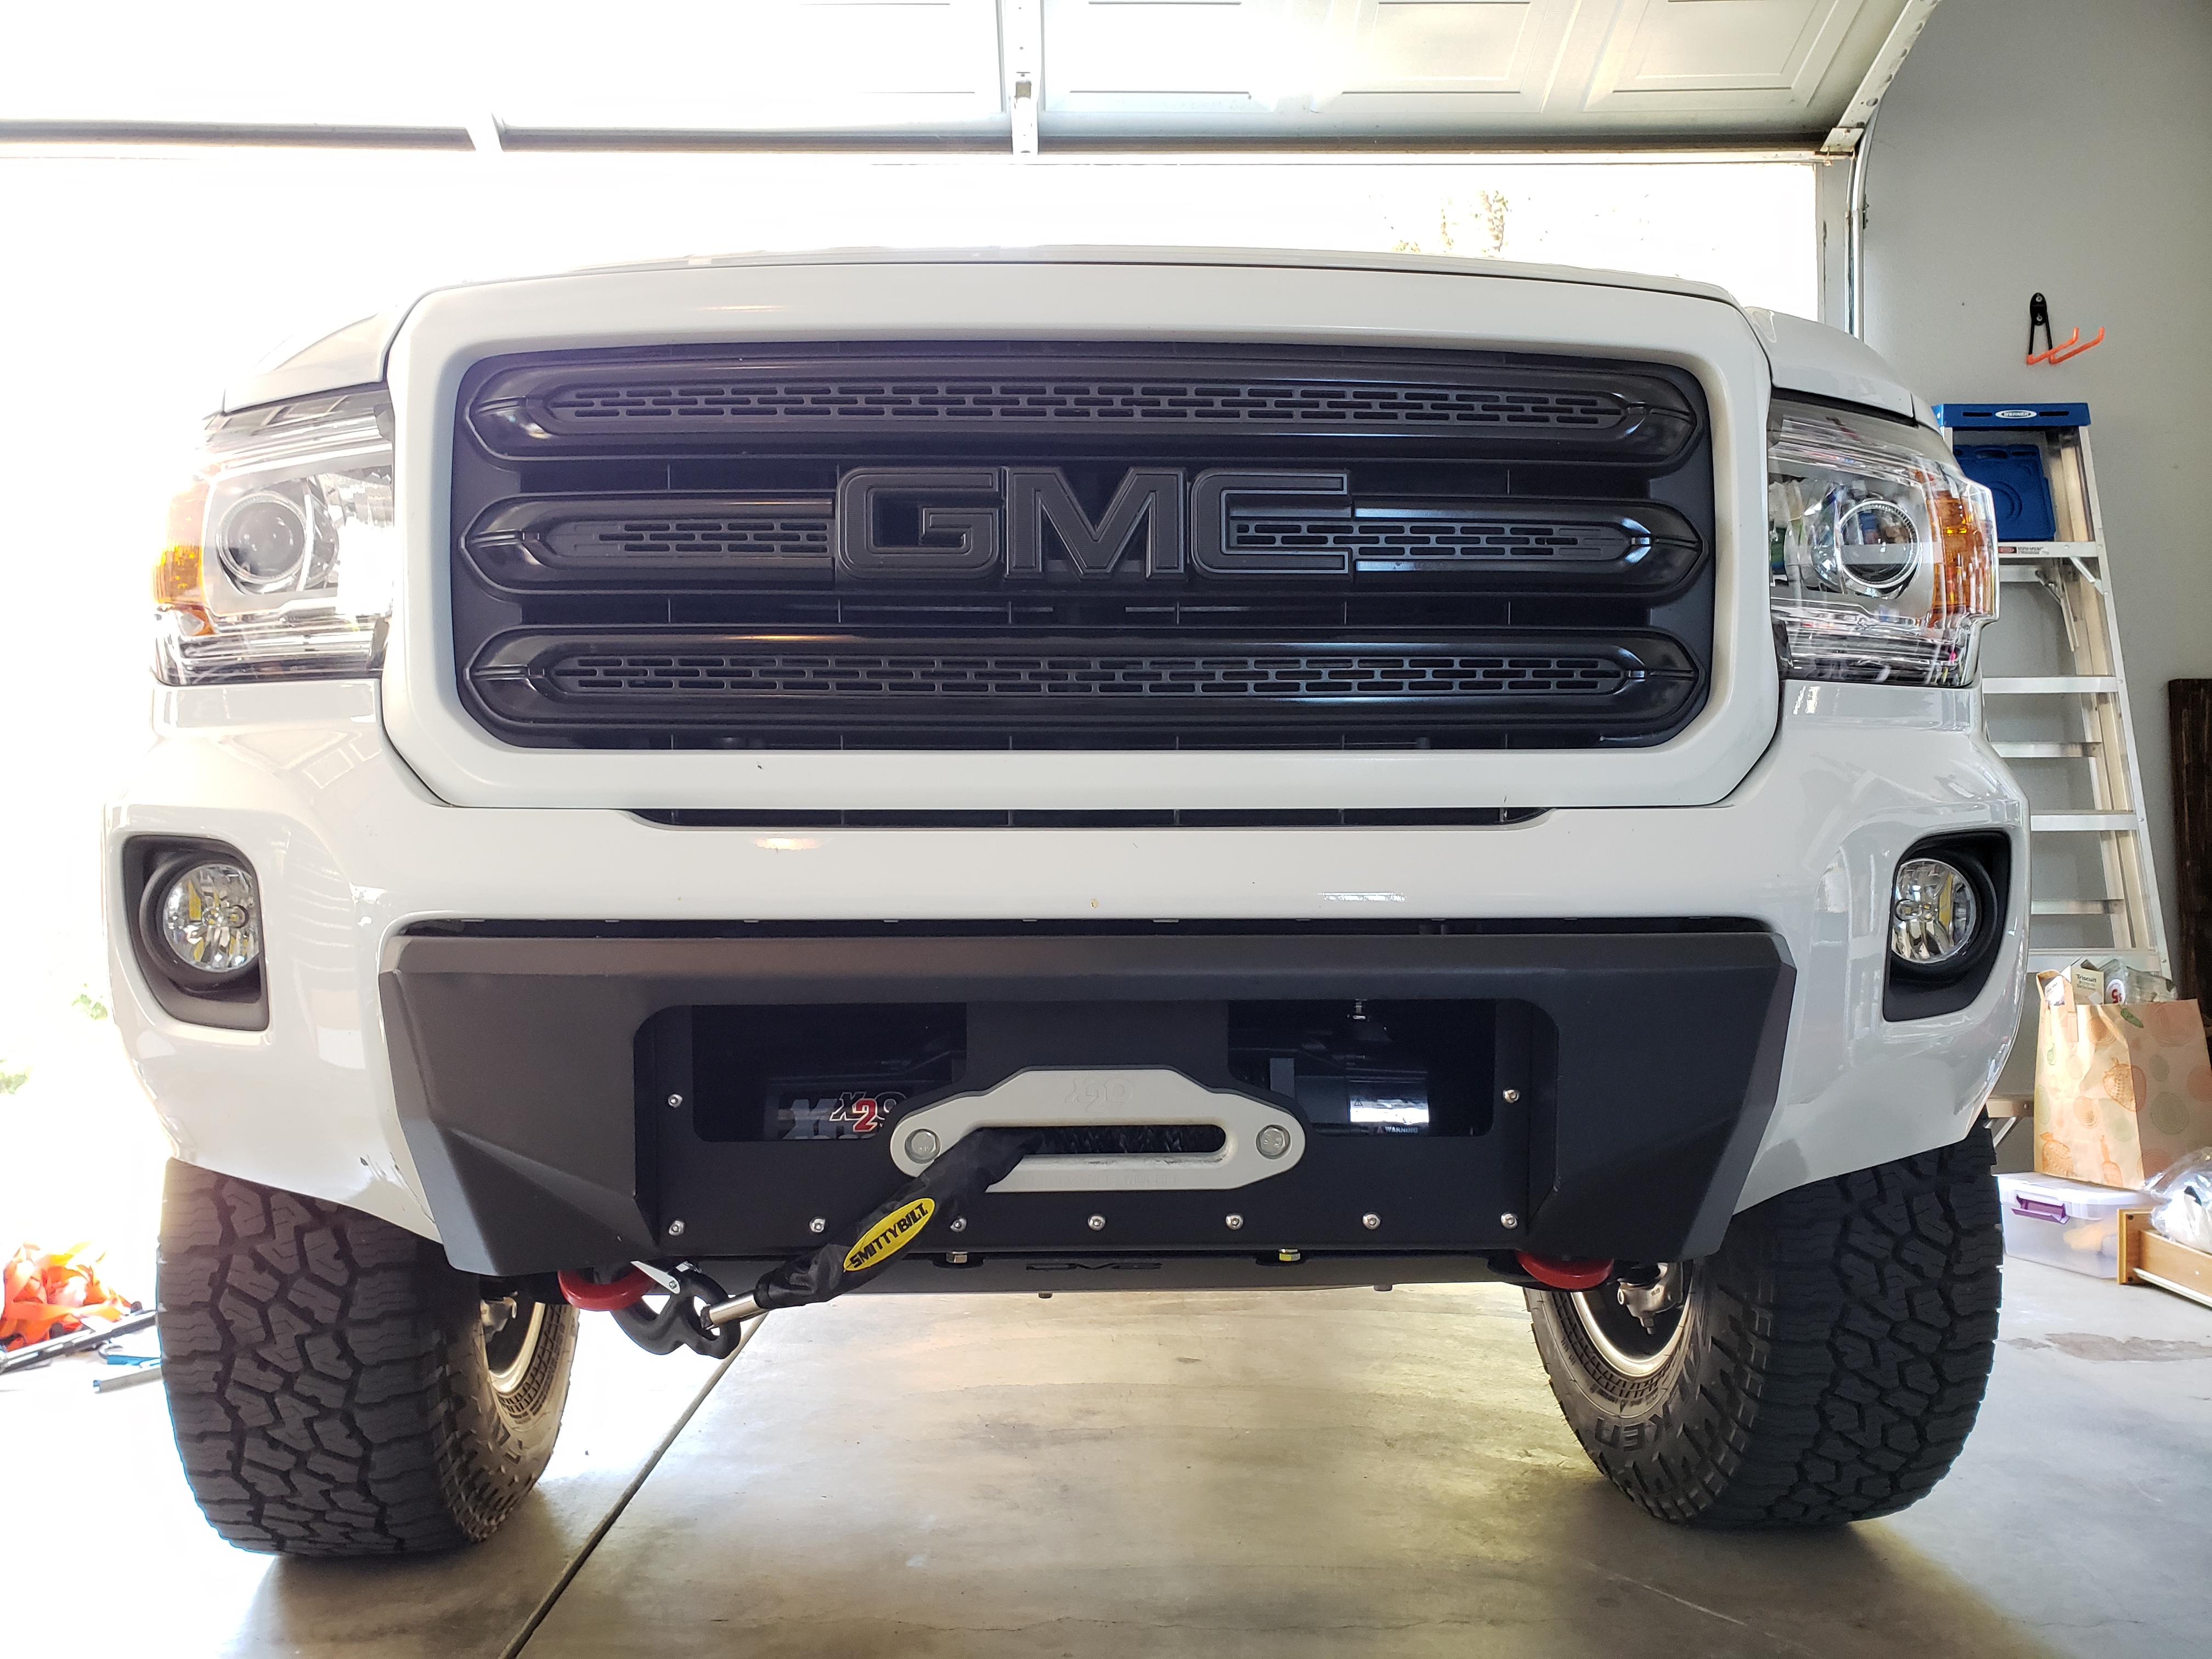
I scuffed, cleaned and primered the chrome grille before painting but I hold no illusions it will hold up for long. Looks good for now. I used Duplicolor Perfect Match Polar/Arctic White BGM0153. The paint code for Summit White calls for Olympic White but that looks way too dark. Polar White is a little too bright with a hint of blue but it's closer than Olympic. *shrugs* Good enough.
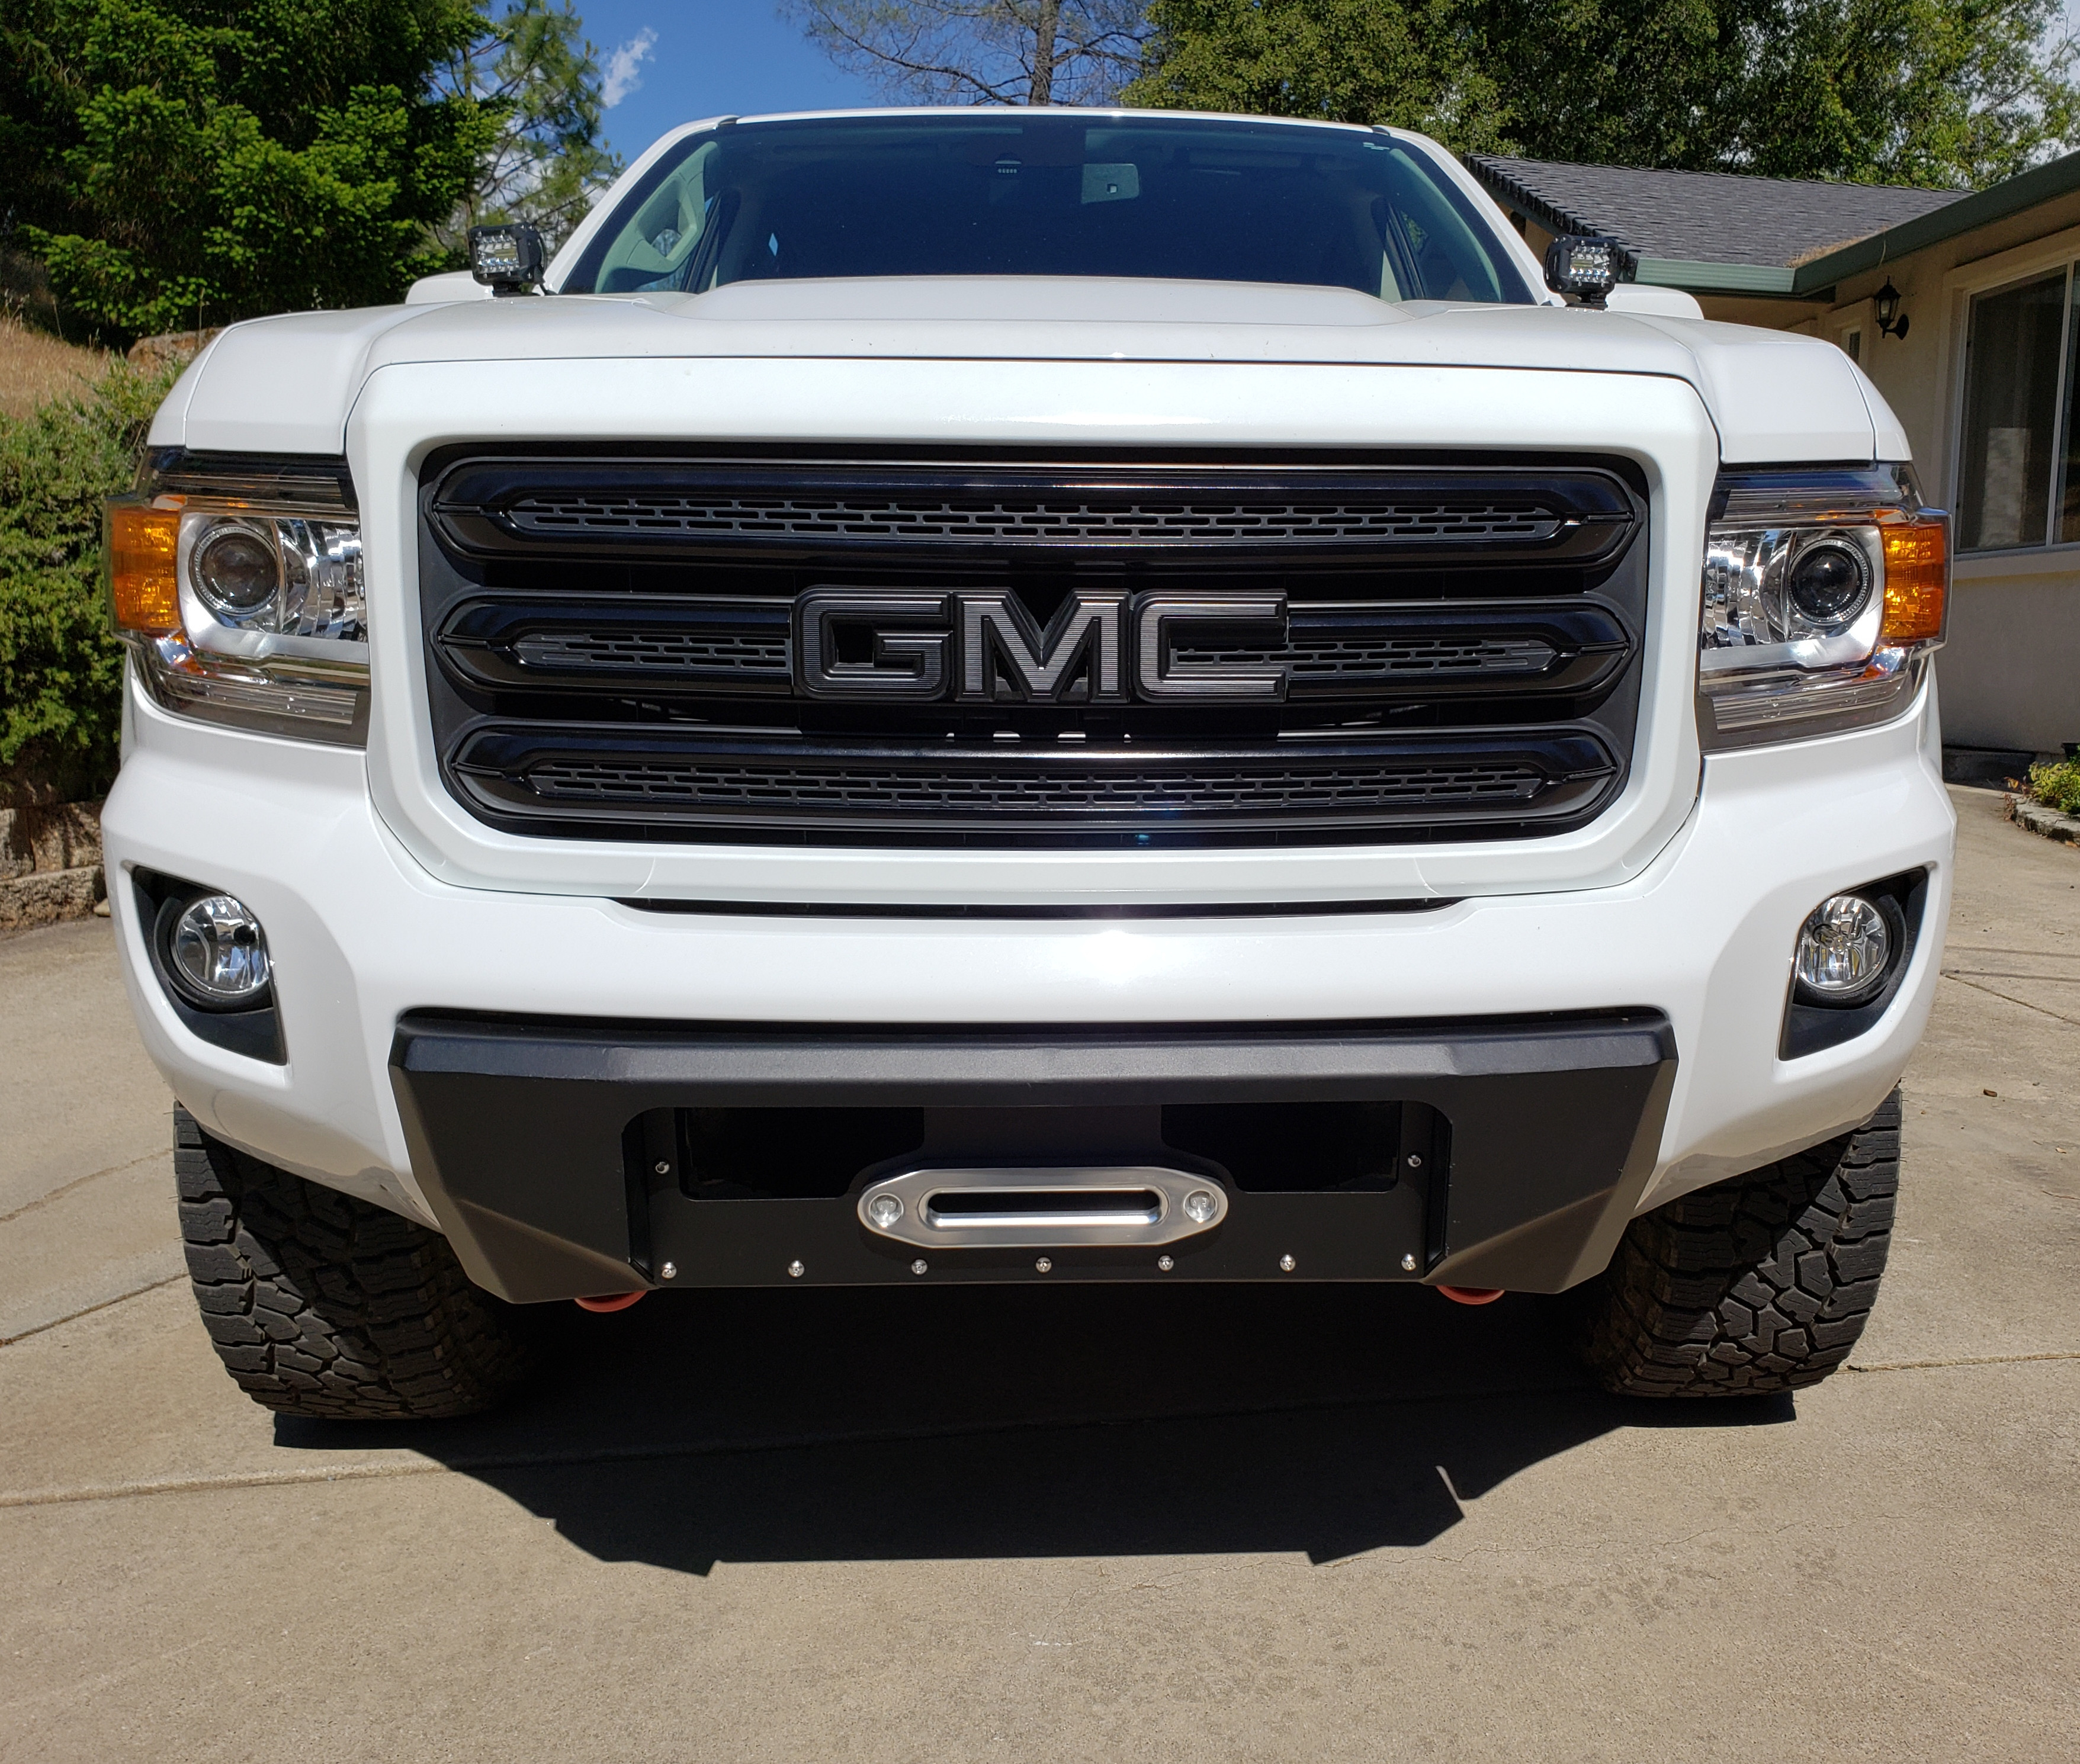
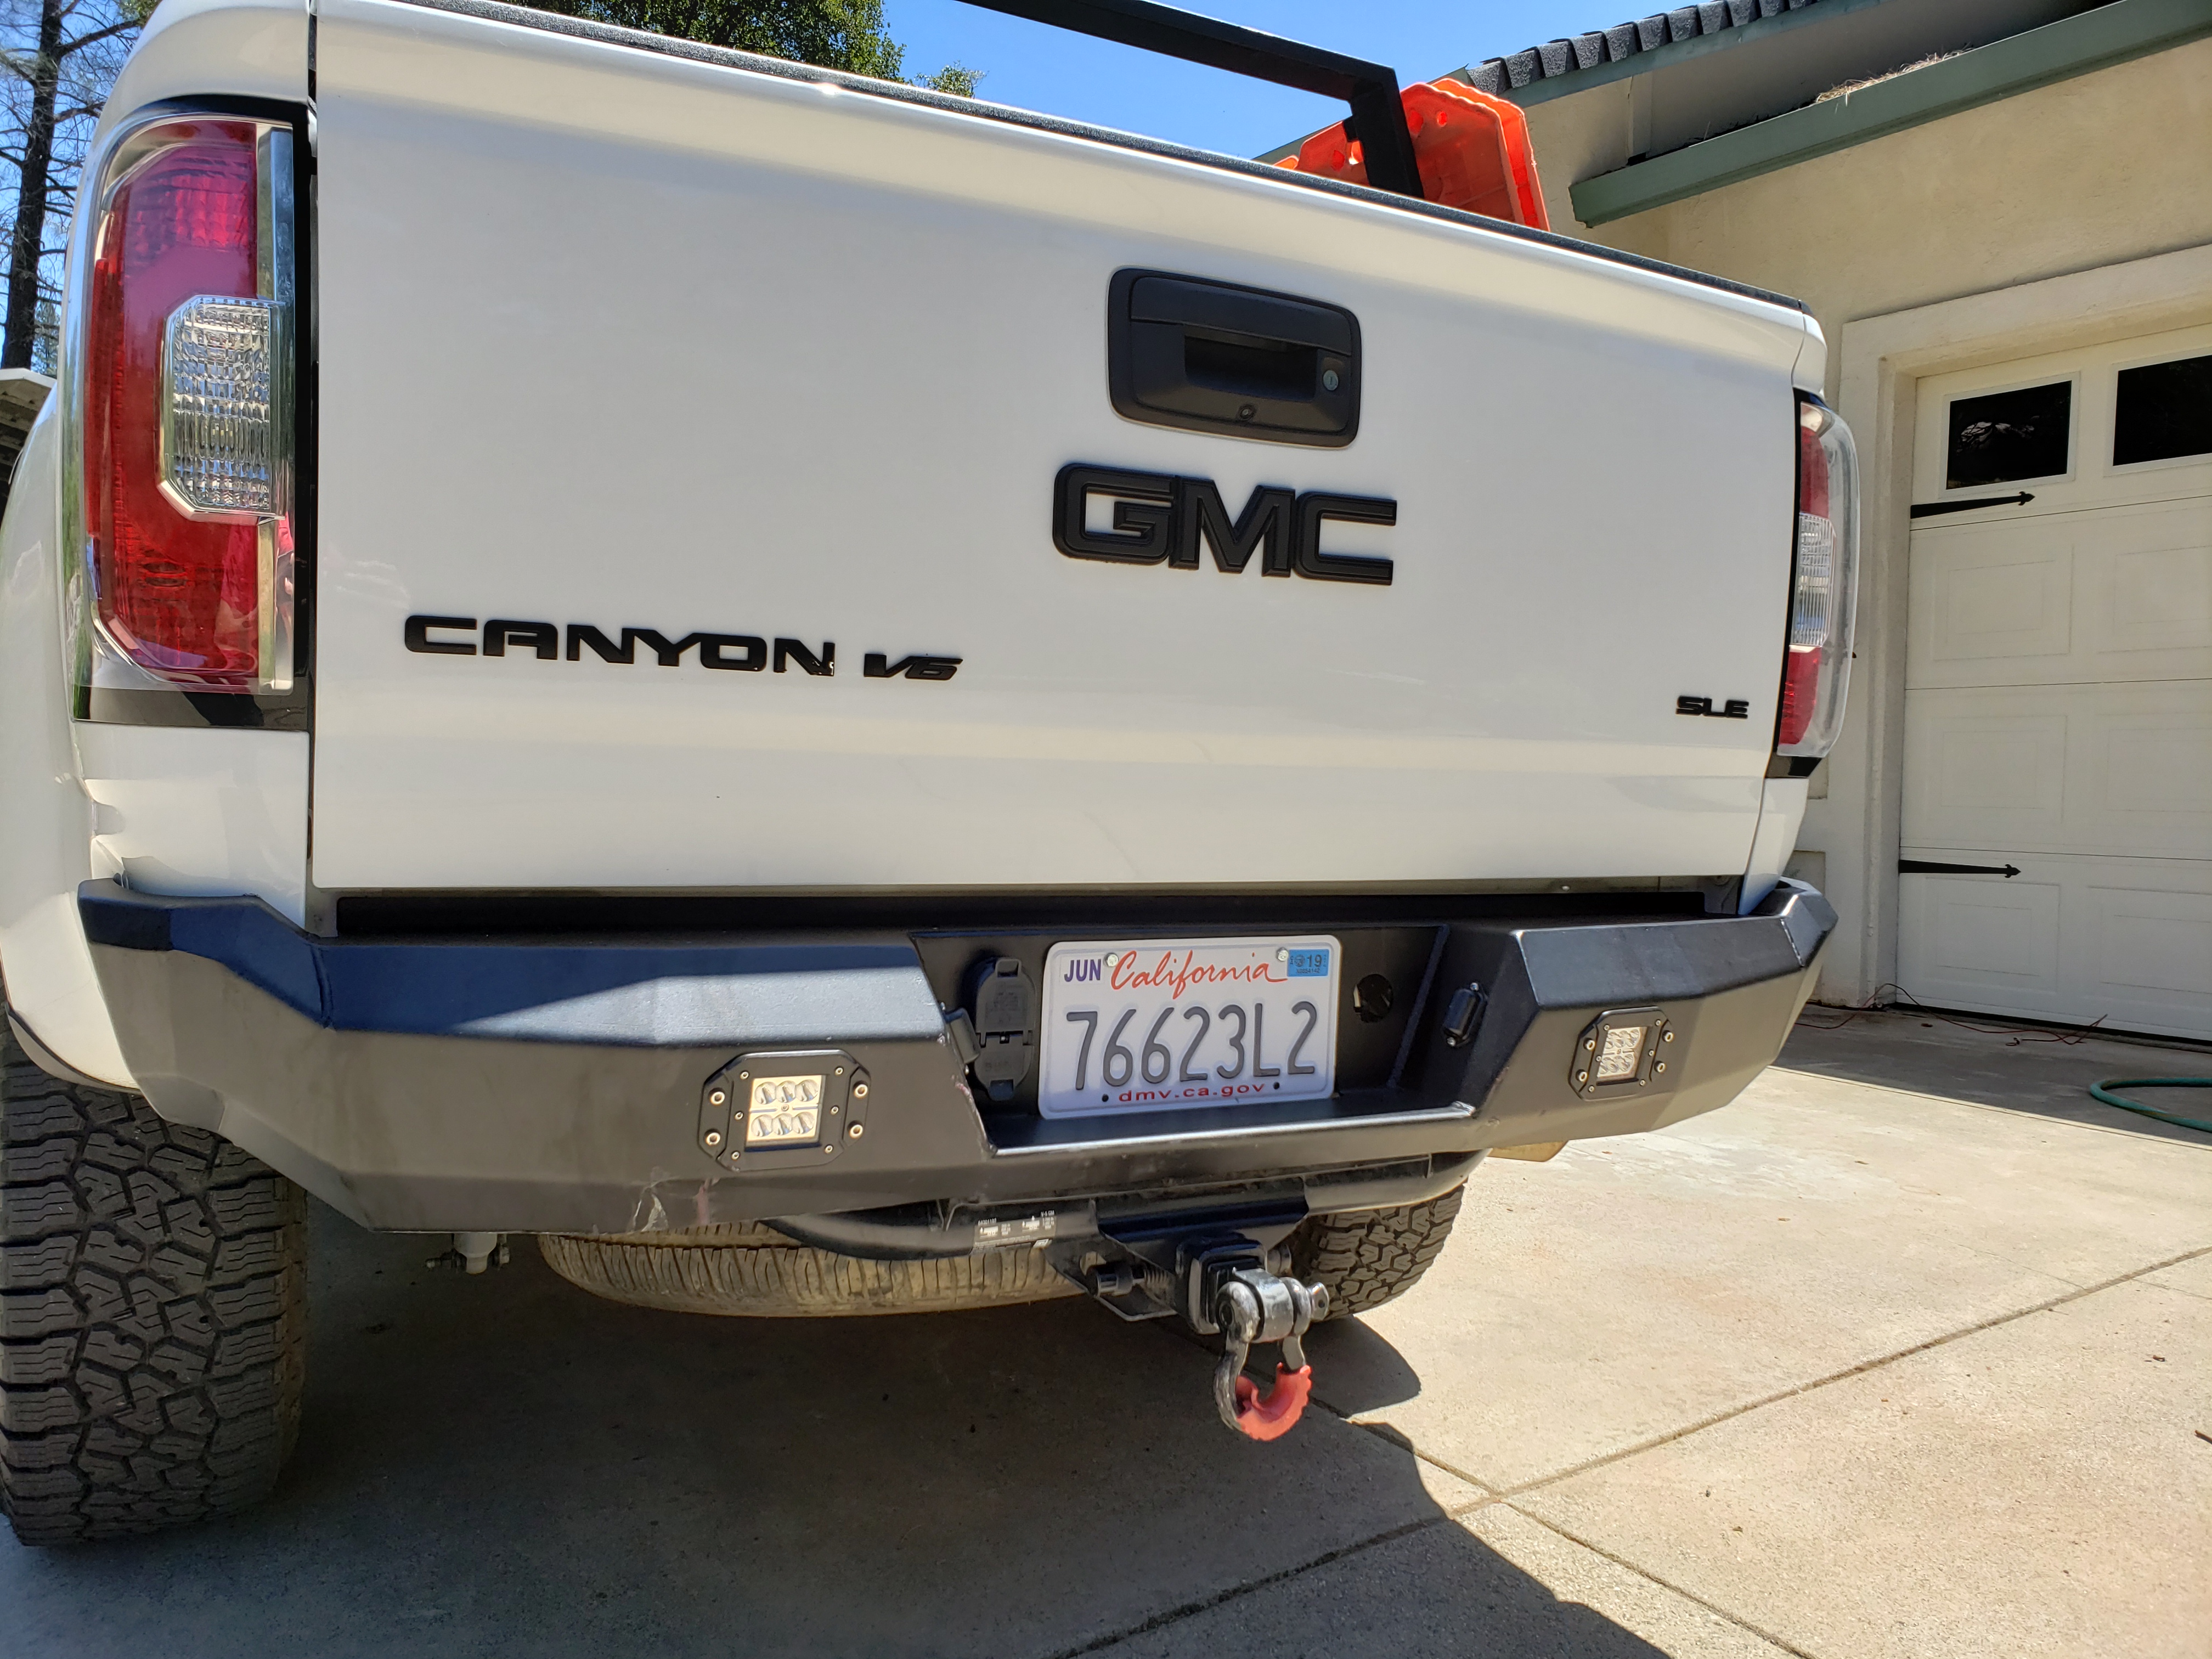
For what it's worth, what you are calling "Good enough", made me go back to page 3 to find a 'before' pic, because I couldn't even tell what you had painted. Honestly, the black-out looks incredibly cool, and it's so well done I thought it was Factory and I was thinking you must have somehow gotten an Elevation package on a Canyon! Looks fantastic.
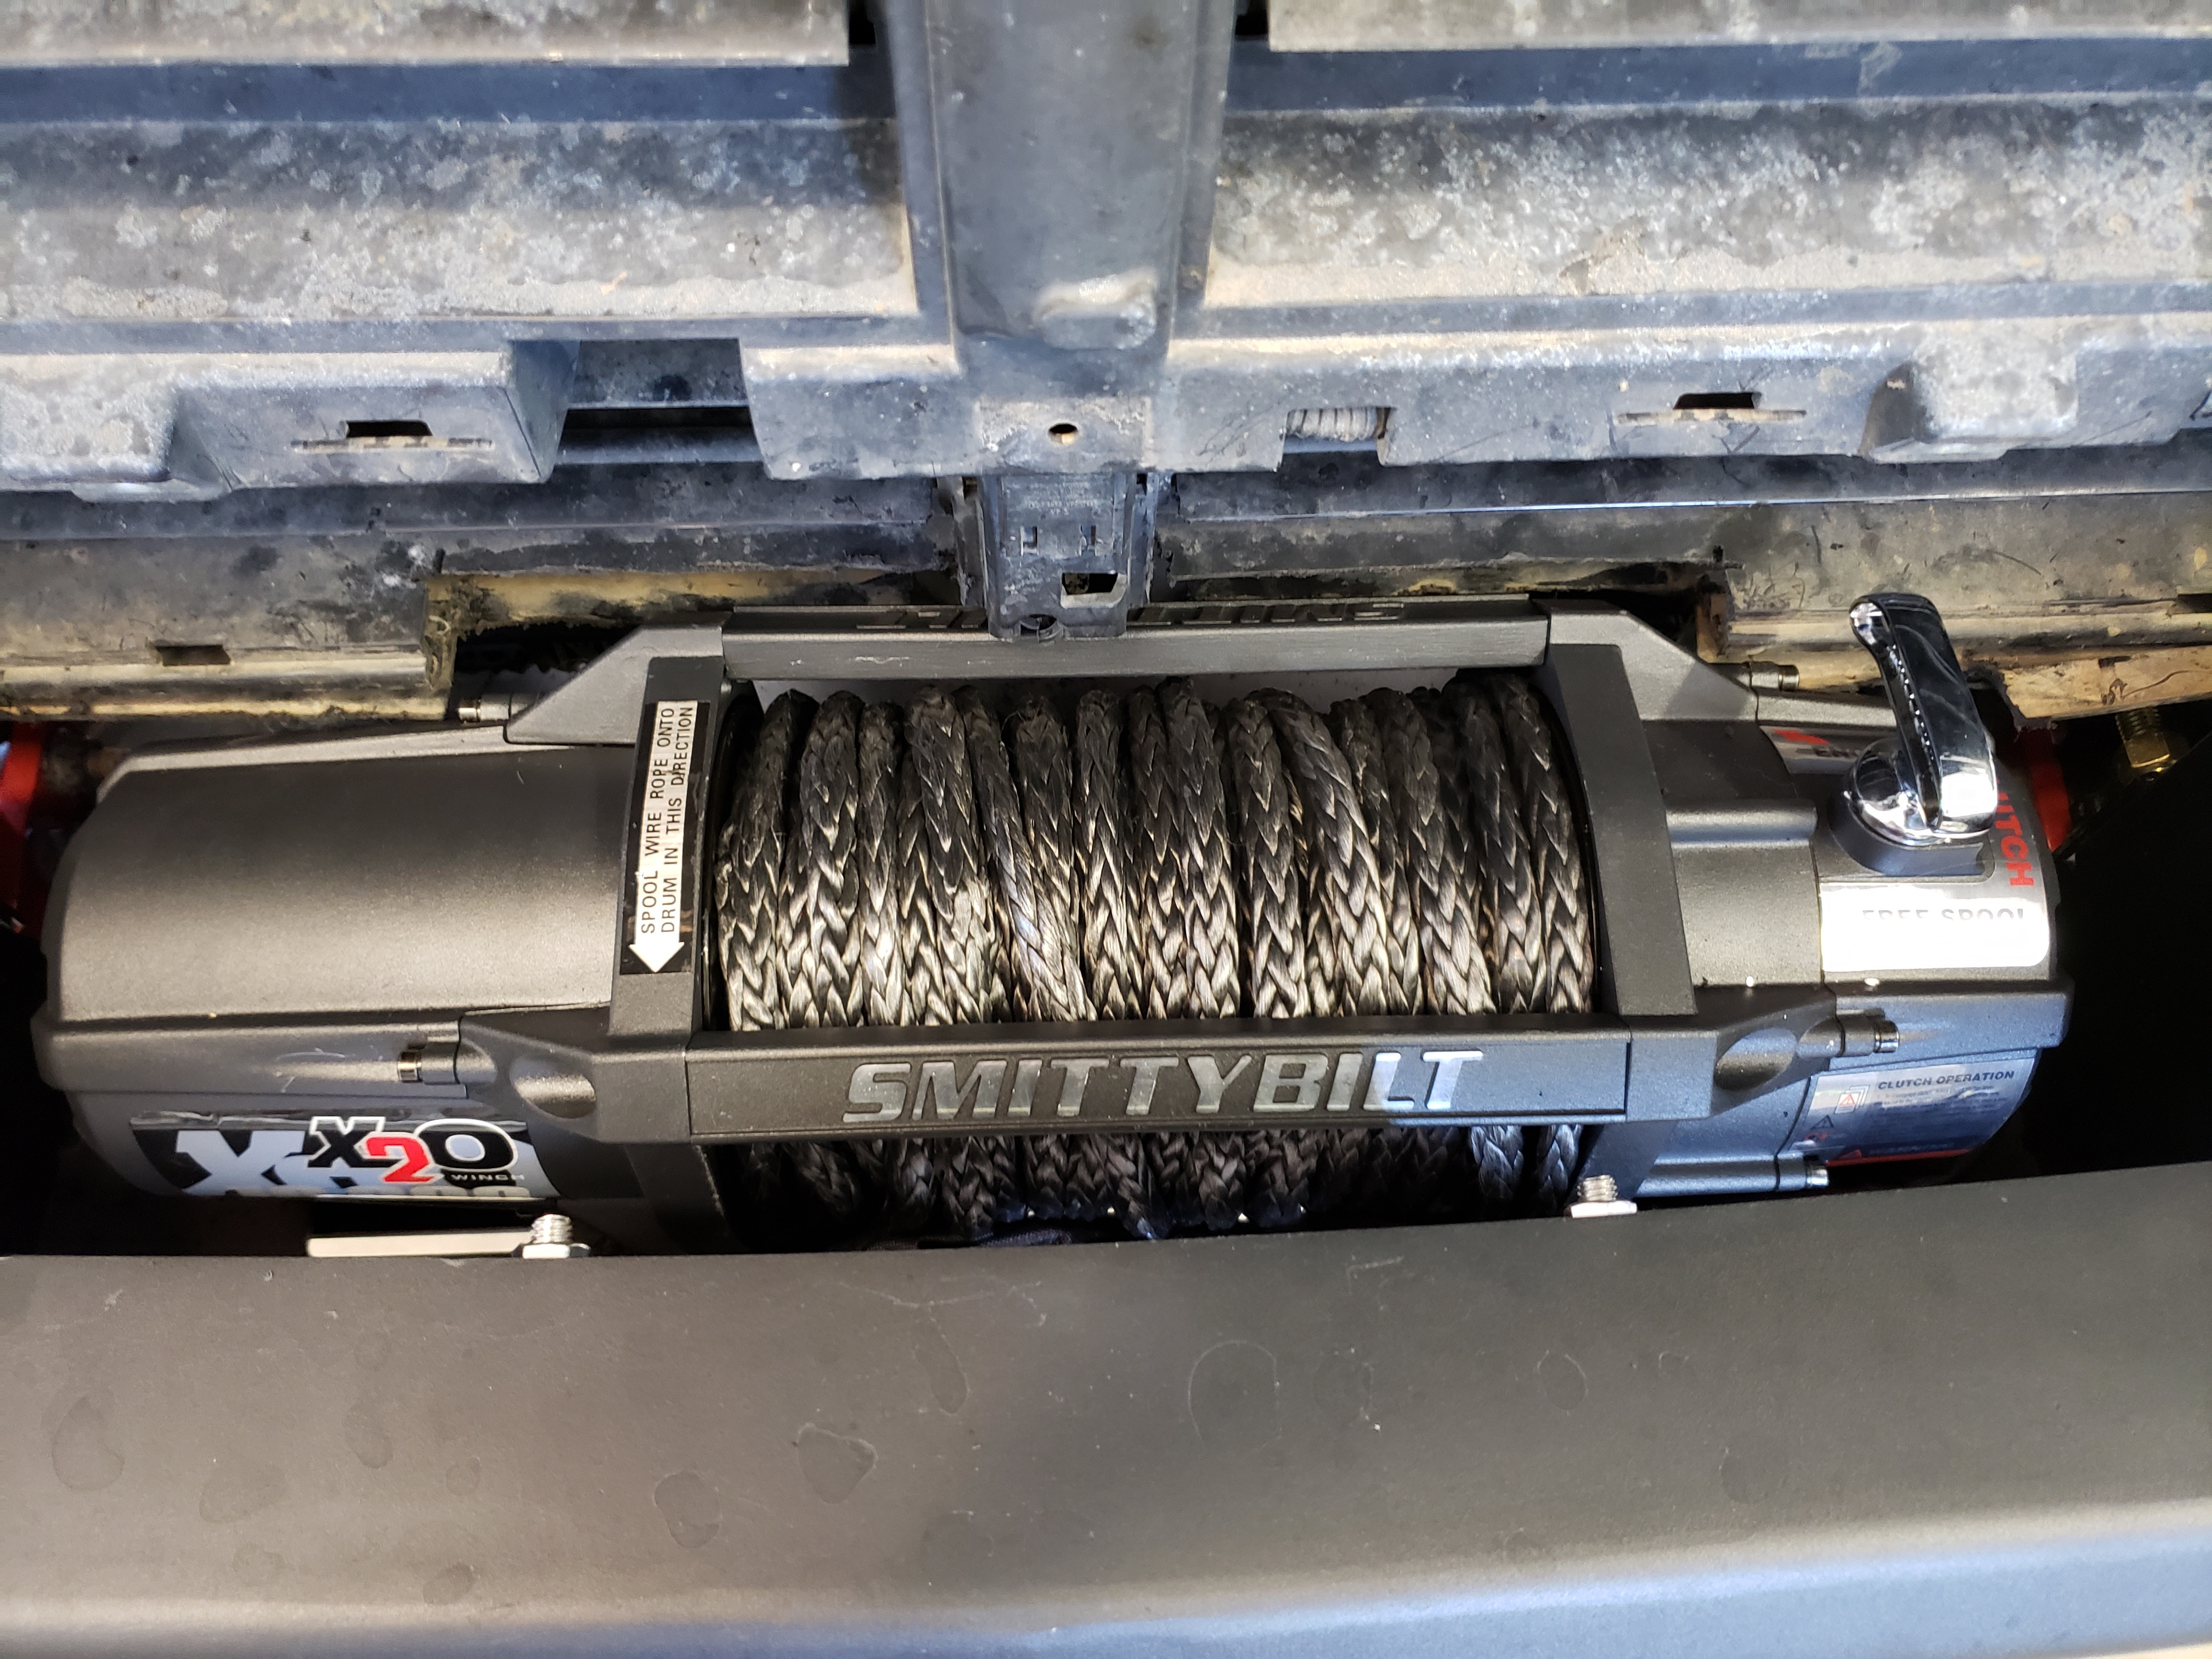
Also love the look of that winch and rear bumper. Good work on raising the rear -- I think it looks really good snugged up like that.