A few days ago I posted a whole story on Instagram about my Fender Flare repair and got so many requests to post more information that I did! Here it is!
If you use your rig, it is going to get scratched and scuffed. It comes with the territory! My fender flares finally took as much as I wanted them to take, and it was time to repair them – you know, so I could scratch them all up again! I did the job in a few hours, and they came out great!
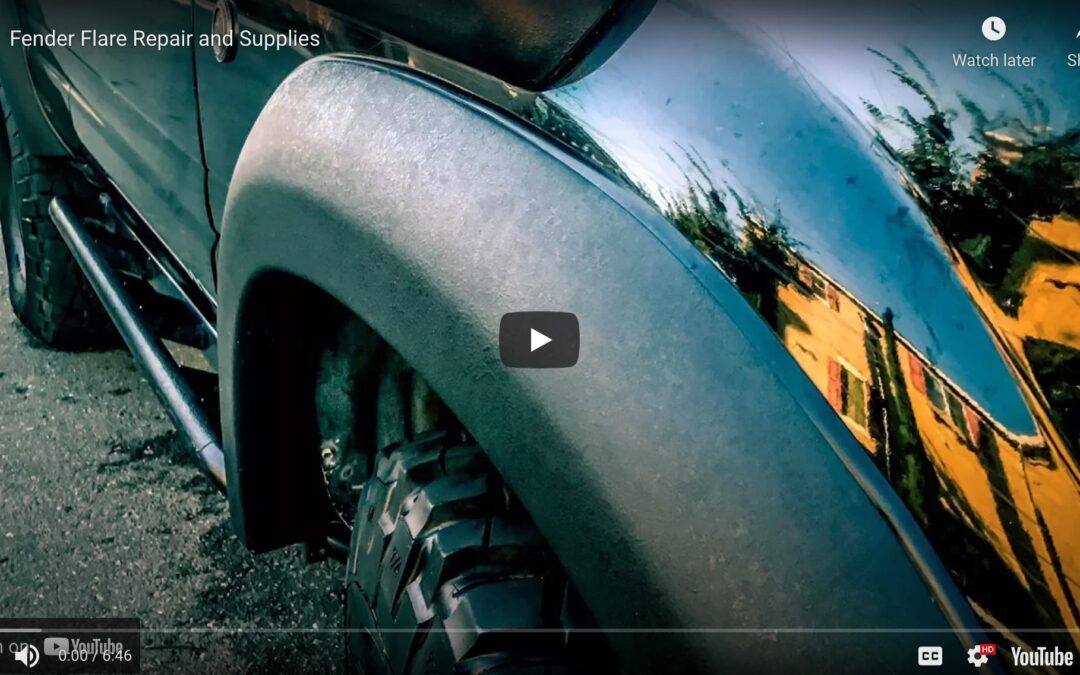
The video above is the original IG story, and the article below gives a few tips and tricks for repairing your own fender flares after the probable mishaps on the trail.
Here are a few “pro tips after doing this once myself:
The “Rubber Eraser Wheel” listed below is supposed to make very short work of the adhesive residue left by the fenders after removal. Probably much easier than the adhesive spray remover.
Don’t forget the “Welting” included below. This was key to achieving a factory look finish.
Hi hit the fender flares with 80, 300, and 600 grit sand paper to “shape” them in the case of deep scuffs. Remember, since your final finish is going to be rough, not smooth, it does not have to be scratch-free, just close.
After you spray your flare with with the bed armor, wait a few minutes, then come and pat the whole thing down with paper towels to make the finish uniform, and to remove any drips. Don’t wait too long, or you will pull off the bed armor.
If you have any questions, let me know in the comments or just start a conversation with me in the forums @michael!
Thanks for reading, I hope it is helpful!
Here are the supplies I used!
5 minute Epoxy: http://amzn.to/2xmfXpB
3M Adhesive Remover: http://amzn.to/2yKtKbb
Stanley Scraper: http://amzn.to/2h4Qif6
Rubber Eraser Wheel: http://amzn.to/2gFyoT5
Fender Welting/trim: http://amzn.to/2h6Z1gM
Bondo Plastic Spreaders: http://amzn.to/2gFlPr7
Bondo Spot Puddy: http://amzn.to/2gHcvTL
Sand Paper Variety Pack: http://amzn.to/2zzE3Oz
Bed Liner Spray: http://amzn.to/2h4McDA
Michael,
That looks real nice! I have been looking for a good option on the fender flares. I did not like the look of taking them off and having to deal with the holes that were left. With the peeling of the clear coat on my hood, I bet the hood painted flat Black, then painting the flares like you did will look great. My FZJ80 is Two tone, Green on top, Grey on lower panels. Thank's for all your tips and hard work you do! Benz.
https://www.3m.com/3M/en_US/company-us/all-3m-products/~/3M-Stripe-Off-Wheel?N=5002385+3293162209&rt=rud
Should of had one of these Michael. Removes double sided tape, decals, etc without messing up the paint.
That was a great at home repair project. I really liked seeing all of the pin striping that was down the sides of your TLC. Character and stories are way better than wax and polish.
Nice write up. I’m preparing to do the same thing and had a question for those that have done this. From the factory, the welting was attached to the flares with double-sided tape and attached to the body with some kind of adhesive. I noticed the replacement welting (both from Toyota and aftermarket) only have the adhesive on the flare side and not on the body side. What are you using for adhesive in that space?
Hello, where did you purchase the replacement USED Flares ? I purchased a 2001 4Runner on Auction with Right Side Front Fender and both side Flares damaged (front & back). Please advise… Many Thanks
Rex M.