Fact of Overlanding: If you USE your rig off-road, there are many parts of your vehicle that are going to get dinged up. It’s what it is. Resistance is futile. You are not going to bring it to the paint and body shop every time you roll home from the trail, so don’t knock the rattle can (aka: can of spray paint).
Most overland trips will see knicks and scrapes on wheels, bumpers, sliders and other body armor. These are common areas for trail scars. Hard-core trails might even include scrapes to doors and fenders. I am OK with fine scratches that you get from pushing through the brush, and I don’t feel the need to touch those up. On close inspection, they are similar to the natural wear of a good Carhartt jacket that separates its wearer from a SOMA/Mission SF tech hipster (but don’t get me started on those guys). I can roll with a few small dings, but I draw the line at big dents, missing fenders, or exposed metal. From 25′, I like the Land Cruiser to look good.
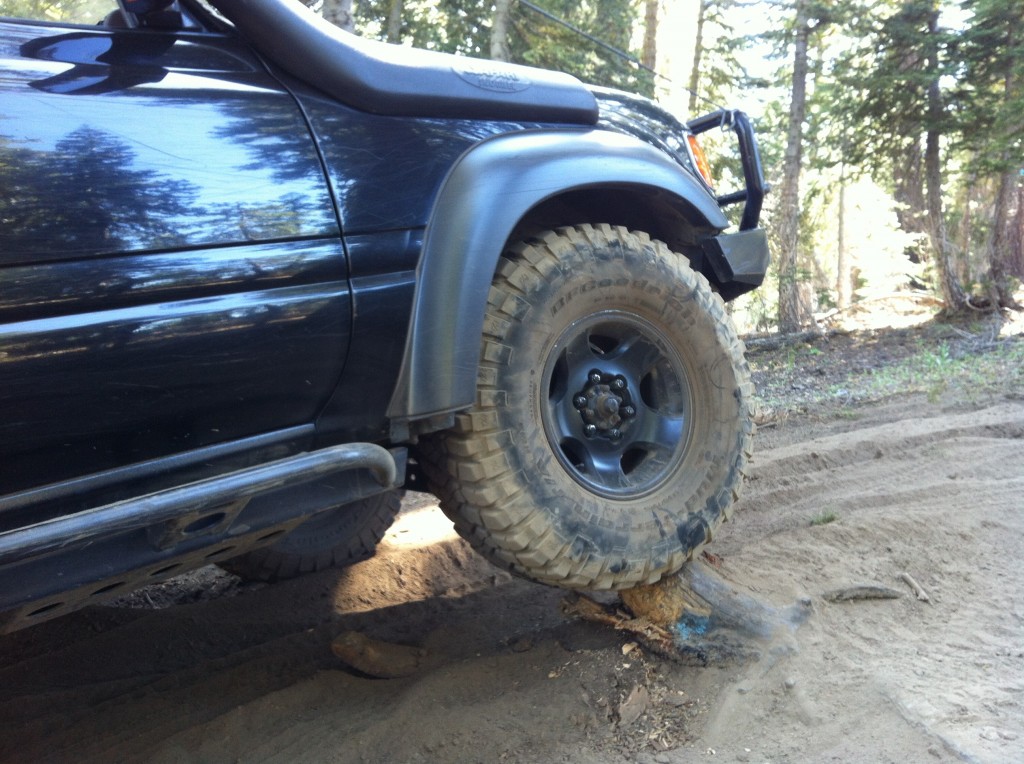
This is what my wheels look like 70% of the time:
In my opinion, it doesn’t look bad, but after a year or so, I start to see scratches and bare metal after grinding against some rocks. On one occasion, my wheel supported the weight of my truck against a rock and I required the lockers to get moving again, after 3 seconds of wheel spin, the edge of the wheel was a shiny silver. It happens. Am I gonna replace the wheel? Find a local powder coater? Uh, no. Rattle can.
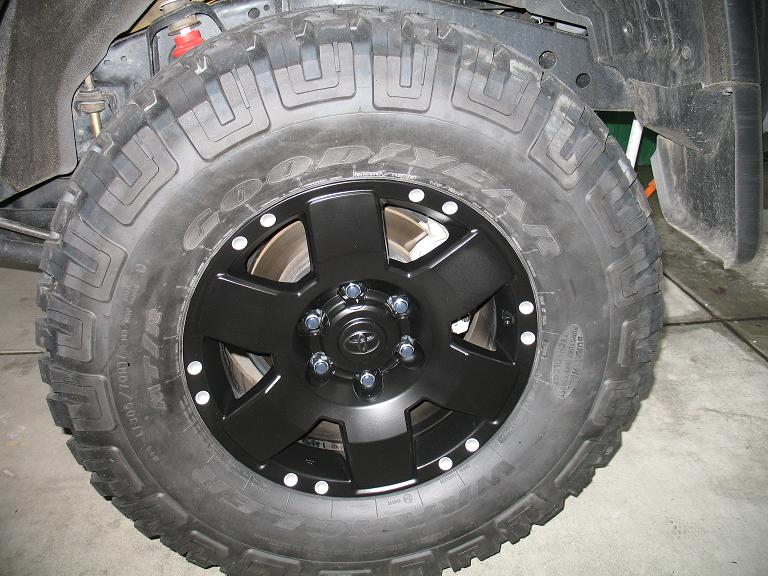
Exhibit A:
No this is NOT an ad for spray paint! I like Krylon in semi-gloss. It almost matches ARB bumpers, and if you hit your wheels with the same product number all the time, it’ll always match.
A few tips to keep in mind when hitting your rig with a can-o-paint copied here for convenience from the Krylon Website: http://www.krylon.com/expert-advice/ask-krylon/spray-painting-tips/index.jsp
1. Choose your location. Make sure you work in a well–ventilated area. Spray outdoors whenever possible or when using spray paint indoors, make sure the area is well-ventilated by opening doors, windows or using a fan. Avoid painting in direct sunlight and in hot, humid weather.
2. Protect from overspray. Overspray can occur both indoors and outdoors. To prevent overspray onto other surfaces, use newspapers, painter’s tape or drop cloths to cover surrounding areas. You can also create your own “spray booth” by turning a large cardboard box on its side and place objects inside when spraying.
3. Prepare the surface of your project. Paint only clean, dry surfaces. Ordinary household detergents or mineral spirits are great for most surface cleaning. Glossy or hard surfaces should be sanded to improve adhesion. Use a primer whenever possible as it creates a clean, smooth surface, increases paint adhesion, seals the surface and ensures the true paint color is achieved. For more specific surface prep tips, click here.
4. Read all directions. Before beginning your project, thoroughly read all directions on the can. Pay particular attention to safety tips and recoat times. Always follow label directions and warnings when using any aerosol paint. You can find even more safety tips here.
5. Test your spray paint. Shake the can vigorously before spraying. Test your paint or spraying technique in an inconspicuous area or on a piece of scrap material before beginning your project.
6. Apply multiple thin coats. Once you have completed your paint test and are satisfied, spray your project using several thin, multiple coats instead of one thick coat. Begin and finish your spray pattern off the object, releasing the button at the end of each pass. Use an even side-to-side motion with each pass overlapping your spray pattern by about one-third. For best results, always apply a coat to the entire project as opposed to completing parts of the project in stages.
7. Allow project to dry. Check the directions on the back of the can for a recoat window. A recoat window identifies when additional coats can be applied within a certain timeframe. When you are finished applying all coats, do not handle the project or surface until it is dry.
With time and effort, you really can get good results in an afternoon:
I DON’T recommend using the rattle can on body panels – um, I’ve tried. I just can’t get it quite right. For body panels, you have little choice but to take it in to a shop with the exception of semi-gloss areas. That could be done. I’ve put undercoating as an anti-glare patch on my hood. Works great.
M
I’m a huge fan of the rattle can. My bumpers, sliders, undercarriage, trailer axles and trailer frame all receive SW industrial “Wrought Iron Flat Black”.. The plastic body side panels on my LX450 receive Krylon “Classic Gray” in a satin finish. Great write up thanks… I’m definitely going to use your method for hood black out,, thats a great idea..
Awesome Donald! UA, I tried many things in the hood, finally fiund something that worked!
I’ve used a rattle can of black appliance epoxy on my gas tank skid. It works well for wheels because it’s so tough. The drawback is that it only comes in a select number of colors and no surface finish options (gloss is about it). But, for rigs like ours, you really only need black, white or silver/steel, and a light coating of trail dust give the perfect semi-gloss look!
Haha! That’s a good solution!
Nice. The 4 Runner may need a new look on the rims soon. Been considering this.
I go for the rattle can bed liner. Seems to be tougher than your average rattle paint. My Storm Trooper used to be all white, everything that’s not is bed liner.
I used the Rustoleum bed liner paint on my bumpers, grill and wheels. The stock wheels and bumpers were pretty scratched up and I know that I want to replace them in the future. the finished look is pretty nice and its easy to touch up scratches. The textured plastic look of the bed liner looks really nice too.
Great notes! Thanks!
I’m a wheel paint DIY kind of guy..
[img]https://farm7.staticflickr.com/6193/6118481310_2b38bd670e_z.jpg[/img]
[img]https://farm6.staticflickr.com/5210/5366241450_4ae691f06e_z.jpg[/img]
[img]https://farm8.staticflickr.com/7293/10555076816_c1c05b42f1_z.jpg[/img]
[img]https://farm9.staticflickr.com/8267/8697809891_d6ea14c69d_z.jpg[/img]
[img]https://farm9.staticflickr.com/8559/8747217175_c29e4bf699_z.jpg[/img]