MStudt's 01 SR5 4runner

We had quite a bit delivered yesterday, and now have even more to get done. I should have the bearings for the rear shafts tomorrow, and will drop those off on Saturday to get pressed in. I'm hoping to have them back on Monday, and if that's the case I'll also get the rear brakes installed.

Yesterday our new bumper, tires, and springs showed up.
7A6AEL.jpg

gLPZbo.jpg

WrVGnn.jpg

8446HY.jpg

e4D1hp.jpg
 
So, things have changed again. On Friday we'll be starting our 4 week adventure to Oregon. We need to be in the Eugene area by the August 15th to find somewhere to live by the 20th, and start work on the 21st.
I'll have some vehicle updates a little later.
 
Over the last week we've done an overhaul on the 4runner. We started with cleaning up, and painting the entire frame including the gas tank skid. Next we paint the old 4xInnovations front bumper at the same time we painted the new 4xInnovations rear bumper. We'll we worked on the bumpers I pulled both rear shafts, ordered parts, and took them to a machine shop for new bearings to be installed. Once those were back we install new drums and shoes, and bled all four corners. Next was installing some CaliRaised LED pods on CBI ditch light brackets. Next came installing our ARB compressor, Blue Sea fuse, Blue Sea breaker, and switch on aluminum panel I made. Last night we finished the suspension by adding some Toytec Superflex springs, and today we finished with installing the bumpers.
Here's what I remembered to take pictures of along the way.

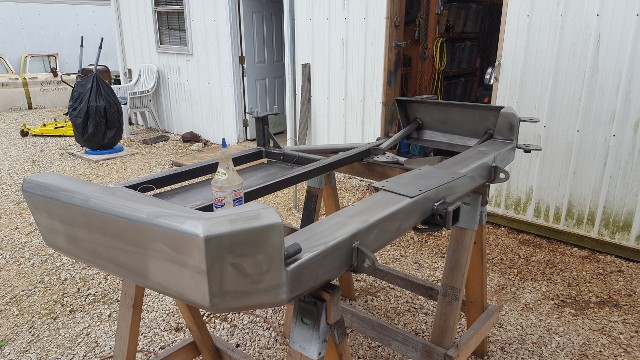
The newly painted frame. While we couldn't get everything we did the best we could given the time frame. We spend a good 8 hours wire wheeling, chipping, cleaning, and painting everything.
VrveEA.jpg

6RpVq4.jpg


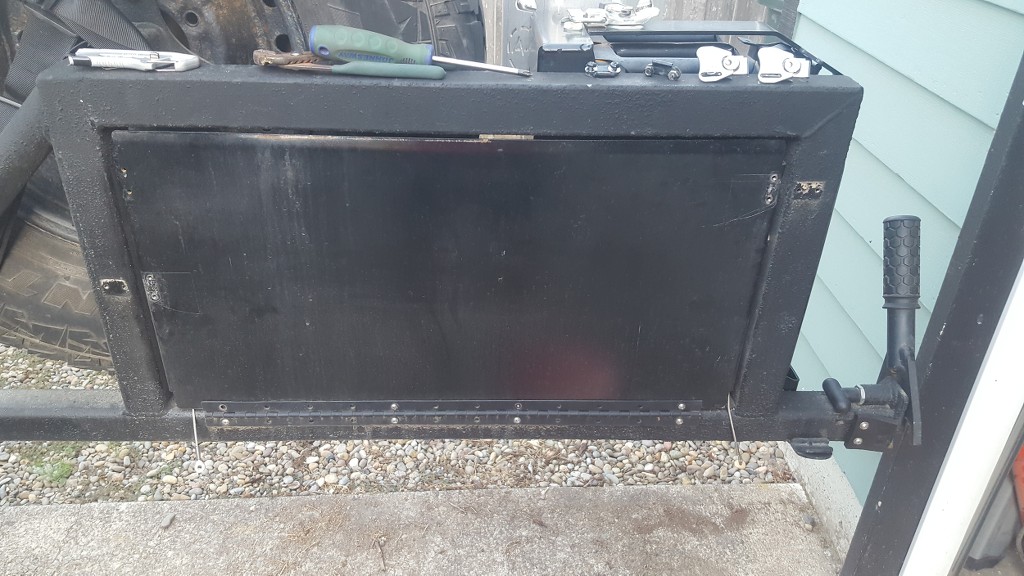
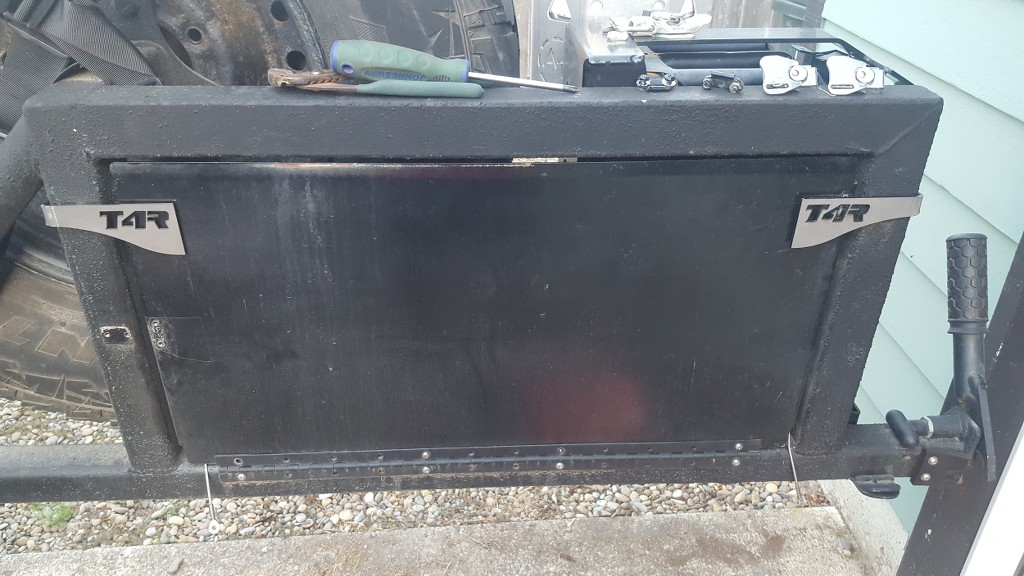
Next was installing the new bumpers. Both were painted with Herculiner due to availability to us, durability, and cost. The rear bumper has the optional fold down cooking tray.
ckV2Ka.jpg

iEY2SX.jpg

QjAjkp.jpg


Here's the fuse panel setup that we mounted to the driver side fender.
dT4DJK.jpg


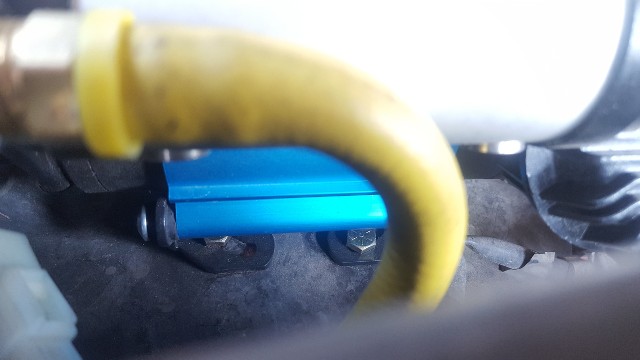
Here's the ARB compressor mounted to the passenger side wheel well.
J5mYP1.jpg


I still need to put my RCI skids back on, swap the jerry can holder, mount the propane tank, put the shower on the roof, and pack. These plus more need to be done by noon on Friday.
 
  • Like
Reactions: YETI X
After a long couple weeks we've starting to get settled into our new location. That also gave me a little time to get some of our pictures uploaded to share. Here's a brief look at some of the things that we were able to see along the way. There were a couple days that we didn't take on any photos on, and that was from Montana/Idaho board to Idaho/Washington board into the Gorge.

The SuperFlex springs didn't like the weight we were carrying, and we limped to Washington with the bump stops around an inch from the axle.


Missouri


Colorado


  • Like
Reactions: RoarinRow
dude nice runner! love that fuse block. how are the tires I was considering a set myself? what size are yours?

I love Falken tires, and will most likely once own Falkens in the future. That being said, these tires are going to offer a firmer ride than others since they are a Load E tire. The Falkens that I had before these were a Load D, and rode quite a bit smoother. All in all I would recommend them to others though, and they're 285/75/16.
 
Man, nice runner. Any details on mounting the ARB air compressor? Was it easy? Anything you'd do differently?

I dig the platform, mine is similar (low profile for sleeping).

Thank you.

Mounting the compressor was pretty easy. Mine is mounted on the passenger side just behind the ABS box, and mounted to the wheel well. There are 2 holes in the wheel well that match the spacing on the base plate of the compressor perfectly. You can loosen the 2 socket head cap screws that hold the compressor to mount, and this will allow you to rotate the compressor so everything fits. Leave those loose until you have it mounted in place, and then tighten them back up. I choose to run a short piece of tubing up towards the air filter box, and put a quick connect fitting up there.


This past weekend was only the second time in nearly 2 years that I took out the 4runner. With long commutes for my job, and my my wife biking/running to work. The 4runner has been a lot of sitting, and not much driving.

This past weekend we take a 3 hour drive to the Cascade Lakes area for a couple nights of camping, and some good paddling.

2gWufv.jpg

OOkSDZ.jpg

8IEGKb.jpg

riqq7h.jpg

HGWmV3.jpg

WHAfHE.jpg

TujcaL.jpg

QD3qLi.jpg

Eq7C0a.jpg
 
What a sweet rig, and an awesome thread! Thanks for taking the time to put this all together for us to follow - it definitely gave me some ideas. Hopefully you find some more time to get your ride out in the woods a bit more!
 
  • Like
Reactions: SLO Rob and MStudt
Out with the old. I started working on the front suspension last night for some much needed work. I was able to remove the sway bar, brackets, bushings, and sway bar links in about an hour. Took me more time to sand the sway bar to bare metal than to remove everything.

Today I'm picking up parts from the dealer, and will hopefully get everything put back together by the weekend (if parts show up).

*Note: these are the very first set of sway bar links I ever made! Been on for over 4 years, and still going strong.

3LVfr4.jpg

MAd3is.jpg

J2qNtt.jpg
 
In with the new.

I'm very fortunate to have access to a powder coat line through my work, and it makes powder coating quick and cheap. The sway bar was sanded, acid sprayed, and powder coated flat black, and the link were painted a custom color called tri-smoke. I went with all new OEM parts including mounts, bushings, bolts, and nuts.

OEM parts numbers below:
Driver Bracket - 48829-35120
Passenger Bracket - 48824-35150
Bushing - 48815-35100
Bolt - 90119-08C26
Nut - 90182-08003

53paMR.jpg

WNrufP.jpg

YFJ2ZQ.jpg


These are OEM bushings (bottom) vs bushings from Wheelers (top). You'll notice the difference in size, and quality. The OEM has a tighter fit, and the felt like lining allows the sway bar to move easier. The bushings from Wheelers don't fit well, and I wouldn't recommend them.
E9ym5E.jpg

xXUveA.jpg

TUFNgE.jpg

YORWGz.jpg
 
Last edited:
Onto the next small project.

I've had a 4xInnovations rear bumper for the last couple years, and love almost everything about it. I decided to get the fold down cook tray, and the latching system is the only feature that I never cared for. It doesn't latch very well, has a ton of play in it, slaps the rear hatch, and make noise.

I decided to give it a little update last night. I pull off the old hardware, and mocked up a new system that utilizes magnets to hold it closed. I had a couple extra T4R brackets that I use on antenna mounts, and those will be welded to the tray. Each bracket has a small bend edge that can be used for hanging a bag, or anything else that might be needed around the cooking area.

This is just about complete, but will need to get it powder coated next week before I put it back together.

CZqcYd.jpg

Nztp8k.jpg

i1AxMj.jpg

qyoGVN.jpg

urLviv.jpg

4XYcwQ.jpg

YbzZaX.jpg