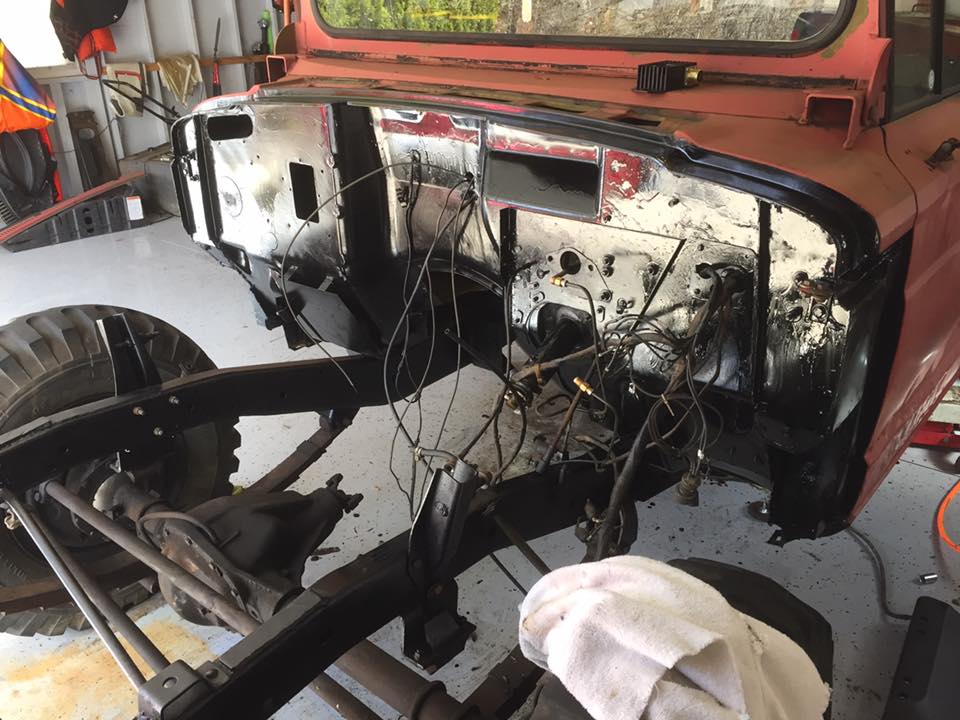
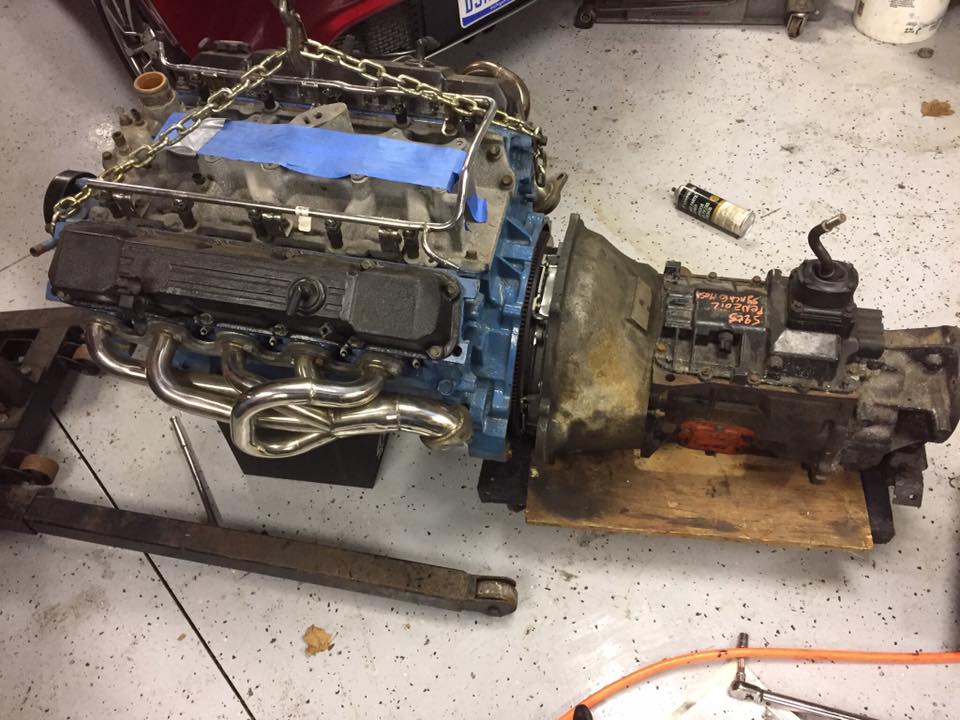
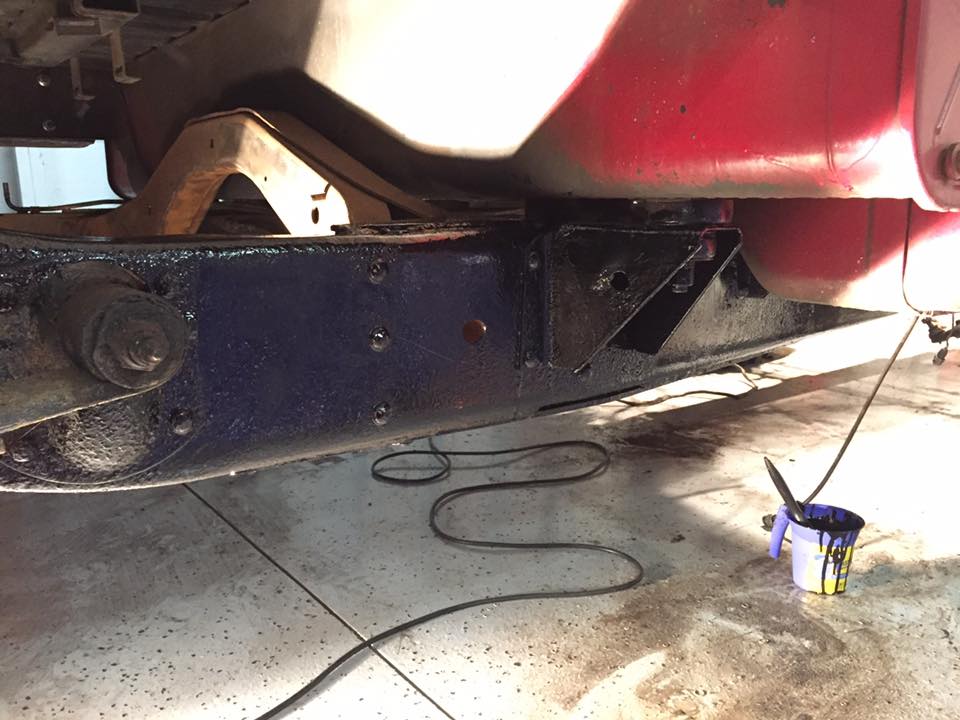
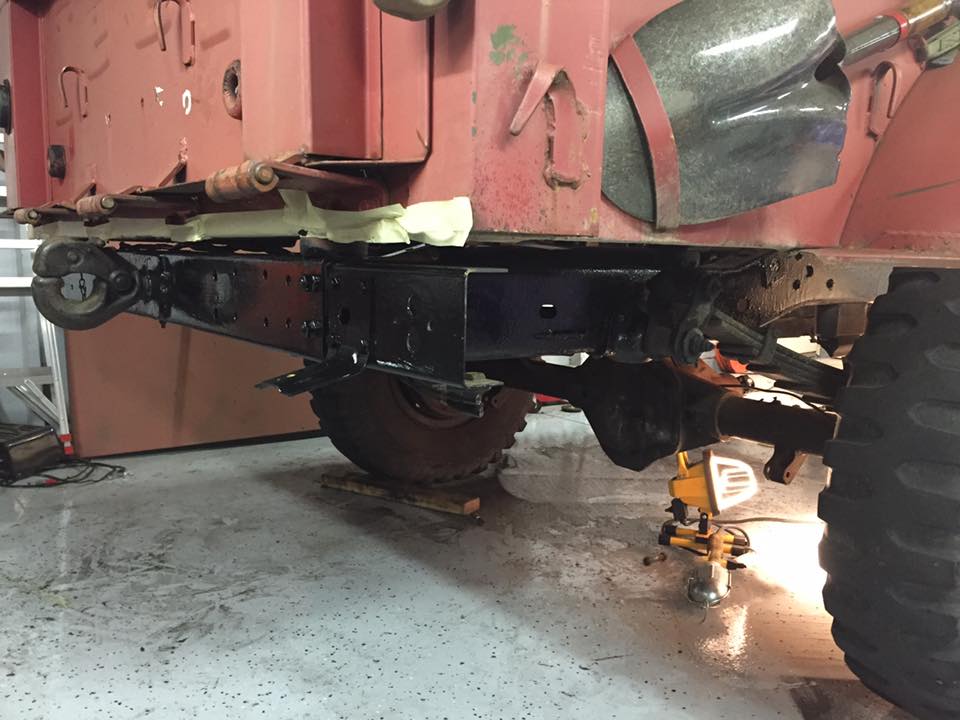
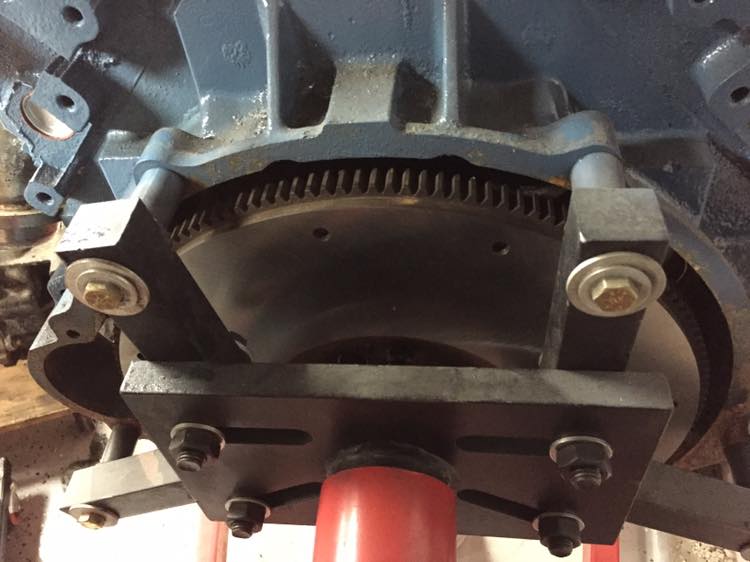
I'm making slow and steady progress on the frame. I got most of the rust knocked off and I've started to paint the rest of it. It amazes me how solid the metal is despite being 50 years old! The prep and paint takes a lot of patience that I don't always have. But I'm hoping it will look good in the end. In between all of this, I got the V10's flywheel resurfaced and hopefully I'll put the drivetrain together this weekend for a test fit.
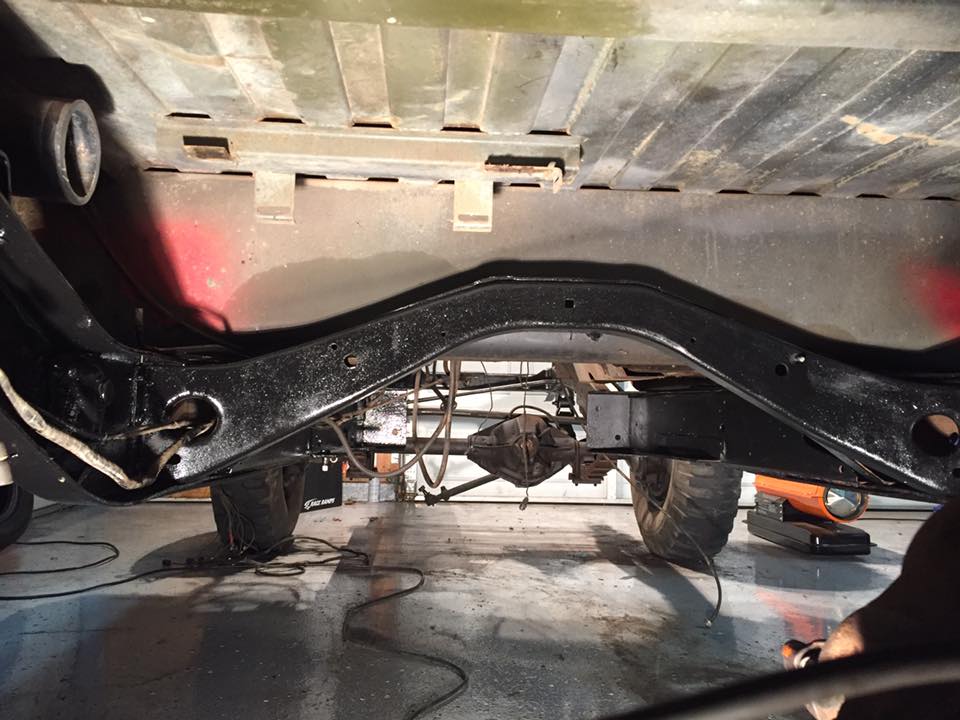
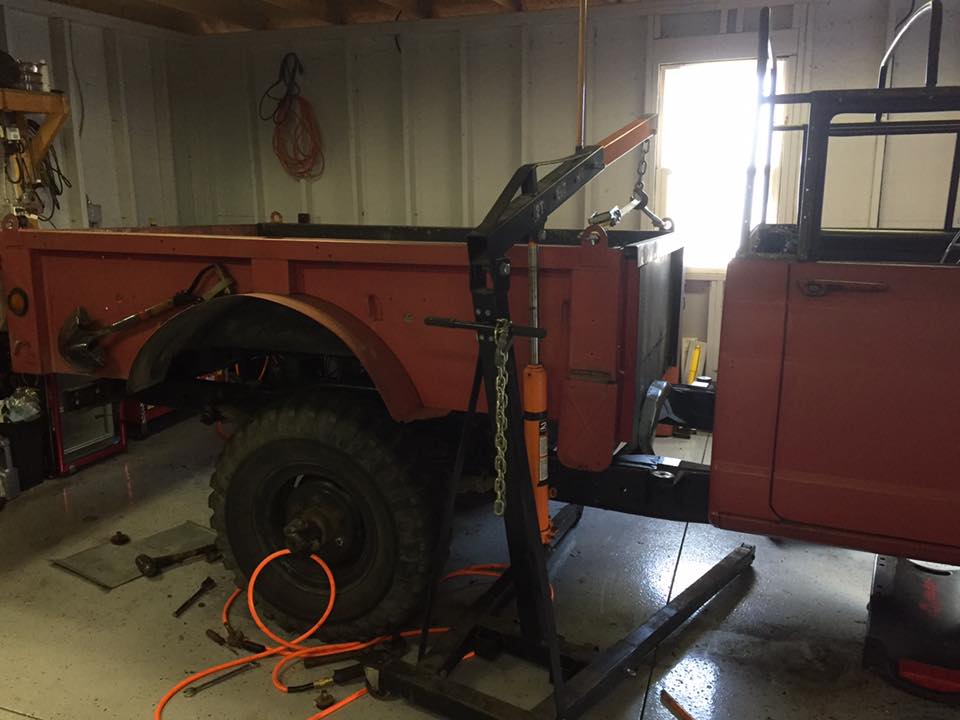
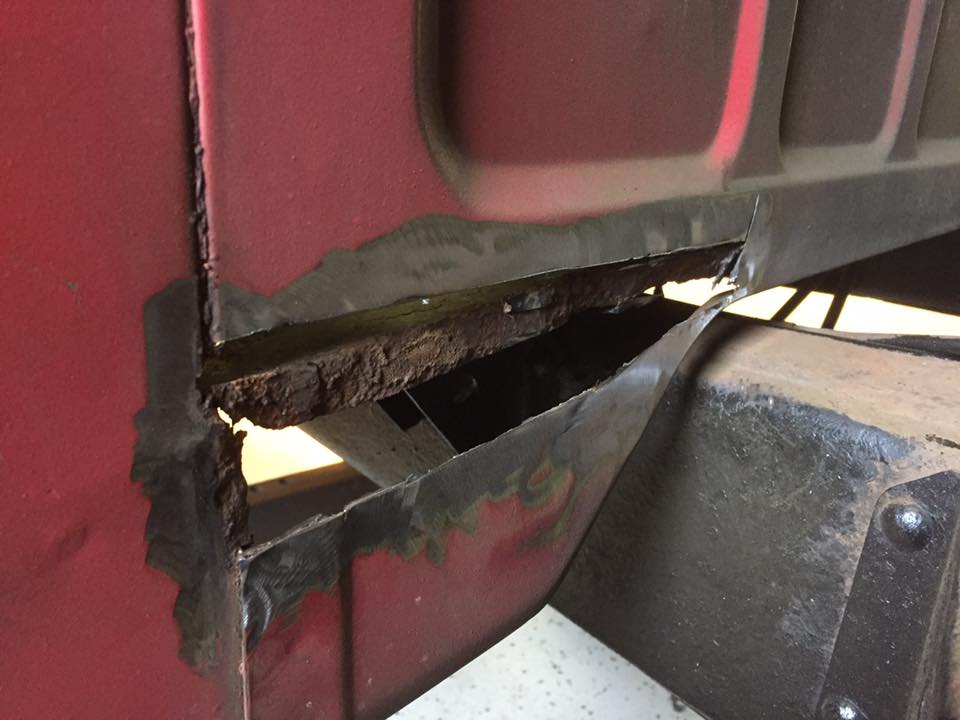
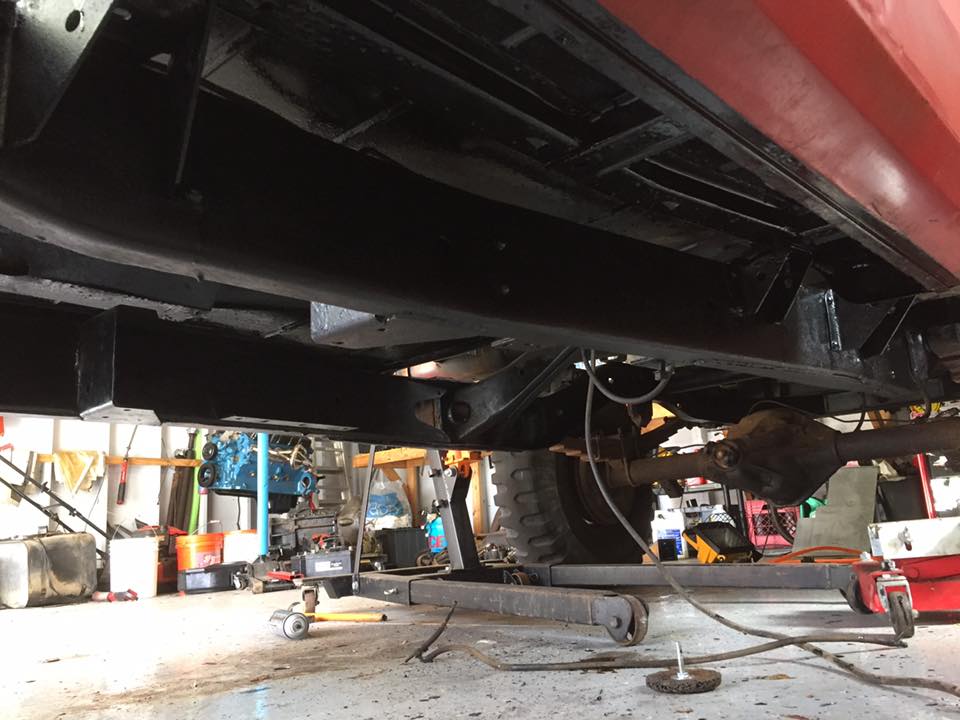
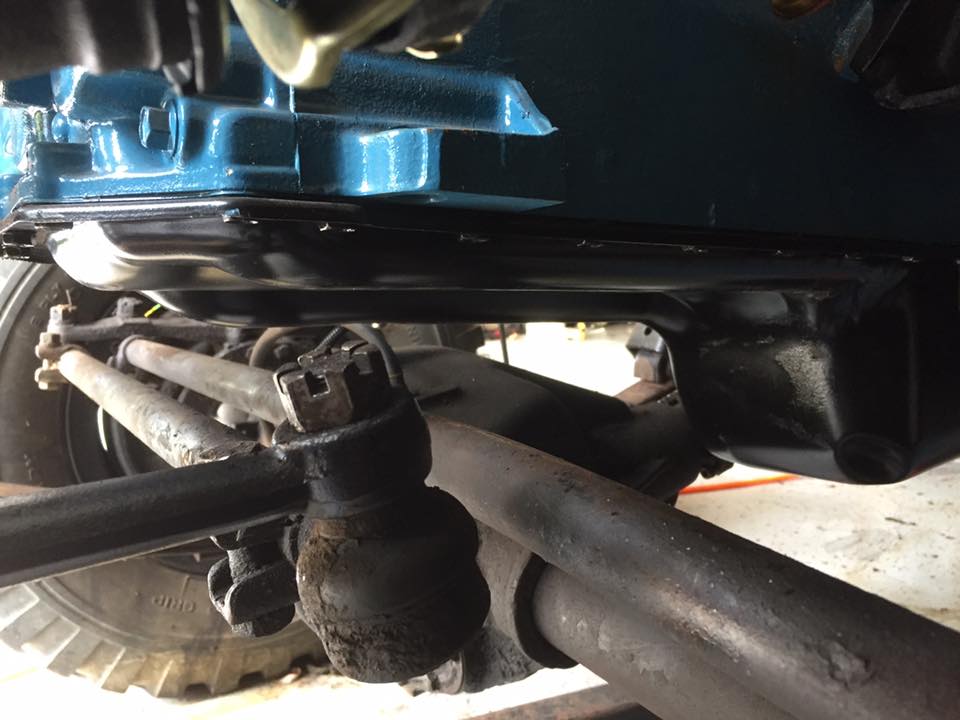
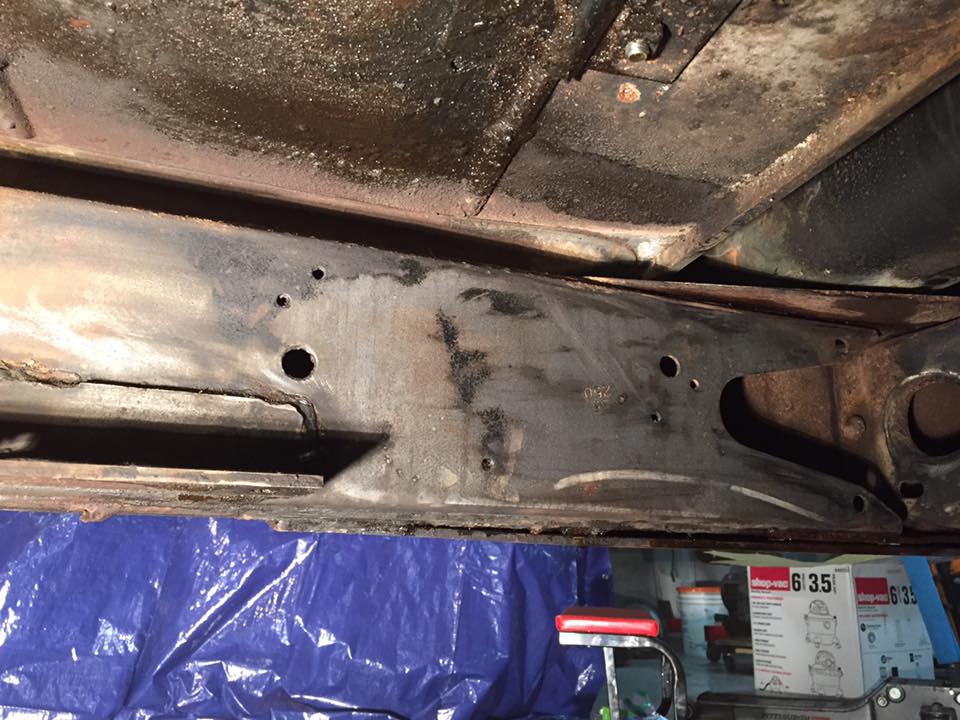
The amount of metal here is unreal for a "Michigan" truck. I bought it here but I feel like it spent a lot of its time in the southwest.
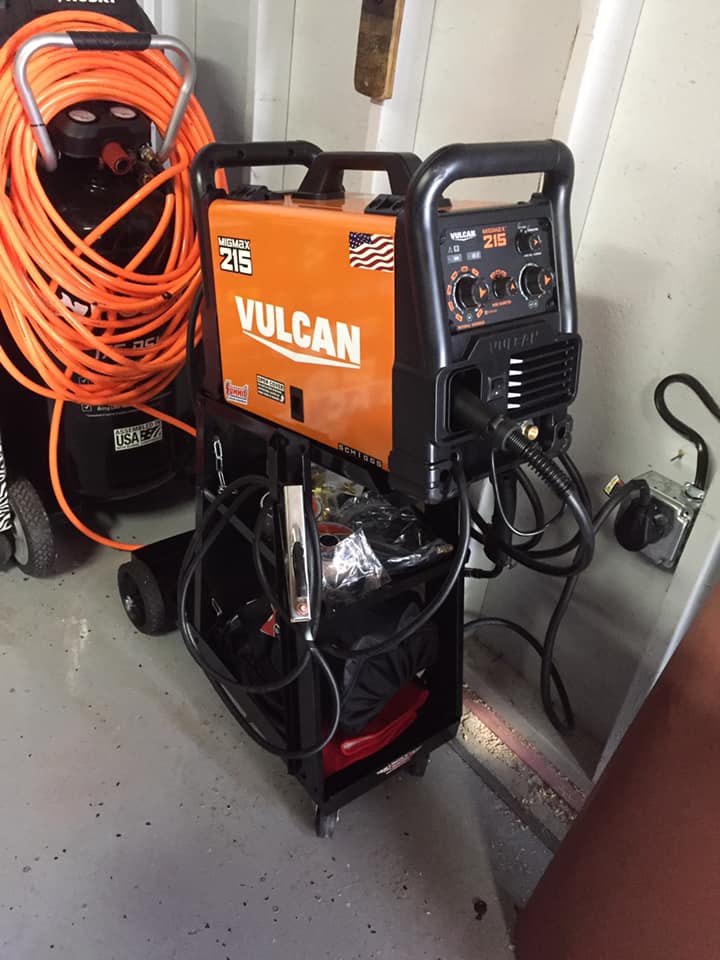
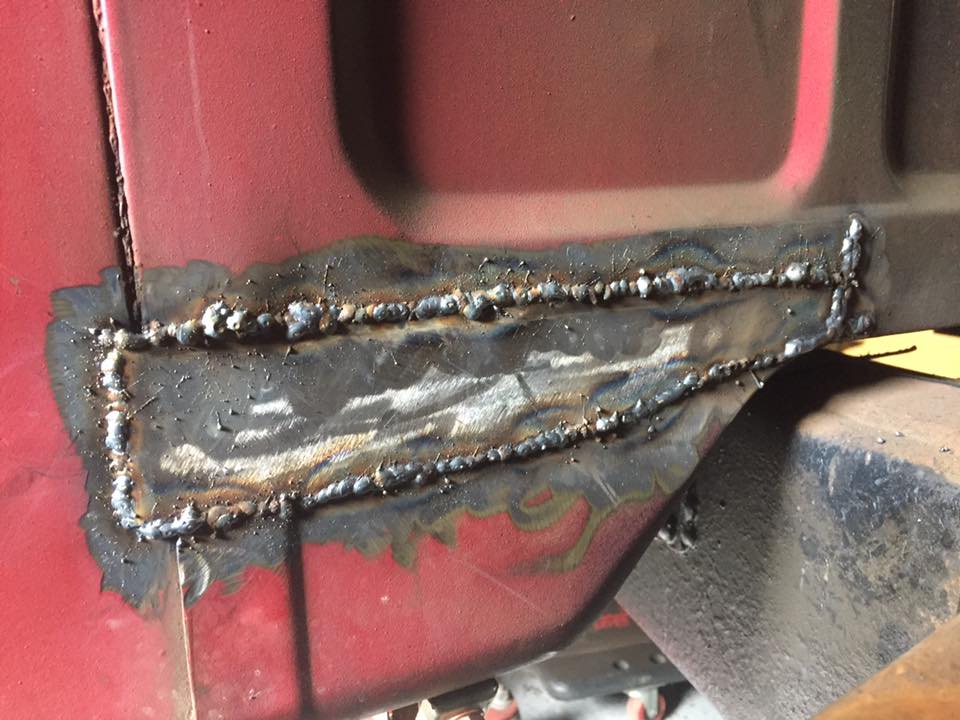
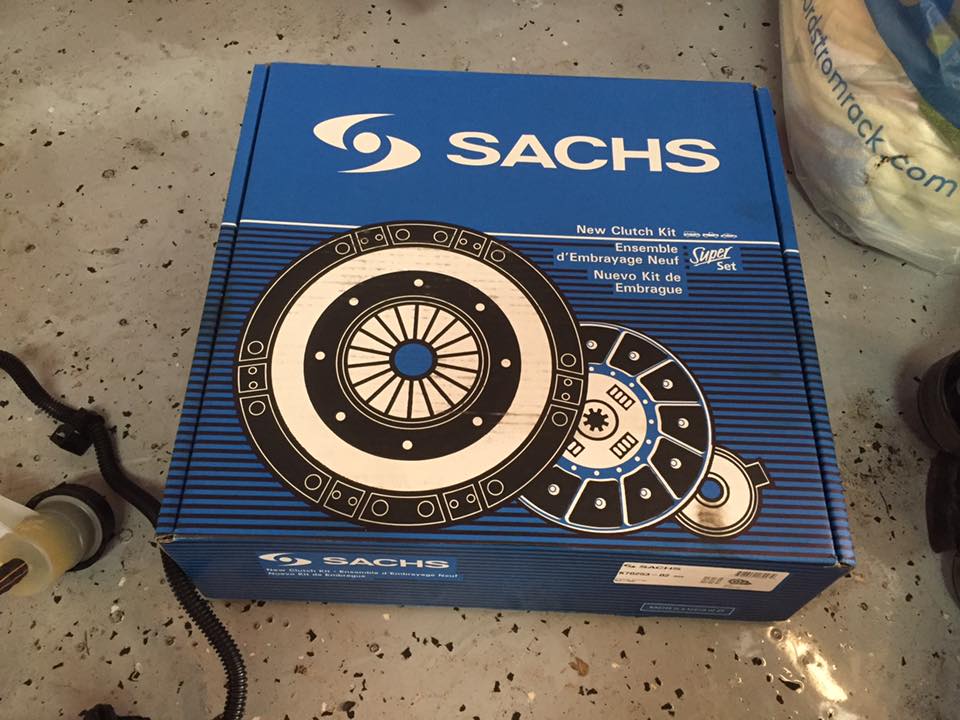
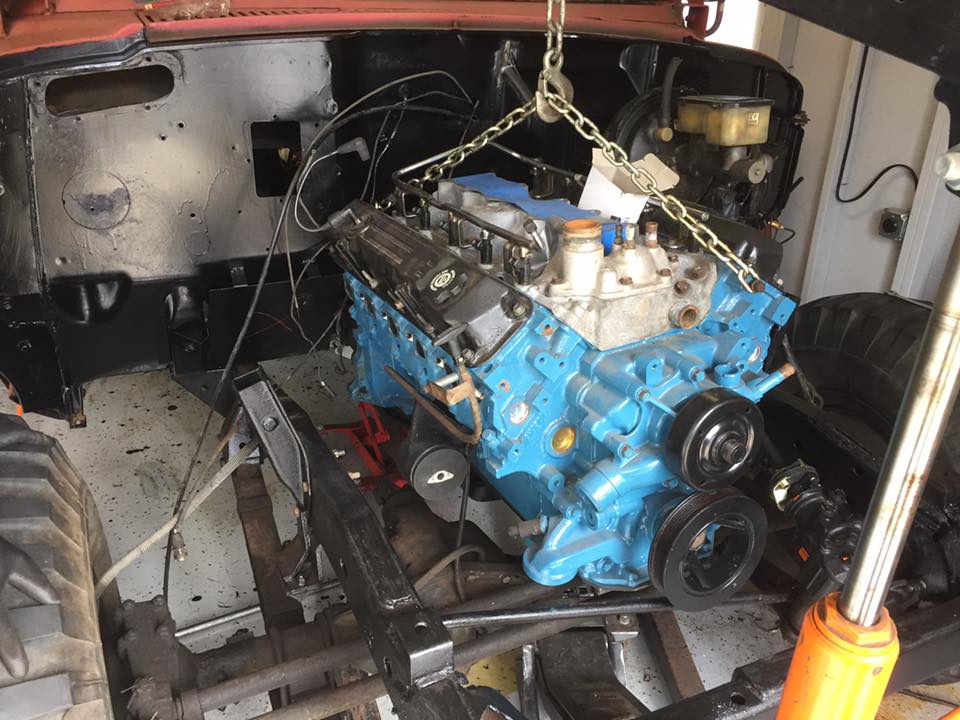
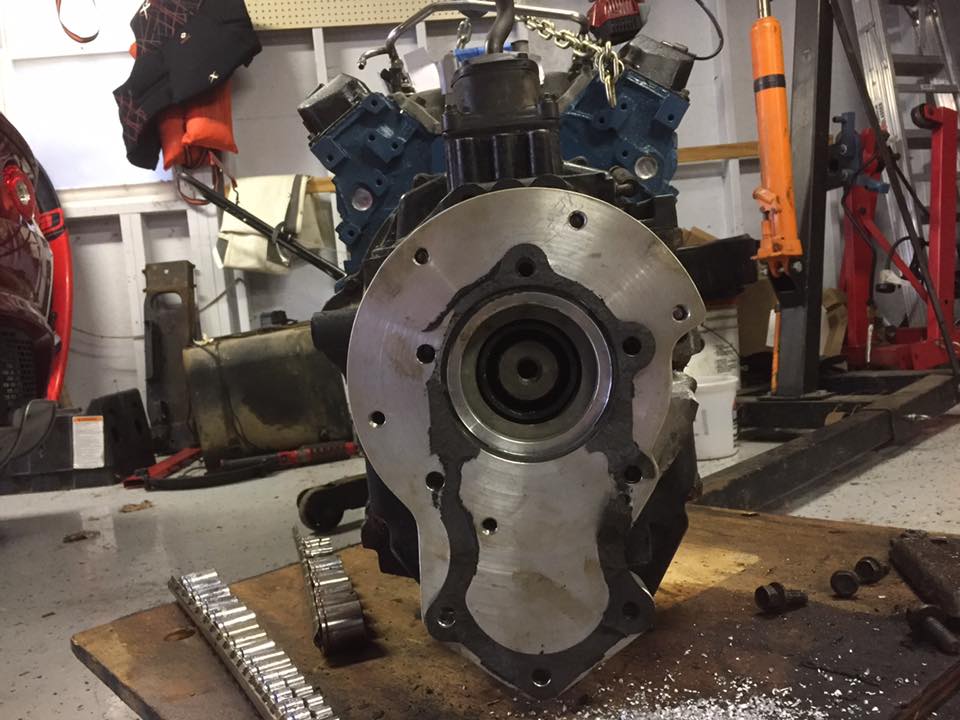
shiny and new!
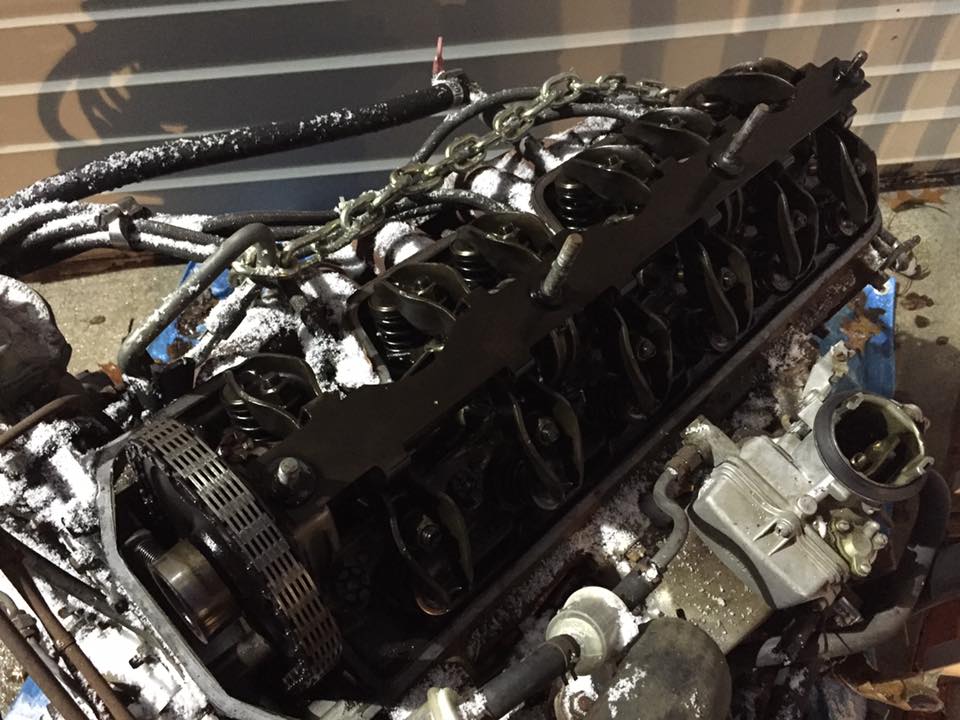
I removed the valve cover from the 230 so I could keep it when I sell the engine. It's crazy how big its rocker arms are! It's also interesting to look at a SOHC design from the 60's.
The amount of metal here is unreal for a "Michigan" truck. I bought it here but I feel like it spent a lot of its time in the southwest.
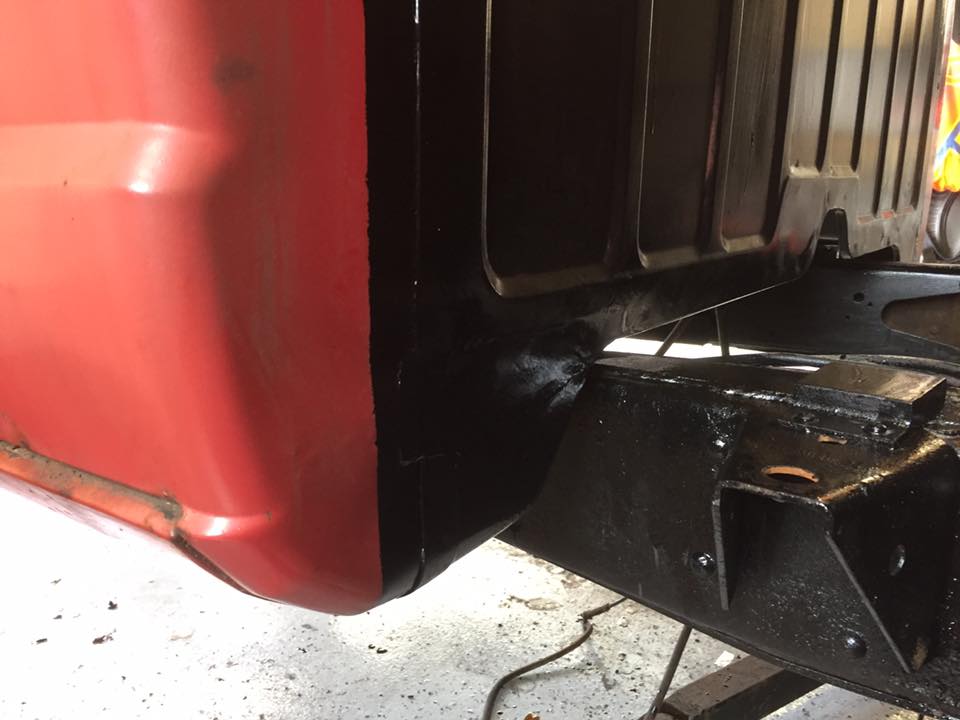
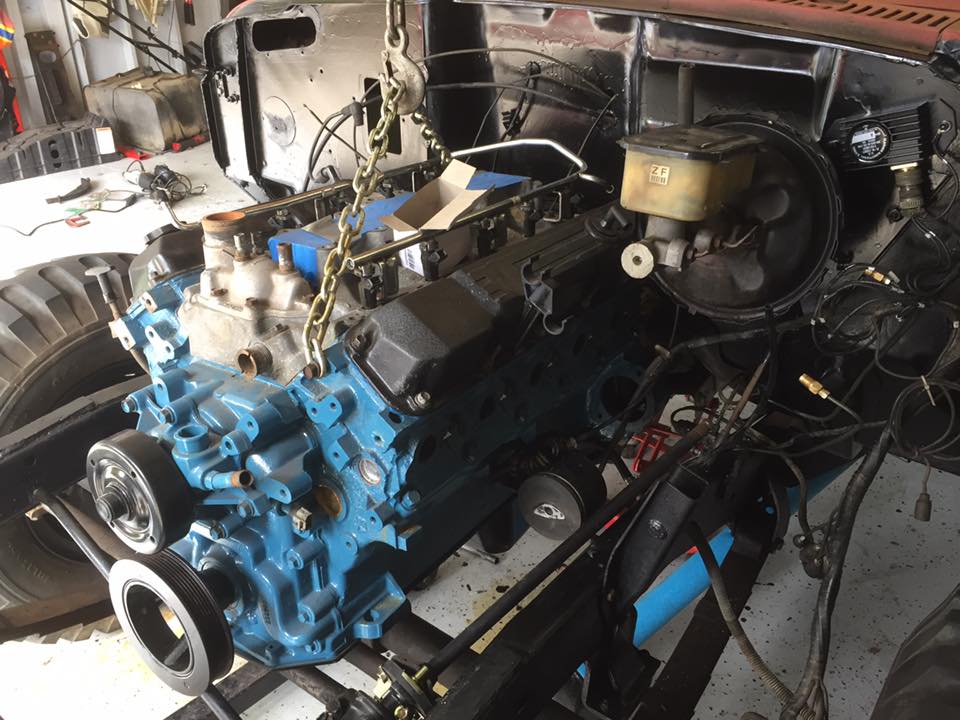
shiny and new!
I removed the valve cover from the 230 so I could keep it when I sell the engine. It's crazy how big its rocker arms are! It's also interesting to look at a SOHC design from the 60's.