M715 Adventure Rig

I made a little progress last night. After getting into contact with Advance Adapters, I realized that I lost part of the instructions and I did need to drill some new holes. So I drilled holes and the adapter mounts up perfectly! Now I just need a new gasket to replace the one I ruined when I removed the adapter from the Tcase.

57611819_2141020822856639_4627942138930266112_n.jpg
That looks like a 205 figure 8 gasket. Am I right?
 
That looks like a 205 figure 8 gasket. Am I right?
you are correct! I ordered a new one from advance. Talked to Steve and he was incredibly knowledgeable and we talked about EJS for a while. It just makes me want to get out there more next year. Seems like there might be 4-5 715s that are going to try to make it out there next year.
 
you are correct! I ordered a new one from advance. Talked to Steve and he was incredibly knowledgeable and we talked about EJS for a while. It just makes me want to get out there more next year. Seems like there might be 4-5 715s that are going to try to make it out there next year.
That's awesome! I'm hoping to get there too. I've never been to Moab and during EJS they also have the "full size invasion"... I'm loosely planning on going as part of their thing since I don't have a jeep.
 
  • Like
Reactions: joe.schigel
That's awesome! I'm hoping to get there too. I've never been to Moab and during EJS they also have the "full size invasion"... I'm loosely planning on going as part of their thing since I don't have a jeep.
yeah, I want to do the full size invasion as well since a 715 is a fullsize. I've got a lot ahead of me before then but I should be able to do it. I have the friends, the time, and at least some of the money to make it happen. haha
 
  • Like
Reactions: Rusty burbin
Made some progress this weekend on the truck. After marking everywhere that was causing interference problems, I "massaged" the firewall back.

58629907_2143860889239299_2366192316244295680_n.jpg

58462301_2143860892572632_2943973165400850432_n.jpg


It's the first time I've ever done this sort of think so hopefully I can smooth it out a bit as I go. Worst case scenario, no one else but me will really notice because it's behind the engine and in the footwell. On the plus side, there's almost enough room for the engine now! I now have better clearance above the tie rods, more room for the steering and there's still plenty of room for the intake once it's installed.

58599025_2143860849239303_8663040110813511680_n.jpg


59364148_2143860855905969_8310875929530335232_n.jpg


58595562_2143860802572641_6835766010105036800_n.jpg


scotch brite pad for intake manifold height.
happy10.gif

59390700_2143860789239309_124892108459868160_n.jpg


I also removed the factory trans and tcase crossmember mounts to make room for new ones and space for the future exhaust.

58599075_2143860915905963_8146043197903077376_n.jpg


58787510_2143860919239296_4815459517720428544_n.jpg


Speaking of, I got my new to me OE headers for the V10. I want to send them out to be ceramic coated so they look a little nicer.

59369298_2143860822572639_8910645392039739392_n.jpg


Hopefully only one more test fit before fab work starts. I've got a lot of things vying for my time over the next two weeks (including actual work and the Detroit Gambler500) so hopefully I can continue to make some progress.
 
  • Like
Reactions: Willys_2014
After a slow couple of weeks without much free time, I was finally able to make a little progress on the truck. I messaged the firewall back a bit more and it looks like the engine will fit!

59901274_2150683848557003_5002633277652074496_n.jpg


I will even be able to reuse my old heater core! The brake booster that I got out of a Wagoneer, not so much. I'm going to need a smaller diameter booster (I know hydroboost is an option, but it's too expensive for my taste). Everything else looks like it will fit! It's cool to see the whole powertrain in the truck for the first time. I cannot wait to drive this thing again! I really hope I can get it on the road by this fall.

The NP205 just looks at home up in there!
60069985_2150683858557002_2114853200904323072_n.jpg


Plenty of room on the passenger side. It's a little tight by the cylinder head and exhaust but the engine is tilted a bit. should be better once it's straightened out.
59907323_2150683911890330_6156678384358260736_n.jpg


Just enough room
60193808_2150683918556996_1315930769213882368_n.jpg


The driver's side is more clutter but it should all still fit without any interference issues. I'll just have to fab the mount a little differently for that side.
59968428_2150683981890323_820072534283124736_n.jpg
 
For memorial day weekend, my parents came into town and my dad helped me with the truck. We made a lot of progress on the engine and trans mounts but there's still a lot left to do. This is the first time doing this for both of us and we're learning a lot. My goal is to have them all finish welded this weekend and maybe painted. After that, I need to paint a bit more of the underbody, add some heat shielding to the firewall and belly of the cab, and then paint the front clip inside before reinstalling it. It's becoming increasingly difficult to find time during the week to work on it. I really hope I can get it to a drivable state by the fall.

Got the engine strapped in the front to locate it horizontally
61121443_2158961314395923_8284670010480132096_n.jpg


cardboard mock-ups. every fabri-cobbler's best friend
60857145_2158961334395921_6363439106420113408_n.jpg


Tac'd in passenger side engine mount
61219461_2159526774339377_5466614733463355392_n.jpg


Driver's side engine mount
61041755_2159526791006042_6647577942106832896_n.jpg


Dad helping out. He's never done any metal working of any kind so it's all a big learning experience for him
61506975_2159526811006040_7960288692734525440_n.jpg


trans and tcase located
61626440_2160116354280419_6894339202129854464_n.jpg


Both crossmembers in
61359048_2162167897408598_3097491613140647936_n.jpg


finish welding started on the driver's side engine mount. it will be getting some gussets later to improve the lateral stiffness
61543348_2162167910741930_1622722525140090880_n.jpg
 
I was able to make some more progress today and got the engine mounts finished! I've added bracing everywhere I figure appropriate and I hope they can resist movement enough. They may not be pretty, but they should work. Plus this was my first time making mounts. One may be more intricate than it needed to be. I think I was just having a good time welding :grin:. I'll either spray paint them or dip them in paint this weekend.

61826663_2166685406956847_7405951067864694784_n.jpg
 
Made some decent progress this weekend but I wish I could've done more. We tarted by painting all of the mounts and cross-members and I think they turned out really nice. We then pulled the powertrain for what was hopefully the last time. While it was out, I added back a gasket between the Tcase and trans that I had forgotten. We also welded on the frame reinforcement plates and painted them. I started to install heat shielding but I didn't order enough to finish the cab...
grumpy.gif
so I've ordered more and it will get here Tuesday. In the meantime, we elected to clean and organize the garage. It needed it in a bad way. So at least now it's a pleasant place to work again.

the painted mounts and cross-members all in a pile, ready for install
62308097_2169291463362908_3658961456407248896_n.jpg


The firewall heat shielding. I'm still going to add more to the right but this was what I could do with what I had. You can also see the frame reinforcement plates.
64226510_2169291480029573_8924011652387438592_n.jpg


62180184_2169291496696238_4360301230405189632_n.jpg


Next week, I'd like to finish install the heat shield material, paint the inside of the front end clip, and reinstall the powertrain. Then I can shift focus to the axles and engine systems (brakes, steering, fuel, coolant/heater, A/C, wiring).

Also, my bed top tent came in
biggrin.gif
! Granted, it's just going to sit in it's box until I'm ready. But it was steeply discounted so no I have it.
62350922_2169291516696236_7075842114877128704_n.jpg
 
I was able to sneak in a bit more work today on the truck since parts came in! The heat shielding ins mostly finished (I ran out of tape) and I got parts to begin making the bed top tent rack.

62381244_2170801039878617_445459898973552640_n.jpg


62530321_2170801056545282_3638418640715382784_n.jpg


It's going to be pretty simple. Two 1" & 1/4 bars across the bed with feet that bolt together in 4 places. I went with steel because I figured it would be a little stronger than aluminum and the bars may as well be cantilever. Staticlly, eash bar will take ~250lbs spread across two mount points (I figure the tent + gear + 2 people ~500lbs) and dynamically 75lbs each bar dynamically (when it's just the tent driving). I hope it's ok. Worst case scenario, I have to revisit it.
62578880_2170801073211947_6379308619736809472_n.jpg
 
It finally happened! We were able to to install the V10 for hopefully the final time! It's sitting on it's own mounts and it looks good so far! It's bee at least 9 months building to this point. To say I'm excited about it would be an understatement. I can't believe how relatively easy it went in! I guess when you mock it up a couple times, it makes everything easier.

62595527_2173163802975674_5970256097674526720_n.jpg


The only thing that I can see that's going to be a problem is the front driveline angles. the front output for the tcase has a slight up tilt to it and the front axle has a pretty significant tilt upwards. I may be able to work with some crazy double-cardon joint drive shaft but I may have to re-angle the front axle. And that would mess with the steering. I'll figure it out eventually.
Next up is to cobble together a fuel system, wire the engine, and test fire it to make sure it works! while I'm doing that, I'll send my headers out to get cleaned up and ceramic coated. I think EJS 2020 is within reach now!

62529447_2173153369643384_8899880593383227392_n.jpg


62644690_2173153376310050_313488602078117888_n.jpg


64513419_2173153432976711_327711154350587904_n.jpg


And to add to my excitement, my rear axle locker came in yesterday as well!

62521119_2173153516310036_198052074573791232_n.jpg


62795338_2173153536310034_3257059844439408640_n.jpg
 
Just grab a hydro boost from the junk yard. Mine was only $30 including the master cylinder.

As for the front drive line angle unless you are using 4x4 on the road at speed a little steeper angle shouldn't hurt, or just do what chevy did for decades and use the double cardon joint.

The rigs looking good.

what did you get a hydro-boost out of? I think my Wagoneer booster is going to fit. but we'll find out. I was definitely thinking of putting a double cardone joint in the front if I can. I'm not sure they make those with 1410 ujoints though. If not, I'll just do a normal drive shaft and only use 4x4 off road.
 
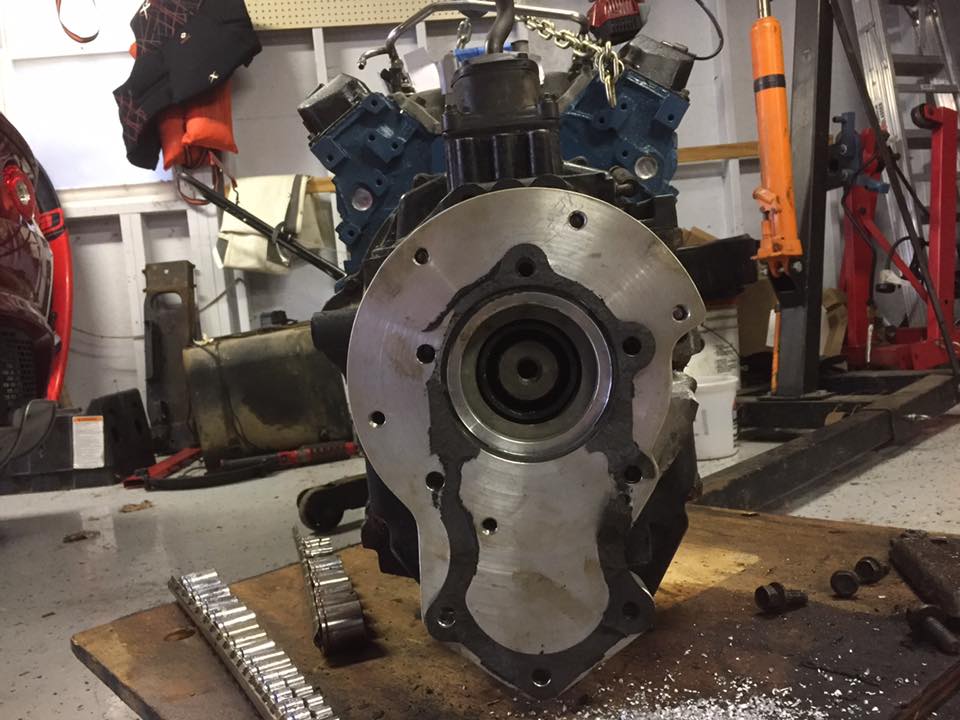
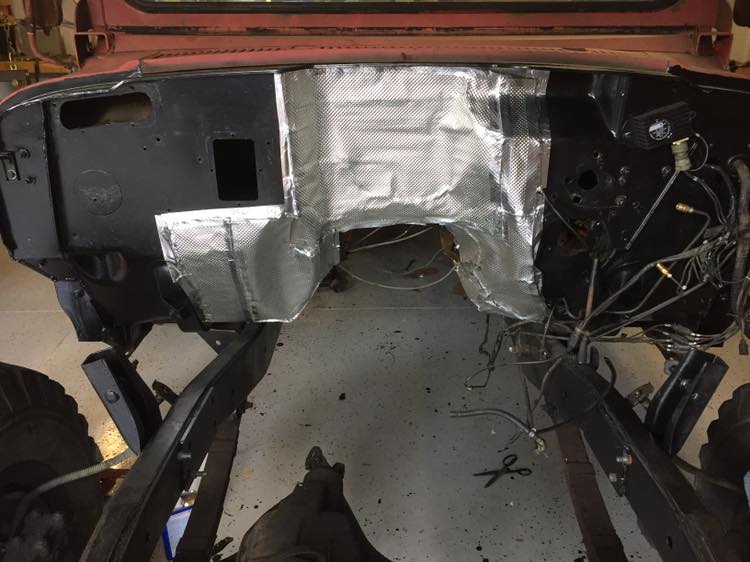
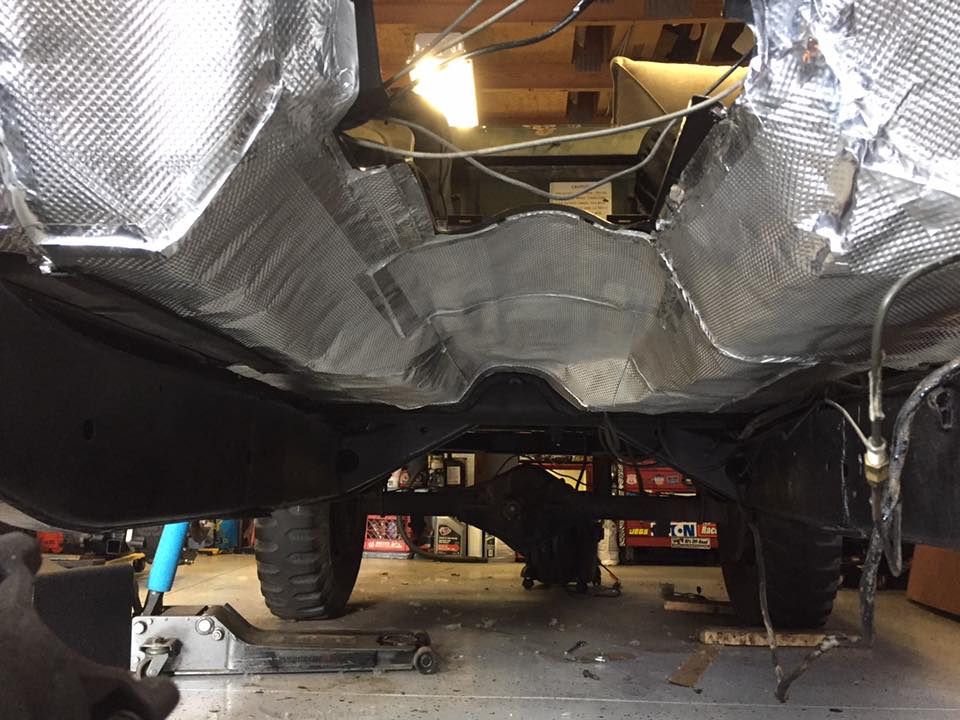
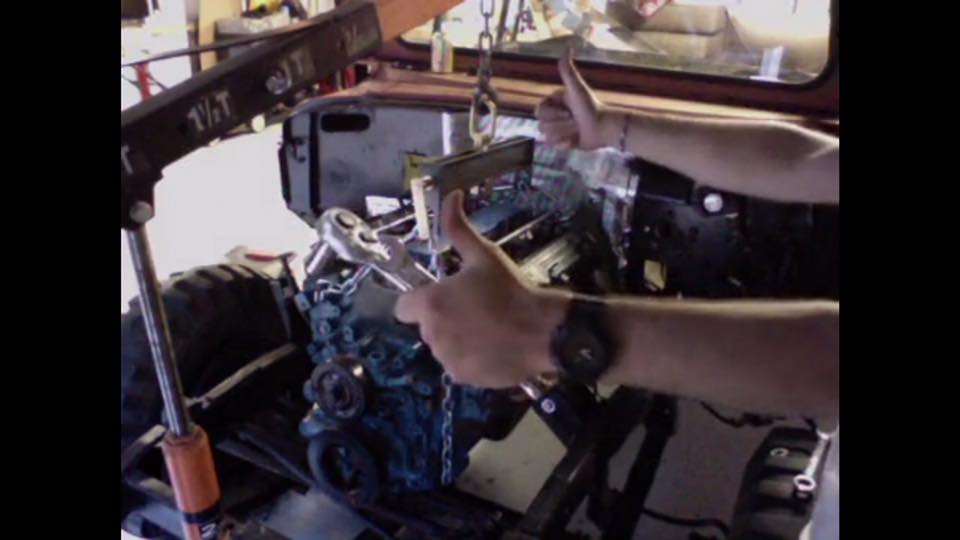
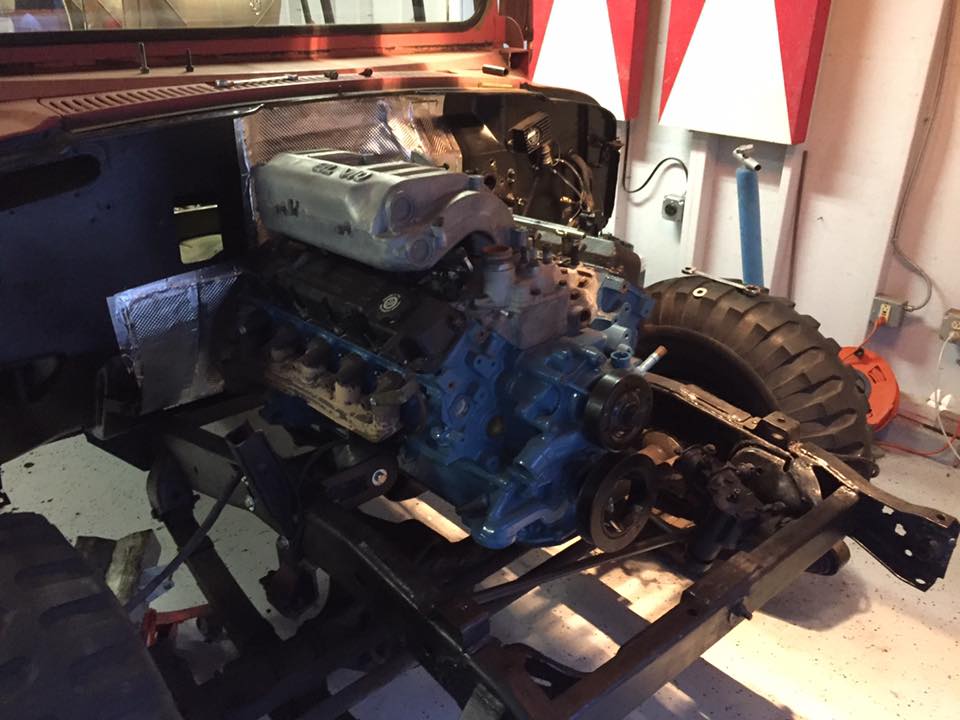
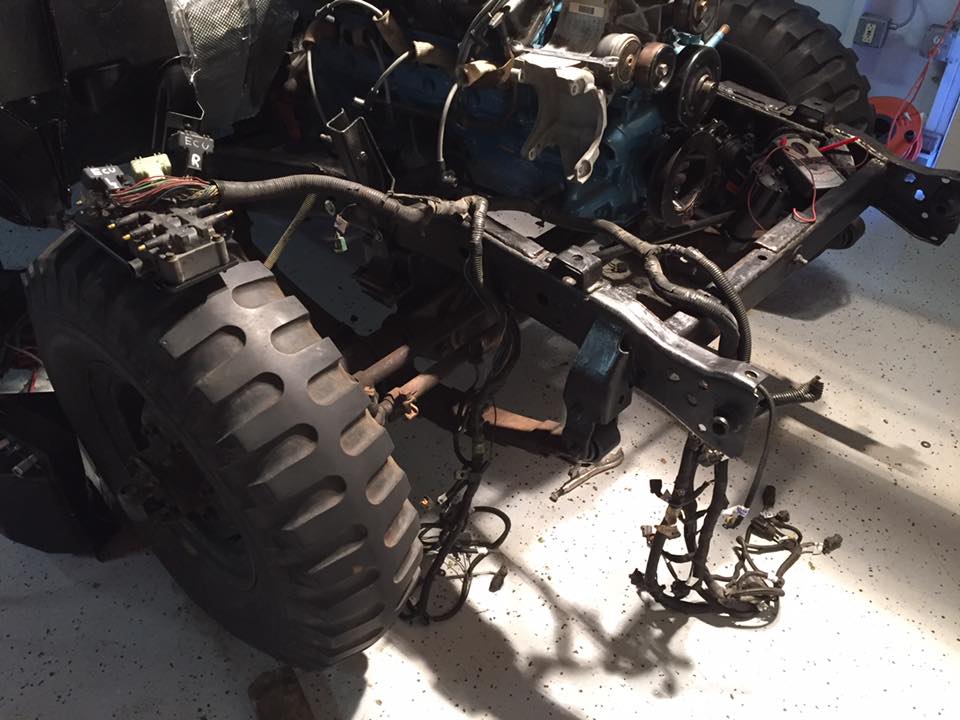
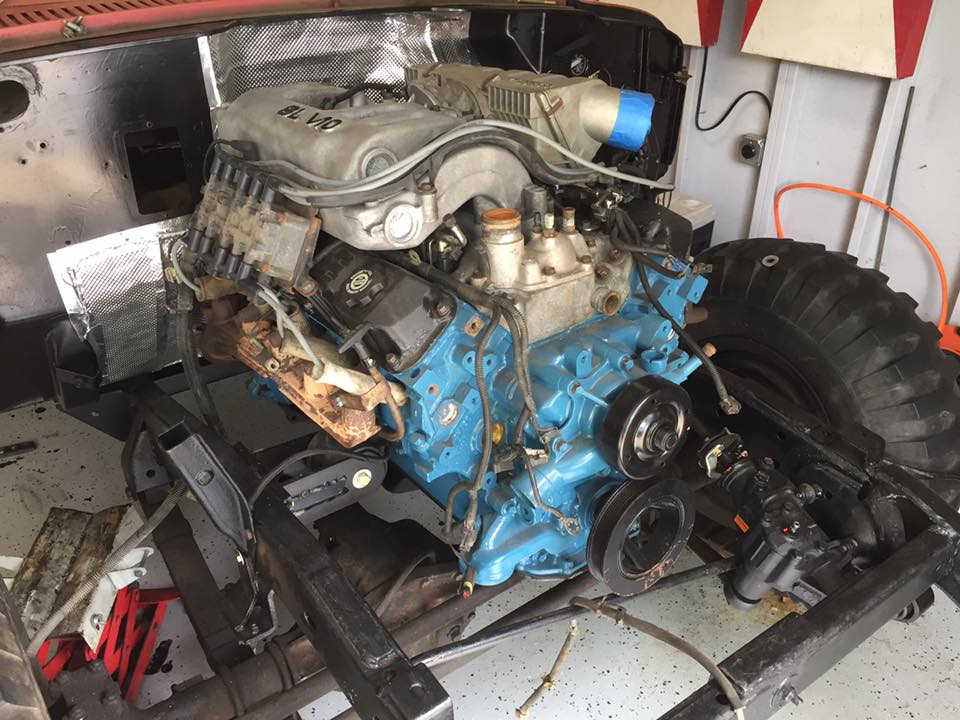
Ok, weekend summary time! After going back out to the garage Saturday morning and being pleasantly surprised by the engine still being in the truck, I decided to try to get it to a point where I can test fire it. This will require putting on the intake, hooking up all of the electrical bits, plumbing a fuel system, and figuring out what exactly the computer needs to see.

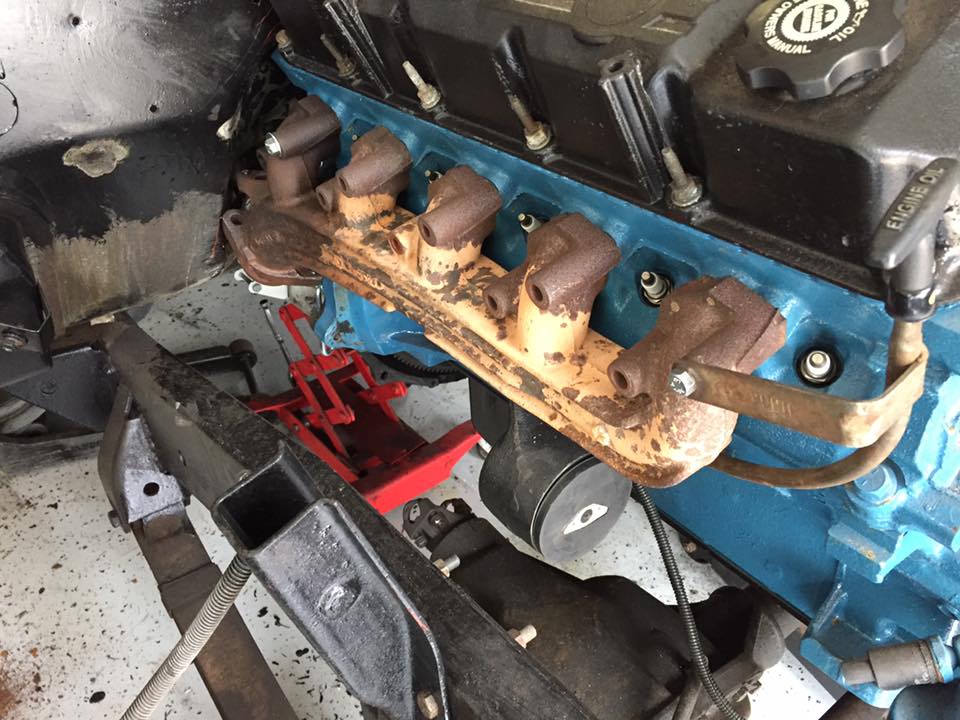
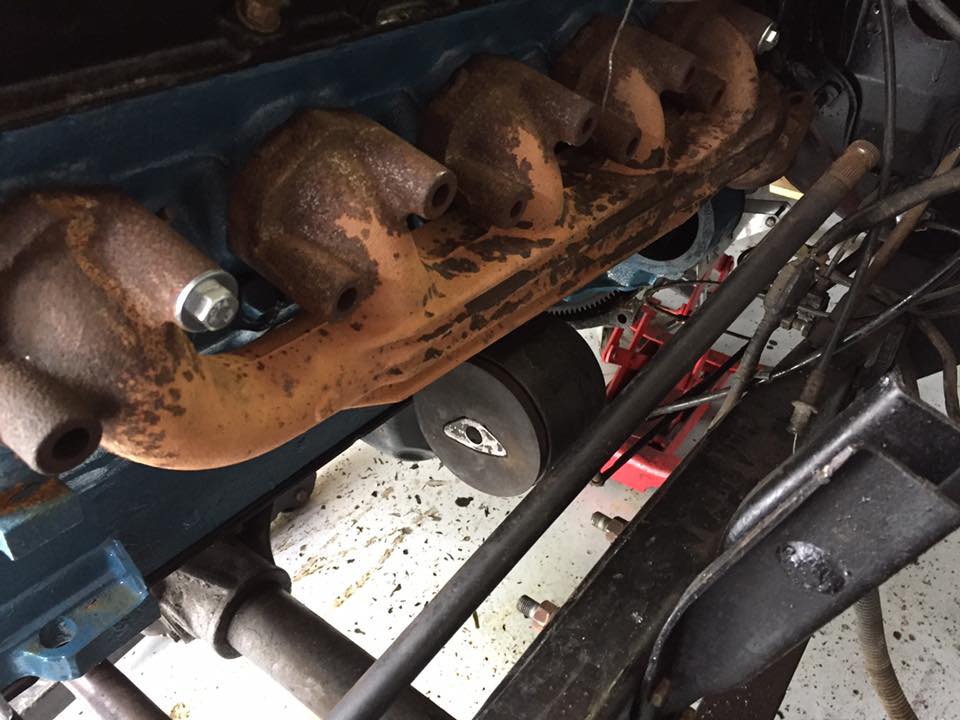
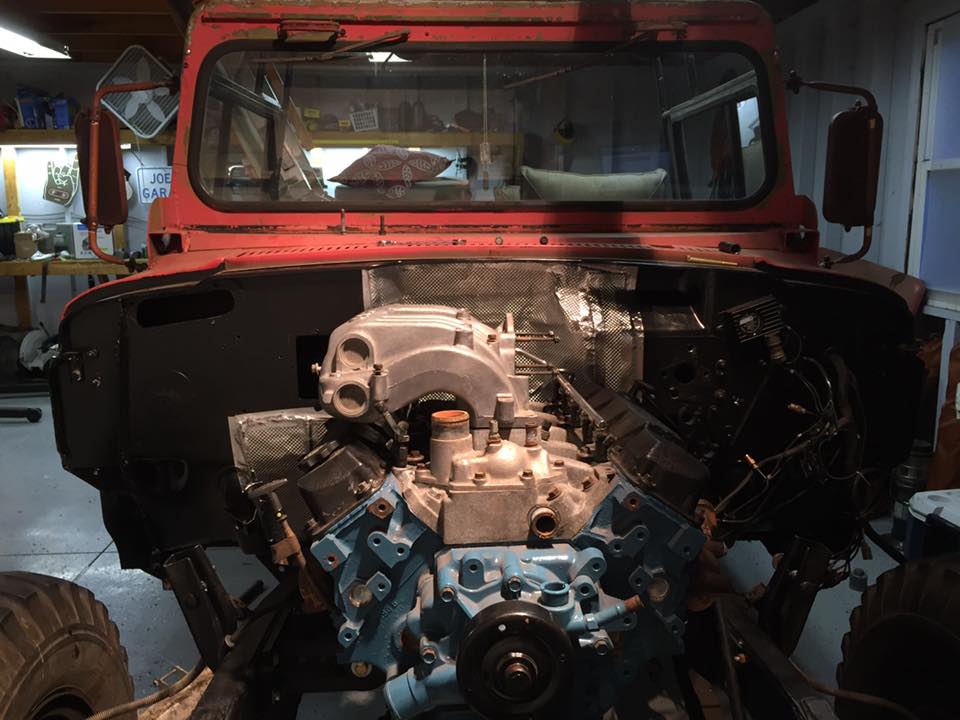
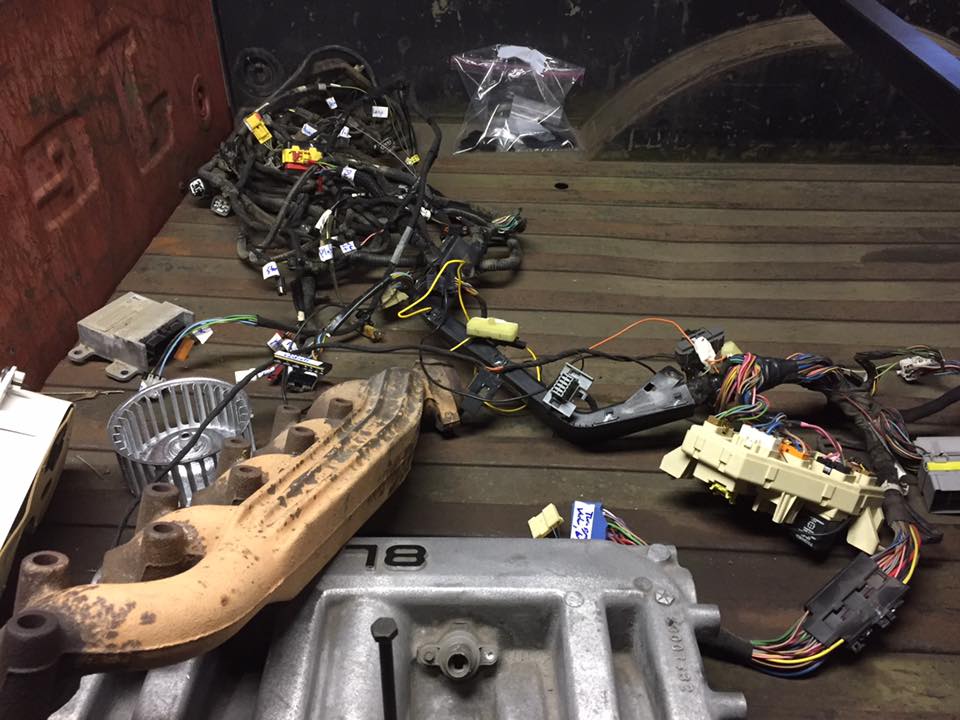
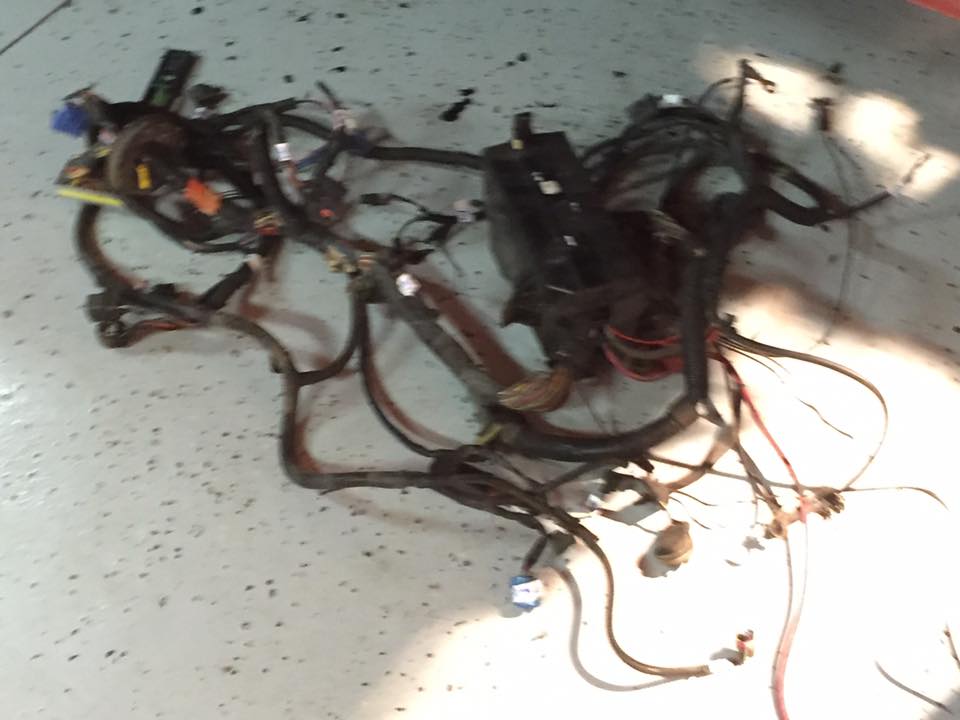
It started out easy enough. I installed the upper intake manifold and draped the engine wring harness over it. Everything was plugging in easy enough and looking good. But when I brought over the rest of the harness, my head just started to spin. I’m note great at wiring and the last time I did a whole car, I let the smoke out a couple times… So I sat and stared at it for a while to figure out my way forward. I think it will be best to go through all of my diagrams and schematics to determine which wire is which and label them all. There’s a lot in the dodge harness that I don’t need (it’s lights really) but I do need the gauges, sensors, sending units, etc.

65030997_2174244816200906_6242944181182922752_n.jpg


64485401_2174244826200905_548527152593633280_n.jpg


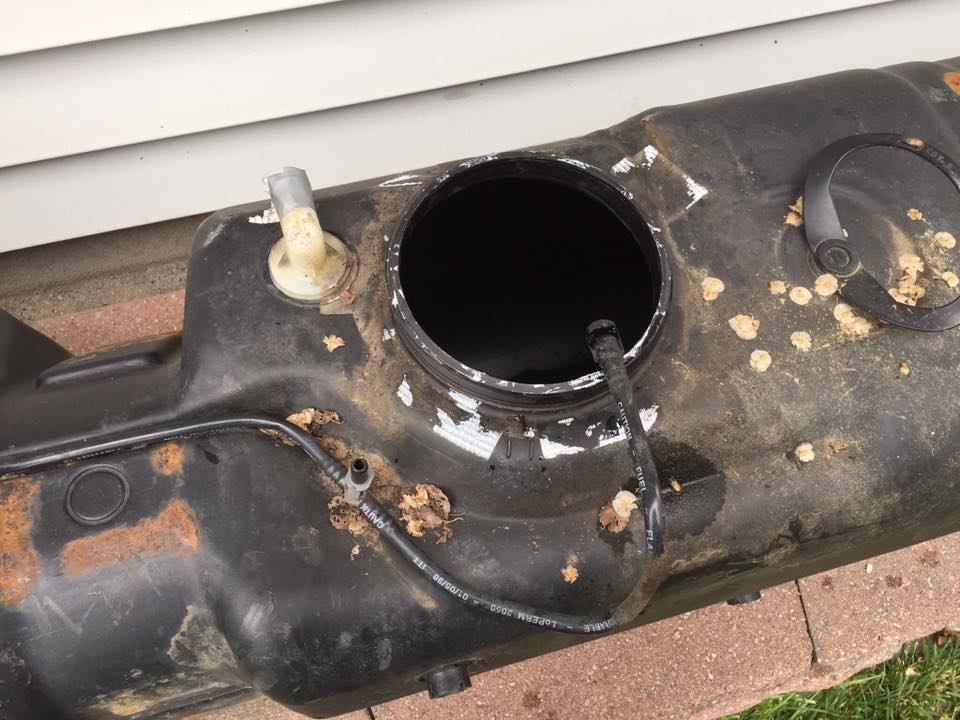
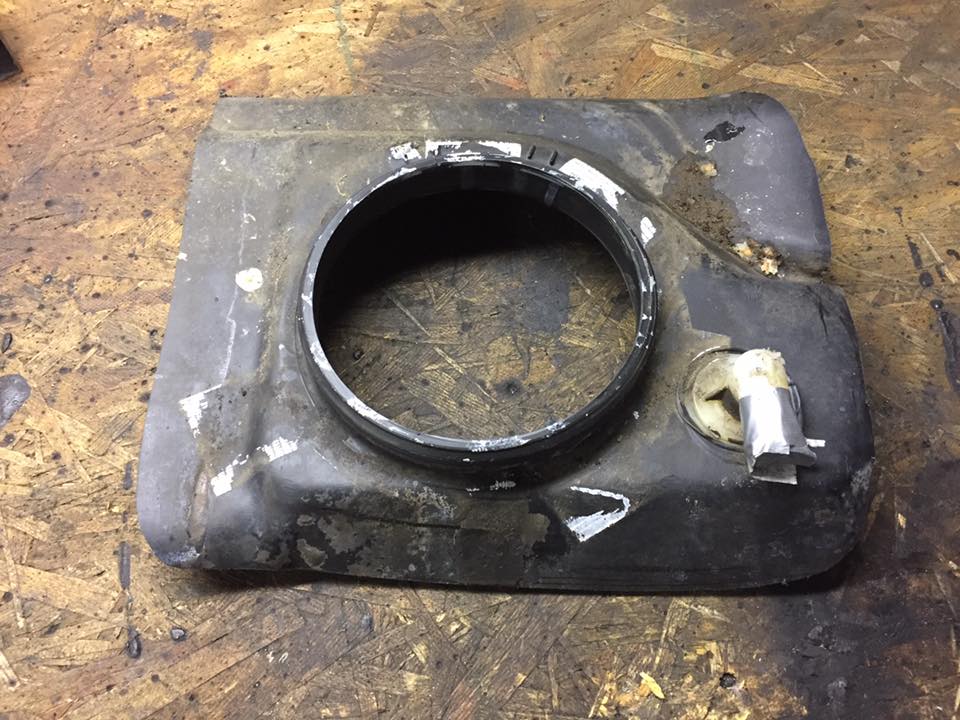
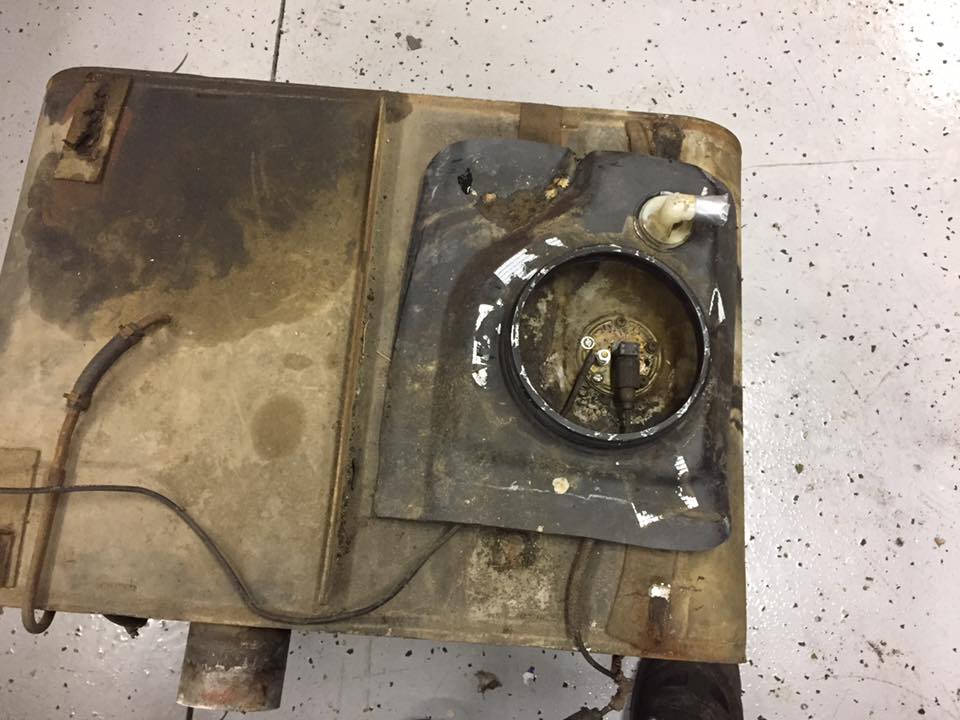
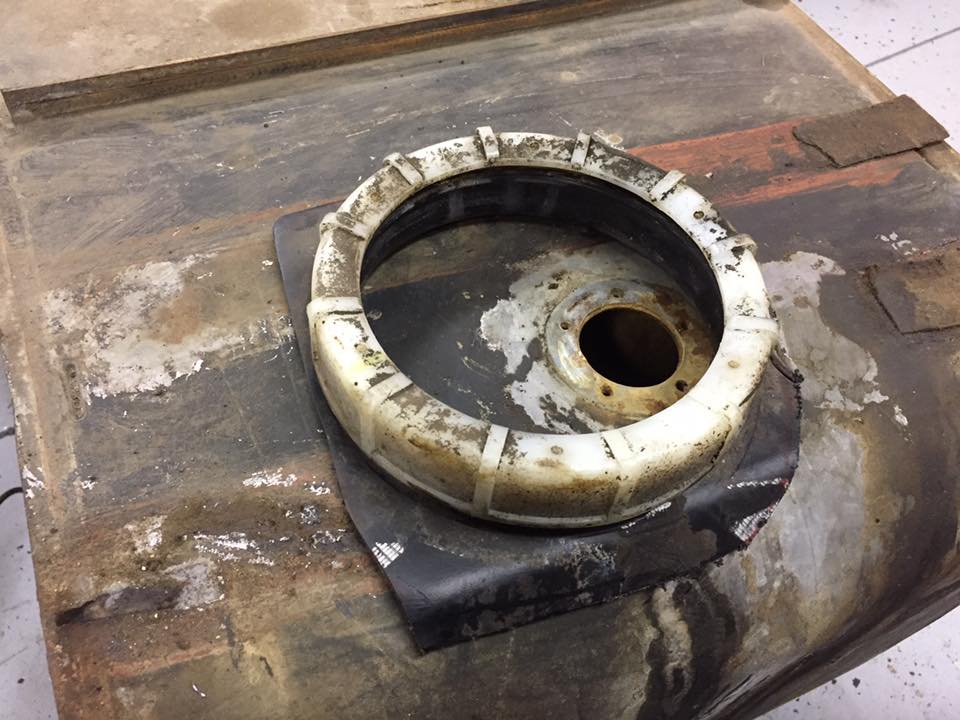
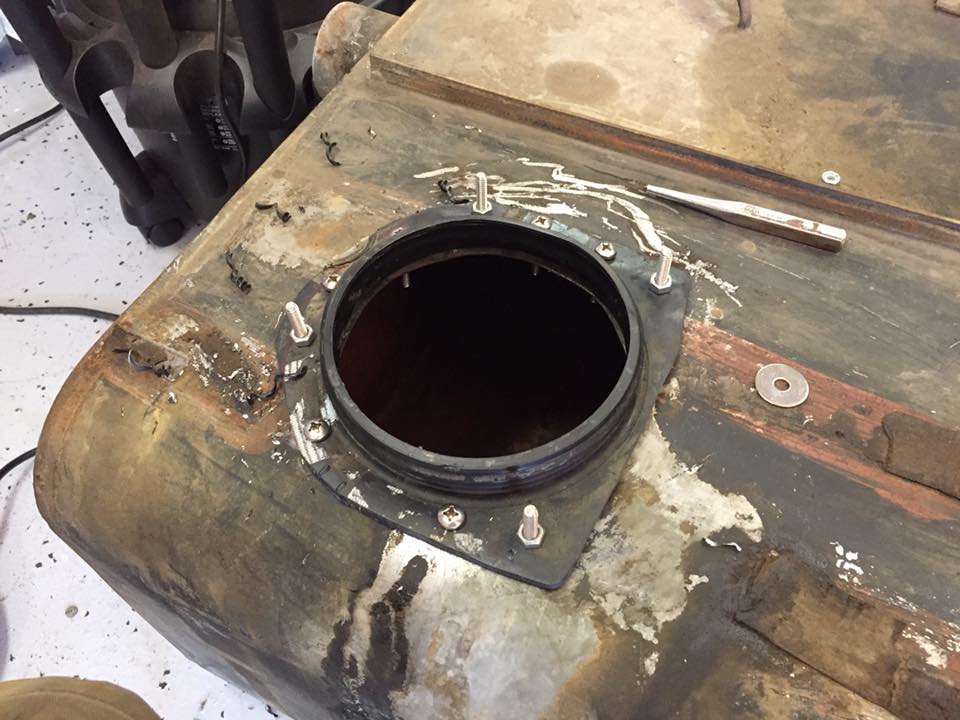
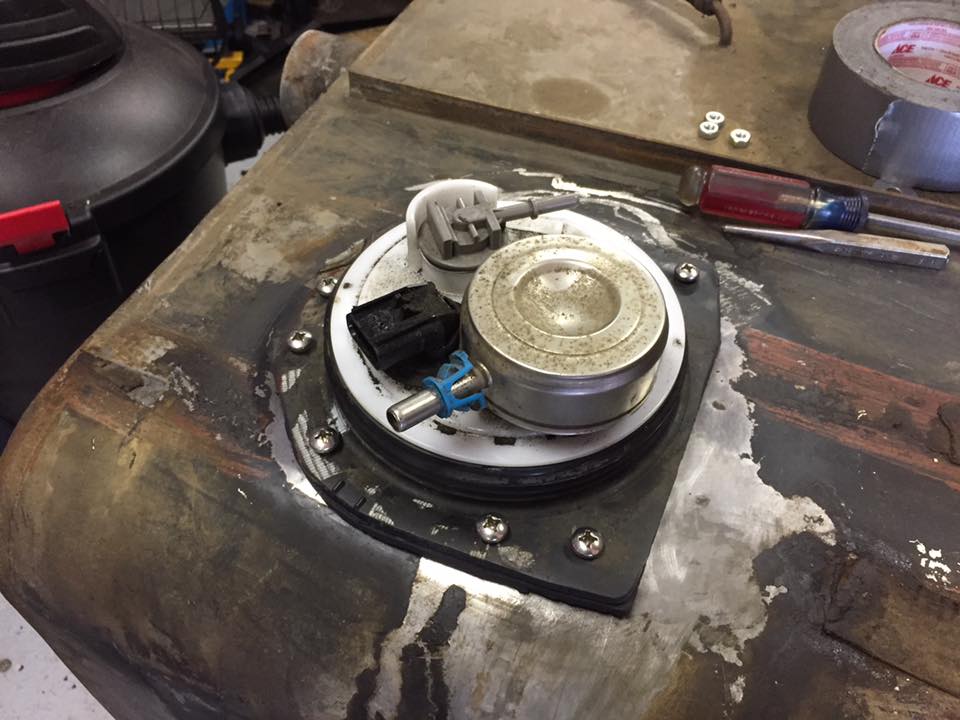
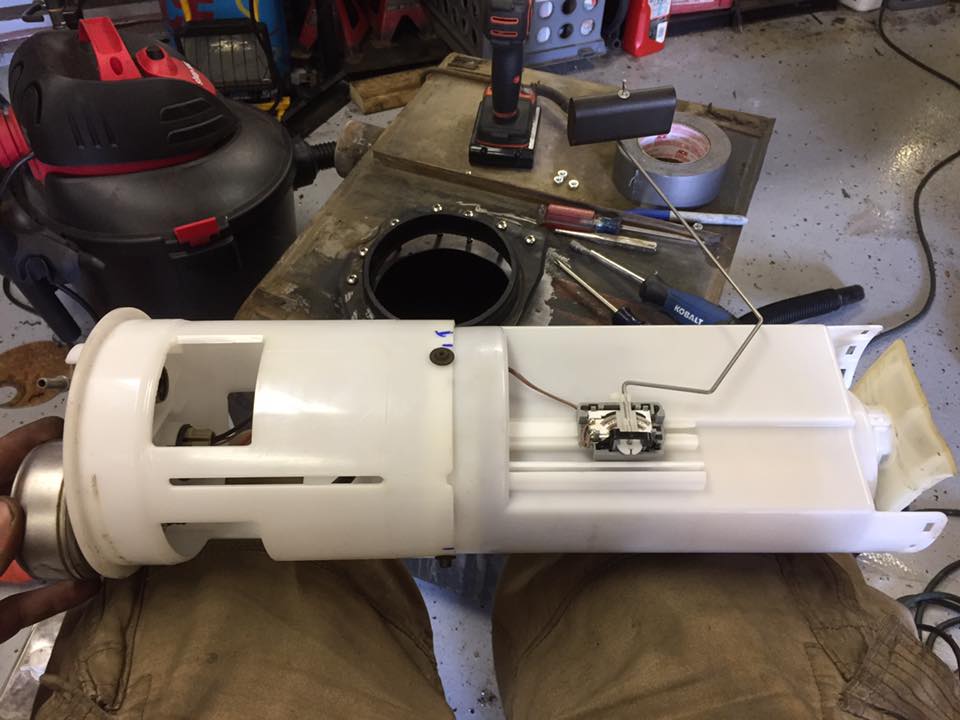
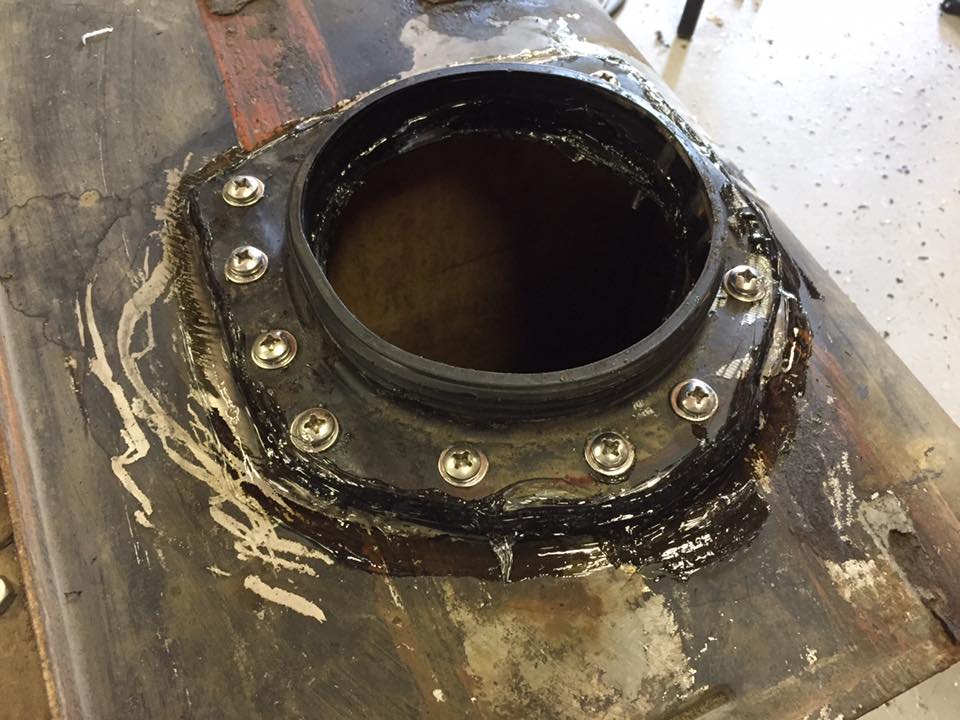
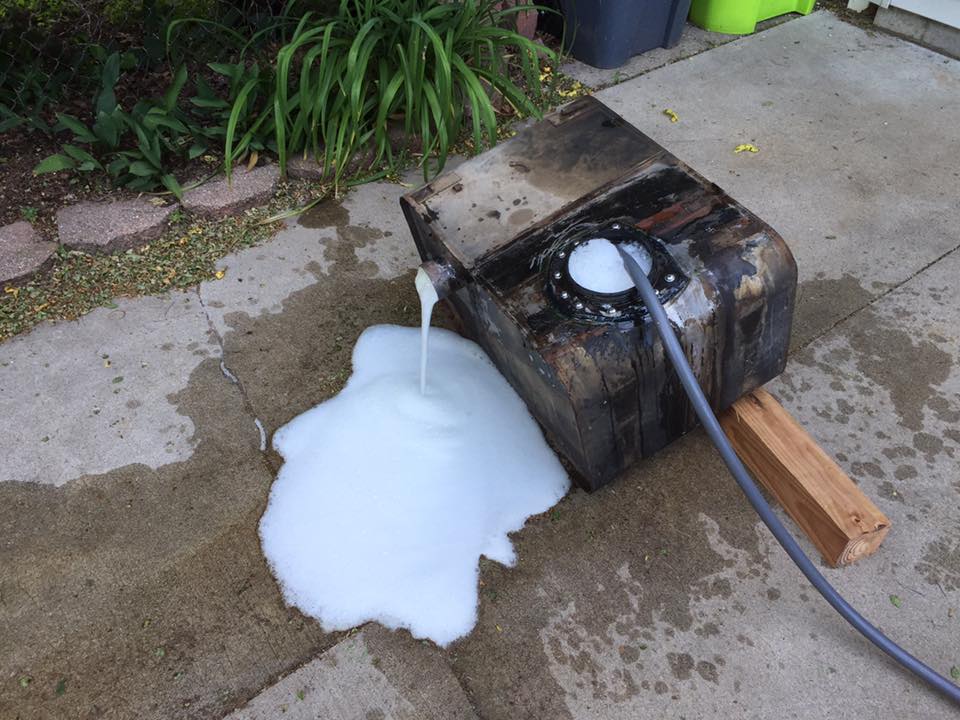
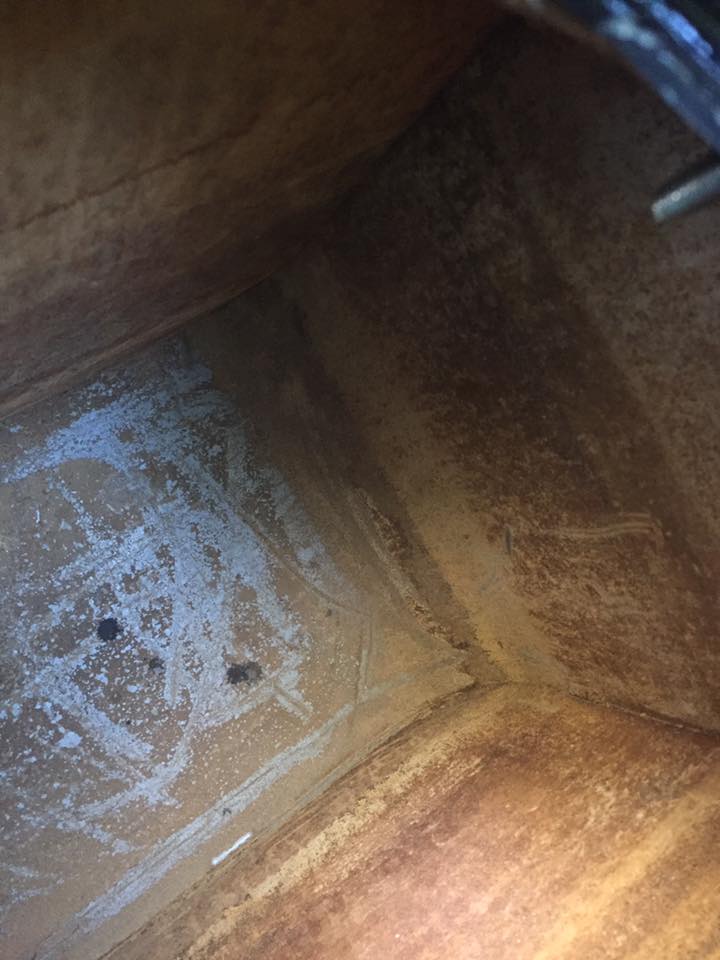
After determining that that was going to take a lot of work, I shifted gears to the fuel tank. My thought was to graft the top of the Dodge tank onto the 715 tank so I can use exactly what the V10 is expecting. I had assumed there would be a lot of flat surface area on the Dodge tank around the fuel system drop-in. There was not. After I was done cutting away everything, there’s not a lot left. I’m not sure that I’ll be able to do it now. I’m going to ask some people at work. Maybe they’ll have a good idea for a way forward.

the donor tank
64295594_2174244896200898_4818260480642514944_n.jpg


top removed
64431062_2174244902867564_3295809395866206208_n.jpg


guesstimating placement
64232122_2174244956200892_6671326942295228416_n.jpg


and all that's left after trimming...
64568010_2174244962867558_375445420878331904_n.jpg


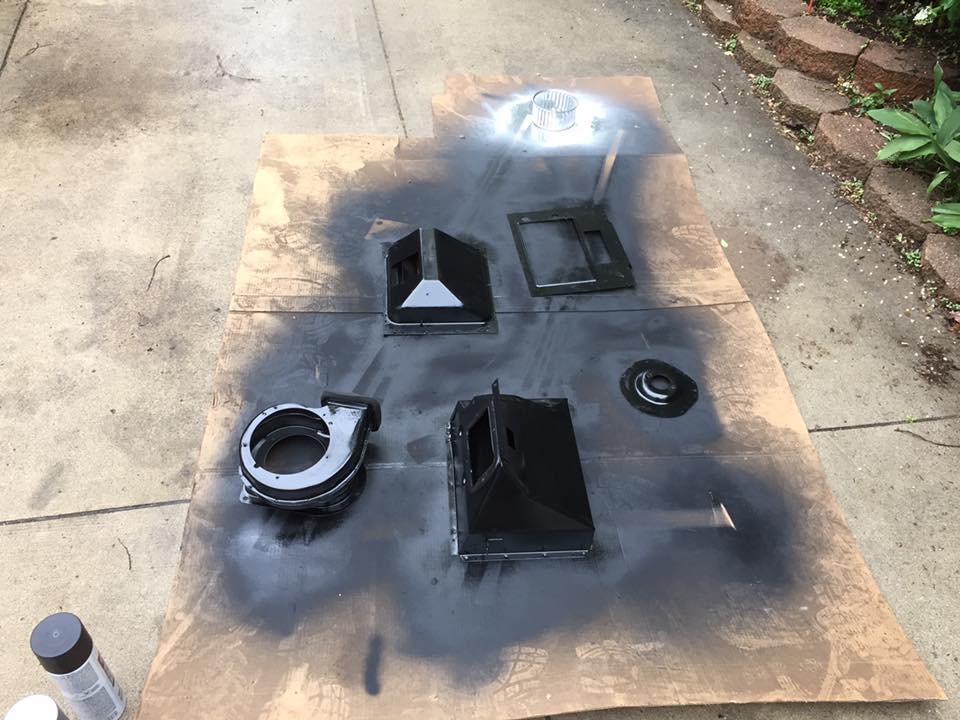
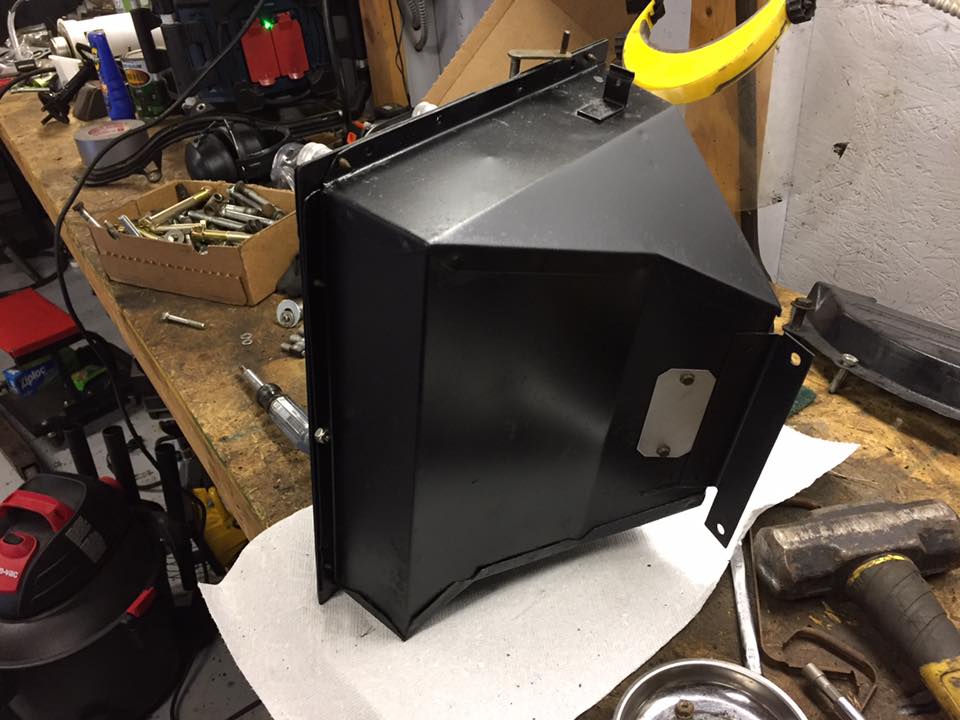
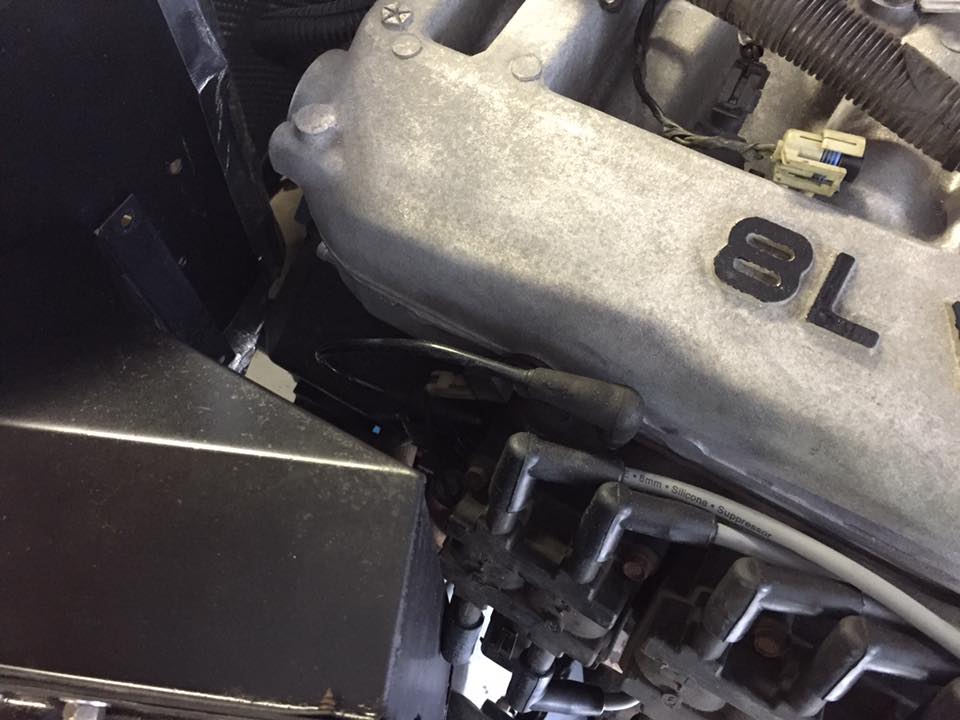
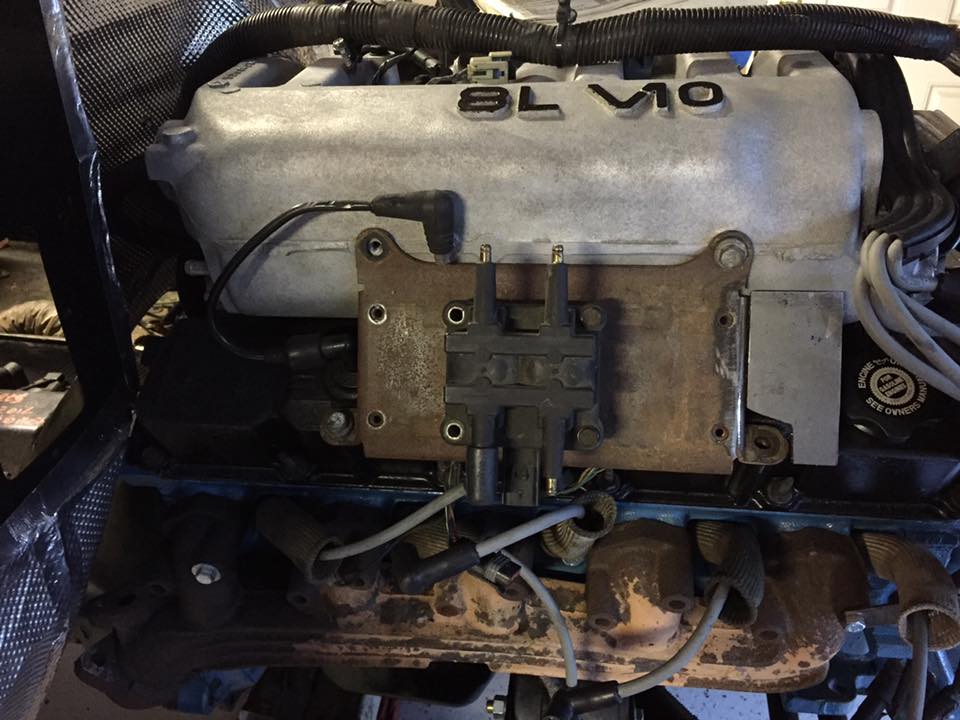
When that roadblock surfaced, I changed gears again to redoing the heater box. It was pretty humid yesterday so the paint may not have come out the best, but it looks better. I gave it a new, non-leaking, heater core and slapped it back together. When I went to put it back on the truck, I found out that it interferes with the coil packs. So now I’m fabricating a mount to move them forward 2”. If it’s not one thing it’s another right?

painting all of the heater box pieces
64263090_2174245002867554_5394156174163574784_n.jpg


reassembled. Not too shabby!
64363654_2174245009534220_1524548733918773248_n.jpg

64255212_2174245042867550_6787896301783613440_n.jpg


And the coil pack interference
64242236_2174245059534215_6428316382722523136_n.jpg


starting to modify my spare bracket to move the coil packs 2" forward
64524850_2174245086200879_6828962528505102336_n.jpg


So hopefully I’ll at least get my coil packs relocated today/tomorrow and I can start sorting all of the wires. I’ll worry about the fuel tank later.
 
  • Like
Reactions: Fletcher8969
I was able to get my ignition coil pack relocation done and painted yesterday. I think it came out pretty good.
64708653_2176176496007738_7366216766336270336_n.jpg


64883372_2176176512674403_845116119218913280_n.jpg


As far as wiring everything up, I've been thinking about it and talking it over with my friends and co-workers. The harness that came with the engine (the one in the pics) is only a partial harness. It's the engine harness, PCM/ECM, and front half of the body harness. Instead of starting there and adding a lot of wires, I've decided to remove the full harness from the donor truck in my driveway. I drove that truck before I bought it so I know it works (minus the knocking engine that goes through coolant like it's its job). I'm labeling every connector as I remove it and hopefully once it's out, I can roughly put it into the 715 to test fire the engine! After that, I'll run the harness and remove what systems I don't need. I still want to keep the 715 body harness intact since it works and doesn't need anything at the moment. I'll have to make changes for gauges, radios, extra lights, wipers, different A/C, and remove ABS systems, Cruise Control, etc. Hopefully this all goes smoothly.
64950760_2176176542674400_3456973383609090048_n.jpg
 
I was able to remove the wiring harness from the donor 2500 yesterday. It only took about 3 days... My hands are beat up from the IP metal and everything hurts from contorting into strange positions, but it's out! And now I can hook it all up and see if I can't get the engine to fire for a few seconds. I might put the fuel module in a 5gal bucket with some gas for the test fire. But I'm not sure how safe that would be...

the 2nd engine harness
65224872_2181452188813502_4074838707272679424_n.jpg


IP harness, gauge cluster, and rear harness
65237016_2181452212146833_639835047750270976_n.jpg


blurry pic of the front harness and power distribution block.
65611064_2181452222146832_6493775545489162240_n.jpg


and what's left of the unsuspecting dodge IP
65433986_2181452172146837_6729024197214863360_n.jpg
 
I was able to make decent progress this weekend with the wiring and fuel system. When I put the 2500's harness on the engine, I quickly discovered most of the connectors were different. There were the same number of pins, same color wires, just different shaped connectors. I think it's because the engine is from a '95 truck and the harness is from an '01. I switched the coil packs and injectors on the engine but I had to splice some of the old connectors onto the newer harness.

splicing the new harness together
65302510_2183031795322208_5749678019144843264_n.jpg


I plugged it all in and it's all looking good so far. I key'd on the power and the 2500's gauge cluster lit up and showed the warnings that I expected. Next is to test ignition, then see if it will burn with starting fluid, then a full on gas test. My started motor should come in today so hopefully I can get a test fire done!

harness temporarily installed onto the engine with my controls at the front.
65394055_2183031815322206_9062177443174940672_n.jpg


I also started the process of modifying my fuel tank. I was terrified to cut it since these tanks are pretty hard to come by. Luckily, it all went well and it should work for me! I cut a ~5.5" opening for the dodge fuel module and drilled holes for mounting screws.

cutting the hole
65744289_2183179188640802_2310694007270801408_n.jpg


setting the screw positions
65526499_2183179218640799_3159639253042855936_n.jpg


A piece of fuel-resistant rubber is sandwiched between the fuel module flange and the tank. I applied copious amounts of fuel resistant sealant to the rubber, flange, and exterior. It should keep the gas in.

test fit
65587498_2183179241974130_6079372834205859840_n.jpg


The module itself had to be lengthened ~1.75". My measurements put the bottom of the module ~2" from the bottom of the tank. After extending the module and securing it with some screws, I estimate it's ~.25" from the bottom now.

lengthening the module
65689666_2183179301974124_6725583778086912_n.jpg


In an ideal world, it would be making contact, but at least this way, I'll be able to utilize more of the tank's capacity.

all sealed
65481878_2183179321974122_5219296463426682880_n.jpg
 
I got a little more done with the fuel tank last night. Since it has a giant new hole in the top, I figured this was the perfect excuse to clean it out. I had had rusty fuel problems a couple years ago when I first started driving the truck so I'd like to avoid a repeat of that. Luckly, it's all surface rust and I was able to clean off everything I could reach. I used some CLR, a lot of water, and a scotch-brite pad. Aside from the other side of the baffle where I can't reach, it cleaned up pretty well! Now I just need to clean and paint the exterior.

65769706_2184599975165390_5226648803192340480_n.jpg


Before:
66330627_2184599981832056_4557909742231486464_n.jpg


After!
65654648_2184600015165386_7116877636877418496_n.jpg