2018 GMC Canyon MTB/Overland/Adventure Rig

  • HTML tutorial

JCWages

Rank V
Launch Member

Pathfinder I

2,271
Grass Valley, CA, USA
First Name
Justin
Last Name
Wages
Member #

18693

Did you ever run into transmission issues with the larger tires? I’m wondering if recalibrating for the larger tires is going to be needed.
I had no issues with the 32" tires (255/75/17) but at 32.8" (P285/70/17) I noticed the transmission didn't shift as well and the shift points seemed off a bit. I could have lived with it but a friend on coloradofans was selling his Hypertech inline speedo calibration module for a decent price so I bought it. They are not for sale in CA so I lucked out. I wouldn't say you need to reprogram the truck with a 33" tire but it is helpful from a driveability standpoint and it makes the speedometer read correctly.
 
  • Like
Reactions: OutsideSeth

JCWages

Rank V
Launch Member

Pathfinder I

2,271
Grass Valley, CA, USA
First Name
Justin
Last Name
Wages
Member #

18693

I attended a staff retreat in Soda Springs this week and with the impending storm I decided to carpool with a coworker in my truck just in case we didn't get out of the mountains before the big snowfall hit. I'm glad I drove because it altered my route and as such I took Hwy20 up to i80 and happened across a grey fox on the side of the road who appeared to be alive, barely, and was obviously freezing. The rest of that story is pretty neat. If you're interested you can read about it here:

https://yubanet.com/regional/injured-fox-found-on-hwy-20-is-recovering-thanks-to-the-kindness-of-passersby-and-gold-country-wildlife-rescue/


Once in Soda Springs I didn't get a chance to drive much but the snow was pretty amazing and it made me wish I could sneak away for some snow wheeling....

This was on Thursday before the storm.... It's supposed to really start snowing again mid-day today and go on for all of next week.


On the drive back today


I made it back in time to find my CBI ditch light brackets had arrived so I proceeded to install the brackets and my new Nilight 60w 4" LED pods (spot/flood combo). I purchased the Nilight wire harness and 5pt switch but the harness isn't quite long enough when stretched between the 2 pods to allow me to tuck the wire harness under the cowl to hide and protect it so I will need to buy some wire to extend the harness. For now it is ziptied to the AC lines that run next to the cowl. I also couldn't mount the switch on the left side of the dash (near the 4wd dial or right of the trailer brake) because there are structural supports for the dash behind those panels. Now I see why everyone is sticking their switches in the center console area of the dash. :( So I had to zip tie that to the bottom of the dash until I can find a better spot that is easy for me to access. *sigh*

They work pretty well but it looks like I need to aim the beams a bit higher. The spot portion of the light hits the ground in front of the truck and is much too close. The spot almost looks blue compared to my HID low beams and is rather annoying. I'll try aiming them tomorrow night and see if that helps. They really light up the sides of the road MUCH better than my foglights do so for my intended purpose they work great. Eventually I'll replace them with a higher end brand but for $30 I'm pleased for now.


Low beam only (Morimoto 35w 5000k HID)


Low beam and LED (yellow JDM Astar 3200lm) fog light bulbs


Low beam, fogs and Nilight 60w 4" LED pods flood/spot combo


In the photo above you can see the pod's spot beam below the utility pole on the pavement. They are obviously aimed much too low
 

JCWages

Rank V
Launch Member

Pathfinder I

2,271
Grass Valley, CA, USA
First Name
Justin
Last Name
Wages
Member #

18693

Received the new DV8 887 wheels (17x9 +20mm offset) and had them installed. Unfortunately they reinstalled the 7mm spacers I had on the front so I can't say yet if the wheels will eliminate rubbing by themselves. With the spacers installed I have no rubbing even at full lock so I'm happy so far. I'll try removing them next week and see what happens. They totally transformed the look of the truck. It would be nice if they were lighter than 32lbs but for $139/ea I'm not complaining.

I expected to feel the extra weight while driving but so far acceleration feels the same. The OEM wheels weigh 25lbs vs. 32lbs for the DV8s. The vibration I've had since I installed the Wildpeaks is also reduced. I wonder if one of the OEM wheels had an issue. Multiple attemps at balancing including Road Force couldn't cure it.


JCWages

Rank V
Launch Member

Pathfinder I

2,271
Grass Valley, CA, USA
First Name
Justin
Last Name
Wages
Member #

18693

I picked up an ARB Snatch Strap and a generic 8' Tree Saver strap to add to my recovery kit. The ARB strap offers 20% stretch. That would have been very nice to have last weekend.... I'll be purchasing a Hi-Lift jack and ORK as well. Future plans include a Smittybilt winch and Midwest stealth mount bumper insert.


8' Tree Saver Strap
 

JCWages

Rank V
Launch Member

Pathfinder I

2,271
Grass Valley, CA, USA
First Name
Justin
Last Name
Wages
Member #

18693

Thank you America's Tire / Discount Tire. When I had the brand new DV8 877 wheels installed on my truck, the mounting arm protector broke and scratched all 4 wheels before the tech realized it. The scratches are not terrible but they are there. The salesman was up front about it and didn't try to hide the error. He took a bunch of pictures and said he'll talk to the manager and figure out how best to fix the problem. I politely said "mistakes happen and I'll await your call". I didn't act angry or nasty in any way. I left with a smile knowing they would take care of me. Later, I got a call from the salesman and they were going to order 4 brand new wheels for me. No hassle, just a straight up "we made a mistake and we're going to make it right". They don't even carry this brand of wheel so it's not as easy as just ordering from their distributor. That's real customer service ya'll and that's why they continue to get my business and my referrals. I declined the new wheels. It's an off-road truck after all. Instead they'll take care of me on my next set of tires. That saves both of us time and money. I really appreciate good service.
 

JCWages

Rank V
Launch Member

Pathfinder I

2,271
Grass Valley, CA, USA
First Name
Justin
Last Name
Wages
Member #

18693

I bought a MOLLE visor organizer to get some of the most commonly used items out of my center console. I haven't had time to put stuff on it yet but you get the idea. $10 on Amazon. The knife was on clearance at TractorSupply for $10 and has nice utility blade, glass breaker, cord/seatbelt cutter and quick open. It's not high end but I dig it assuming it holds even a remotely keen edge. I have 3 other sharp knives in the truck anyway.


I also purchased a 300w pure sine wave inverter for charging laptops and our ebikes while traveling. It rates pretty well and was only $45.

 
Last edited:

JCWages

Rank V
Launch Member

Pathfinder I

2,271
Grass Valley, CA, USA
First Name
Justin
Last Name
Wages
Member #

18693

I installed the Midland MTX115 GMRS radio this morning. The hardest part was figuring out how I wanted to mount the magnetic base antenna and get the huge connector through the lower dash without taking the center console apart. The radio unit is small so it left me with plenty of room to access the OEM cigarrete lighter and USB port. I ran the antenna wire through the bottom of the 3rd brake light in hope of reducing the chance of water leaking into the cab. I plan on replacing the tiny antenna with the taller Midland +6db antenna. I purchased the bundle package which includes 2 hand held radios as well. https://midlandusa.com/product/ormxt115vp-micromobile-gxt-bundle/

I'll tuck the red wires away later. I pinched my neck climbing around in the footwell...


Without my wireless phone charger mounted


Antenna


Drilled a hole through the back and fished the antenna wire through. I will tuck the power cable back through the hole to hide the excess. When I sell the truck I'll just plug the hole with a rubber plug.
 
  • Like
Reactions: OutsideSeth

JCWages

Rank V
Launch Member

Pathfinder I

2,271
Grass Valley, CA, USA
First Name
Justin
Last Name
Wages
Member #

18693

I finally got around to extending the wire harness for my hood mounted ditch lights. The harness wasn't long enough to tuck under the cowl and reach the passenger side light. I had it run against the firewall and ziptied to the AC lines which looked janky. I didn't wire loom or heat shrink large enought to fit 2 14ga wires so I twisted them together like we used to do for complicated car alarm installs. It came out nice and clean although you'll never see it under the cowl. :)

Before


After


I decided to mount the Arkon tablet arm to the transmission tunnel. I didn't feel like modifying the passenger seat bracket to try and make a mount. The 2nd Gen Colorado/Canyon doesn't have a seat mount bolt in the front like most vehicles. Once I get the bar shaped the way I want I will try to stiffen it up by adding another length of metal inside the loom and then pin it to point higher up on the console with a clamp. It's currently very sturdy but the tablet wobbles a lot if that make sense.


JCWages

Rank V
Launch Member

Pathfinder I

2,271
Grass Valley, CA, USA
First Name
Justin
Last Name
Wages
Member #

18693

A 285/70/17 (32.8) tire will fit in the OEM spare tire location without modifications. It wouldn't be a great spot for it while off-roading on trails where max clearance is desired but it sits above the lowest point of the rear diff and is a fine location for daily driving and mild trails.


OEM spare tire in place for reference. This photo was taken at a different angle so the tire appears to tuck up much higher than the 285 but the difference is smaller than it appears.
 

JCWages

Rank V
Launch Member

Pathfinder I

2,271
Grass Valley, CA, USA
First Name
Justin
Last Name
Wages
Member #

18693

After mounting a 3rd Maxsa traction board to my rack I noticed I was getting a lot of flex from the thin steel side bar they were mounted to. I noticed this before with full RotoPax mounted on the other side. I had my farmer friend weld on a couple of strips of steel to the top of the side bars to stiffen them up. If I were to do it over again I would have had him weld straight across instead of in spots for aesthetics but whatever, it was free. :)

I had to grind off the rust and shoot the new sections as well as some areas that had large scratches on the rest of the rack. Some self etching primer and then a few coats of bedliner spray did the trick.


It's not perfect but for an $80 work in progress I am happy. It's sturdy as hell.


I chose not to do a bottom bar because it really wasn't needed for strength and it would just collect mud.


While I was at it I decided to clean up my trusty shovel! Some grinding, rust converter paint and red farm implement paint and she's as good as new!


Mounted up with Quickfists
 
Last edited:

JCWages

Rank V
Launch Member

Pathfinder I

2,271
Grass Valley, CA, USA
First Name
Justin
Last Name
Wages
Member #

18693

*EDIT* To clarify this was mainly a test. I have since ordered new rear pads with rubber anti-noise shims


So I did what might be considered stupid but I was at my wits end with the squeaking rear brakes. Even regular brake grease wasn't fixing the problem anymore. I had so much grease caked on the brake pad backings that you could see if with the wheel installed! Still the annoying squeak persists. The dealer lubed it up and it fixed it for 1,000 miles or so but it came back. Sooooo I PlastiDipped them!

Yup, you read that right. I used PlastiDip and coated the backs of the brake pads and the copper-colored clips. I noticed that the front pad had a rubber backing on them and they never make any noise. The PowerStop pads I was ready to buy also have rubber backing on the pads sooooo why not at least give Plastidip a shot? I know the heat limit for Dip is 200F but supposedly it can withstand higher temps if only for brief periods and as long as it doesn't melt and become drippy then I will be happy. I've driven 60 miles or so with 5 drive cycles and so far so good. I'll remove the pads and inspect them after a couple of hundred miles to see how the Dip is holding up. Note, this is not a recommendation so much as an experiment to get some more use out of these pads until I actually need new ones. At which point I will be buying pads that have a thick rubber backing like the PowerStops.


Last edited:

JCWages

Rank V
Launch Member

Pathfinder I

2,271
Grass Valley, CA, USA
First Name
Justin
Last Name
Wages
Member #

18693

I found some interesting info on 4wd Action video on the Tube. It may be basic information for some but for others who are new to truck suspension it could be helpful.


The part I found most useful was the section on leaf spring tuning based on loads and how to identify if your truck is over or under sprung. I had a look at my springs with the bed rack, traction boards, shovel and spare tire mounted (approx.. 200lbs) but without the RTT (150lbs) and all of the heavy camping gear. It clearly looks and FEELS over sprung. I recently removed 150lbs of sandbags from the bed and that made a significant difference in ride quality. The harshness is back and the truck wants to buck when going over sharp bumps. The Icons keep things under control but just barely. With the sandbags in place the ride smooths out and feels great. Especially when I run 200lbs worth. Keep in mind on my setup I am using the OEM leaf pack with an Autospring AAL which ups "capacity" by 750lbs and raises the rear 1.5" to 2".

This is with the truck sitting flat on the ground with about 200lbs worth of gear in the bed but no sand bags. I'll post updated photos later with the sandbags in place.

 
  • Like
Reactions: OutsideSeth

Pathfinder I

1,685
Pacific Northwest
First Name
Steve
Last Name
Claggett
Service Branch
U. S. Army
Coloraofans.com has a couple of treads on rear leaf springs for the Twins. The ZR2 has a 2 stage rear spring that gives you a fairly soft ride but it hits the second stage pretty hard and makes the rear of the truck buck. Deaver and 1 or 2 other manufacturers are making replacement leafs that don't hit as hard. Built for different weights and ride heights. Only draw back is they are very spendy, near 1.5k for some setups.

My Ext cab has about 170lbs on the nose, winch, mount and light bar. I carry a tote in the back seat at 50lbs and about 150lbs of gear in the front of the bed. I use a 5/8" spacer on the front shock/coil over and the truck sits level, 38 1/2" at all 4 wheelwells. My only complaint, and it's minor, is the hard hit when I compress the rear springs to the limits. I would like the try out the Timbren off road bump stops on the rear and see if it helps. I've replaced the front bump stop with a taller stop off a full size Chevy.
 
  • Like
Reactions: JCWages

JCWages

Rank V
Launch Member

Pathfinder I

2,271
Grass Valley, CA, USA
First Name
Justin
Last Name
Wages
Member #

18693

Coloraofans.com has a couple of treads on rear leaf springs for the Twins. The ZR2 has a 2 stage rear spring that gives you a fairly soft ride but it hits the second stage pretty hard and makes the rear of the truck buck. Deaver and 1 or 2 other manufacturers are making replacement leafs that don't hit as hard. Built for different weights and ride heights. Only draw back is they are very spendy, near 1.5k for some setups.

My Ext cab has about 170lbs on the nose, winch, mount and light bar. I carry a tote in the back seat at 50lbs and about 150lbs of gear in the front of the bed. I use a 5/8" spacer on the front shock/coil over and the truck sits level, 38 1/2" at all 4 wheelwells. My only complaint, and it's minor, is the hard hit when I compress the rear springs to the limits. I would like the try out the Timbren off road bump stops on the rear and see if it helps. I've replaced the front bump stop with a taller stop off a full size Chevy.
I posted this in that forum too. The info is pretty good.

The ZR2 leafs seem like they would be a nice upgrade for off-roaders who DON'T load the bed down. For the rest of us it's going to take a custom pack to fix our issues. I hope the ARB leafs are as good as expected. It seems like they have done their homework.
 

JCWages

Rank V
Launch Member

Pathfinder I

2,271
Grass Valley, CA, USA
First Name
Justin
Last Name
Wages
Member #

18693

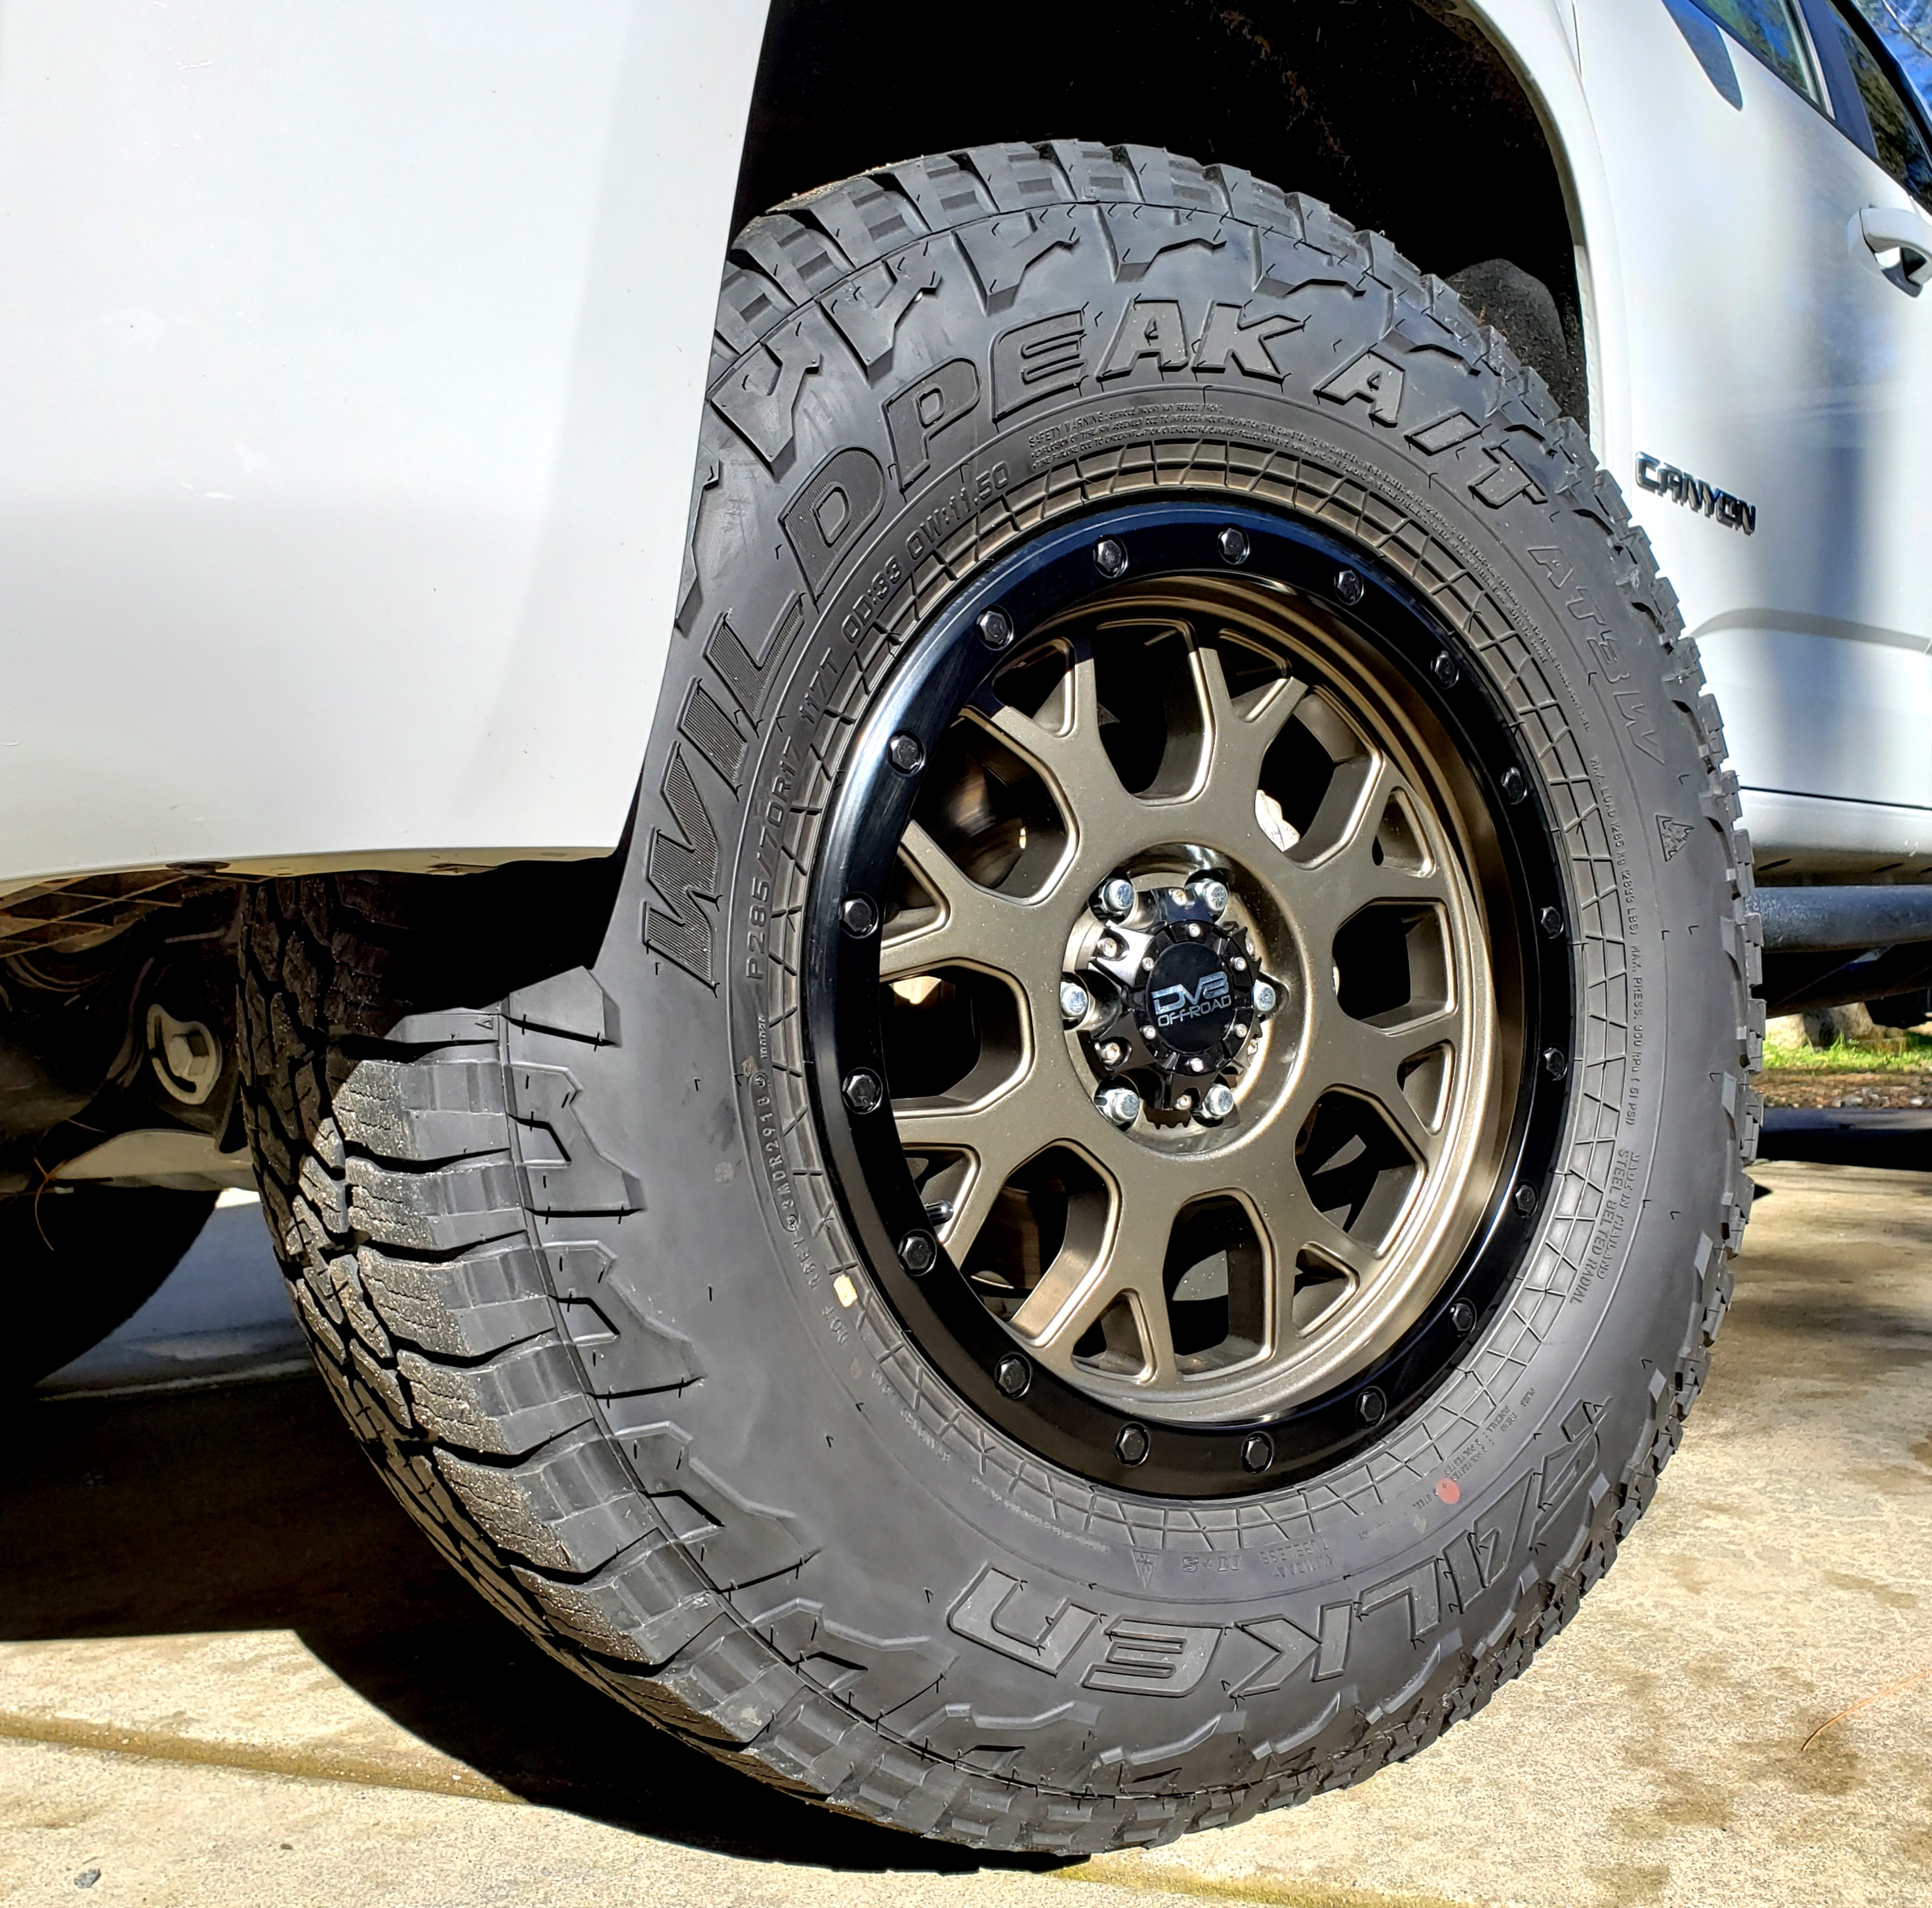
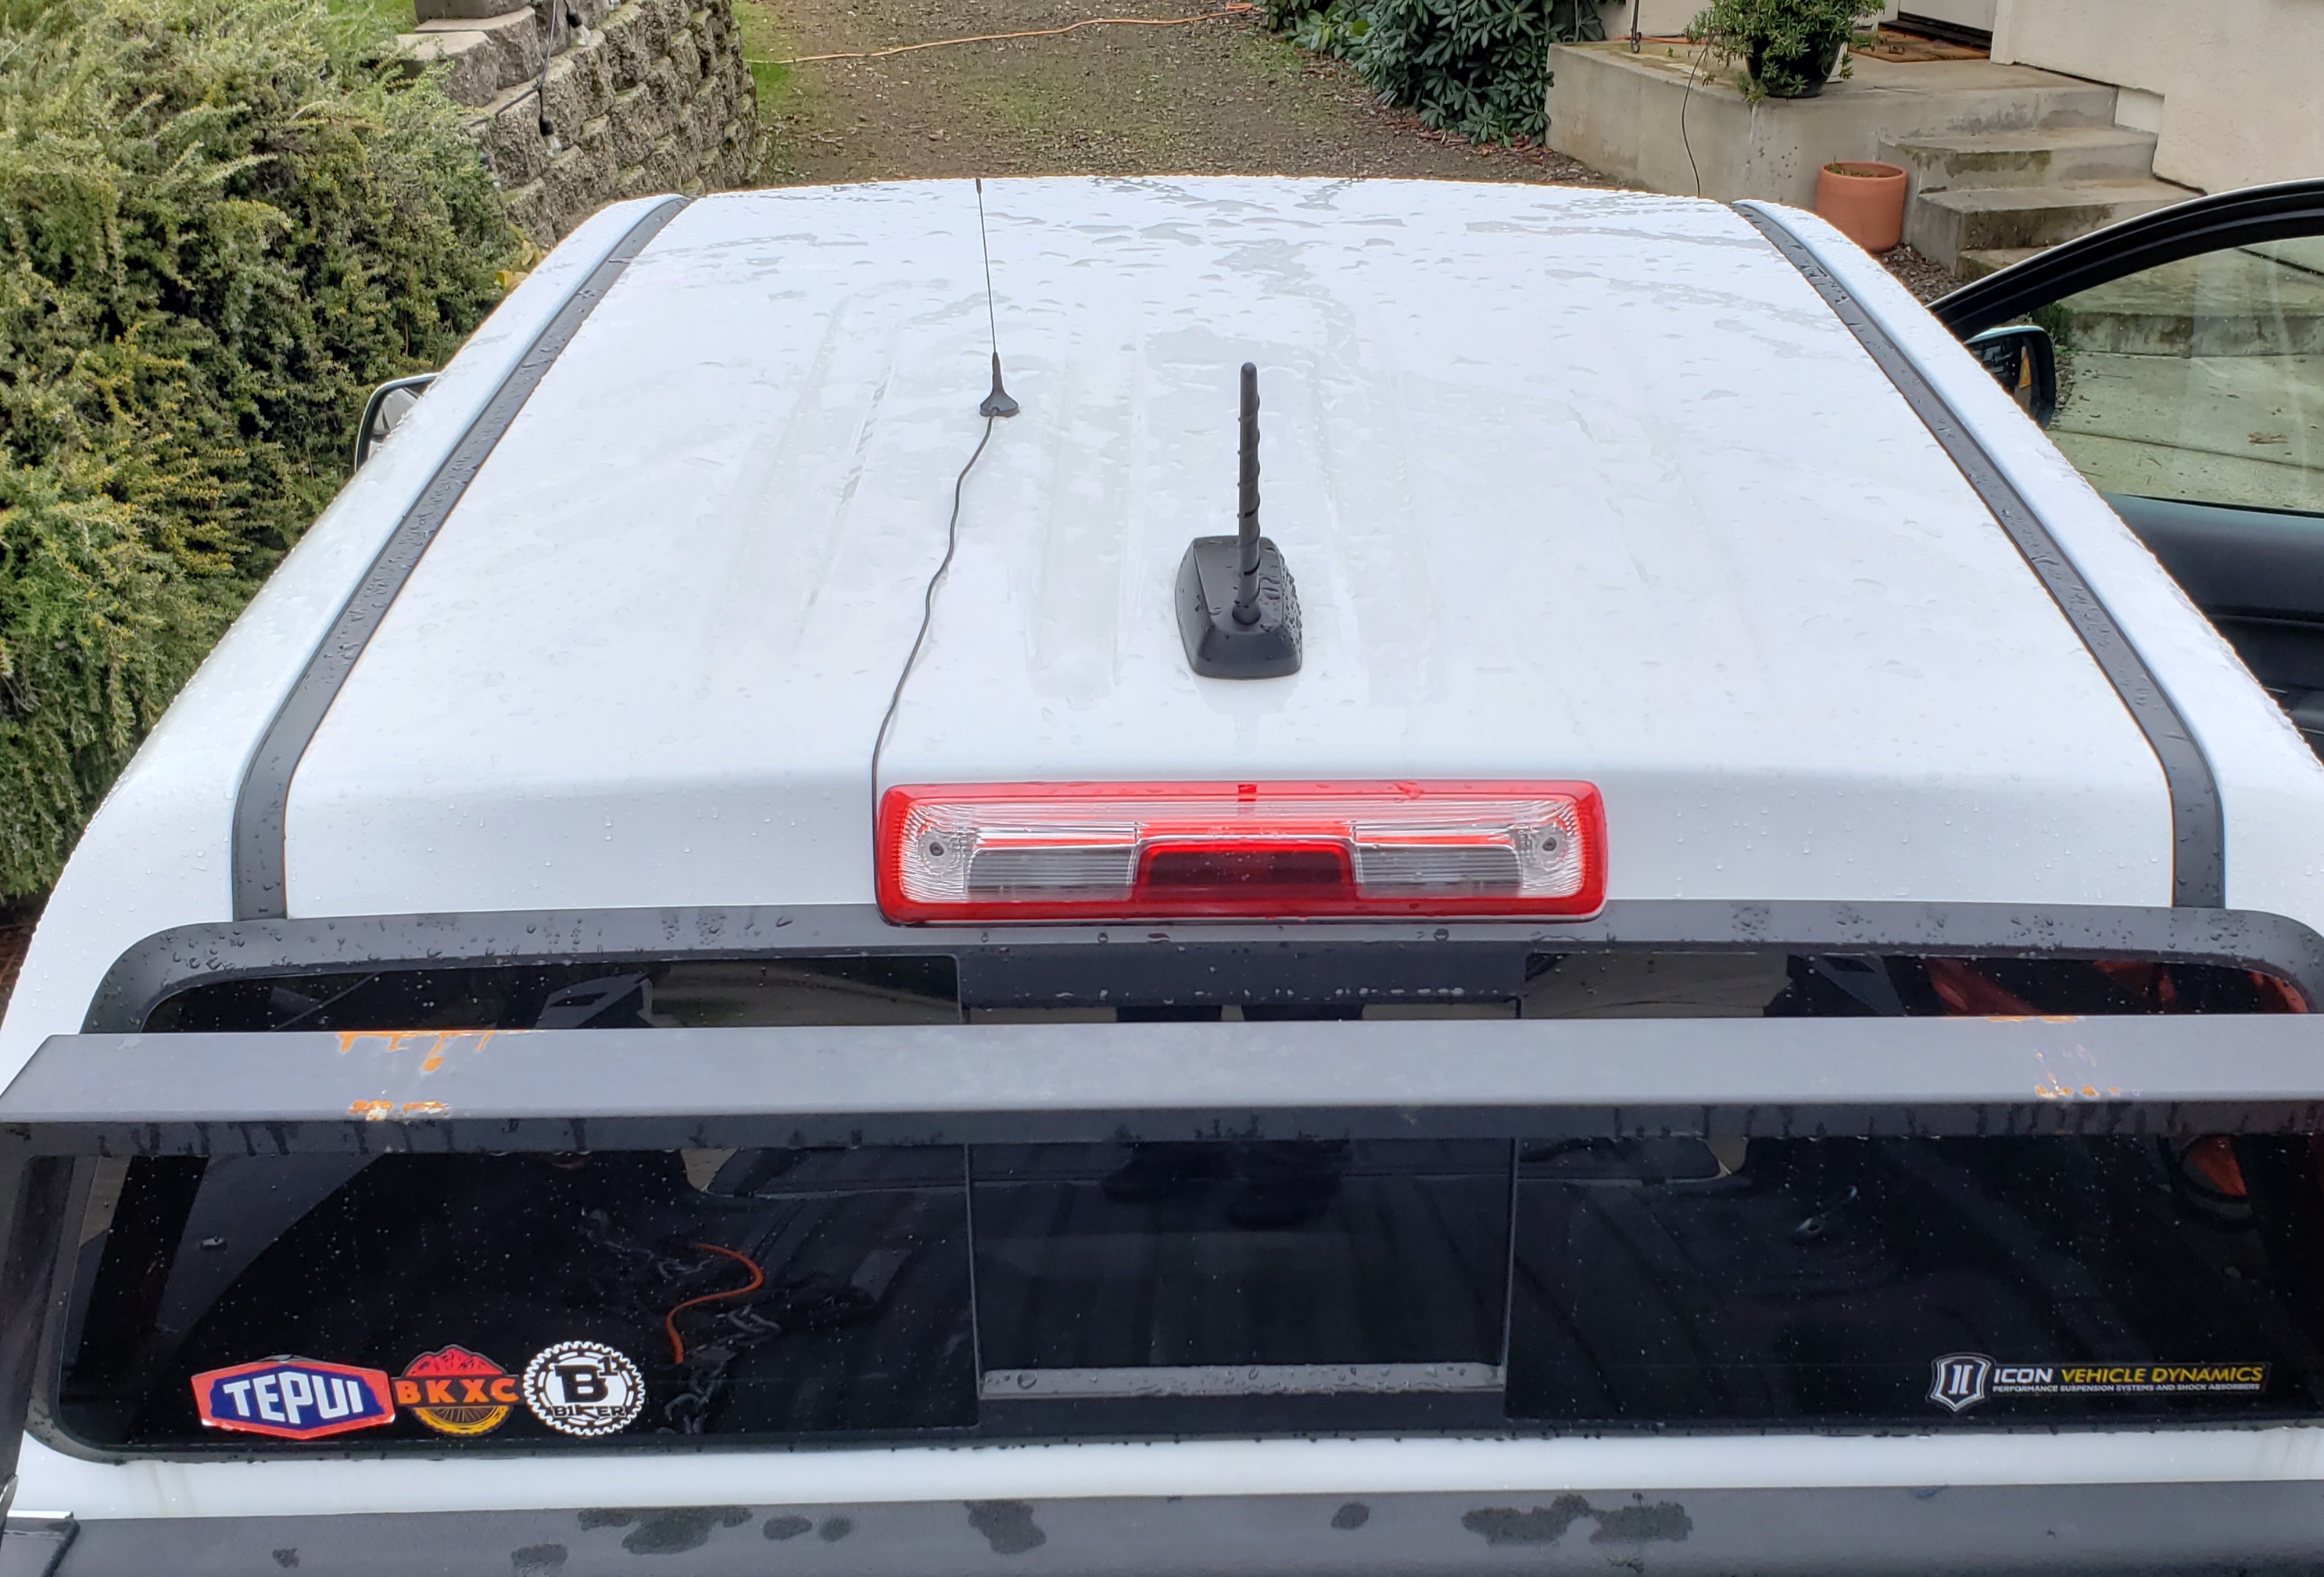
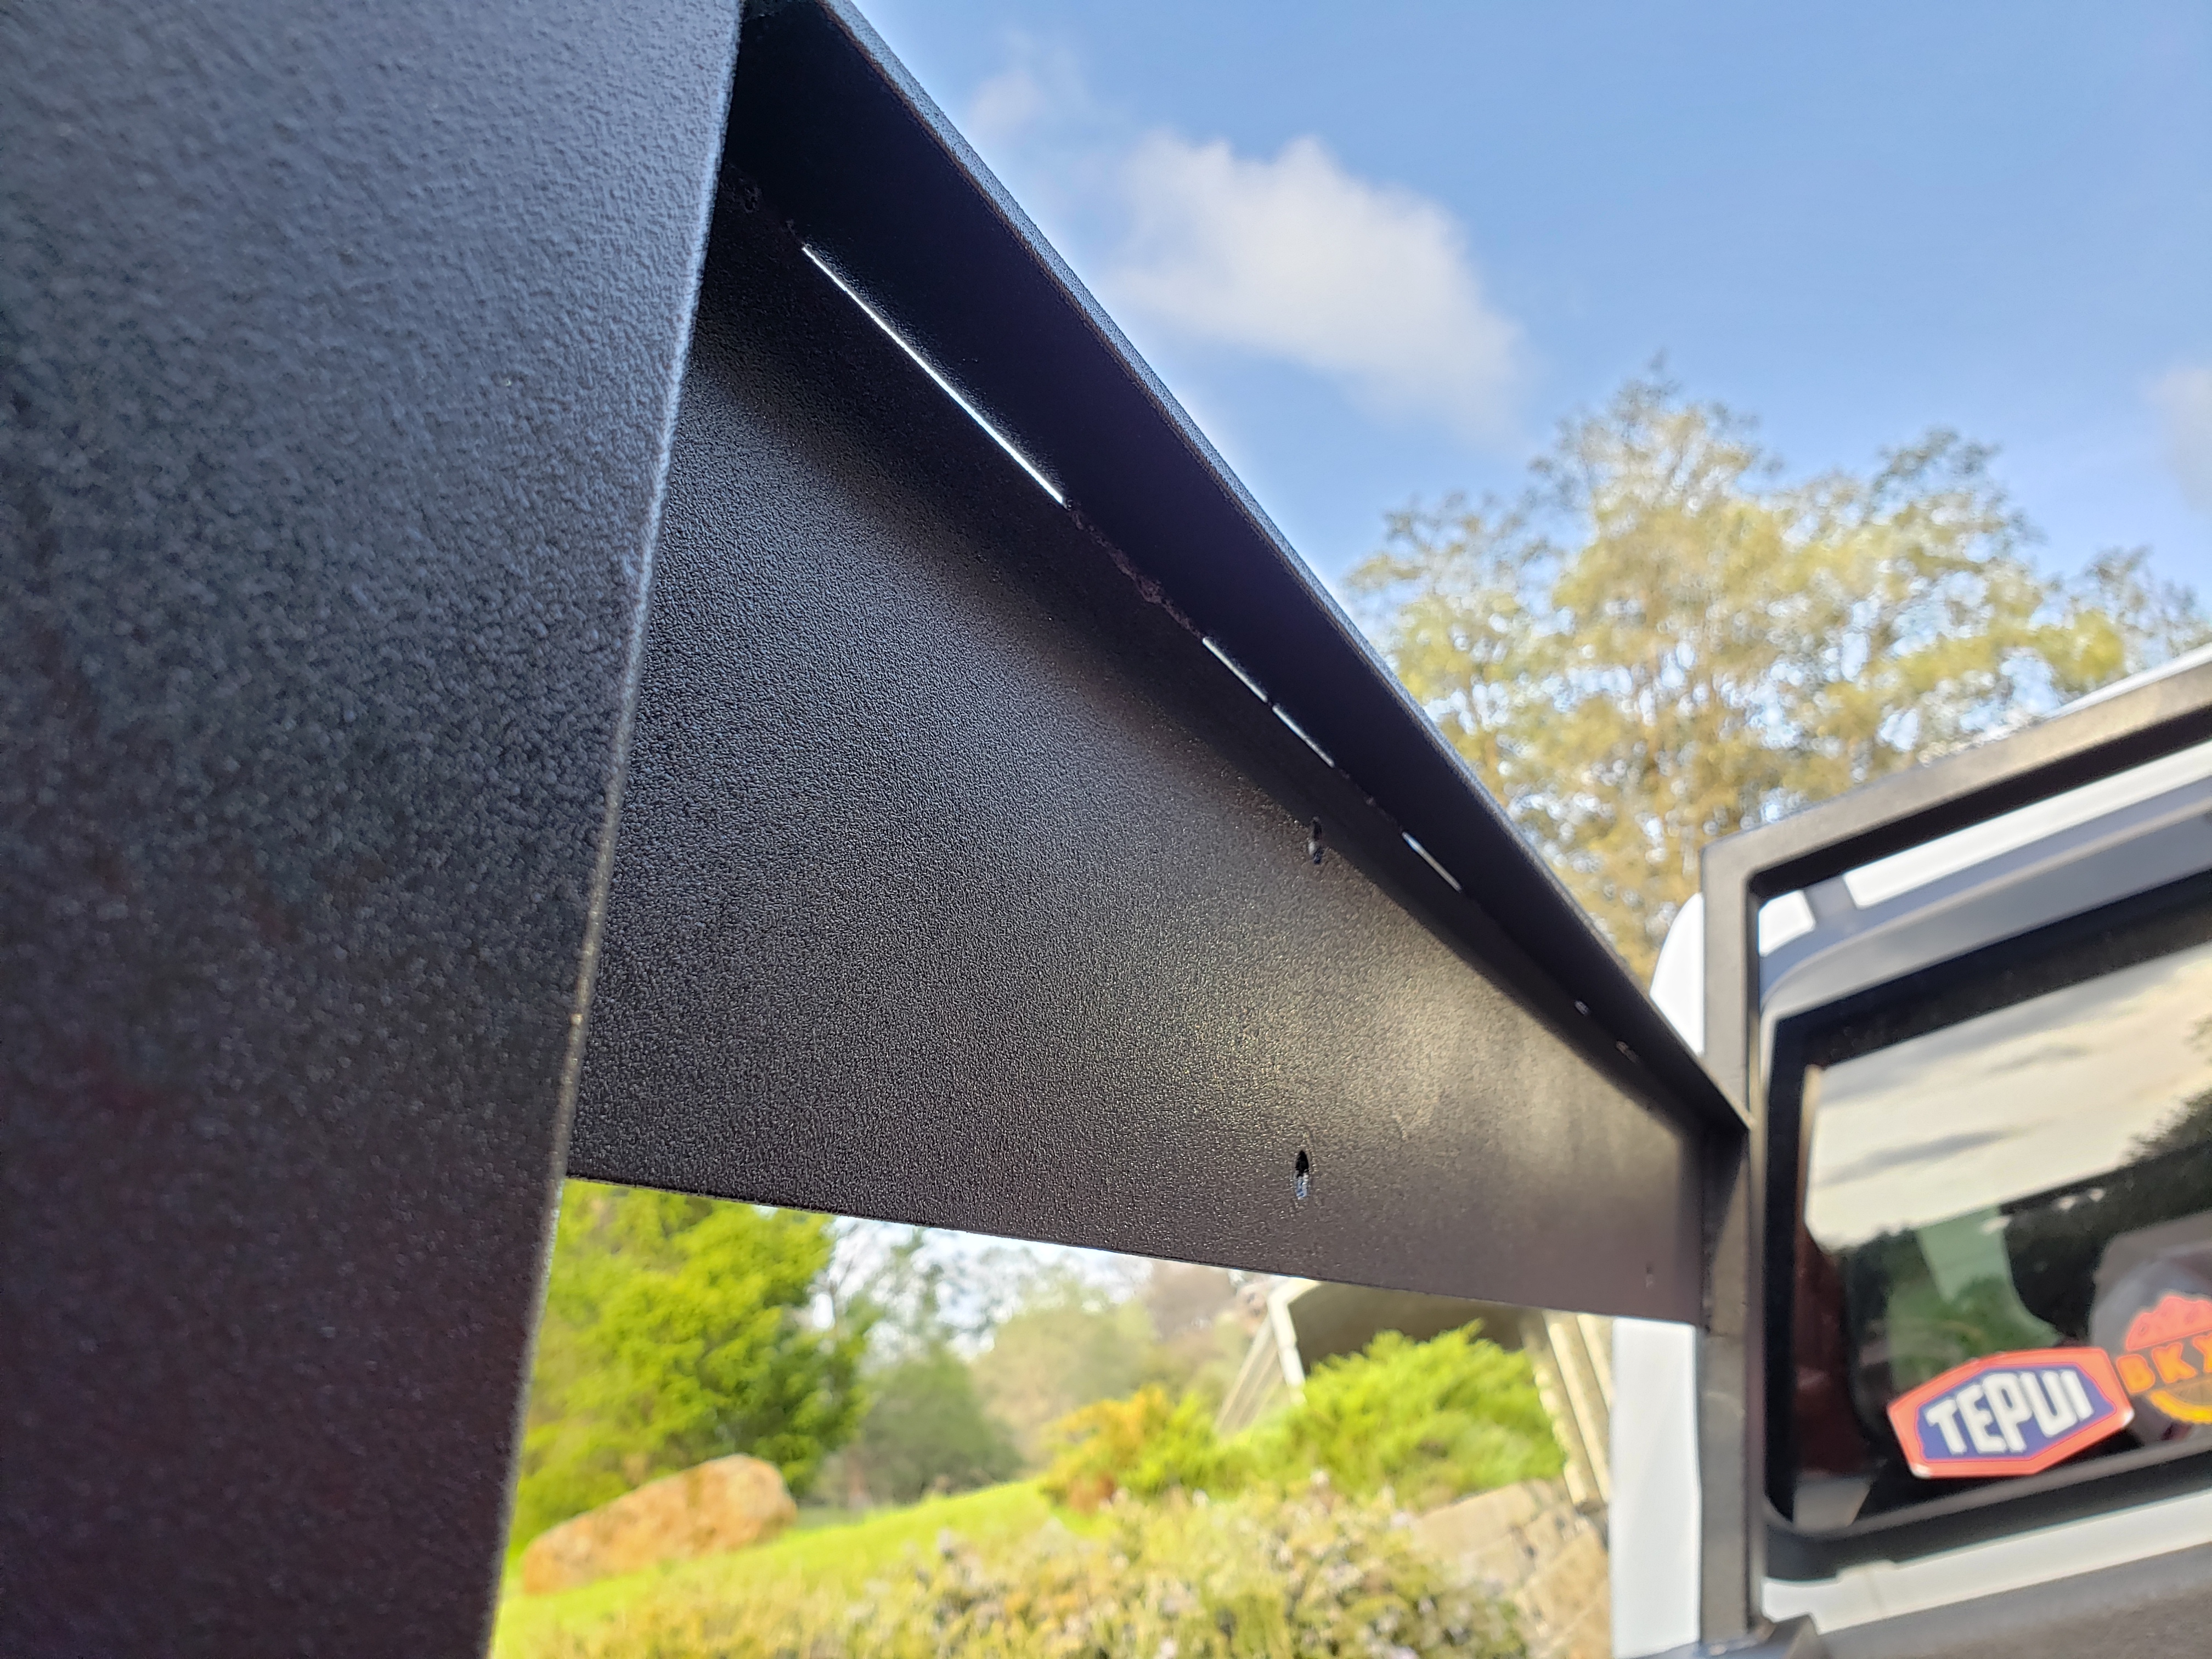
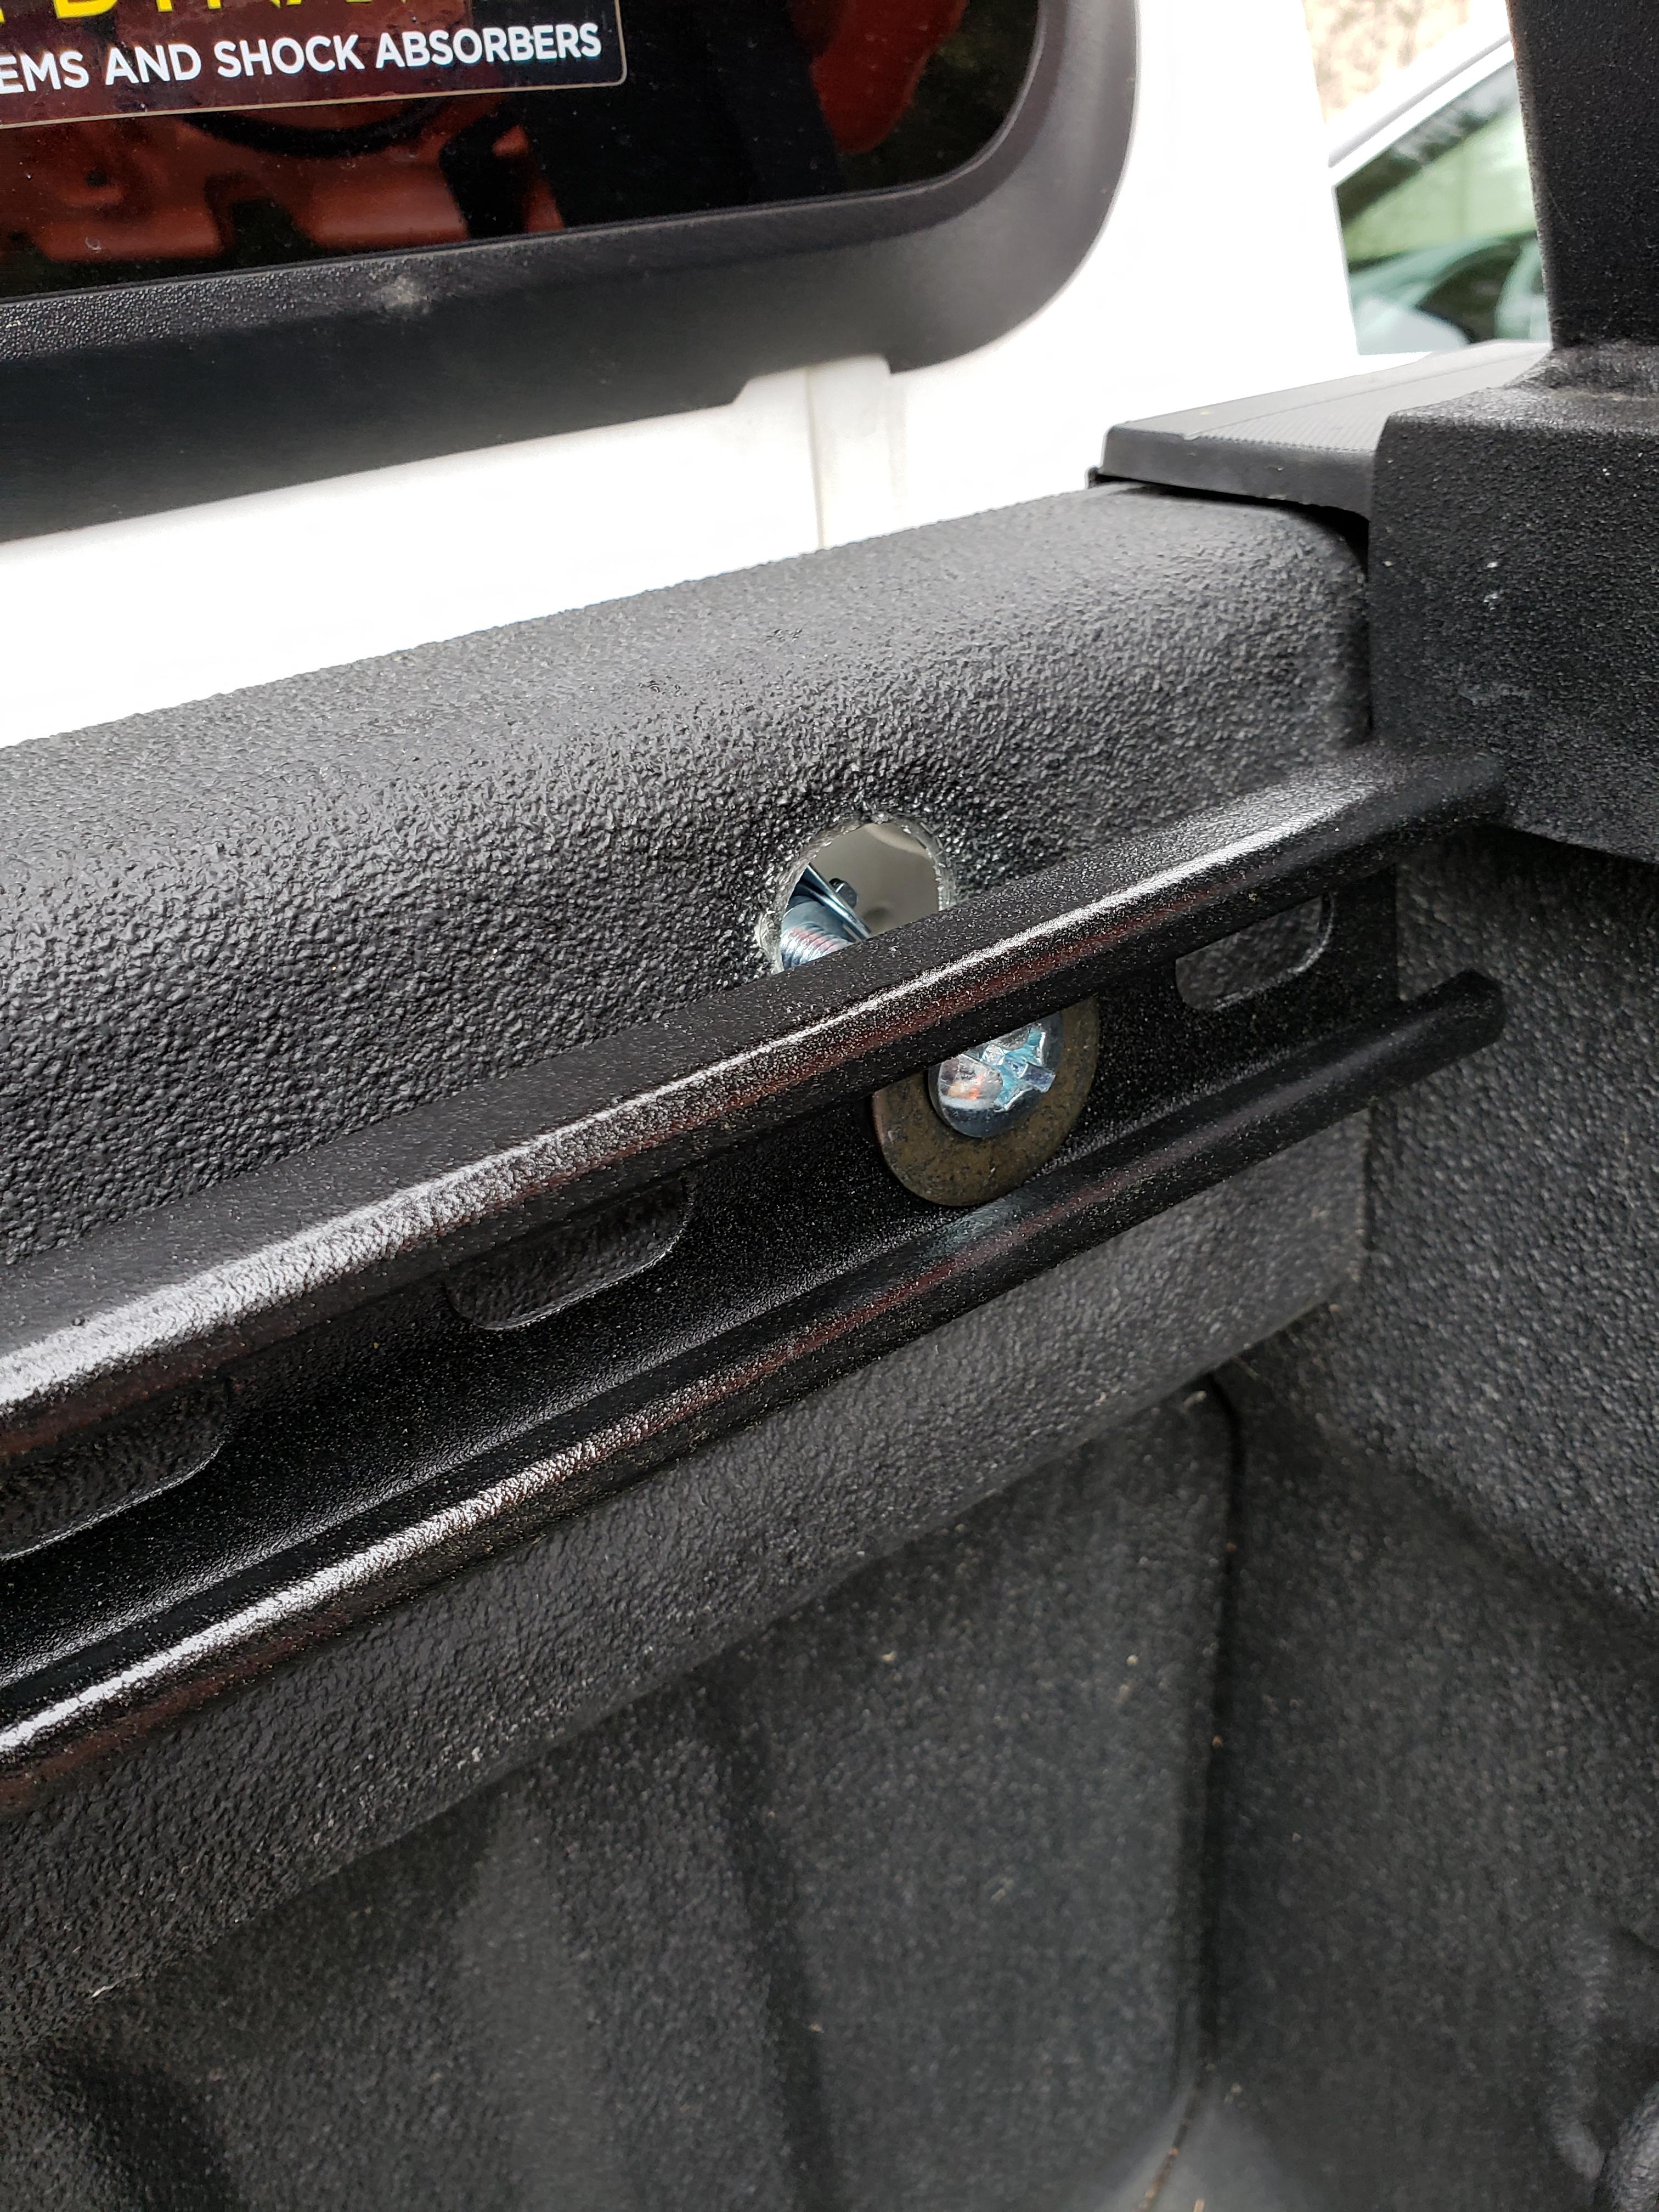
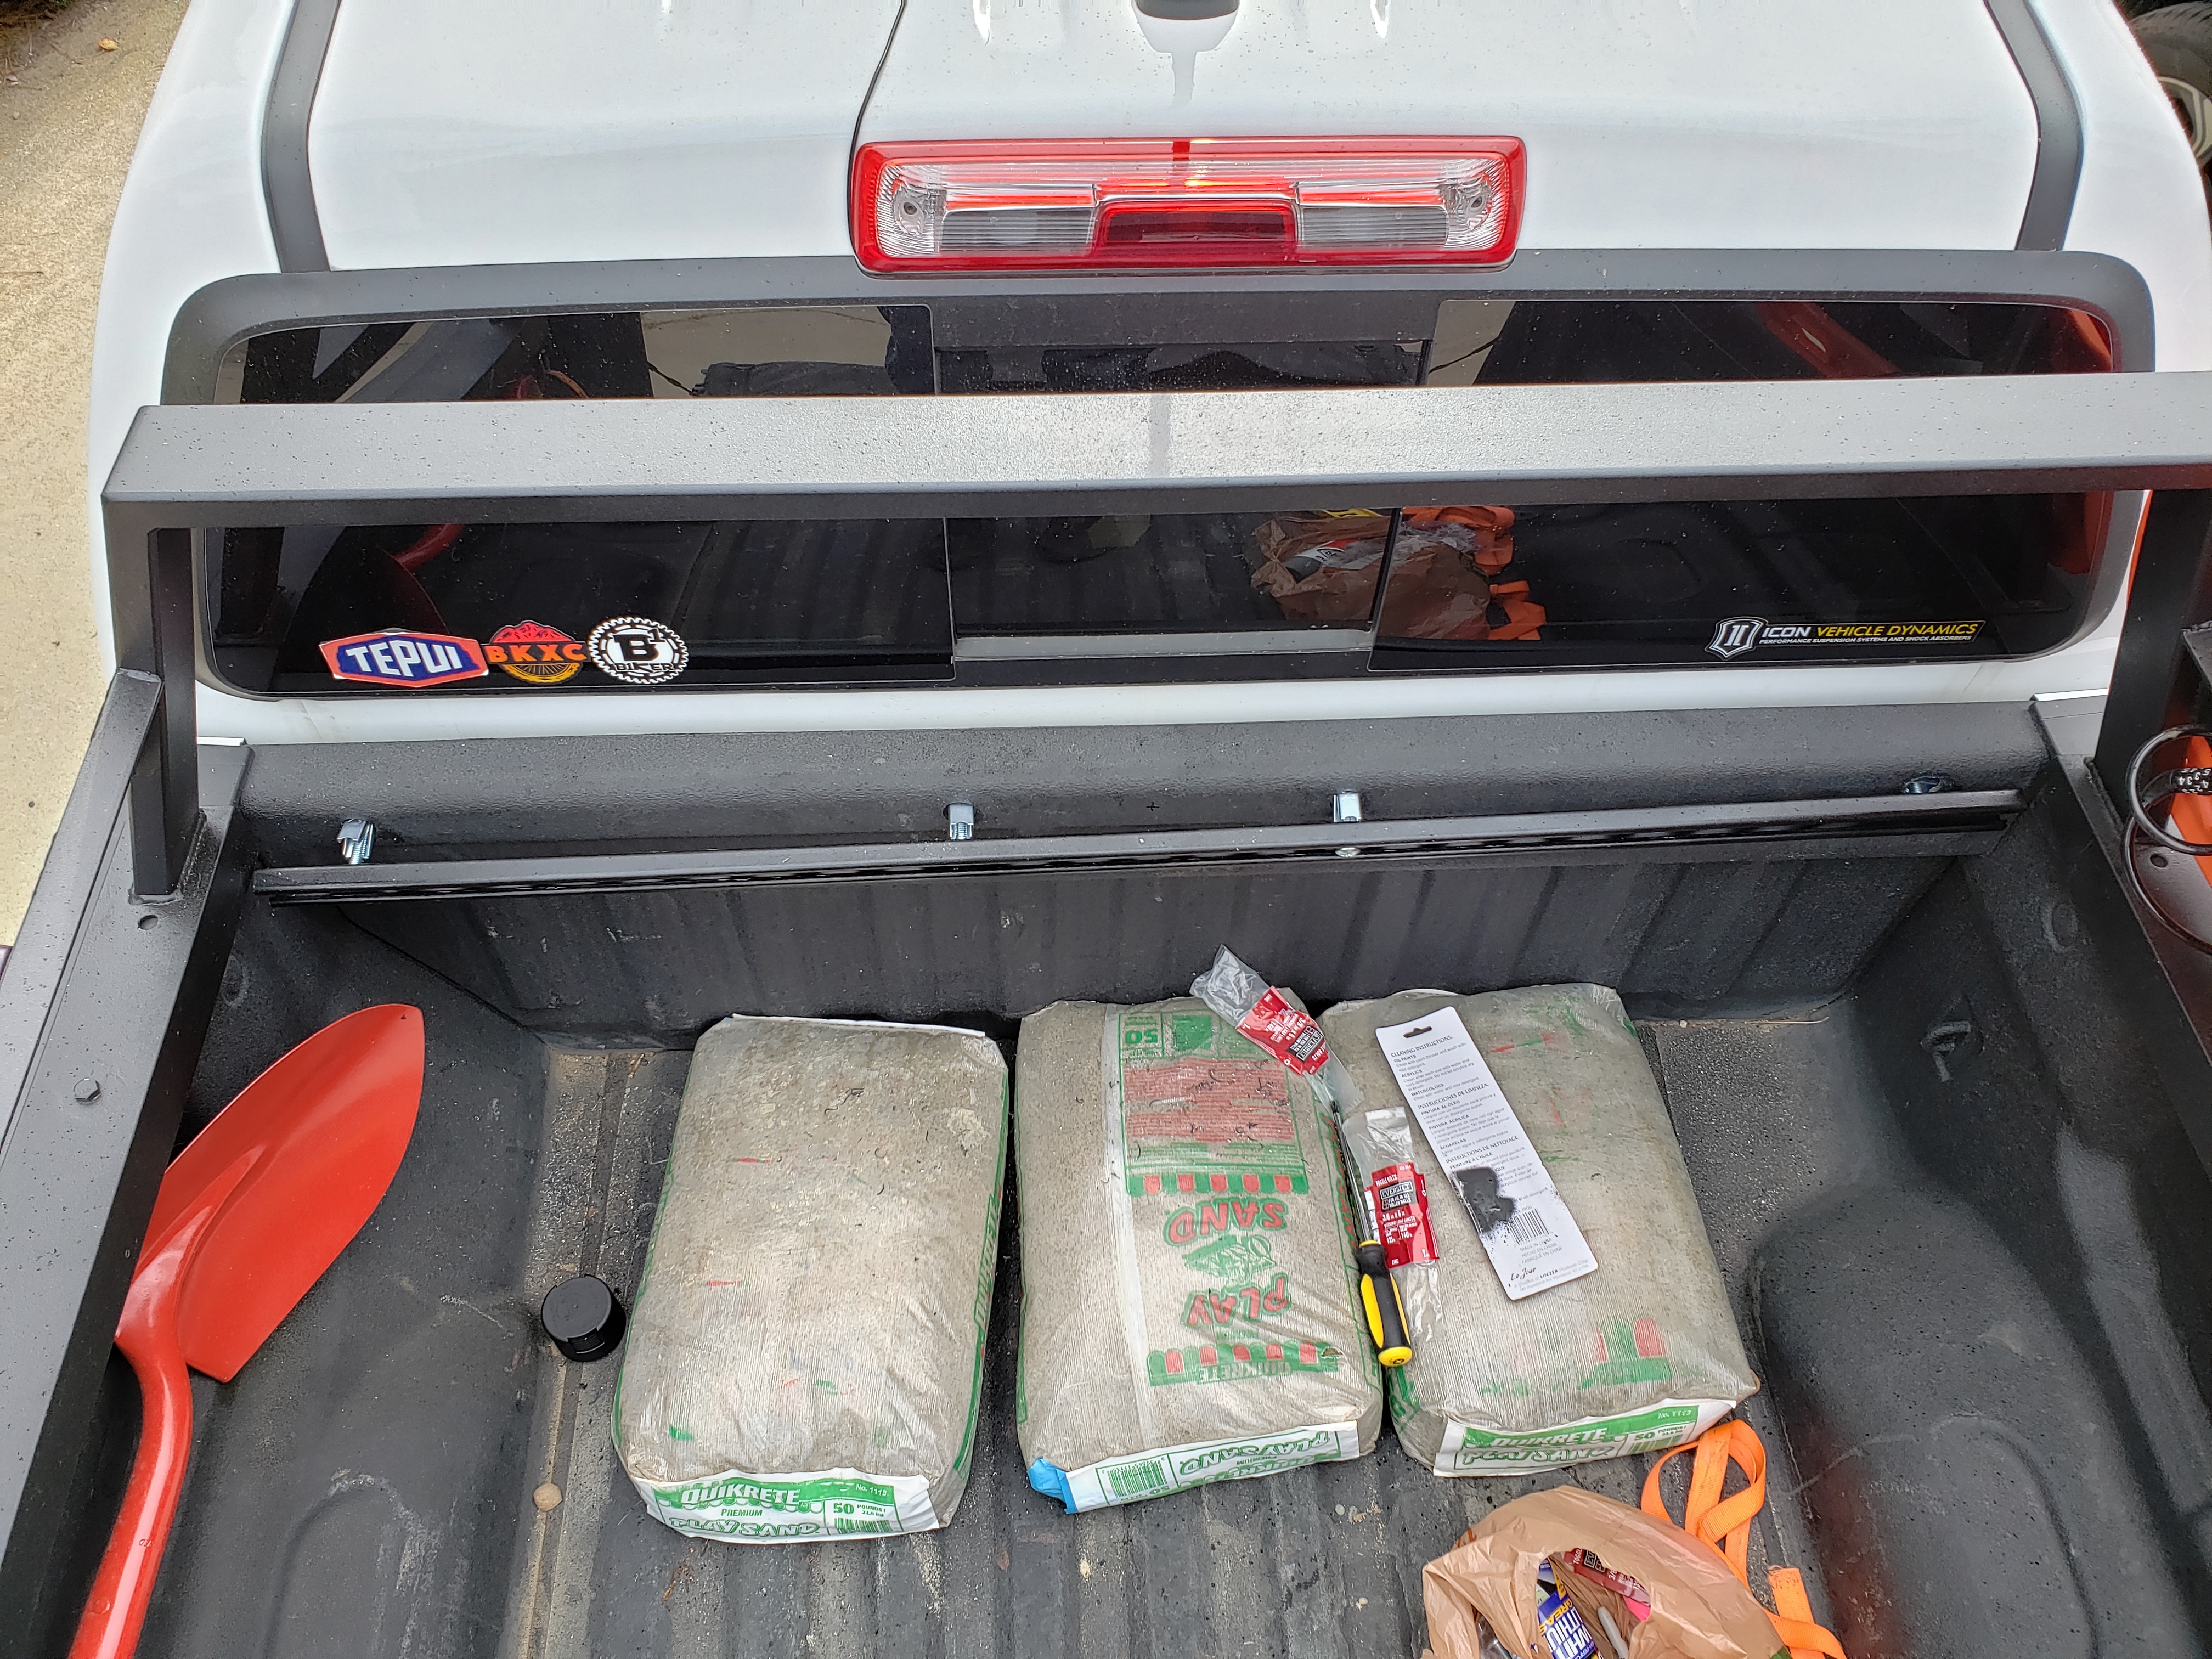
I finished up mounting the utility rails (superstrut or unistrut $20 for 10') on the back wall of the bed. I wanted to retain the use of the OEM holes for tie downs so I drilled 4 1" holes above them on the flat section of the bed. I used a 1" hole saw to cut through the bedliner and sheet metal then sprayed the expose metal with rust inhibiting enamel.


To mount the rails to the bed I used 3/8" x6" toggle bolts ($1.98/ea). Unfortunately all I could find were 6" long bolts so I used and angle grinder with a cutoff wheel to cut 3"+ off the ends of the bolts. Each toggle bolt was only $1.98 so while wasteful at least it didn't cost a lot. I used black zinc washers between the bolt heads and the rail. Later I can brush paint the bolt heads black as well if desired.

I drilled the 1" hole on one side of the bed and mounted 1 side and snugged the toggle bolt up just enough so that I could put a bubble level on the rail and mark the next 3 holes. Be sure to compensate for the lean of the truck. My driveway is slanted a little down to the drivers side so I put the level on the top of the bed (below the window) and noted the bubble placement and made sure the bubble was in the same location for the rail. I then loosened the mounting toggle bolt so the rail moved far enough away from the bedwall so I could get the remaining toggle bolts screwed together.


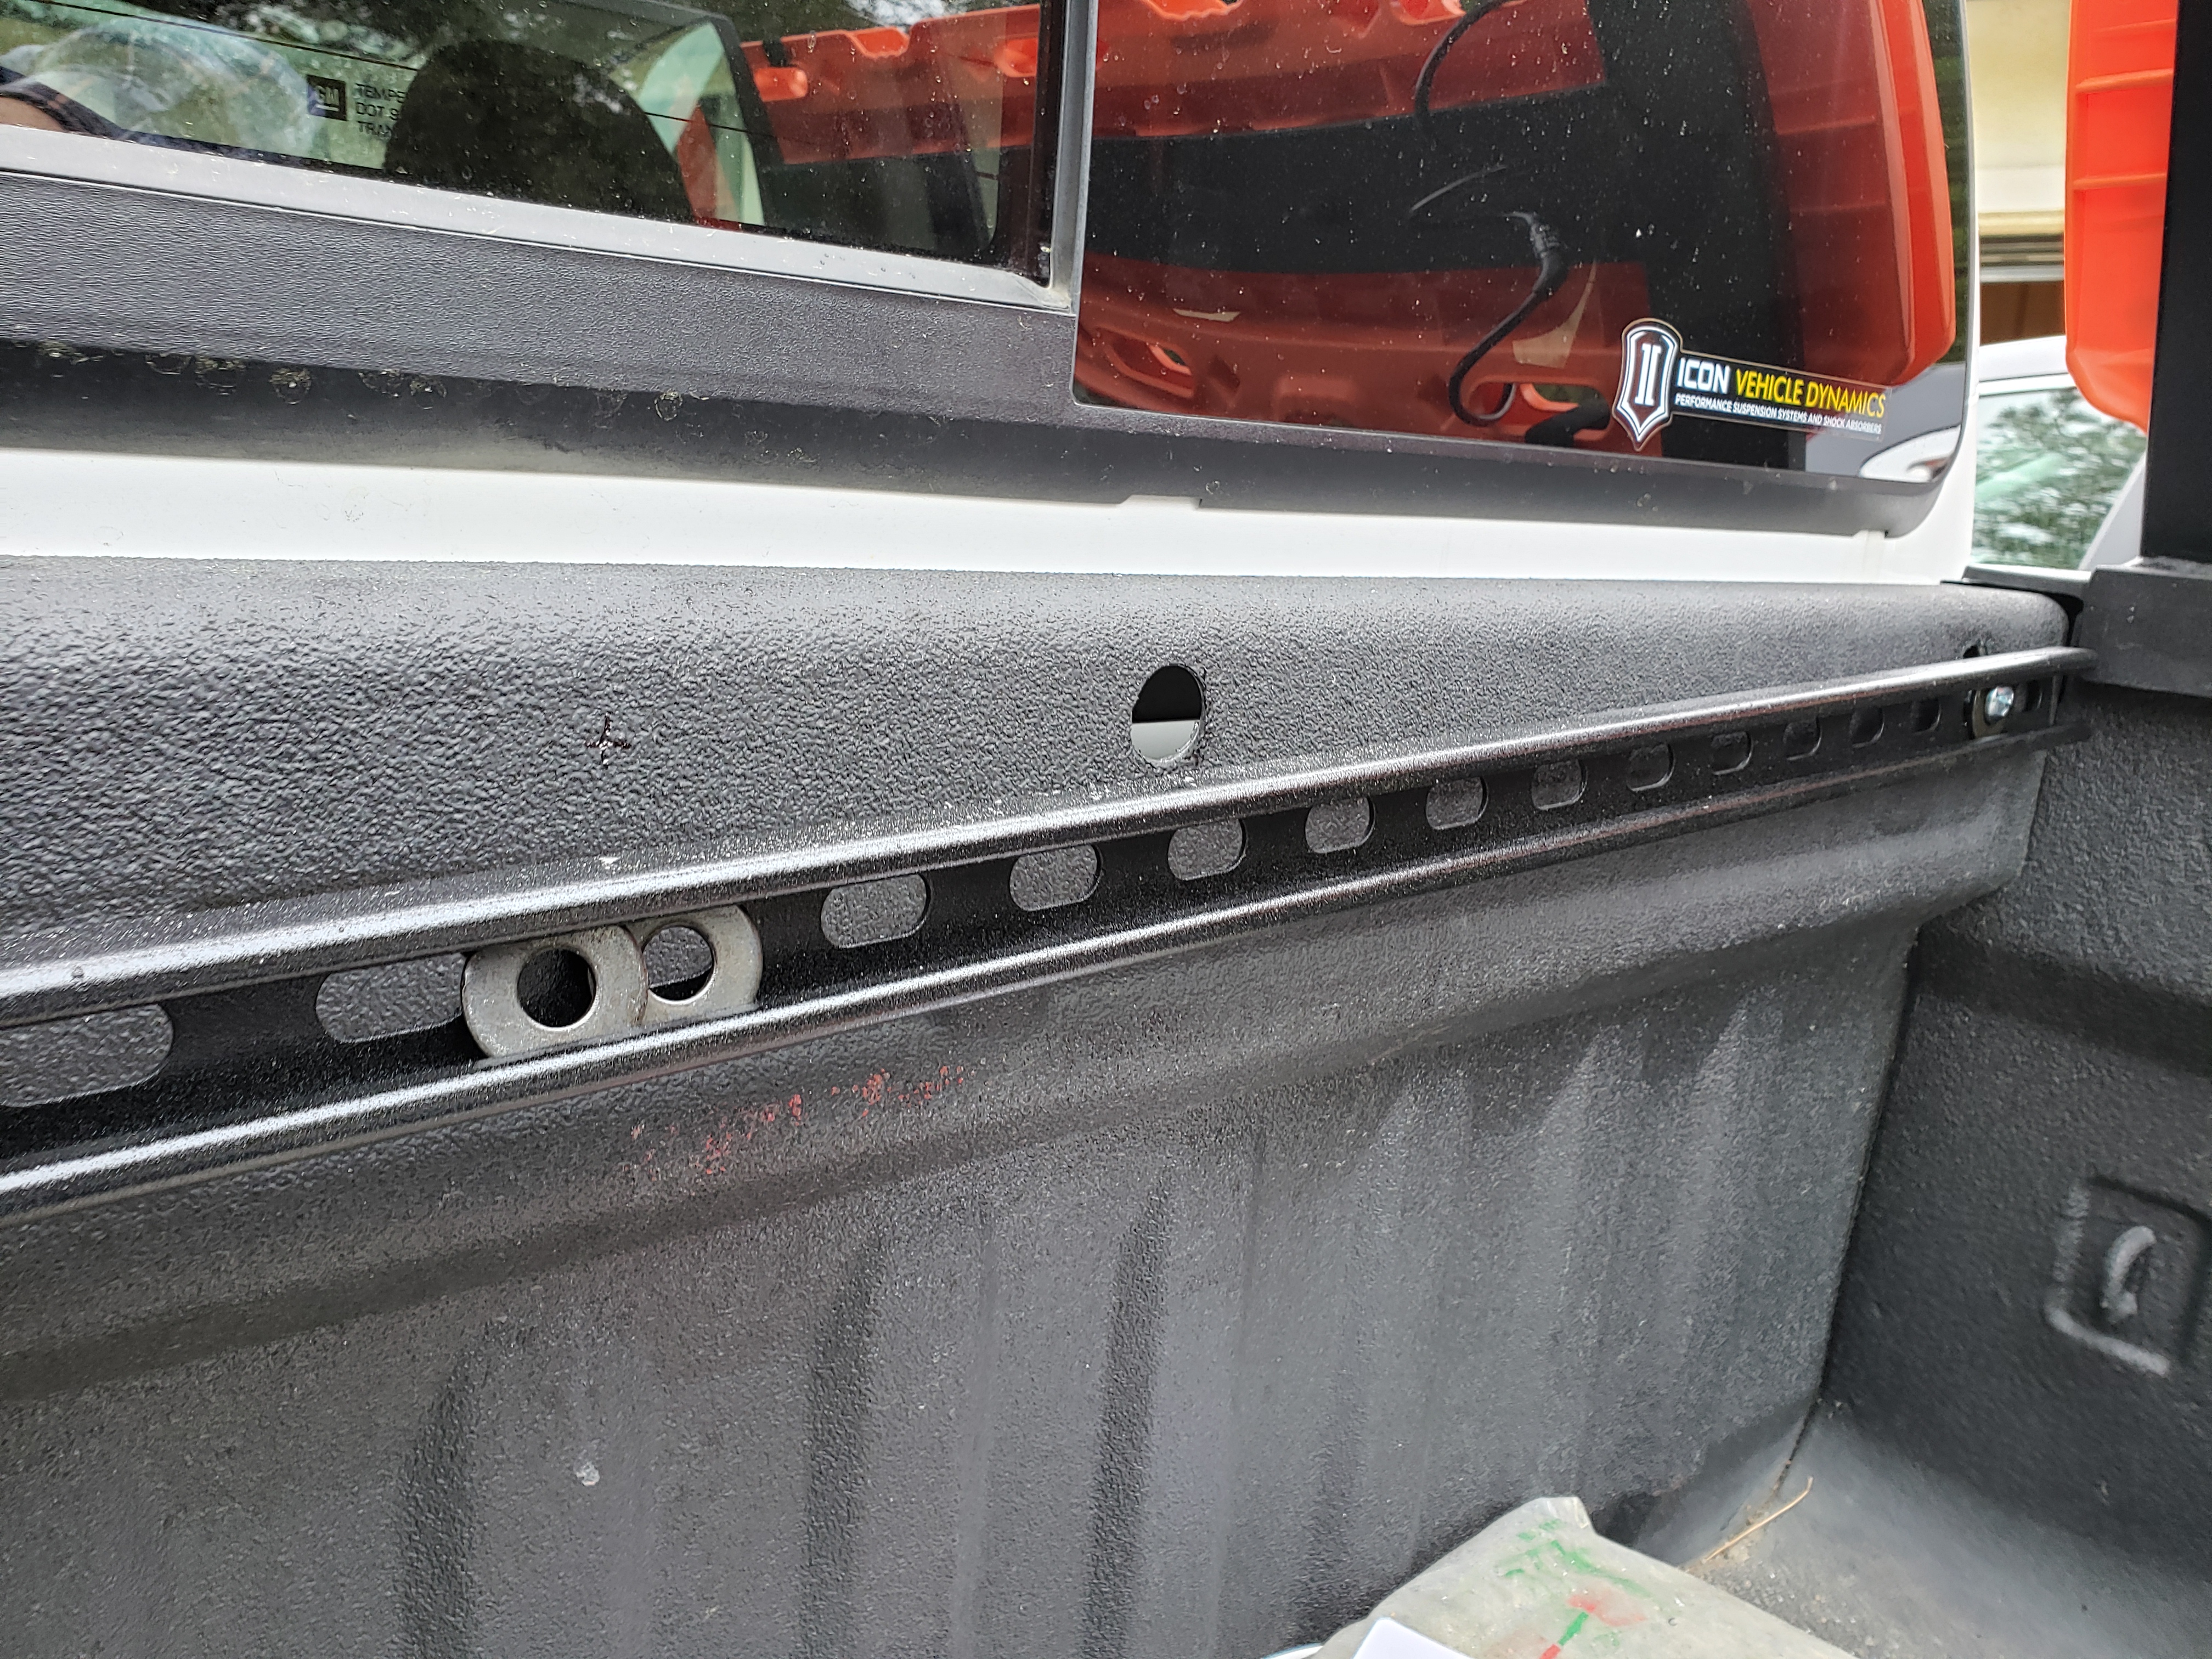
I cut the rail a little too long so if you're dumb like me, make sure to slide the washers into the rail slot before you get the rail lined up and ready to bolt in. ;)


Install the bolts through the washers and then the toggle clamps. You only need to get them started so a few threads is all that is needed. Be sure you have the clamps pointed in the right direction! Then bring the rail up to the holes and push the clamps through starting closest to the pre-installed toggle bolt. Then work your way to the other end.


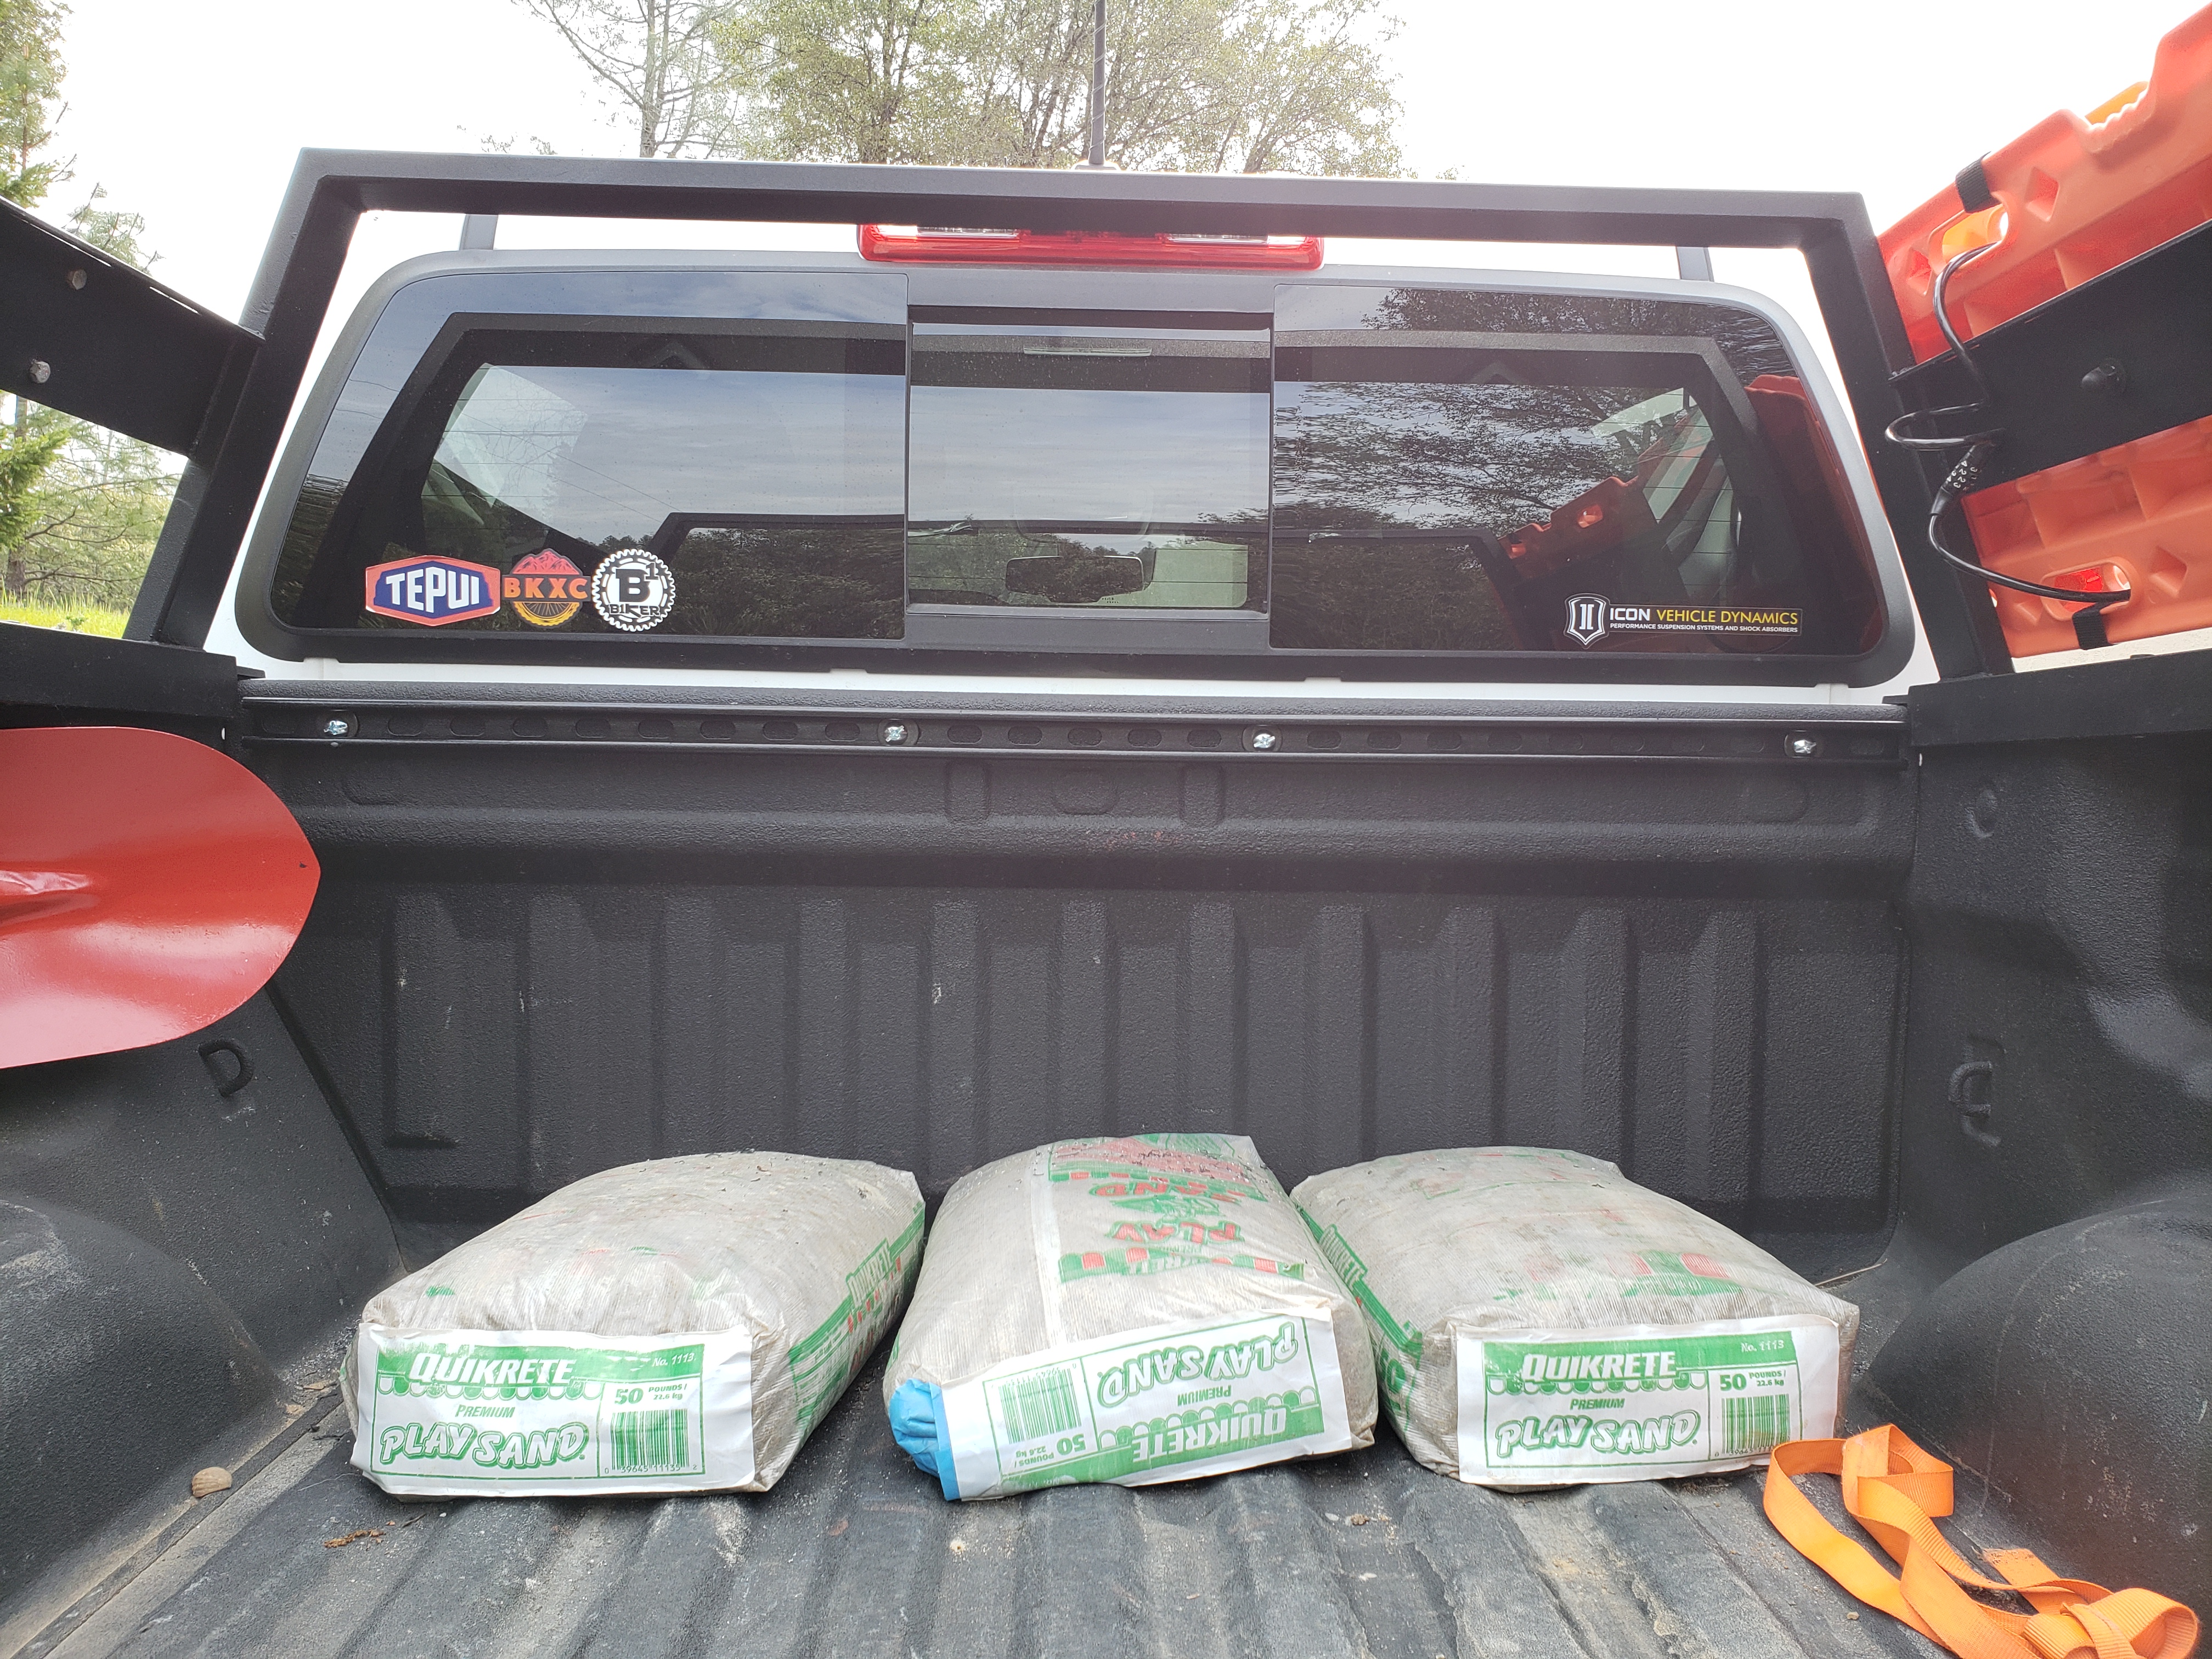
Tighten the toggle bolts to just before snug. Grab your bubble level and adjust for level as you tighten the bolts.


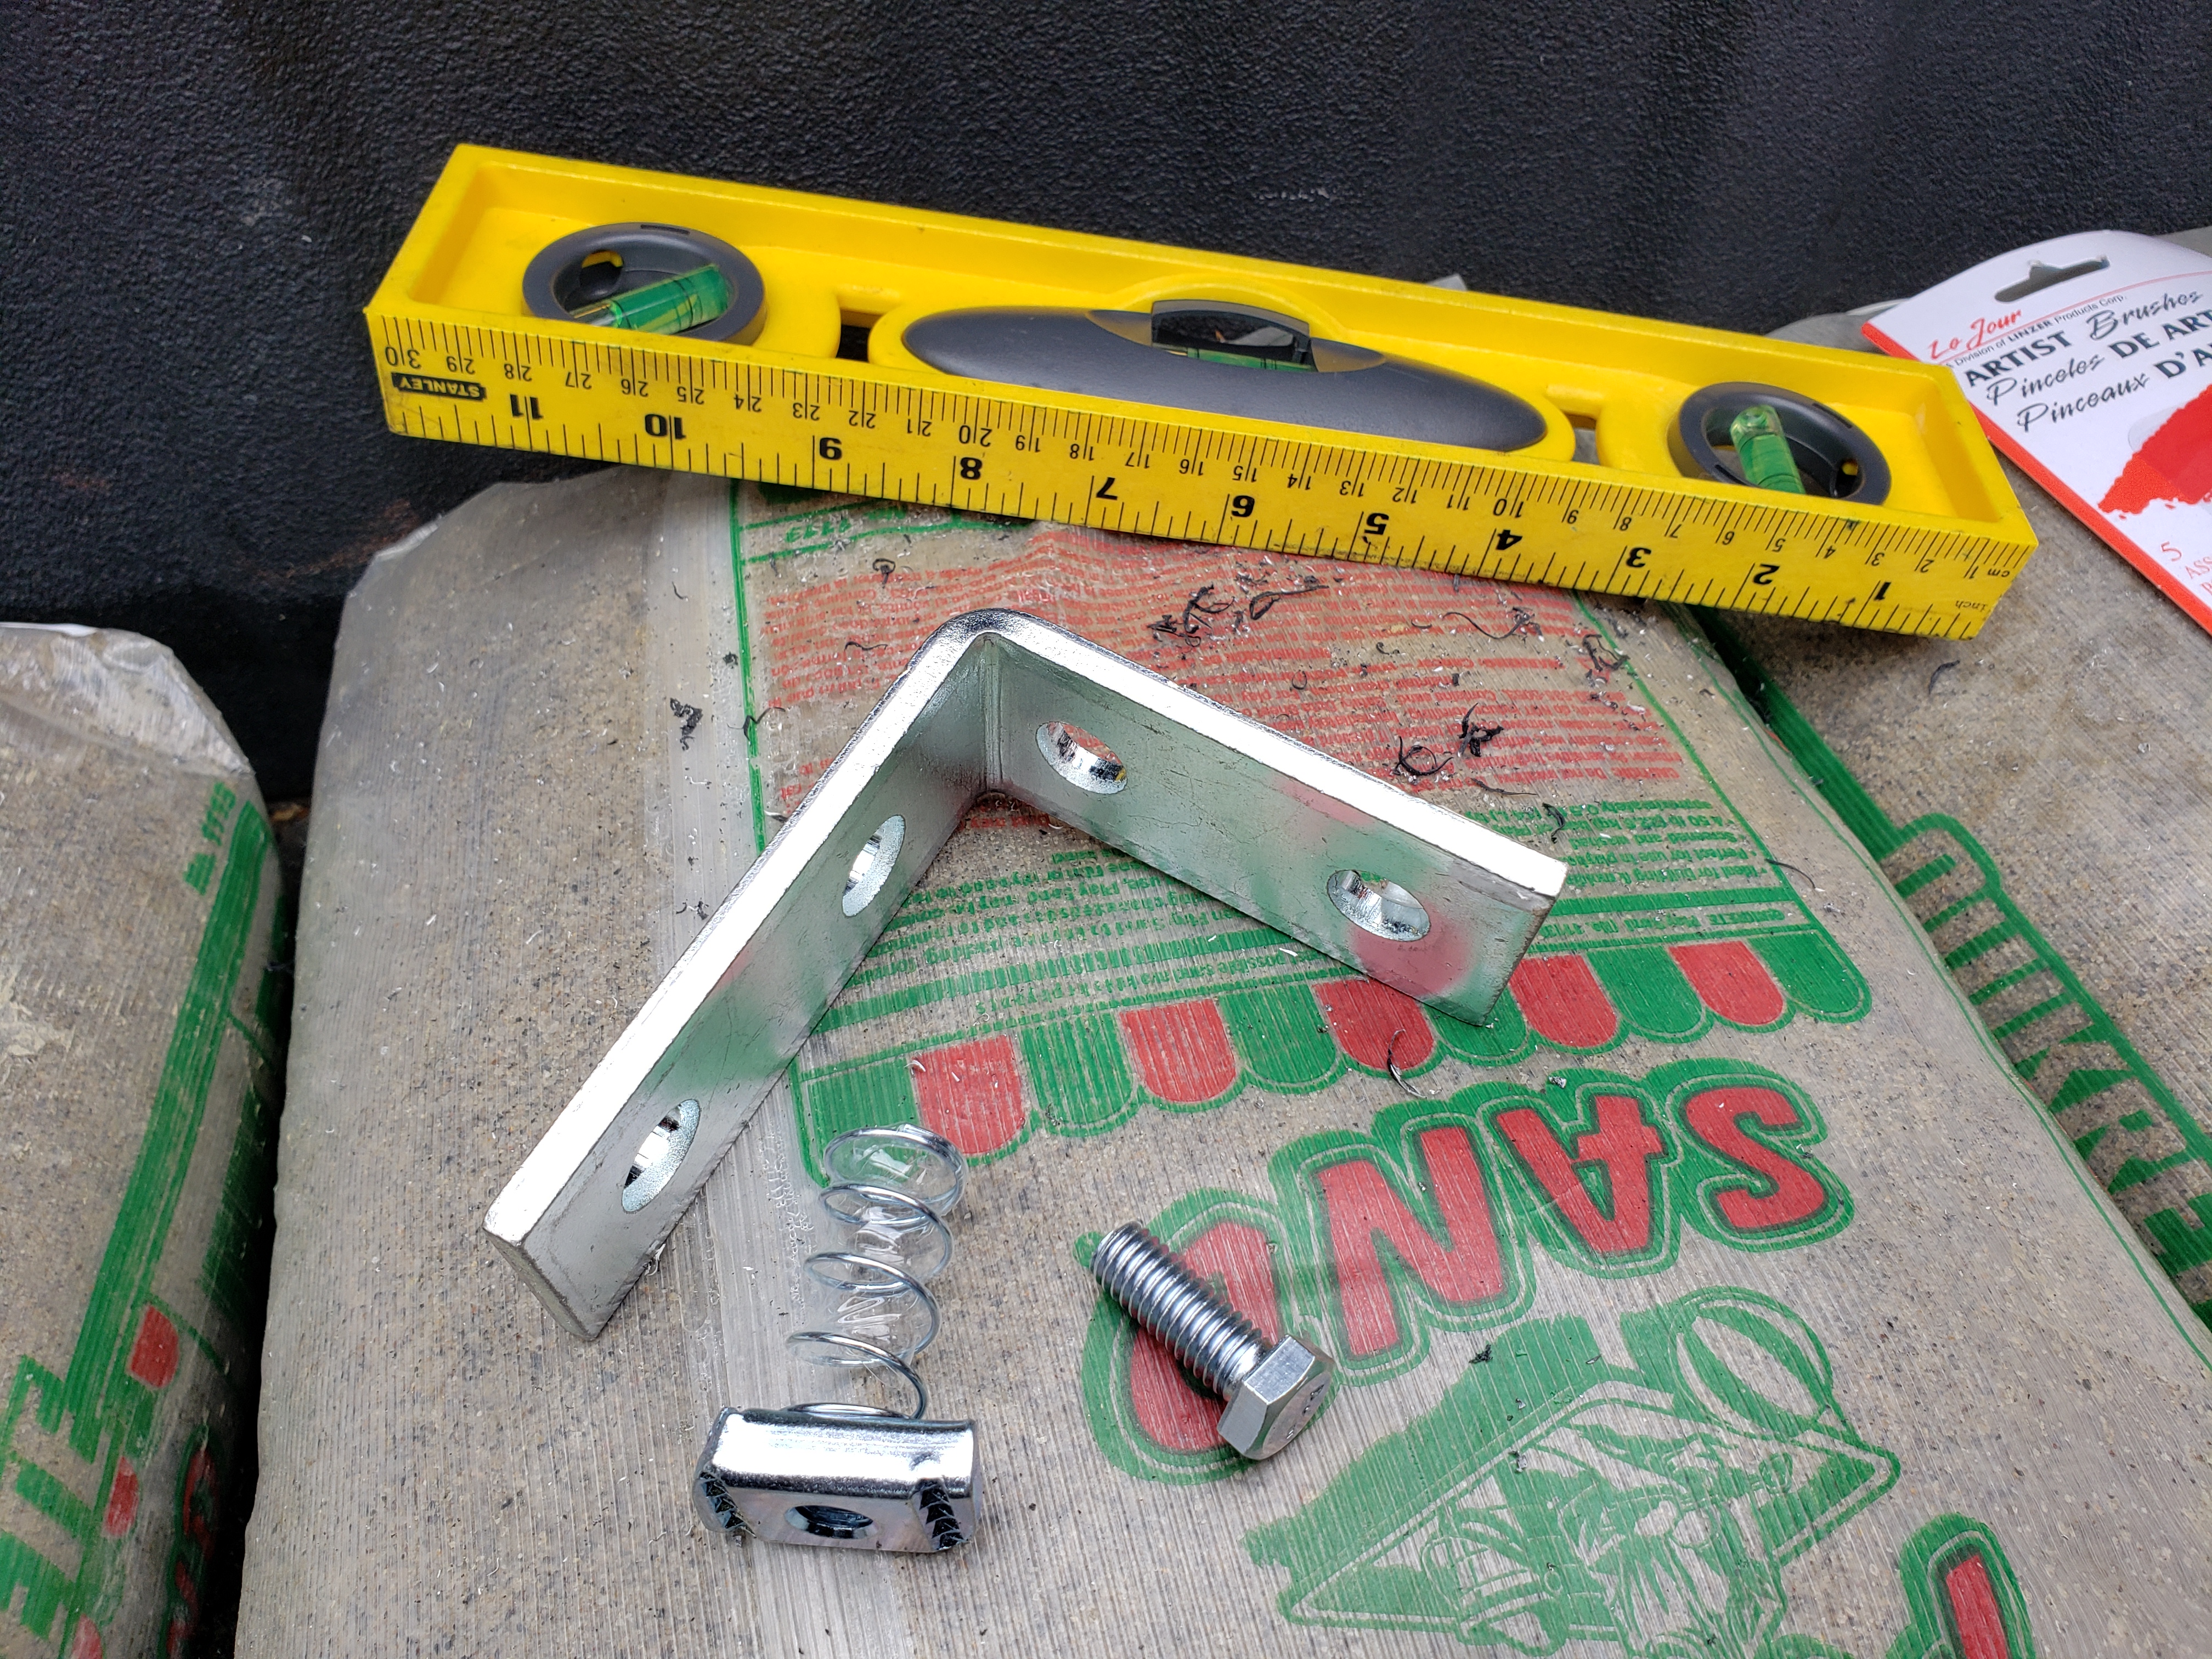
I am going to try out the 3/8" spring-loaded spring nuts available at Home Depot ($5 pack of 4) or wherever you purchased your Superstrut/Unistrut. I bought a few brackets ($2 - $4 each) to try out but they were only available with 1/2" holes so I need to use a washer with 3/8" bolts. I'll likely return the brackets and get something a little thinner and for 3/8" holes. These 1/2" brackets are overkill in terms of thickness.


The spring nuts are cool because they keep tension on the bolt and are cut in such a way that you can insert them into the rail anywhere (doesn't have to go in through ends) but they will only spin a 1/4 turn or so before the angled ends strike top and bottom of the rail and wedge themselves in place. Pretty cool!


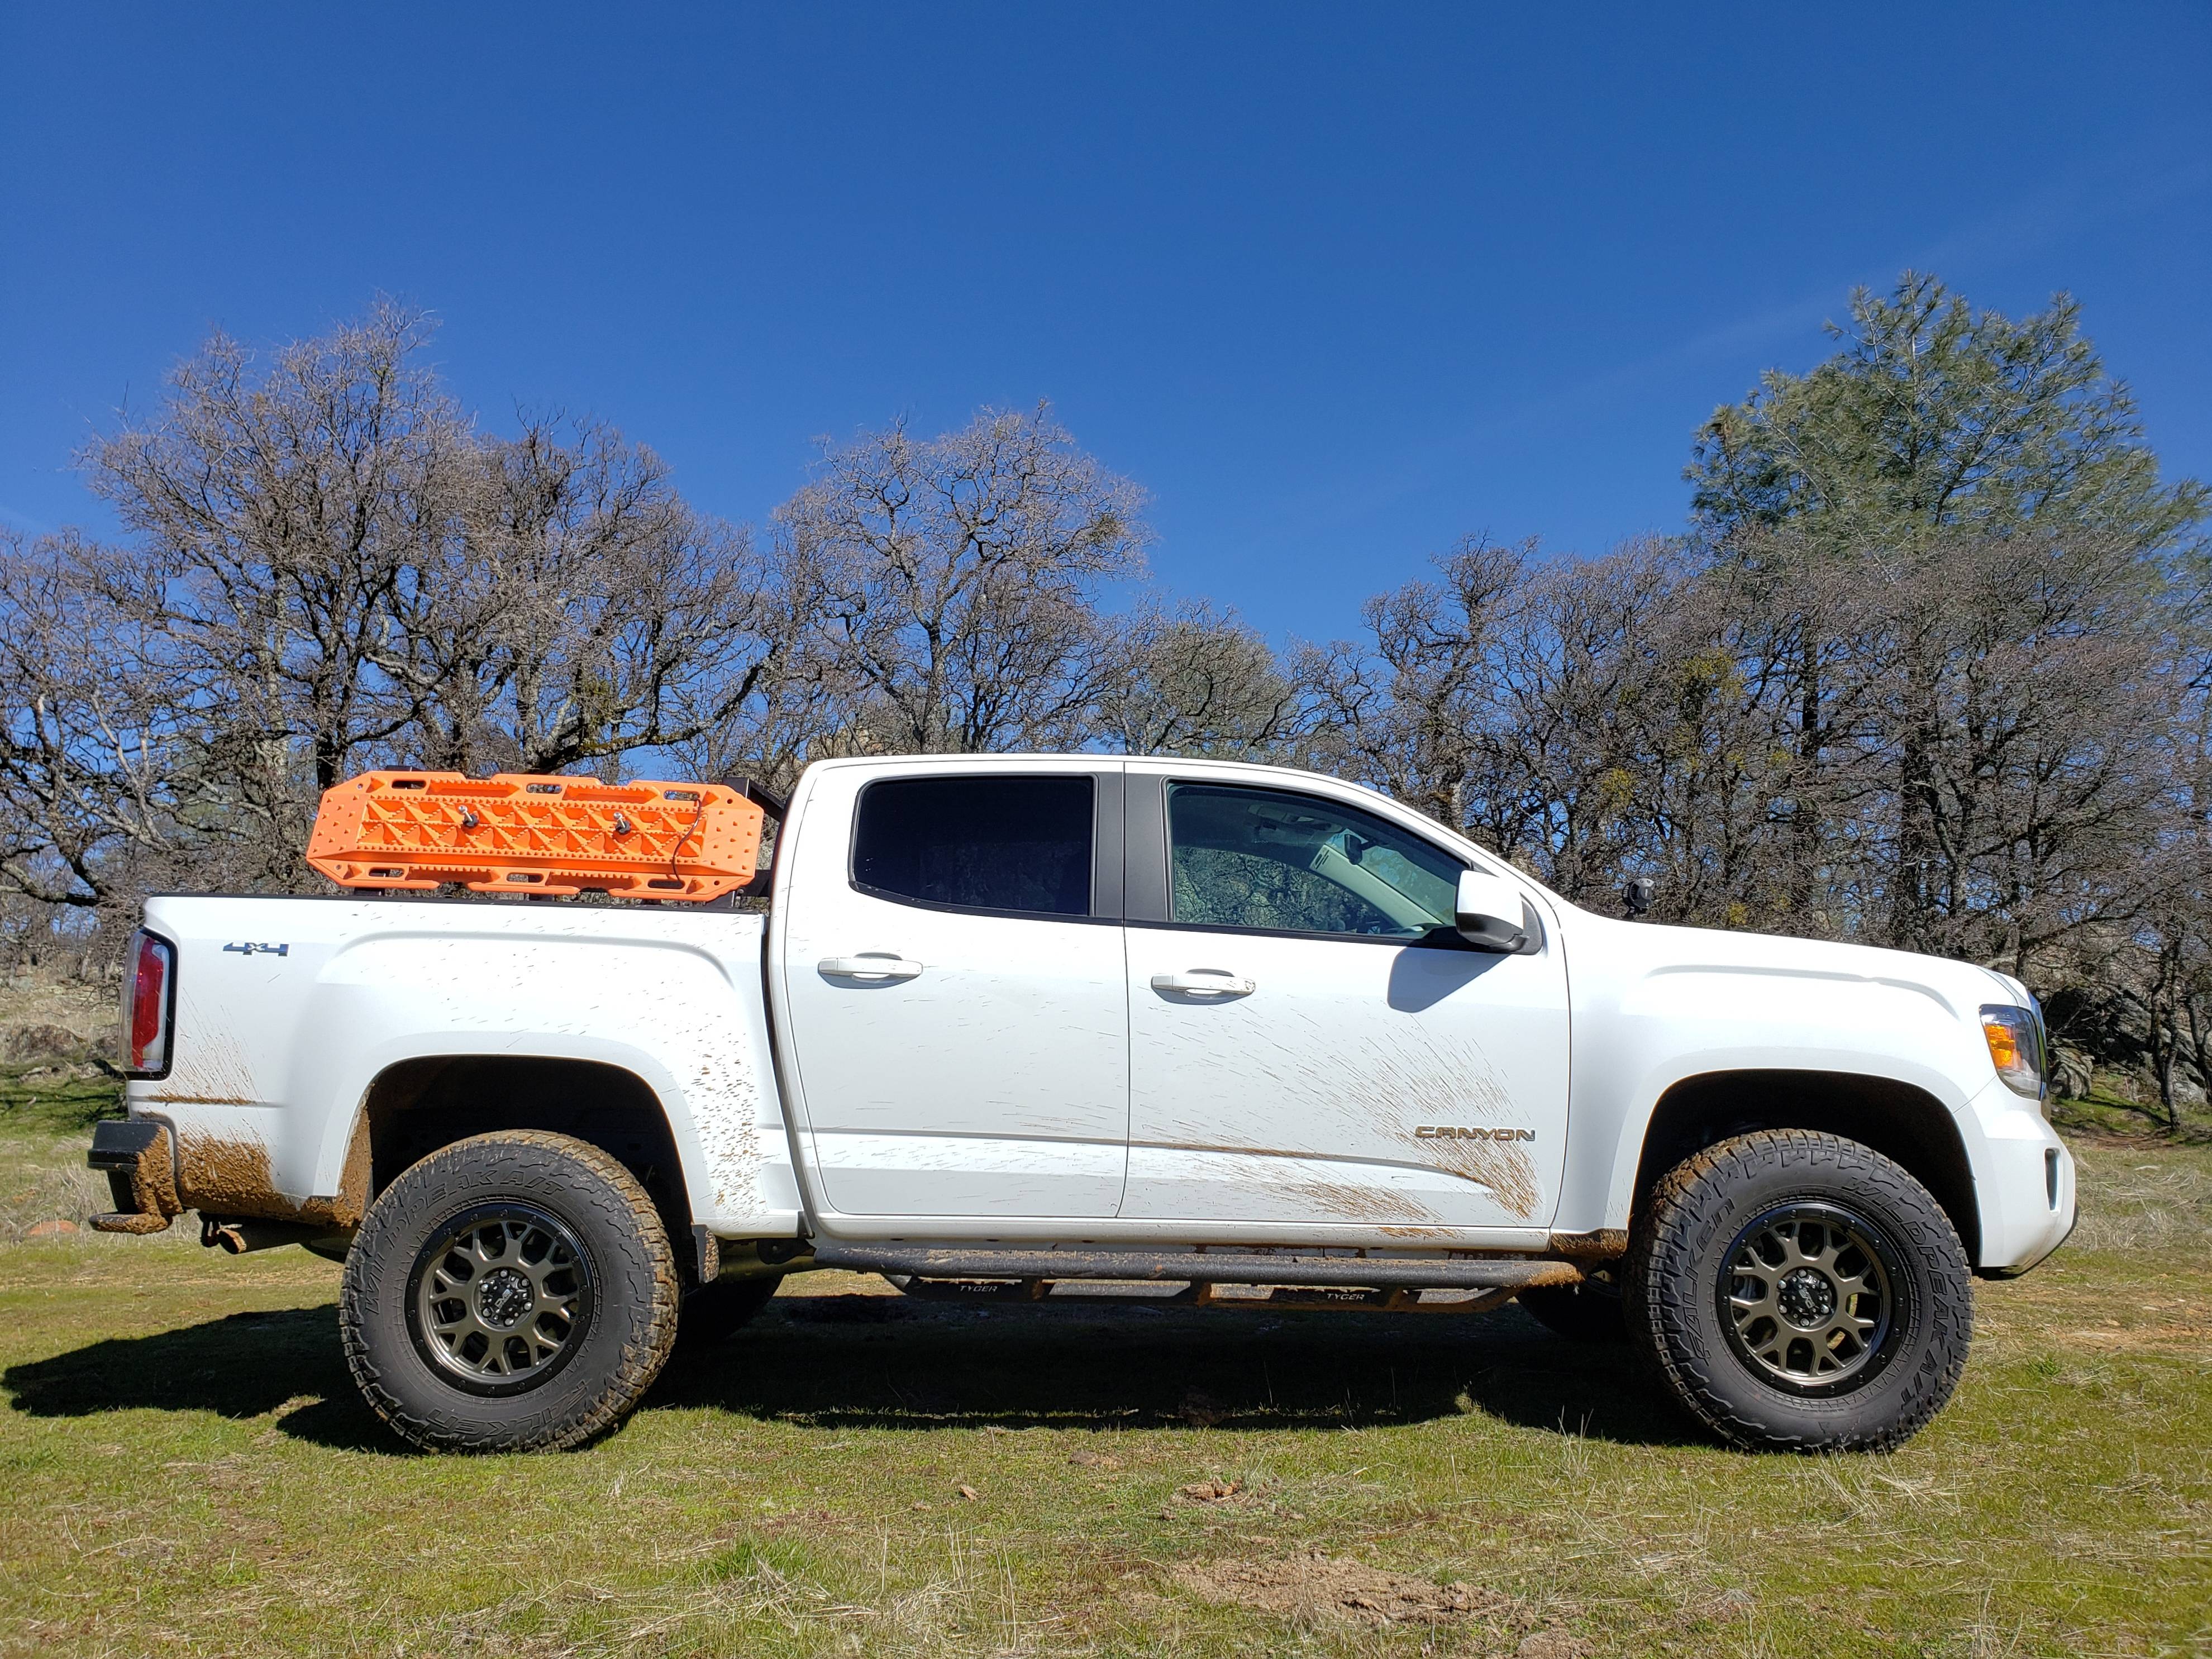
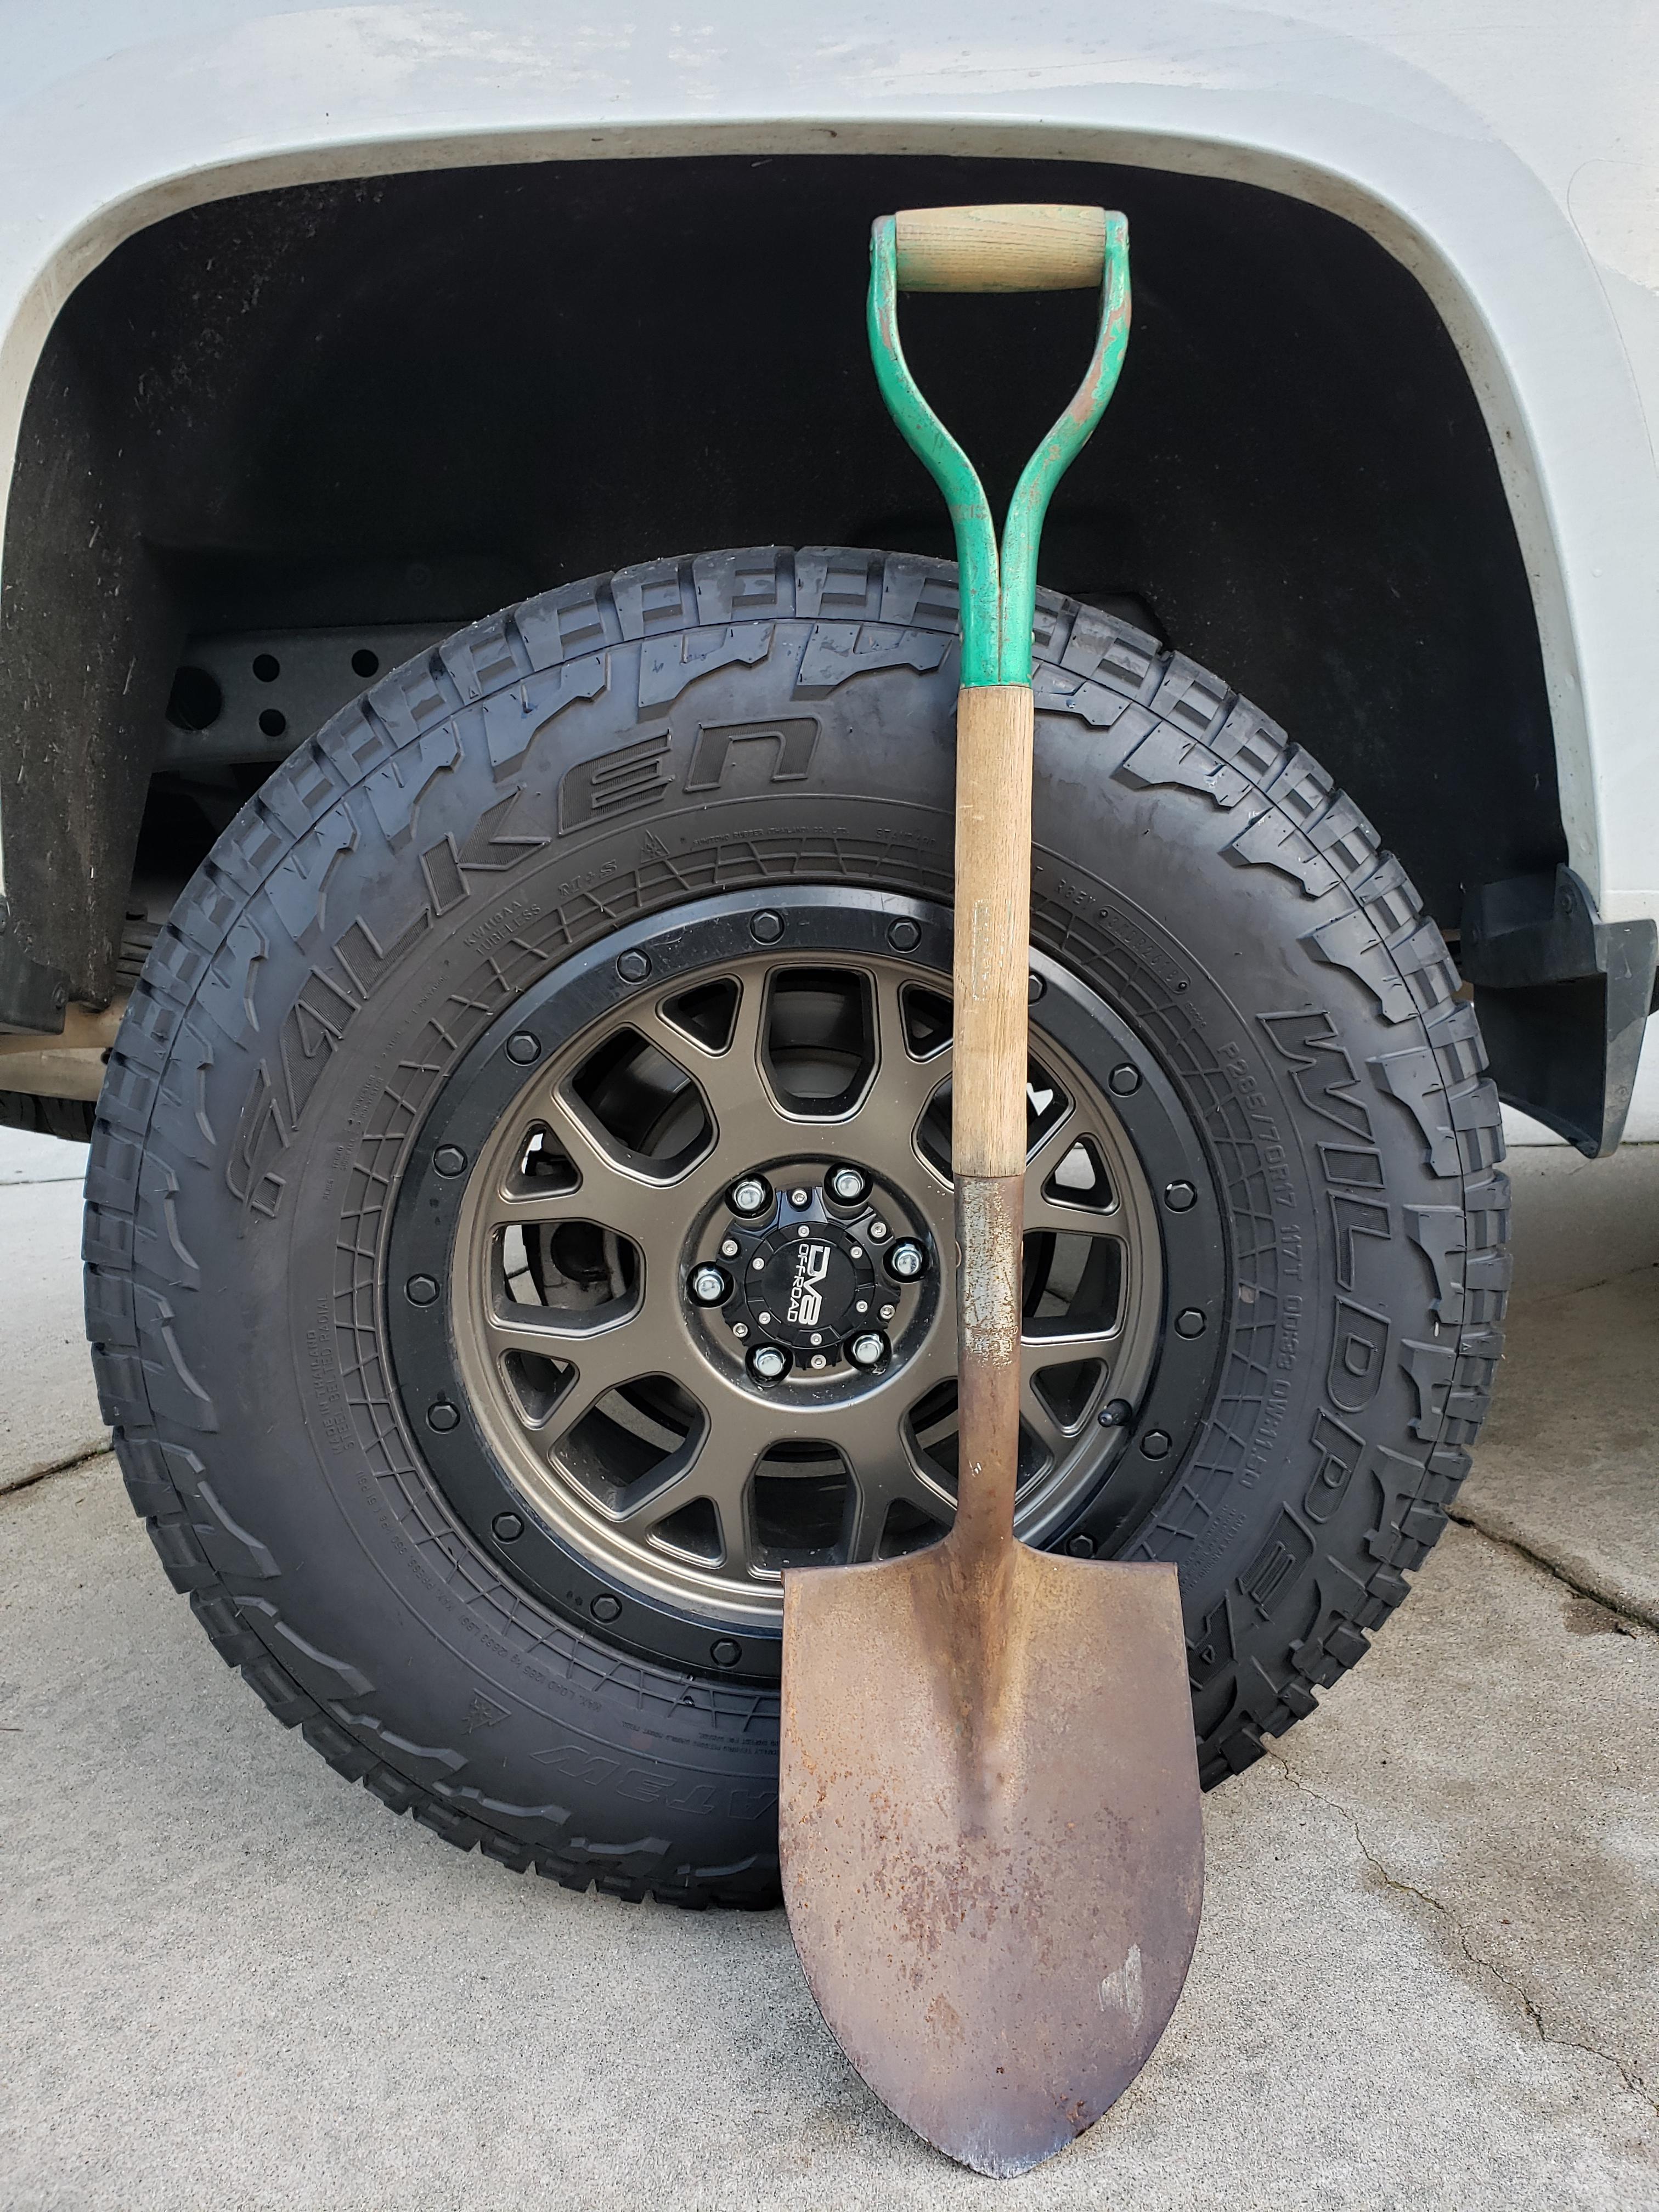
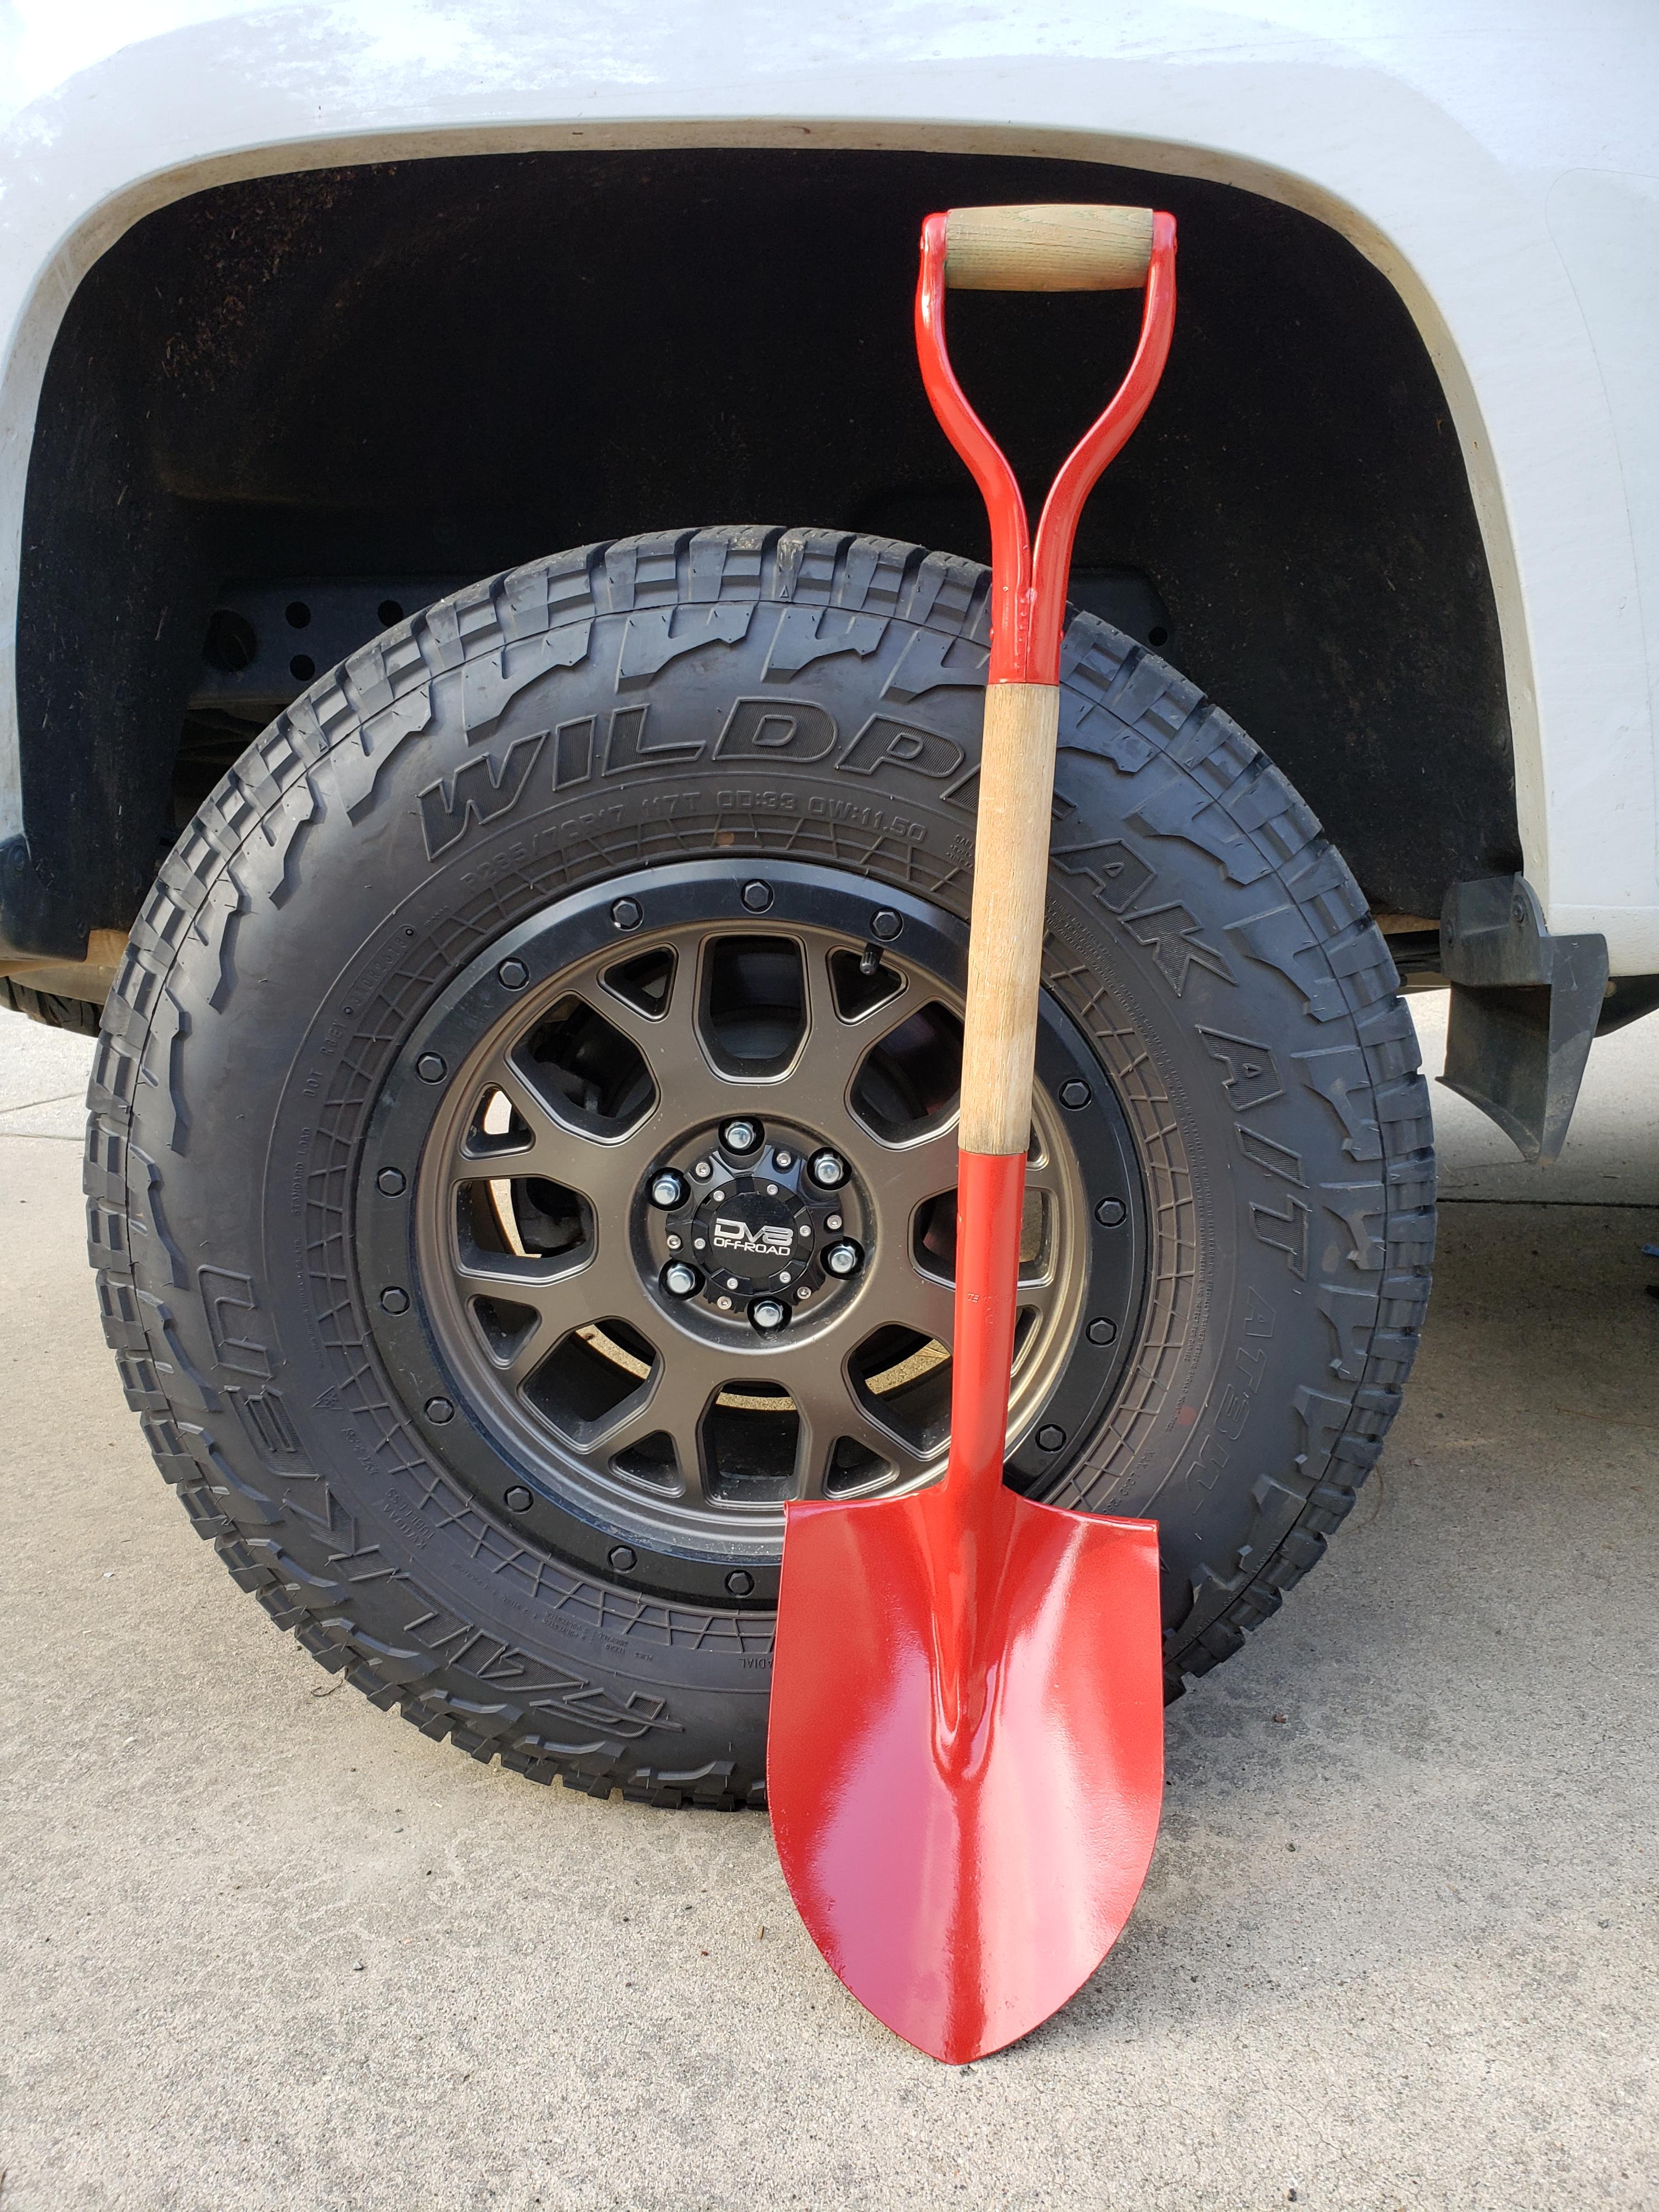
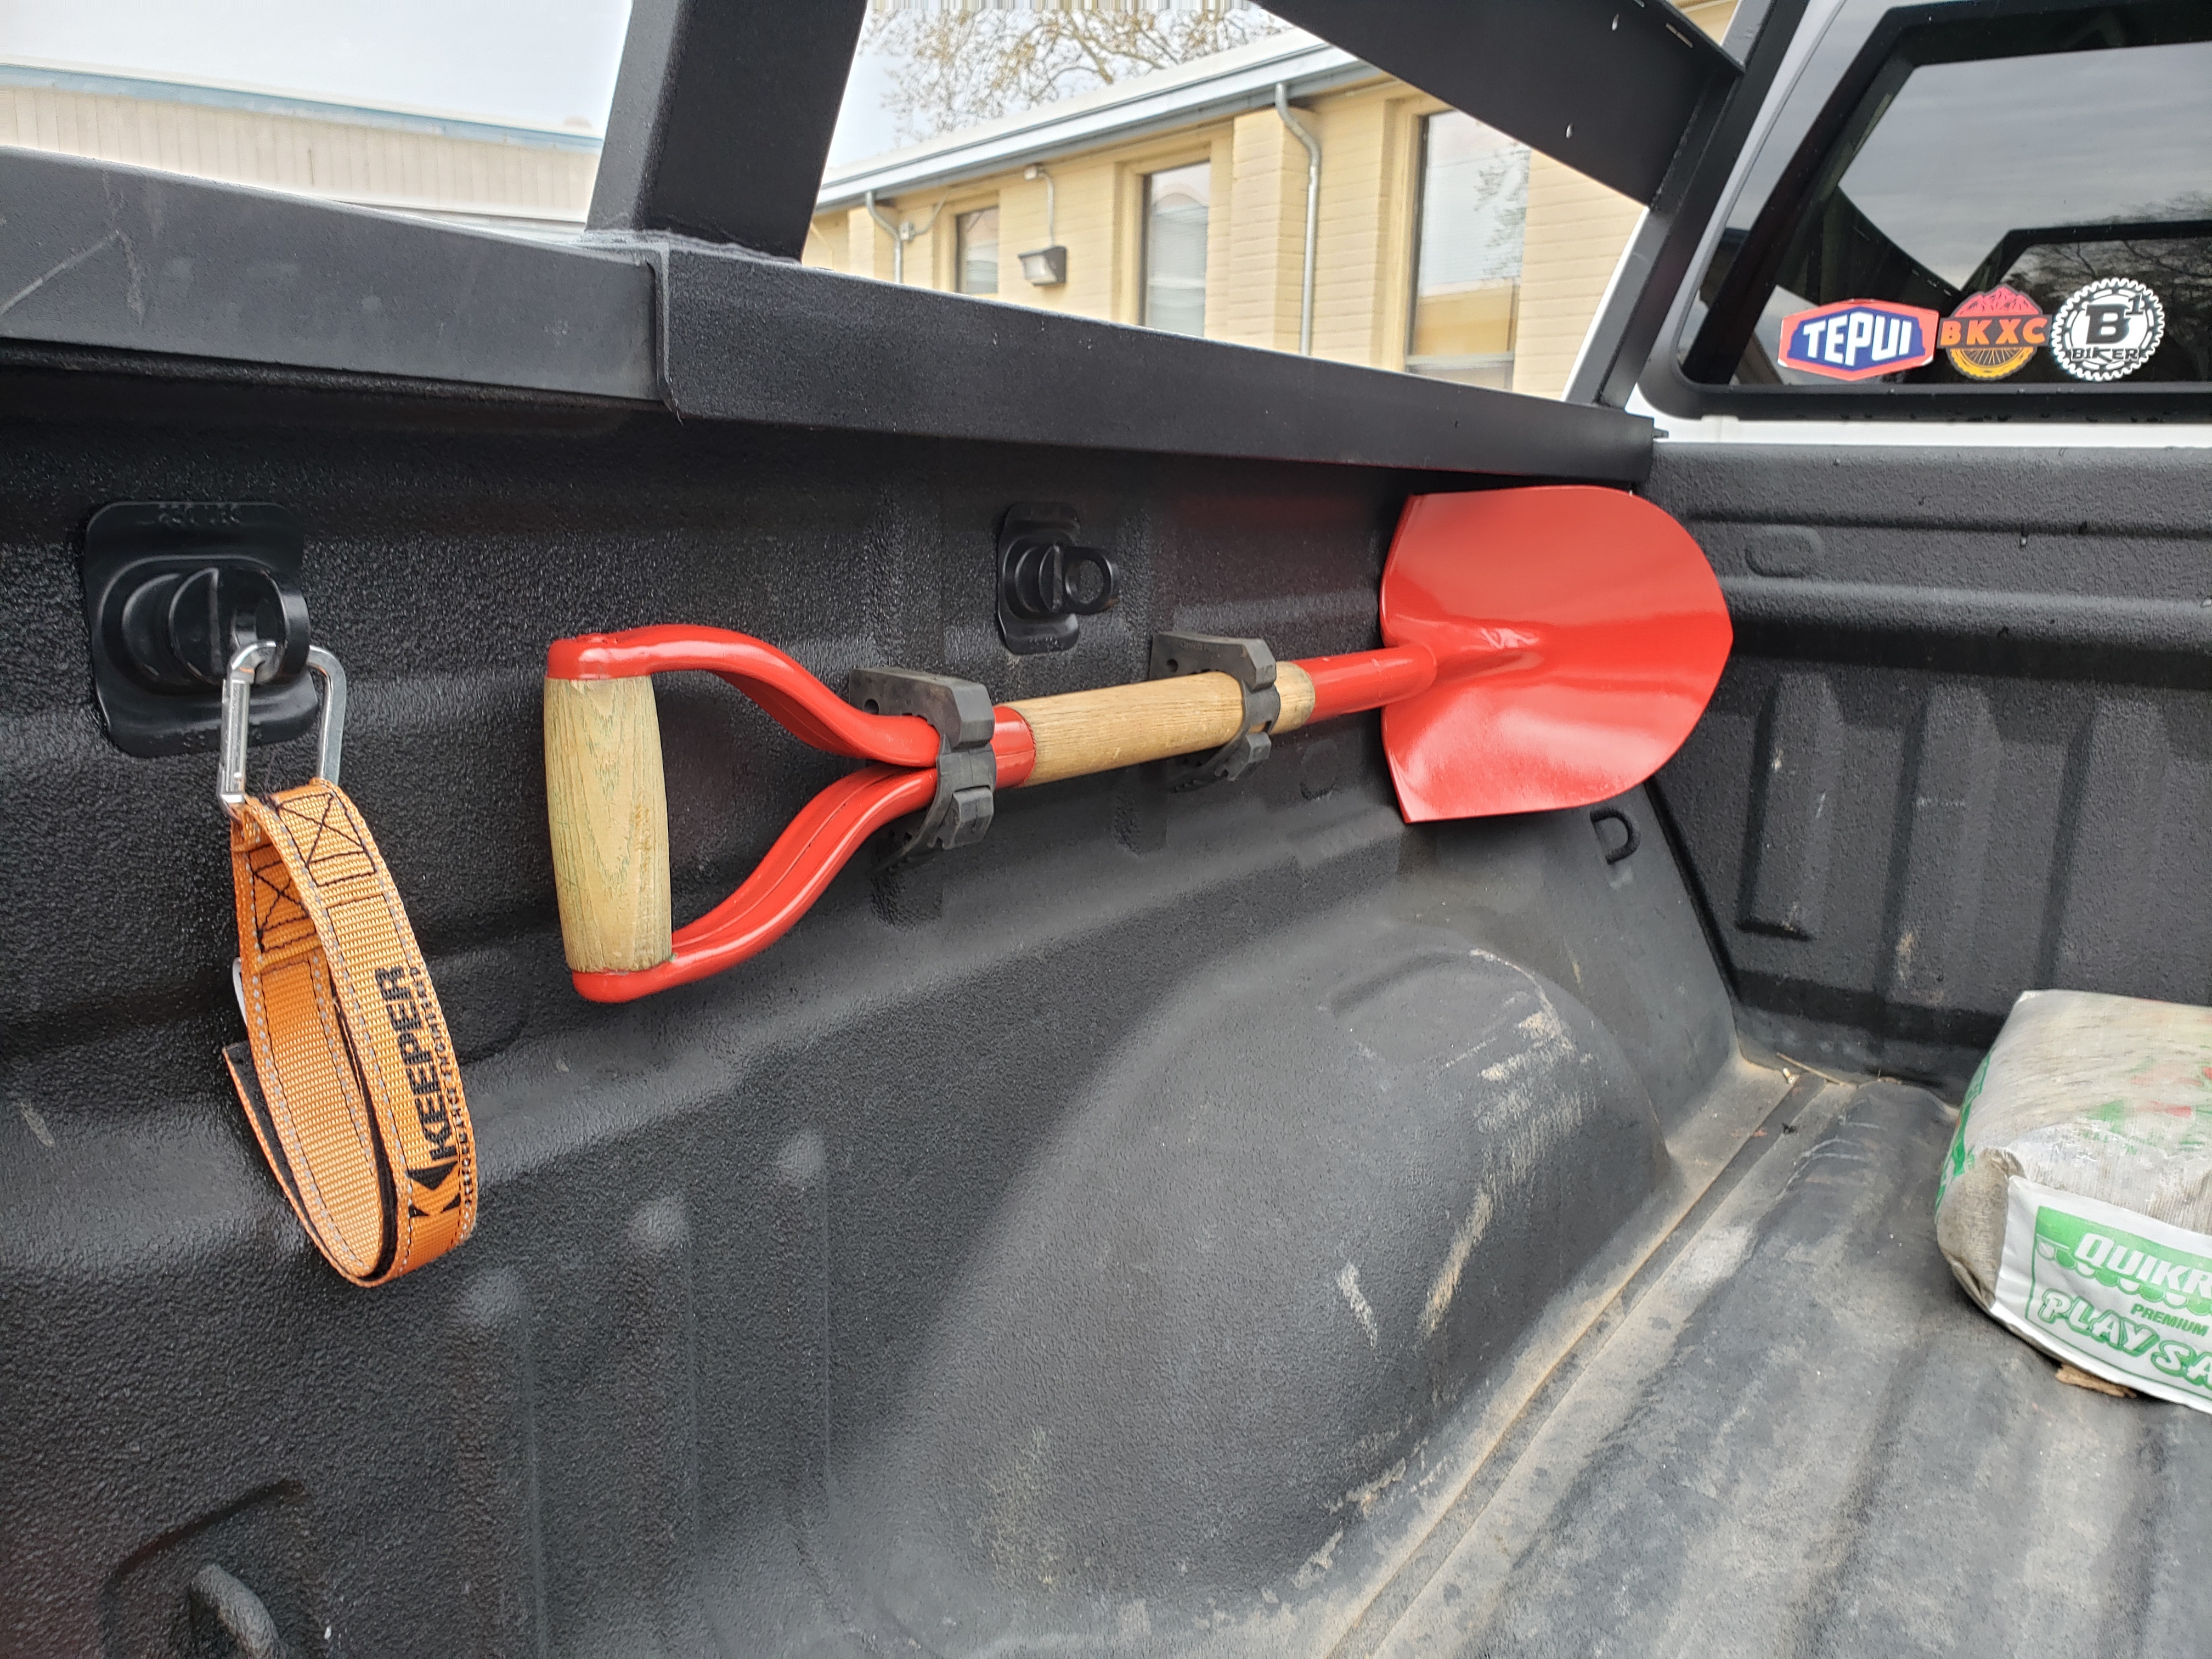
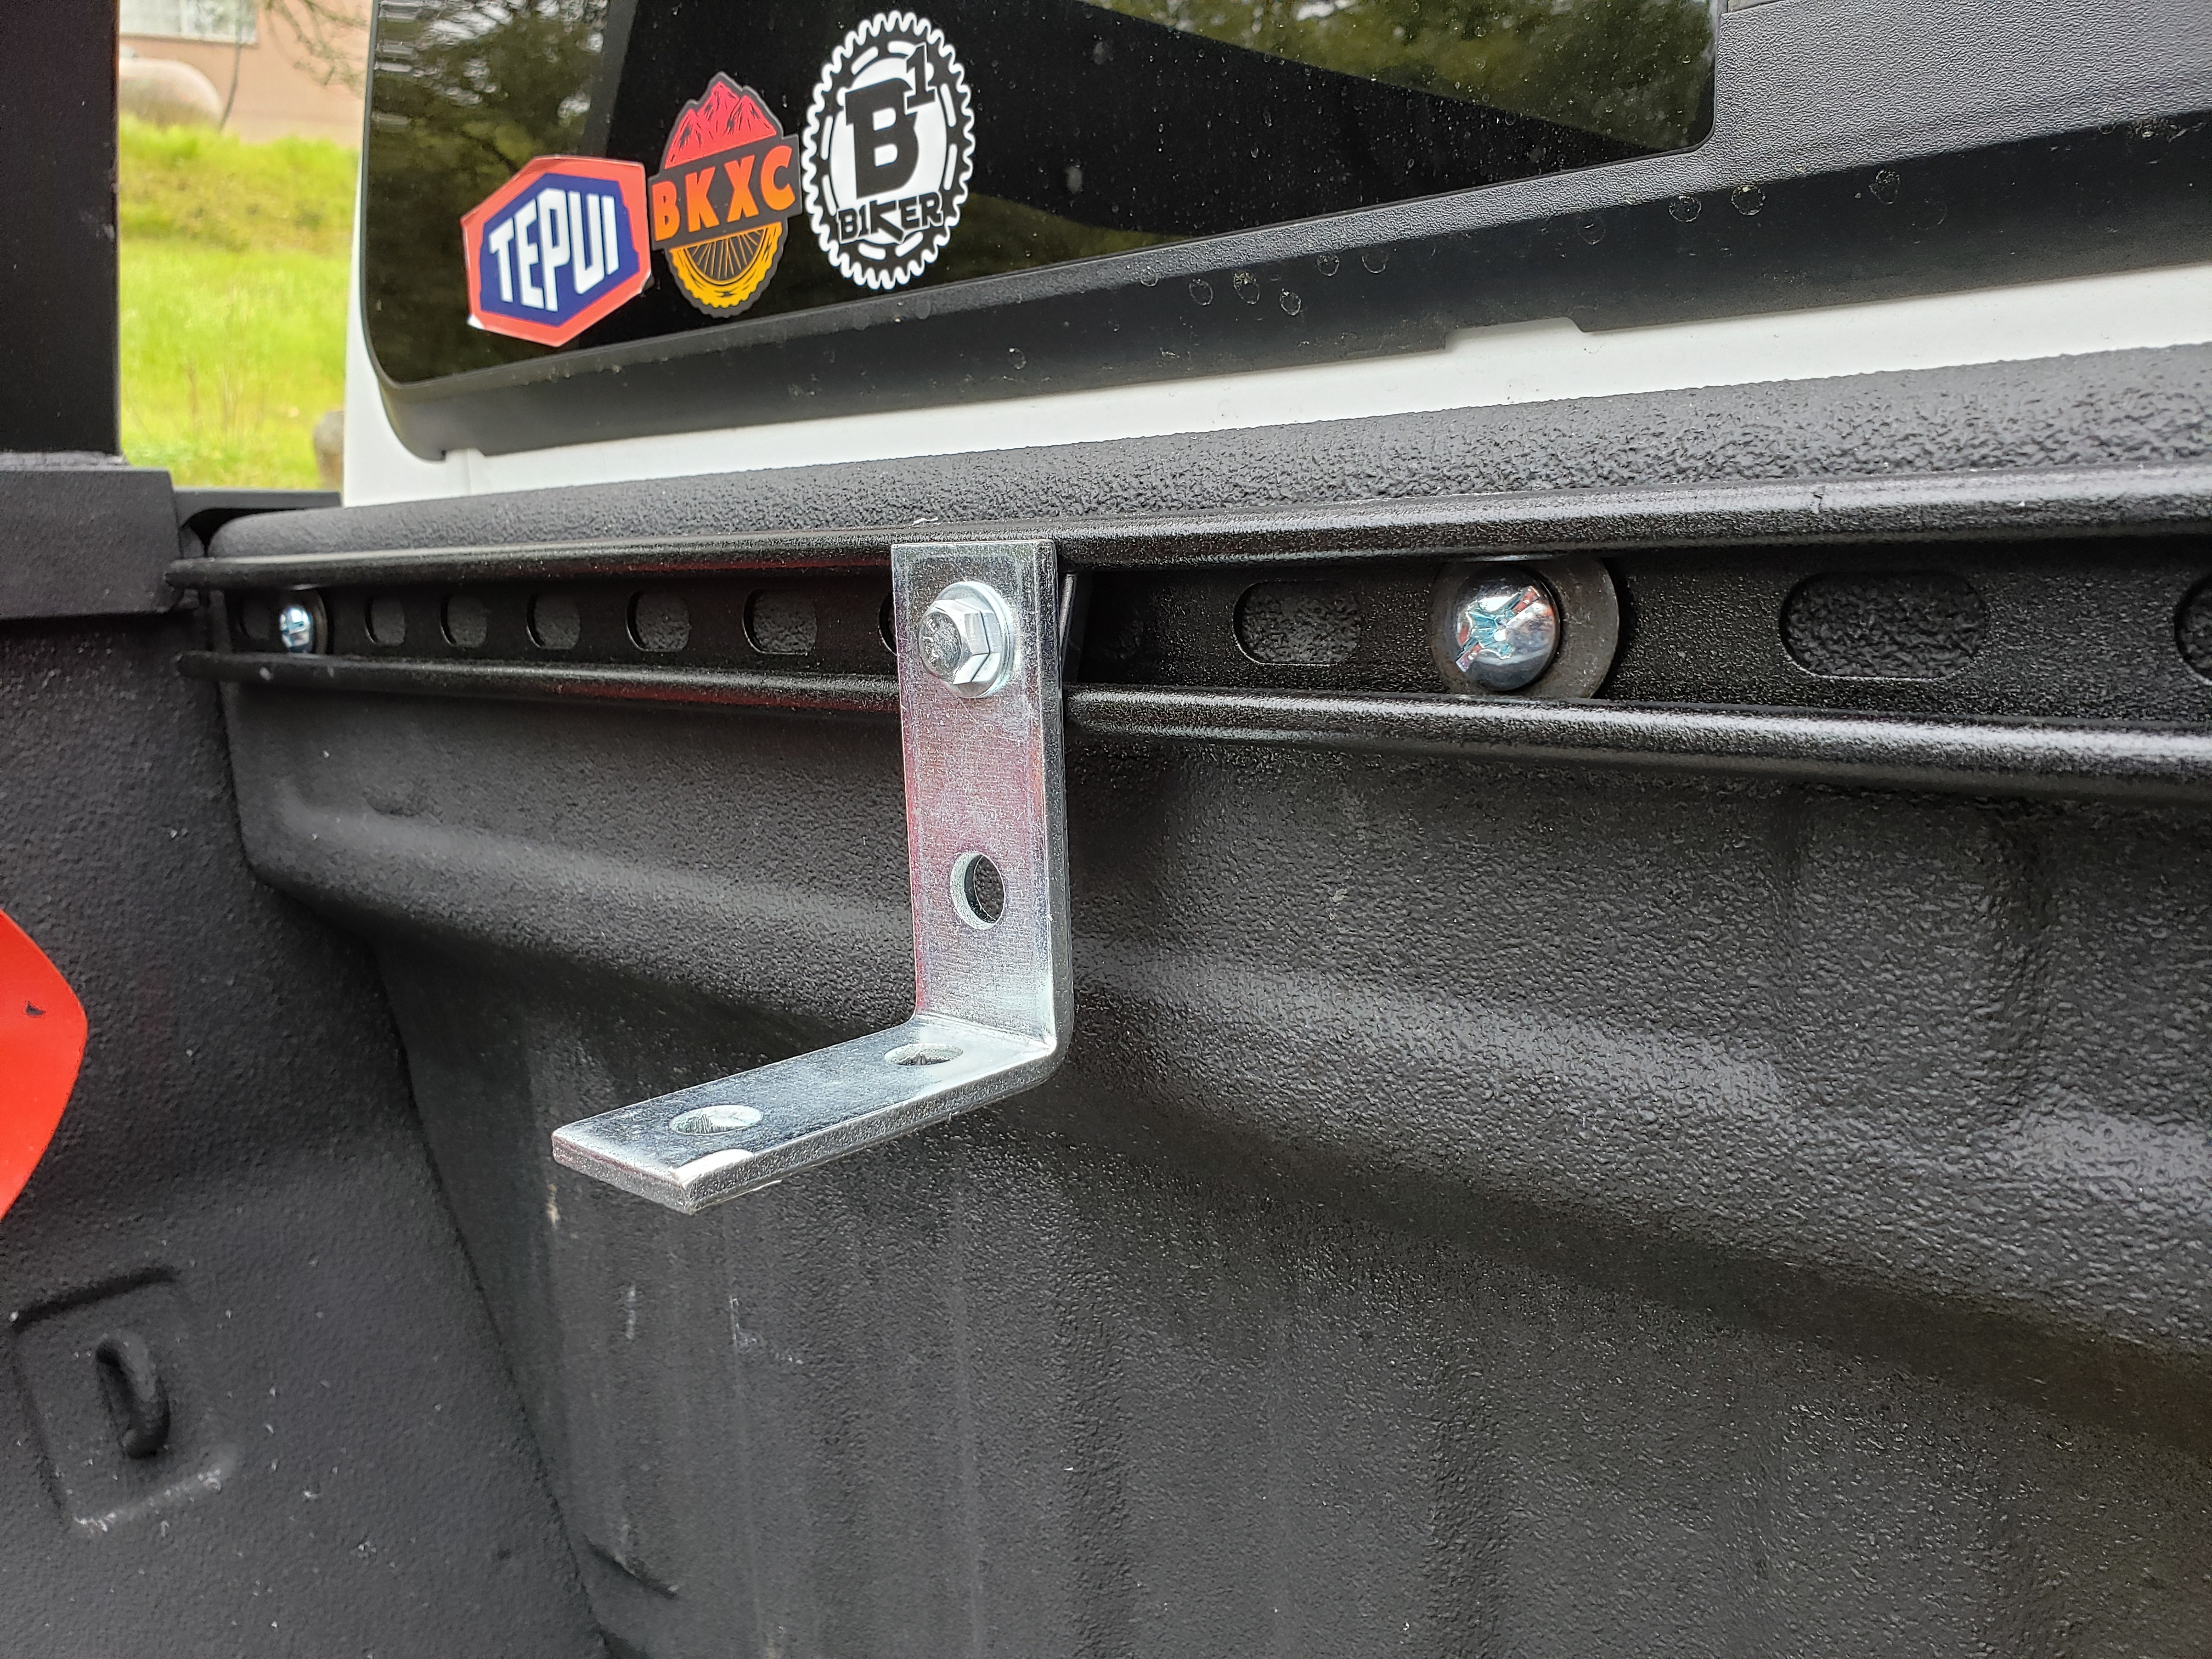
The mount feels pretty sturdy so I'm happy with it. You could easily use a different set of bolts and plastic star nuts to mount something like Maxtrax or Rotopax on there. I also see some possible options for mounting rails on my bed rack to mount gear on the inside of the rack and above the bed floor like fishing rods, more Rotopax or whatever your creative mind could come up with. :)
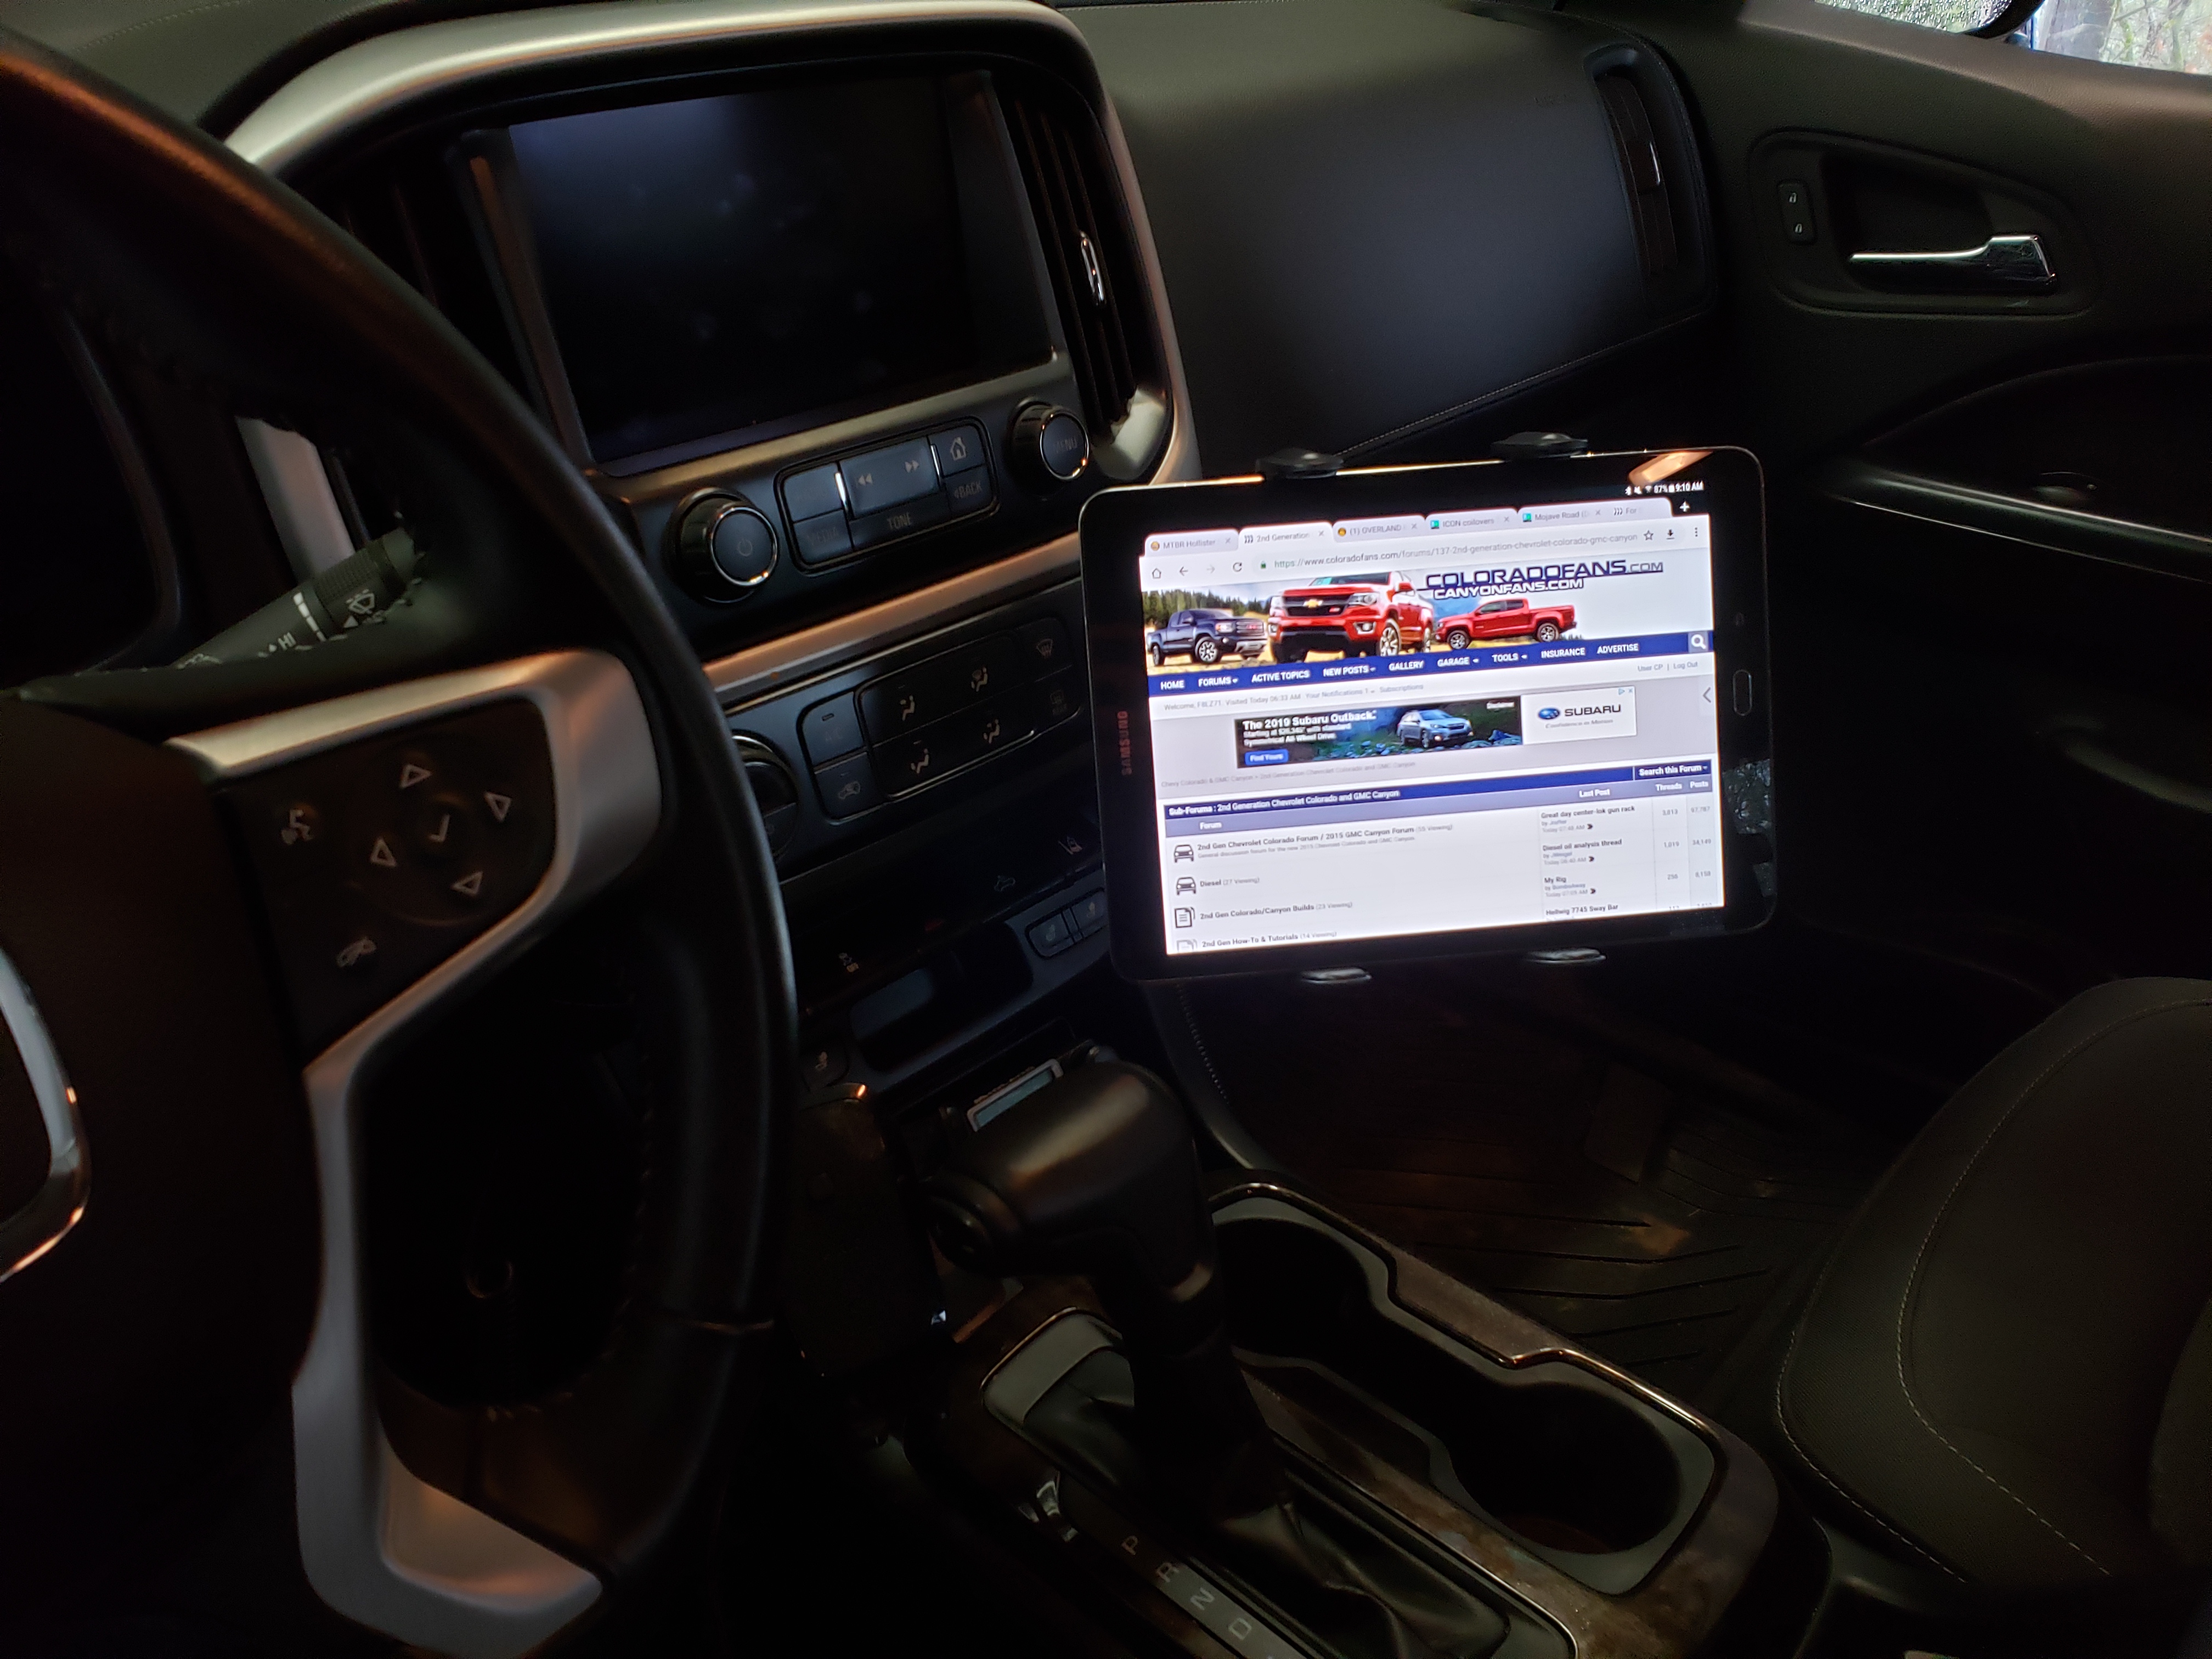
Like this.


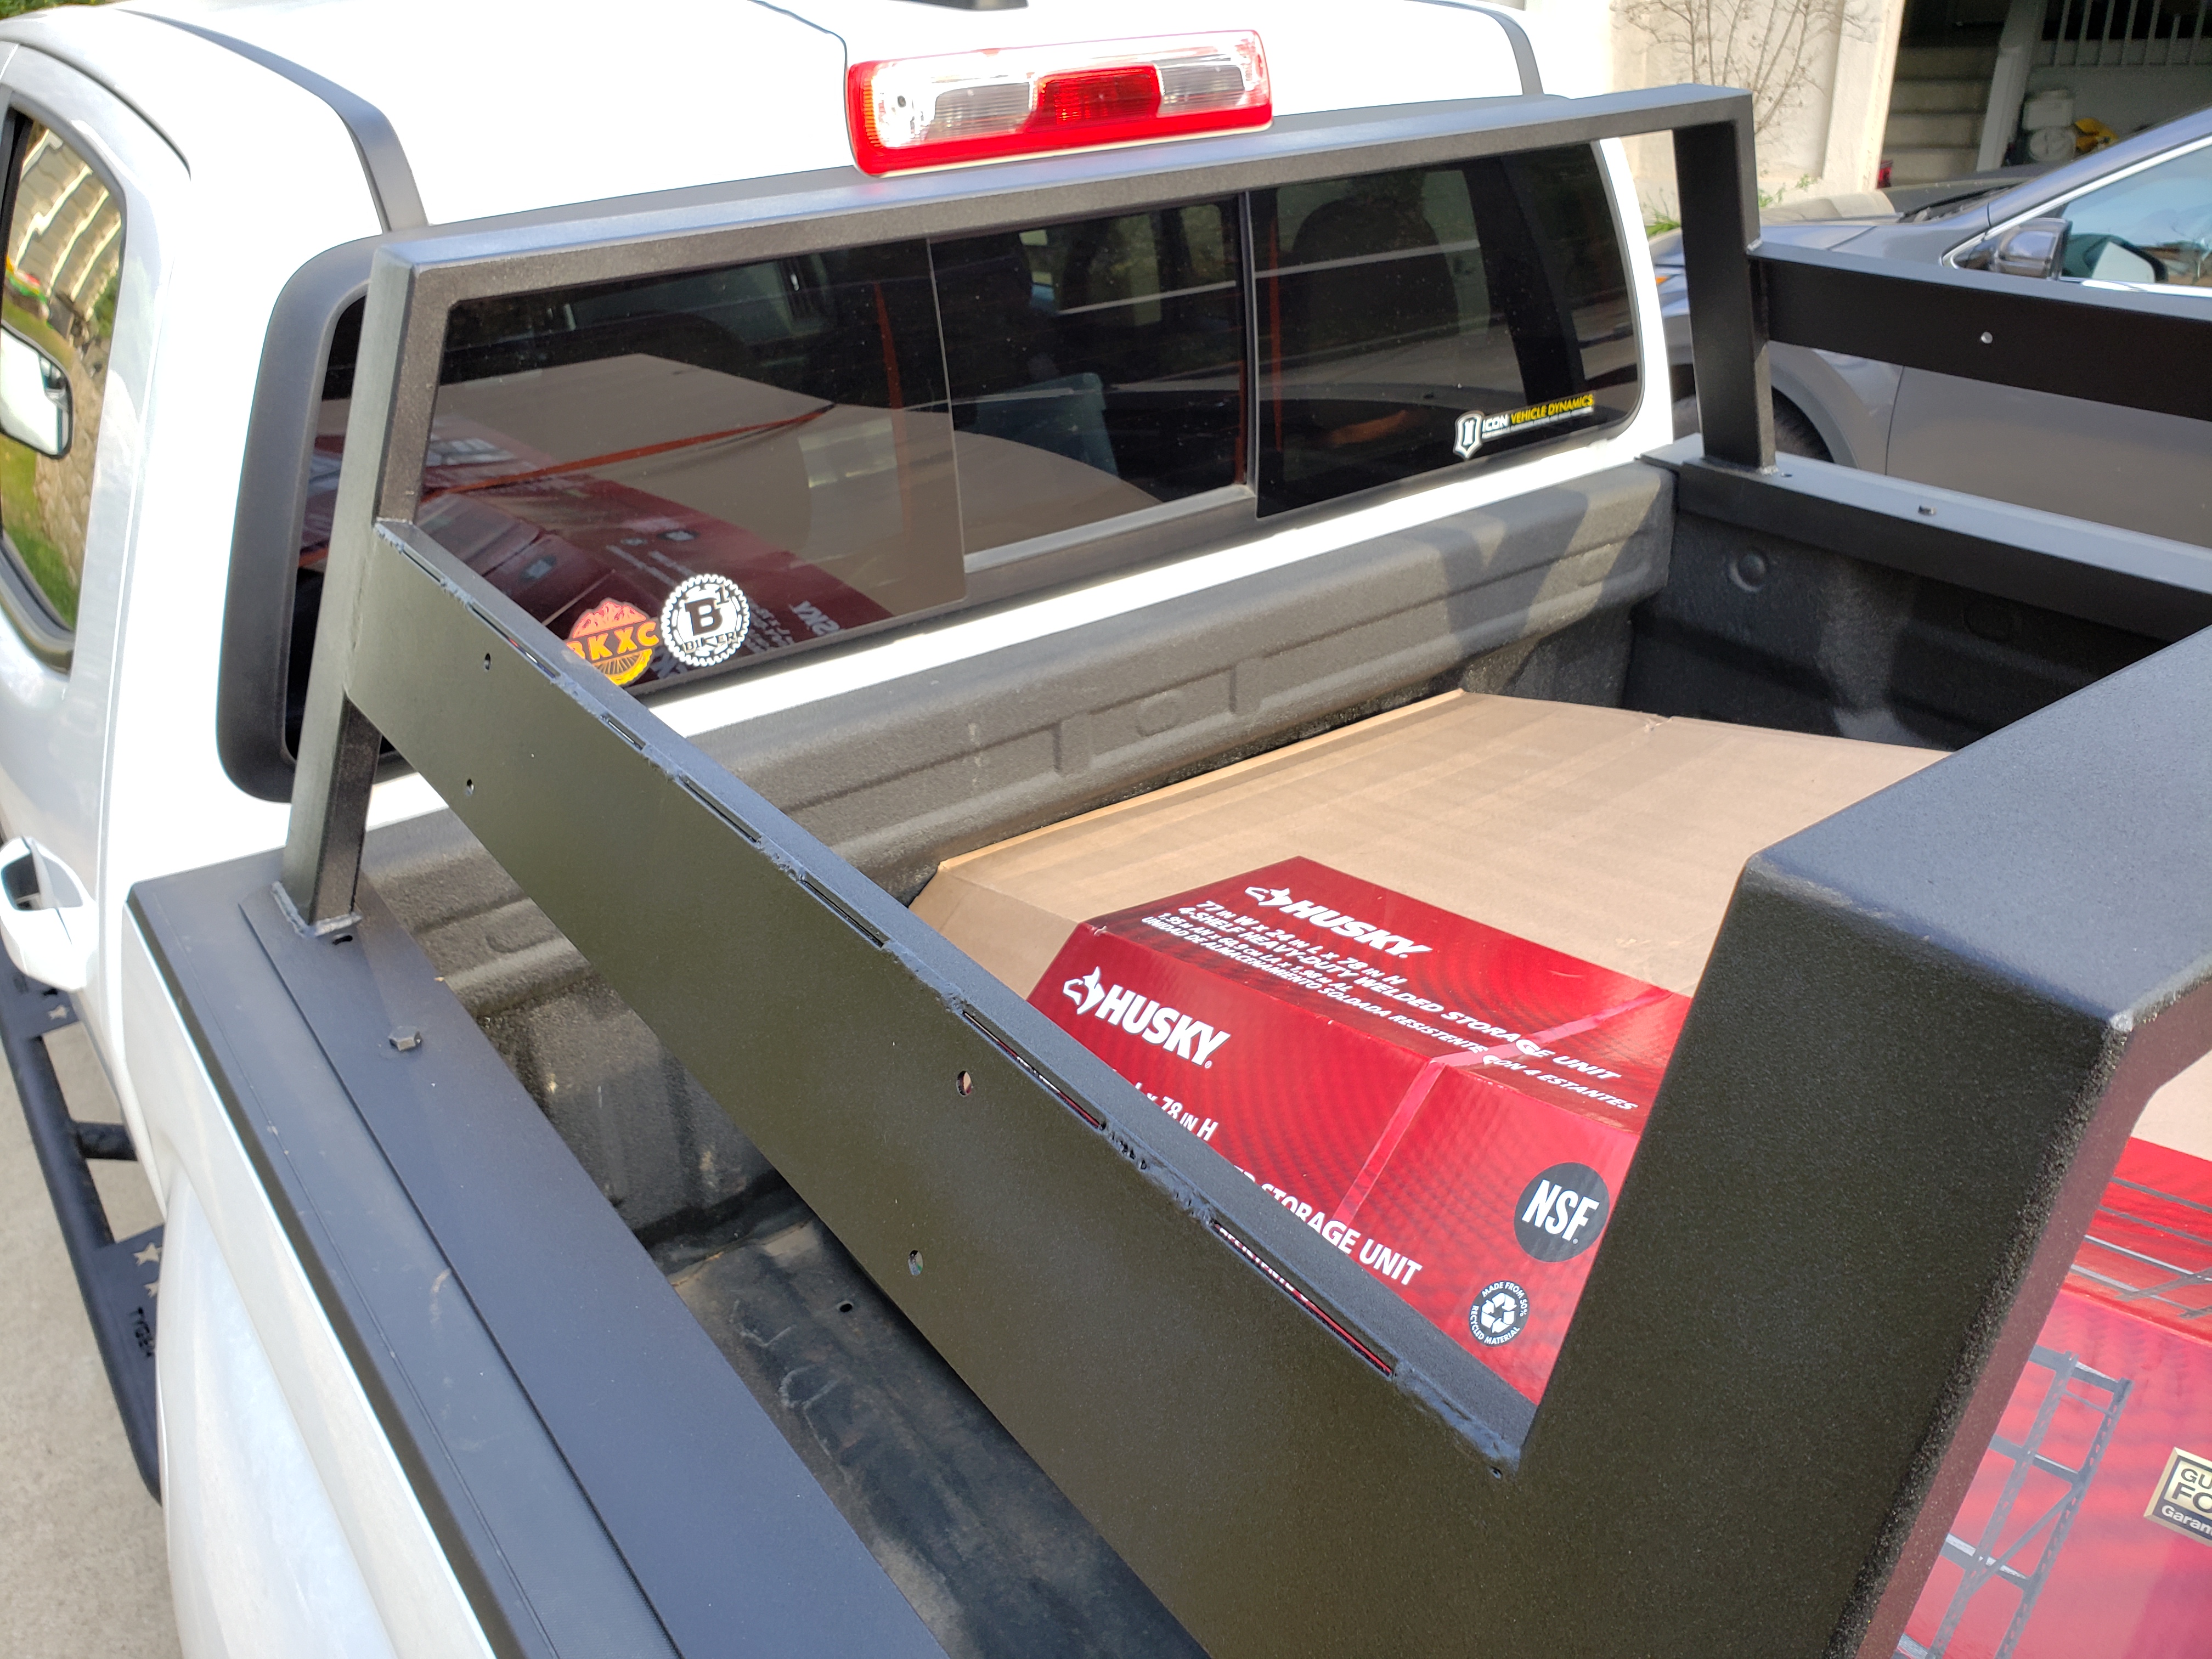
Or this but on the bottom side of the rack (couldn't hold it on the bottom side and take a photo)
 
Last edited: