Enthusiast II
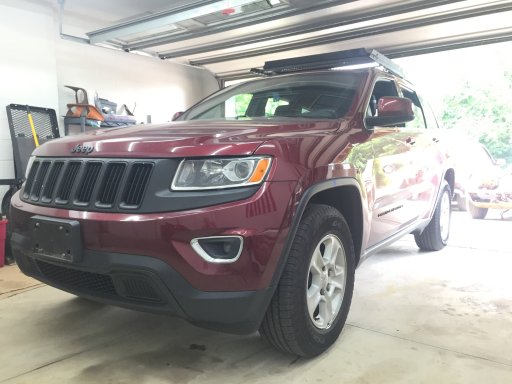
Jeep Wahoo: 2016 Grand Cherokee Laredo
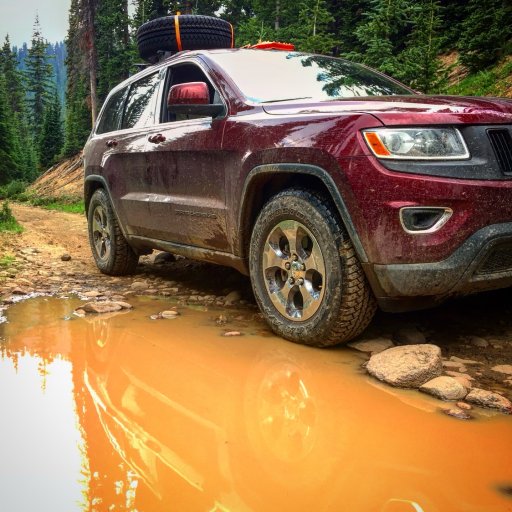
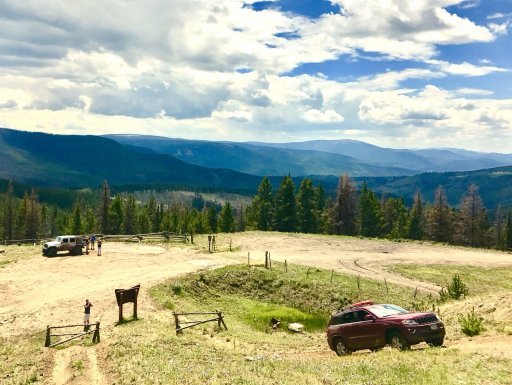
I stumbled upon Jeep Wahoo by accident. Truck Norris, our gas guzzling 2013 XTerra, was a little rough to drive from the flat lands of North Eastern Ohio to our vacation destinations in the mountains. We'd made several, annual road trips out west in the XTerra and it was great off- road, but pavement manners weren't exactly comfortable or forgiving. It also felt a little top heavy when we were off camber in the rocks. I have to say though, I loved the low range transfer case when I used it a few times each year and snow- donuts are a blast in a 2 ton SUV.
I was in a bit of a rut on which direction to go with my next vehicle. Pickup or Crossover... I wanted something that could tow, but I love SUV's. 4Runners are a little out of budget and I didn't really want to buy used. Subarus aren't my thing and, in my opinion, most domestic crossovers are BORING.
I randomly saw an online- advertisement for a holdover 2016 Grand Cherokee Laredo in early 2017 and decided to give it a drive. Two hours later I watched my Night Armor XTerra slowly disappear in the rear view mirror as Stevie Nicks sang the chorus to "Landslide" in my head. I had just purchased my first "Jeep"... an AWD Unibody Crossover. No 2wd option for daily driving, no low- range transfer case, no rear bumper big enough to rest a beer can on and chrome bits shining all over. I regretted the purchase before I turned my first mile... but I did it for many reasons: better gas mileage, improved road experience, more cargo space. After a week of ownership, I realized it was the nicest vehicle I'll probably ever own and I needed to make the most of it.
18 payments later and I'm comfortable in my rig. It's frequently covered in mud and I've even learned how to do donuts in it. Jeep Wahoo and I have become good friends and have decided to take our relationship to the next level.
Build list:
Money spent...er... Mods thus far:
- PlastiDipped badges and front grill (regrettable rash decision early in the game)
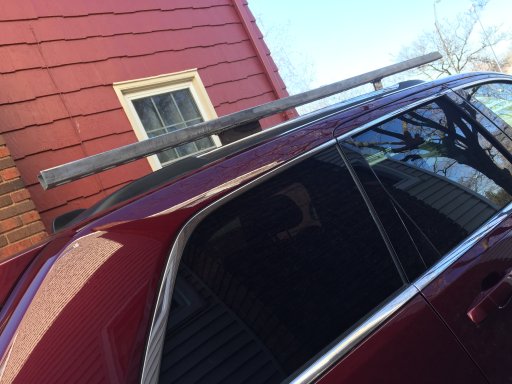
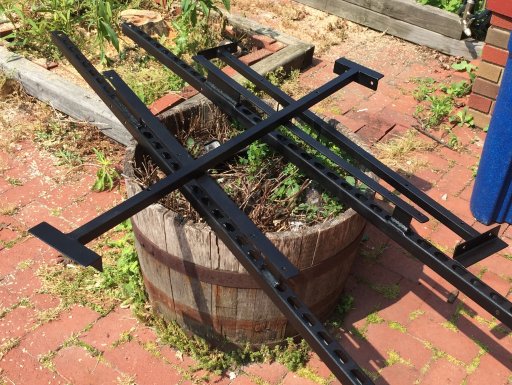
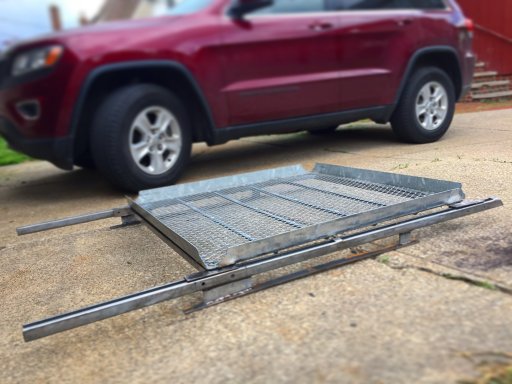
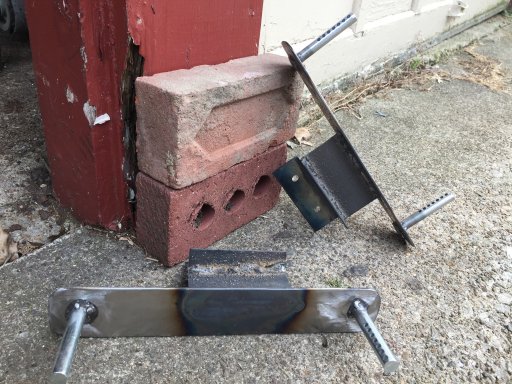
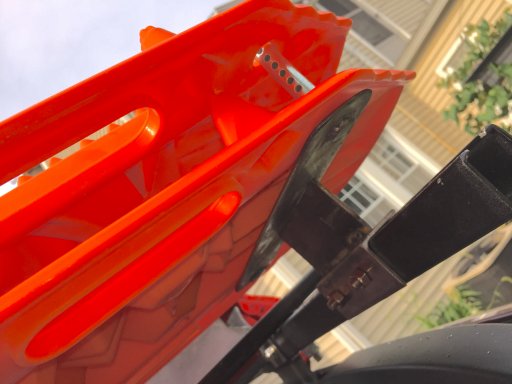
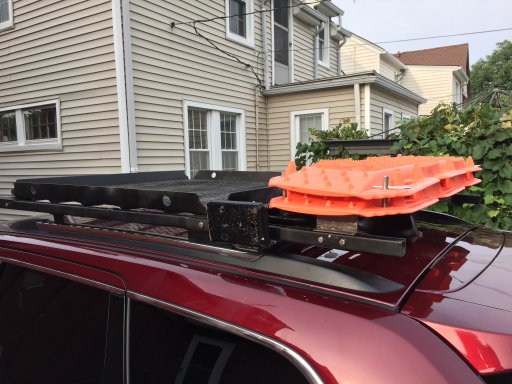
- DIY Roof Rack (constantly evolving) with the mounts for the things
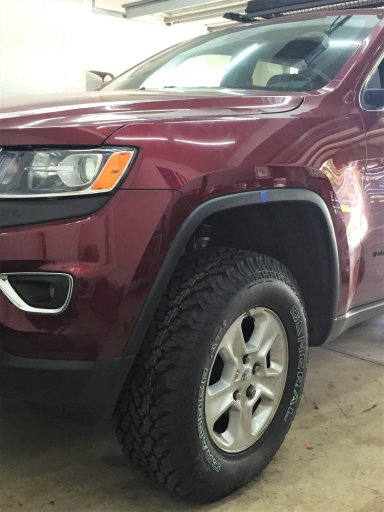
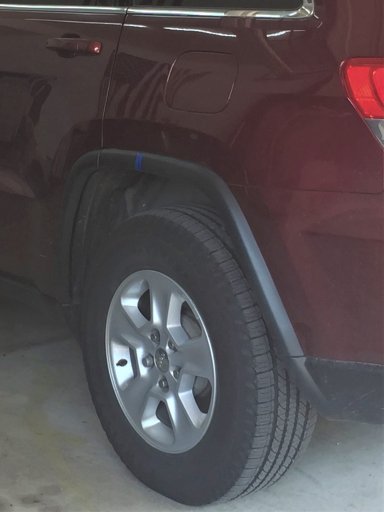
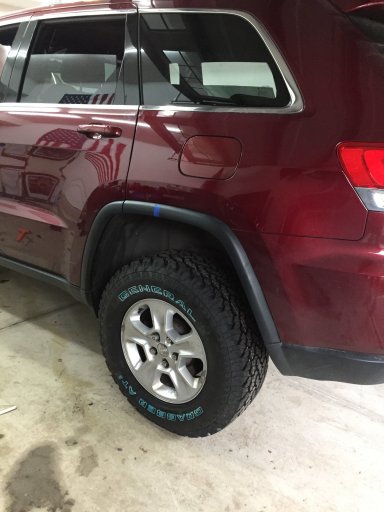
- 2.5" OME MD Spring Lift (looks MEATY)
- General Grabber AT2 265/70 R17 (OEM wheels with a full size spare)
- Recovery Boards, Cheap Compressor, Hi-Lift Jack (with lift mate), Shovel
- Samsung Galaxy Tab A 8" with Gaia GPS
- Front Recovery Points
- Drawer/ Storage solution
- Rock Rails
- Communication Solution
- Lights, fridge, MORE POWER!!, etc...
- Skid Plates