Explorer I
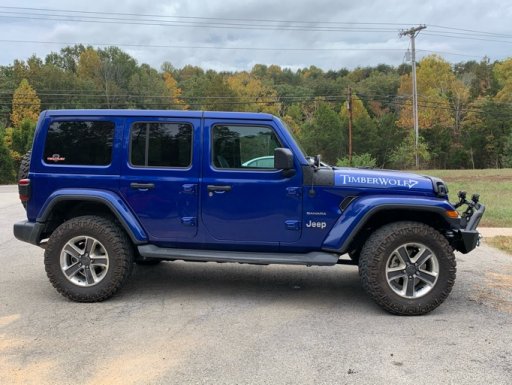
Got the PL-259 end soldered onto the antenna cable and everything seems to work well. Took the Jeep out for a quick run and got lots of APRS packets out!

Explorer I

Enthusiast I
Looks good, good location, how did you do that. How will you get wires too and from the switches is a better question ? Is your upholstery removable ? Duaaaaaaaaaa :-/Added some upfitter switches to my f150. They aren't wired up to anything but I just got them run into the engine bay for now in preparation. Next project will be a relay & fuse panel.
Explorer I
A set of switches are on my list as well - they get expensive you know? Home Depot/Lowes usually have a small selection of steel including small flat bits that are good for making brackets. With a vise and a hammer you can make some nice looking bends and get your aggressions out!I bought the switches from KustomFX on an f150 forum and they come prewired with about 6 or 10' or so. I cut the hole in the headliner and then the cable runs through that and the roof (between the metal and the headliner which just pulls down after you take out the visors and I could fit my whole arm up in there) and down behind the A-pillar trim, behind the dash and through a grommet in the firewall. All the switches will get wired into a fuse and relay panel I will install in the engine bay (kind of like what was shown on overland bound youtube channel ). However you could just buy those prewired harnesses that come with fancier lights, cut off the included cheapo switch that you'd normally stick onto the dash with vhb tape on the back and connect to the switch panel cable (in the engine bay) instead if you wanted to do it the easy (but messy) way. Now that the switch panel is wired into the engine bay with it's included wiring I shouldn't need any more wires going into the cab. It'll be a bit tricky to install the panel as I'm no electrician and the engine bay will require some custom flat bar brackets. Would be easier to just use a bunch of those prewired harnesses I mentioned but would look so ugly. With the panel I'll have less wires running to my battery terminals and a more professional looking setup hopefully. Also all the fuses and relays will be labeled and in one spot if something goes out.
Enthusiast I
A set of switches are on my list as well - they get expensive you know? Home Depot/Lowes usually have a small selection of steel including small flat bits that are good for making brackets. With a vise and a hammer you can make some nice looking bends and get your aggressions out!I bought the switches from KustomFX on an f150 forum and they come prewired with about 6 or 10' or so. I cut the hole in the headliner and then the cable runs through that and the roof (between the metal and the headliner which just pulls down after you take out the visors and I could fit my whole arm up in there) and down behind the A-pillar trim, behind the dash and through a grommet in the firewall. All the switches will get wired into a fuse and relay panel I will install in the engine bay (kind of like what was shown on overland bound youtube channel ). However you could just buy those prewired harnesses that come with fancier lights, cut off the included cheapo switch that you'd normally stick onto the dash with vhb tape on the back and connect to the switch panel cable (in the engine bay) instead if you wanted to do it the easy (but messy) way. Now that the switch panel is wired into the engine bay with it's included wiring I shouldn't need any more wires going into the cab. It'll be a bit tricky to install the panel as I'm no electrician and the engine bay will require some custom flat bar brackets. Would be easier to just use a bunch of those prewired harnesses I mentioned but would look so ugly. With the panel I'll have less wires running to my battery terminals and a more professional looking setup hopefully. Also all the fuses and relays will be labeled and in one spot if something goes out.

Off-Road Ranger I
27074

Pathfinder III

Off-Road Ranger I
27074
View attachment 173022
Finally completed my Rhino Rack install after a couple of days. Sort of like the most complicated IKEA furniture build with twice the hassle and four times as many parts.
Explorer I
Looks great! Like the black grill too.View attachment 173022
Finally completed my Rhino Rack install after a couple of days. Sort of like the most complicated IKEA furniture build with twice the hassle and four times as many parts.

Enthusiast III

Member II
20275

Member III
20468

Member III
16986
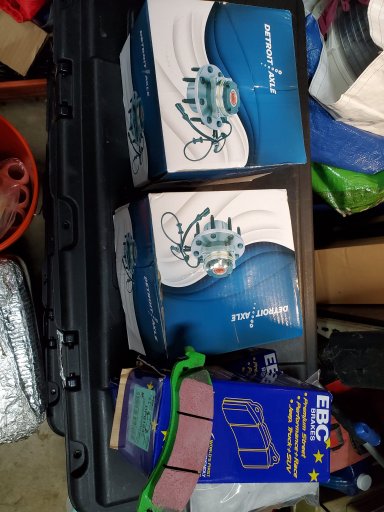
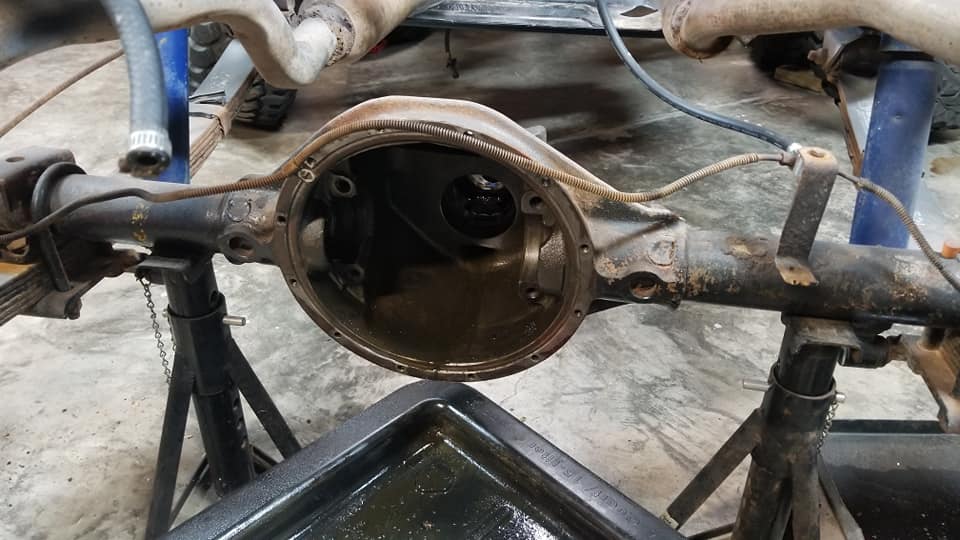
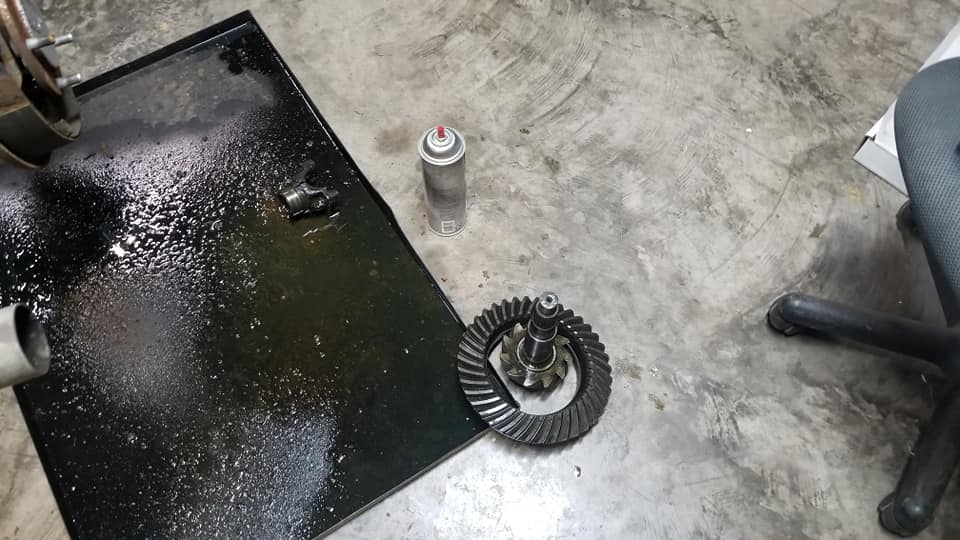
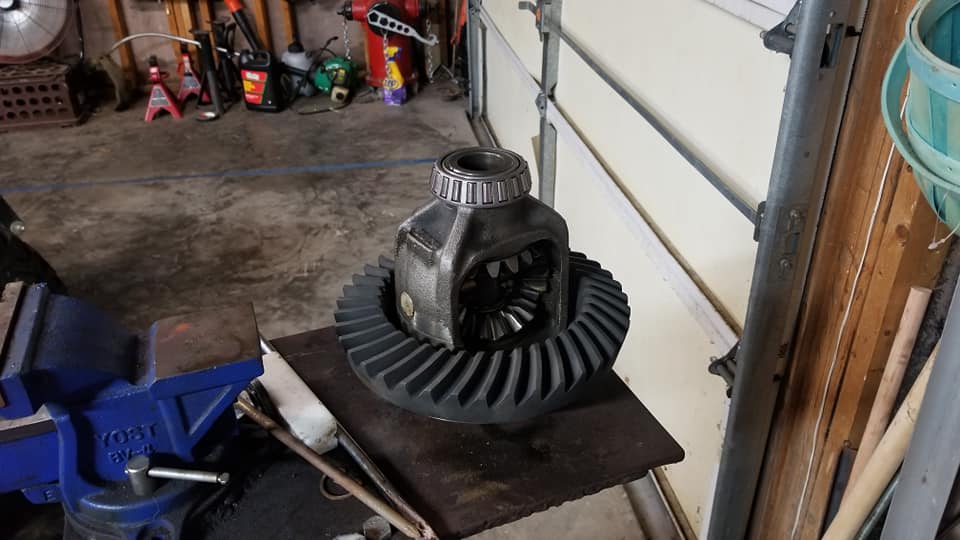
Good luck with the reassembled and meshing the gears. Like you I dont like the effort it takes to get the correct pattern. I guess if you do it a lot it's not a problem. I'm a chicken to mess with rear gear rebuild. :-)Tore the AMC 20 rear axle down on the CJ. One of the previous owners apparently did me a favor and put one piece axles in it at some point. Got a good chunk of the work done. Got the carrier bearings removed and new ones put on along with the ring gear. Got the old pinion races out. Tomorrow I will start going back the other way. Not looking forward to setting up the pinion depth. The original setup used a large shim under the bearing race. All of the rebuild kits come with shims that go under bearing cone. And none of them are of similar size to the original shim.
Off-Road Ranger I
27074
Member II
20275


Member II
20275
Member II
20275
Enthusiast III

Member III
 ]
]
Member III
Whose tie rod sleeves did you use?I installed tie rod sleeves today on my Chevy Colorado ZR2. [View attachment 173129]