What Did You Do With Your Rig Today?

  • HTML tutorial

Gone_xtrkn

Rank IV
Launch Member

Enthusiast III

1,116
Houston, TX, USA
First Name
Brendon
Last Name
P
Member #

21726

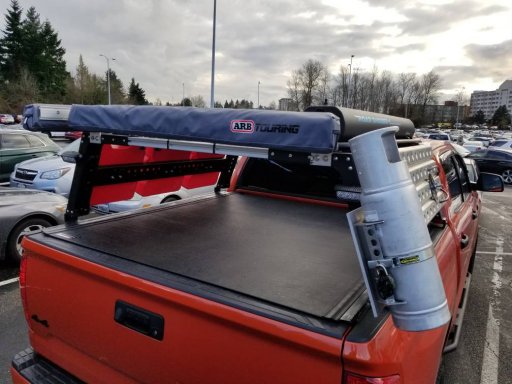
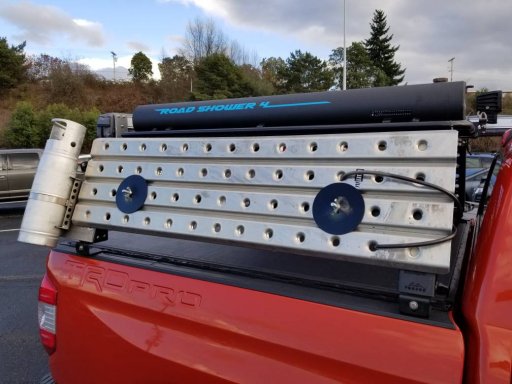
Thanks! Have you thought about putting a cargo rack up top? I have my awning mounted to the side of my safari rack!
I have considered it. I usually leave the top slick until the week of an overnight trip when I mount the RTT. I like the FrontRunner rack because their awning mount is level with the side of the platform but the rack itself is a little heavy to be kept empty on the car 75% of the time. I’d like to fabricate some new awning mounts that attach to the T-slots on both the top and bottom of the crossbars to get a similar fit. That would raise the awning the extra inch or two that I need to it just right. Having ready-made mounts so I don’t need to rig my own is definitely an argument in favor of the rack, though.
 
Last edited:
  • Like
Reactions: eagle_A40

PNWInfernoPro

Rank V
Launch Member

Member II

2,741
Kirkland, WA
First Name
Fred
Last Name
Dear
Member #

2840

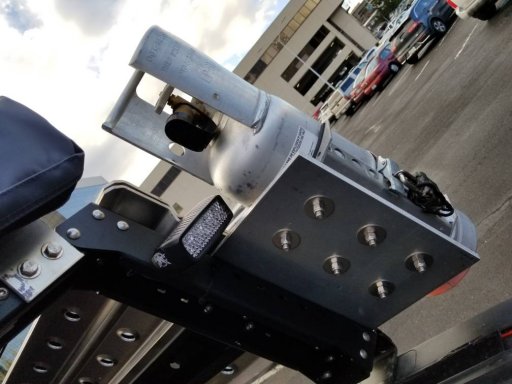
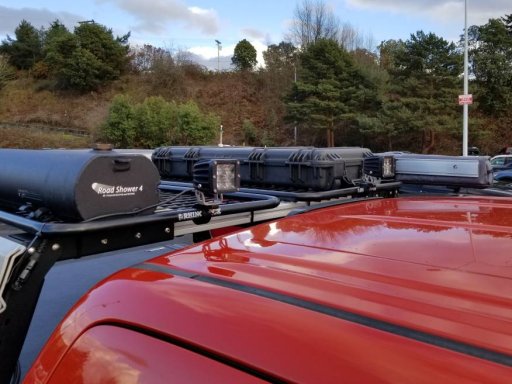
I would seriously consider security nuts on those lights. Those will disappear in a heartbeat in the wrong place. I use these for my IPF's, but I prk outside year round in a downtown. No issues yet.

They have them already. Always use security nuts and locks on everything. I live in and around Seattle. [emoji6]
 
  • Like
Reactions: USStrongman

Michael

Rank IX
Staff member
Founder 500
Member

Benefactor

15,584
Livermore, California, United States
First Name
Michael
Last Name
Murguia
Member #

0000

Ham/GMRS Callsign
KM6YSL

M Rose

Local Expert
Mod Team
Member

Advocate III

5,584
Northeast Oregon, United States
First Name
Michael
Last Name
Rose
Member #

20990

Ham/GMRS Callsign
W7FSB
Service Branch
US ARMY Retired
I worked on my Auxiliary power distribution box for my lights, and a few other accessories I will be adding down the road. This is box 1 of three... about 75% complete.

this is an experiment, so not sure how it’s going to turn out once done.

I used the fallowing parts:

3- Mictuning 12 slot relay box

15- Bosch 5 pin relays

1 assorted ACT Fuse kit

3- 3’ Cat6 Ethernet PatchCable

3- 10’ Cat6 Ethernet PatchCable

12- Cat6 female to female connectors

I still need 8 gauge primary wire in red and black, 12 gauge primary wire in various colors, 2 buss bars, three 6 pin connectors, and a few other miscellaneous wiring parts.

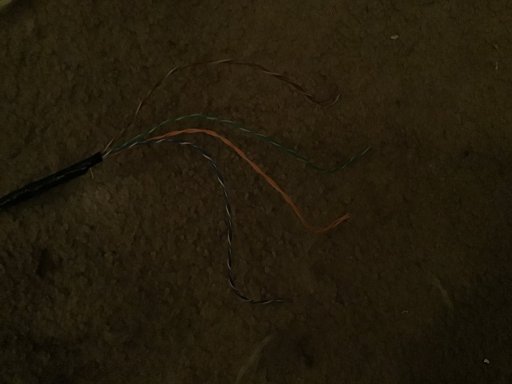
I started off by cutting the 3’ Cat6 cables in half, I then measured out two times the length of the fuse box and stripped off that much shielding. I then separated the 8 wire into 4 pairs of wires. I stripped the insulation back to form larger wires For soldering the female spade terminals supplied with the fuse box.

98DEE85F-CBB8-498B-958A-953B7F114D64.jpeg
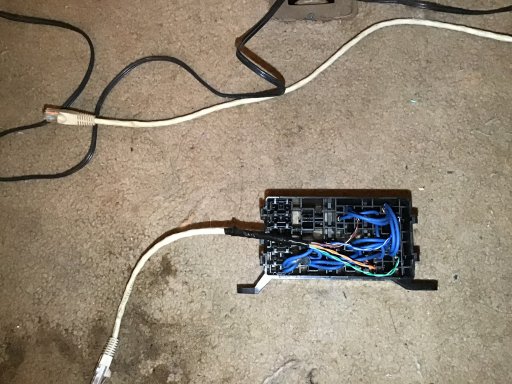
Next I had some 16 Gauge wire laying around, so I doubled it up and days chained the hot side of the relays together in series. I then did the same for the hot side of the relay coils as well. Then I installed it all together.

4CE3CF32-5250-4C6D-9C6B-D5C9EB2991D1.jpeg

The other half of the Cat6 cable will be used to supply a Ground from the switch panel. tomorrow’s project. The switch panel will be connected via the 10’ Cat6 Cable and the double female connectors. I will be running a dedicated ground wire and power wire to the switch panel inputs.
 

USStrongman

Rank V

Influencer II

1,596
Lubbock, TX, USA
First Name
Bryan
Last Name
Hildebrand
Member #

20099

They have them already. Always use security nuts and locks on everything. I live in and around Seattle. [emoji6]
Seattle is home for me. Went to school in Kent and UW. Left in 2001. Brother in Buckley. Sister in Ballard. I miss it terribly, but know it has changed dramatically since I left. Lived in Renton (Fairwood), Tacoma (Stadium District), Alki (Lighthouse), Issaquah (downtown). I miss the NW.
 

USStrongman

Rank V

Influencer II

1,596
Lubbock, TX, USA
First Name
Bryan
Last Name
Hildebrand
Member #

20099

  • Like
Reactions: PNWInfernoPro

diabetiktaco

Local Expert New Jersey, USA
Launch Member
Member

Explorer I

3,650
Marlboro Township, NJ, USA
First Name
Eric
Last Name
Beauchea
Member #

4723

@diabetiktaco


I'd like to know more about this setup. Do you have any details on the mounts used and how it was wired up?

Boort
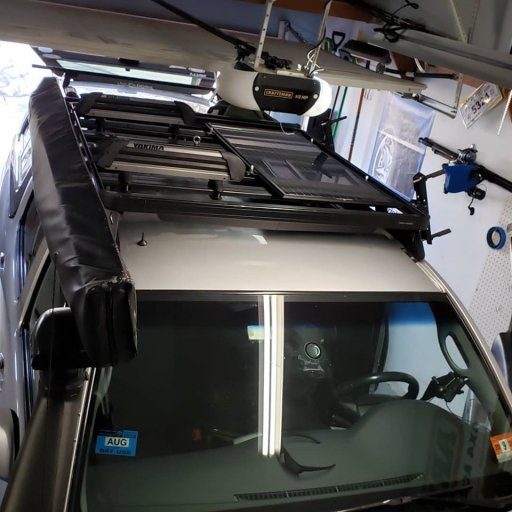
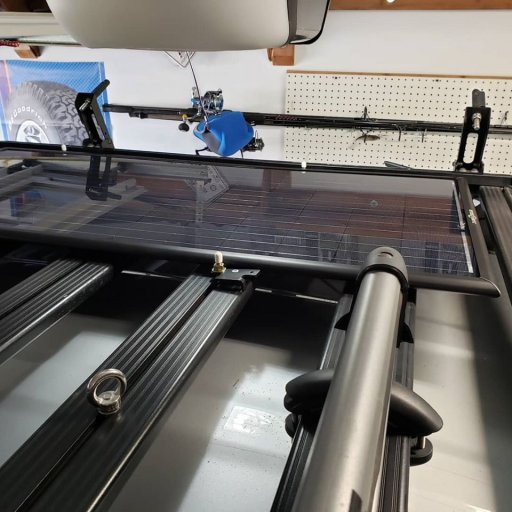
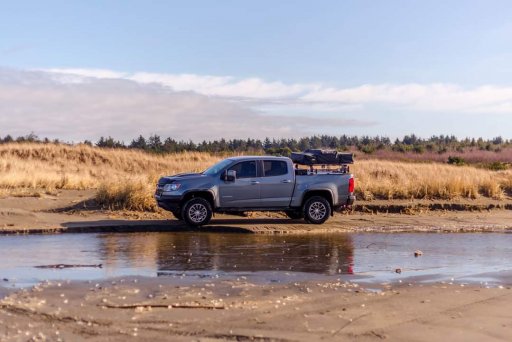
So I actually just re did the mounts because I realized I was a little backwards. I used my frontrunner rack and drilled out the mounting tabs they supplied so I can fit the proper bolt for the rack. That's all secure now.

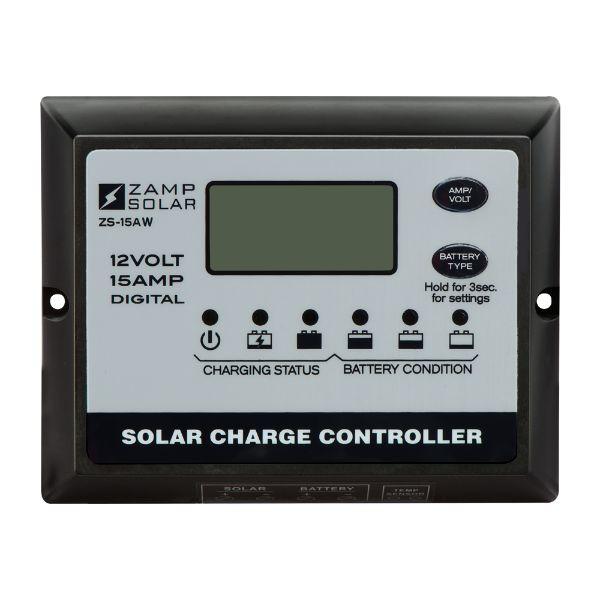
I have to order this:

Once I do I'll take everything out of the box and figure out what's next. My end result should be the control panel mounted in the bed of the truck w/ the panel running directly to the battery. The solar controller will trickle charge the battery when parked and shut the charge off when full. If I'm parked out of the sun, I also have a portable Zamp 90W panel I can alligator clip to the battery. Sorry, not very helpful. I usually buy stuff and figure out how to make it work when it shows up
 
  • Like
Reactions: Boort

Wallygator

Rank III

Contributor II

830
USA
So I actually just re did the mounts because I realized I was a little backwards. I used my frontrunner rack and drilled out the mounting tabs they supplied so I can fit the proper bolt for the rack. That's all secure now.

I have to order this:

Once I do I'll take everything out of the box and figure out what's next. My end result should be the control panel mounted in the bed of the truck w/ the panel running directly to the battery. The solar controller will trickle charge the battery when parked and shut the charge off when full. If I'm parked out of the sun, I also have a portable Zamp 90W panel I can alligator clip to the battery. Sorry, not very helpful. I usually buy stuff and figure out how to make it work when it shows up
That solar panel is very nice but is there a reason/reasons it is almost $400 more than a comparable Renogy panel? That's a lot of cheddar.