Hello OverlandBound!
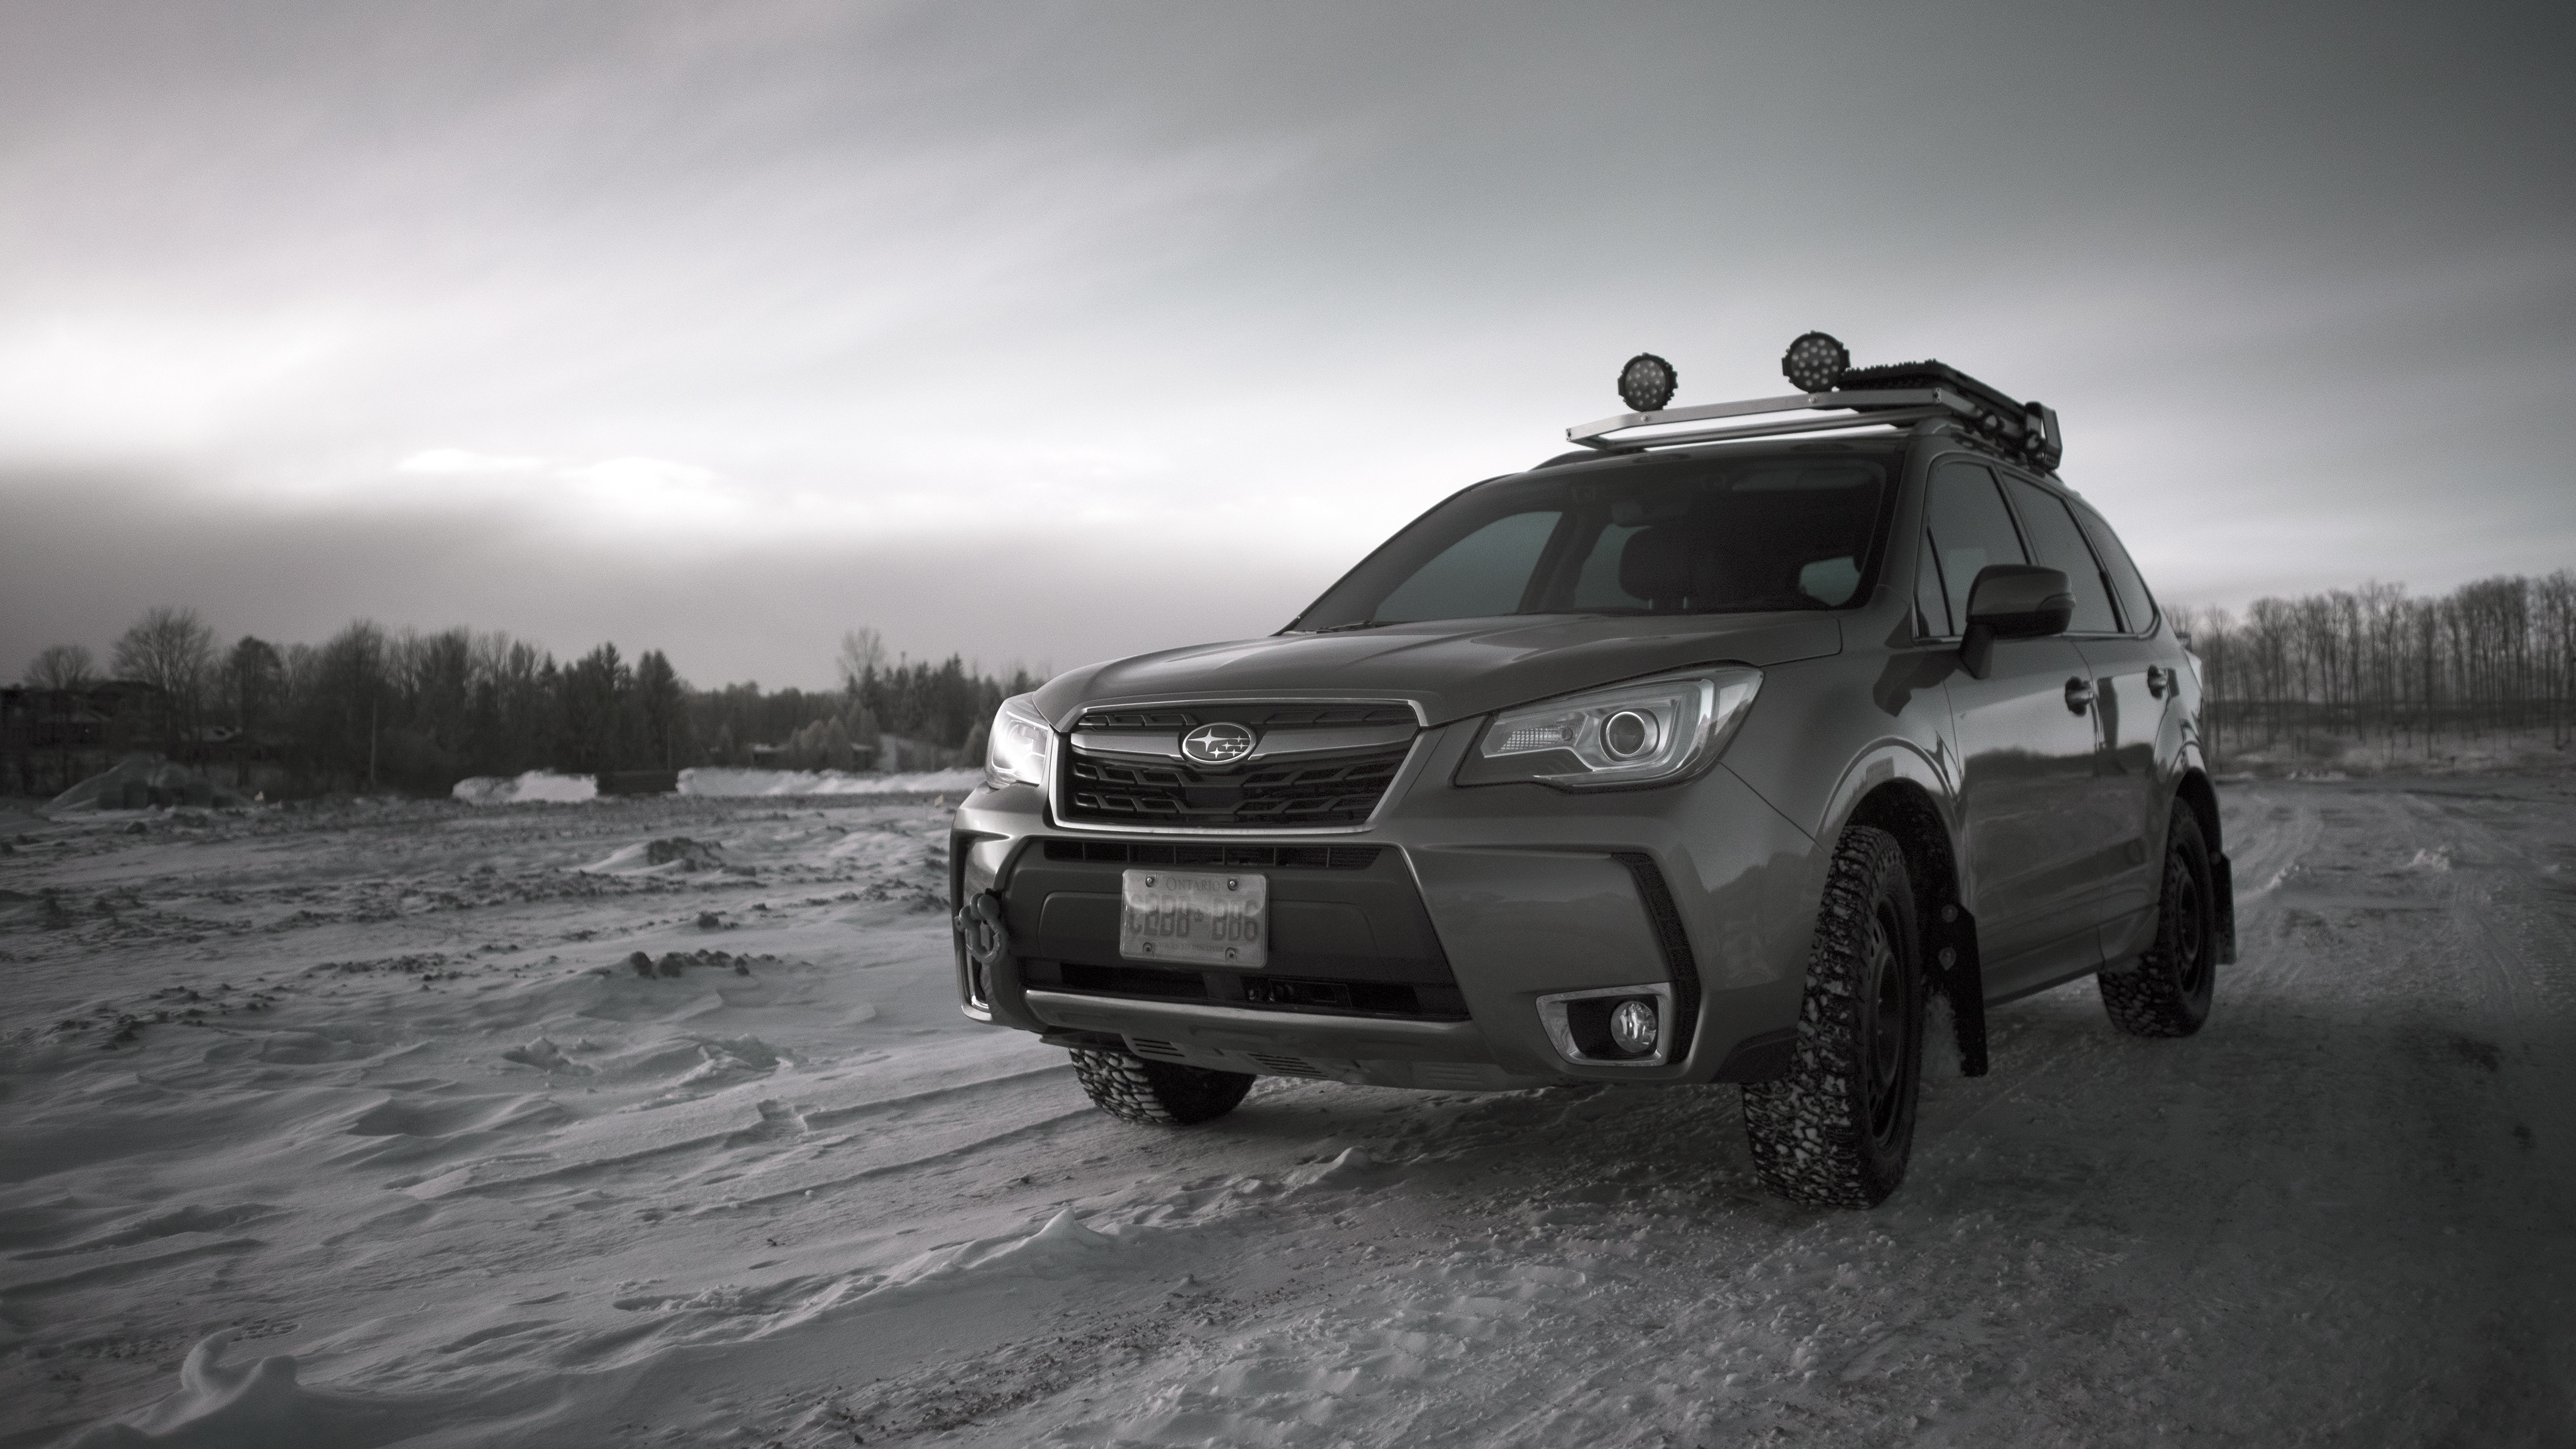
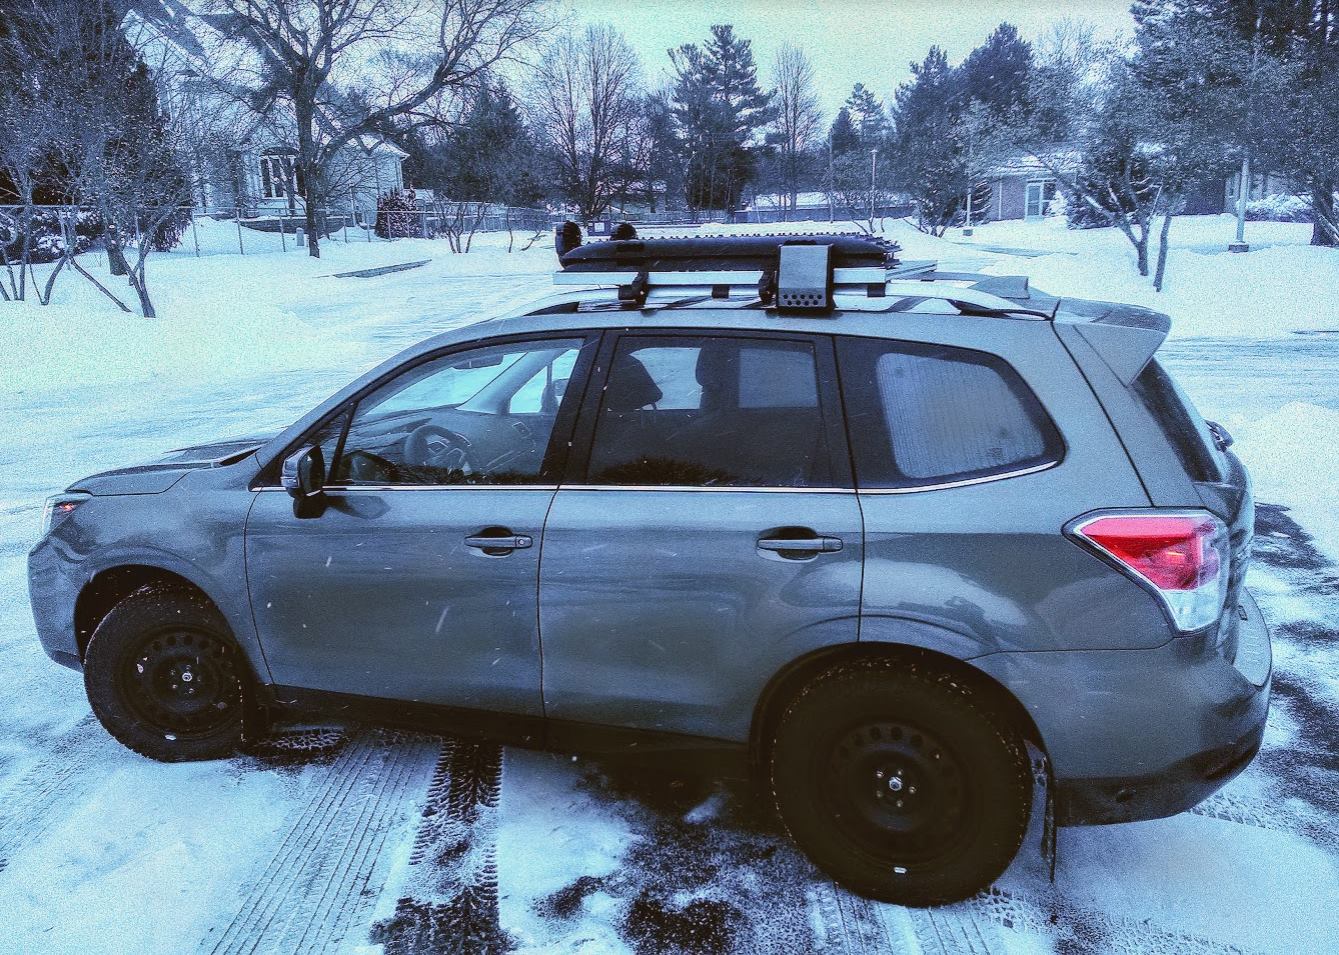
This will be my thread for listing and explaining my current and future mods to my Subaru Forester '18 XT. Stock, it runs with a 2.0L FA20F Boxer engine with 250 hp, 258 ftlbs of torque. Weight comes in at 3,296 lbs, with a 104" wheelbase and about 1 ft. of ground clearance with my ADF lift. With Subaru's excellent AWD system, I've never really had much trouble except in mud deeper than 1 ft. This thing is a beast in snow!
_________________________________________________________________________________
Mod List
Exterior
- ADF 2" front lift, 2.5" rear lift
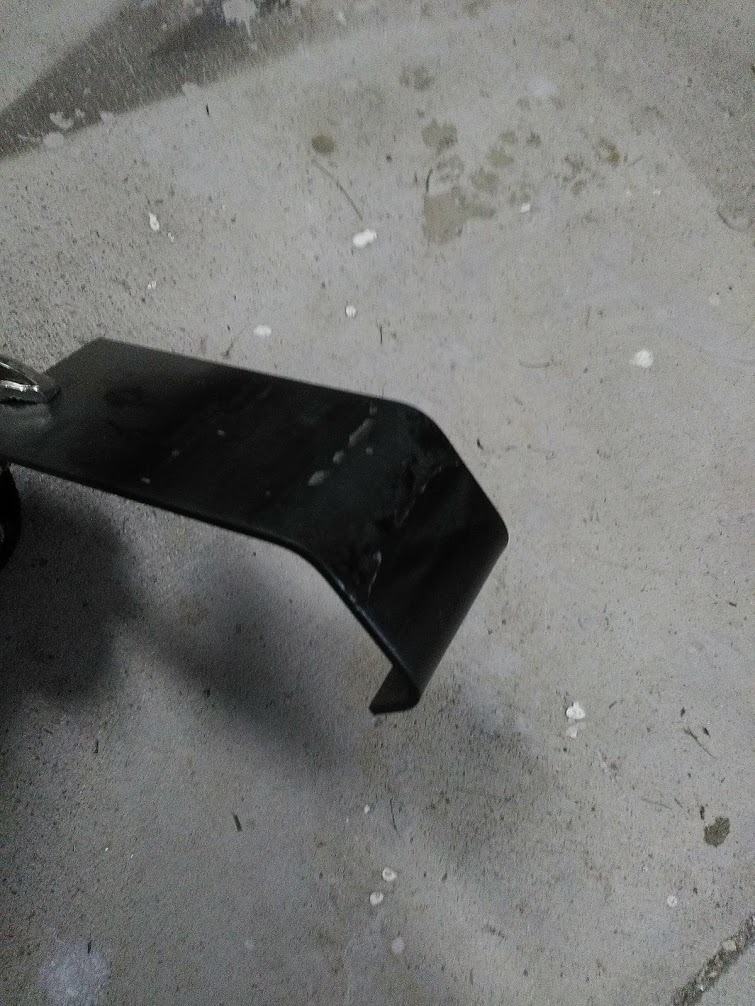
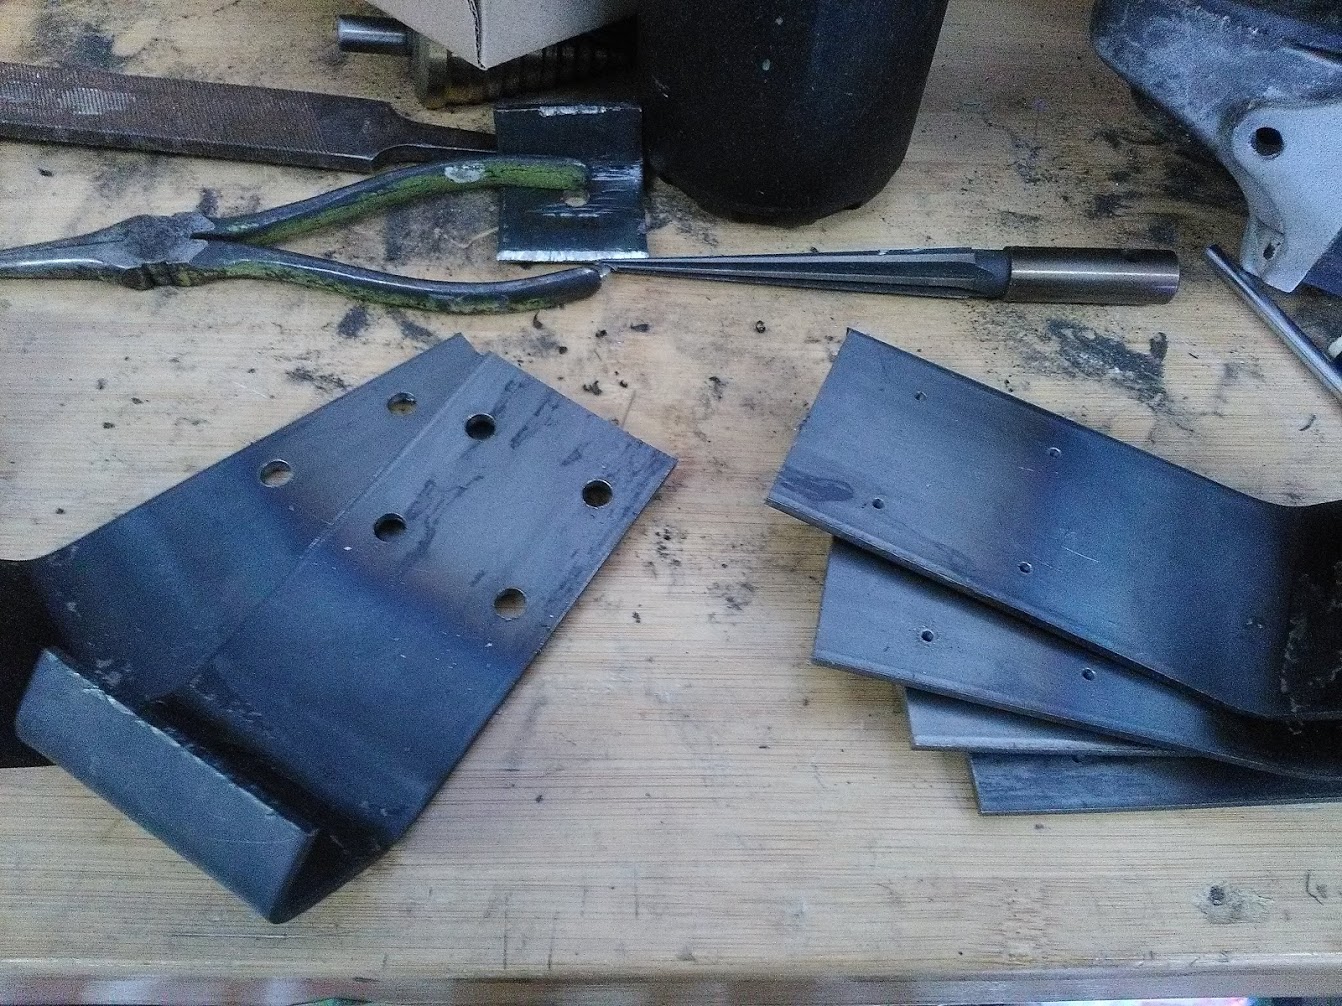
- DIY fab'ed swing-out steel bumper for spare tire and gas cans
- 30W hood-mounted solar panel
- Gorilla Offroad mudflaps
- Falken AT3W Wildpeak tires (215 65R 17)
- 17" steel wheels
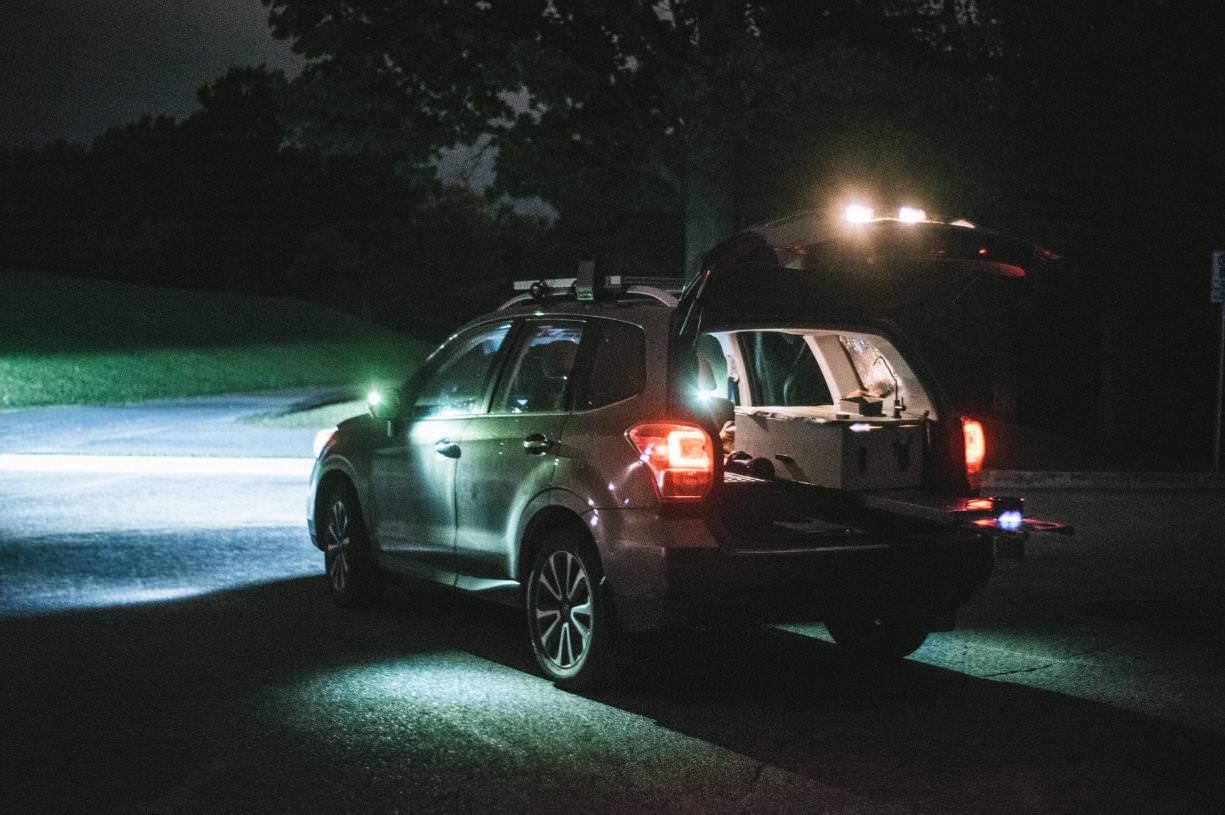
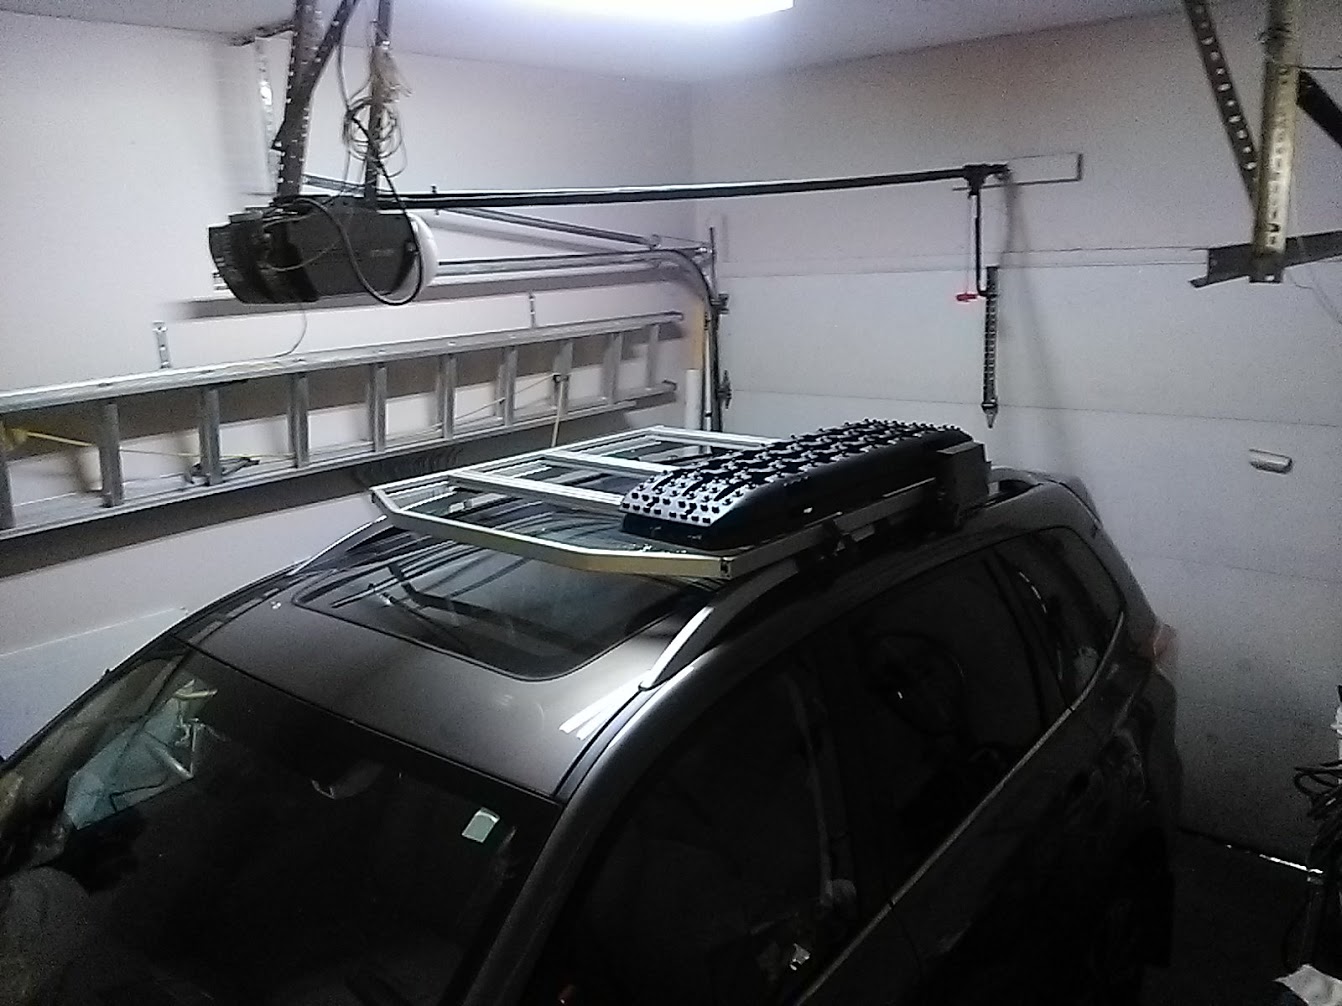
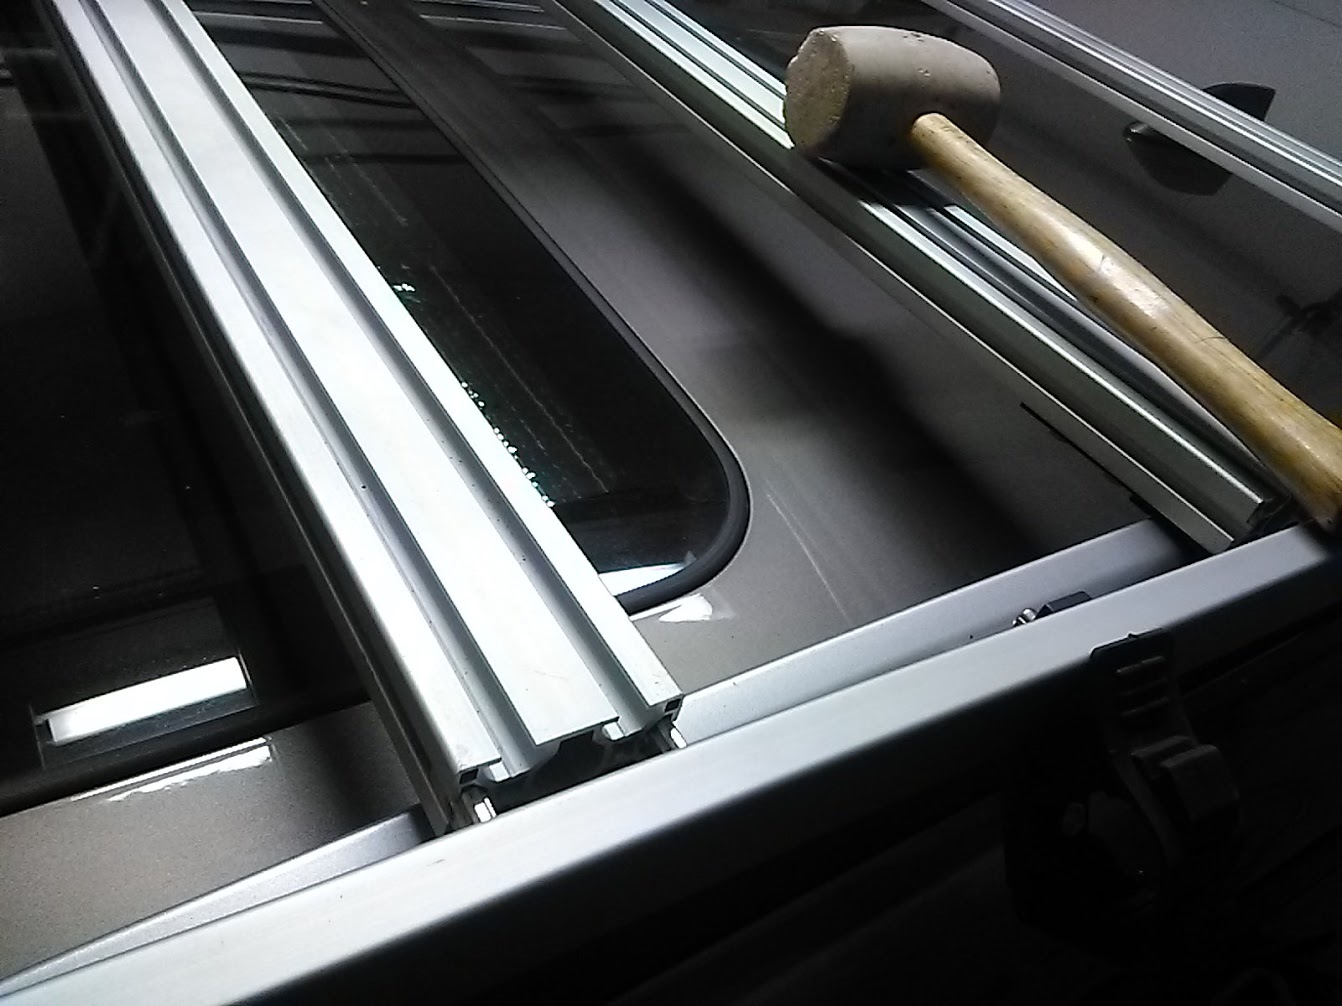
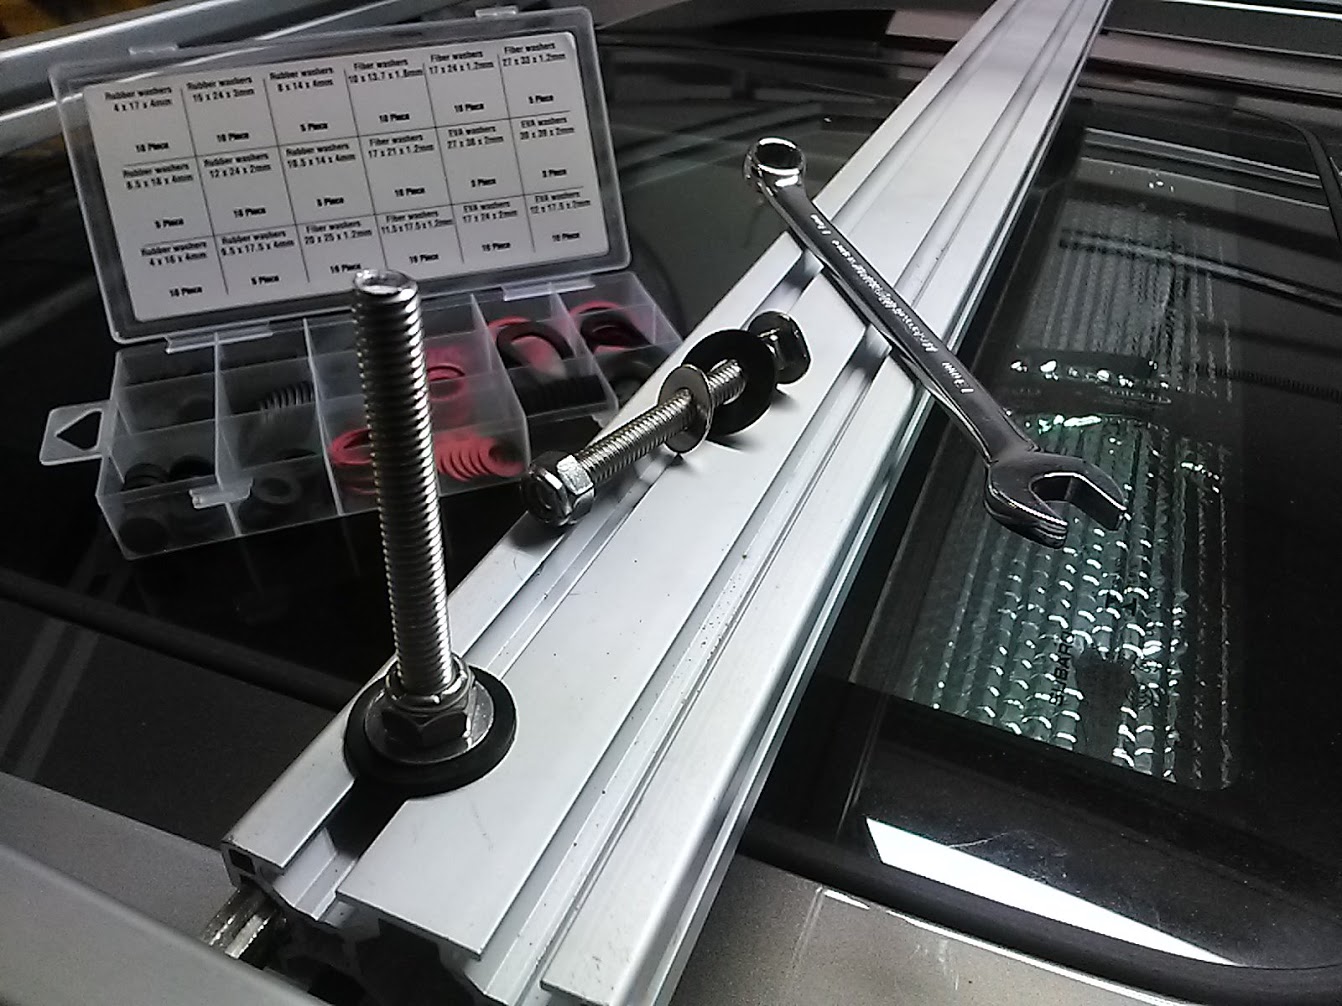
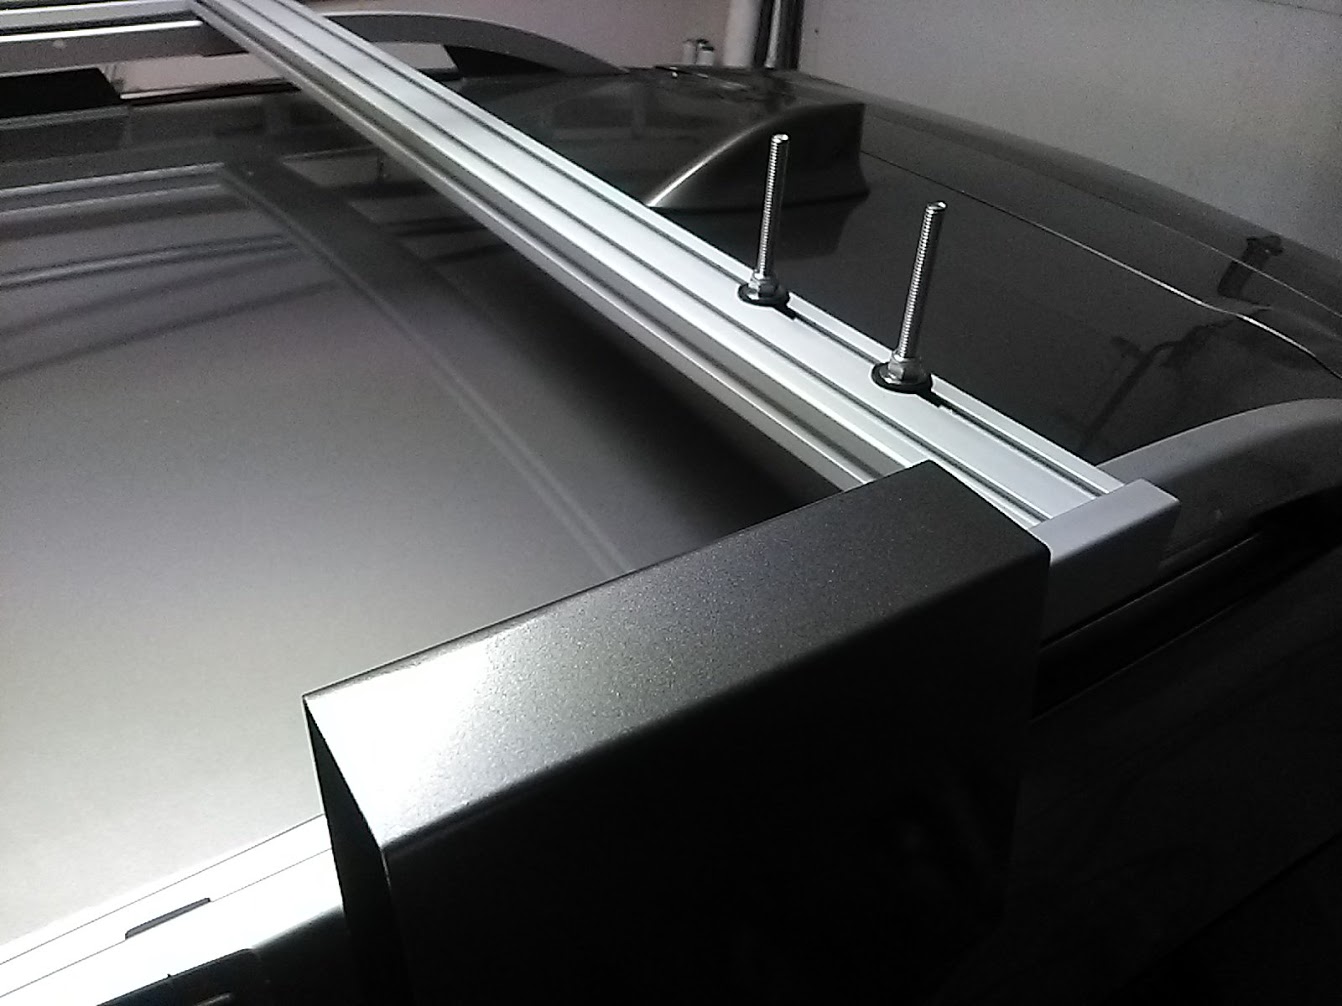
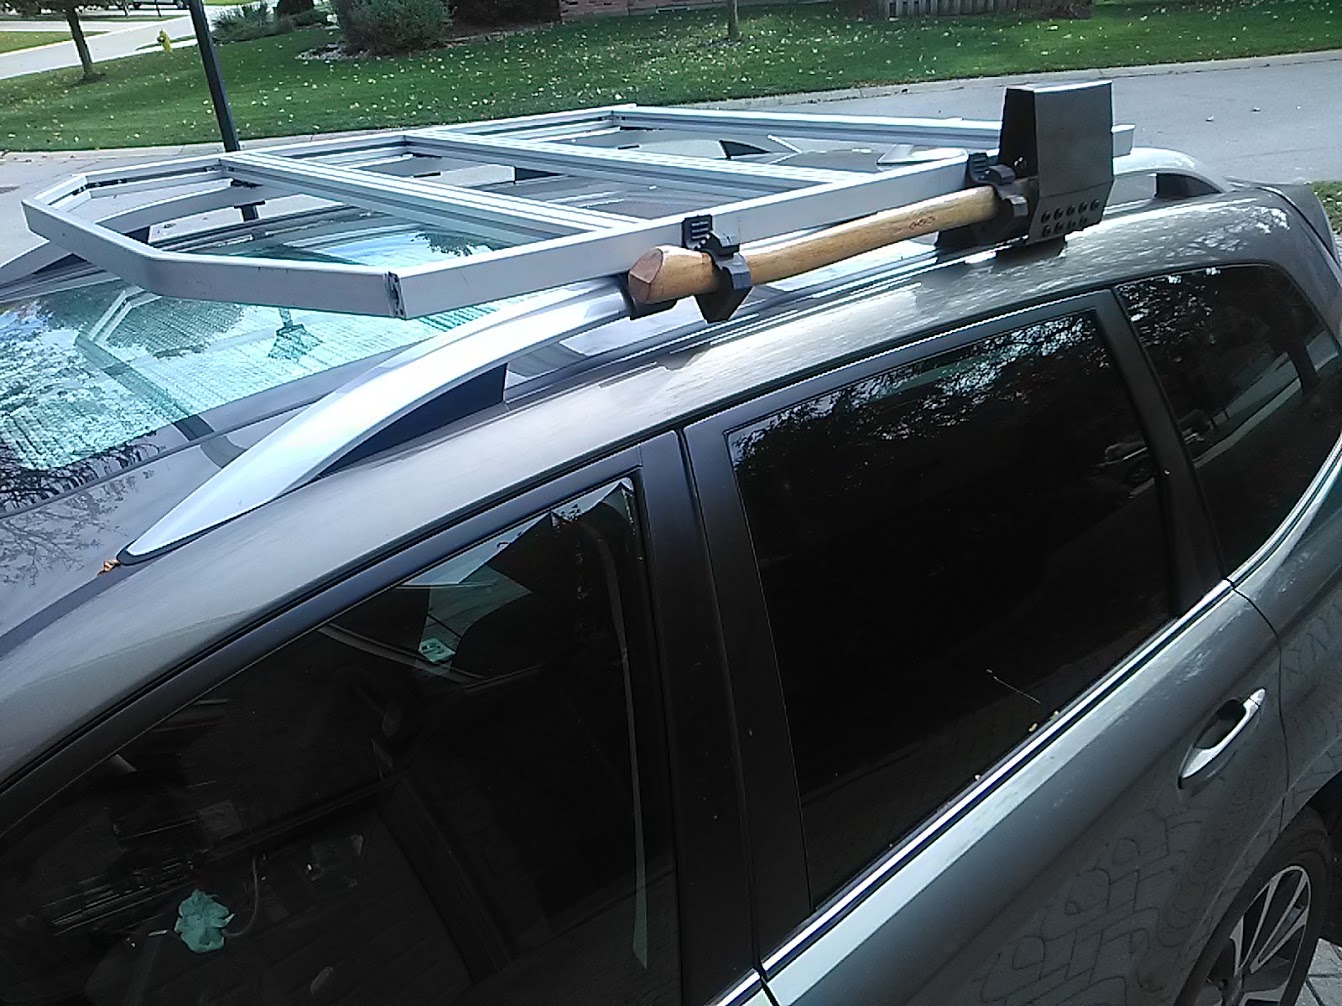
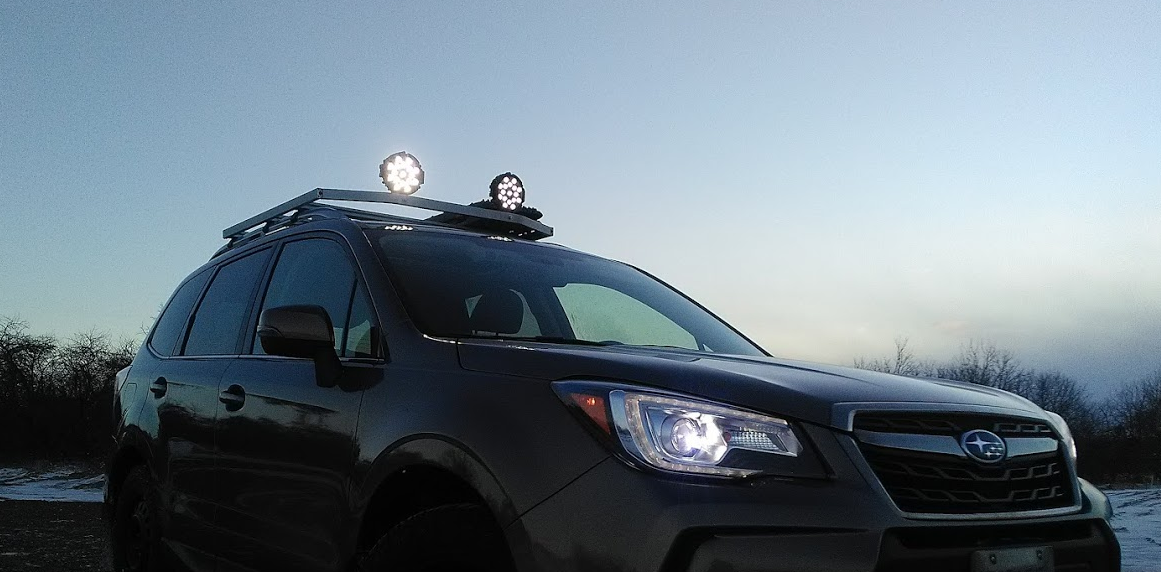
- DIY extruded aluminum roofrack (using 80/20).
- 7" 51w flood lights
- X-BULL traction boards
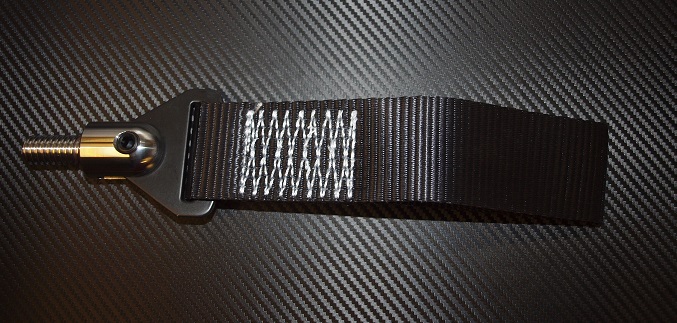
- DIY axe carrier
- LiFePo4 auxillary battery (12v, 38Ah).
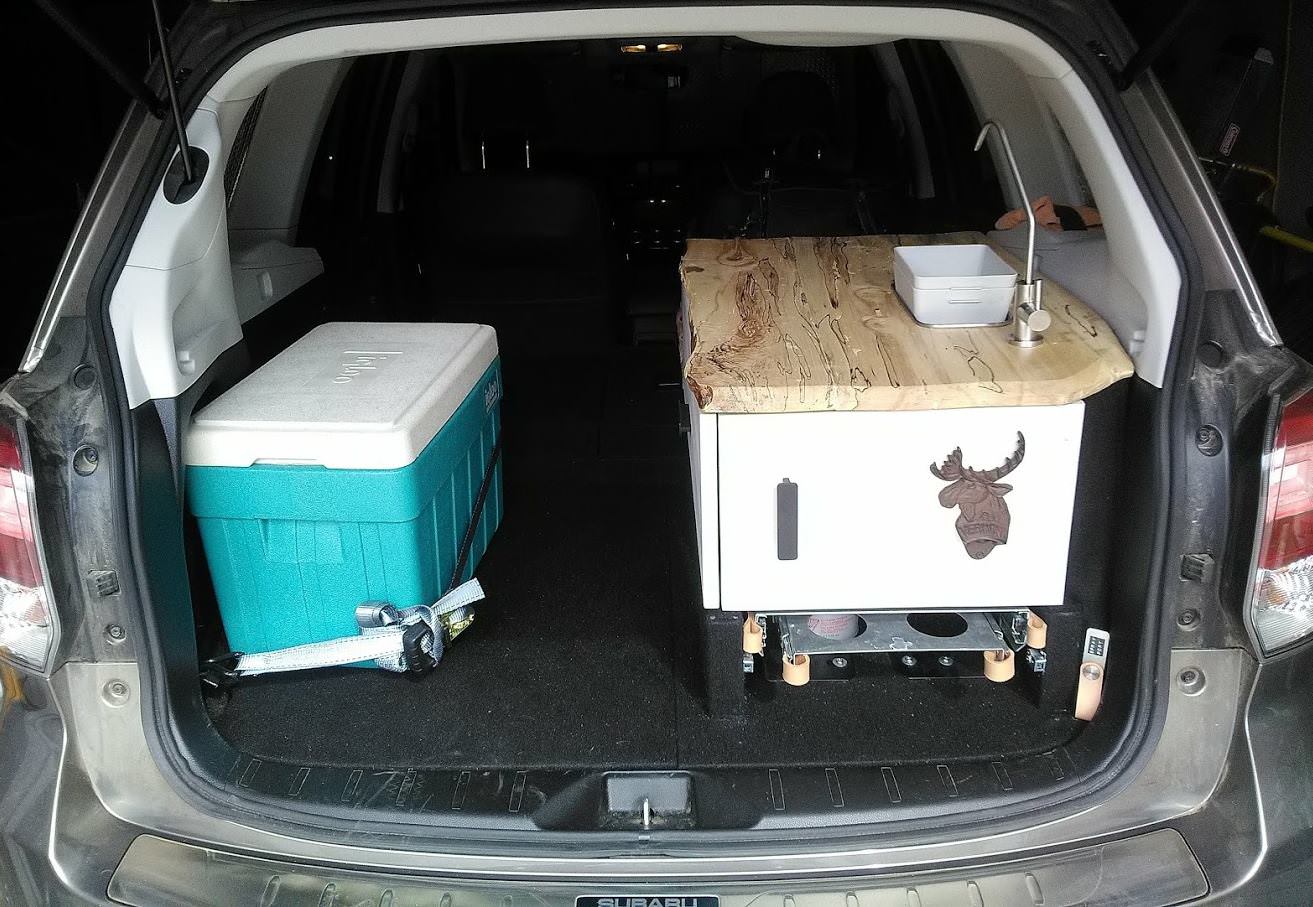
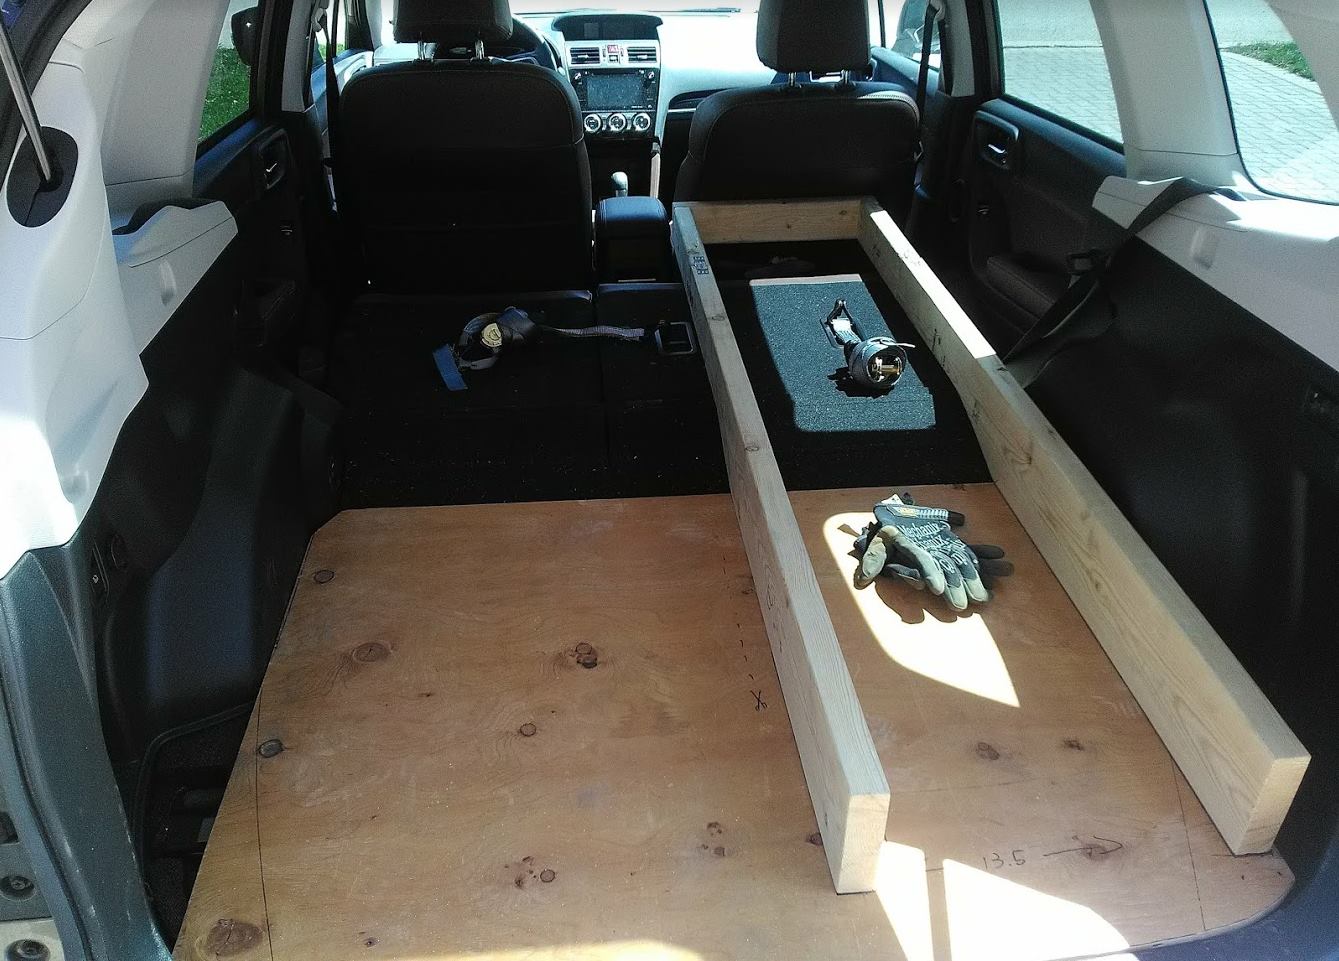
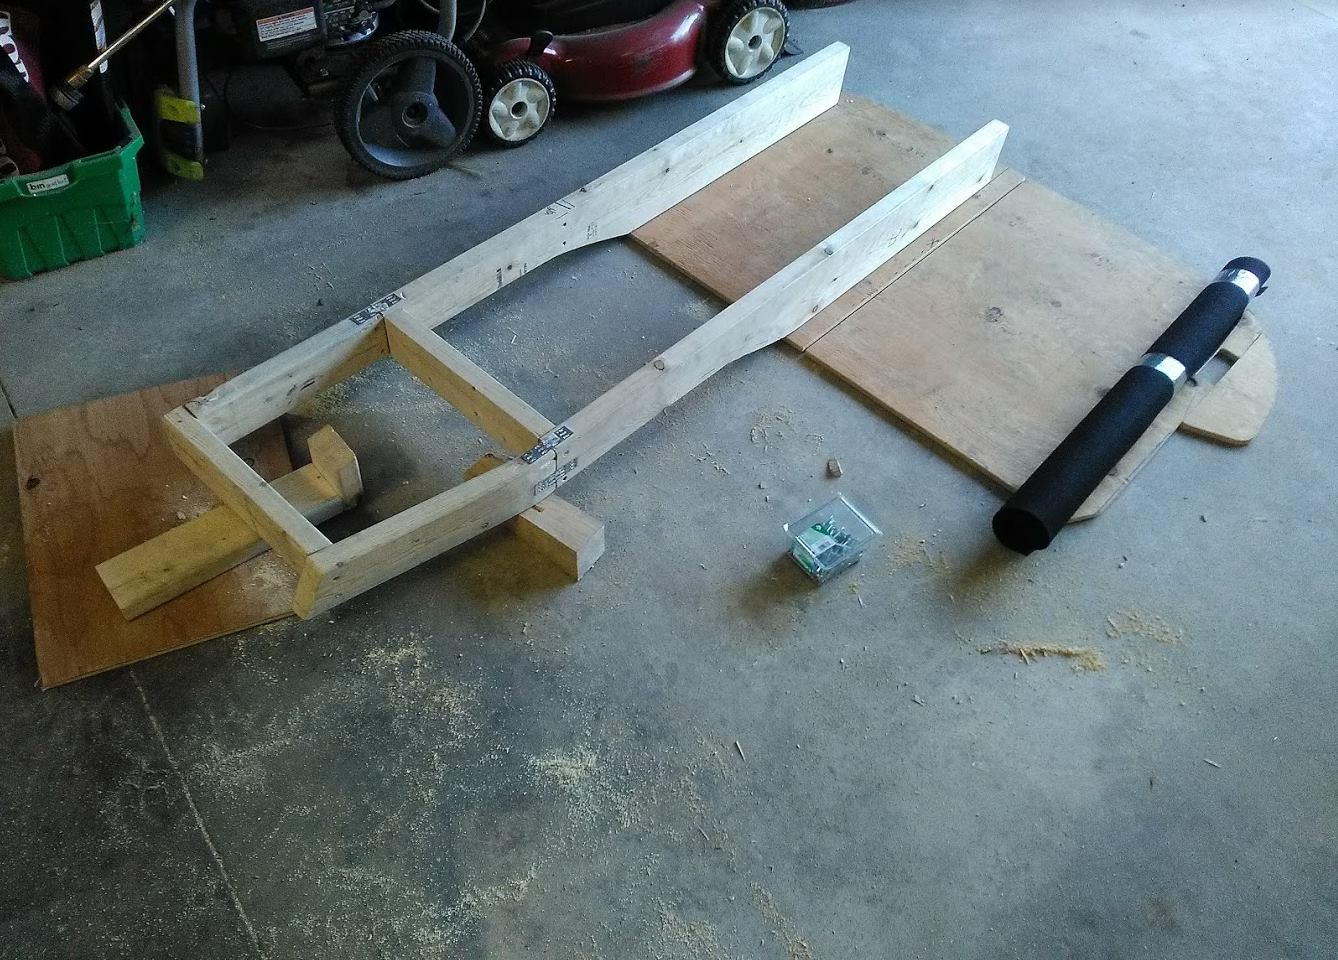
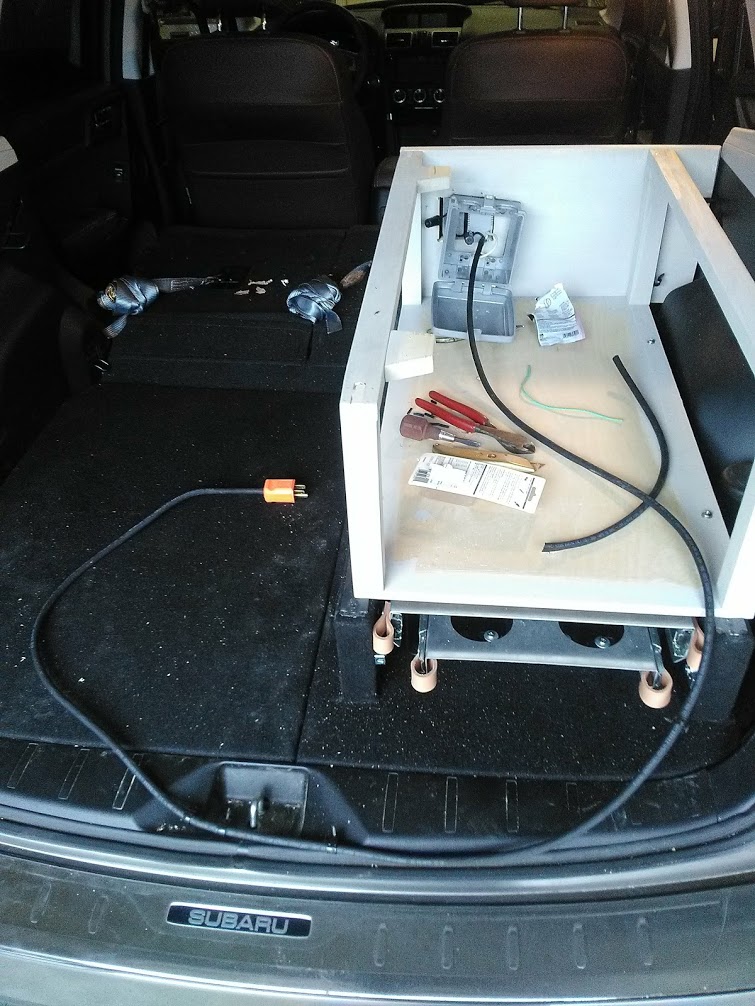
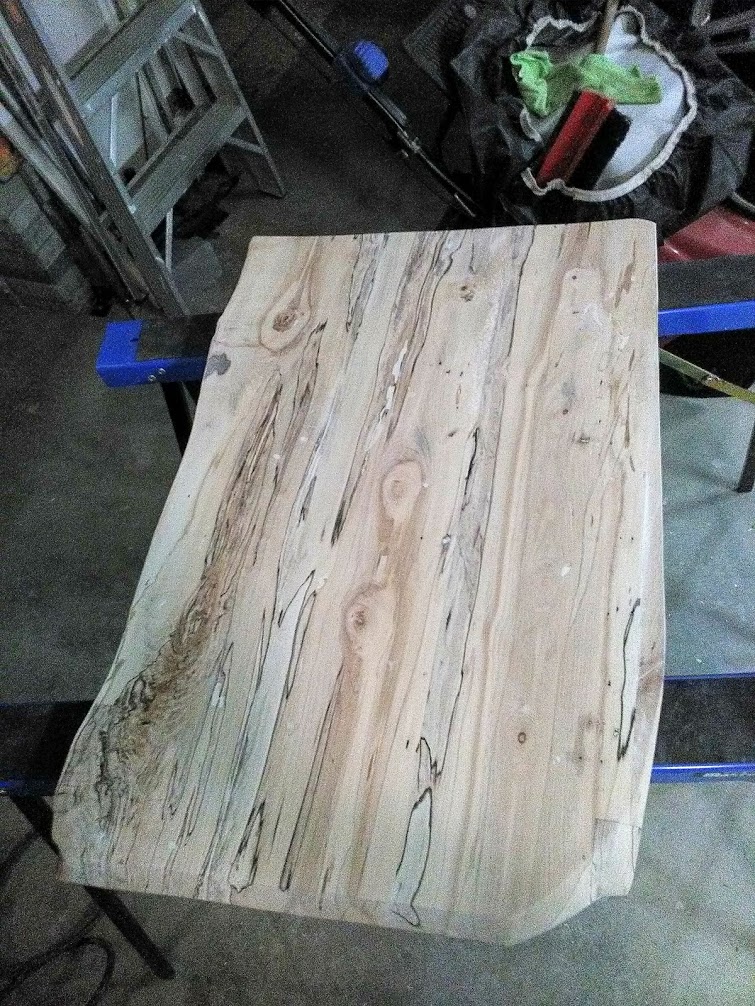
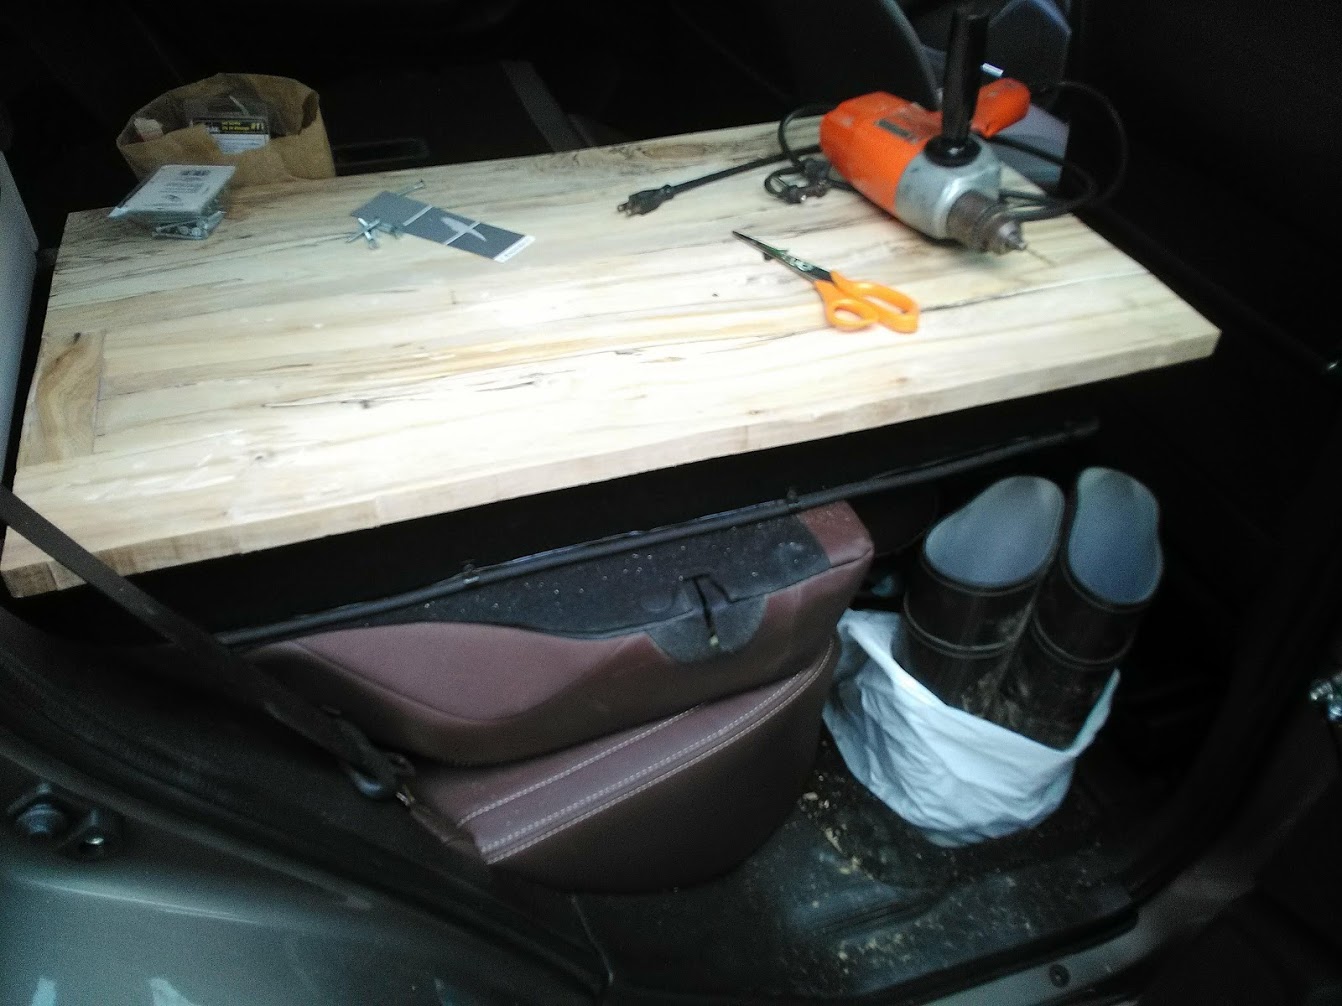
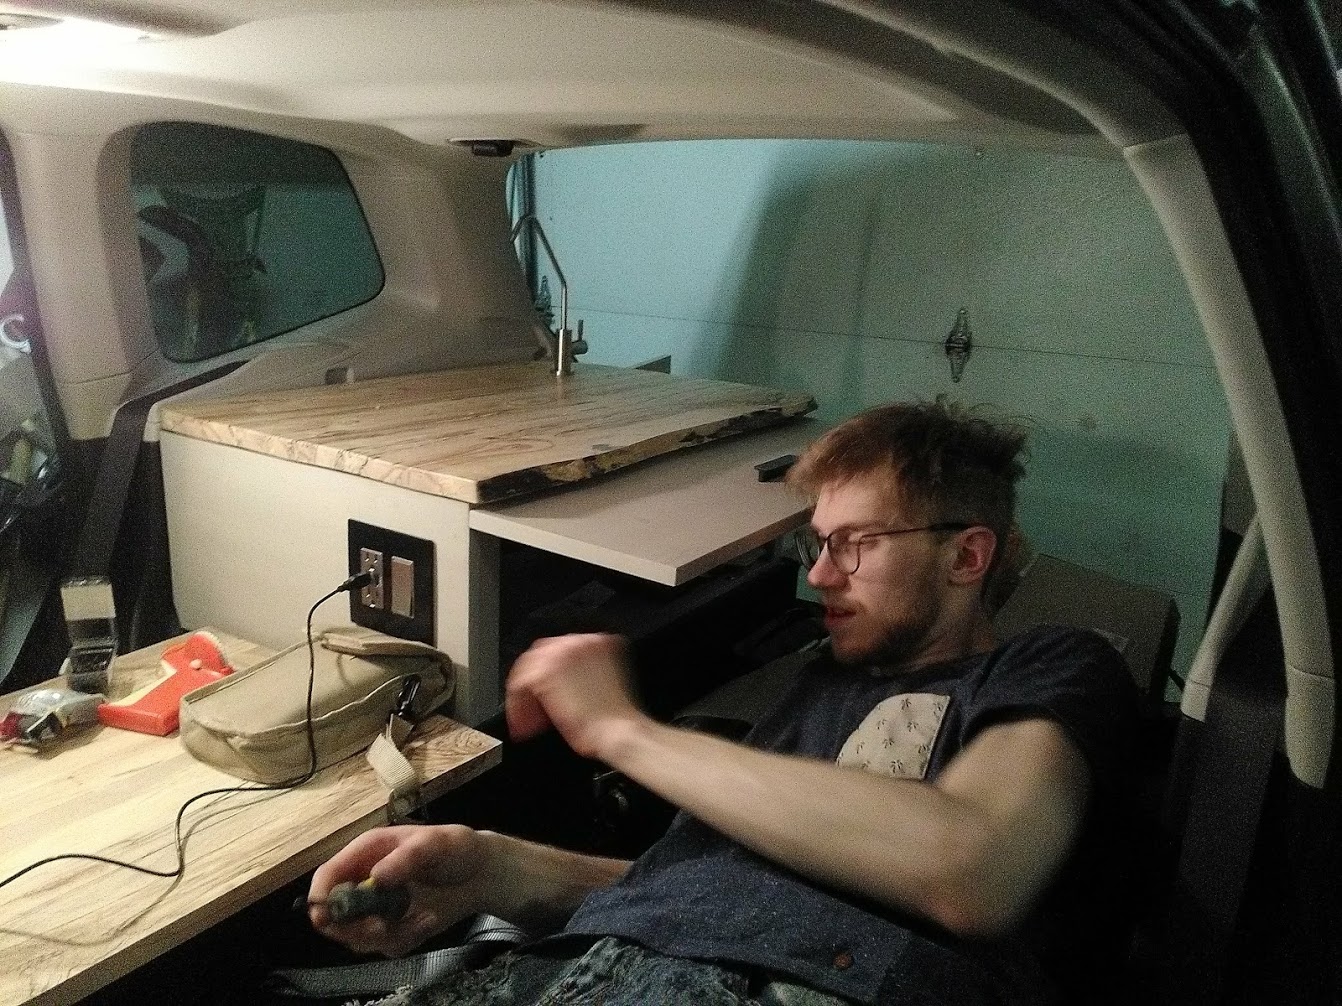
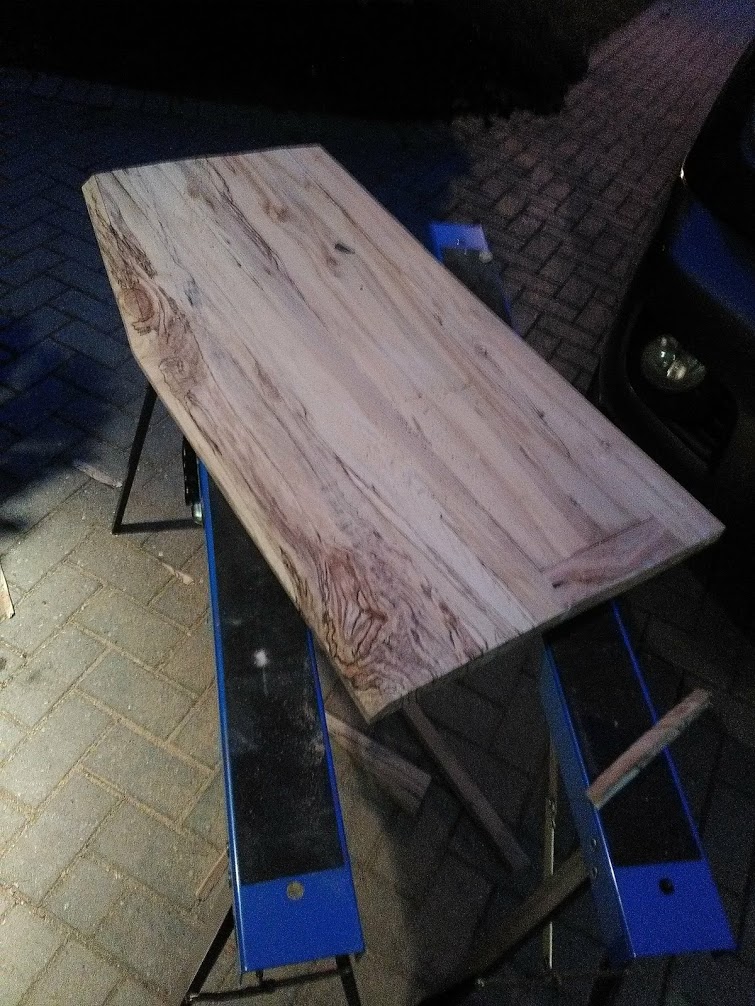
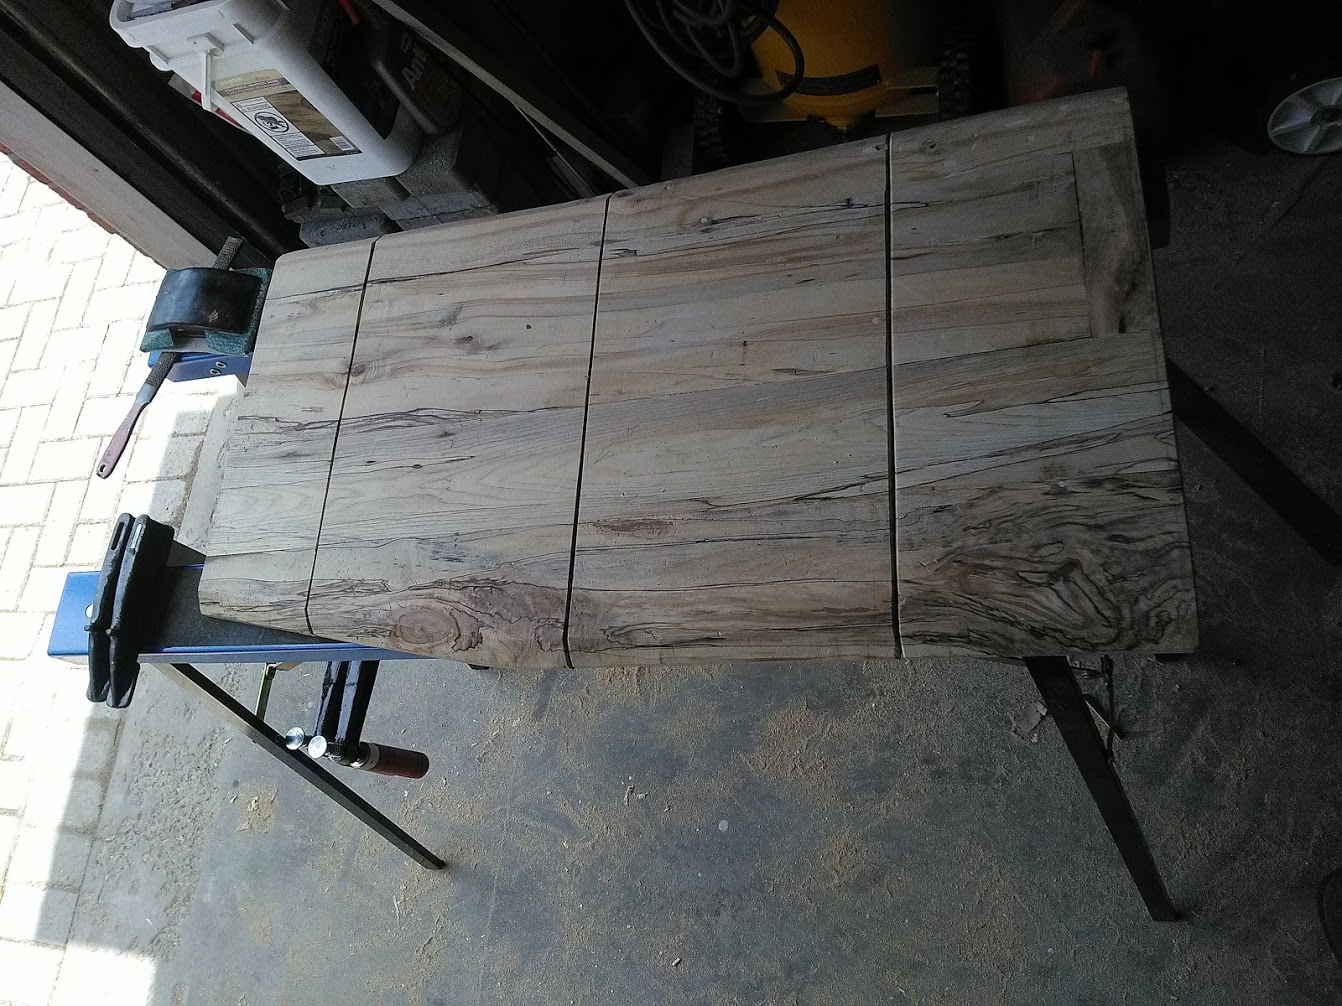
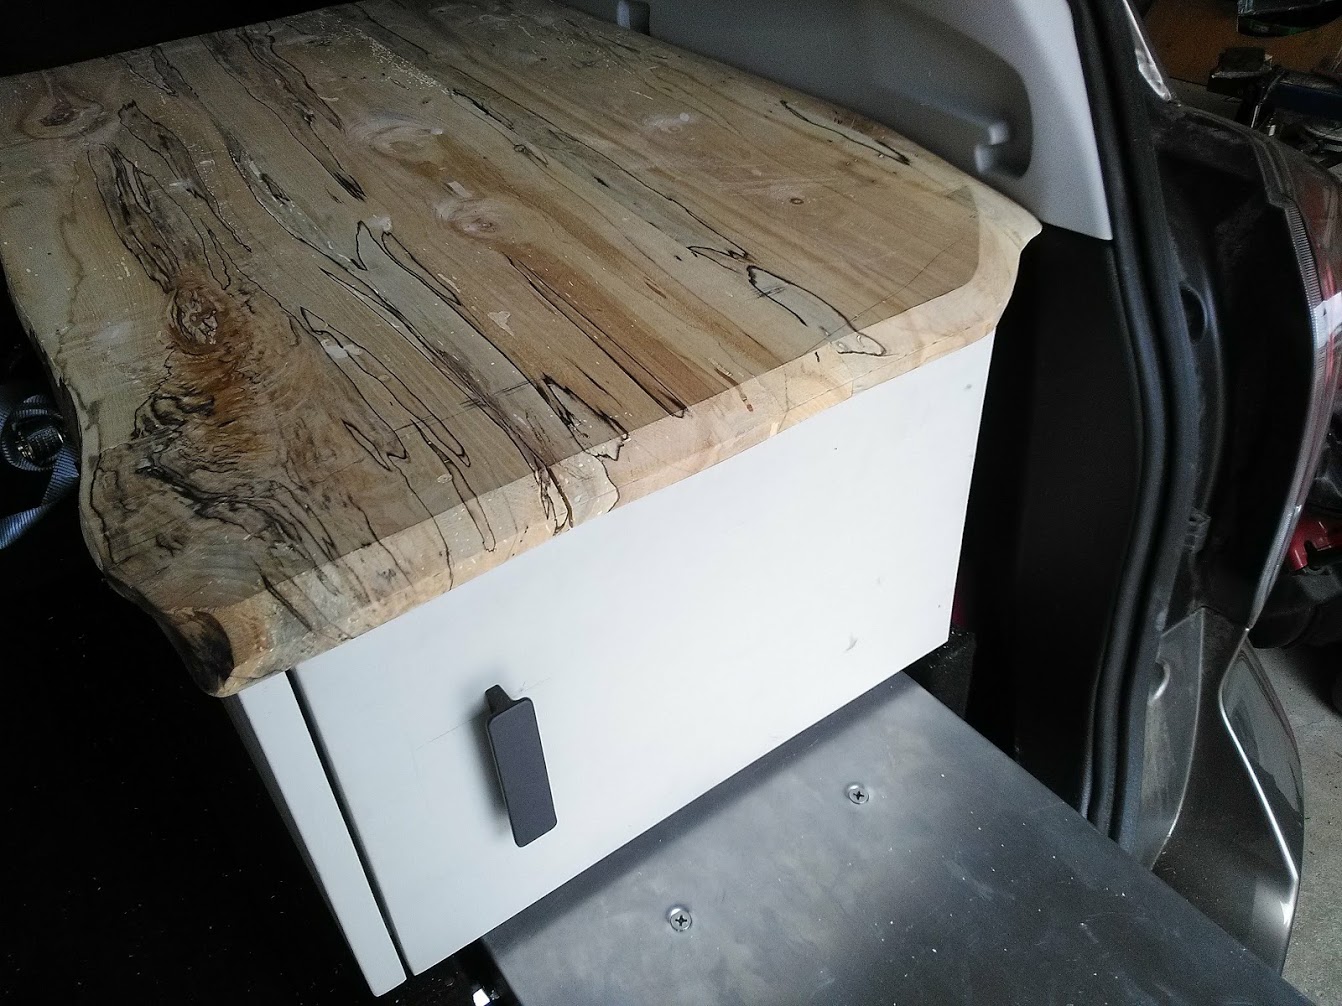
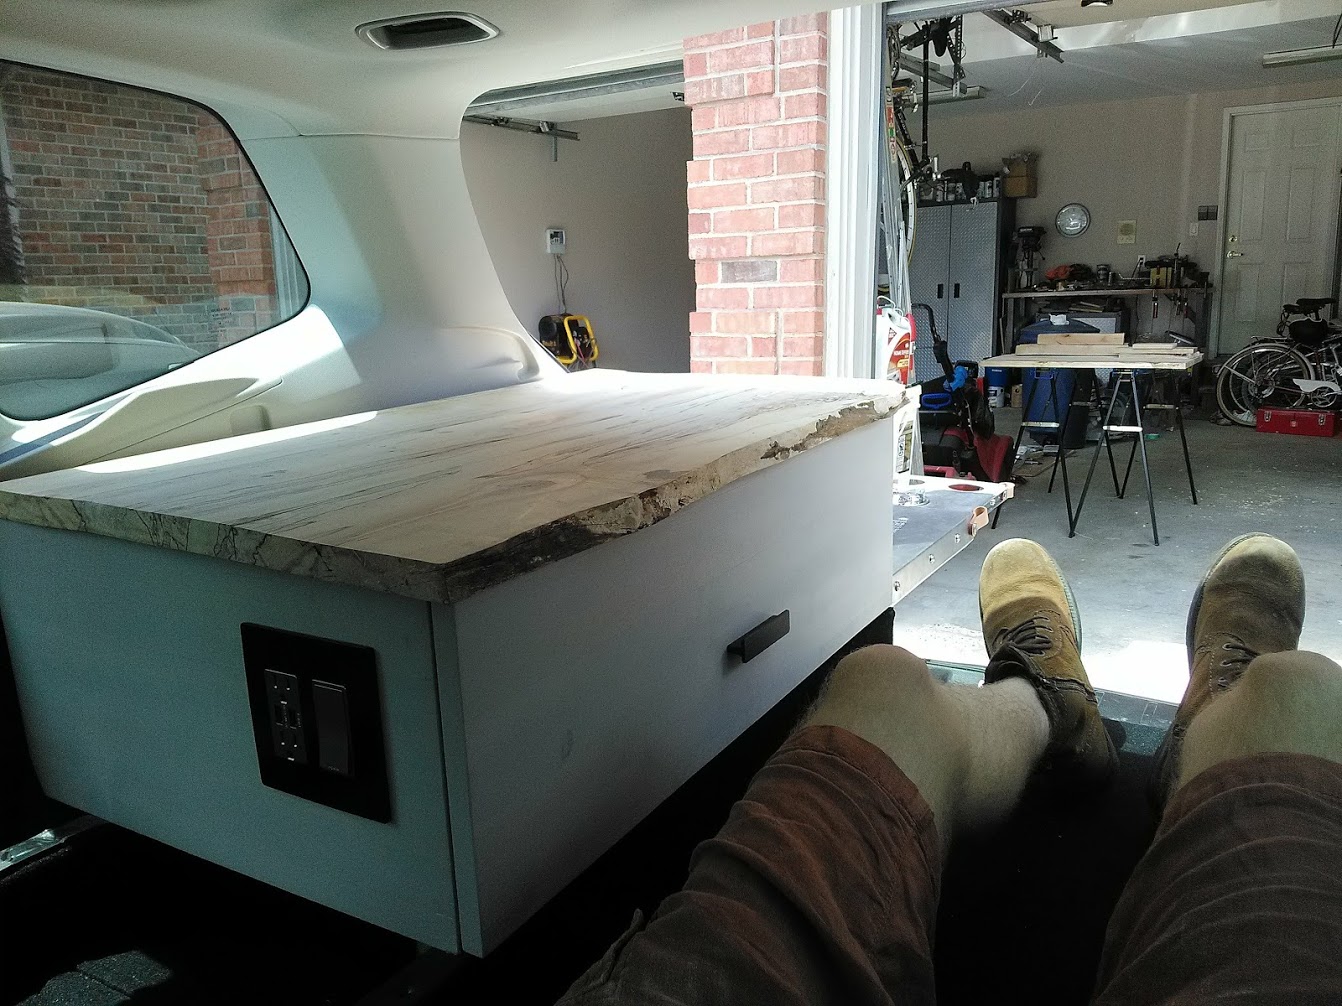
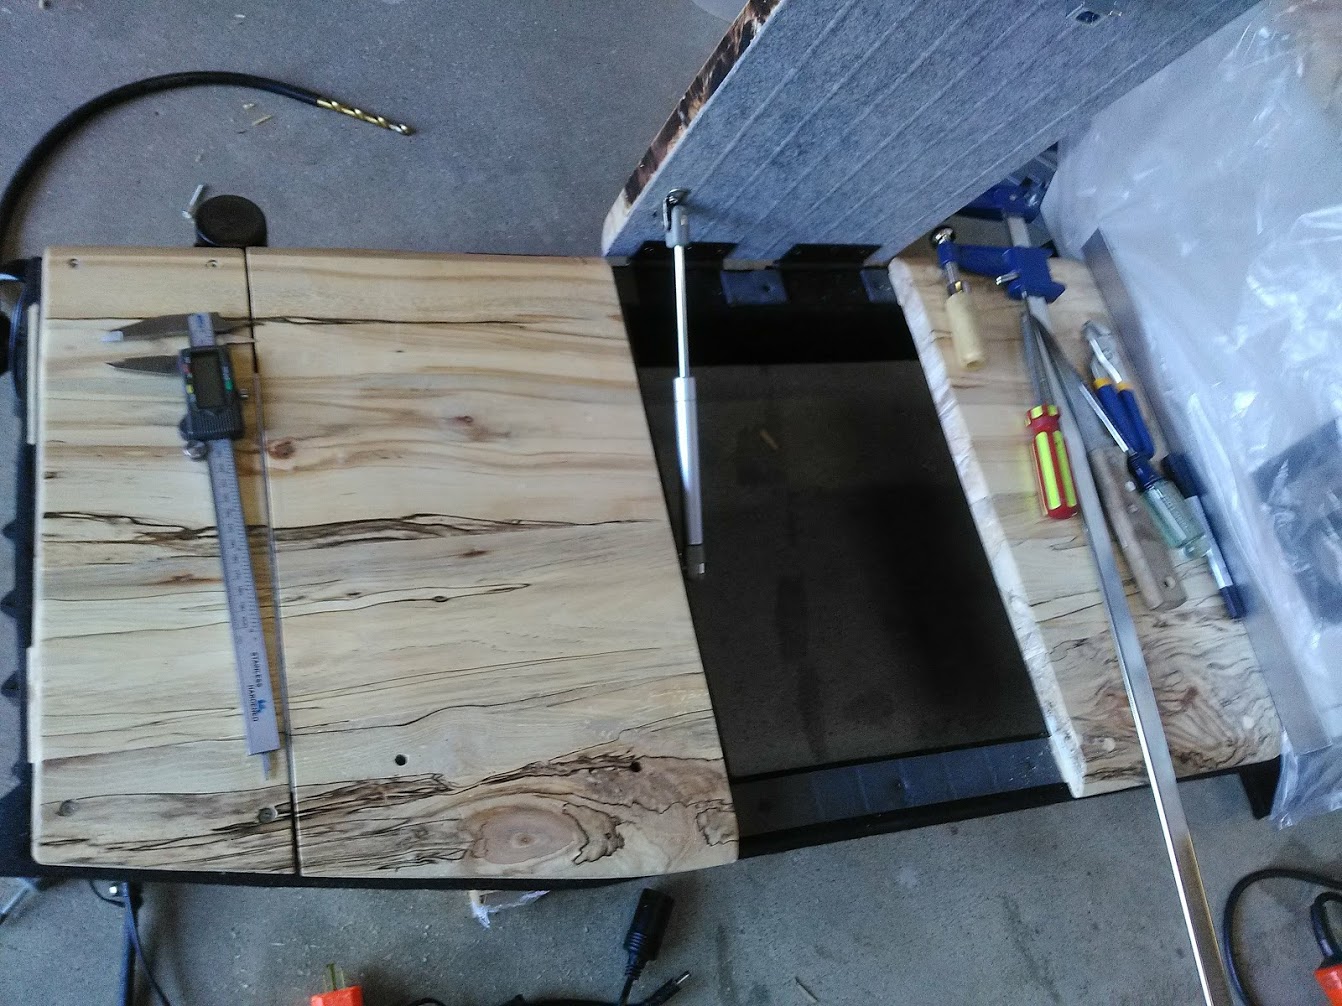
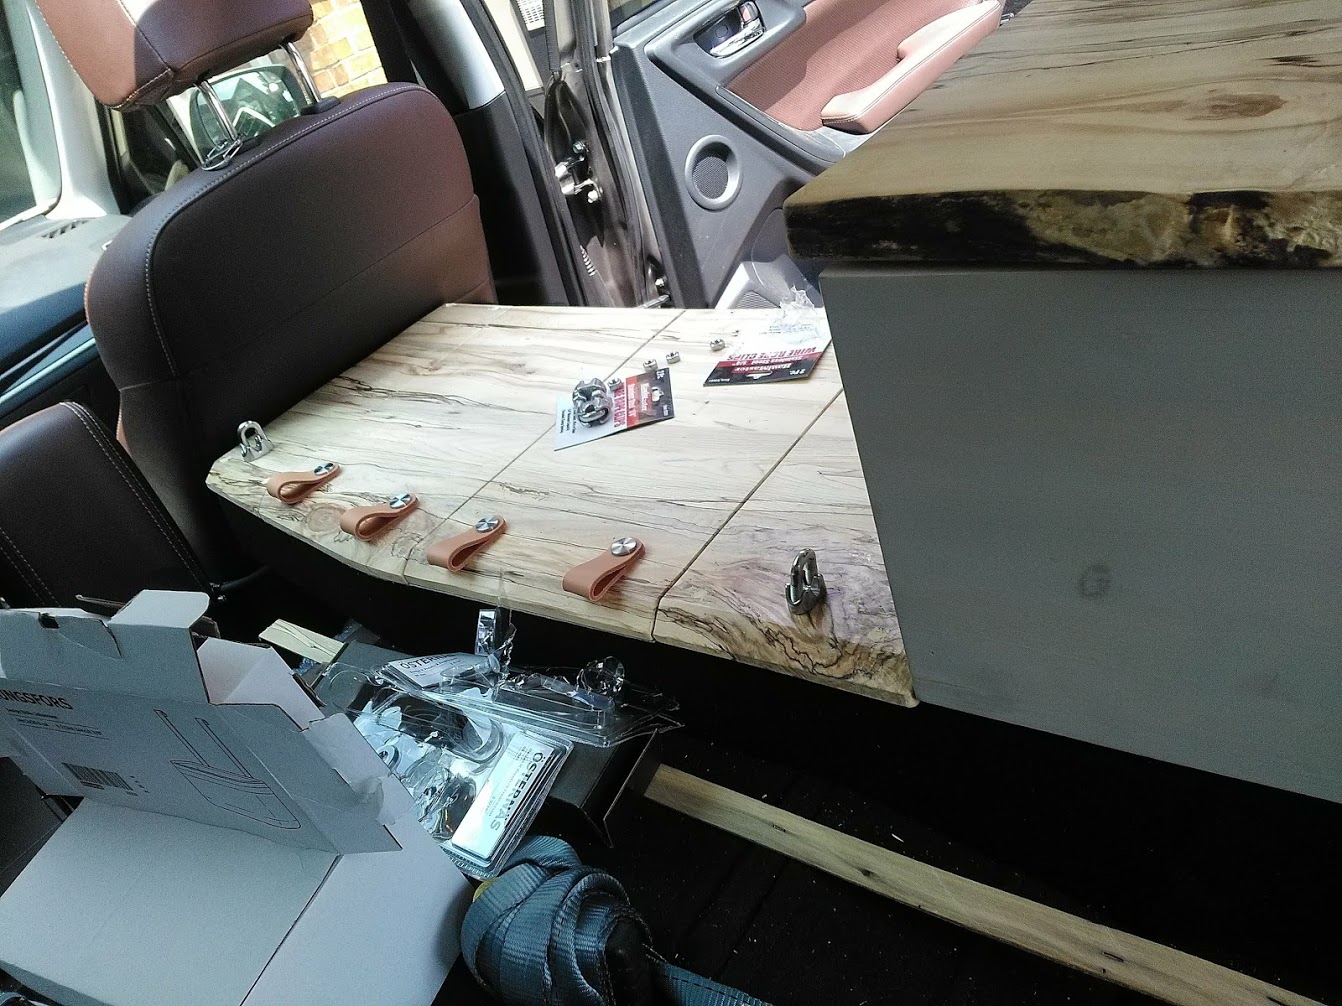
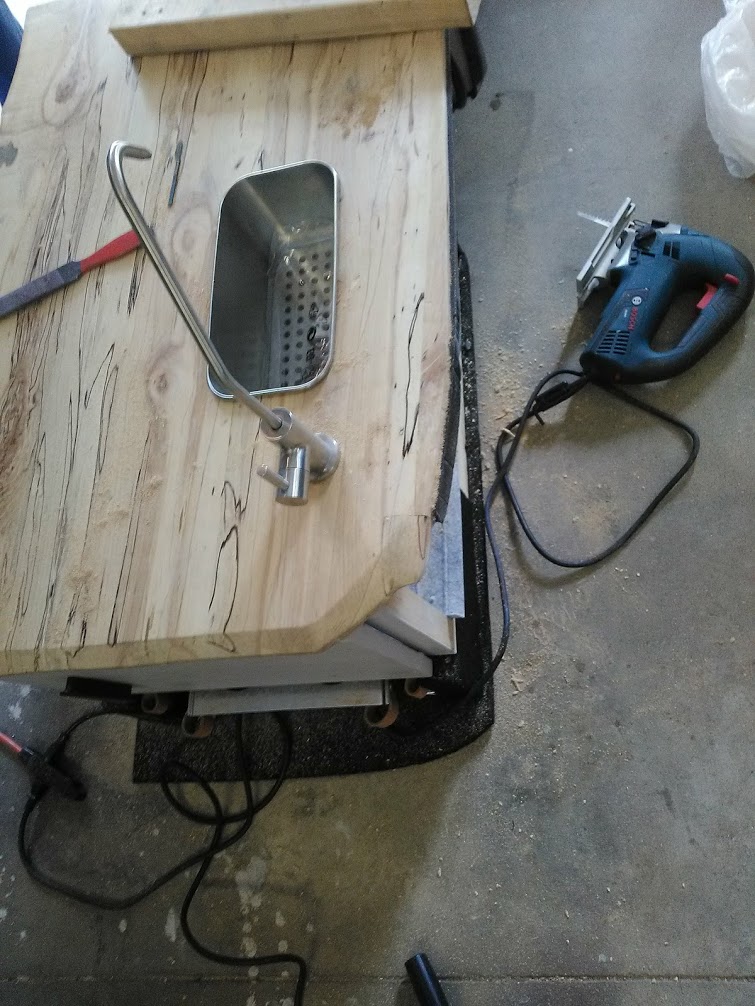
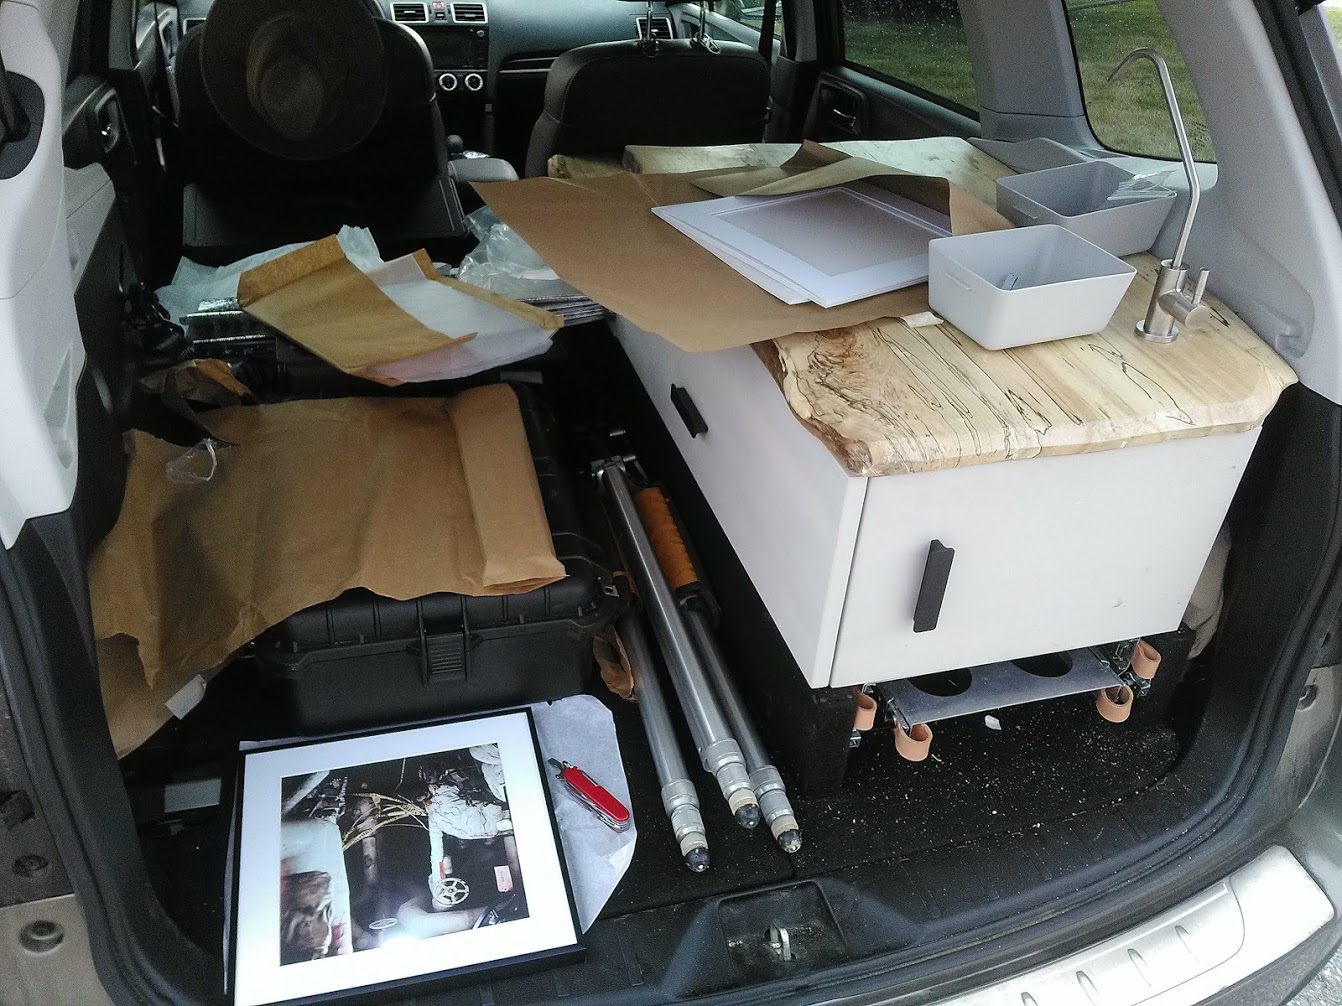
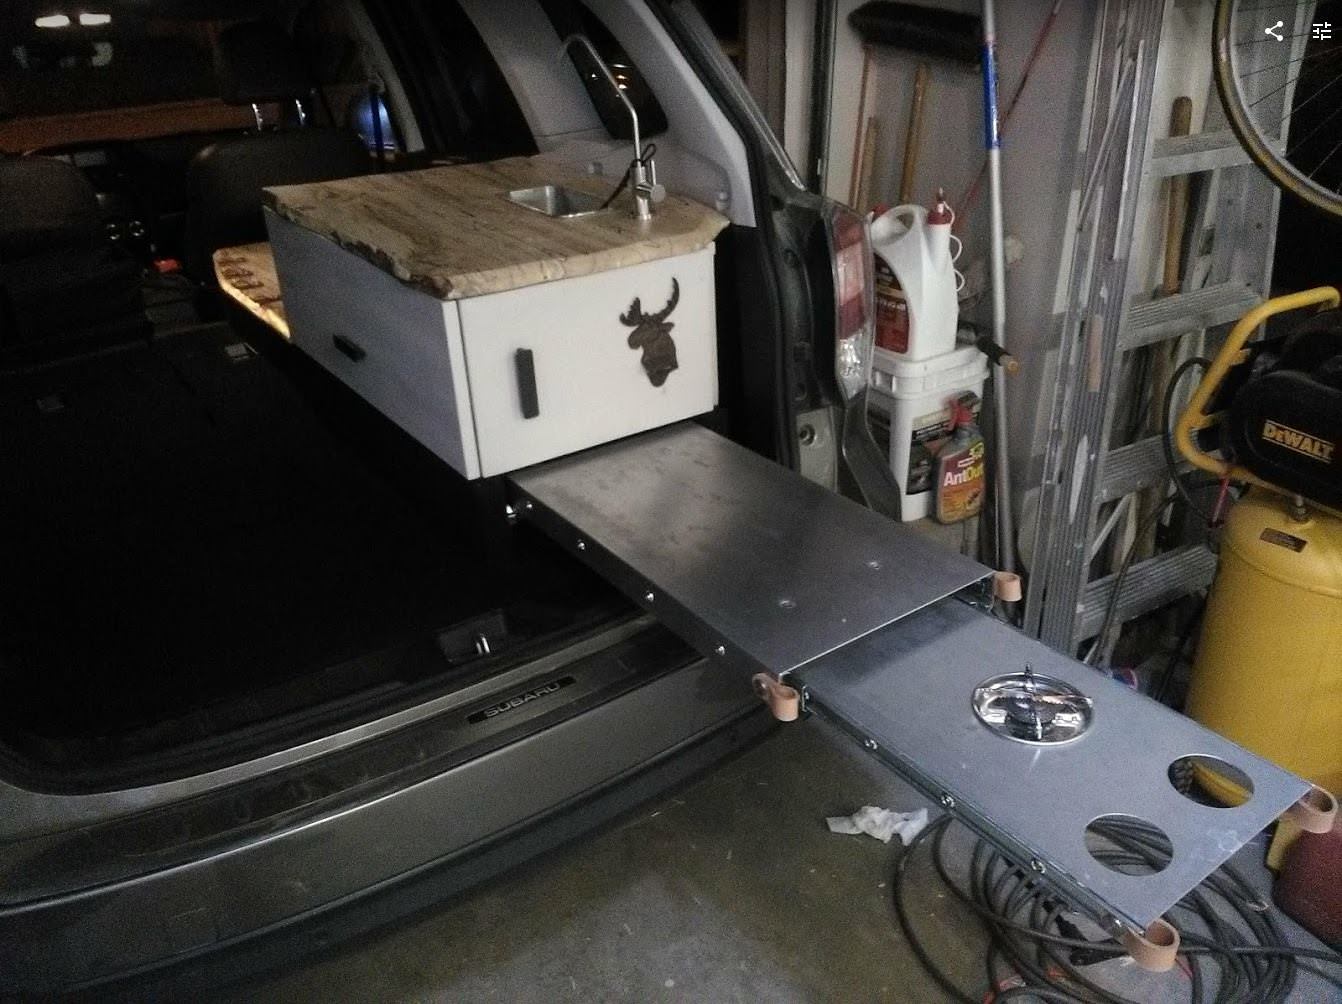
- DIY cabinet/desk (spalted maple and pine).
- DIY storage compartments with tie-down points (spalted maple doors).
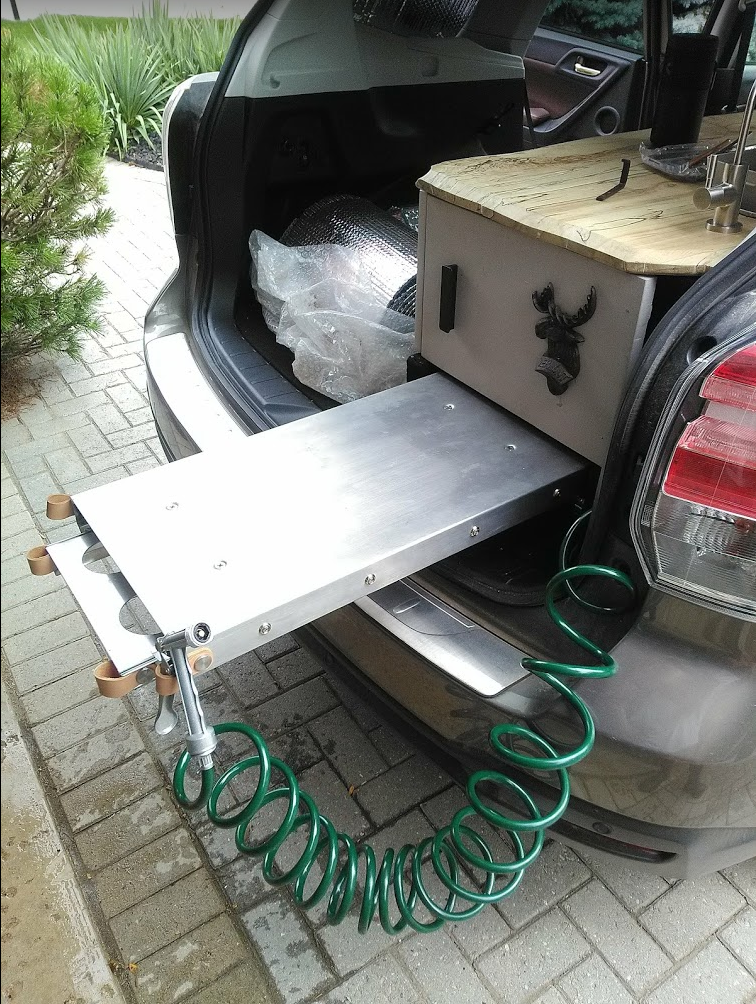
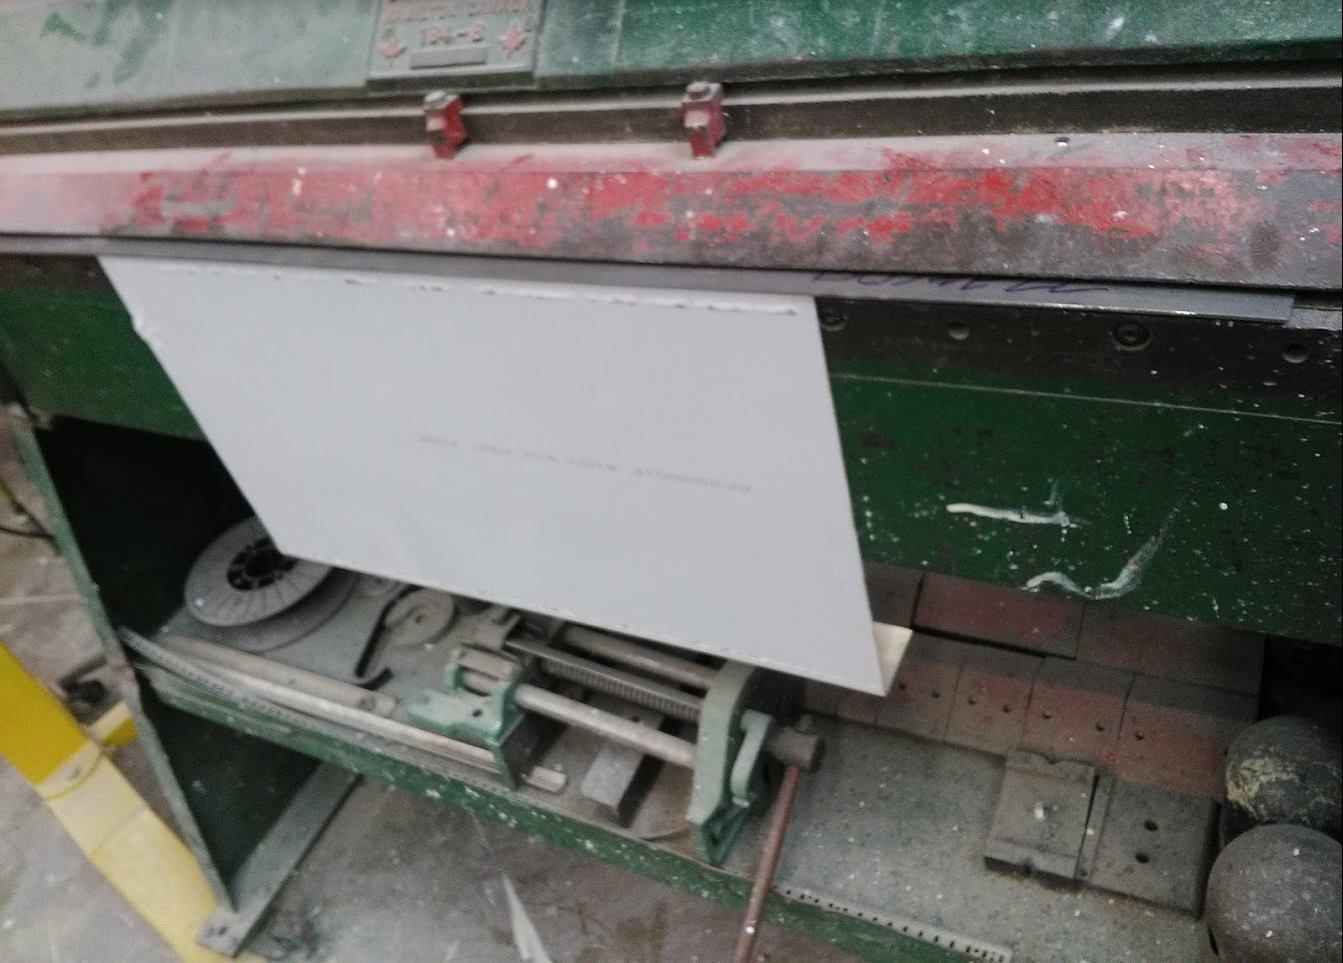
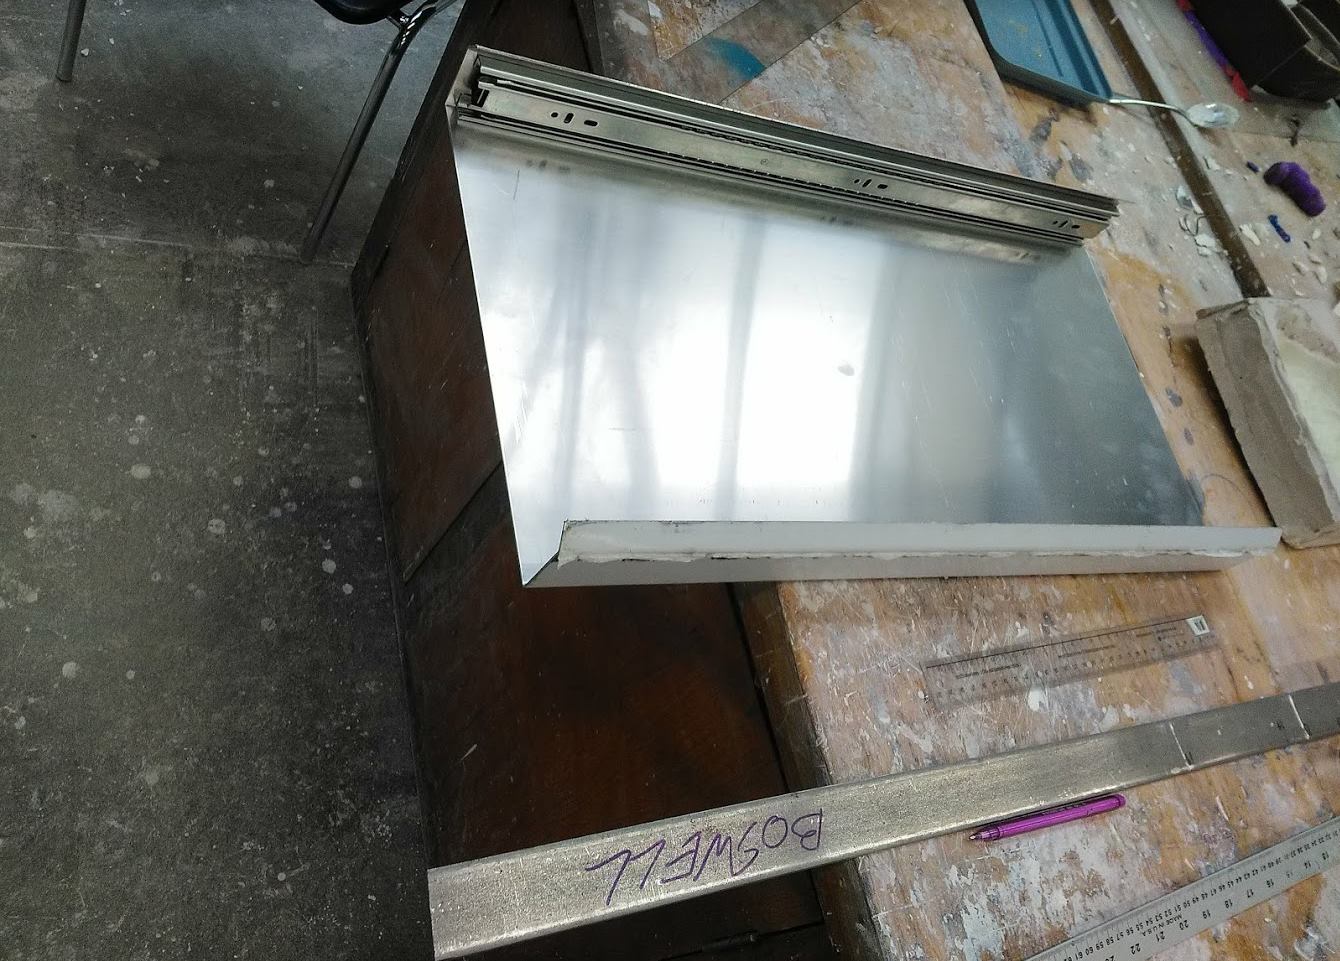
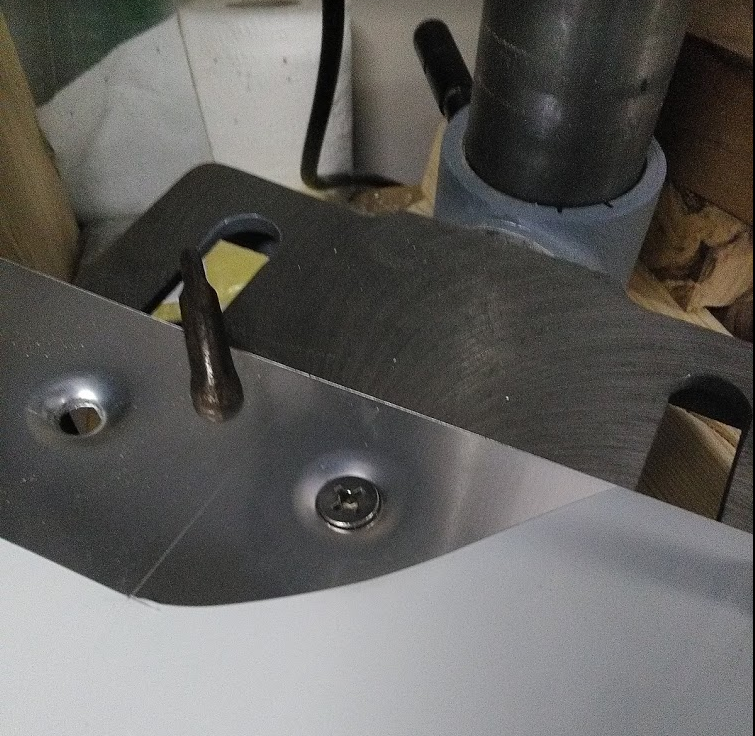
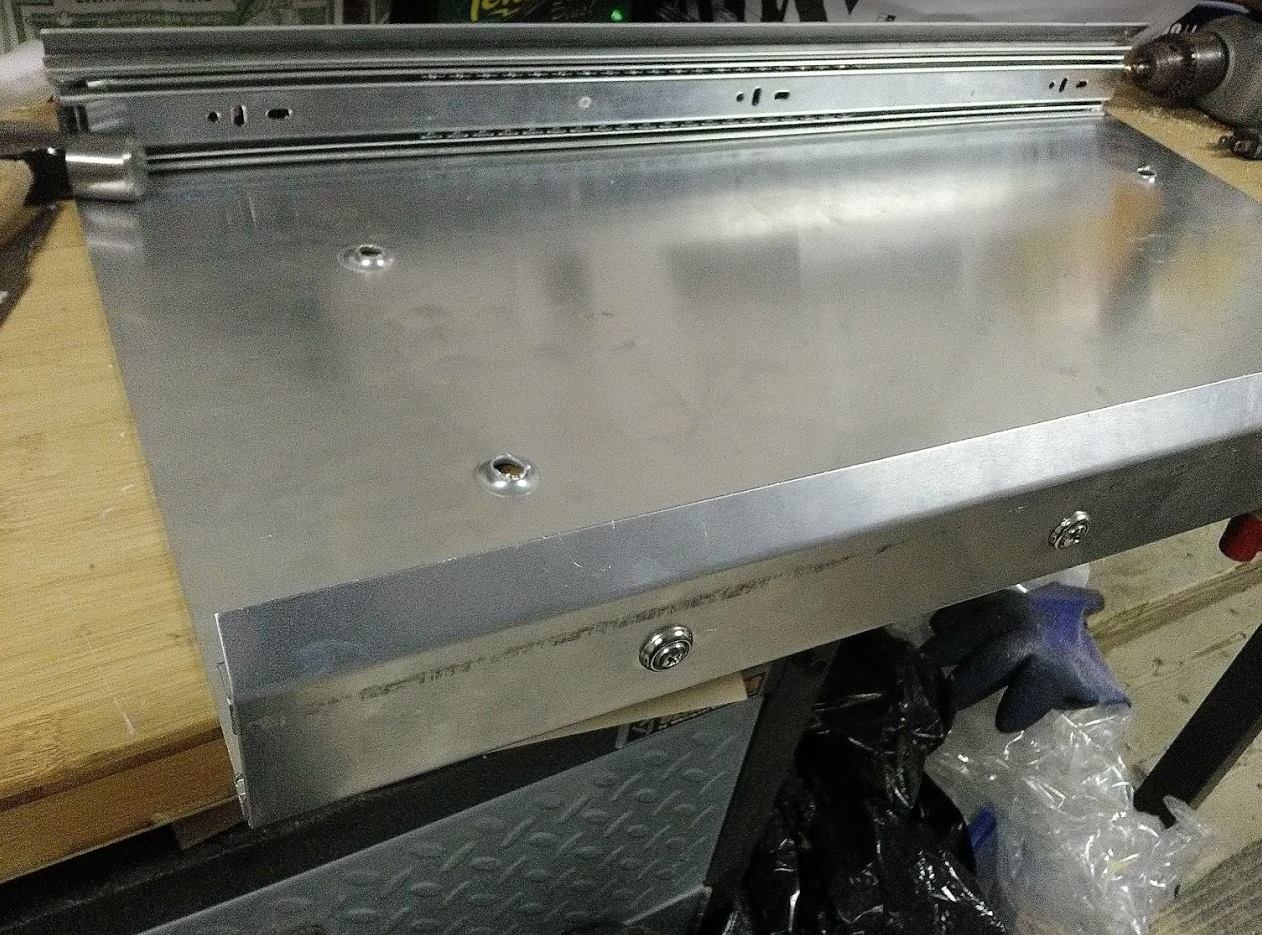
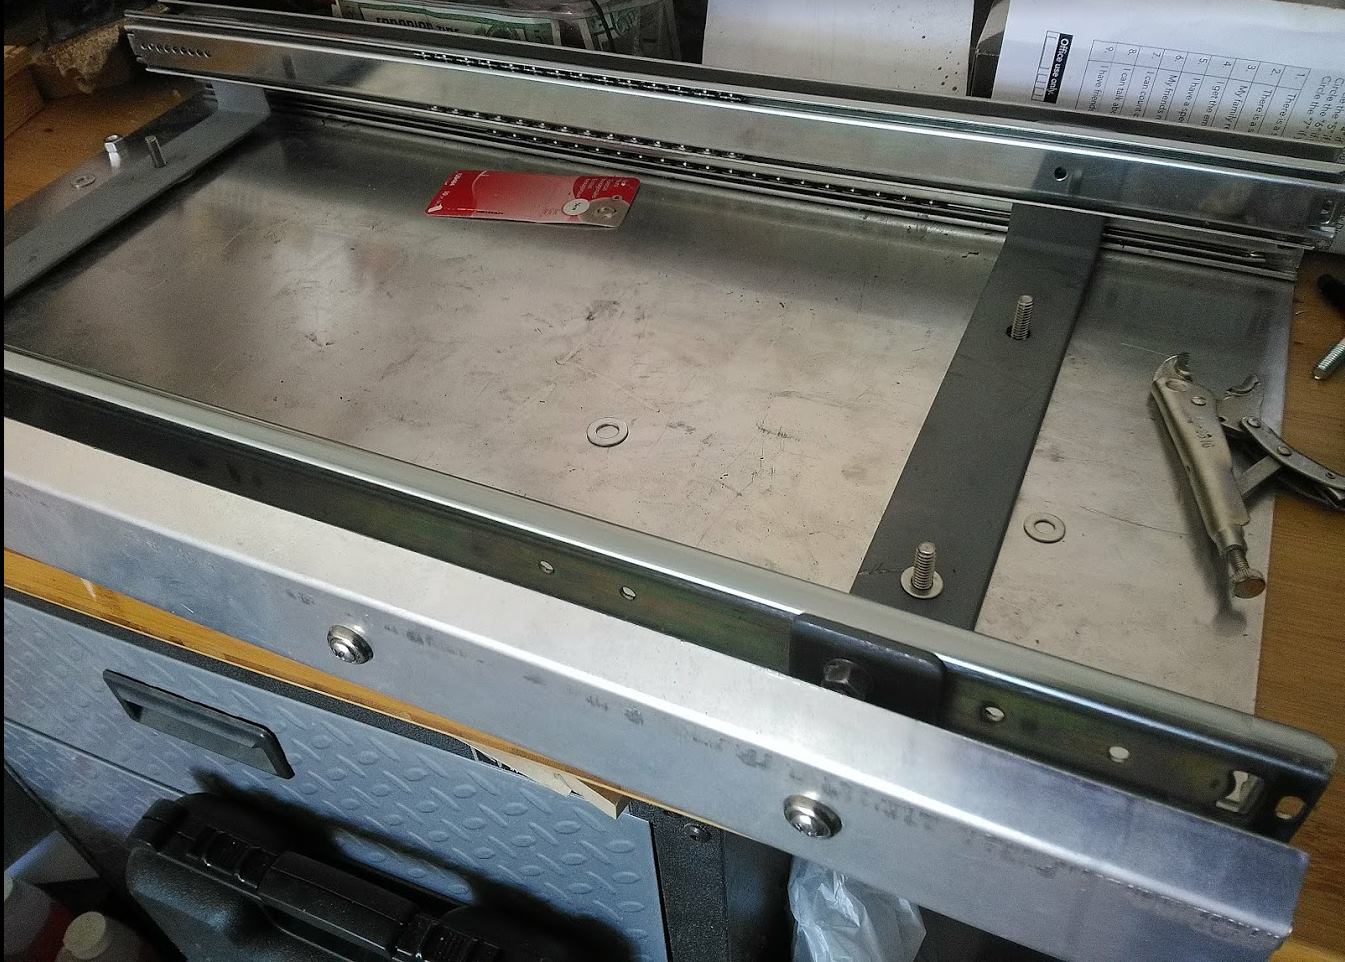
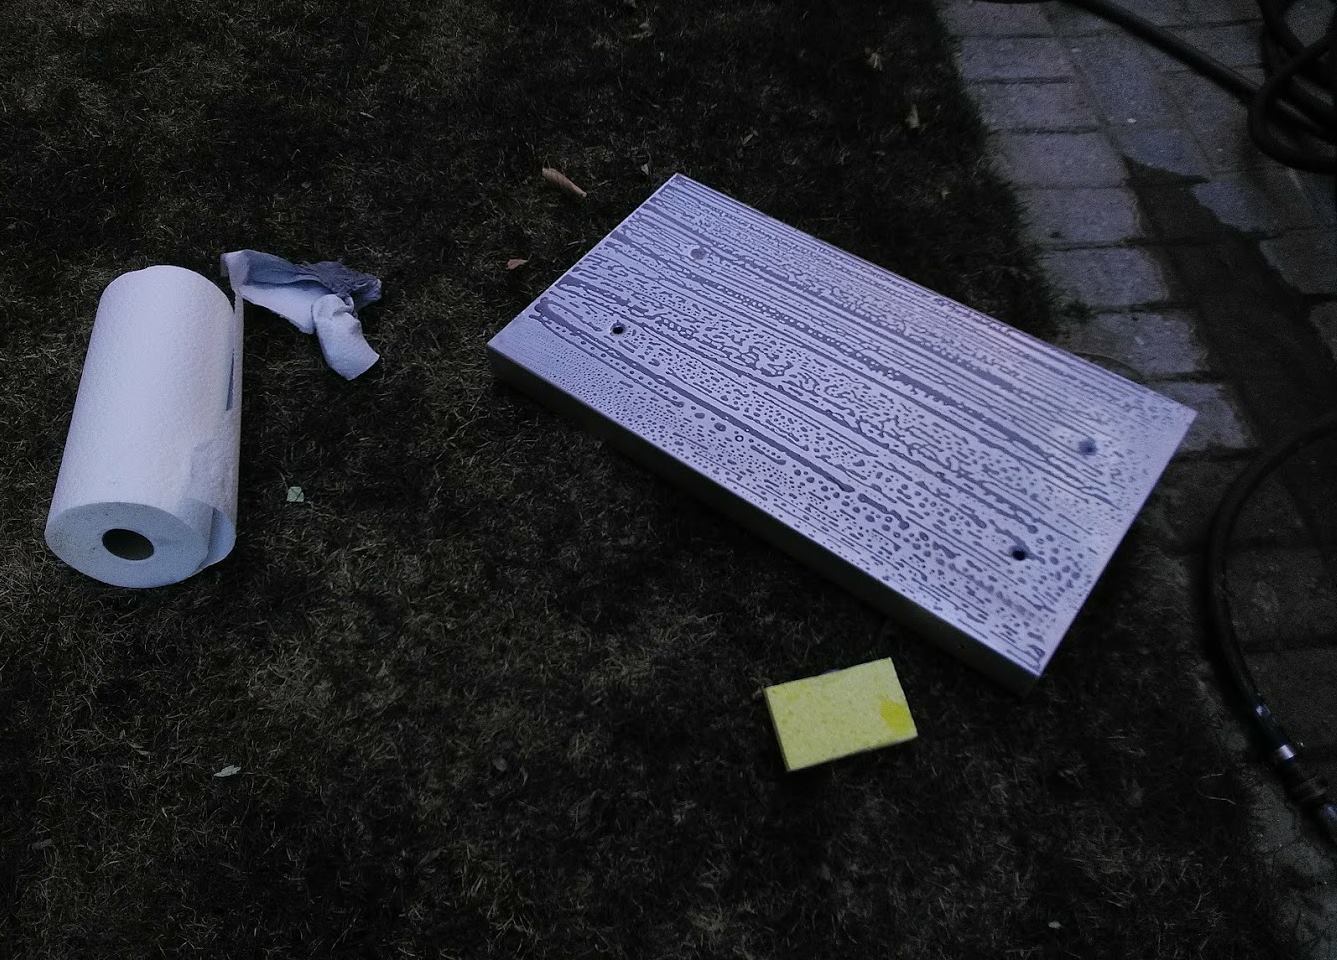
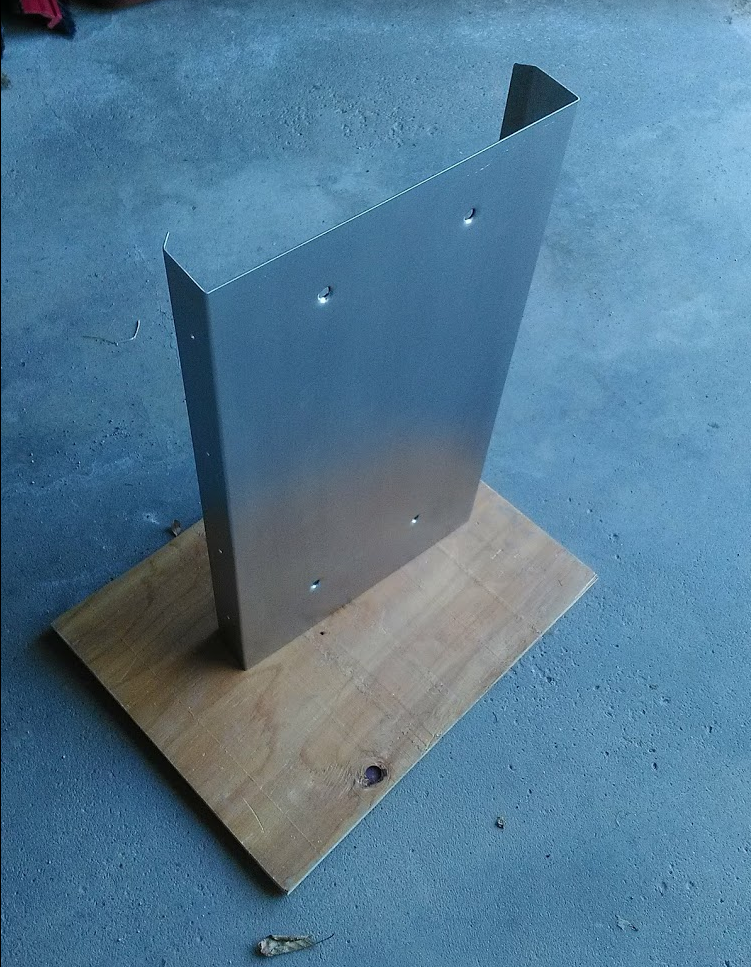
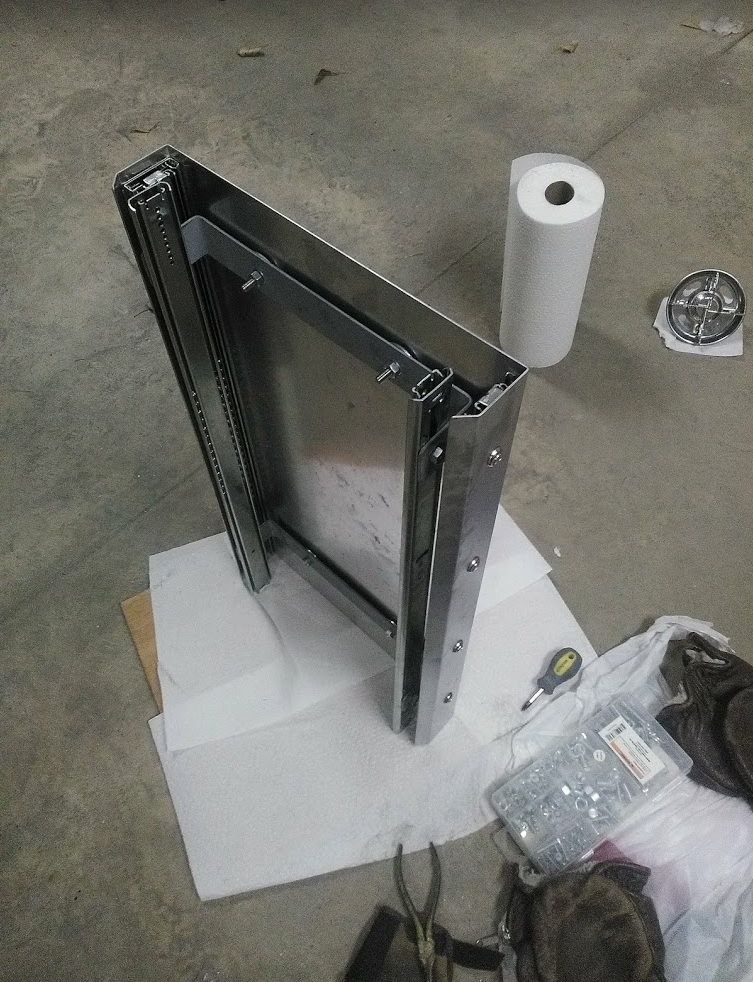
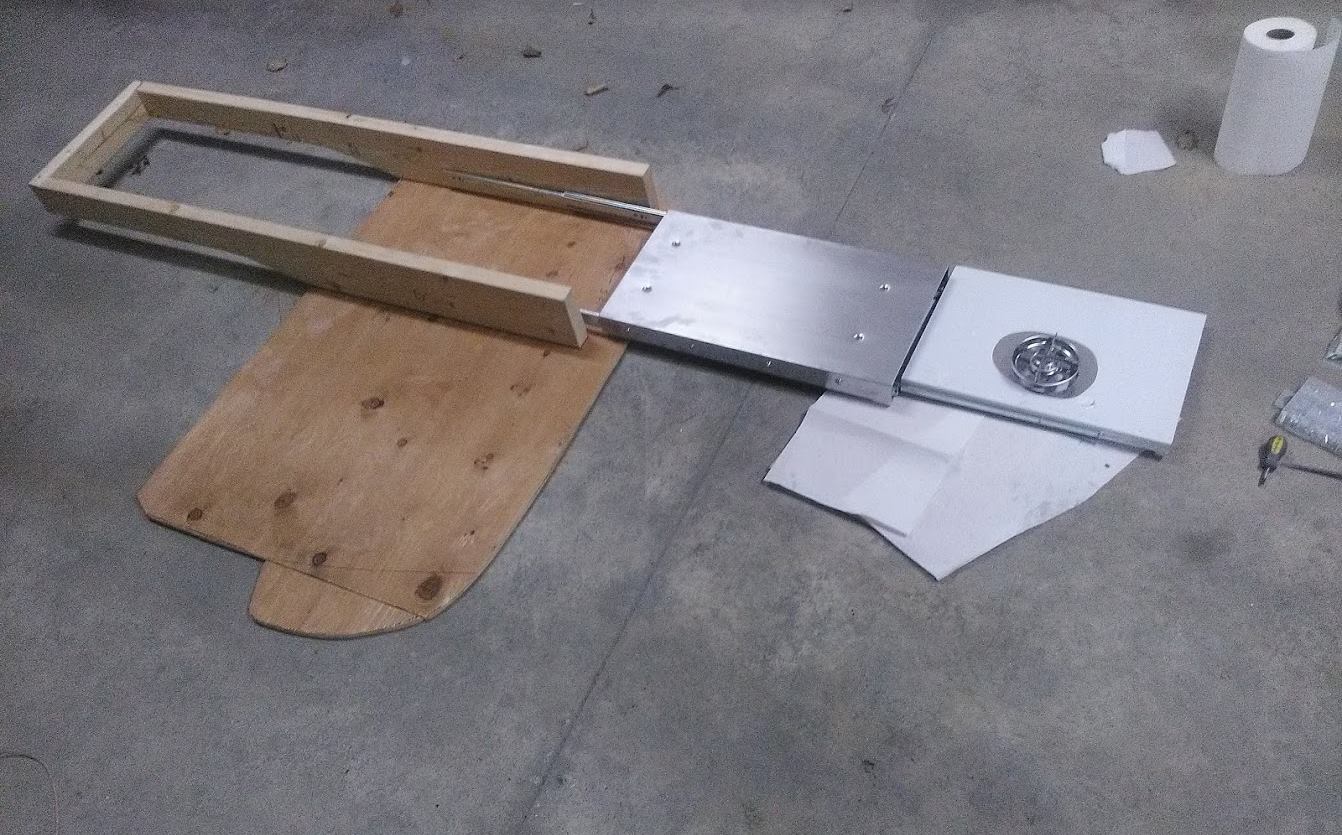
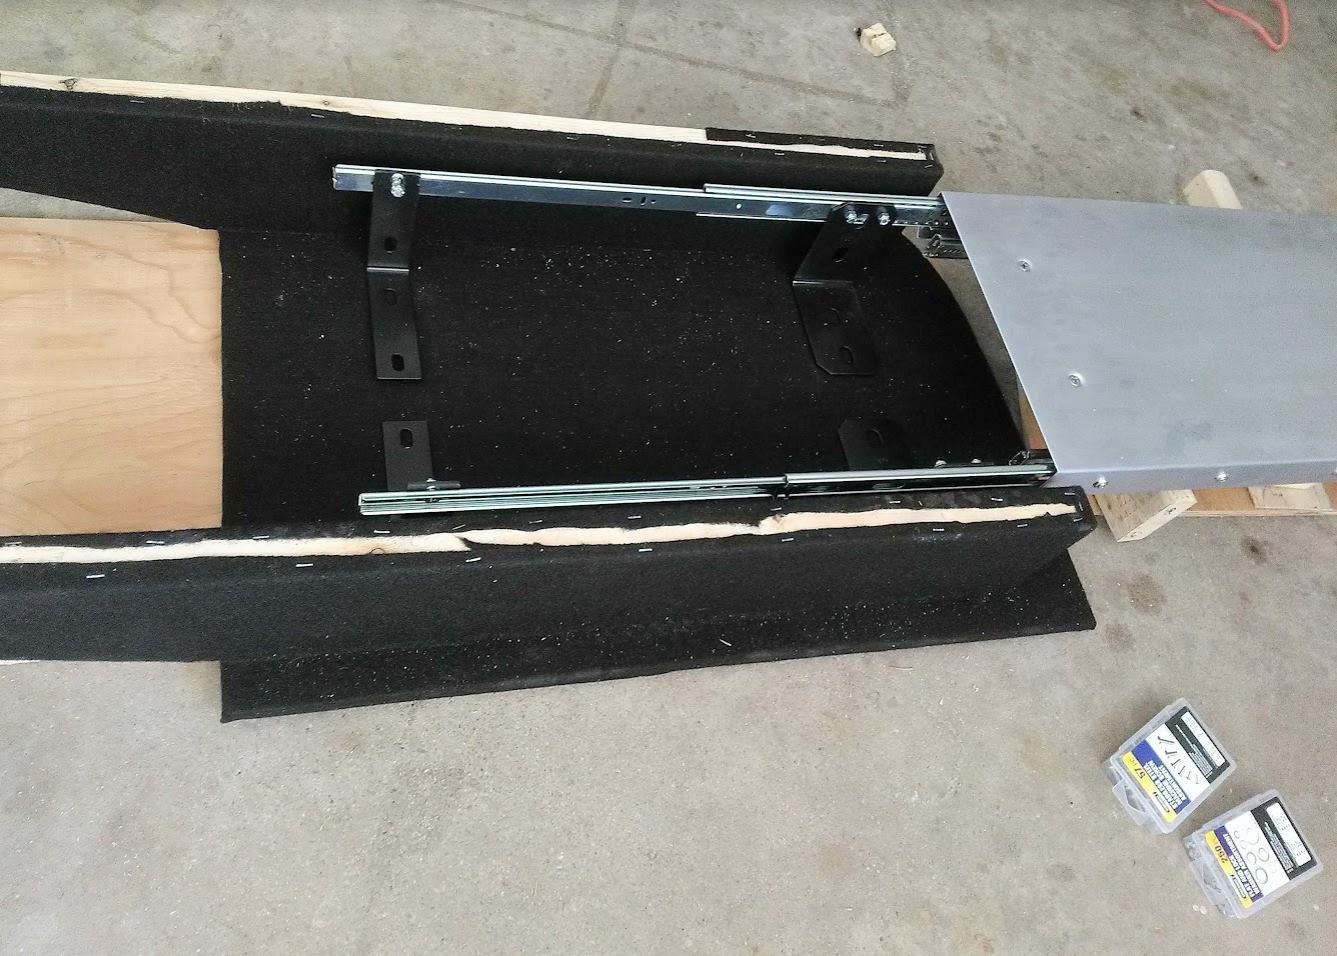
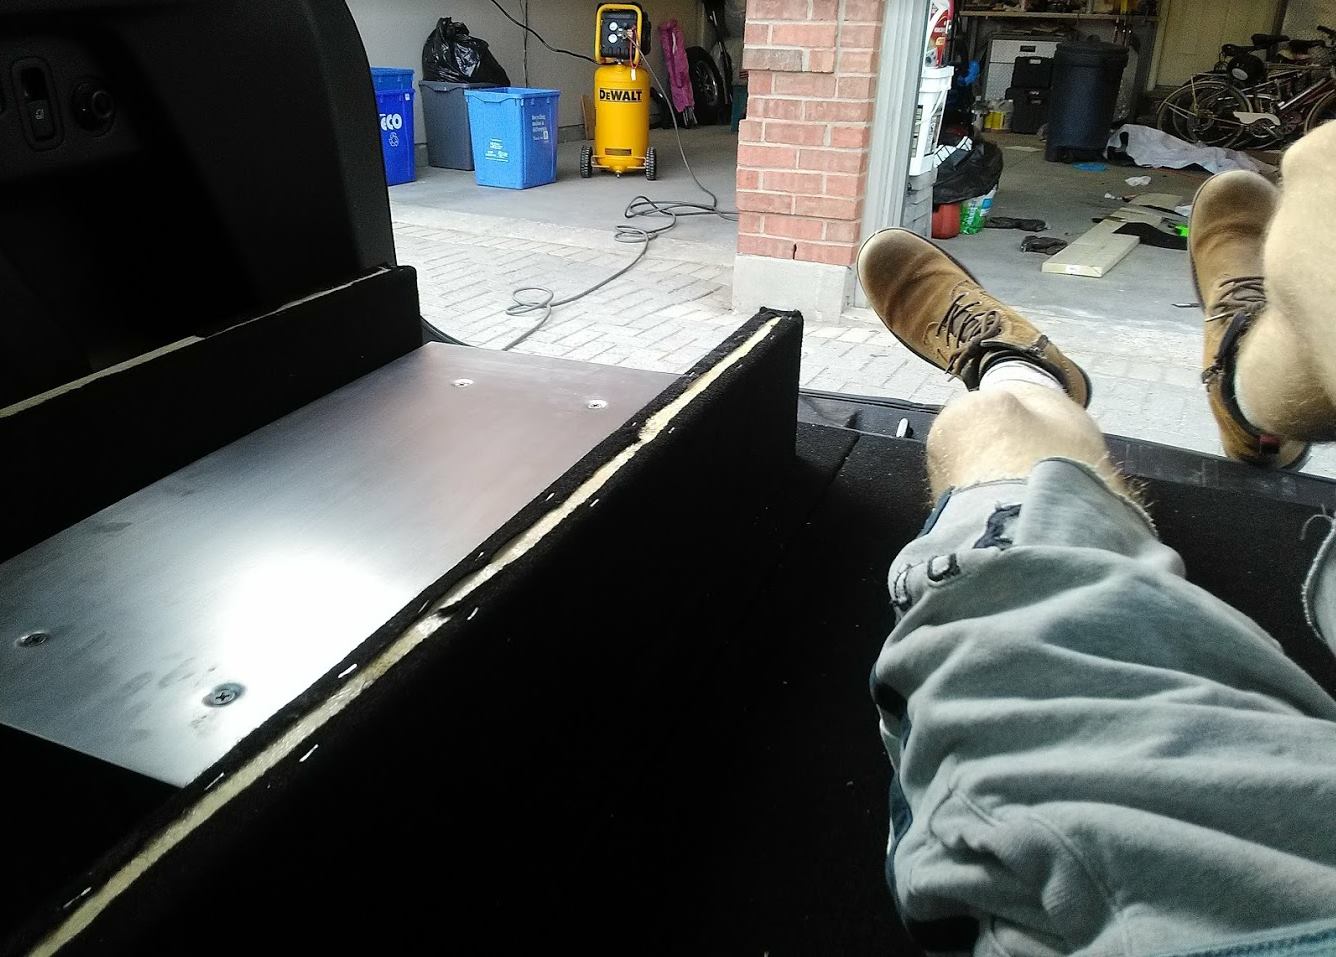
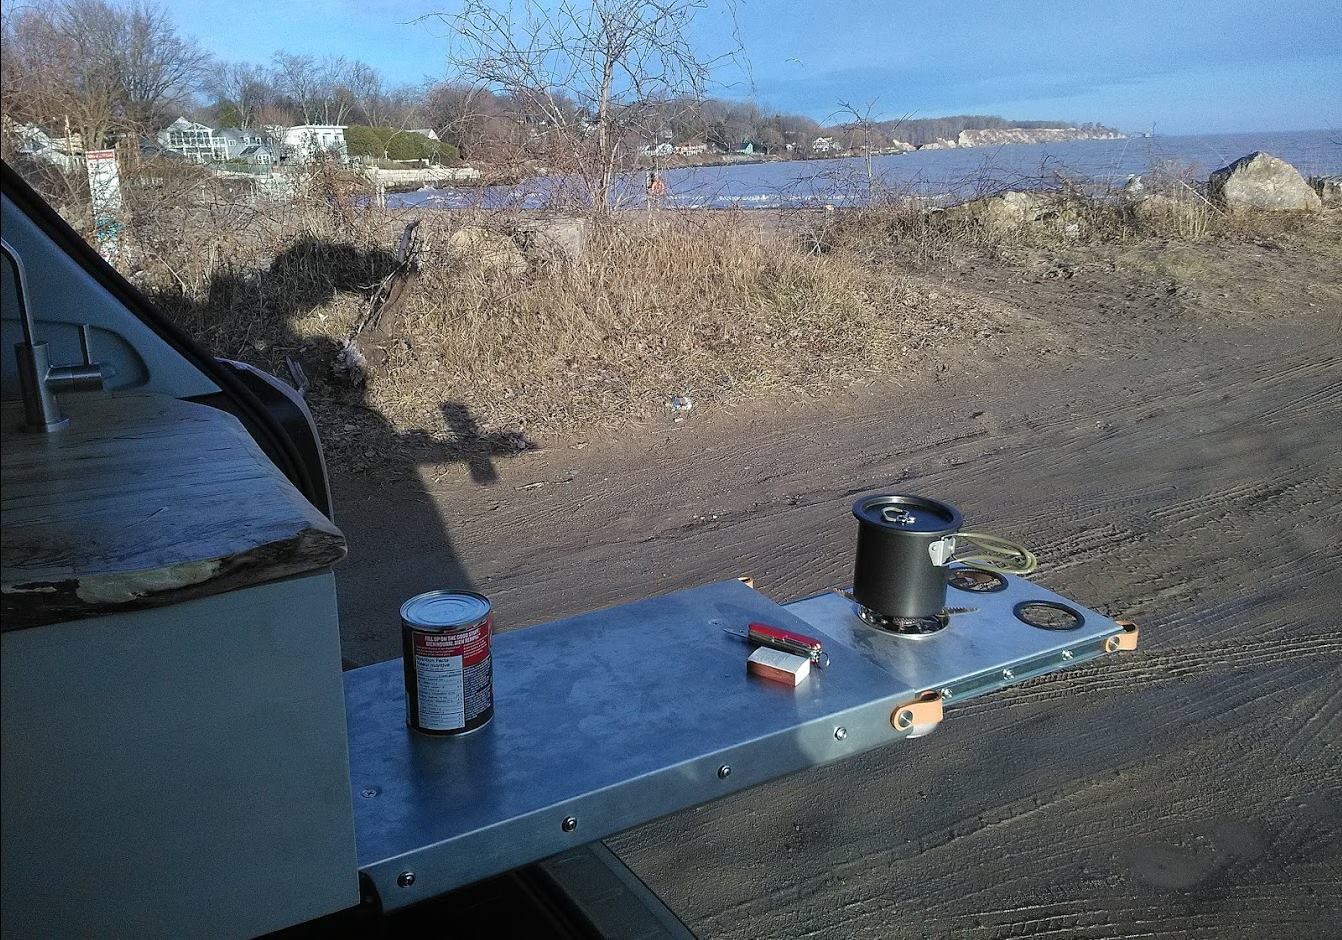
- DIY aluminum nested slide-out tables (large with 70 lb capacity, small 50 lb).
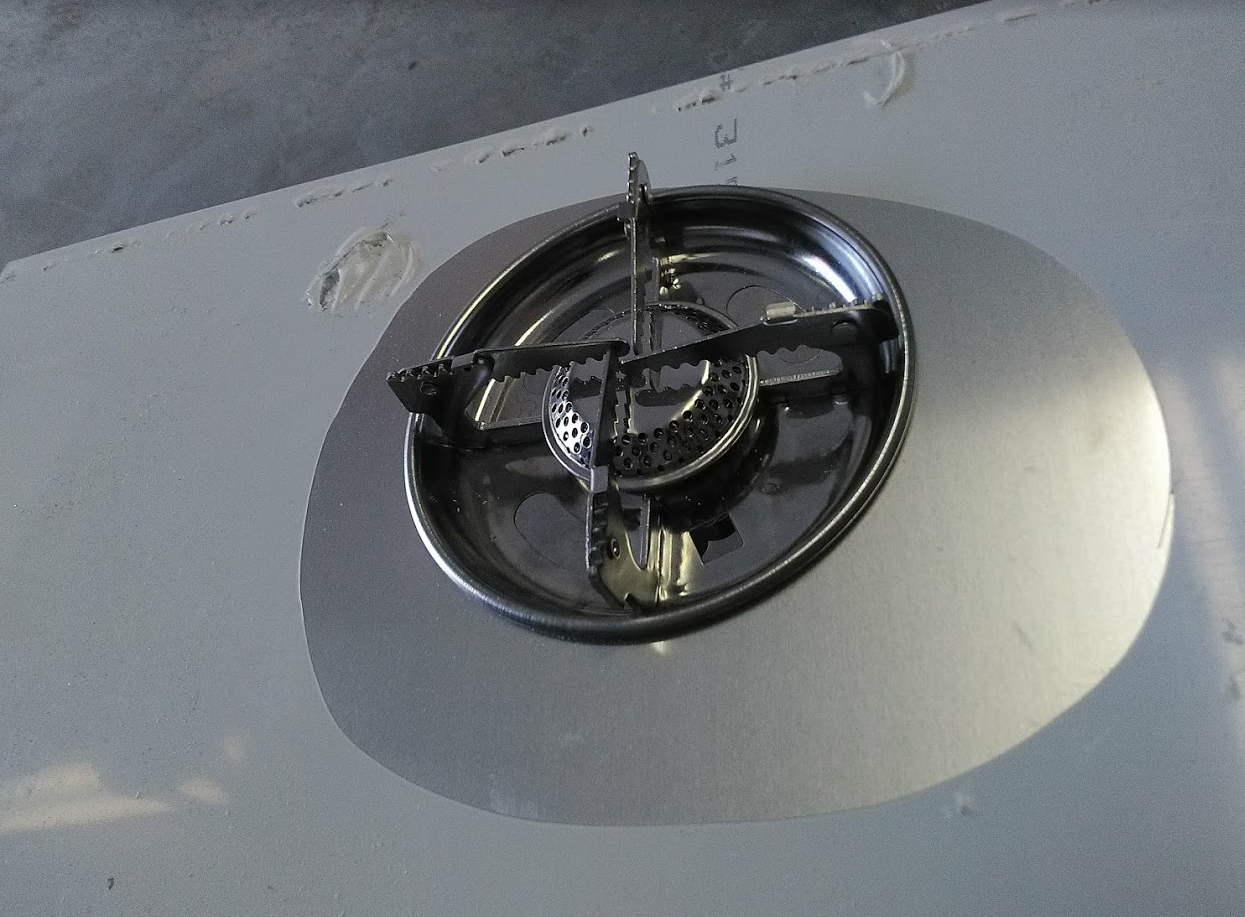
- Isobutane stove
- Spray nozzle/shower
- Sink
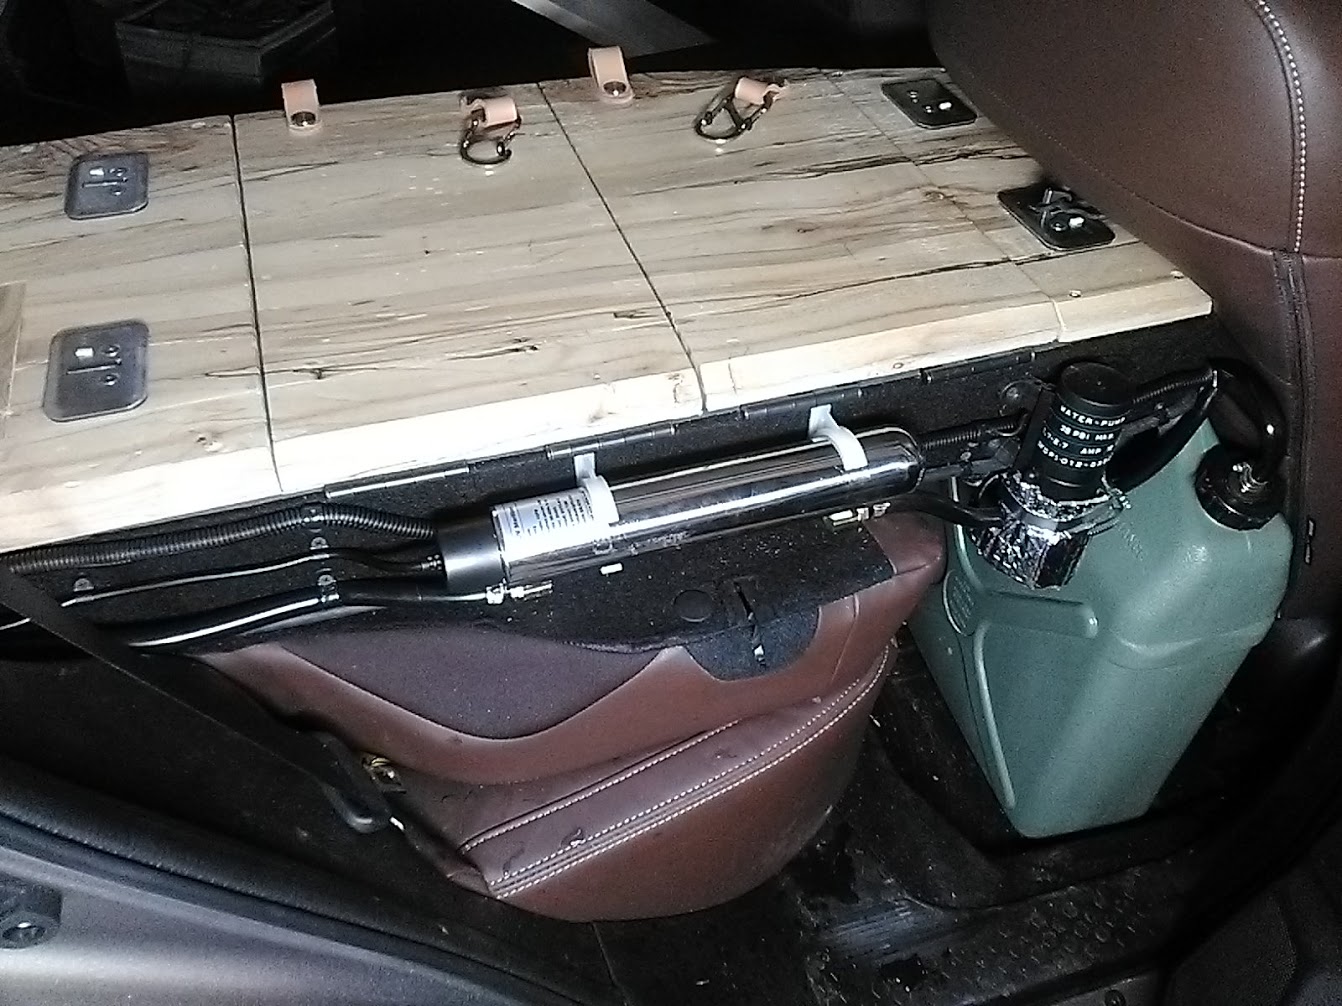
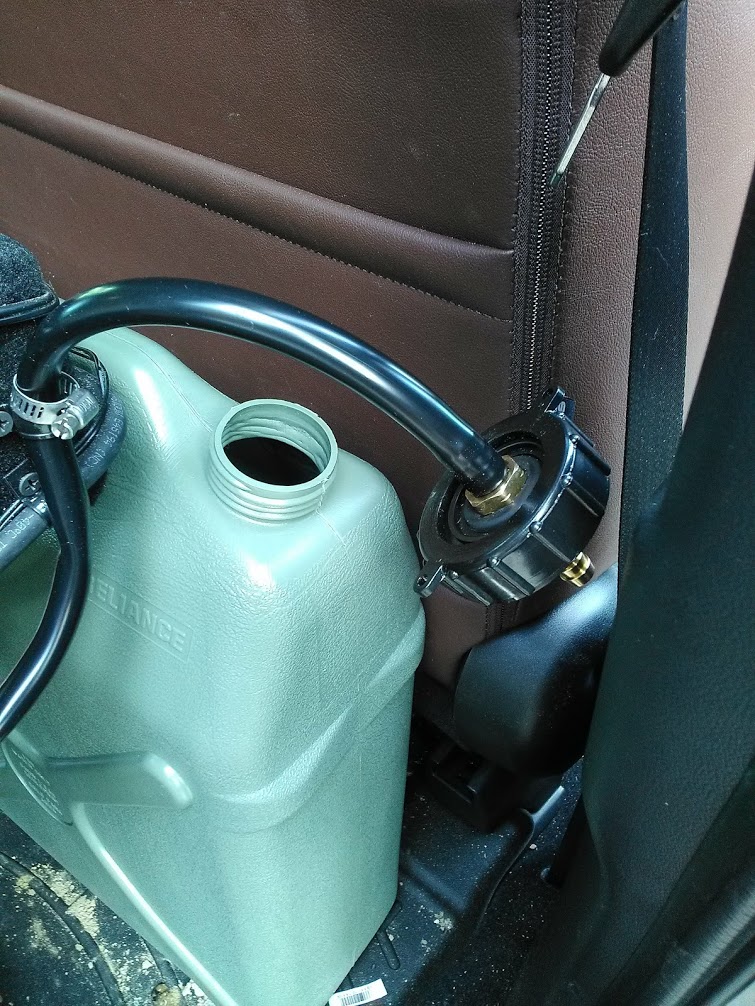
- 20L water tank
- 110v UV water filter
- 1.2 GPM 35 PSI diaphragm pump
- 110V 750W inverter
- Dual battery system (with dual 80A breakers).
- 110v outlets (2)
- 12v outlets (5)
- 5v USB outlets (2)
- Fire extinguisher
- First-aid kit
- Better skid plate
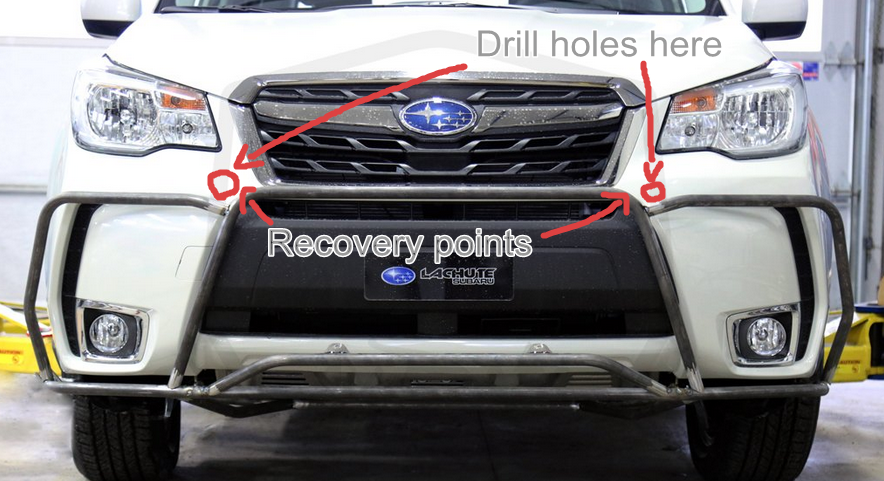
- Brush bar
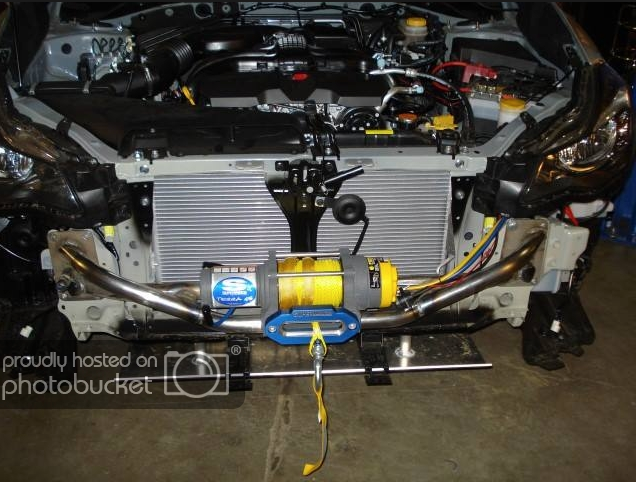
- Winch mount
_________________________________________________________________________________
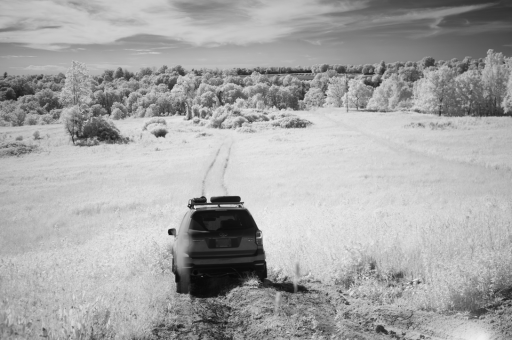
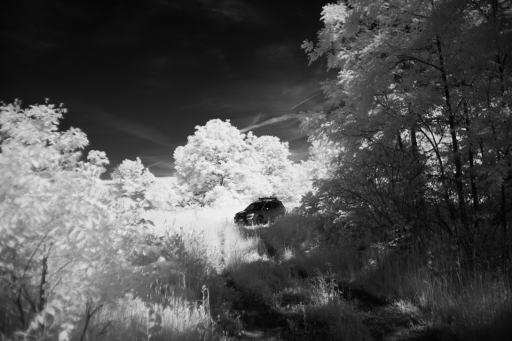
Current Photos


Thanks for looking!
Attachments
Last edited: