
Enthusiast III
next up, less maintenance, more fun stuff for the old girl
---Start of the sound system install ---
i started my audio build this weekend(10/16), after years of waiting, and a year or more of planning.
after much deliberation and some wheeling and dealing with my local shop (custom sounds in Austin, TX) i've finalized my parts list. it is as follows:
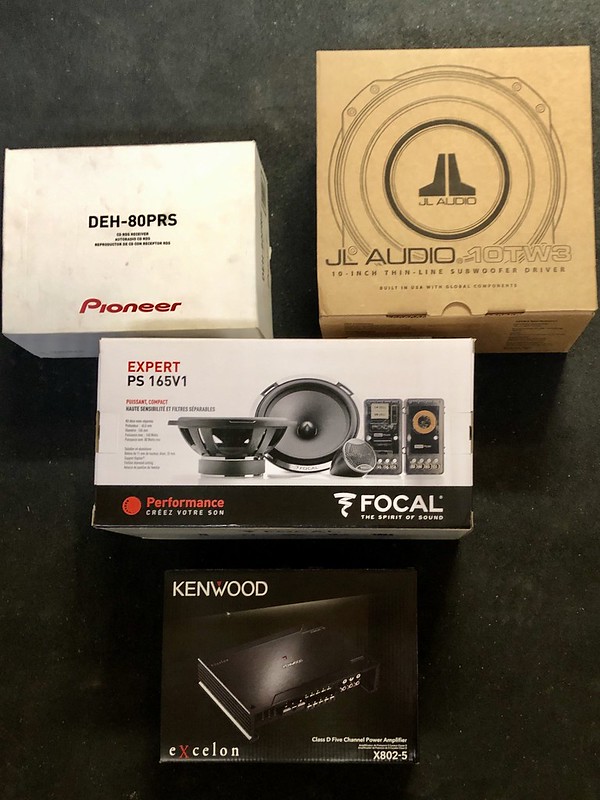
Headunit: Pioneer DEH-80PRS
Amp: Kenwood Excelon x802-5 (5 Channel)
Sub: JL 10TW3
Components: Focal Performance PS165v1
sound deadening: Dynamat extreme, ccf, heat shielding, etc.
The overall build ethos is to keep it clean, simple, and stock looking, but in the most aurally pleasing way possible given a reasonable (relative i know) budget.
i can and will do pretty much all of the fab and finish work myself.
the final build will have the 80prs in the dash - duh - , (already installed actually at time of posting); amp in an tbd location; custom built sealed sub box, center mounted; door pods for the woofers (probably not sealed, but TBD) with custom door pockets built in; tucked and clean, no corners cut wiring and sound deadening; bucket seats installed; and a custom built center console with some trick features i have planned.
for the overland side of things, i'll have some stuff in the center console for a radio as well as maybe an extinguisher and a good maglite or equivalent baton-style light/torch. behind the seats, i'm going to build in some shelving/storage for first aid kit, air down/up stuff, a little bit of detailing stuff, and some tools and supplies, as well as hopefully winching tackle. we'll see how much room i end up having.
I was able to get a good deal on all the system parts, and i got a full single cab set of dynamat for free, so i'll be using that too.
now for some preliminary install pics:
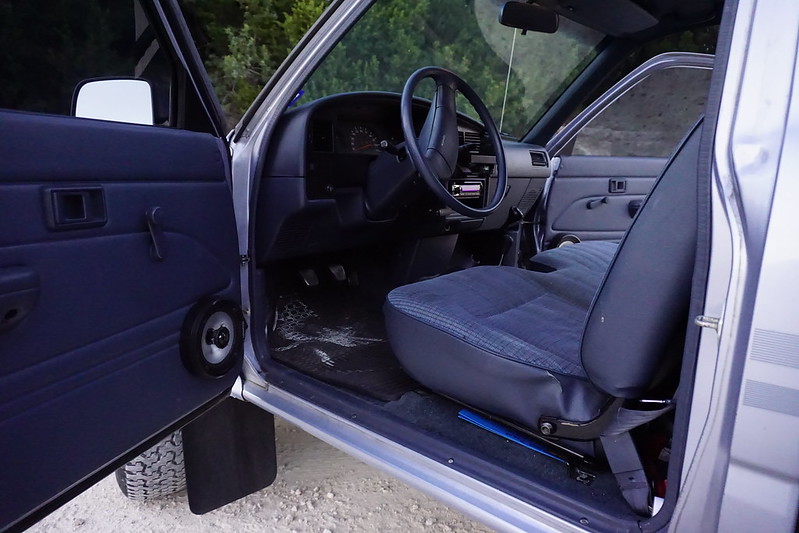
original dash and HU -
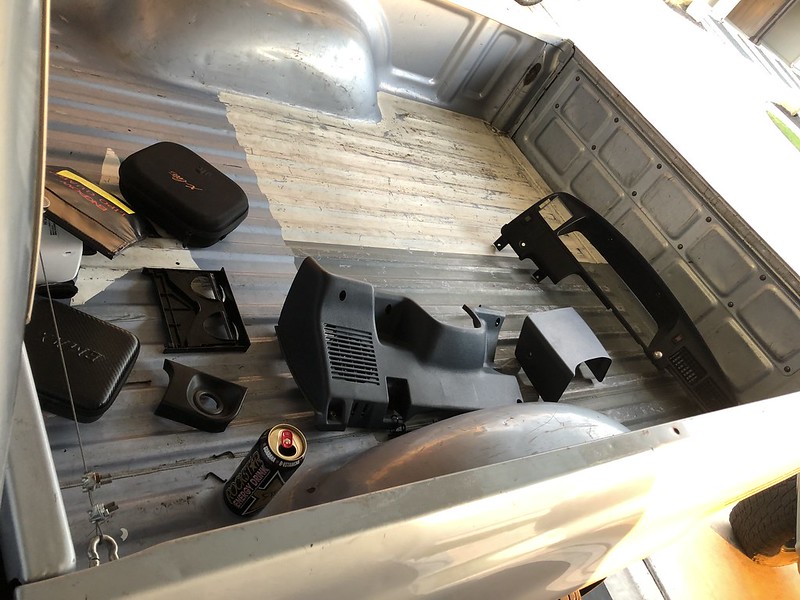
gear:
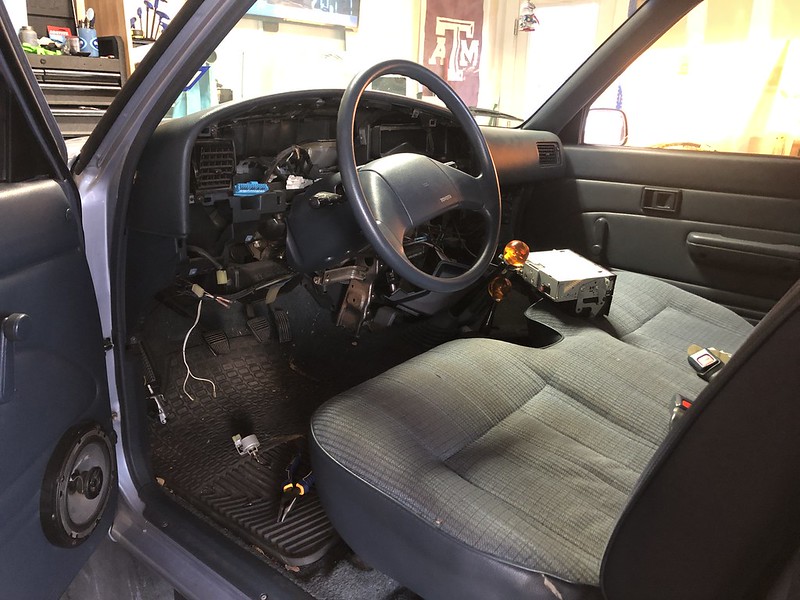
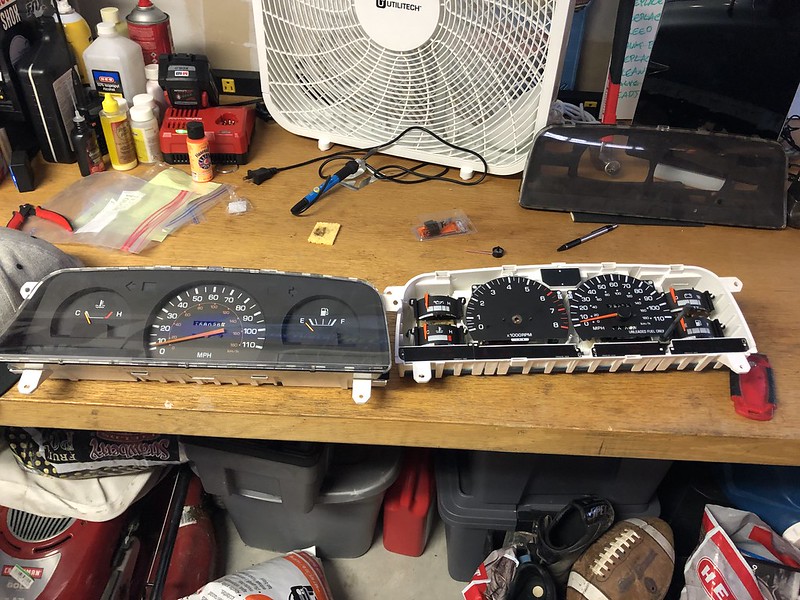
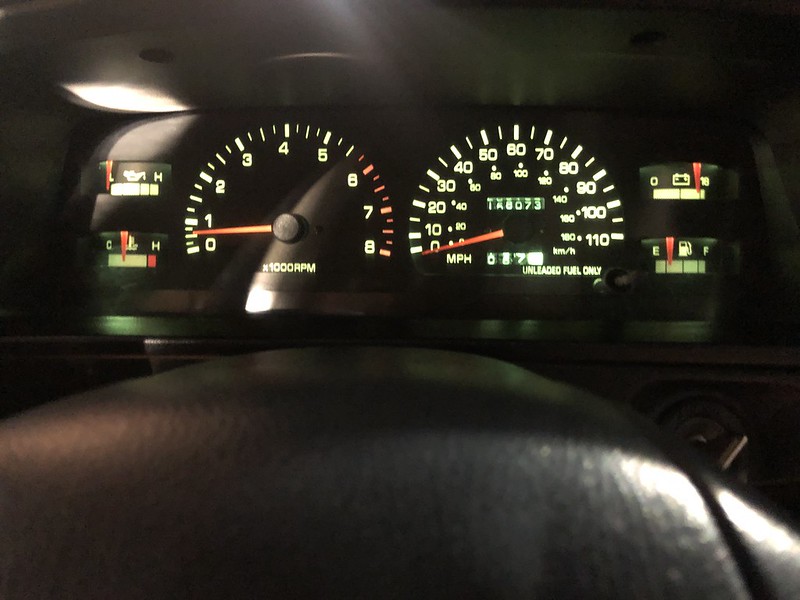
removed the dash to install a new gauge cluster with a tach and some extra gauges.
Spaghet:
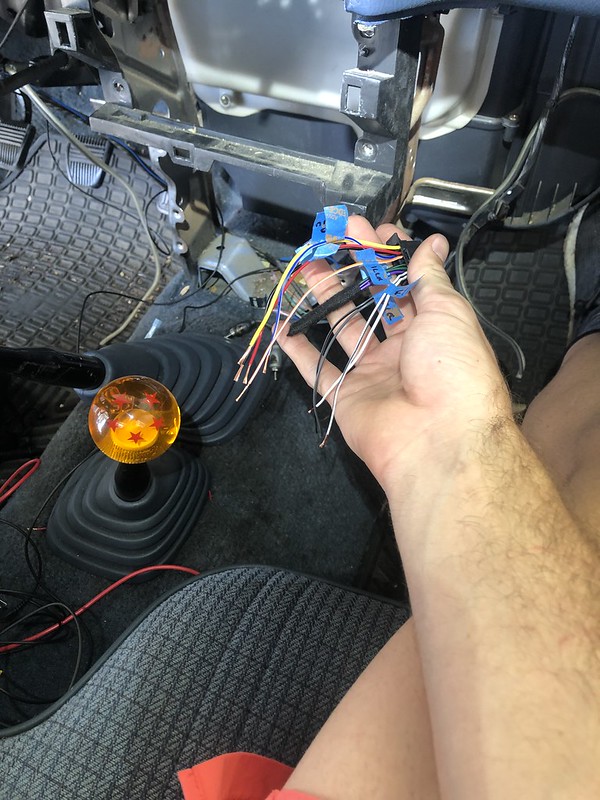
no more spaghet:
the odometer on the new cluster was 8000 miles low, so rigged up a setup with a drill, the worm gear, and some zipties to roll the odometer forward to make the new cluster match the old one that came out of the truck.

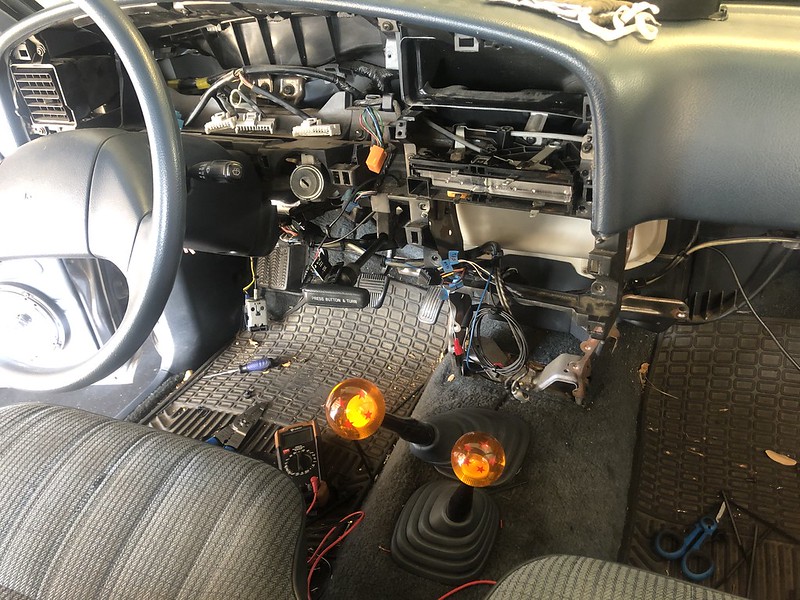
removed all other dash parts to remove old crappy kenwood headunit.
it ended up having an HD radio antenna hardwired in. i'll have to order a new antenna cable for when i go back in to run RCAs to the new amp in the next phase of install.
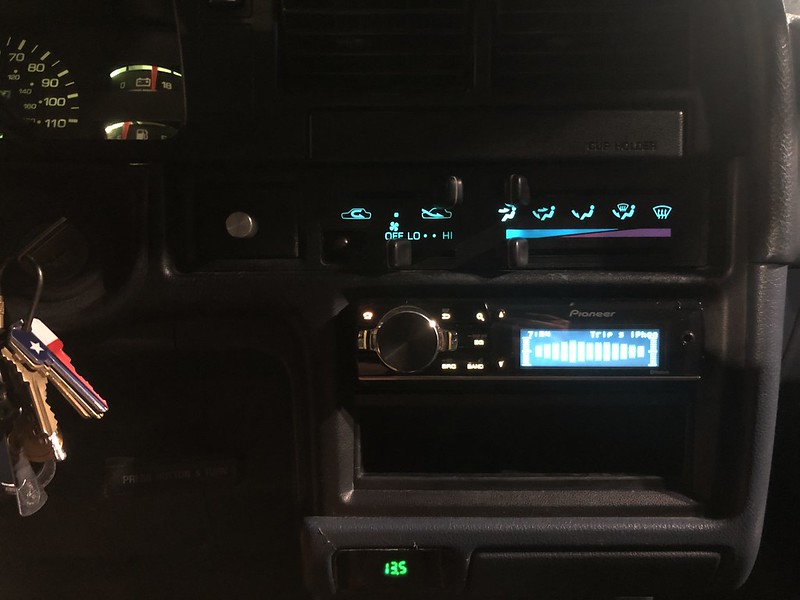
HU and new cluster installed:
i'll do glamour shots again when its all installed.
installing the HU is just the first part of the build. i'm in the process of finishing the cad models for the box and door panel parts. i have some decisions to make coming up on amp placement, tweeter placement, active vs passive, and general aesthetic stuff. it'll be fun for me.
---Start of the sound system install ---
i started my audio build this weekend(10/16), after years of waiting, and a year or more of planning.
after much deliberation and some wheeling and dealing with my local shop (custom sounds in Austin, TX) i've finalized my parts list. it is as follows:
Headunit: Pioneer DEH-80PRS
Amp: Kenwood Excelon x802-5 (5 Channel)
Sub: JL 10TW3
Components: Focal Performance PS165v1
sound deadening: Dynamat extreme, ccf, heat shielding, etc.
The overall build ethos is to keep it clean, simple, and stock looking, but in the most aurally pleasing way possible given a reasonable (relative i know) budget.
i can and will do pretty much all of the fab and finish work myself.
the final build will have the 80prs in the dash - duh - , (already installed actually at time of posting); amp in an tbd location; custom built sealed sub box, center mounted; door pods for the woofers (probably not sealed, but TBD) with custom door pockets built in; tucked and clean, no corners cut wiring and sound deadening; bucket seats installed; and a custom built center console with some trick features i have planned.
for the overland side of things, i'll have some stuff in the center console for a radio as well as maybe an extinguisher and a good maglite or equivalent baton-style light/torch. behind the seats, i'm going to build in some shelving/storage for first aid kit, air down/up stuff, a little bit of detailing stuff, and some tools and supplies, as well as hopefully winching tackle. we'll see how much room i end up having.
I was able to get a good deal on all the system parts, and i got a full single cab set of dynamat for free, so i'll be using that too.
now for some preliminary install pics:
original dash and HU -
gear:
removed the dash to install a new gauge cluster with a tach and some extra gauges.
Spaghet:
no more spaghet:
the odometer on the new cluster was 8000 miles low, so rigged up a setup with a drill, the worm gear, and some zipties to roll the odometer forward to make the new cluster match the old one that came out of the truck.
removed all other dash parts to remove old crappy kenwood headunit.
it ended up having an HD radio antenna hardwired in. i'll have to order a new antenna cable for when i go back in to run RCAs to the new amp in the next phase of install.
HU and new cluster installed:
i'll do glamour shots again when its all installed.
installing the HU is just the first part of the build. i'm in the process of finishing the cad models for the box and door panel parts. i have some decisions to make coming up on amp placement, tweeter placement, active vs passive, and general aesthetic stuff. it'll be fun for me.


