Pathfinder I
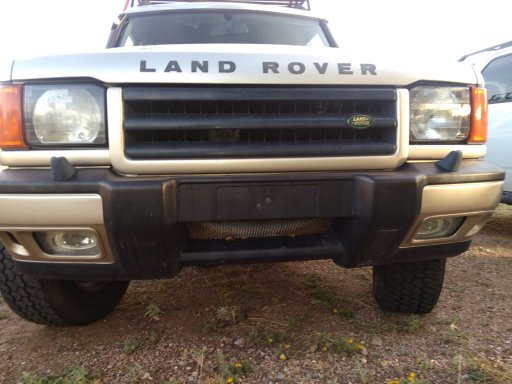
This weekend I took some time to camp with old friends, and of course took the disco since it was a euro car club camp out.


When I got home the evap purge canister was on the porch, so I put it in. Then I got the bright idea to start on rebuilding my driveshafts. Put the rover up on stands, pulled the front, and got it mounted in the vise. Then pulled the c clips and managed to mangle my thumb with my BFH and a socket starting to remove the first of the U joints.
It was stupid, but hindsight is 20/20. In a rush to try and finish the front shaft before dinner I skipped using my shop press, or vise and thought the BFH approach would be fastest. :/ Looks like I’ll be a few days on the mend at minimum before I can get back at it.