Pathfinder I
Pathfinder I
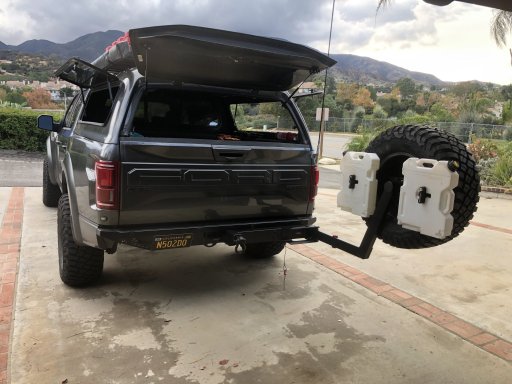
Do you happen to have the model number of the low profile Front Runner Rack? I'm looking for something near flush like that, I currently have Yakima tracks in my ARE shell. Thanks in advance.So I have completely lost my mind and after rebuilding the Yakima rack system I was still not happy to have to strip the gear, rack, and wiring (quick connectors I made) off the truck to get it in the garage. So I did a bunch of research and found that Front Runner racks has a track mount low profile racking system that will adapt ritght into the tracks on my Snugtop shell. I braved the LA traffic and drove up to their store in Agoura Hills and was not disappointed. Long story short, I came home with a whole new racking system. With the low profile rack I can just take the rotopax, MaxTrax and Hilift off and it fits in the garage. I took the opportunity to update the lighting as well. Here are some progress pics.
Pathfinder I
Do you happen to have the model number of the low profile Front Runner Rack? I'm looking for something near flush like that, I currently have Yakima tracks in my ARE shell. Thanks in advance.
Pathfinder I
Fantastic build! I have an '18 Super Crew Raptor and was looking for some ideas... this is fantastic! Great looking rig. I don't have much in the way of desert runs out here in NC, but there is plenty of other fun to be had.
Pathfinder I


Enthusiast I
Pathfinder I
Hey there, mine is the 53x56 and fits perfectly on the shell with the 5’6” bed. The one for canopy is the Slimeline ll with OEM Track and they list it as 1425mm x 1358mm. The SKU is KRCA055TNHi what size did you go with for your Front Runner rack? I'm currently looking to order one for my 2018 F150 extra short (5'6") box with a leer canopy (Thule Tracks). My problem is the canopy is still on order and I cannot get the canopy roof dimensions anywhere. I want the largest rack I can but the 56.1" Wide by 61.4" long might be just too long.

Member II
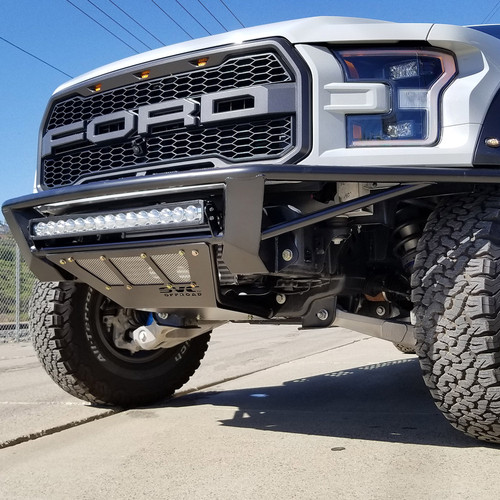
The bumper looks great, Great buildView attachment 77876 View attachment 77874 View attachment 77875 I finally got some lights for the cut outs in the Warn bumper. Fun project today getting the blanks cut out, mounting and wiring the lights. Gotta love the factory installed upfitter switches, sure makes it easier to install lights. Also replaced a bunch of trim clips from the winch and bumper project. I hate these stupid one use trim clips!
Pathfinder I

Trail Blazer III
Pathfinder I
I'm not usually a big fan of aftermarket bumpers, but I will say your bumper looks great. It's not over the top big.
Pathfinder I


Pathfinder I

Pathfinder I

Pathfinder I


Pathfinder I


Pathfinder I

 www.svcoffroad.com
Pathfinder I

Pathfinder I