Time is running out for preparations before our big cross state adventure. At the end of the last installment I’d once again been defeated by the gas gauge. Time to reqally dig in, its been a year or more I’ve been fighting with that stupid thing!
To recap: The arm came out too far and interfered with the side of the hole in the gas tank. Also, it interfered with the mounting screws. The real problem was that, with the bearing sticking out so far, there was no room left to bend the arm. There was actually no way it could fit. (These issues were the same with all three senders.) Dumb design!
Fine, being completely desperate, I decided to rip one sender unit apart and see if I could modify it.
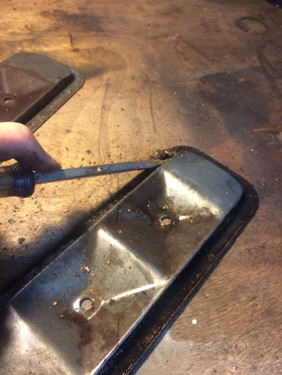
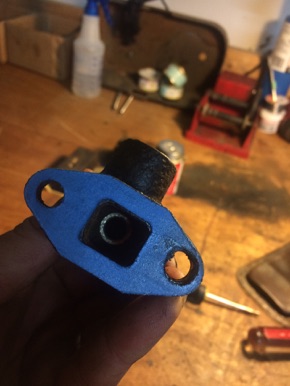
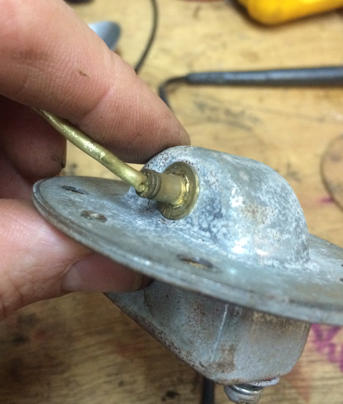
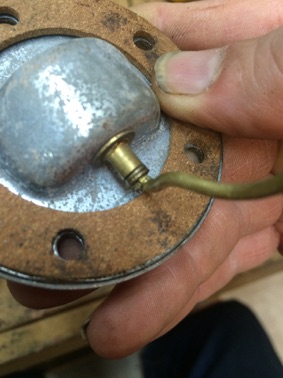
First I straightened out the arm completely. Next I lined up the arm at the half way point and cut it next to the bearing. But only half way through. (See picture) That allowed me to fold it down as close as possible to the bearing. I could feel the arm beginning to break as I folded it down. But that didn’t really matter.
It was Ok that the arm was half broken. All I needed was to have it hold well enough for me to solder it.
The distance to centerline is now as short as possible. But still its not going to fit. I selected this sending unit of the three because its bearing had already been knocked loose. This allowed me to slide it in maybe a 1/32” or so further.
The bearing was also bent down a little bit. That also helped in clearing the hole edge.
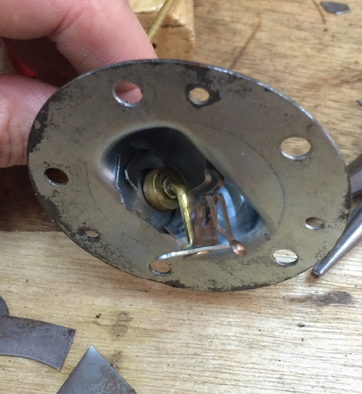
Another view of the folded and soldered arm. The two washers at the end of the bearing move with the arm, so I was able to solder to the outer one. This should make the joint a bit stronger.
With the bearing moved in a tad, I chopped up a front end spindle shim and used a couple pieces of it to shim the bearing in place. I also soldered the retaining washer on the far side back on in its new location.
This was about all I could do to move the arm closer to the center.
Next was dealing with the suspected leaks.
You do realize I’m making this all up as I go along don’t you? Reconfiguring this gadget wasn’t just a shot in the dark, it was the full clip!
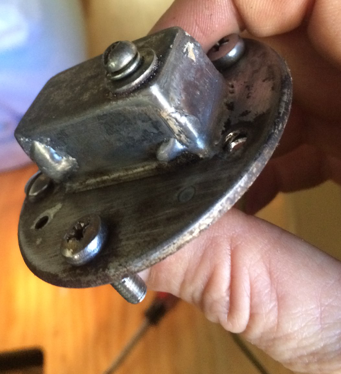
The top cover after soldering and cleanup.
All the gauges have a rivet poking through the side. This rivet is a direct leak to the fuel because the chamber with all the mechanicals is flooded with fuel.
Dumb dumb dumb..
So I soldered it up. (Blob on the left.)
This was the sender with the split casing I’d epoxied earlier. And, epoxy does NOT like heat. The soldering turned the epoxy patch into chalk. Off came the epoxy and I soldered up the end with the split casing as well. (End at right) The bottom of end stamping was not actually attached to the base. It is now!
The end result to all of this was : The arm now goes straight down from the bearing instead of at an angle. So it no longer interferes with the mounting screws. Also, the arm is closer to the center line. It no longer interferes with the side of the gas tank hole. And, the obvious leaks have been soldered up.
Time to re-assemble the sending unit. I needed a gasket to go between the two halves. Time to start cutting.
Another lesson learned. Never use an old cork gasket for your pattern. They shrink. The new gasket didn’t fit at all and I had to do it all over.
I installed the sender and it actually worked! Better than that, for the first time ever IT DOESN’T LEAK!!
I’m so happy! Wow, what a job!
Speaking of leaks..
There is a leak somewhere on the roof. We noticed it when the big snow block on top of the roof started to melt during the Yakima trip. I suspect the bead where the van side was welded in. I needed a quick and dirty fix.
All the suspicious areas got a thick coat of Hammerite. That should seal up any pin holes left by the welder.
Yeah, I know. Remember, I said quick and dirty!
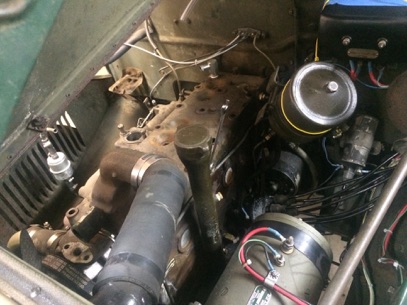
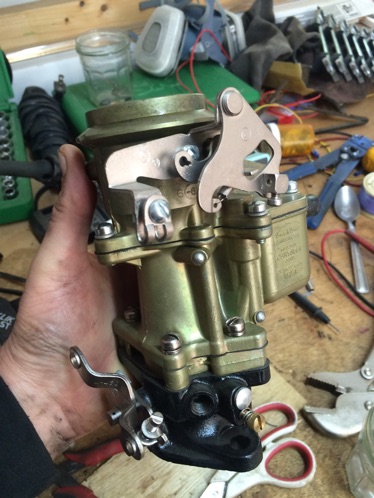
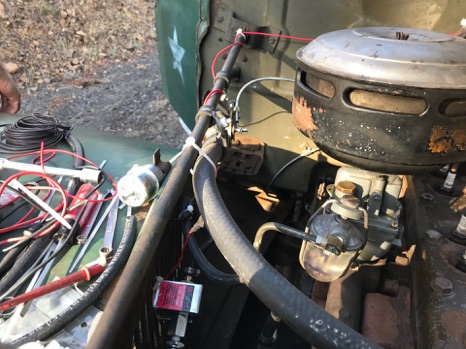
I got this cool carb..
But I need to change out the airhorn and deal with installing new shorter studs..
Sigh.. I guess I’ll leave this for later.
Finally I broke down and made a gasket for the voltage regulator. I’d been using a strip of masking tape to shield it from water runoff.
Tacky tacky.
Changed the engine oil, the transfer case oil and the gearbox oil. Transfer case had black bleck. Gearbox had some shavings. Engine had some sludge.. And the front differential had no drain plug hole? Odd? I’ll have to look into that after the trip.
Trying to be accurate, I pumped in exactly the amount called for in the military service manual. I guess my pump, pumps more per pump than it’s supposed to pump.
Because I had the same issue with the transfer case.
What a mess!
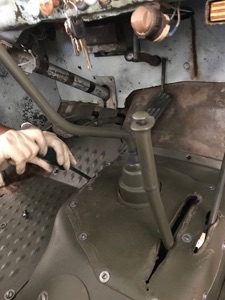
This reminds me. I also needed to adjust the hand brake. This includes removing the entire floor of the cab to get to it. That’s a bit of a pain! Anyway, its done and off the list.
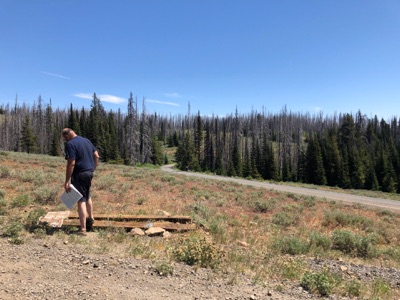
I’d seen these odd steel plates in carryalls before. Who knows what they were for? Mark handed me this plate when I bought the truck from him. I tossed the useless thing in the side yard and forgot about it.
Well, during all this last minute stuff, I was reading the Military manual for the truck and came across “Tool storage”. “Really? I had no idea there was tool storage in this machine.” So I looked it up.
Tool storage under driver’s seat. “So that’s why nothing holds the cushion down.”
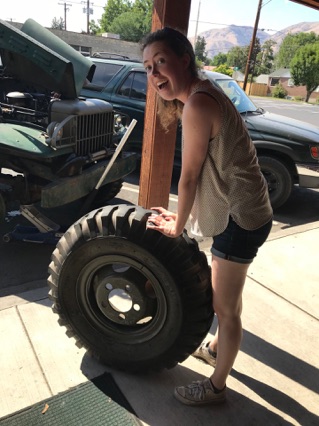
Tire chain storage behind the right rear fender. “What? Wait! That’s where that weird plate fits..”
And, after a couple hours straightening out the poor bent up thing, drilling some new mounting holes in the shiny new floor..
A touch of sand blasting to clean off the worst rust (We’re in a hurry here.) We now have a nifty tire chain storage locker. Pretty cool!
It only holds one set, but that’s a far cry better than none!
I figured for this Overlanding thing, I should get a CB radio. What’s easier to install than a hand held?
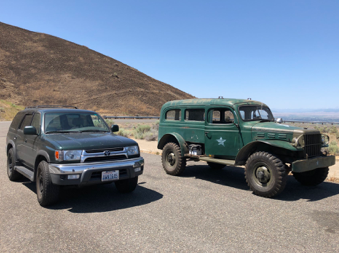
I got two so I could give one to our Daughter Alex. She’s bringing her 4x4 on this trip with us.
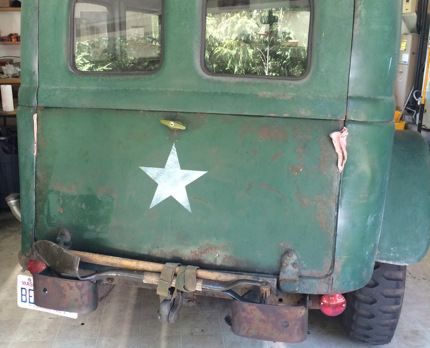
I wanted to bring along shovel and a pickax.
But, not like this.
Much better!
In the final version I use two straps.
The pick handle won’t allow movement to the right side and the shovel wont allow it to the left. The straps lock them together and to the grill.
There is a
Camp Kitchen thread in the
Overlanding forum. Everyone’s showing their kitchen setups. Fancy fancy! All the way from pull out refrigerators to a fork tossed into a door side pocket.
I kinda’ like cooking, so I wanted some stuff and a quick and simple way to get started. Someone posted they used a three tote system, or something similar. That sounded good, and I could implement in a hurry. So that was what I chose.
Blue - Cold.
Red - Pantry.
Grey - Cooking tools n stuff.
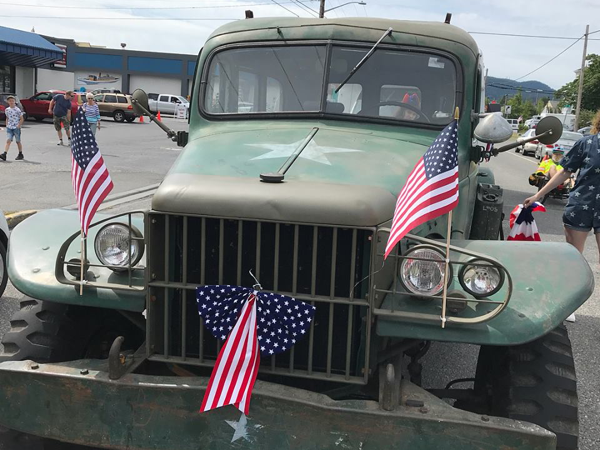
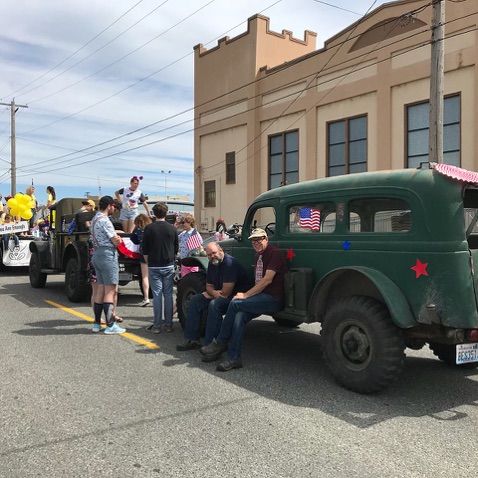
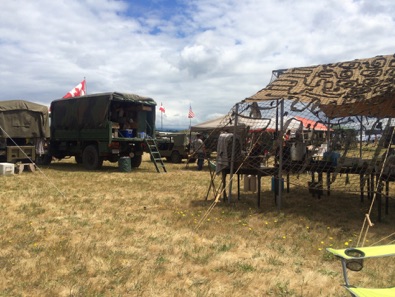
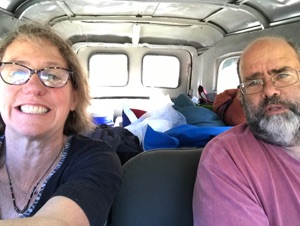
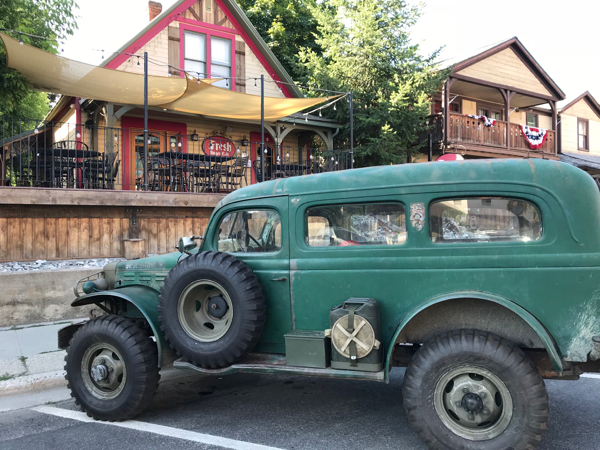
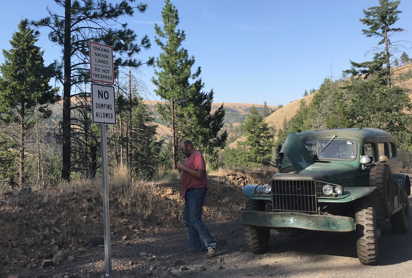
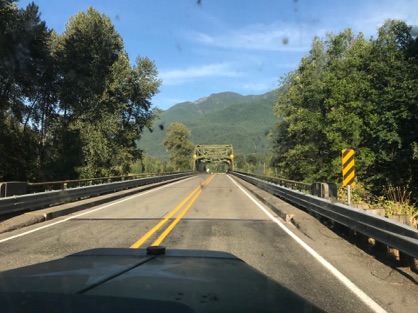
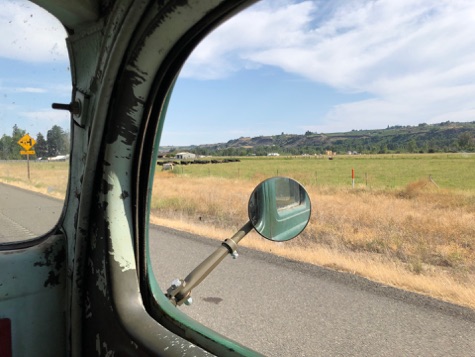
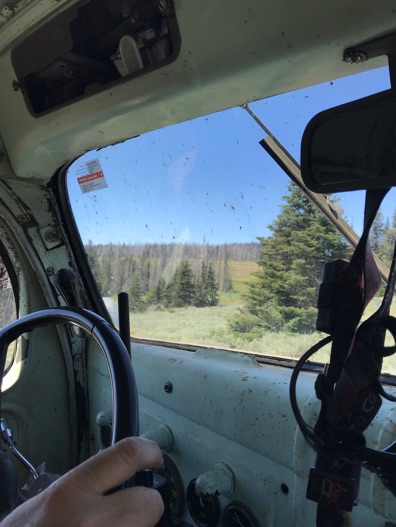
When we did the Arlington air show we realized we really needed a table. Hence the picture at the top of the page.
(( END PART I ))