MStudt's 01 SR5 4runner

  • HTML tutorial

MStudt

Rank V
Launch Member

Member II

2,268
Springfield, OR, USA
First Name
Mike
Last Name
Studt
Member #

0820

Current 6/4/19


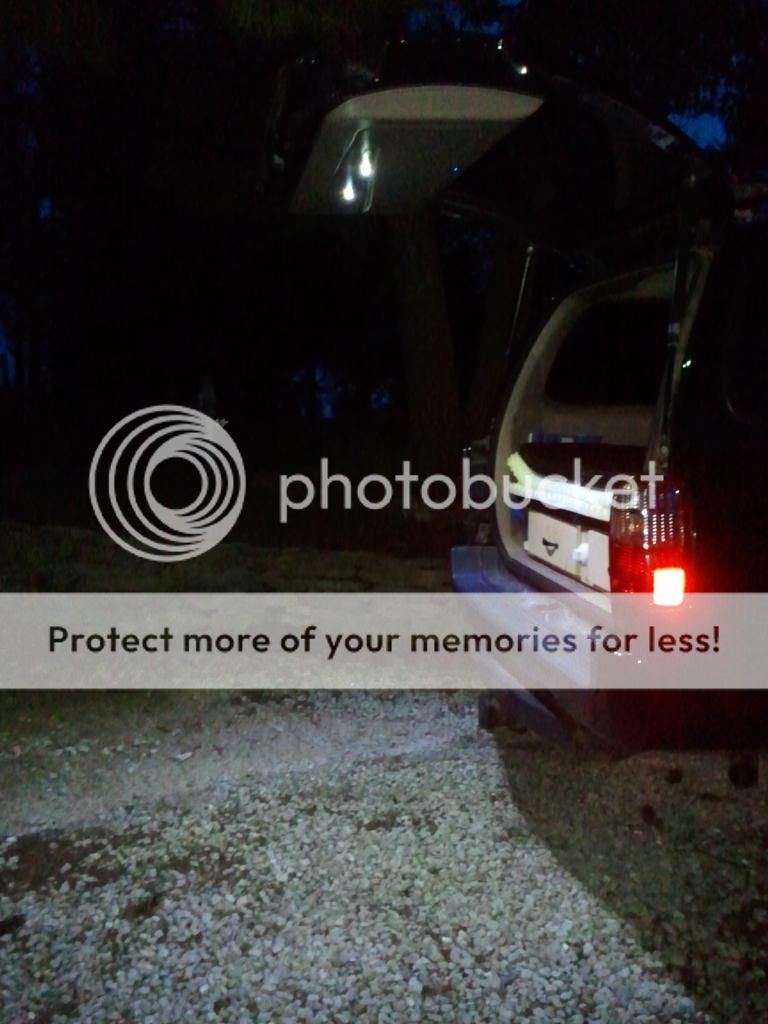
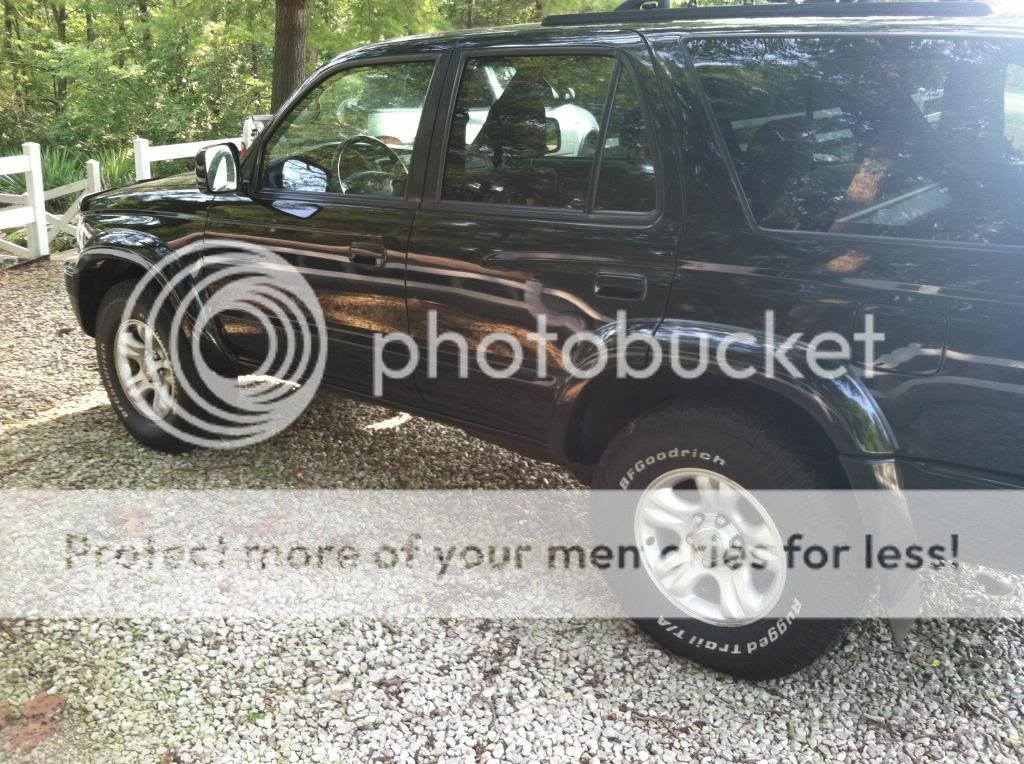
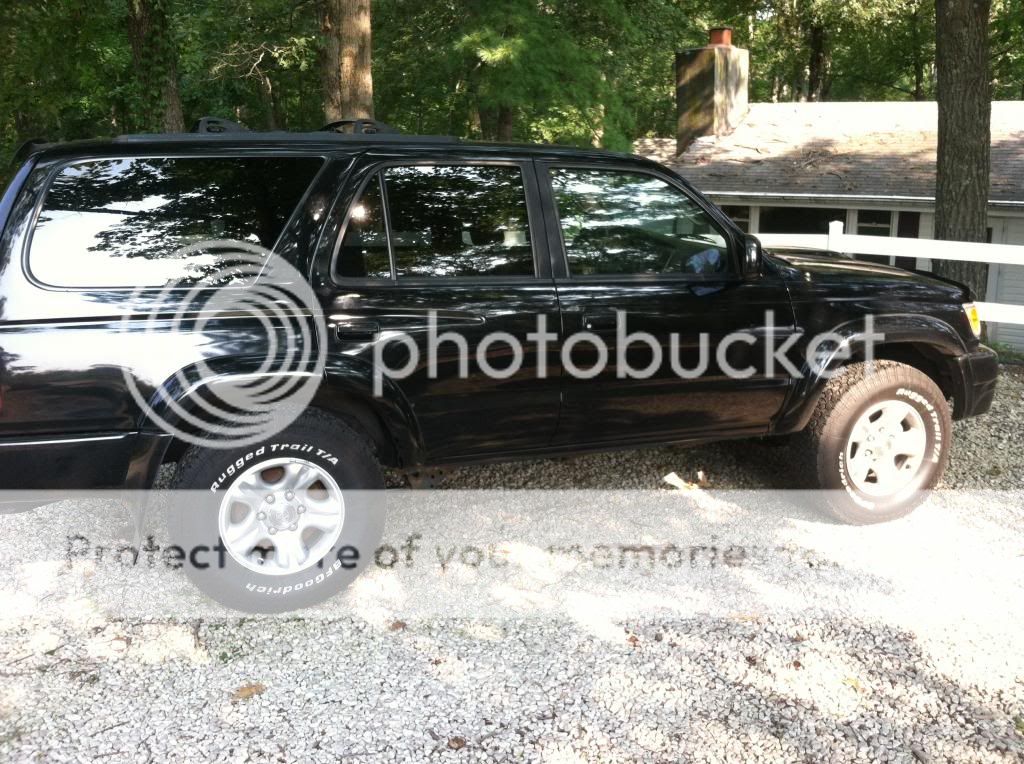
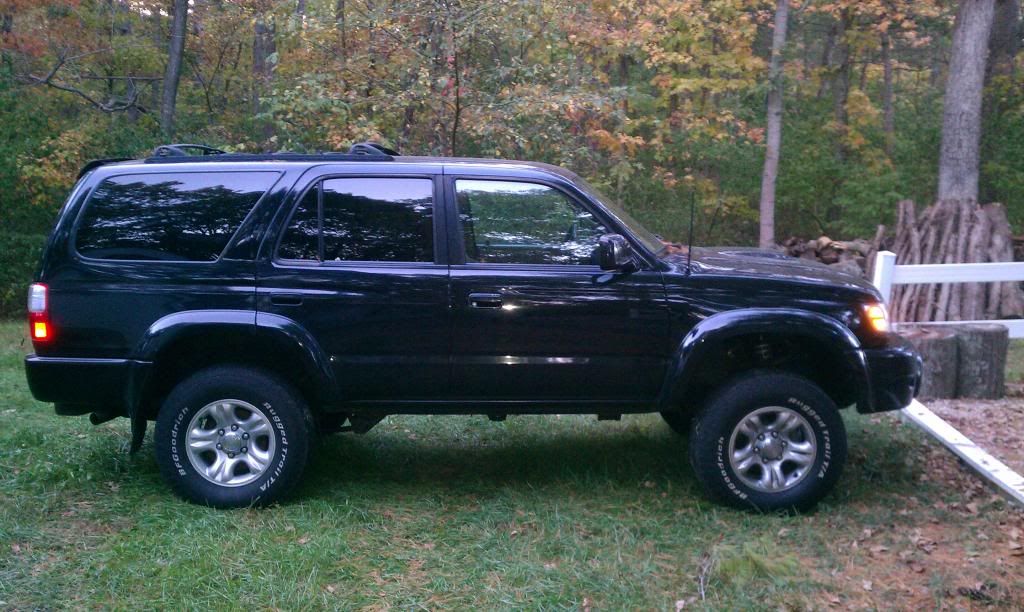
Just figured I'd post up on here as well since I'm a member and all. so let's get started from the top. This was the weekend I brought her home. Of course I had to remove the running boards right away.
Had some extra day light left, so I decided to go ahead and remove the running boards. Looks a lot better without them!


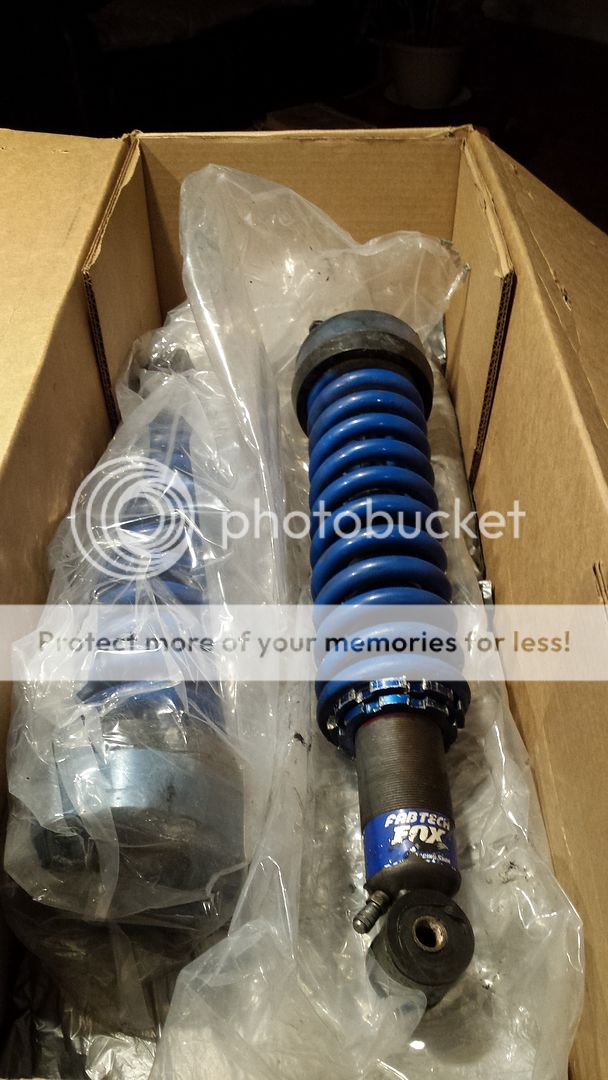
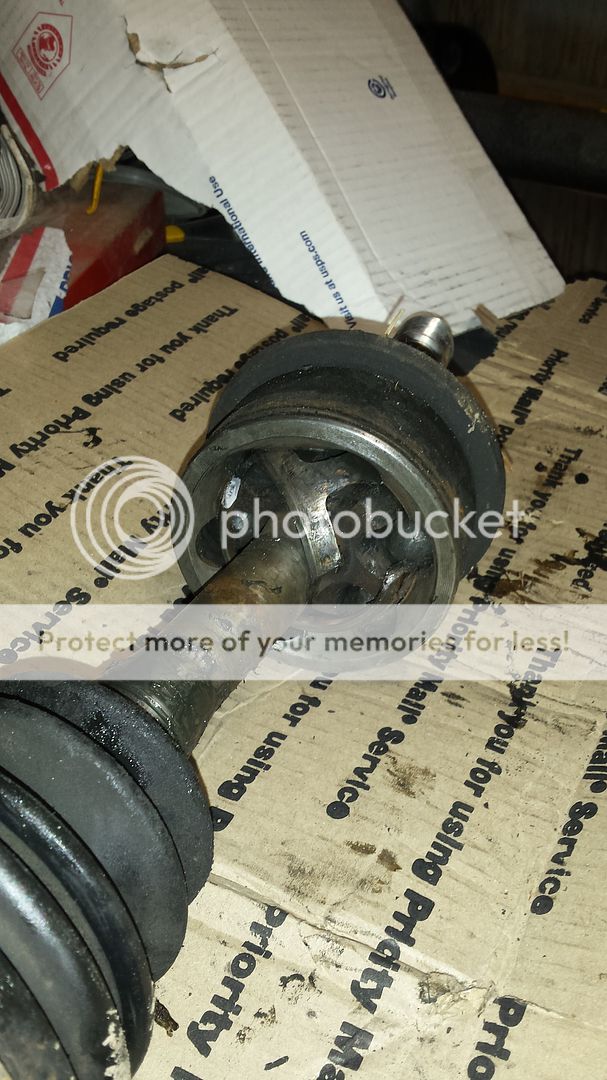
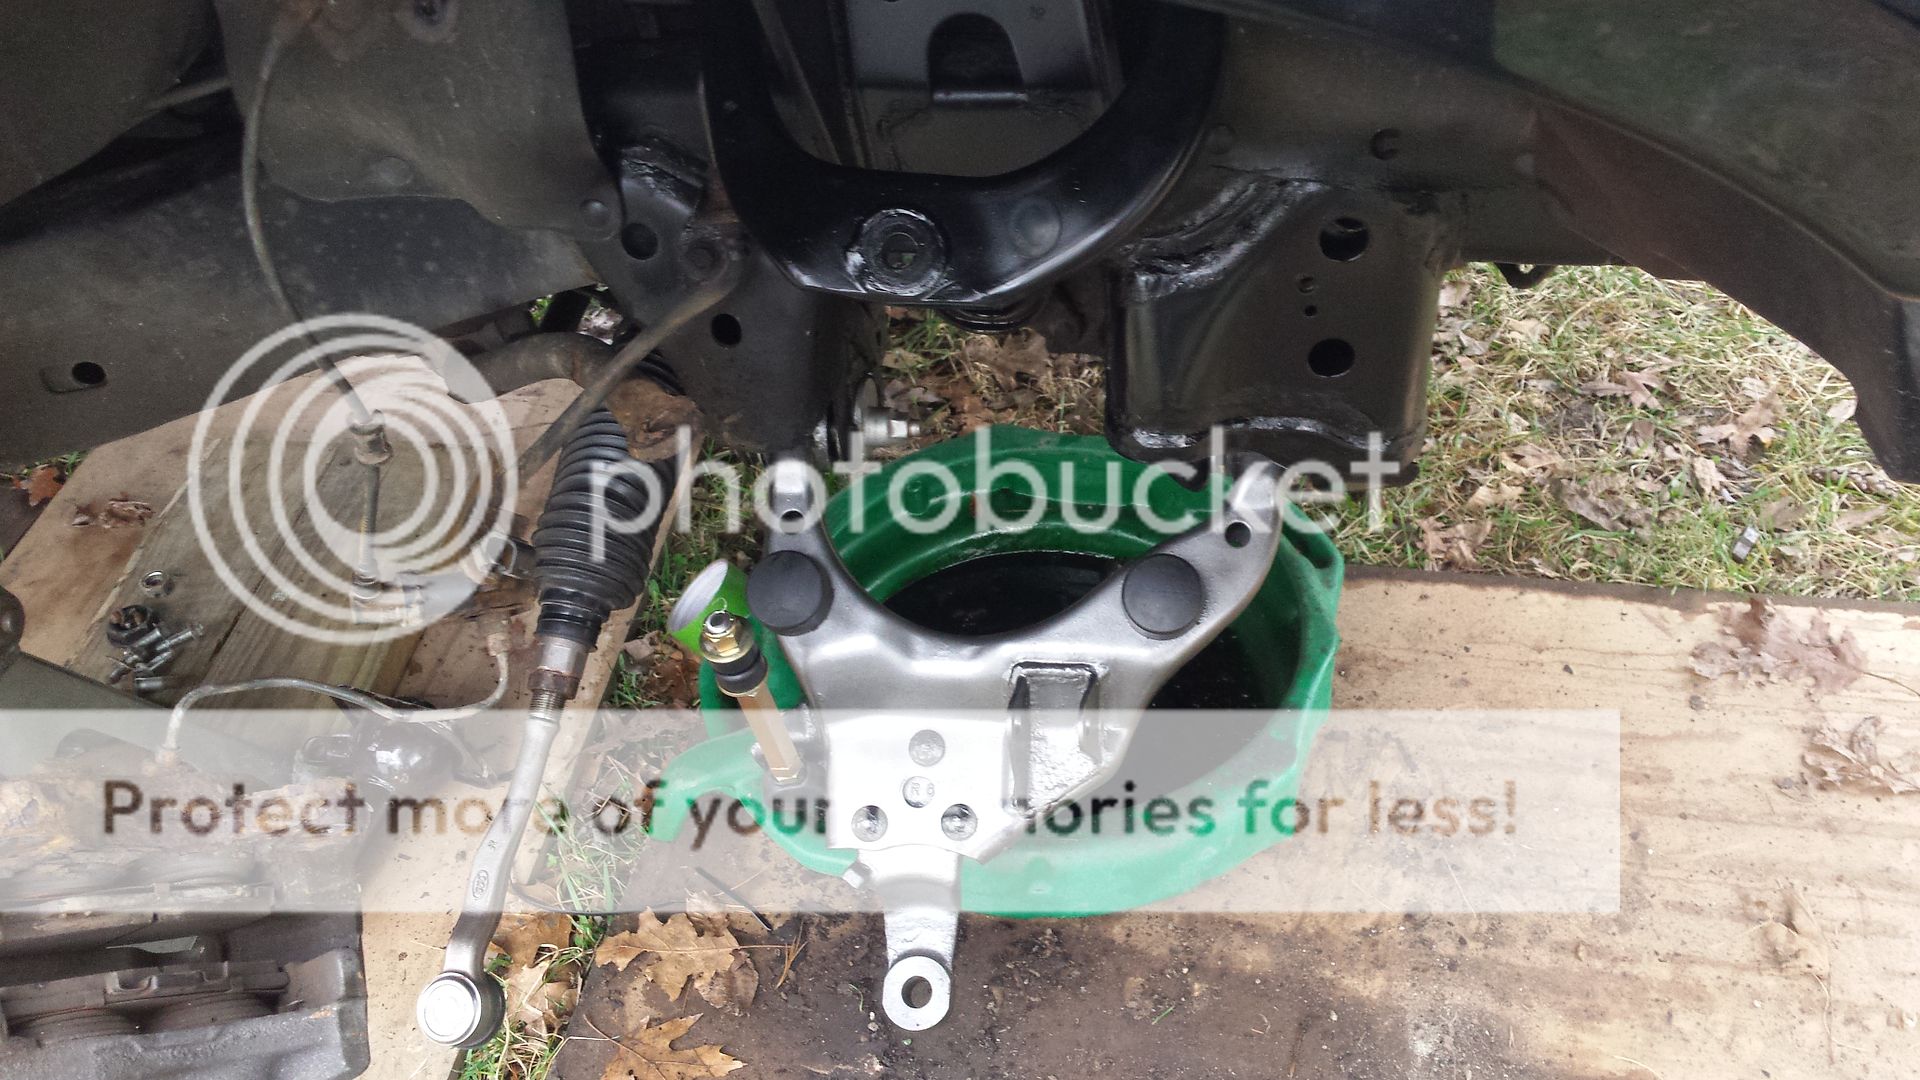
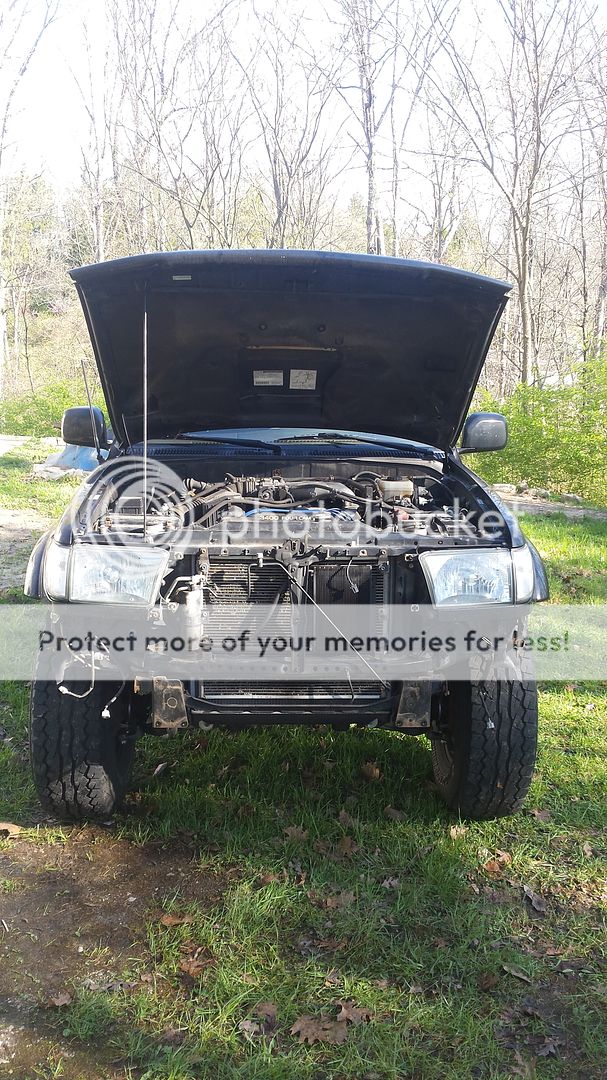
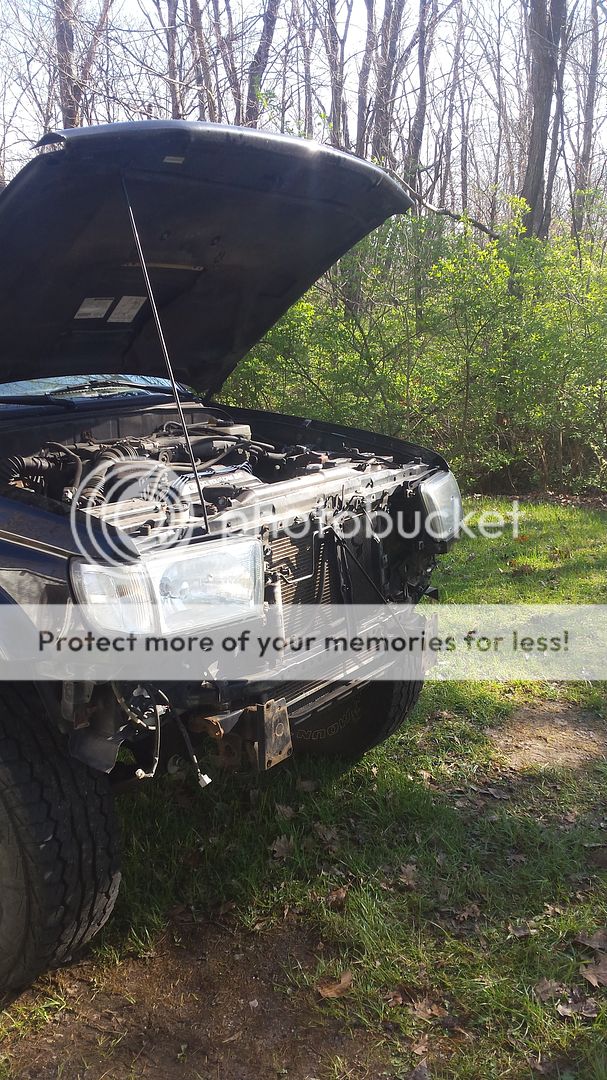
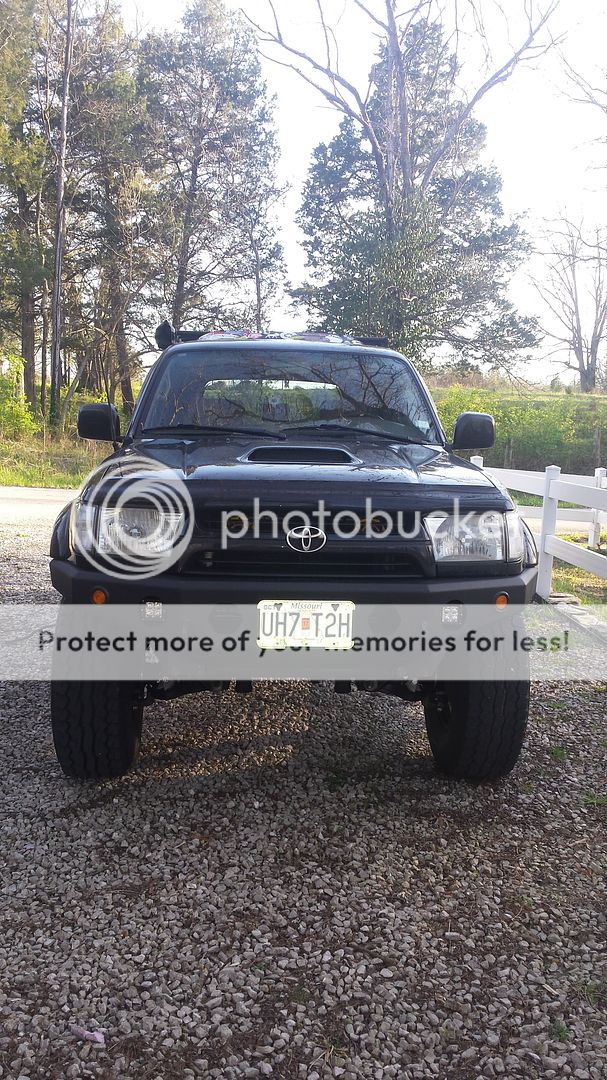
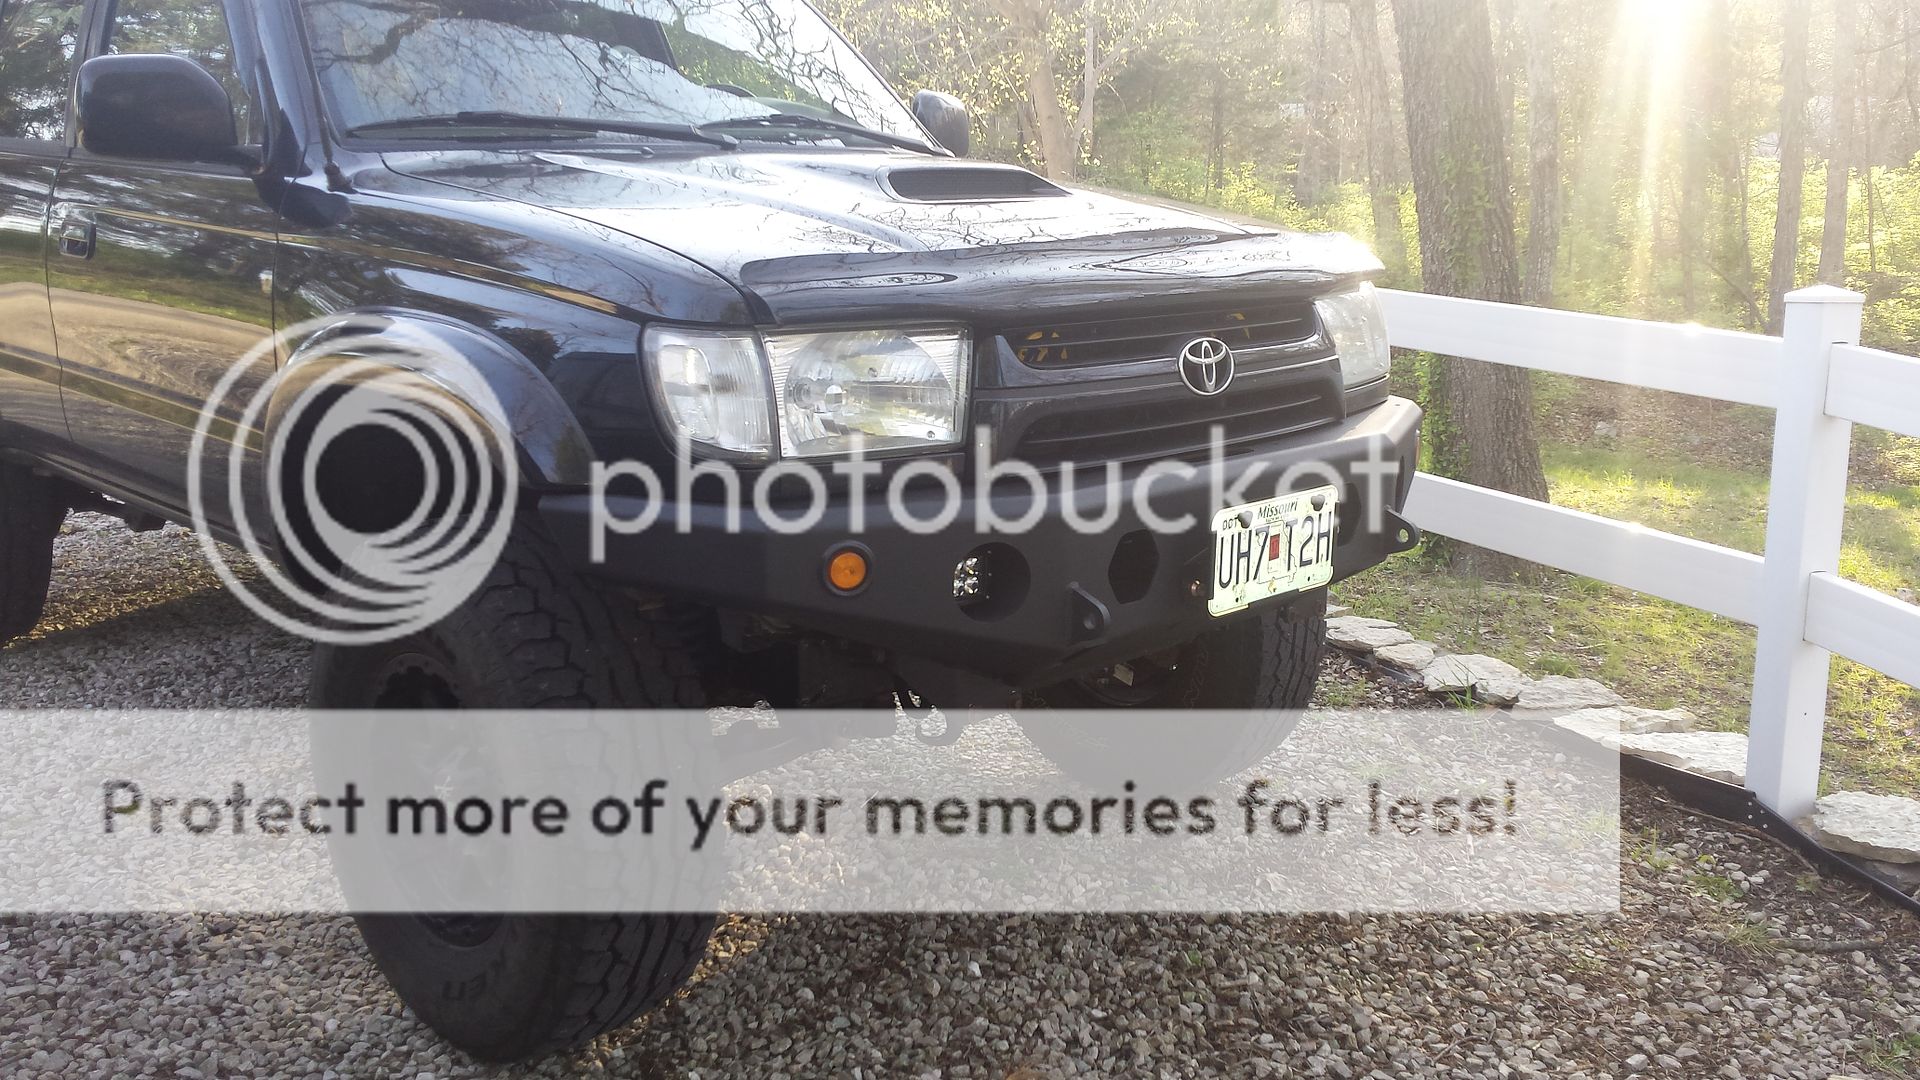
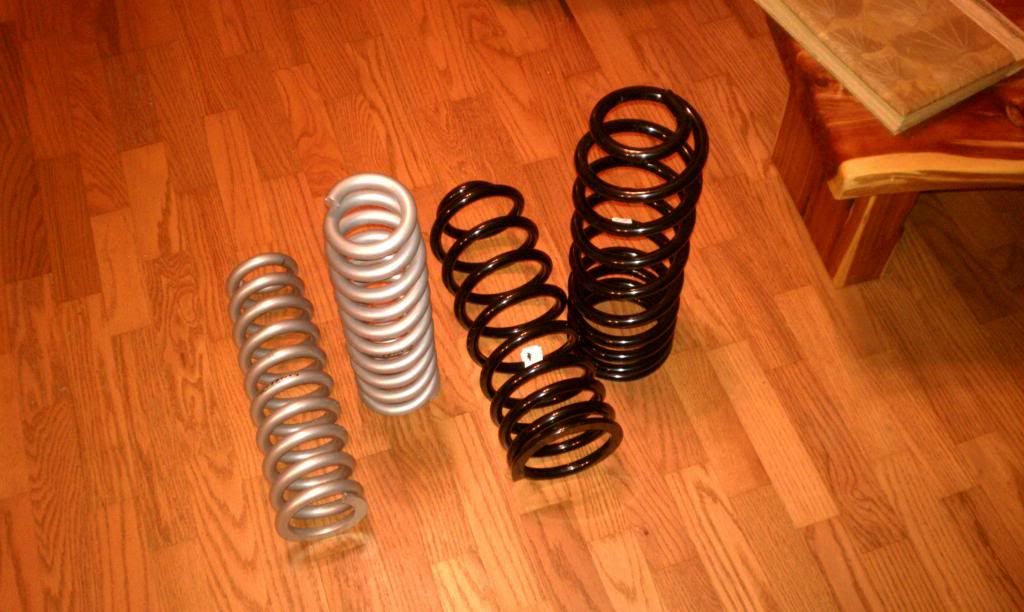
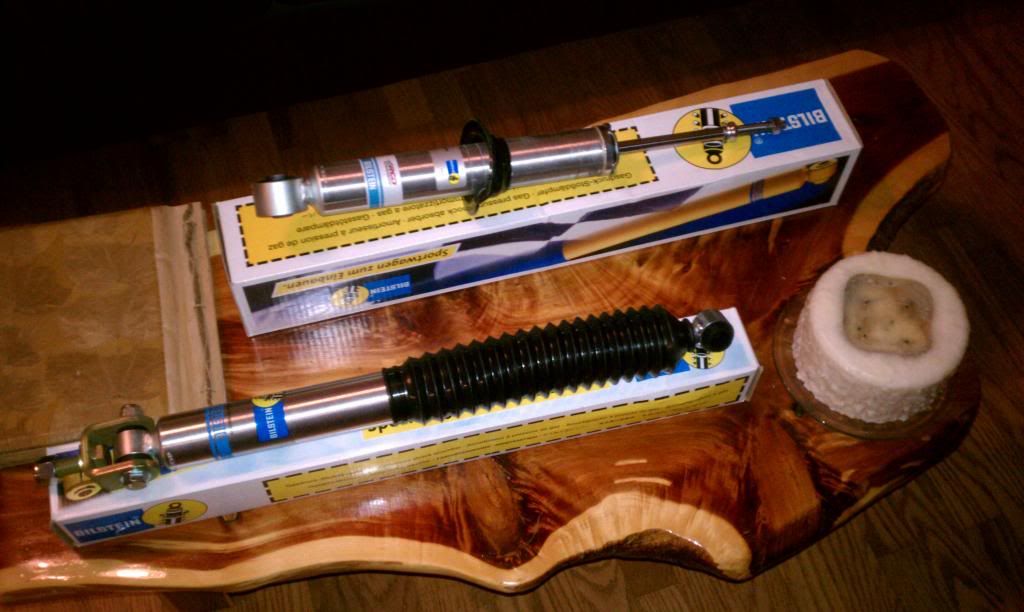
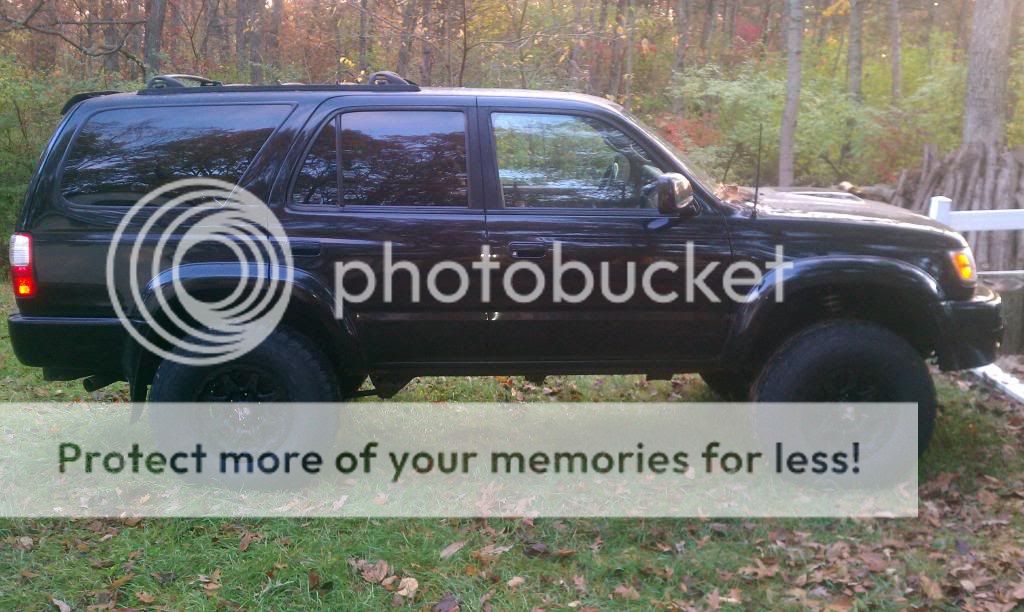
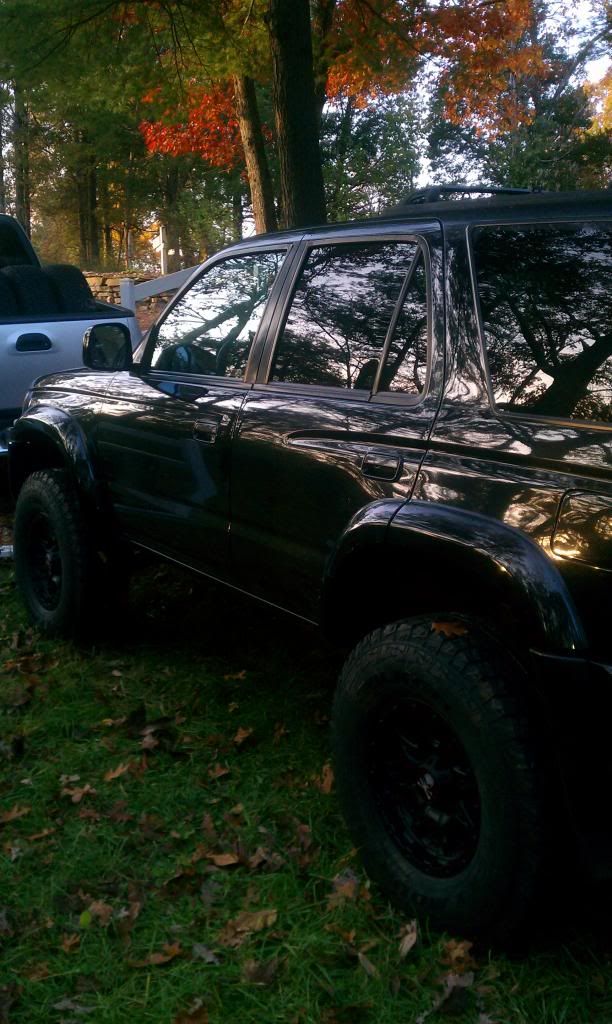
The next step was buying the lift, and we decided to go with Toytec.


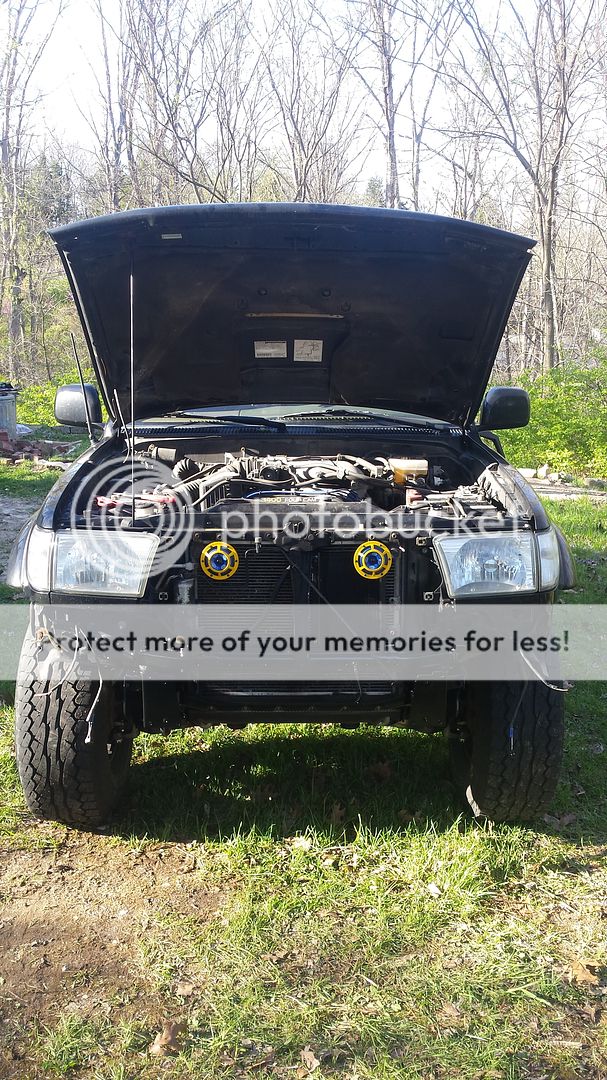
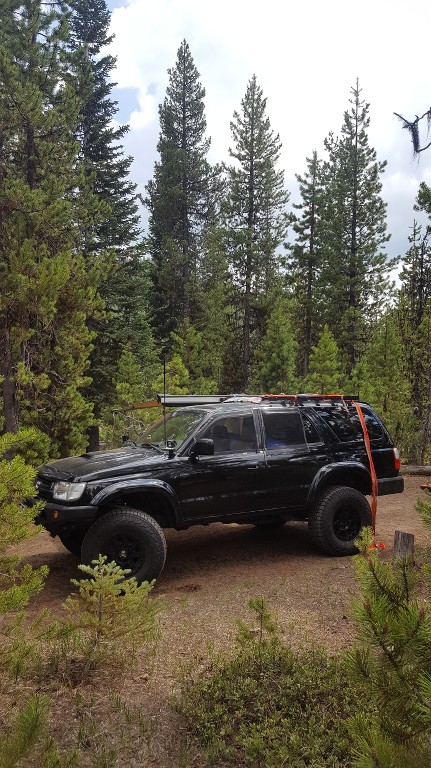
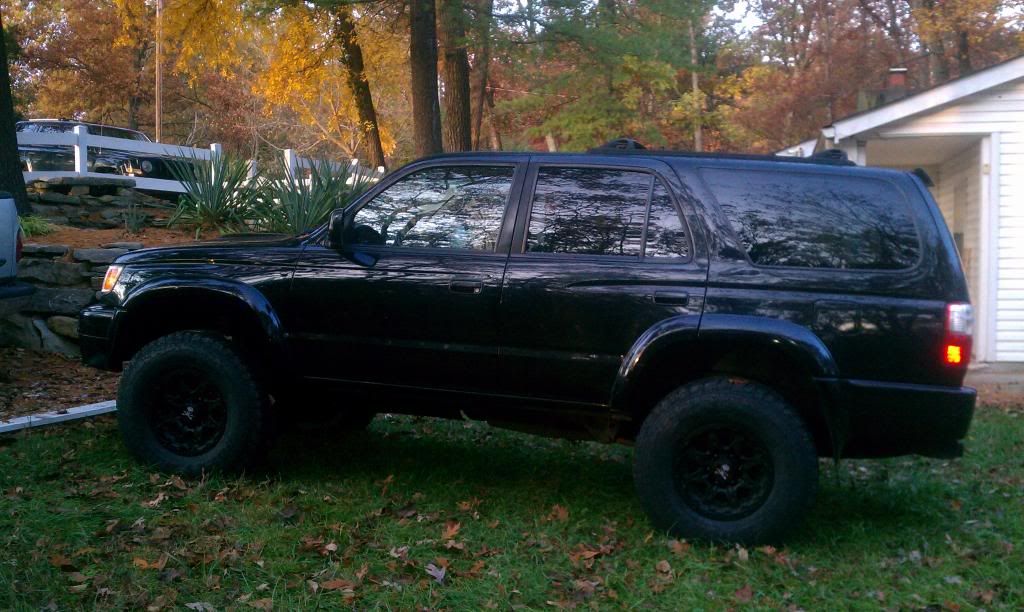
Of course when you lift something you'll need to add the shoes. Went with some American Outlaw wheels with some 285/75/16 Falken tires.
 
Last edited:
  • Like
Reactions: RoarinRow

MStudt

Rank V
Launch Member

Member II

2,268
Springfield, OR, USA
First Name
Mike
Last Name
Studt
Member #

0820

Next up was a small upgrade to the interior. We added a new head unit, and some new speakers all around.


Next up was the CB install. For the life of me I cannot remember where the mount came from, but it works. I'm also using a 3' Firestik on this with a Midland portable CB. I've also stashed away the coax fitting for those just in case times when we might need more range.


MStudt

Rank V
Launch Member

Member II

2,268
Springfield, OR, USA
First Name
Mike
Last Name
Studt
Member #

0820

Next I move on to the platform that we so badly needed.

Top is on and the openings are sanded.


Boxes in place.


The three boxes are completely removable. They can be used for seats, stools, and storage. Just need to add the hinges.


Second section is finished. I need to carpet everything and finish the drawers still.

The legs on this section are hinged to say. I used some 3/8" heim joints that I had laying around for the hinging part. I have some 3/4" round DOM that's welded into some 1" box tubing. I also welded some threaded rod into the 1" box tube that the heims bolt onto.
1 leg is and 1 leg is down.


Both legs are down.


The finished product with our sleeping pads.


Finished carpeting.
 
  • Like
Reactions: Jose and SLO Rob

MStudt

Rank V
Launch Member

Member II

2,268
Springfield, OR, USA
First Name
Mike
Last Name
Studt
Member #

0820

With the back being so dim I wanted to add some lighting to brighten things up a bit. I added a couple Eagle Eye 3w LEDs to the back hatch along with a SPST LED rocket.I need to work on the wiring still but you get the idea. There isn't a lot of room to work with on the hatch. I had to make sure that each of the three holes wouldn't contact the hatch at all. There are three grommets behind the hatch trim. I popped those grommets out, and made sure the LEDs and rocker where situated directly in the center of those holes.


Some crappy pictures, but you can see how bright they are.
 
  • Like
Reactions: SLO Rob

MStudt

Rank V
Launch Member

Member II

2,268
Springfield, OR, USA
First Name
Mike
Last Name
Studt
Member #

0820

Due to the famous pink milkshake I was fortunate enough to get the opportunity to swap my transmission. So I picked up a donor from a local guy for a pretty good price.


Next came the external cooler, temp gauge, and pillar pod.


Started by removing the interior, and that's it for the pictures. Everything went smoothly, but I didn't have a chance to get any more pictures of the work involved.


While the dash was apart I took the opportunity to swap my silver trim for the black trim set.

 
  • Like
Reactions: SLO Rob

MStudt

Rank V
Launch Member

Member II

2,268
Springfield, OR, USA
First Name
Mike
Last Name
Studt
Member #

0820

Against my better judgement I went ahead and purchased a Prinsu Design's 3/4 roof rack, and CVT awning for an upcoming trip.
Mounting was very straight forward for the rack, and only took me about 1 hour to install in it. The awning took almost as long since I had to mount it a little differently.


This was the epic road trip that we told over Christmas.
 

MStudt

Rank V
Launch Member

Member II

2,268
Springfield, OR, USA
First Name
Mike
Last Name
Studt
Member #

0820

I'm going to be doing a refresher on the entire suspension in efforts to get ready to our departure. I a little over a year we'll be hitting the road for who knows how long. This is what I'll be working on in the near future, and I'll have some more pictures to update once things start moving along. I still have some parts that I need to purchase, but I'm getting there.

The pile of parts.


Before caliper paint.


After caliper paint, and some Speed Bleeder's.


Some coilovers that I need to rebuild now that the parts are in.
 

Jhberria

Rank V
Launch Member

Pathfinder I

2,055
Lacey, WA
Great truck, man. I love the 3rd gen 4runners. Makes me miss my '96 that I made the terrible mistake of getting rid of with 225k on the odometer.
 
  • Like
Reactions: MStudt

MStudt

Rank V
Launch Member

Member II

2,268
Springfield, OR, USA
First Name
Mike
Last Name
Studt
Member #

0820

What turned you off of the Prinzu rack?
I felt like the owner lied to me honestly. I bought what he called a 3rd Gen rack, and it wasn't. I was supposed to come out with one before Christmas, and still doesn't have one out. Instead of telling me the truth about the rack he just sent me a Tacoma rack that was intended to mount on the bed. The only difference was that he included some different mounts. Plus, knowing what I know about fabricating I can tell that he's got around a 100%+ mark-up on his racks. Don't get me wrong though it is a nice rack. But it's not worth the price tag, and I can see that after having one.
 
  • Like
Reactions: SLO Rob

MStudt

Rank V
Launch Member

Member II

2,268
Springfield, OR, USA
First Name
Mike
Last Name
Studt
Member #

0820

Thursday on my way home the steering wheel started shaking violently, and then I heard a loud pop. I was able to limp home, but don't think I should have. When I got home I found a busted passenger CV, and half the ball bearings were missing. I was able to pull the CV, and this is what I found. Note that this picture was taken after I cleaned the shaft, and degreased it.


With having one CV now toast, and I'm sure the other is right behind. I decided to go ahead with the front end rebuild starting today. This is something that I already had planned on doing just not this soon. I had everything on hand that I needed for the complete front end rebuild with the exception of the CV's, and the UBJ's. After a quick trip to Napa I had those parts coming, and they'd be in by 2:00. After getting the passenger side completely pulled apart I found something that I was not happy about.

For everybody that considers replacing LBJ's with something other the OEM you might want to take note. I replaced my LBJ's in July of 2014 with some Napa LBJ's. With about 18 months of being on the vehicle, and about 12,000 miles they were toast. The boots were in perfect condition, and none of the grease had leaked out. However, that LBJ's were dry as a bone. I could hardly move them hand, and when I did you could hear the grinding. That being said I will be running OEM from this point on. I also found that UBJ's, and TRE's were toast. I'm replacing the UBJ's, innner TRE's, and outter TRE's with Senki 555's that I picked up from Low Range.

This is the list of what I'm replacing:
UCA's w/OEM bushings
UBJ's
LCA's w/Whiteline bushings
LBJ's
New Cam Bolts
Inner TRE's
Outter TRE's
Rubber boots
Sway bar links
Spindles w/OEM bearings
CV shafts

Here's the progress so far.


MStudt

Rank V
Launch Member

Member II

2,268
Springfield, OR, USA
First Name
Mike
Last Name
Studt
Member #

0820

This past weekend I was able to continue on the front end. It's been a long time coming, but I finally got a much needed face lift. I'm also getting ready to start my Satoshi mod.

I took the entire front end off to access the rust. It wasn't as bad as I thought, and I was able to remove all the bolts with not issues. The bumper, and horns have been removed.


All cleaned up, and the new horns installed.


The new 4xInnovations bumper installed with Rigid Dually's.


Crispy

Rank VI
Launch Member

Influencer II

3,921
Redmond, OR, USA
First Name
Nick
Last Name
Crisp
Member #

1158

I really like how your new front bumper turned out. Would you happen to know the weight of it?
 

Crispy

Rank VI
Launch Member

Influencer II

3,921
Redmond, OR, USA
First Name
Nick
Last Name
Crisp
Member #

1158

If I had to guess I'd say about 70lbs. It was a bit lighter than I thought it would be.
Thanks. I like how inconspicuous it is, plus it looks lighter than Shrockworks. I'm trying to retain some mpg. Hahaha! I'll have to check their site for 4th Gen bumpers like that.
 

MStudt

Rank V
Launch Member

Member II

2,268
Springfield, OR, USA
First Name
Mike
Last Name
Studt
Member #

0820

Thanks. I like how inconspicuous it is, plus it looks lighter than Shrockworks. I'm trying to retain some mpg. Hahaha! I'll have to check their site for 4th Gen bumpers like that.
Unfortunately I don't think they have a 4th Gen available yet. If I hadn't receive such a great deal on the this I would have gone with Addicted Offroad's Plate bumper. They make them for a 4th Gen, and weight is very comparable.
 

Crispy

Rank VI
Launch Member

Influencer II

3,921
Redmond, OR, USA
First Name
Nick
Last Name
Crisp
Member #

1158

Unfortunately I don't think they have a 4th Gen available yet. If I hadn't receive such a great deal on the this I would have gone with Addicted Offroad's Plate bumper. They make them for a 4th Gen, and weight is very comparable.
You're right. I couldn't find one from 4xInnovations. The Addicted Offroad's bumper isn't doing it for me. Maybe I can be 4xInnovations guinea pig and start fabricating 4th Gen bumpers. Hahaha!