M715 Adventure Rig

  • HTML tutorial

joe.schigel

Rank IV

Enthusiast III

1,212
Detroit, MI
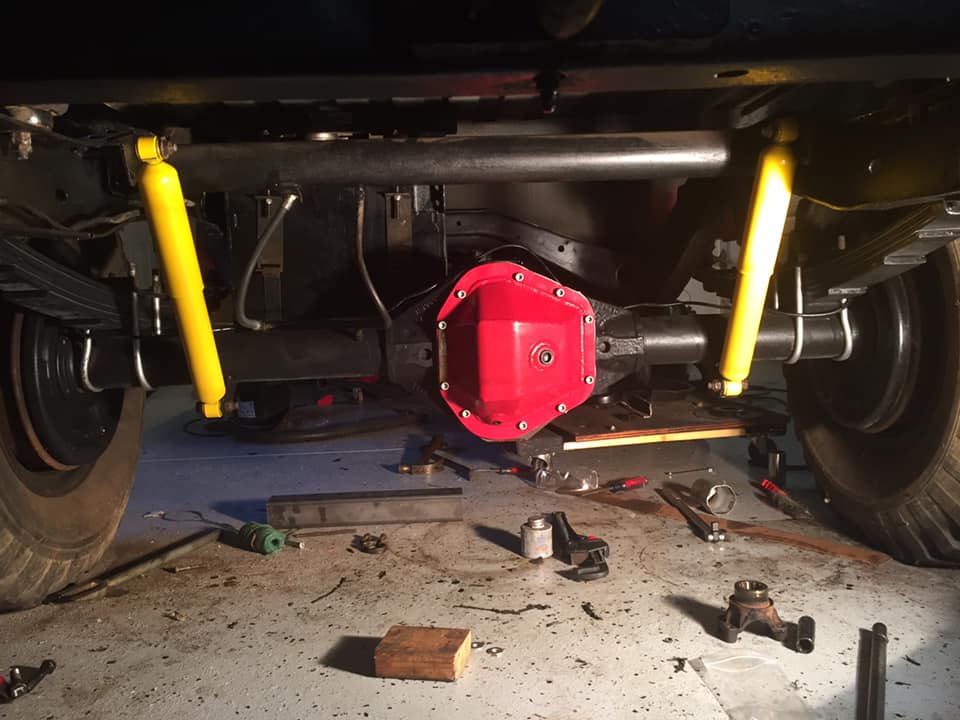
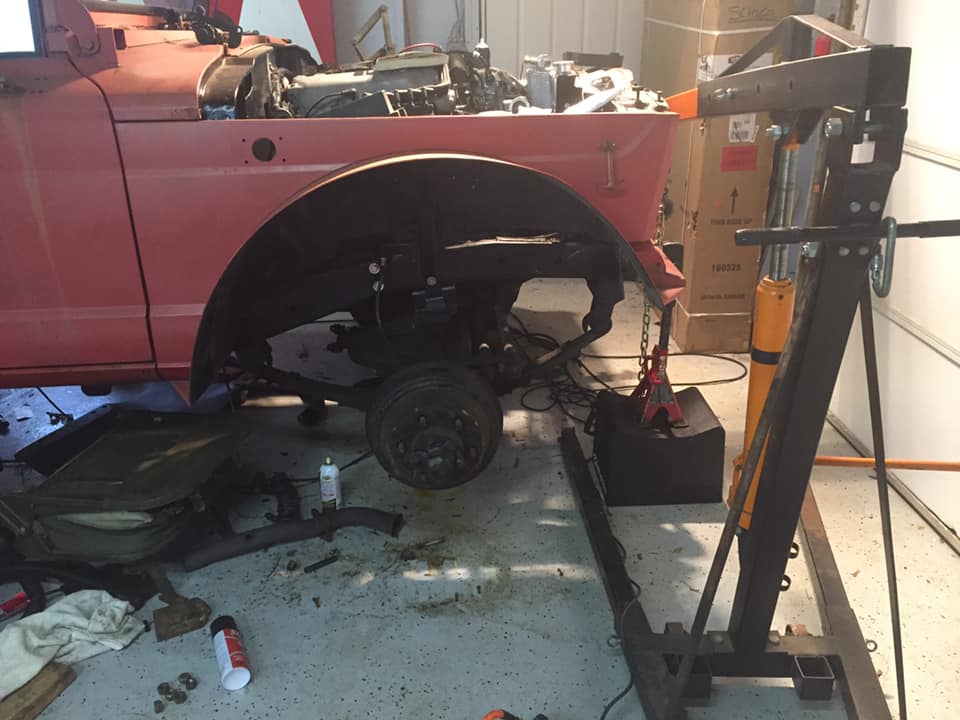
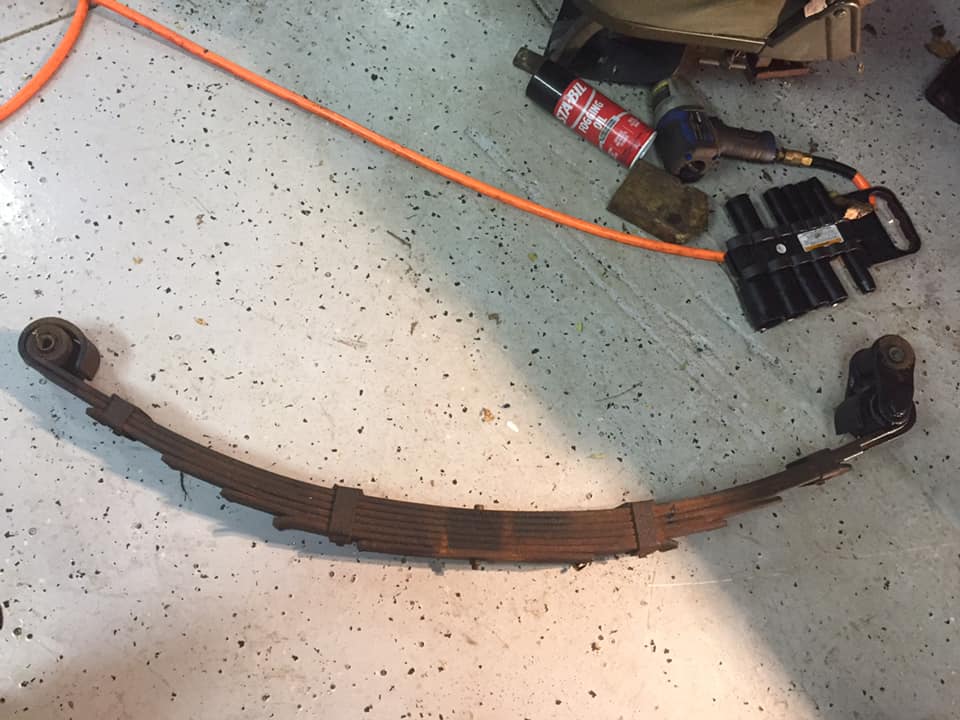
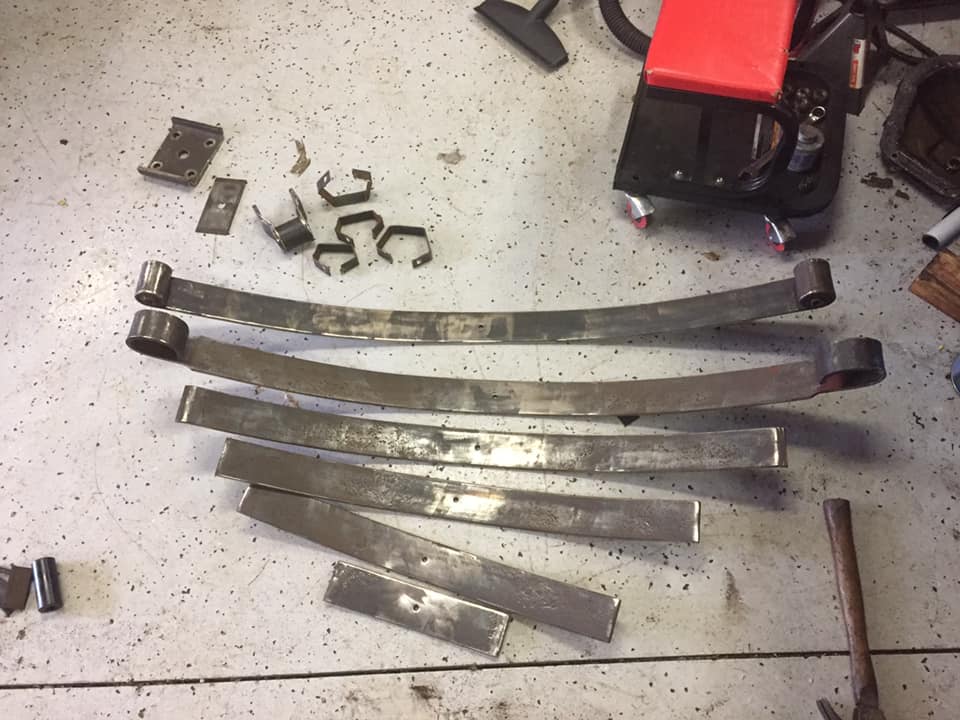
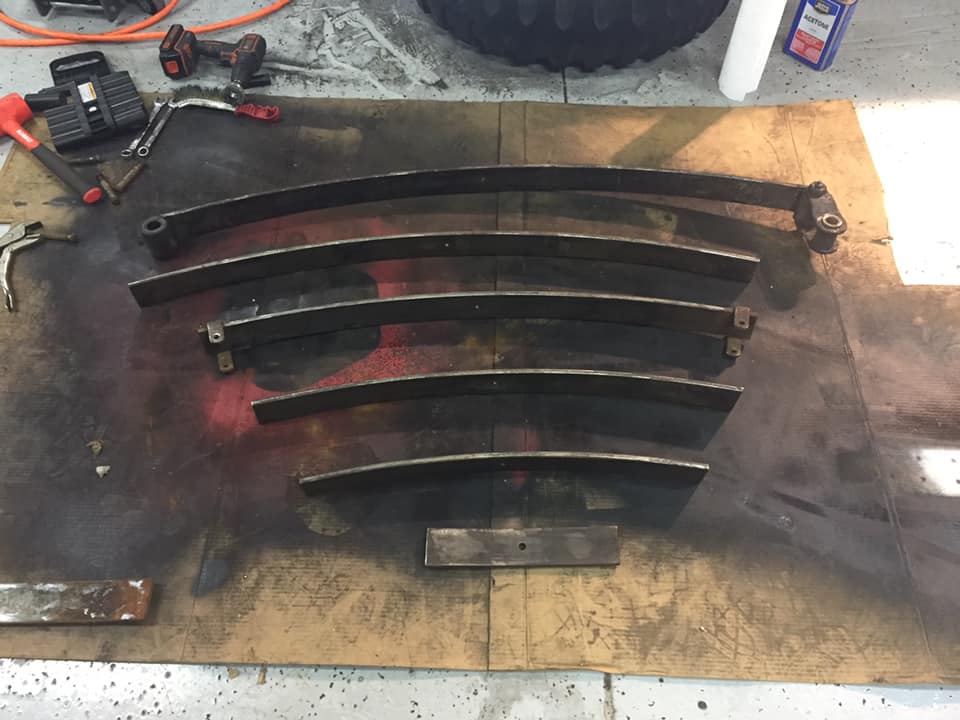
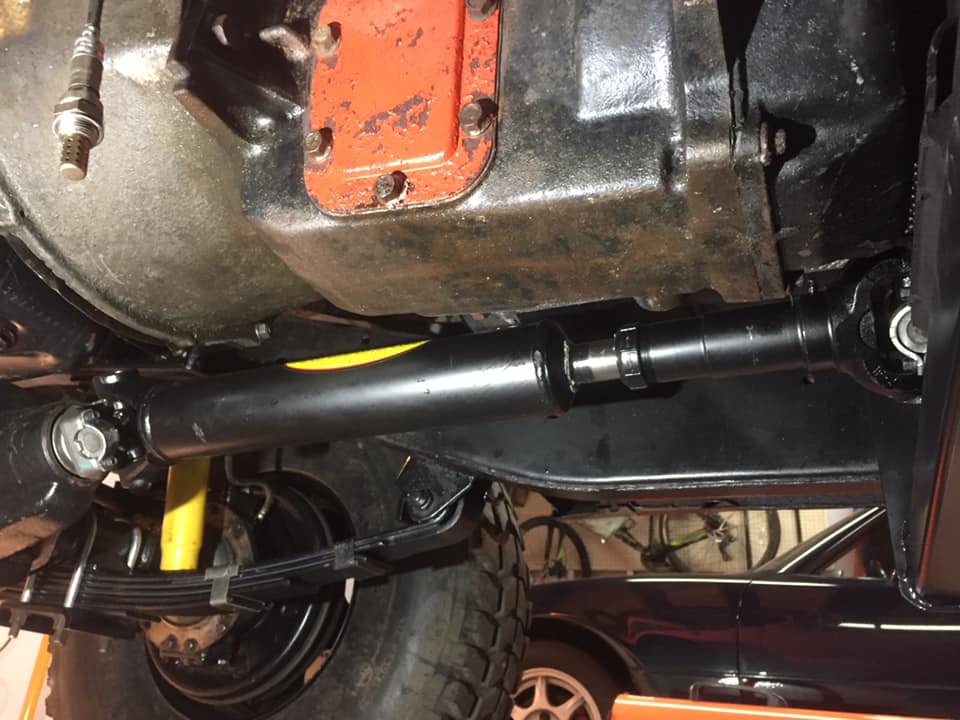
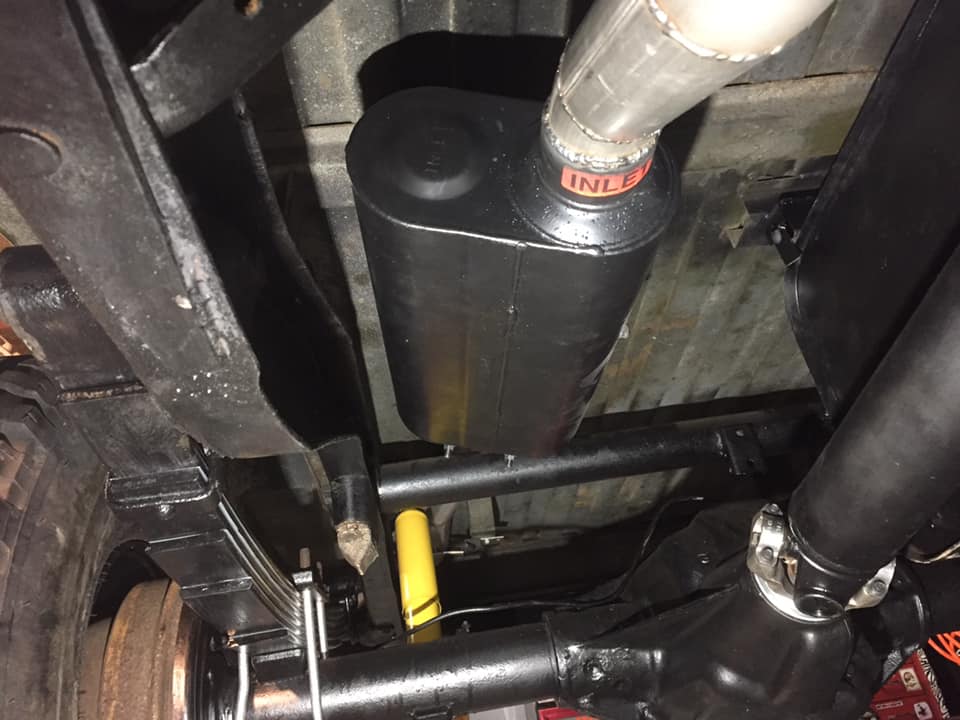
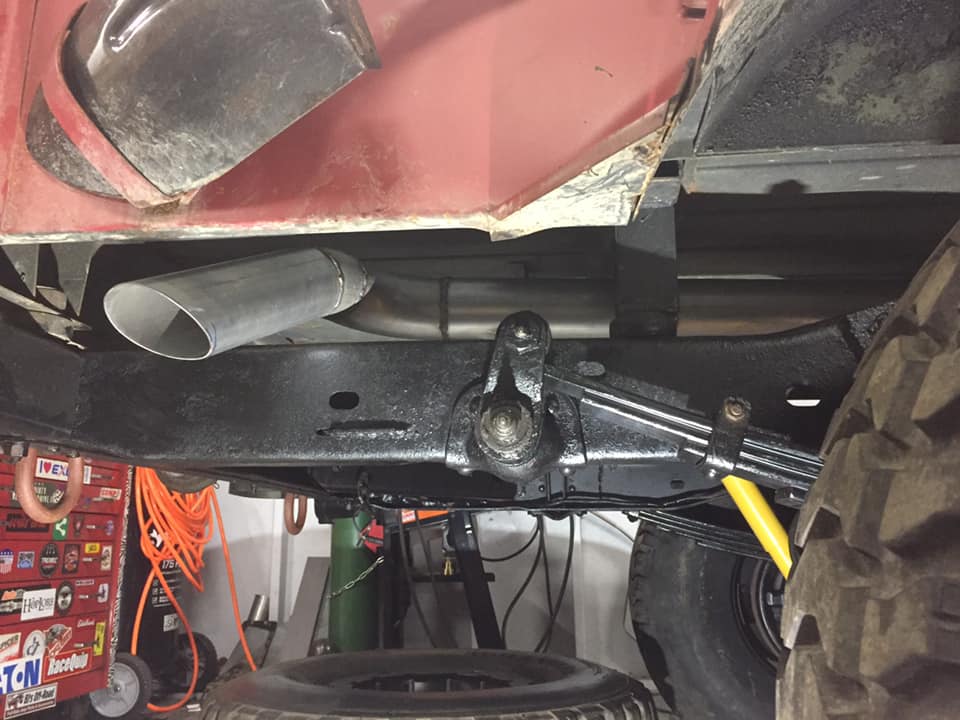
Ok, so I got the rear leafs back together and the shocks installed. It looks really good and now the rear of the truck moves a bit when you put weight on it!


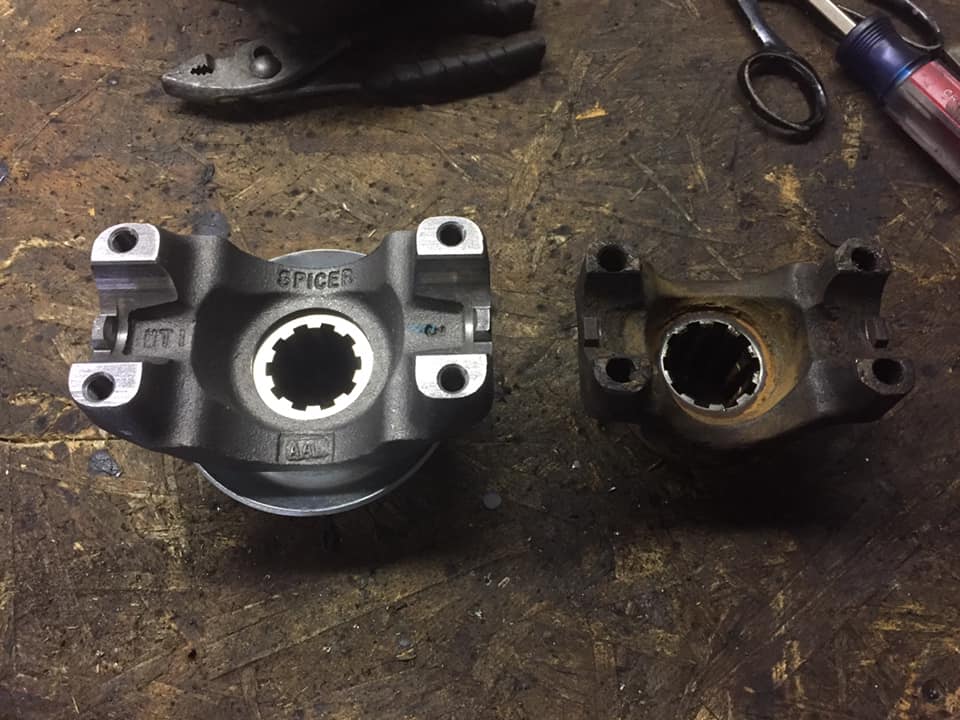
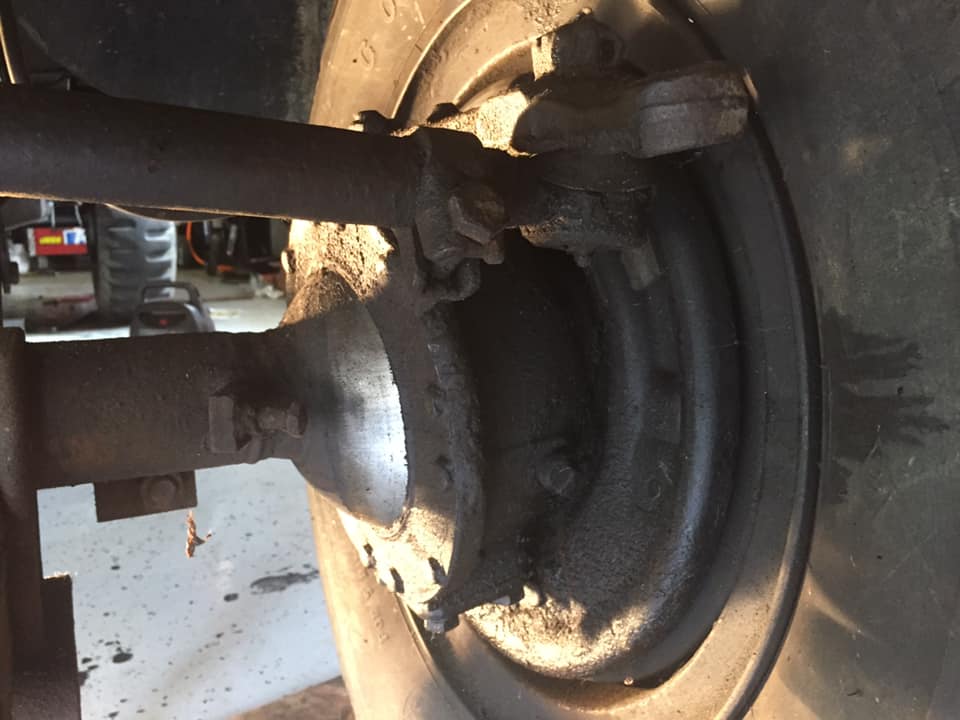
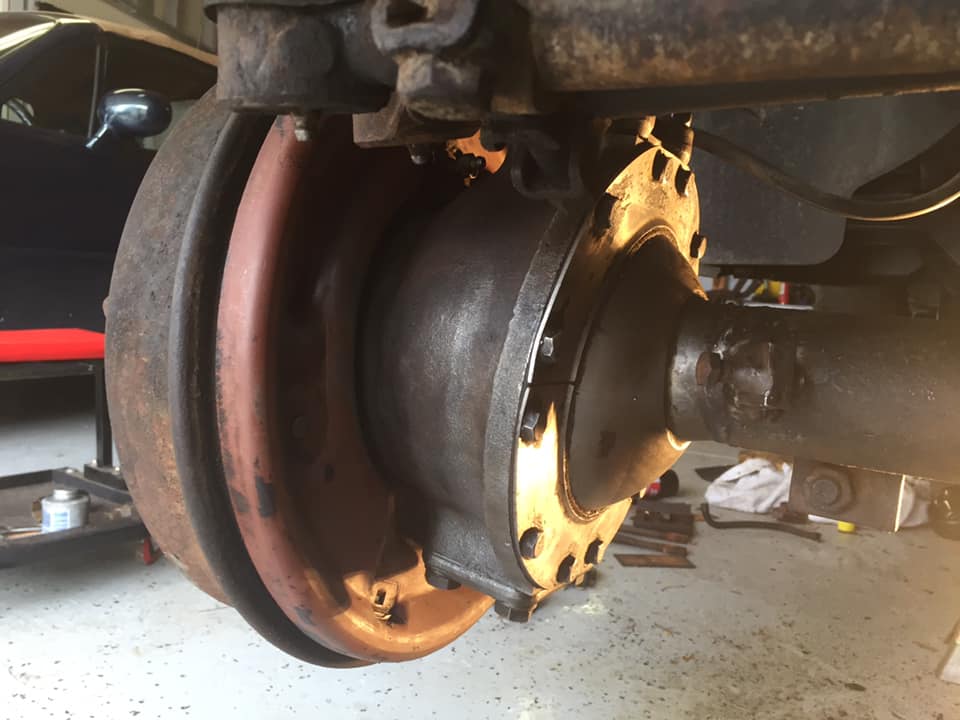
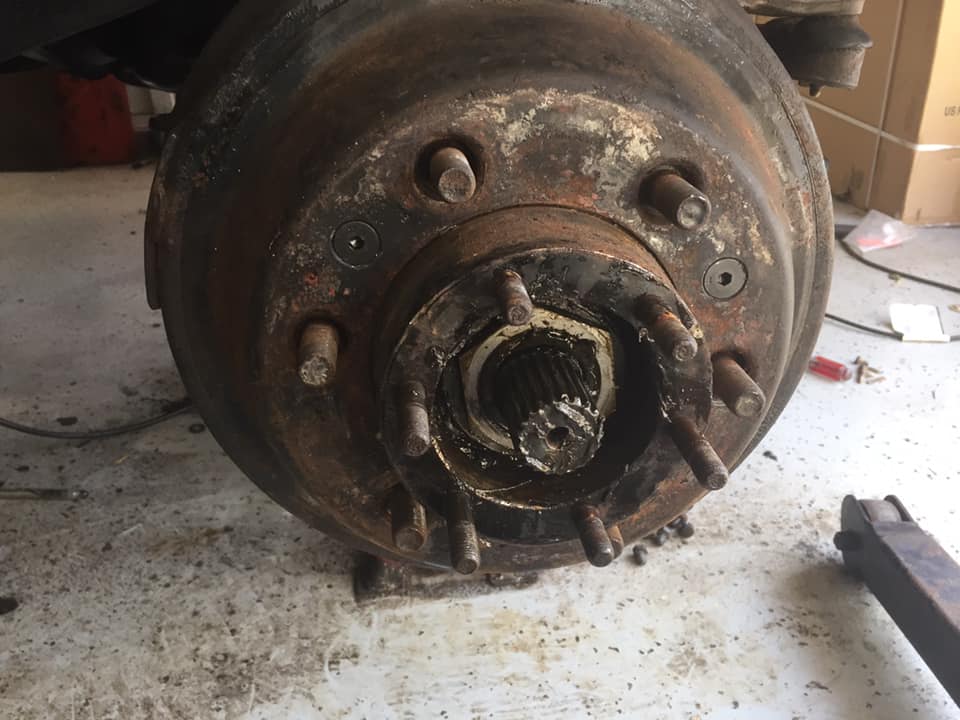
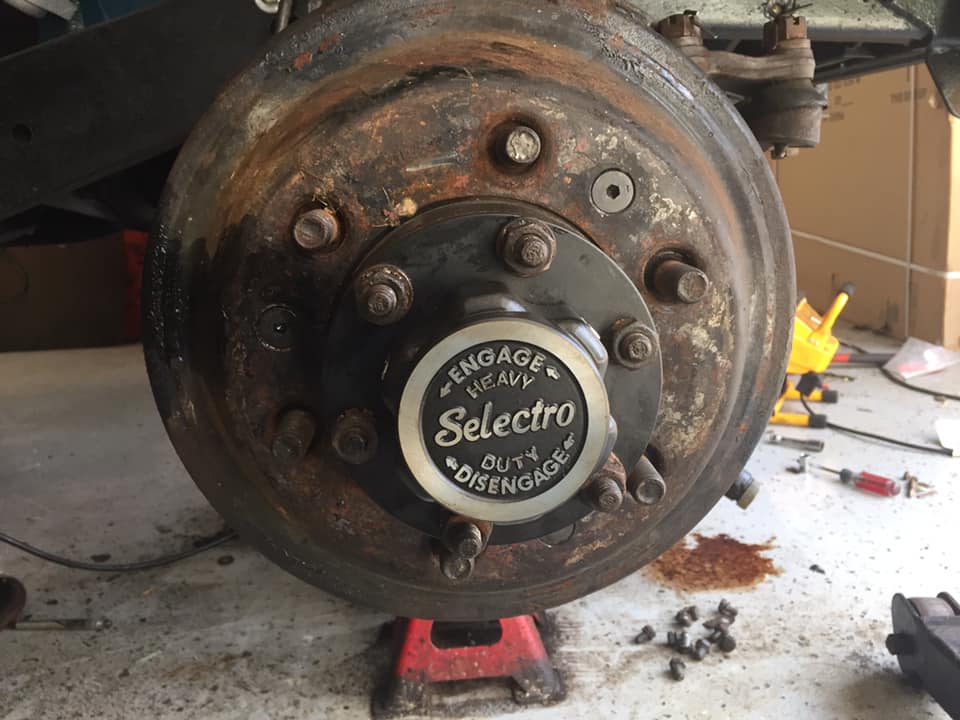
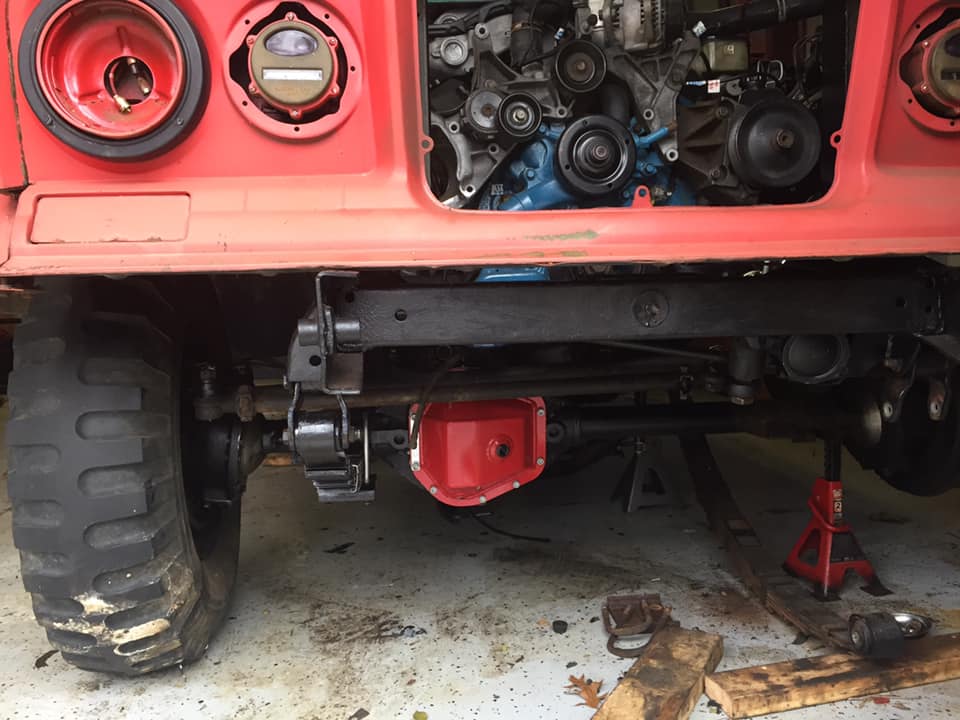
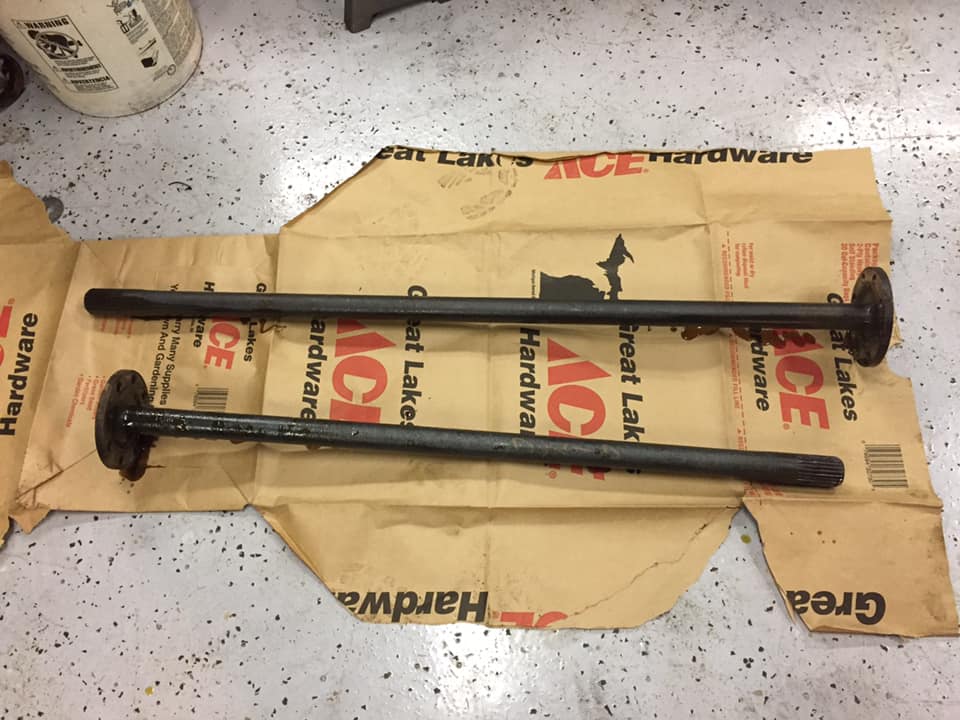
From here, I started to take the axle apart so I can install my Detroit locker and 1410 pinion (thanks to Treepusher's install guide). When removing the hub nuts from the studs, a handful of them pulled out. Oh well.


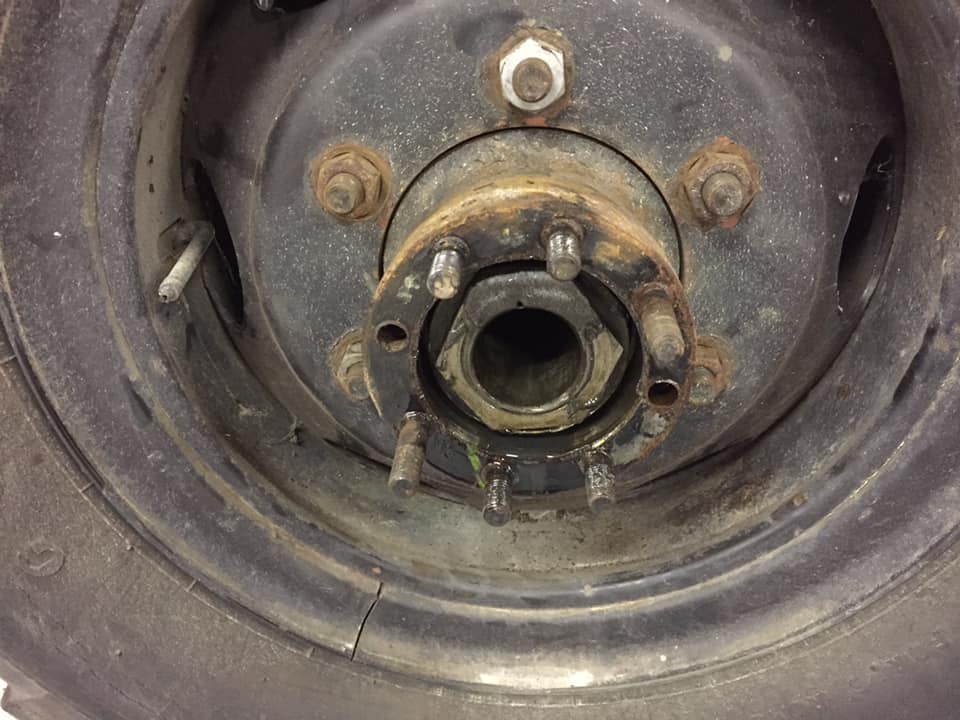
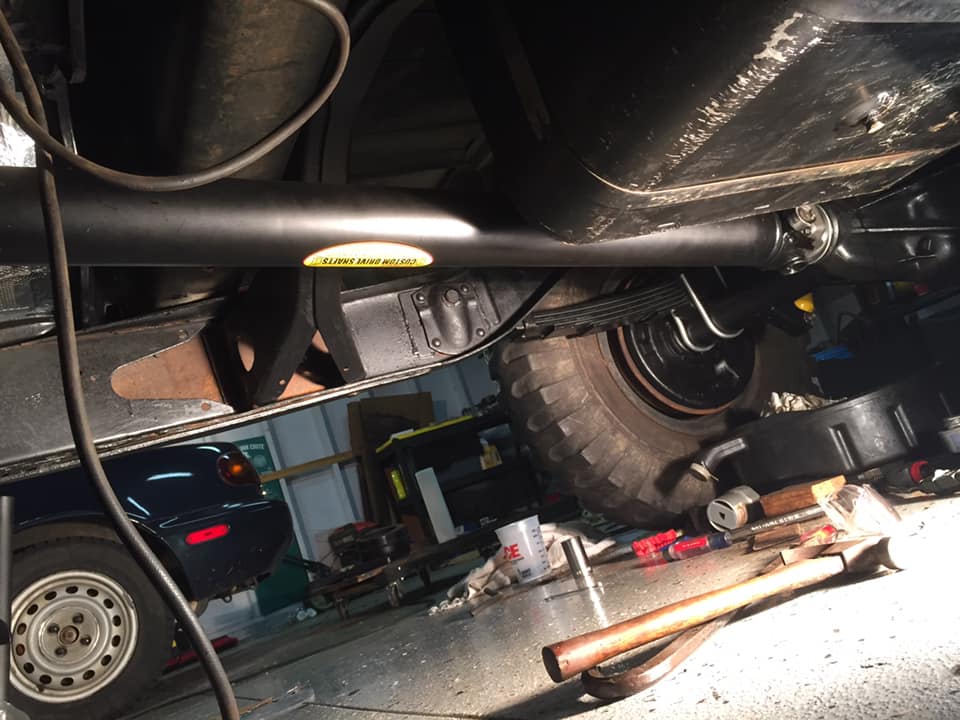
Other than that, I had just enough room between the truck and the garage wall to remove the shafts.


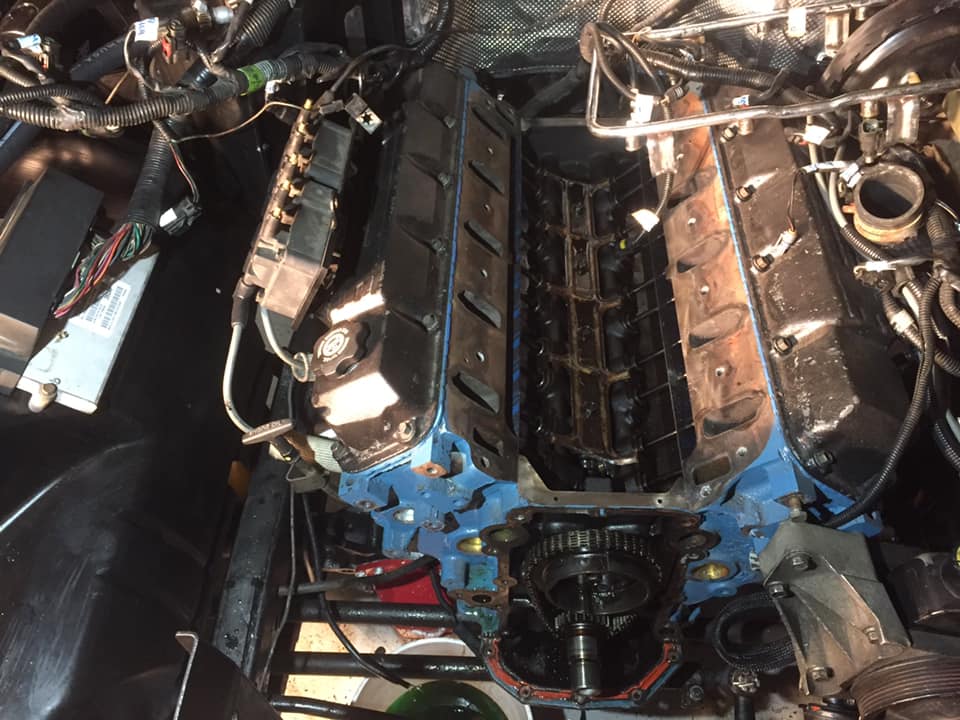
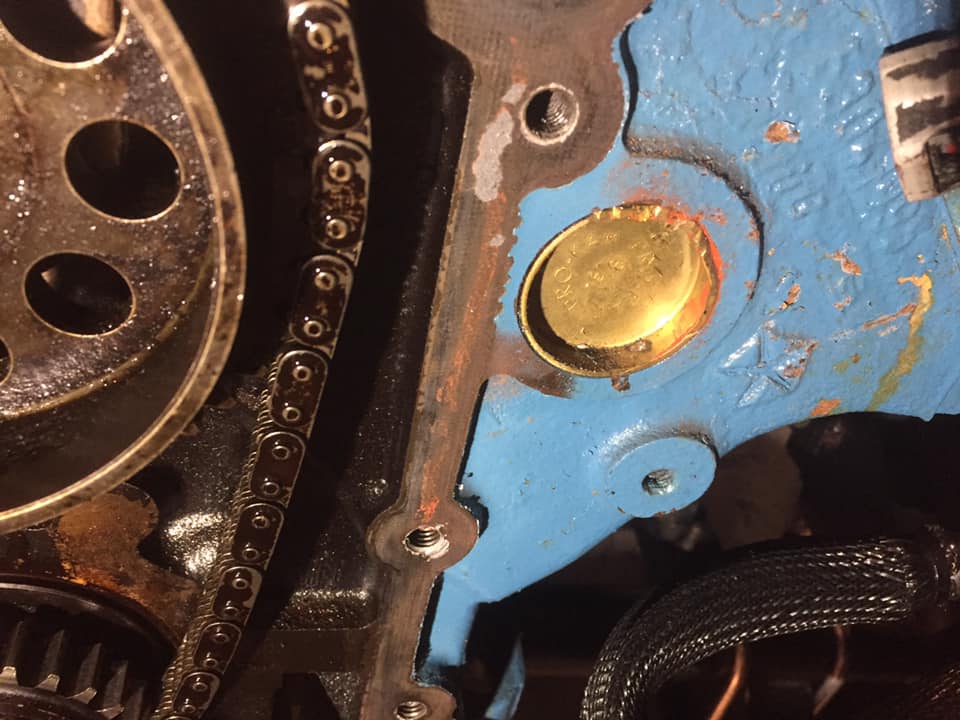
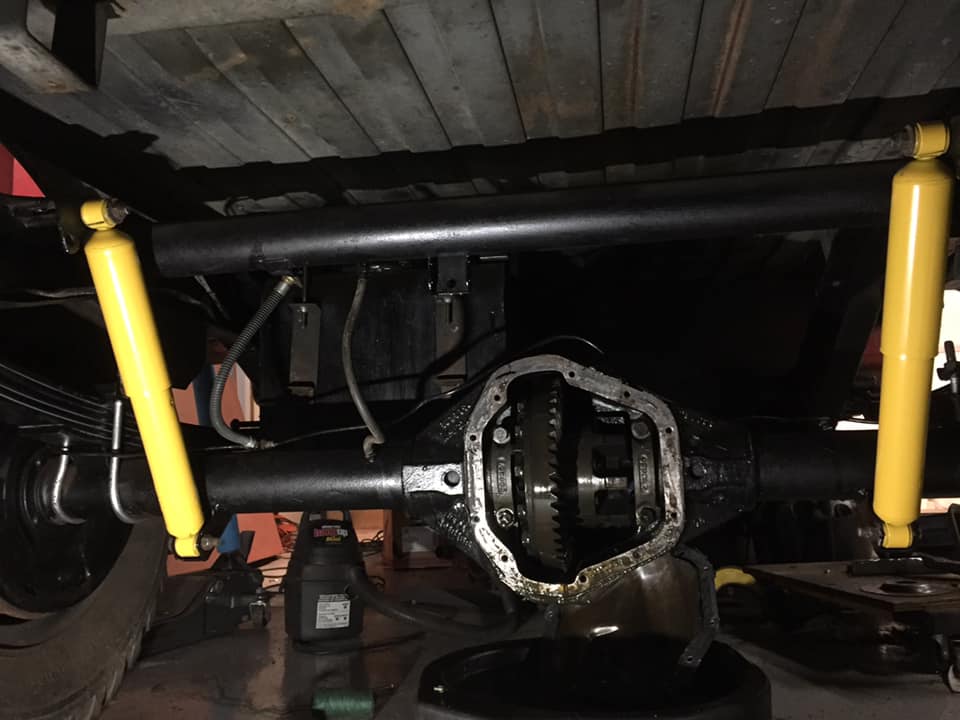
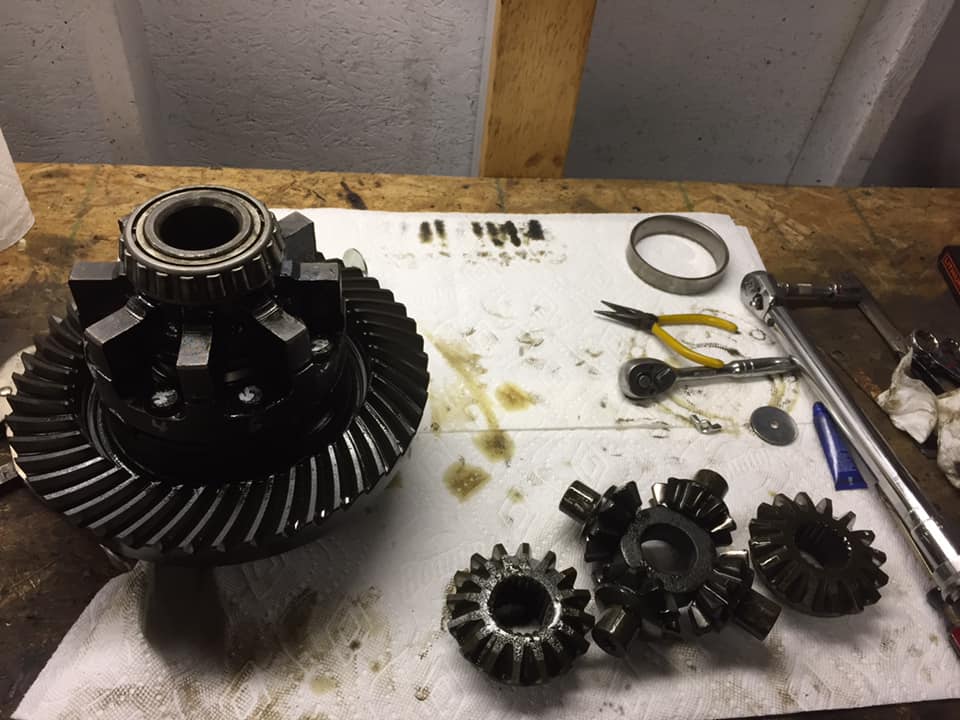
Pulling the diff was easy enough (crowbar and plywood against a ring gear bolt) as was removing the spider gears. I labelled all the bolts from the case just to make sure everything goes back exactly where it came out of.


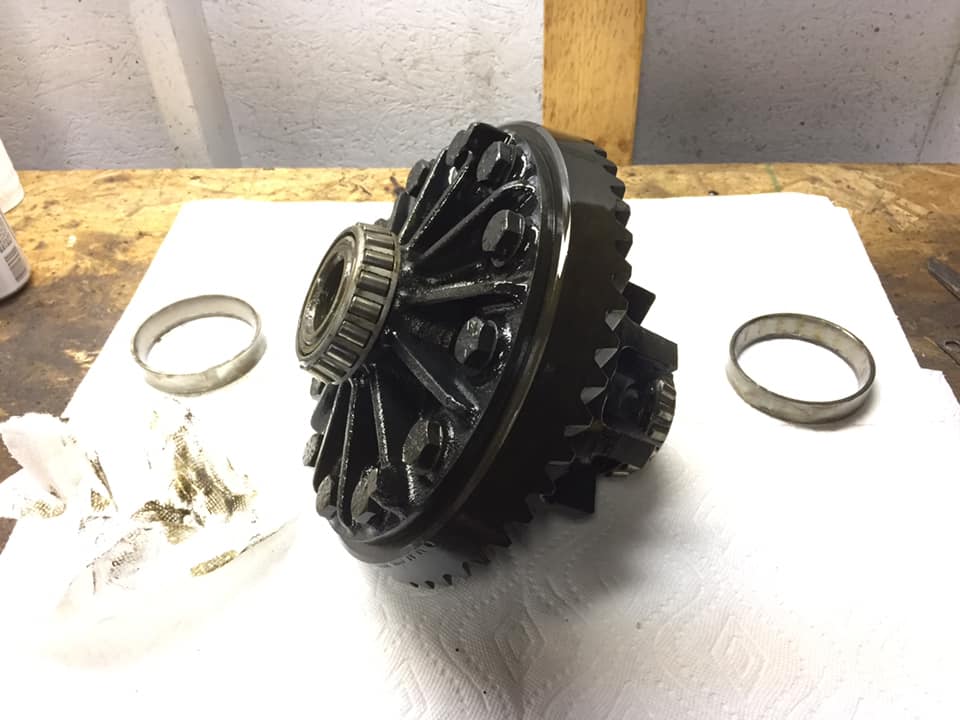
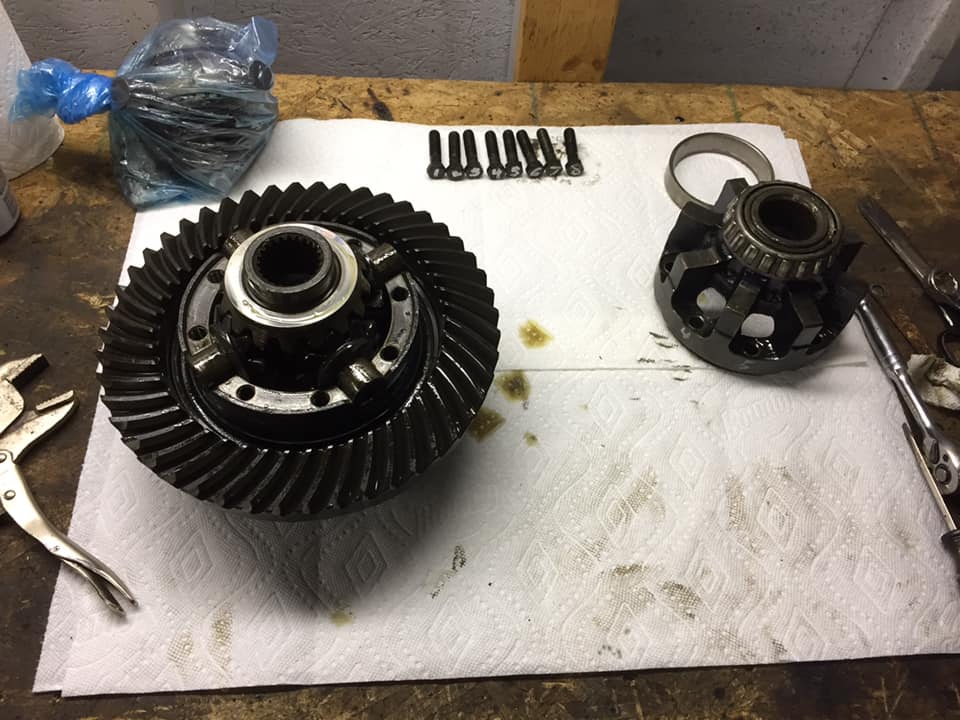
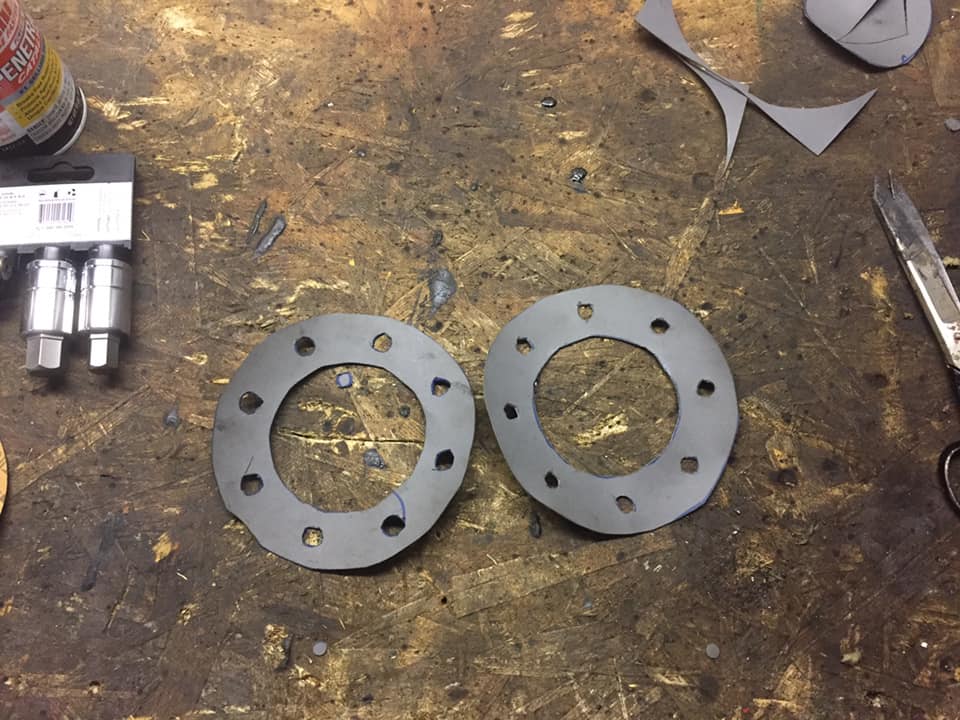
I initially reused the thrust shims from the back of the spider gears with the locker since they weren't expressly mentioned in the instructions. I decided to call Eaton today and they told me to NOT use those shims. It would cause extremely premature failure. So out they came.


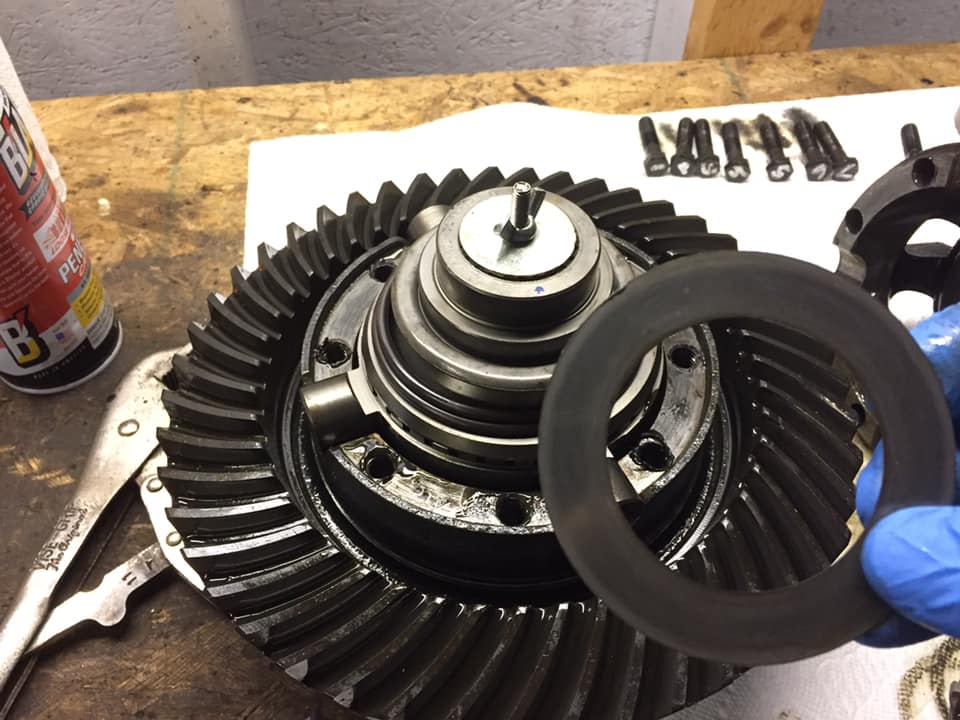
Now the diff is ready to go back in. Just waiting on new carrier bearing bolts.


joe.schigel

Rank IV

Enthusiast III

1,212
Detroit, MI
Alright, after a busy week, I finally got the rear end back together! Switching out the pinions was easy enough but cutting gaskets for the axle hubs and reinstalling the studs that pulled out took time. But it's finally together!


Hopefully the 10 spine pinions can hold up to the V10 torque. I also added a 1/4" plate diff cover for some added protection. I was hoping for a darker red but oh well, this will work. The rear driveshaft went in easily as well!


I've now moved onto the front axle. I got the driver's side spring out but I need to figure out how to degrease the axle enough to paint it.


Once I do that, I'll add the lock out hubs, 1410 pinion yoke, and 1/4" diff cover. I'm going to remove the #2 leaf up here as well. Hopefully I can make good progress this week.
 
  • Like
Reactions: MazeVX

joe.schigel

Rank IV

Enthusiast III

1,212
Detroit, MI
Alright, so the advantage of Thanksgiving is it allowed me to take the week off! Which means lots of work to do on the truck. Yesterday I took the seats out to get reupholstered. We'll see how they look when they come back wrapped in leather that's like an old baseball glove!


Today I focused on the front axle cleanup effort. After hours of wire wheeling, degreaser, and acetone, I was able to clean up the front axle enough to have the paint stick well. This stuff was grotë.

before:


after:


After cleaning the axle, I broke apart the passenger side leaf back so I could knock all the rust off of them. I'm leaving leaf #2 out of these packs as well. we'll see how the truck likes it.


So tomorrow, I'll paint everything that's cleaned and think about changing out the pinion yoke. Then switch to the driver's side to do the same thing.
 

joe.schigel

Rank IV

Enthusiast III

1,212
Detroit, MI
While waiting on my chassis paint to arrive, I swapped out the front axle drive flanges for the lockout hubs. It went really easy and I only pulled 3/12 studs! I didn't change out the tall studs or trim them, I'll leave them for now. They're not that big of a problem at the moment.


I was able to get the axle and leaf springs painted today so while waiting on that to dry I turned my attention to my door panels (since the GF is in town and can help. Plus I want to get her involved in the truck). I've been acquiring the material for the past two weeks. When I removed the passenger door panel, I found a large mouse nest. I'm not even sure how it got in there...


I used some fleece for "stuffing" and a "home decor" plaid for the panels. I think the first one turned out really nice!


carefully trimming...


1st panel done!


And installed to see what it looks like! I love it!
 

joe.schigel

Rank IV

Enthusiast III

1,212
Detroit, MI
Alright, so I'm a little late to posting this but it's been a busy couple of weeks. I was able to get the front axle 80% finished but when removing one of the eye bolts for the driver's side leaf spring, the spring pack fell and crushed my finger. Between doing that and traveling for work, I haven't been able to work on the 715. But here are the last pics before I started traveling.

The first is the axle. I have the lock out hubs done, 90% of the axle painted, armored diff cover installed, and driver's side spring pack 90% removed.


All that's left do do is clean/paint the spring pack and axle then bolt back together and it will be good to go.

I also got my badge in for the grille and was able to paint it. I spent a couple hours sanding the grille and I think it turned out well. Not perfect, but good enough for what I'm capable of. I held it in place on the truck and found out my repop piece only lines up 2/6 mount locations. I'm going to have to get a bit creative.


I choose the Rumble Bee from a Scat Pack since this truck has significantly more power than it would have originally and I have lost count of how many wasps and wasp nests I've found in this thing. I think there are still some paper wasp nest piece stuck in the bed. I figured it was fitting.


So next up is to finish the front axle, get the grille mounted, finish plumbing the cooling system, mount radiator fan, fab exhaust, throttle cable, tcase linkage, p-brake linkage, wiring, fluids, then test drive! Also, my new wheels and tires are on the way and hopefully I'll have them early next year. 37's on re-purposed Humvee wheels from Trailworthy Fab.
 
  • Like
Reactions: MazeVX

joe.schigel

Rank IV

Enthusiast III

1,212
Detroit, MI
Well, I hate to do this but for some reason when I try to post updates, the forum is telling me "content not allowed". So, here's my last attempt, I'm linking my build thread on the 715 forum for you guys to check out.
Project: In over my head (again) - Page 19 - M715 Zone
Over break I got my new 37's, made huge progress on the wiring and fuel system, and was able to bed line the cab! So check out the link if you want to see the pics.
 

WAYAWAY

Rank V
Launch Member

Member III

1,473
San Diego, CA
First Name
Joe
Last Name
P
Member #

20487


After the paint dries, I'll keep spring #2 out to see how much that softens up the ride. I've got new spring clips and some leaf spring insert material to hopefully reduce friction between the leafs and allow the suspension to flex a bit more. While I waited on the leafs to dry, I cleaned and painted the rear end.
I had a 1959 Apache pickup.. we removed the #2 leaf to lower it. The ride difference was amazing. It was still an old pickup, but it no longer felt like the axles were welded to the frame.
 

tjZ06

Rank V
Launch Member

Advocate I

2,268
Las Vegas/Palo Alto
First Name
mynameisntallowed
Last Name
Adams
Member #

20043

Awesome build, that thing is so neat! Long-term, once you have it on the road for a while and see where things stand I bet you can improve the ride some by playing more with shocks, maybe even some custom IBP shocks. I don't know what your planned use-case for it is, but assuming it can involve long days in the saddle, the ride quality can make a big difference in how usable it really is.

-TJ
 

joe.schigel

Rank IV

Enthusiast III

1,212
Detroit, MI
Awesome build, that thing is so neat! Long-term, once you have it on the road for a while and see where things stand I bet you can improve the ride some by playing more with shocks, maybe even some custom IBP shocks. I don't know what your planned use-case for it is, but assuming it can involve long days in the saddle, the ride quality can make a big difference in how usable it really is.

-TJ
For sure. I actually work for a shock manufacturer as a ride engineer. but my goal right now is just to get on the road. I think if I built myself a set of parts, I would be endlessly tuning them.
 
  • Like
Reactions: WAYAWAY

joe.schigel

Rank IV

Enthusiast III

1,212
Detroit, MI
So I've been making good progress the past couple days and my list is getting shorter!


I've also got my large pile of mostly exhaust parts so I think I have a solid shot at test driving the truck in the next 2 weeks!


I went to my buddy's place and had him modify the outlet on the radiator to work better in the engine bay. We shortened the outlet and increased the diameter to match the engine side. After that, I installed the radiator for the final time as well as the cooling fan! It turned out how I had hoped and it's not super obvious that there's an aftermarket radiator/fan combo behind the grille.


After that, I focused on getting the hoses hooked up and serpentine belt installed. After a bit of measuring, cutting hoses, realizing I measured wrong, and repeating the cycle a few time, I got it all in and filled! The lower hose was a pain since it's so tight and is a very large diameter hose (2").


I was also able to reuse my canteen overflow tank! Hopefully it holds enough fluid for this application. Speaking of, this engine took 5.5 GALLONS of coolant. I didn't expect that much at all. Hopefully it can stay cool and I don't get any leaks.

After all that, I was able to install the correct pinion yoke and install the new driveshaft! The clearance to the trans bell housing is a bit tighter than I'd like so I'll keep an eye and ear out for any "self clearancing" that may happen.


Last but not least, a teaser of my audio system plans! My marine head unit and speakers came in today. I'll get to them a little later. Probably after the windshield wipers and test drive.


Final note, here's how she's sitting currently. Almost ready to go!


M Rose

Local Expert
Mod Team
Member

Advocate III

5,584
Northeast Oregon, United States
First Name
Michael
Last Name
Rose
Member #

20990

Ham/GMRS Callsign
W7FSB
Service Branch
US ARMY Retired
@joe.schigel nice looking M715. I’ve always been a fan of these old military trucks. They make awesome Overland adventure machines. Your build quality amazes me. Again Nice work and keep it up. You’re almost there.
 
  • Like
Reactions: joe.schigel

joe.schigel

Rank IV

Enthusiast III

1,212
Detroit, MI
So the back half of this week was a bit of a roller coaster of emotions. Thursday I received my official Easter Jeep Safari guide book and registered for the event. I was getting excited reading through it and picturing what we'll get to do as well as adding some things to my build list to satisfy Utah road rules. After that, my friend (John) came over to help fabricate the exhaust for the truck. We went out to the garage and I discovered coolant on the floor under the engine... I really hoped it was from a hose but it wasn't. It looked like it was leaking from a freeze plug on the front of the engine as well from under the intake plenum... And the freeze plug is conveniently blocked by the timing cover so that has to be removed...
So after going through the five stages of grief in as many minutes, we got to work. John started on the exhaust while I tore into the engine. Everything came apart easily since I just put it all together and I've been anti-seizing what I can. So now the engine is sitting apart while I wait for new gaskets to arrive.


Here you can see the suspect freeze plug. I tried to install it two years ago with the timing cover on and that clearly didn't work.


On the plus side, as of last night, we have the whole exhaust welded together it just needs to be assembled onto the truck.

(I only have a pic of the front section at the moment)


While I was waiting on John to weld the tailpipe, I installed my electric wiper motors that I got from Tom's Bronco Parts. I think they look very appropriate and they seem solid. I was worried that they might be on the cheap side but they look stout.


The plan now is to reassemble the engine early next week, assemble the exhaust, wire in the wiper motors, install my windshield sprayer system, wire the gauges, install my stereo, etc etc. I still have 3 weeks to work on the truck before work takes me away from it again but I think I can still make EJS!
 
  • Like
Reactions: kdm42089

joe.schigel

Rank IV

Enthusiast III

1,212
Detroit, MI
Ok, We've been hard at work on the truck and we've made better than expected progress! Even cooler, we made a video of ourselves and we're going to try to keep making updates as we go. Check it out!


So here's how it all went down. I was able to get the timing cover apart and replace the freeze plug on the front as well as a new gasket!


Next was the intake manifold gasket. I got new Felpro ones and used silicone on both sides and a bit more in the corners to try to prevent any more coolant leaks.


At that point I was able to reassemble the engine and let the silicone set overnight.


The next day, I pressure tested the cooling system and found an additional leak from the thermostat gasket. I pulled the housing and found some debris. So I cleaned it, put a little more silicone down for good measure and reinstalled it. At that point, we had no more coolant leaks. At least not coolant leaks...

Apparently when I reinstalled the fuel rail I tore an o-ring pretty badly. Bad enough that when I primed the system, fuel started spraying out everywhere... Oops. So the upper intake manifold had to come back off so I could replace the o ring(s).


While all this was going on, my buddy John was working on the exhaust. We were able to get all of it setup easily enough. It's 2.25" from the factory downpipes to a Y-pipe. There it goes to 3" and a high-flow cat and onto a Flowmaster 70 series muffler. It all looks pretty sweet and I like how we did the tailpipe.


After all this, we were ready to fire up the engine and hear how it sounded! Plugged everything in, filled all the fluids, annnnd crank but no start... Awesome. Plugged in my code reader and saw that the ECU wasn't receiving voltage. So after a bit of trouble shooting, we found that I blew a fuse. I think I accidentally shorted the system when unplugging the alternator (I was lazy and didn't unplug the battery. don't do that kids). Oops. After that, we were able to run the engine! The truck sounds good for a large displacement V10! I'll have a video soon of the exhaust and hopefully a test drive soon!