J
Jonovision
Guest
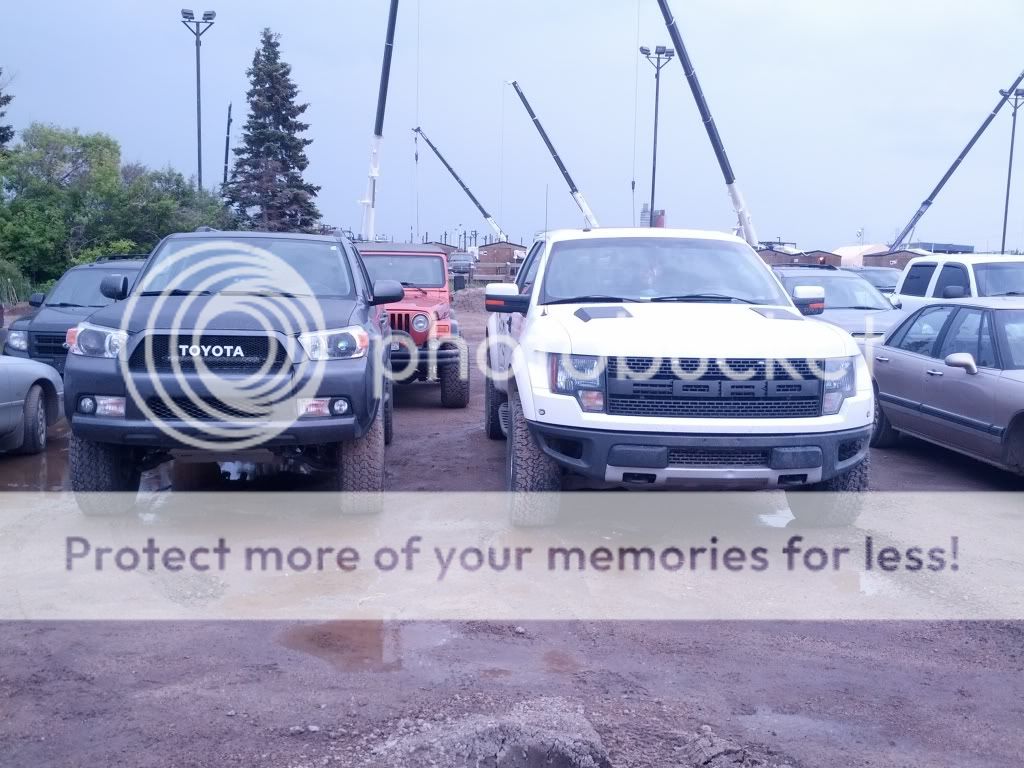
2012 Toyota 4Runner SR5 w/ Upgrade Package (Canada)
delivery day, july '12...

and it didn't take long to for things to go sharply downhill from there. As it sits today (Nov/16)...
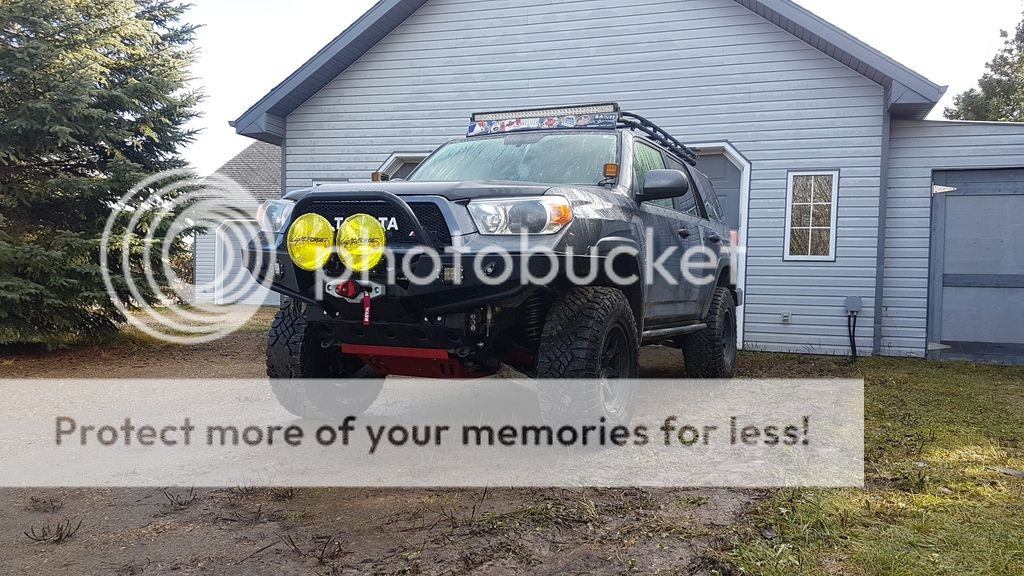
mods to date...
suspension
front
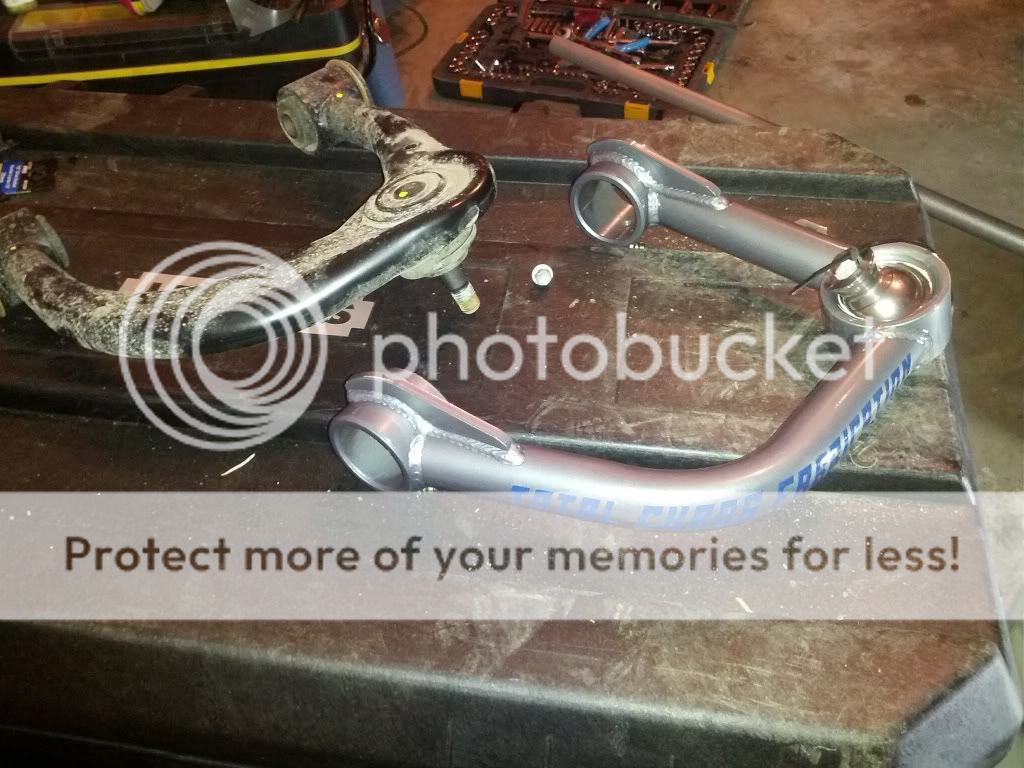
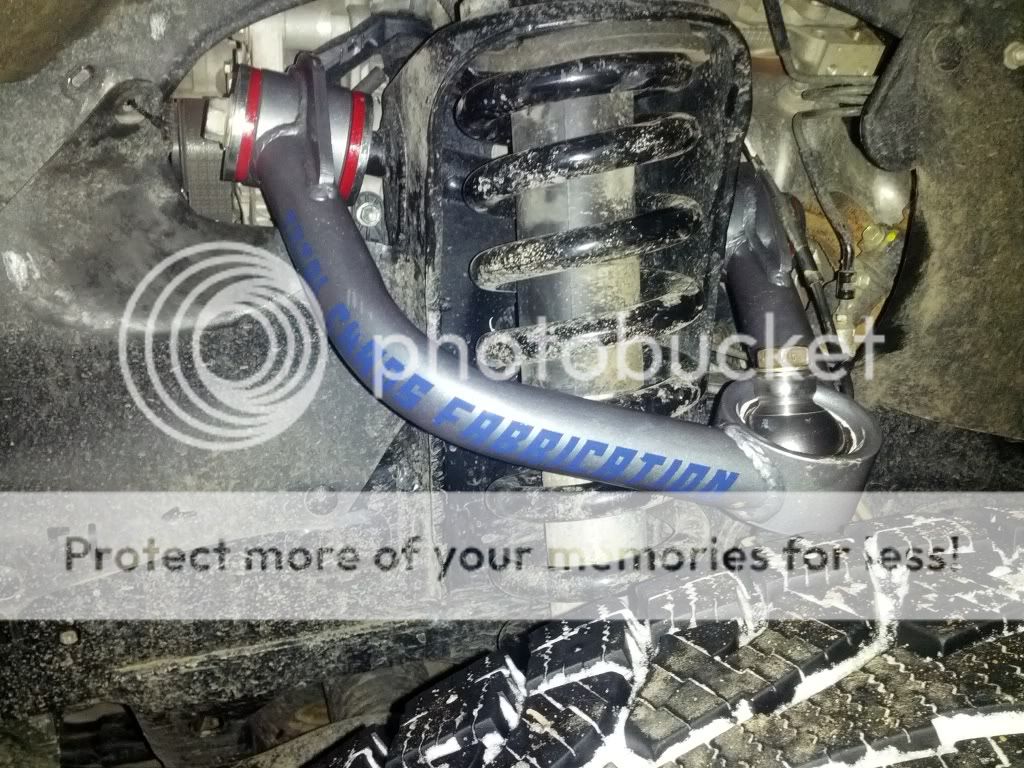
Total Chaos UCA's -poly bushings
Total Chaos LCA's - stock length, dual shock compatible
Total Chaos alignment tab gussets
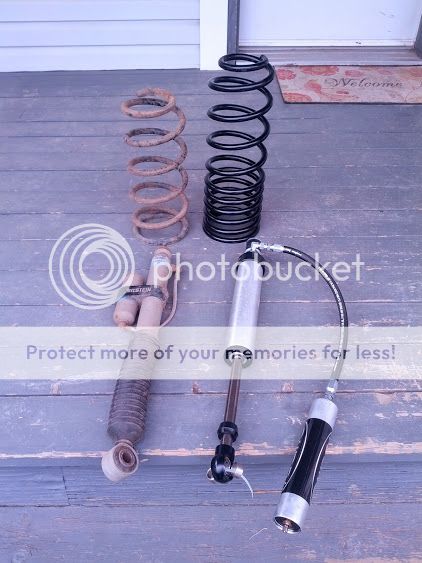
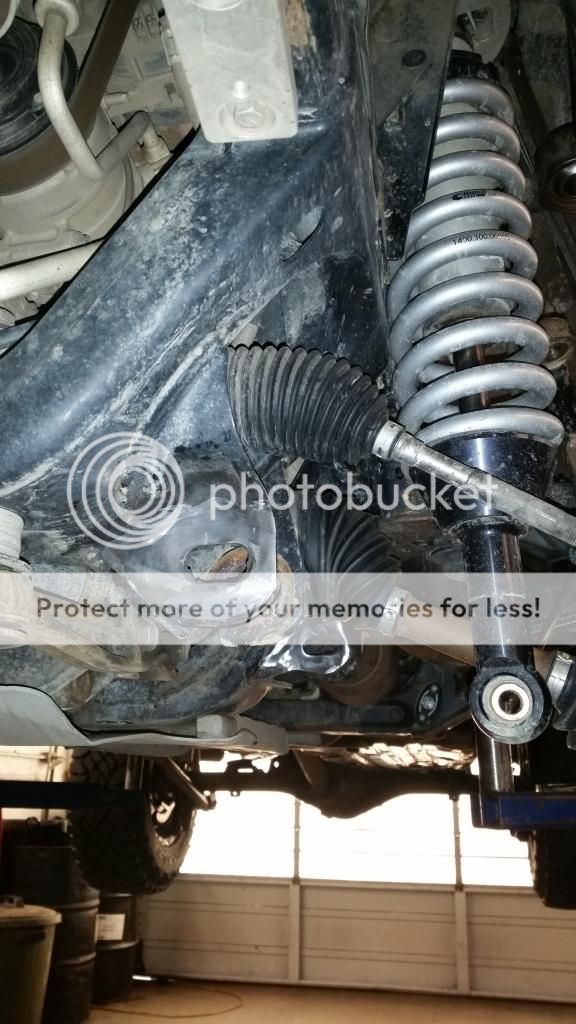
Radflo extended travel coilover, 2.5” body, Overland Warehouse valving
Eibach 650lb extended travel spring
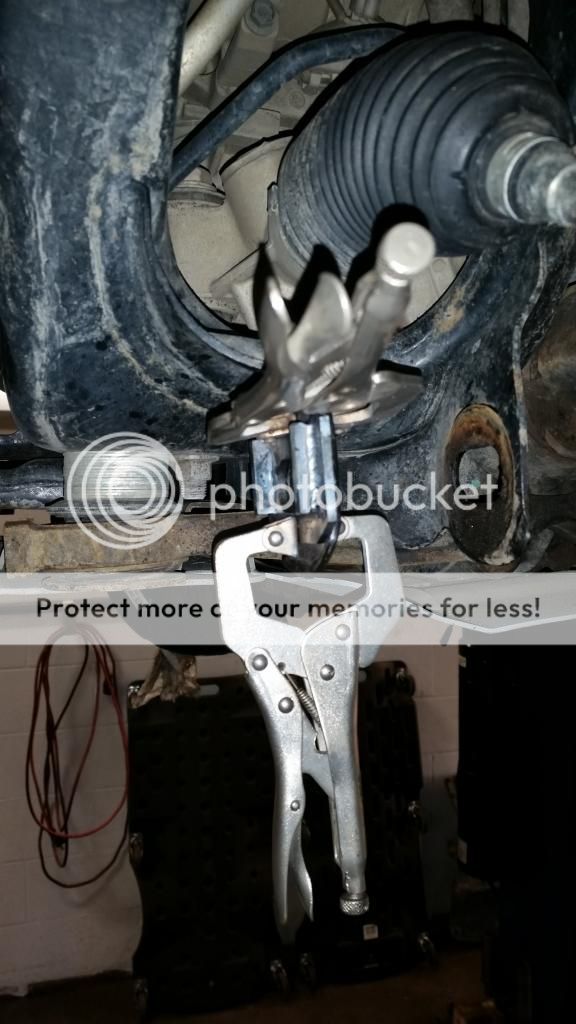
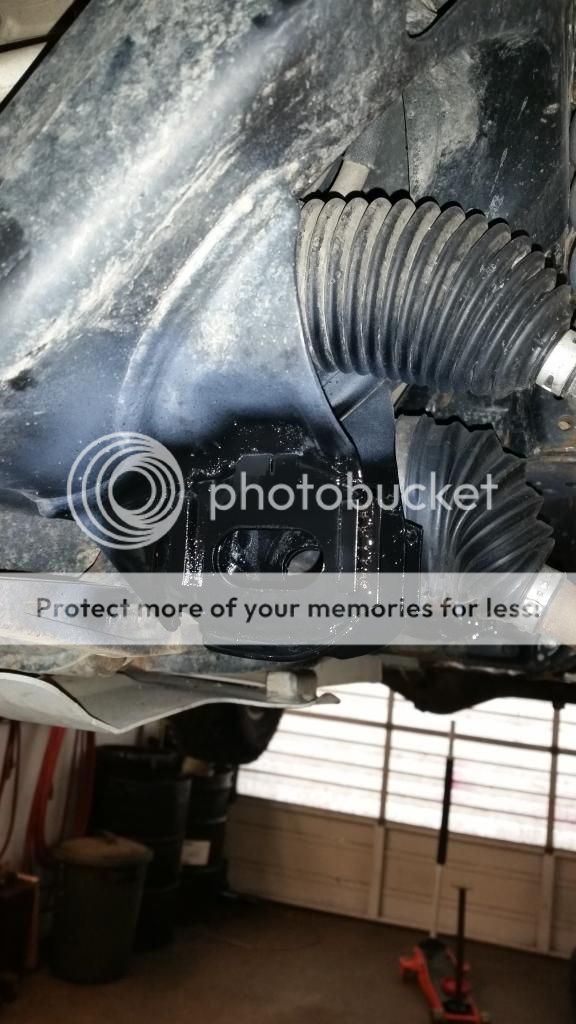
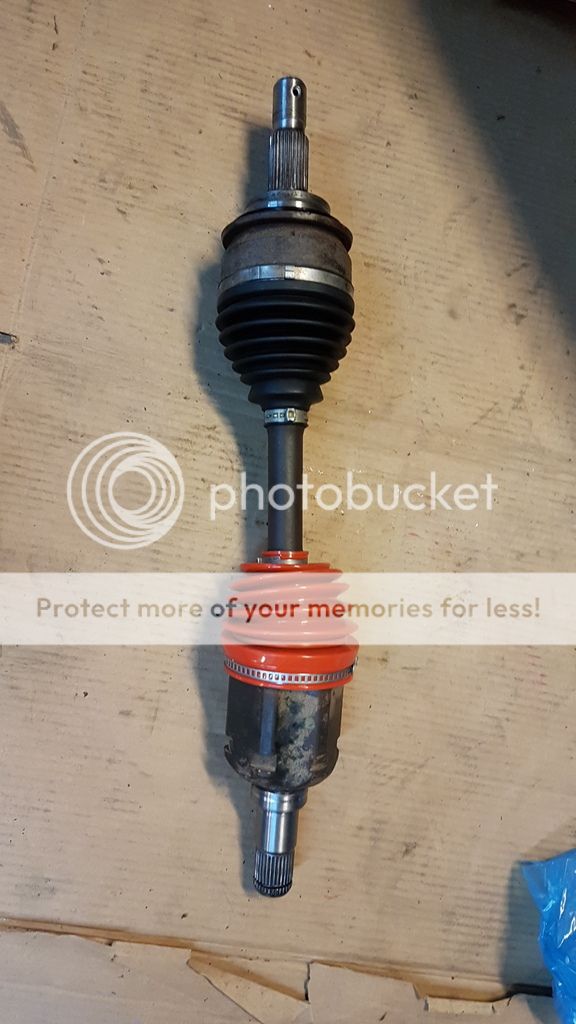
Offroad Solutions high angle inner CV boot
sway bar delete
rear
MetalTech 4x4 adjustable 4-link, with adjustable panhard bar
MetalTech 4x4 3” bump stop drop bracket
MetalTech 4x4 extended stainless brake lines
Radflo long travel shock, 2.5” body with remote reservoir
MetalTech 4x4 medium progressive rate long travel springs
sway bar delete
armour
(sorry, we spell words funny here....and apologise lots. sorry!)
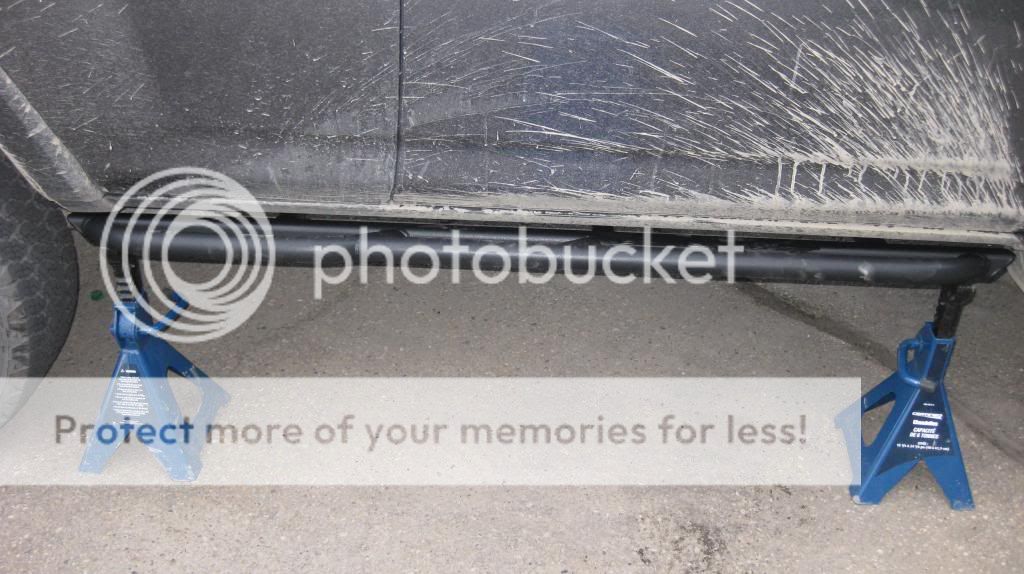
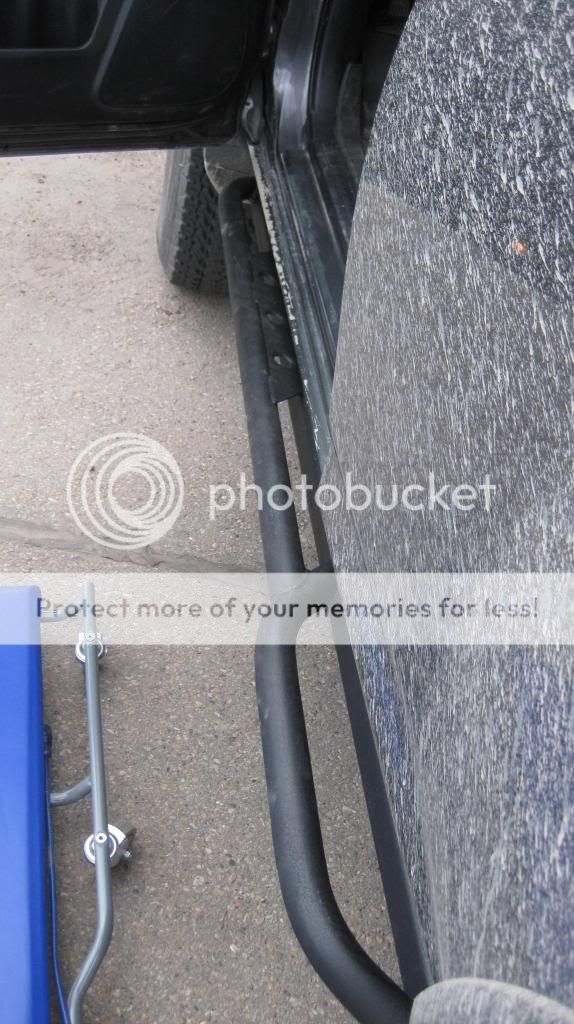
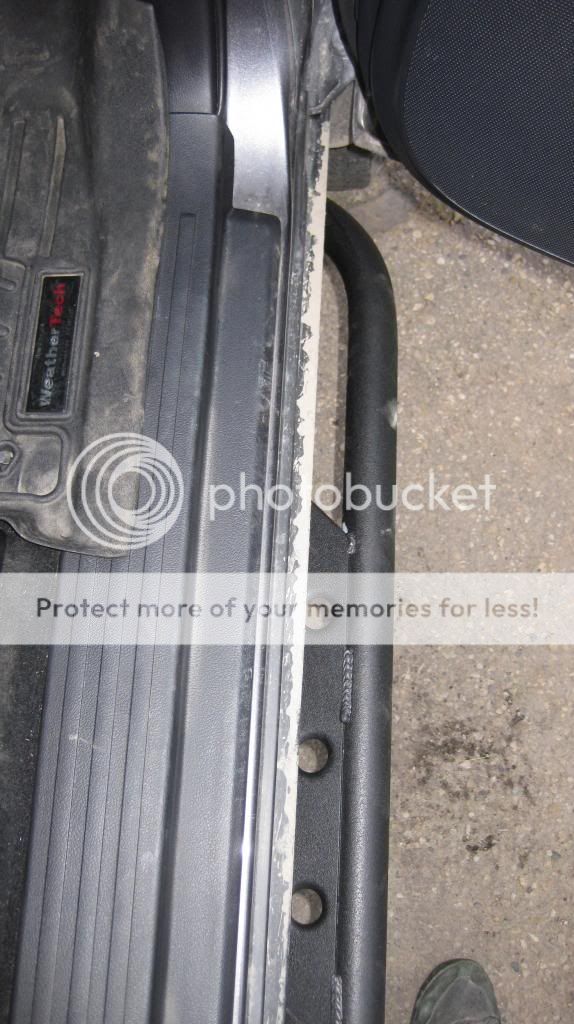
Outpost Offroad Trail Edition sliders
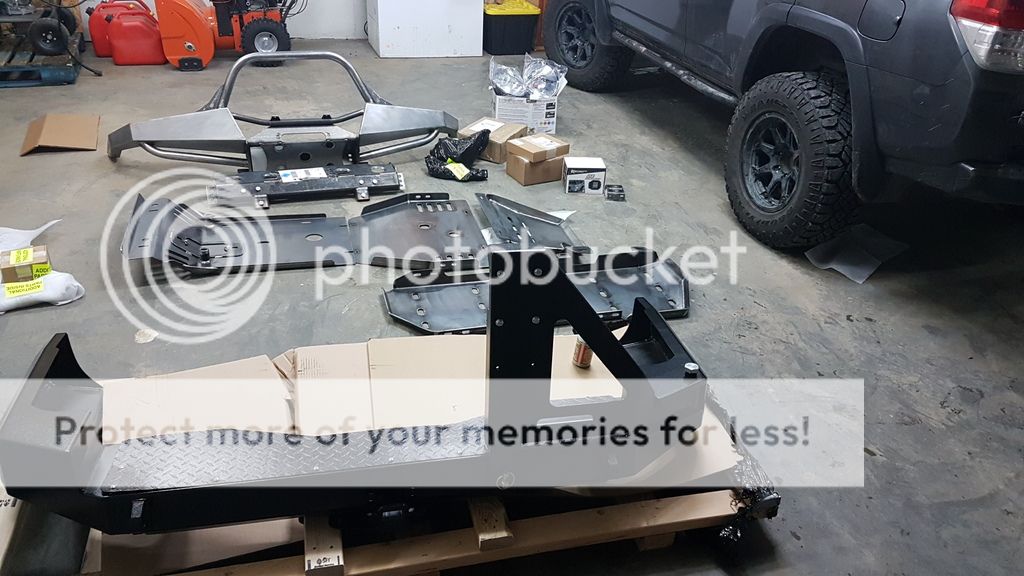
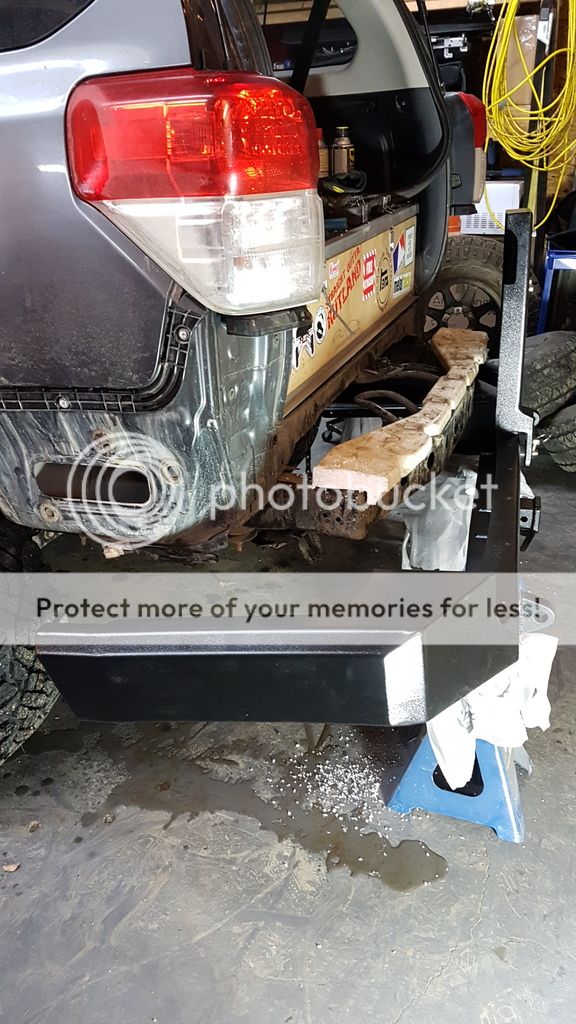
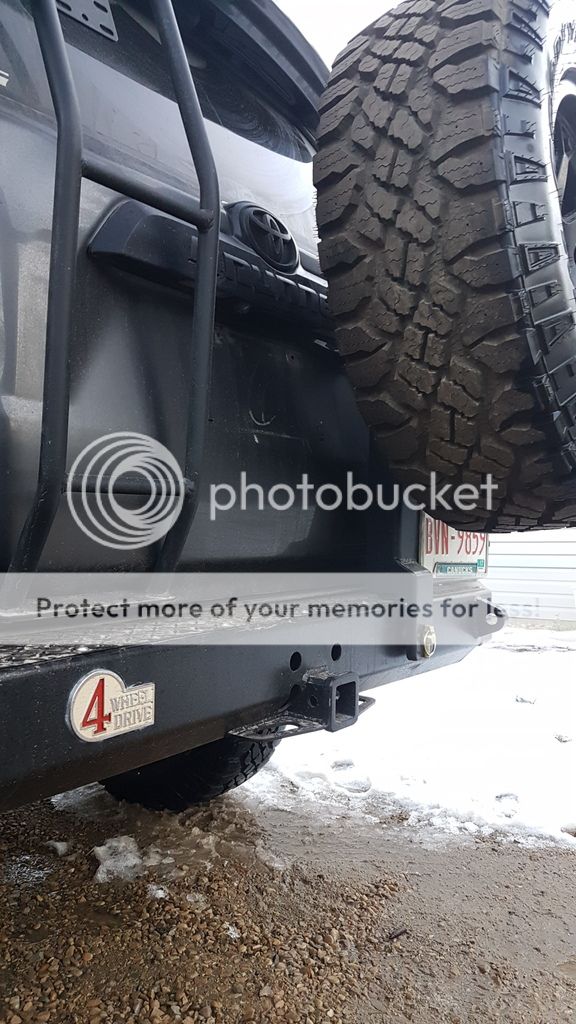
Hefty Fabworks single swing out rear bumper
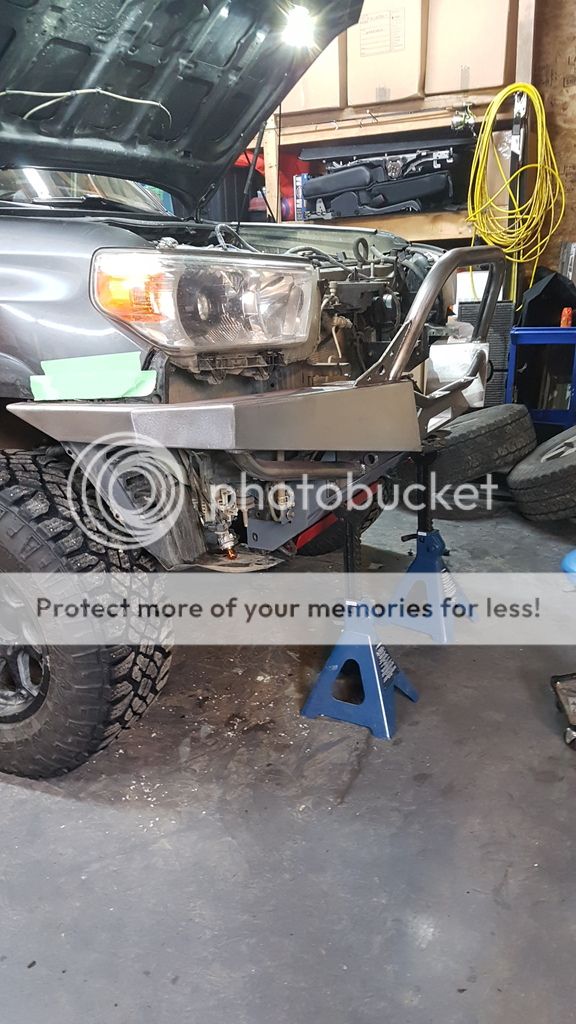
Addicted Offroad front hybrid plate bumper
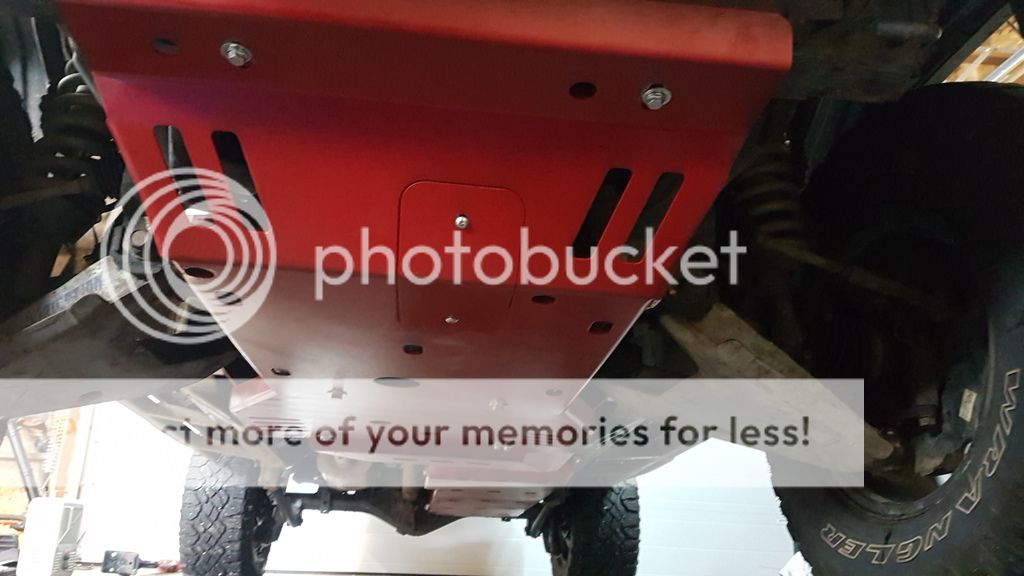
Hefty Fabworks full steel skid plate package
wheels and tires
FN Wheels Countersteer X 17x8
Ultra Wheels 198 Bolt 17x9
Goodyear Silent Armor LT285/70/17 E range
Goodyear MTR LT285/70/17 D range
Goodyear Duratrac LT285/70/17 D range, studded
offroad and expedition equipment
Camelback Metalgear full length roof rack with additional cross member
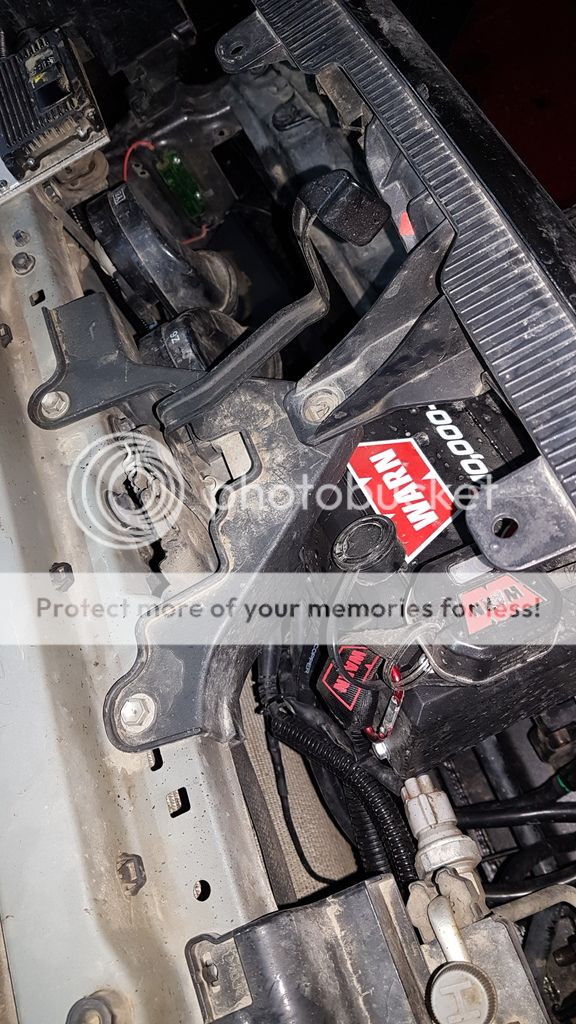
Warm VR10000-S
Warn wireless controller
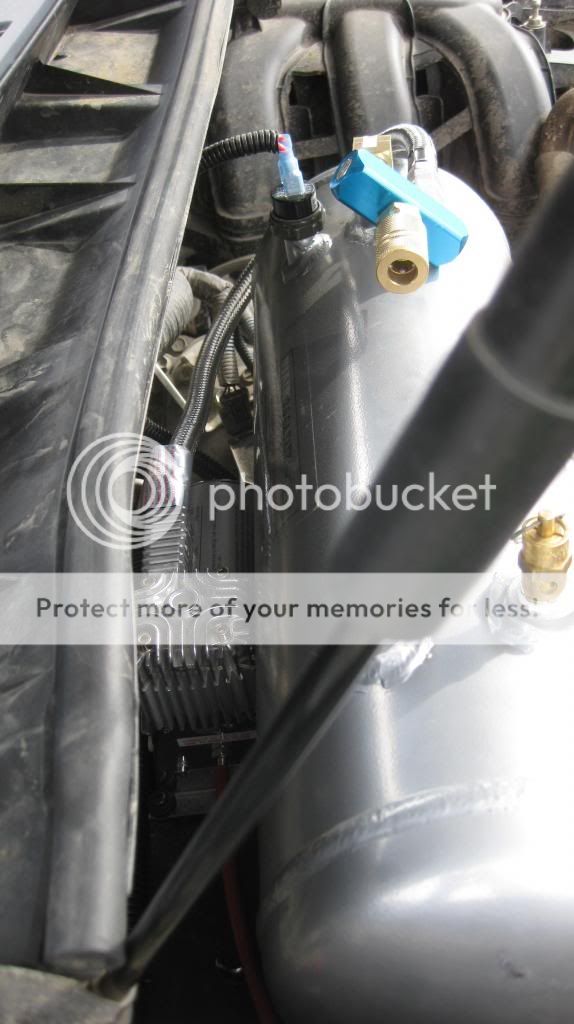
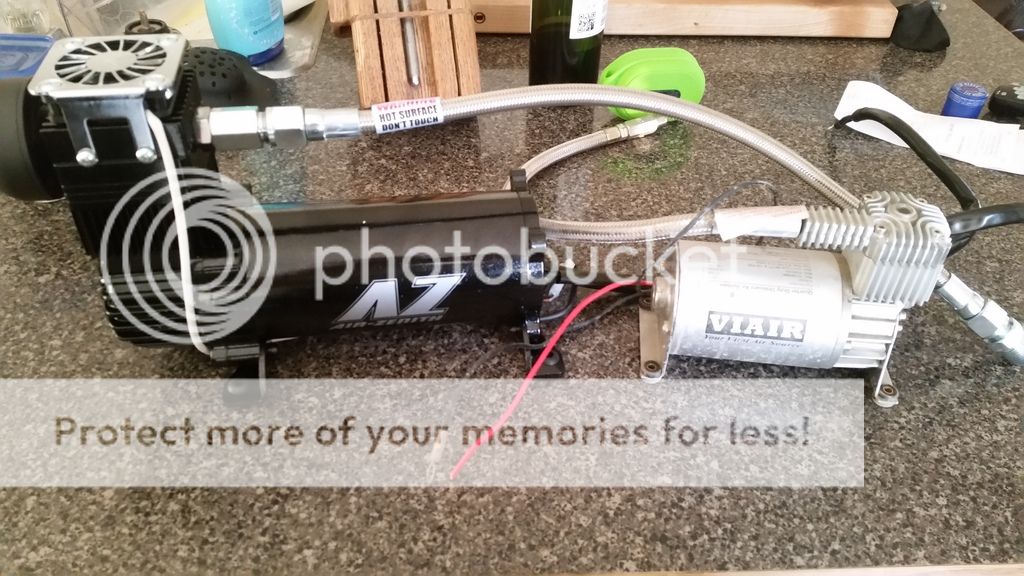
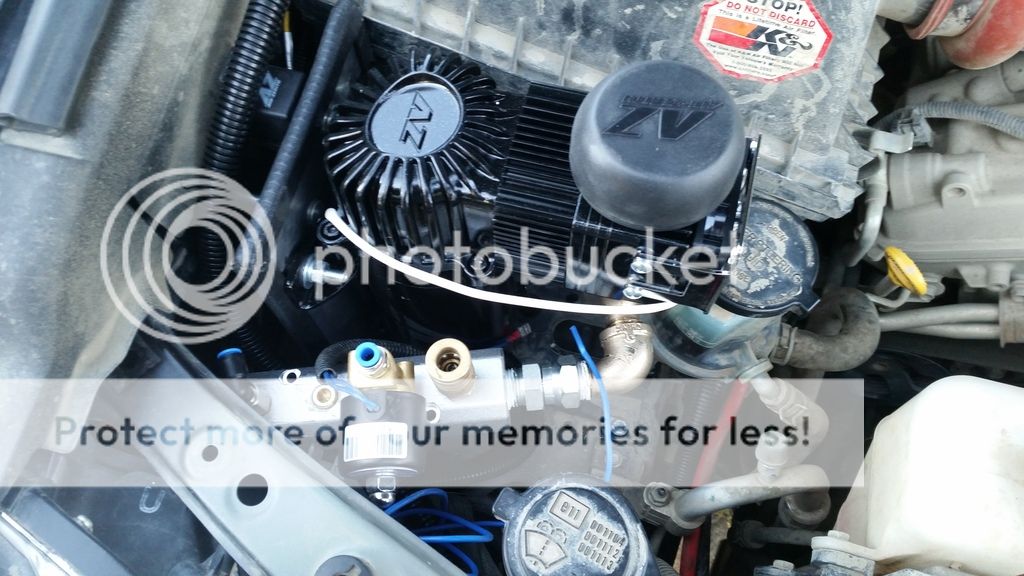
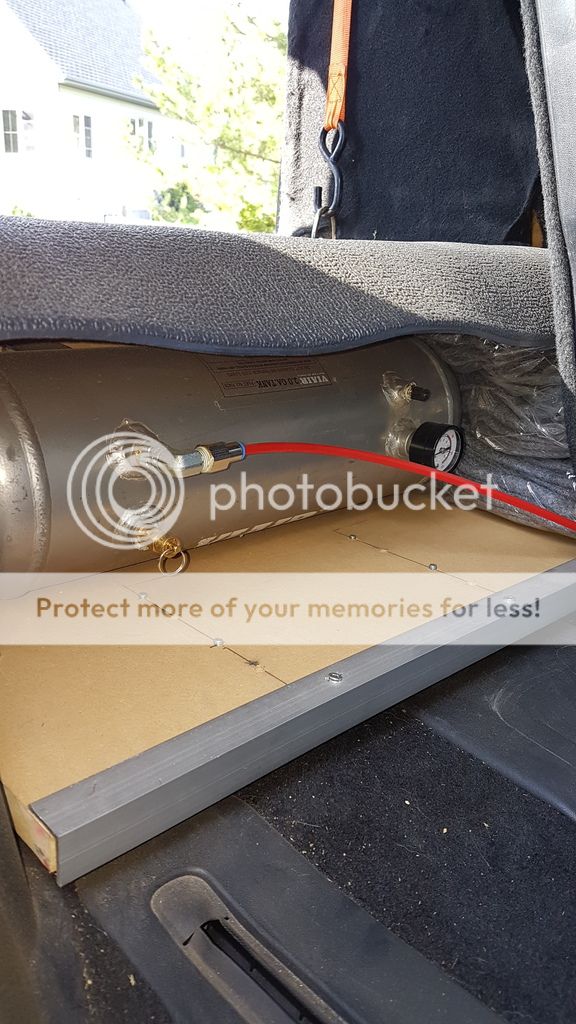
Air Zenith OB2 air compressor
Viair 2 gallon remote tank
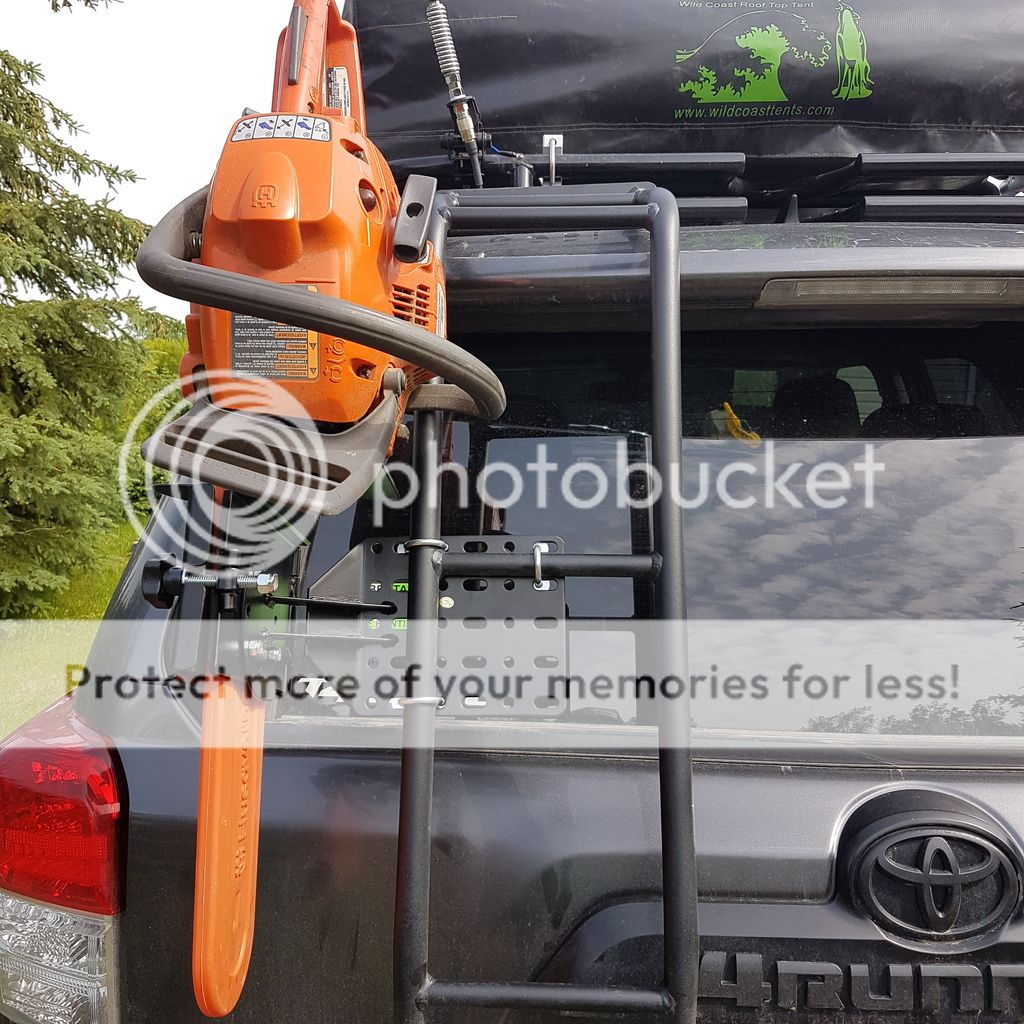
Gobi ladder
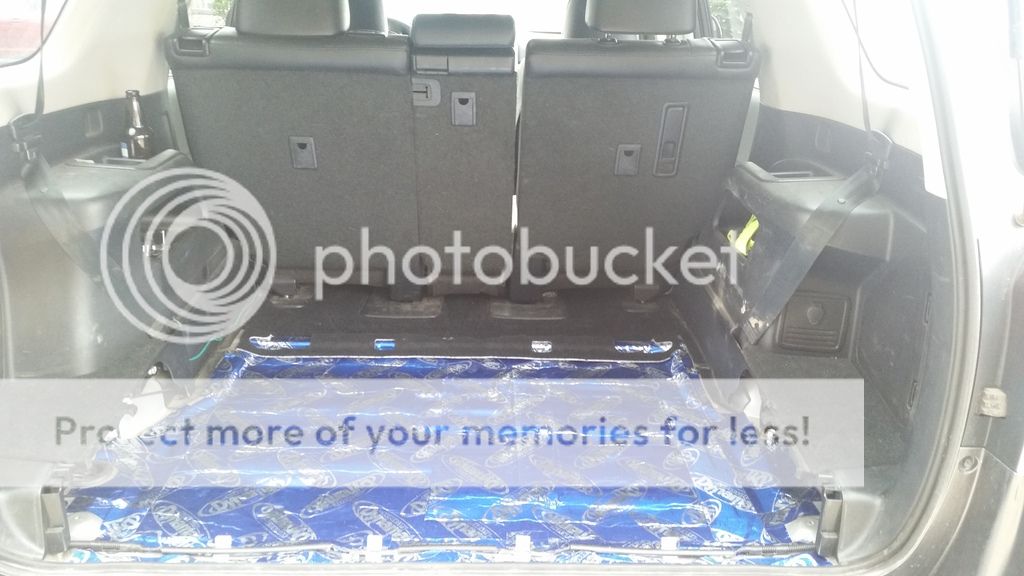
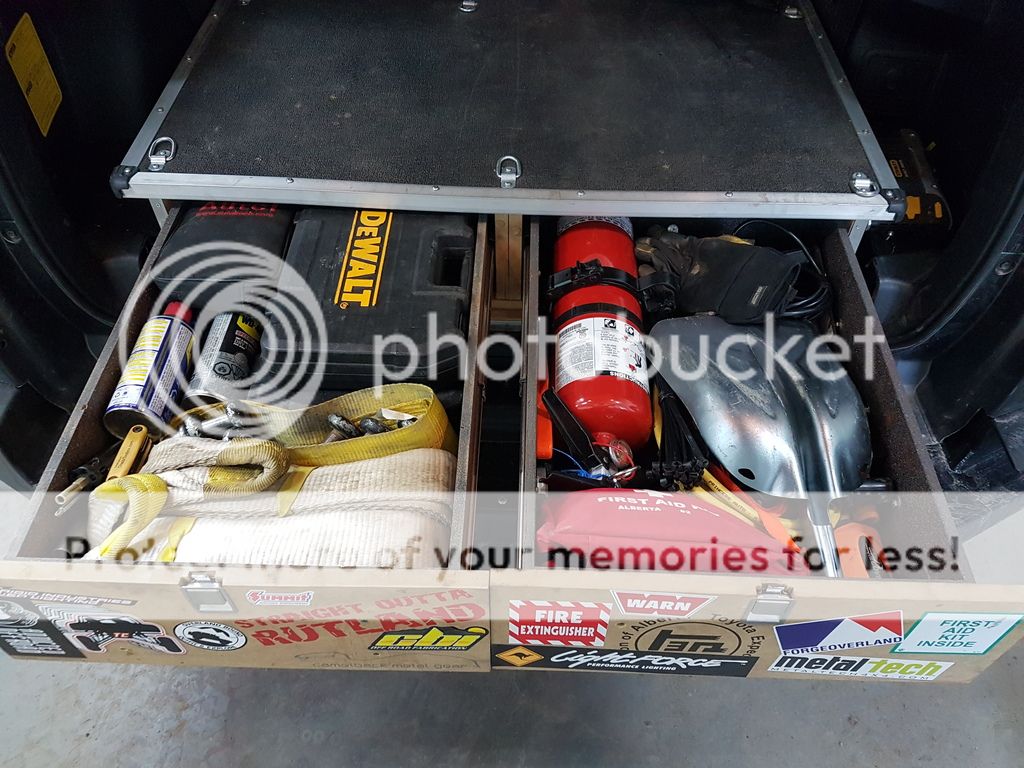
incorporated rear storage drawers
Wild Coast roof top tent
ARB awning
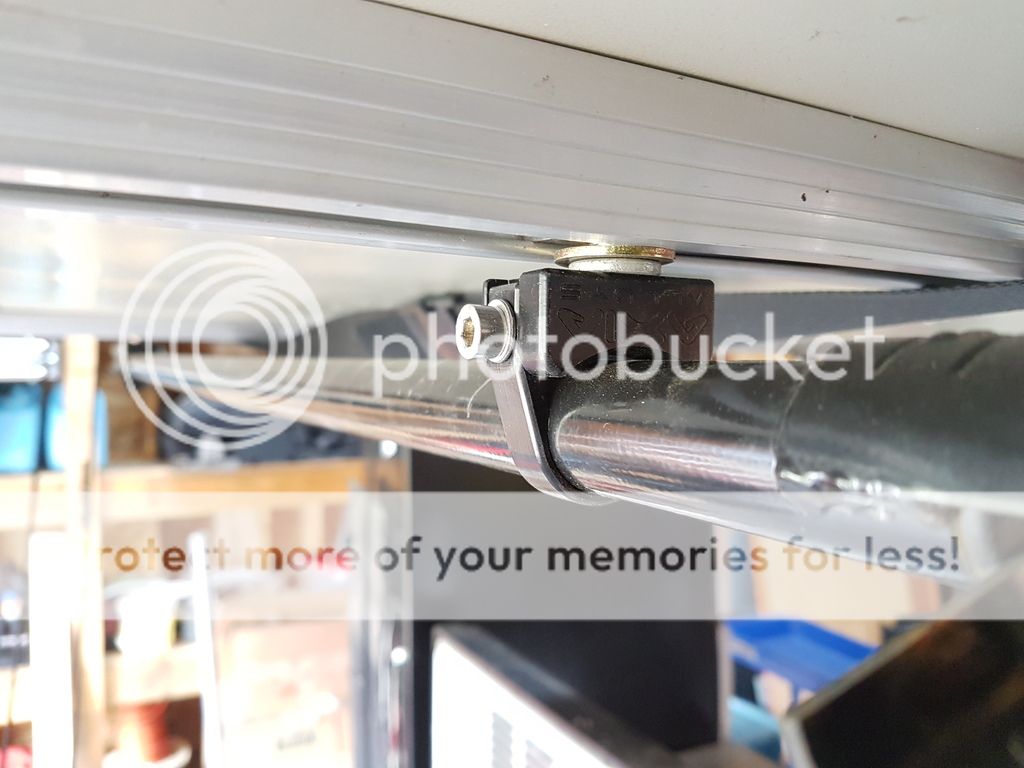
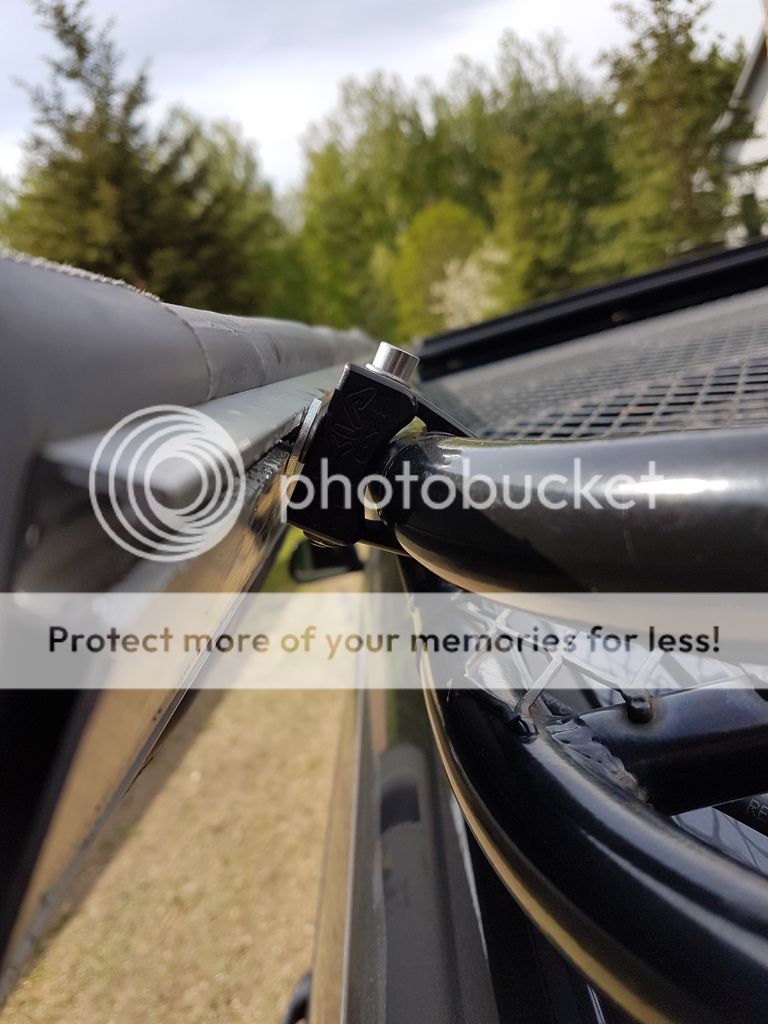
Axia universal mounts
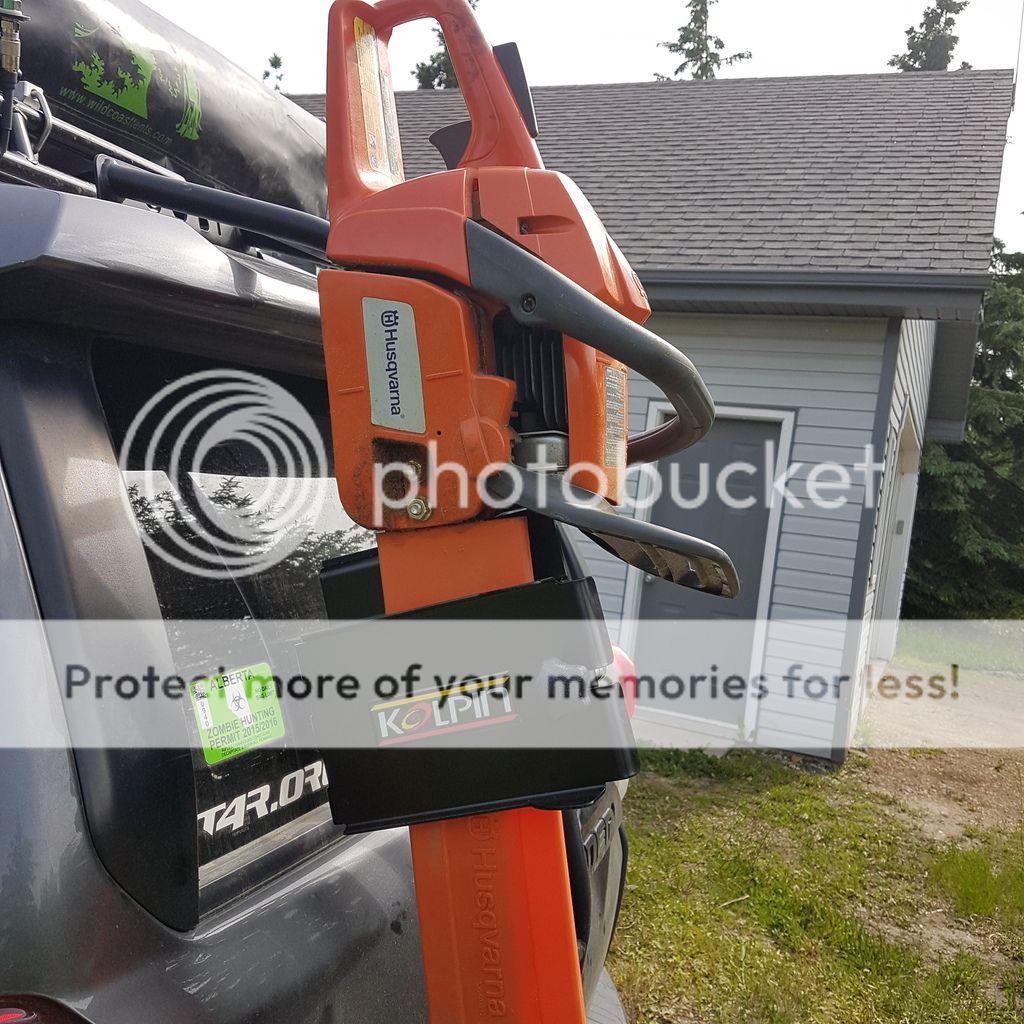
Koplin chainsaw mount
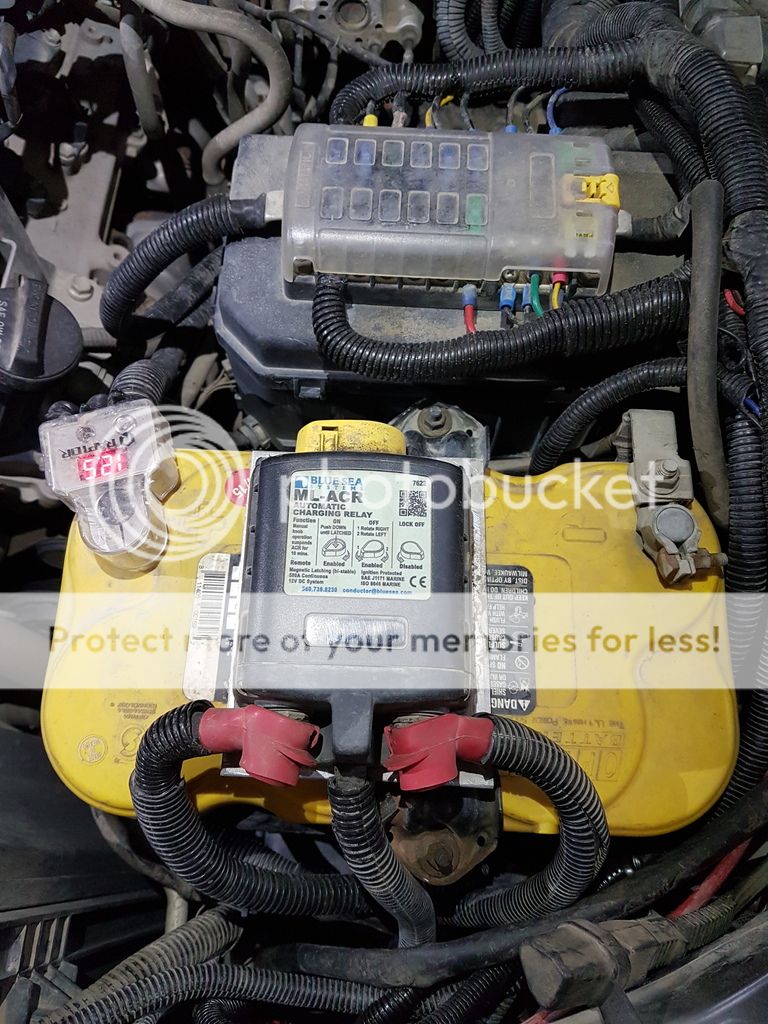
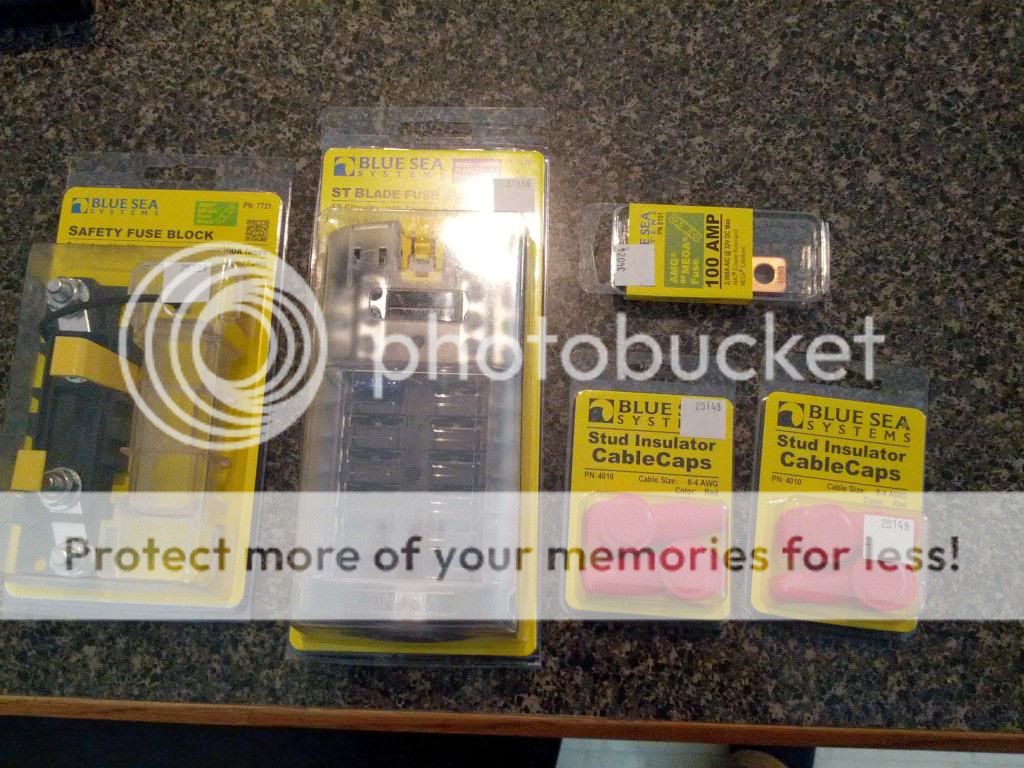
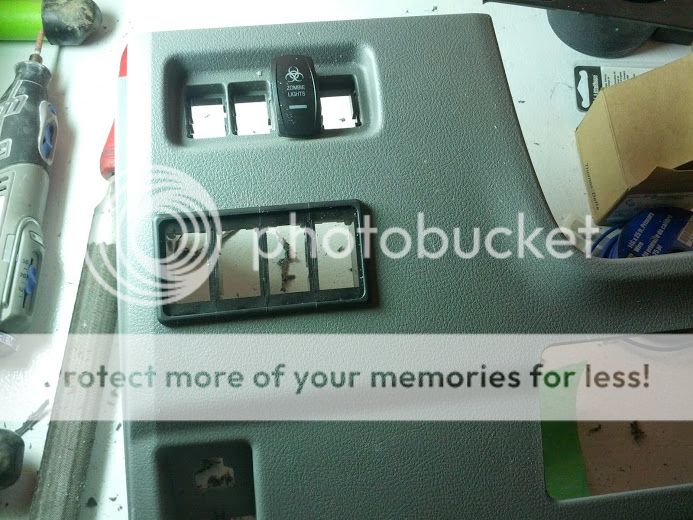
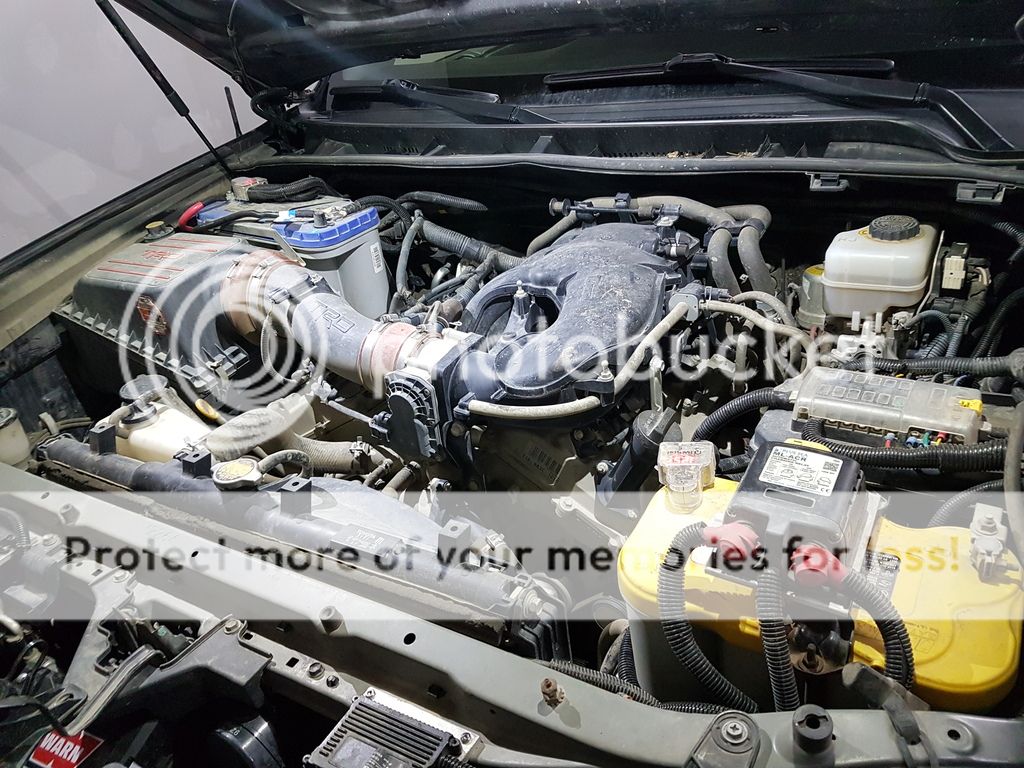
electricial
OTRATTW auxiliary switches
Blue Sea ML-ACR #7622
3x Blue Sea Mega fuse holder #7721 w/ 100 amp MegaFuse
Blue Sea ST blade fuse block #5026
#1 gauge cable, Thomas&Betts crimp on terminal lugs
Pelfrybilt group 31 battery cage
Optima BlueTop D31M house battery
Optima YellowTop D27F starting battery
Stanley 500 watt inverter
2x Raptor LED battery terminals R5BTDMP
lighting
1x Seward Offroad 40” LED bar, combo pattern (forward facing roof top)
2x Rigid Industries D2, flood pattern w/ amber lenses (ditch lights)
CBI Offroad Fab ditch light brackets
2x Rigid Industries A-Series, low power cool white (under hood)
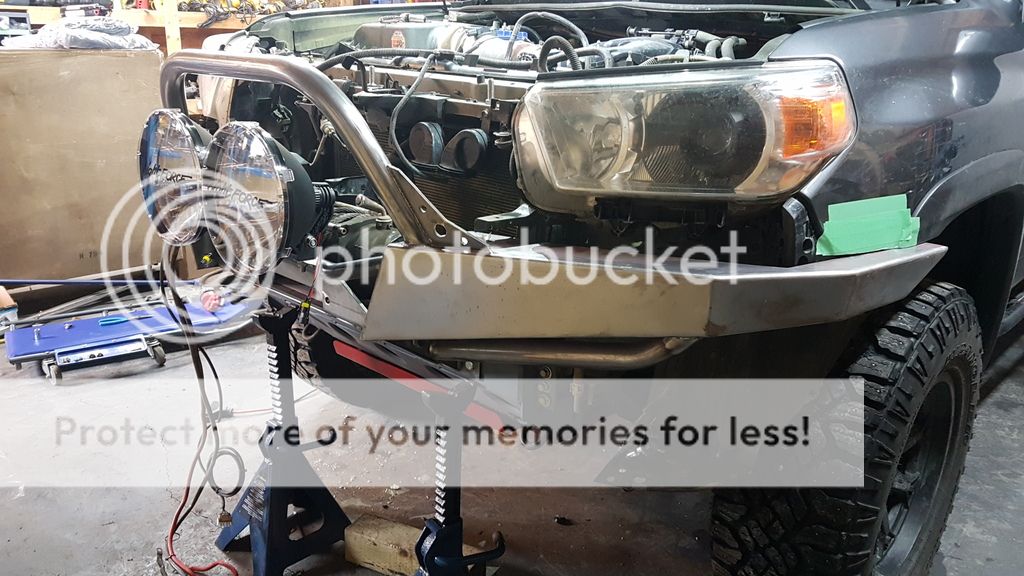
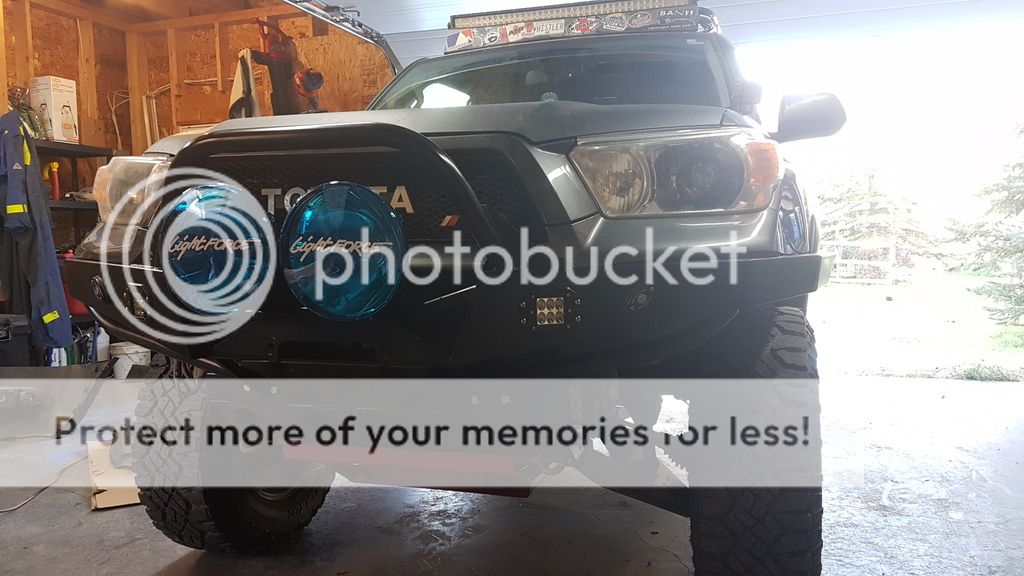
2x Lightforce 240 Blitz, 50 watt HID, yellow spot/combo, crystal blue combo, clear spot lenses (grille)
2x Rigid Industries A-Series, low power, amber (drl/turn indicator)
6x Rigid Industries A-Series, high power, cool white (rock lights)
2x Rigid Industries D2 flush mount, fog pattern (fog lights)
Morimoto Mini bixenon projector, “gatling gun” shrouds
Morimoto white 55 watt ballasts
Phillips 55 watt ds2 HID bulbs, 4300k
power
TRD cold air intake
Magnaflow 18” muffler
comms/entertainment
Mangowalk 4” FM antenna
Kenwood DNN990hd
Kicker 12” sub, enclosed box
Concept 600 watt mono amp
Uniden Bearcat 880 cb
u40 4' antenna
Diamond Mount k-540 antenna mount
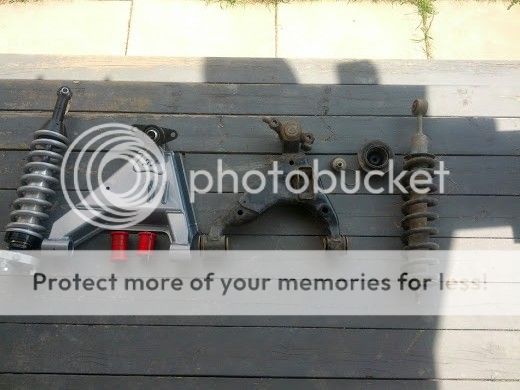
gone but not forgotten
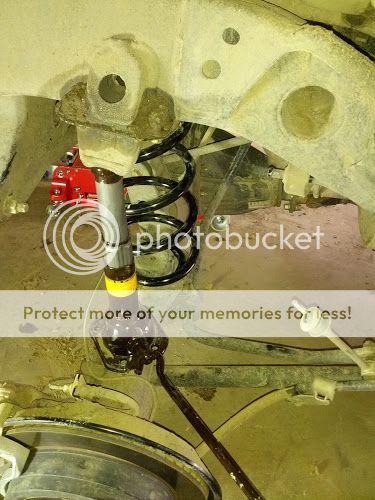
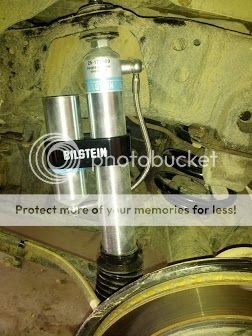
Bilstein 5100
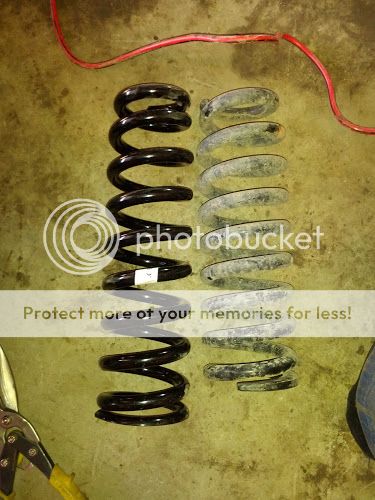
OME 885 springs
Bilstein 5160
OME 889 springs
ARB skid plates
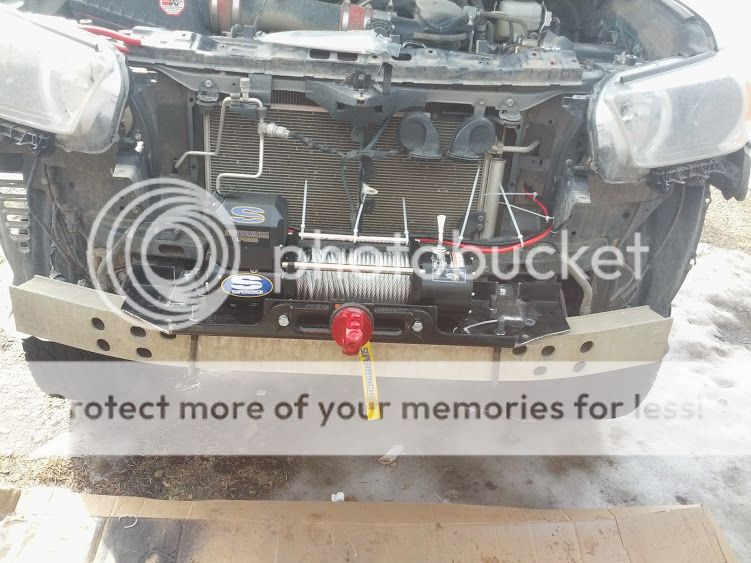
SuperWinch LP8500 with wireless
Viair 275c
Rigid Industries 20” SR spot pattern
delivery day, july '12...
and it didn't take long to for things to go sharply downhill from there. As it sits today (Nov/16)...
mods to date...
suspension
front
Total Chaos UCA's -poly bushings
Total Chaos LCA's - stock length, dual shock compatible
Total Chaos alignment tab gussets
Radflo extended travel coilover, 2.5” body, Overland Warehouse valving
Eibach 650lb extended travel spring
Offroad Solutions high angle inner CV boot
sway bar delete
rear
MetalTech 4x4 adjustable 4-link, with adjustable panhard bar
MetalTech 4x4 3” bump stop drop bracket
MetalTech 4x4 extended stainless brake lines
Radflo long travel shock, 2.5” body with remote reservoir
MetalTech 4x4 medium progressive rate long travel springs
sway bar delete
armour
(sorry, we spell words funny here....and apologise lots. sorry!)
Outpost Offroad Trail Edition sliders
Hefty Fabworks single swing out rear bumper
Addicted Offroad front hybrid plate bumper
Hefty Fabworks full steel skid plate package
wheels and tires
FN Wheels Countersteer X 17x8
Ultra Wheels 198 Bolt 17x9
Goodyear Silent Armor LT285/70/17 E range
Goodyear MTR LT285/70/17 D range
Goodyear Duratrac LT285/70/17 D range, studded
offroad and expedition equipment
Camelback Metalgear full length roof rack with additional cross member
Warm VR10000-S
Warn wireless controller
Air Zenith OB2 air compressor
Viair 2 gallon remote tank
Gobi ladder
incorporated rear storage drawers
Wild Coast roof top tent
ARB awning
Axia universal mounts
Koplin chainsaw mount
electricial
OTRATTW auxiliary switches
Blue Sea ML-ACR #7622
3x Blue Sea Mega fuse holder #7721 w/ 100 amp MegaFuse
Blue Sea ST blade fuse block #5026
#1 gauge cable, Thomas&Betts crimp on terminal lugs
Pelfrybilt group 31 battery cage
Optima BlueTop D31M house battery
Optima YellowTop D27F starting battery
Stanley 500 watt inverter
2x Raptor LED battery terminals R5BTDMP
lighting
1x Seward Offroad 40” LED bar, combo pattern (forward facing roof top)
2x Rigid Industries D2, flood pattern w/ amber lenses (ditch lights)
CBI Offroad Fab ditch light brackets
2x Rigid Industries A-Series, low power cool white (under hood)
2x Lightforce 240 Blitz, 50 watt HID, yellow spot/combo, crystal blue combo, clear spot lenses (grille)
2x Rigid Industries A-Series, low power, amber (drl/turn indicator)
6x Rigid Industries A-Series, high power, cool white (rock lights)
2x Rigid Industries D2 flush mount, fog pattern (fog lights)
Morimoto Mini bixenon projector, “gatling gun” shrouds
Morimoto white 55 watt ballasts
Phillips 55 watt ds2 HID bulbs, 4300k
power
TRD cold air intake
Magnaflow 18” muffler
comms/entertainment
Mangowalk 4” FM antenna
Kenwood DNN990hd
Kicker 12” sub, enclosed box
Concept 600 watt mono amp
Uniden Bearcat 880 cb
u40 4' antenna
Diamond Mount k-540 antenna mount
gone but not forgotten
Bilstein 5100
OME 885 springs
Bilstein 5160
OME 889 springs
ARB skid plates
SuperWinch LP8500 with wireless
Viair 275c
Rigid Industries 20” SR spot pattern
Last edited by a moderator: