
Quick introduction: My name is Christopher where I live in Louisiana just south of New Orleans; however, for the past 5 years I’ve been in Europe - UK to be exact just outside of London. I was lucky enough to have a new Defender 110 with the company while there but because of the import rules the Defender had to stay. I’ve been knowing I was coming back to the US for over a year where the ideas to build an overland LR4 started late 2015 as this was really the only option and also dream build of mine. Originally I started to look for a 2013 or older one with the V8 and HD package; however, this proved to be hard to find especially down here in the South where LR’s aren’t that common. I landed back on US soil Nov 4th where I had a rental for up to 2 months with the company but quickly started searching for a LR4. Even on new ones to find a HD package proved to be tough as the supply was getting quite small with production stopped. My local dealership was no help at all where I started looking all over really. I made an inquiry to LR Shreveport where low and behold they had a white 2016 LR4 with just 4K on the clock (demo vehicle) AND it had the rare HD package. I debated to go new but decided rather quickly pull the trigger where I was behind a LR again on Nov 15th.
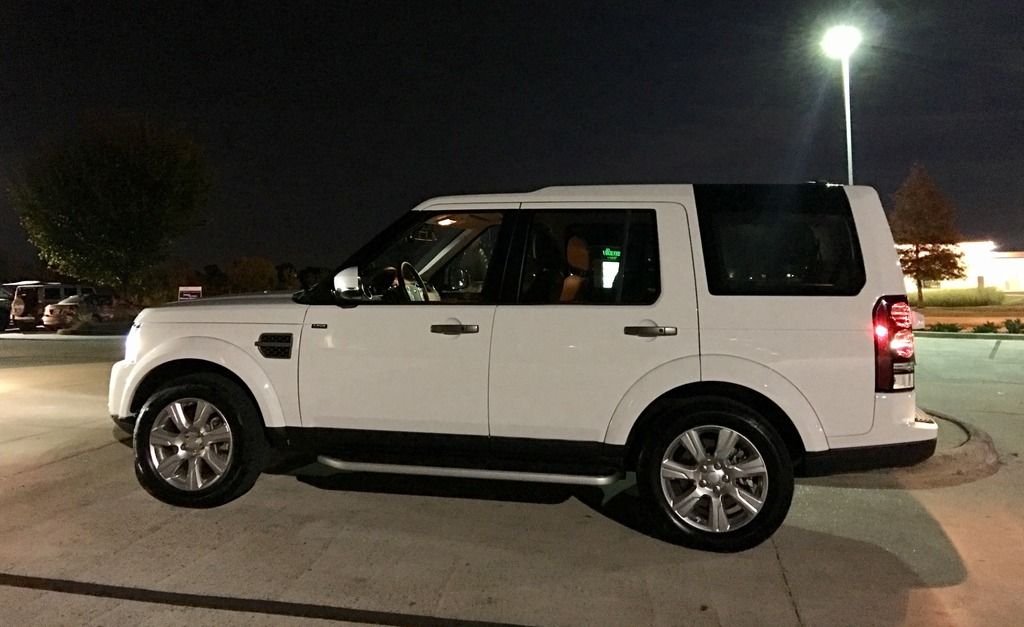
Here's a shot of the truck just leaving the dealership
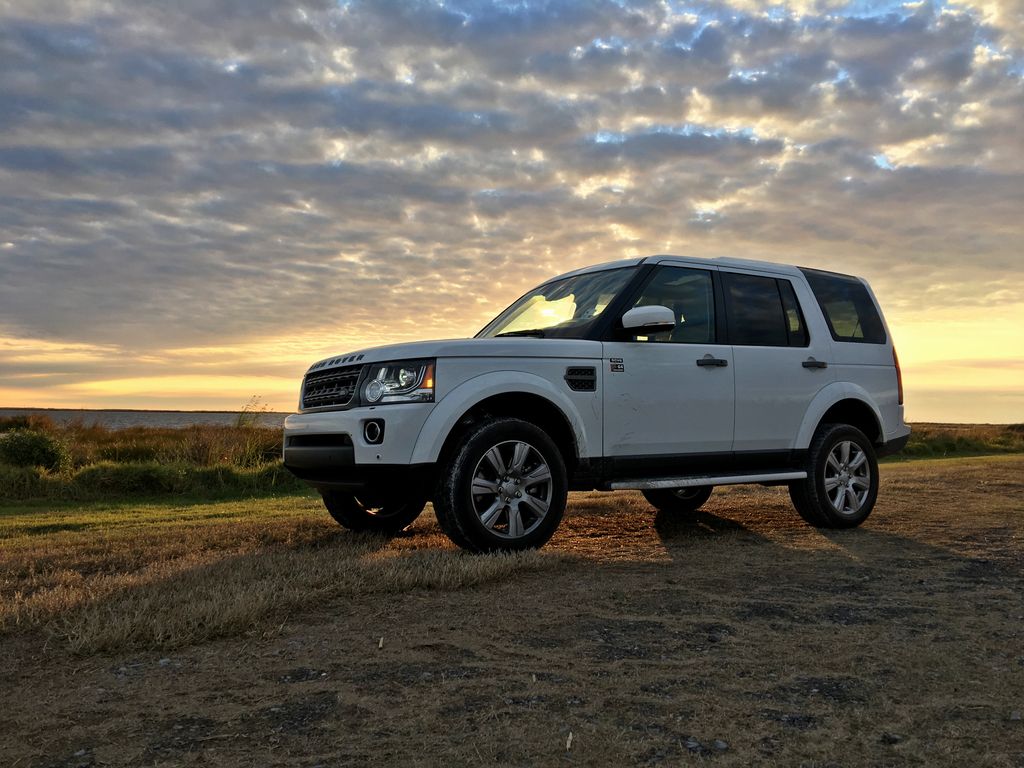
And a shot once home in South Louisiana:
Now it was time to decide after a year of day dreaming on what to order to begin the build process. As you’ll see below I pretty much did everything all in one go but like with any build they are never done. I went to Lucky8 Offroad where Erik there was extremely helpful in getting everything for my truck. I also worked with Greg Johnson at Johnson Rods on the tires and lift rods. Here’s a full list of everything that I’ve done to date that I’ll detail below with pics:
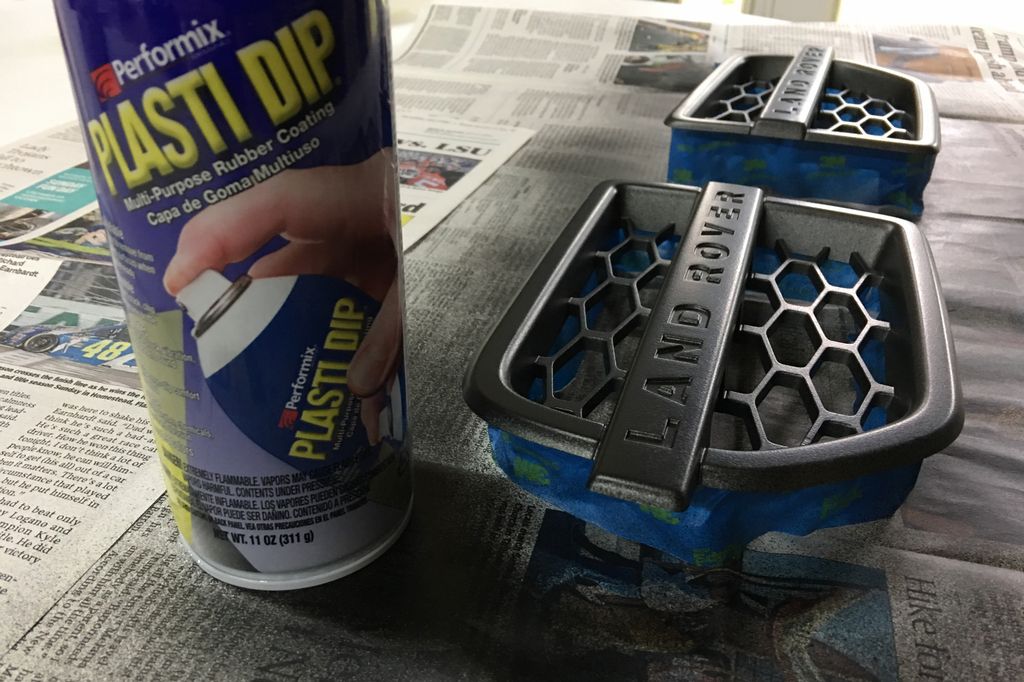
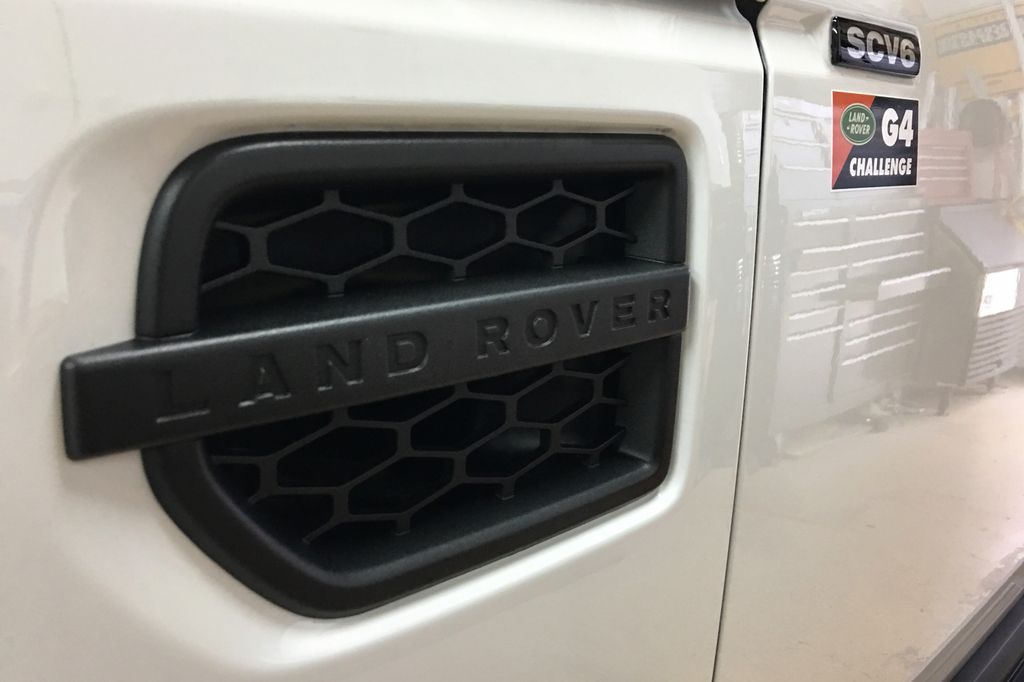
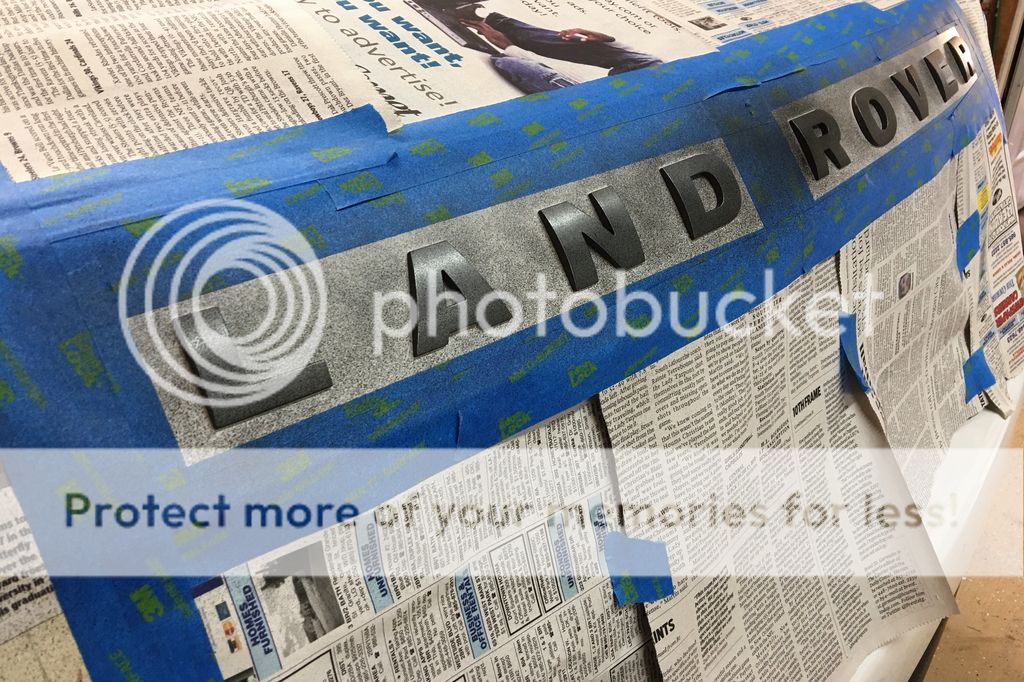
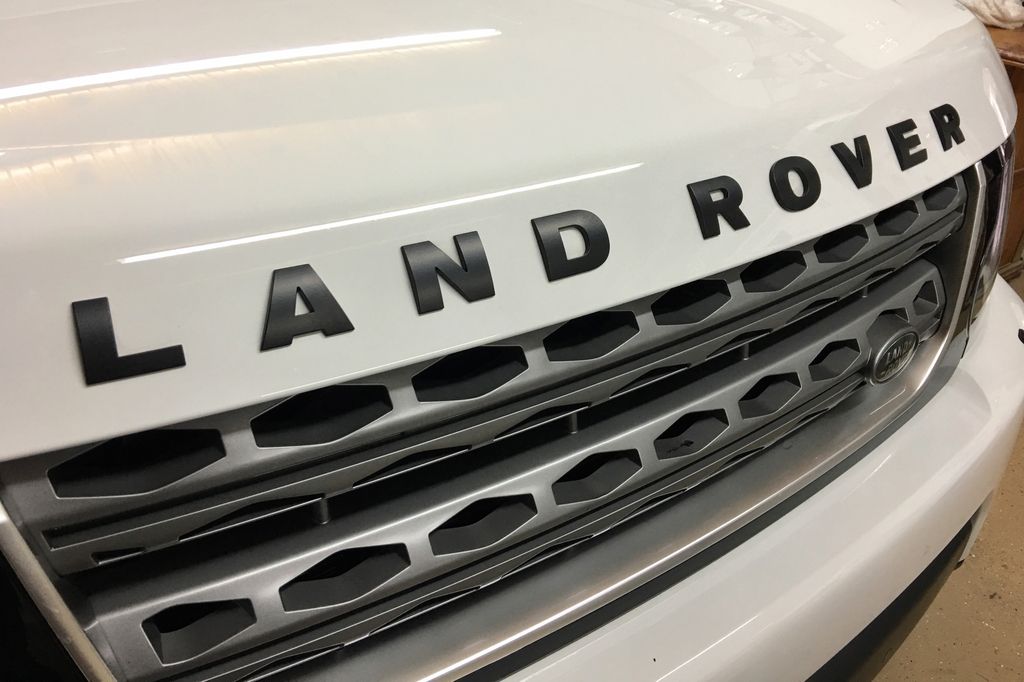
As I was waiting on everything to come in I decided to change the lettering and vents to a flat black. Originally I thought I would look to have these painted or replaced but then got the idea to plasti-dip them. Overall very pleased with the results where you’ll see later I plasti-dip the wheel flares as well.
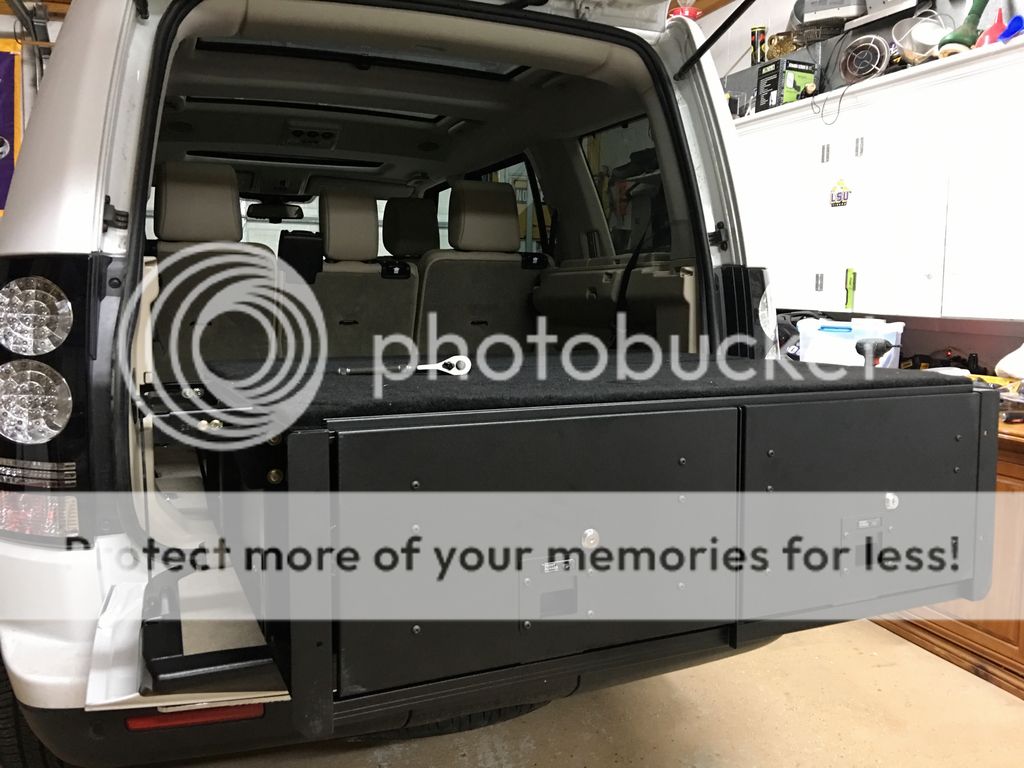
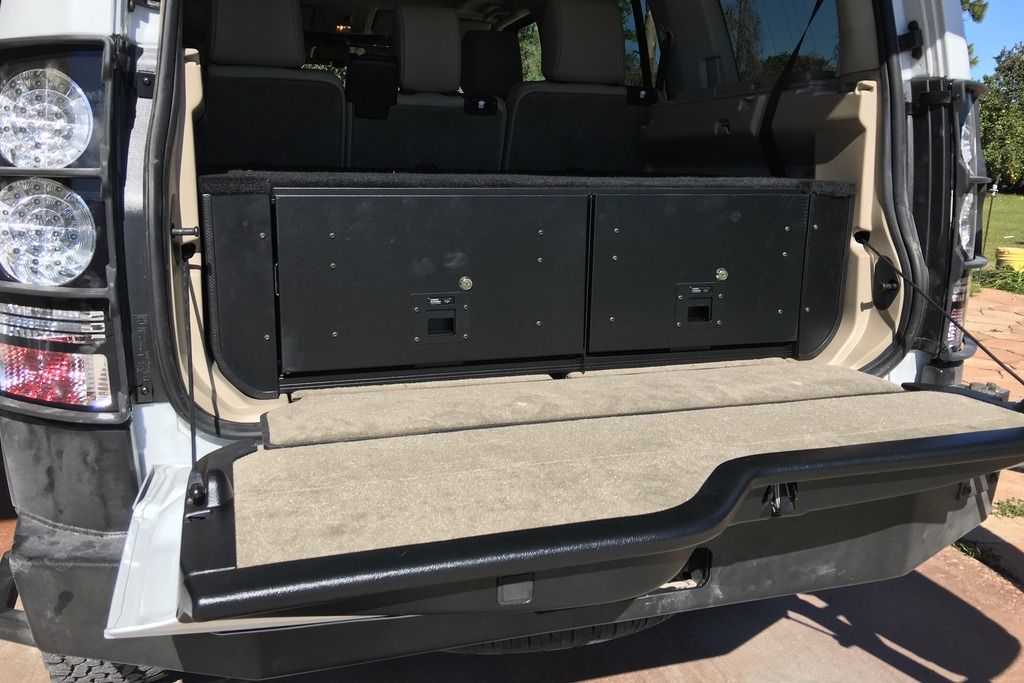
Front Runner Drawer System
Next kit to arrive was the Front Runner Drawer System. I was a little sticker shocked at the price of this unit, but I must say it’s quality kit with zero regrets. This was actually the only item I got help from on the entire project as I simply couldn’t lift it in truck on my own. Simple install but not something you want you want to remove from the truck once installed.
Front Runner Ladder
The ladder was next. I debated hard on the ladder as I was originally going to go with the ProSpeed ladder but knowing I would be doing the rear bumper and tire carrier I opted for the Front Runner ladder as it has the extra step over the OEM one. Install was a bit tricky as it took awhile to get it right without scratching the paint on the rear door.
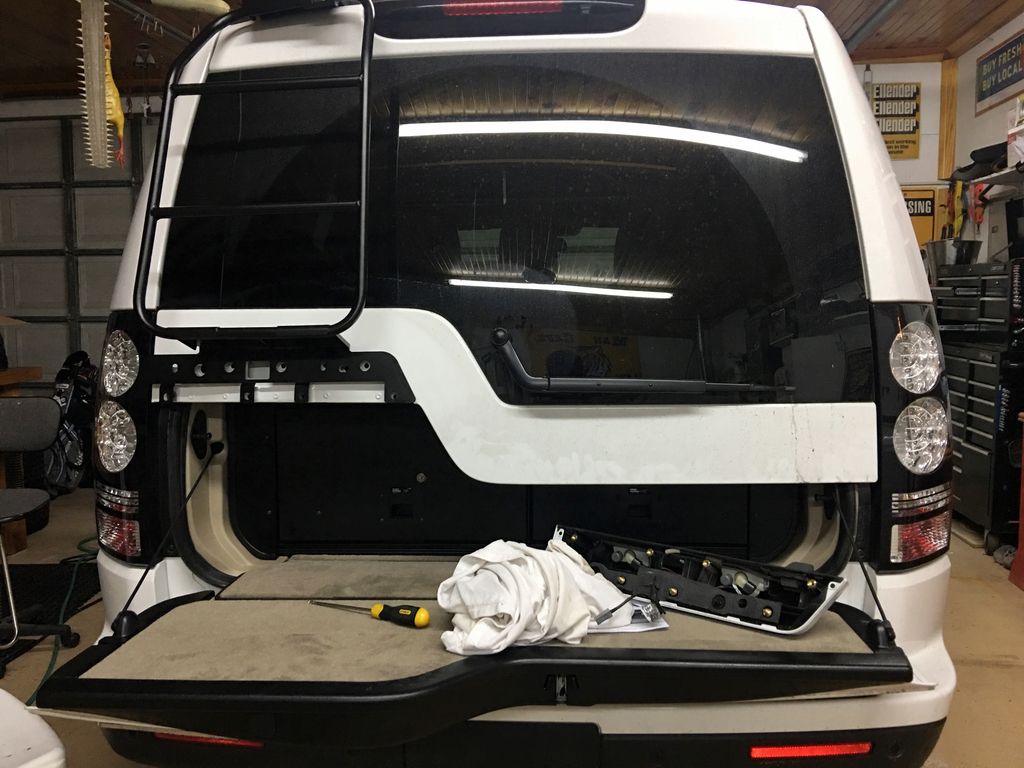
BAJA Rack
UPS then calls to ask if their is room to park a 18 wheeler as they had a delivery from Baja for the adventure rack. Luckily I live on a farm… Like the ladder I was back and forth between this one and the ProSpeed rack. Although I’ve never seen the ProSpeed rack in person I’m quite pleased with the Baja Rack. Very simple and straight forward install but because I have a new LR4 I had to order the shorter rails which was another added expense that became the norm on this project.
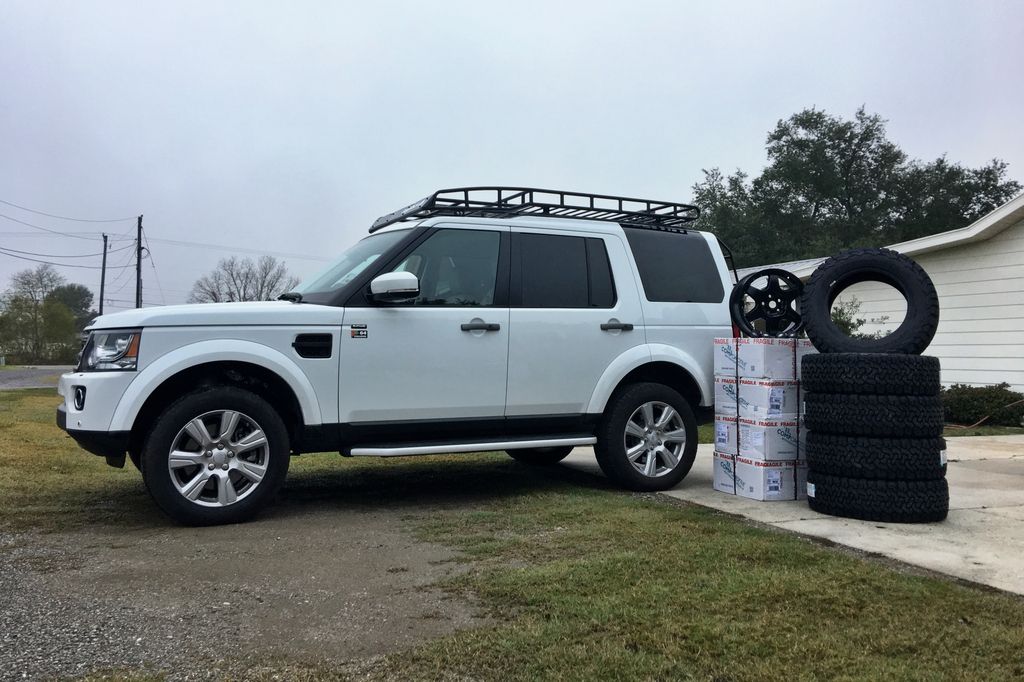
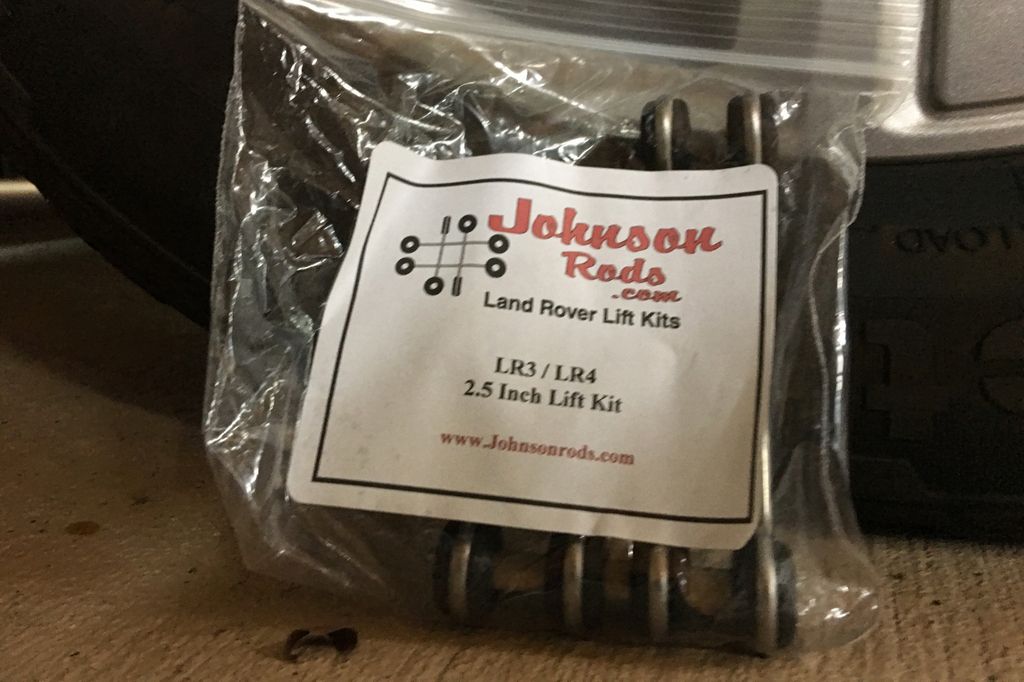
Wheels / Tires / Lift Rods
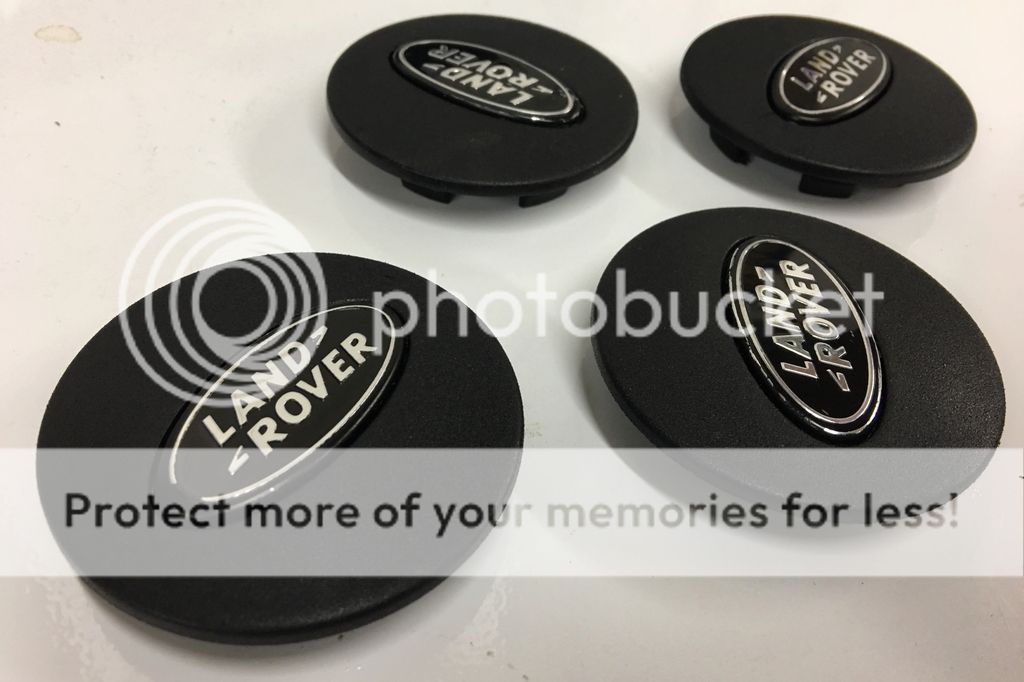
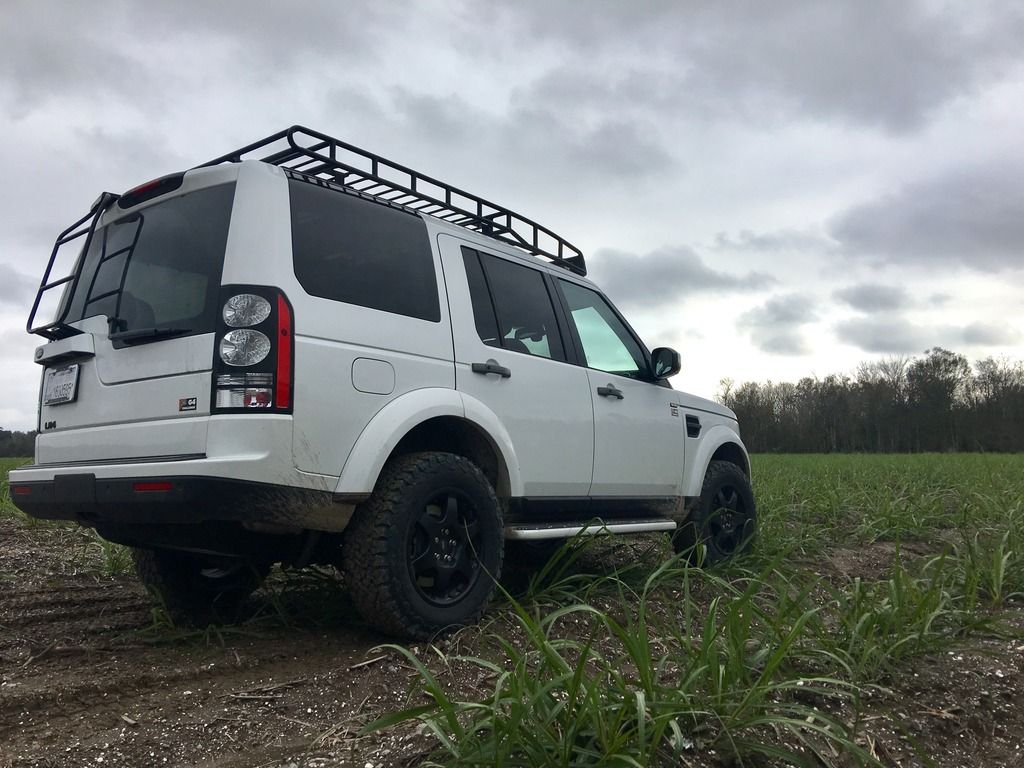
Now the project starts to get exciting when the new wheels showed up almost the same time the tires showed up. From the get go I was always going to go with the 18” compomotive wheels. I actually tried to order these before leaving the UK but couldn’t get them in time before the movers showed up. I also went ahead with Johnson Rods to give that extra lift where I’ve been quite pleased with the set up. In the corners you can somewhat feel the higher height but this isn’t a truck you want to be scorching around corners. Tire size I was torn between going 265 or 275. I went back and forth on this for a few days before opting to go with the BF Goodrich All-Terrain K02 - 265/65/18. I brought this to my local Good Year shop to install and swap out the tire sensors from the original wheels. From first site I knew I made the right decision when I came to pick it up. Pictures of these trucks simply don’t do it justice as its quite impressive in person with the new wheels and lift. I also went ahead and ordered up some black wheel caps and gave them a few coats of plasti-dip as they were a gloss black.
The big wait was on the bumpers as the new ARB Bumper was actually 1 of 4 bumpers to hit US soil in early January. It was just released for the late model LR4s where it was exciting to get the first one. On the rear bumpers there was a slight delay as they had to go back for powder coating due to a quality issue but Eric at Tactical Rovers was extremely helpful.
Here's a shot of the truck just leaving the dealership

And a shot once home in South Louisiana:

Now it was time to decide after a year of day dreaming on what to order to begin the build process. As you’ll see below I pretty much did everything all in one go but like with any build they are never done. I went to Lucky8 Offroad where Erik there was extremely helpful in getting everything for my truck. I also worked with Greg Johnson at Johnson Rods on the tires and lift rods. Here’s a full list of everything that I’ve done to date that I’ll detail below with pics:
- ARB Summit Bar
- Warn ZEON 10-S Winch
- Johnson Rods
- BF Goodrich All Terrain KO2 265/65/18
- Tactical Rovers Rock Sliders (w/ side steps)
- Tactical Rovers Rear Bumper and Tire Carrier (w/ side steps)
- Baja Rack (with shovel rack)
- ARB Intensity Lights
- KrazyBeaver Shovel
- Compomotive 18" Wheels & caps
- Front Runner Ladder
- Front Runner Drawer System
- LR seat covers
- LR Trailer Hitch & wiring harness
- LR Tail Lamp Guards
- Proclip iPhone Mount
- Plasti-Dip (Wheel Flares, Badging, wheel caps and side vents)
- Painted Tow Hooks
As I was waiting on everything to come in I decided to change the lettering and vents to a flat black. Originally I thought I would look to have these painted or replaced but then got the idea to plasti-dip them. Overall very pleased with the results where you’ll see later I plasti-dip the wheel flares as well.


Front Runner Drawer System
Next kit to arrive was the Front Runner Drawer System. I was a little sticker shocked at the price of this unit, but I must say it’s quality kit with zero regrets. This was actually the only item I got help from on the entire project as I simply couldn’t lift it in truck on my own. Simple install but not something you want you want to remove from the truck once installed.


Front Runner Ladder
The ladder was next. I debated hard on the ladder as I was originally going to go with the ProSpeed ladder but knowing I would be doing the rear bumper and tire carrier I opted for the Front Runner ladder as it has the extra step over the OEM one. Install was a bit tricky as it took awhile to get it right without scratching the paint on the rear door.

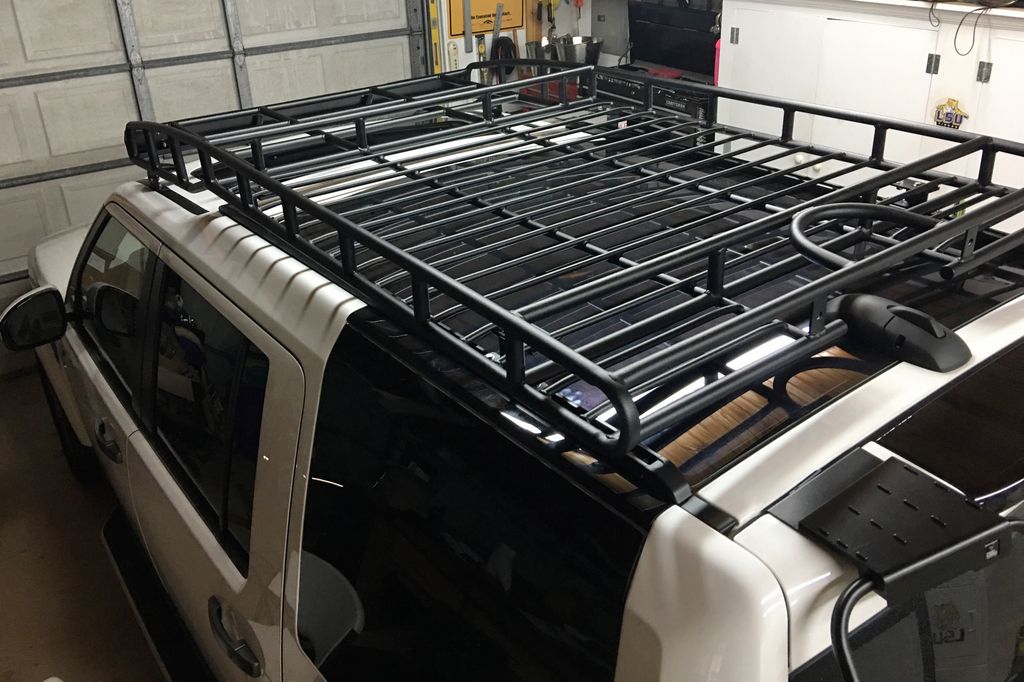
BAJA Rack
UPS then calls to ask if their is room to park a 18 wheeler as they had a delivery from Baja for the adventure rack. Luckily I live on a farm… Like the ladder I was back and forth between this one and the ProSpeed rack. Although I’ve never seen the ProSpeed rack in person I’m quite pleased with the Baja Rack. Very simple and straight forward install but because I have a new LR4 I had to order the shorter rails which was another added expense that became the norm on this project.

Wheels / Tires / Lift Rods
Now the project starts to get exciting when the new wheels showed up almost the same time the tires showed up. From the get go I was always going to go with the 18” compomotive wheels. I actually tried to order these before leaving the UK but couldn’t get them in time before the movers showed up. I also went ahead with Johnson Rods to give that extra lift where I’ve been quite pleased with the set up. In the corners you can somewhat feel the higher height but this isn’t a truck you want to be scorching around corners. Tire size I was torn between going 265 or 275. I went back and forth on this for a few days before opting to go with the BF Goodrich All-Terrain K02 - 265/65/18. I brought this to my local Good Year shop to install and swap out the tire sensors from the original wheels. From first site I knew I made the right decision when I came to pick it up. Pictures of these trucks simply don’t do it justice as its quite impressive in person with the new wheels and lift. I also went ahead and ordered up some black wheel caps and gave them a few coats of plasti-dip as they were a gloss black.


The big wait was on the bumpers as the new ARB Bumper was actually 1 of 4 bumpers to hit US soil in early January. It was just released for the late model LR4s where it was exciting to get the first one. On the rear bumpers there was a slight delay as they had to go back for powder coating due to a quality issue but Eric at Tactical Rovers was extremely helpful.


