2016 Land Rover LR4 (Discovery 4) Project Build
- Thread starter gulfstreamchris
- Start date
You are using an out of date browser. It may not display this or other websites correctly.
You should upgrade or use an alternative browser.
You should upgrade or use an alternative browser.


Member II
How in the heck do you take such an incredible photos!!! Wow!!! [emoji1306] Oh, my FrontRunner drawers are on their way!!! You have inspired me to go back to my build thread and finish but now I would just direct LR4 folks here!!! Hahaha!

Pathfinder I
- 2,271
- First Name
- Black
- Last Name
- Tan
- Member #
2385
- Service Branch
- Boys brigade
Member II
NOW THERE's A TRUCK !!!! IN MY OPINION.
THE BEST 4x4 X FAR
Agreed!!! [emoji1303][emoji1303][emoji1303][emoji1303]
Pathfinder I
- 2,271
- First Name
- Black
- Last Name
- Tan
- Member #
2385
- Service Branch
- Boys brigade
 ive got this as a courtesy at the moment while mine is getting repaird I fell out with LR at the end of the TD5 range as they never had a commersial in the the diso , 3 at first , but the last week has drawn me back this Model is one beast , ive sat in the new one it does nothing for me think ill be looking for a demonstrator asap.
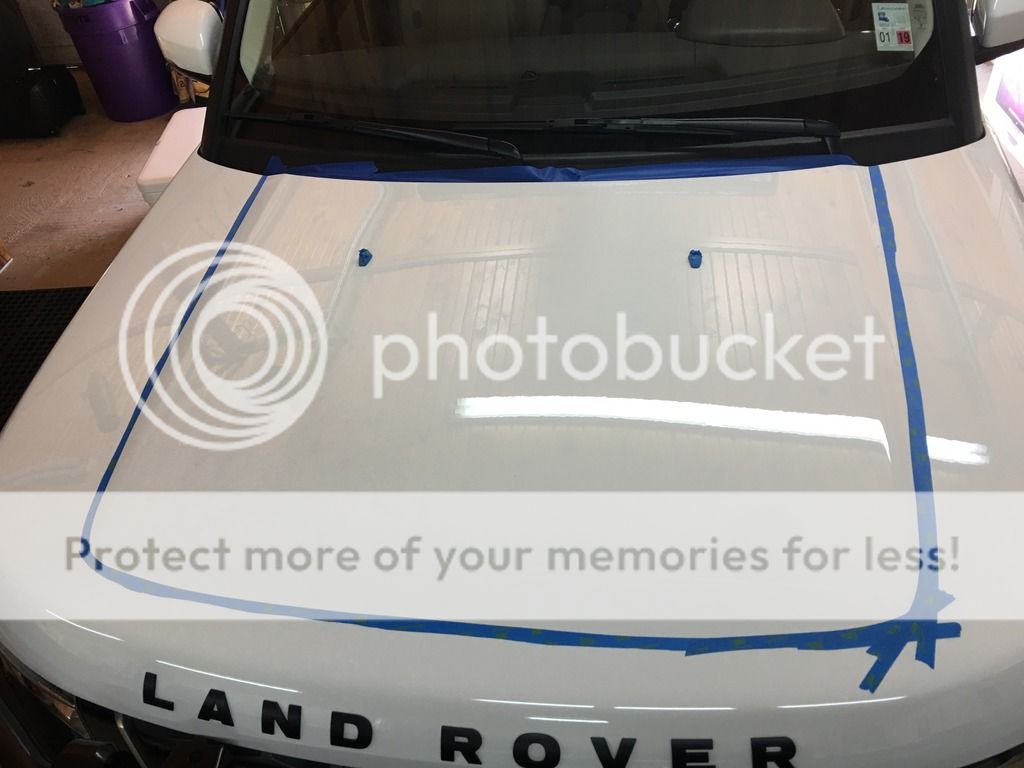
One of the items I wanted to do was blackout of the raised portion of the hood. There are a few people out there that have created these; however, they do not cover the sides of the raised portion on the hood. I asked if they would change this and got a why would you do this as we've never had this request before? Back to the drawing board on doing this on my own. As I was doing the plasti-dip I thought I could give this a go for the hood as well which leads me to today and my Saturday afternoon project.
Hard part for this is masking off the lines and getting a good curve towards the front of the hood. For me I took normal blue tape and cut it in half to be able to bend the tape easier on the curves as you see below:
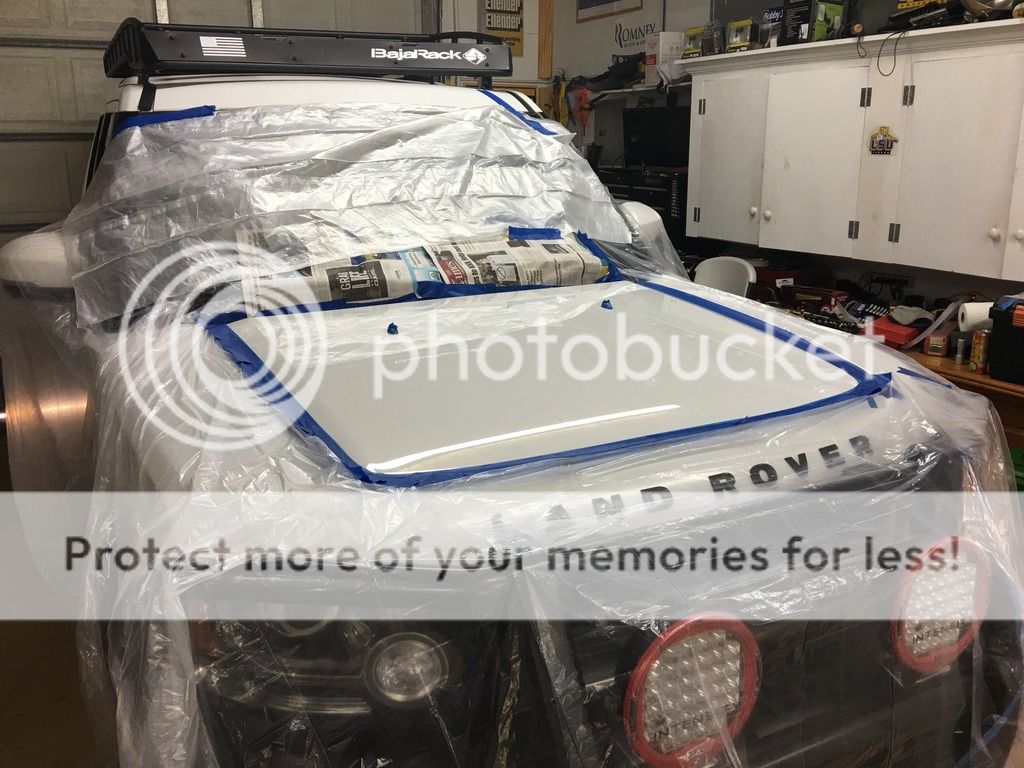
Once this was done I then began to mask off the truck. Key is to open the hood and mask underneath the the hood near the edges and along the engine bay near the wipers to give you a good clean mask.

Here's the truck fully masked off using drop cloth and newspaper ready for the first coat.
First coat applied. Key is not to overdue it on the first coat.
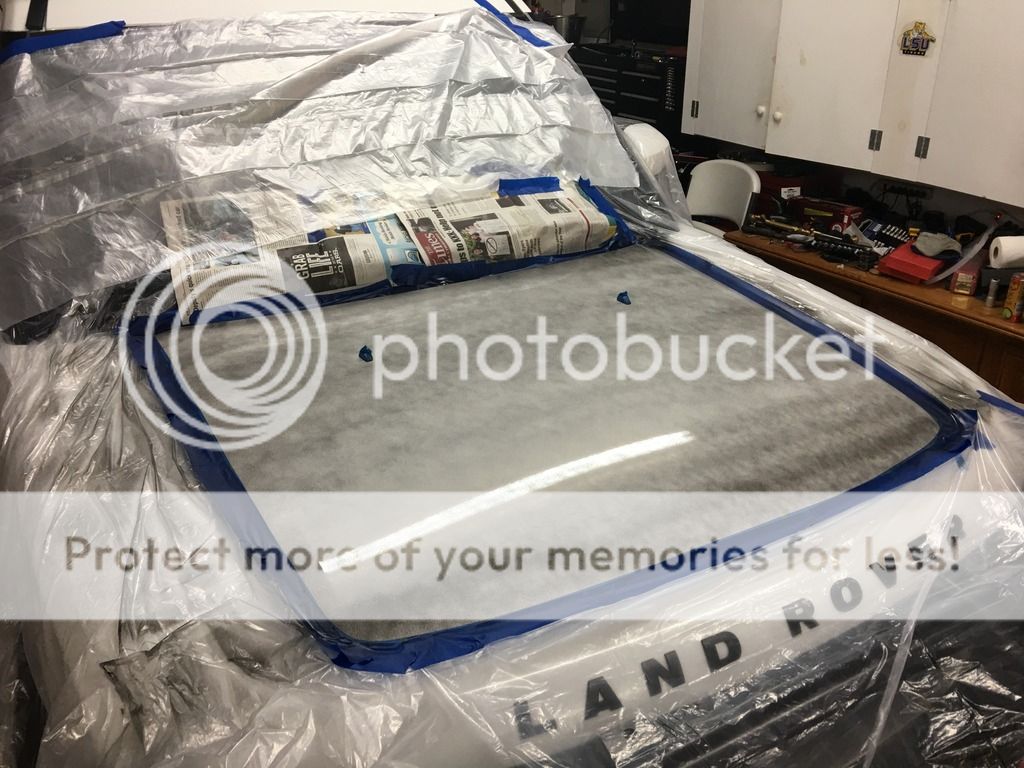
Shot of the 3rd coat.
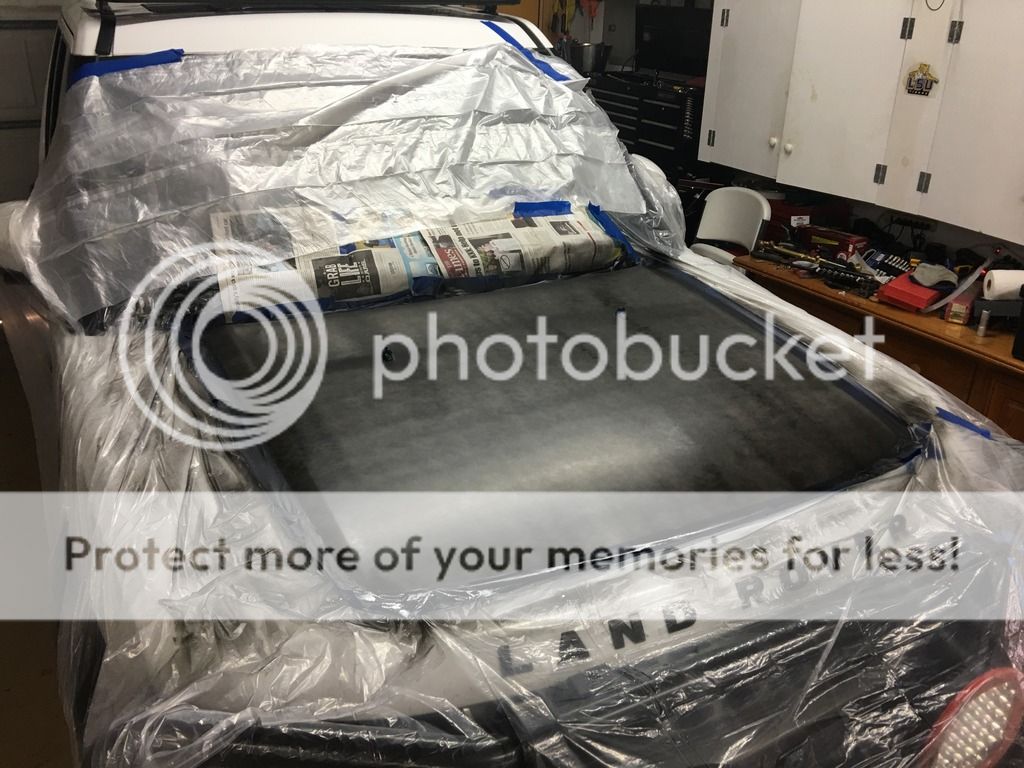
Shot of the 6th coat.

And finished product...few coats later.

In summary it's still a little early to tell as it needs to properly dry. It was hard to get a good even coat on such a large surface. I was standing on a ice chest on the front trying to cover the entire area but also standing on the sides to change up the direction of the strokes. I'm just glad I was able to get a good clean break on the lines when I removed all the tape. Overall though really pleased with the look and anxious to see how it holds up.
I'll let it cure for a bit then take it out for some better photos to share.
Hard part for this is masking off the lines and getting a good curve towards the front of the hood. For me I took normal blue tape and cut it in half to be able to bend the tape easier on the curves as you see below:

Once this was done I then began to mask off the truck. Key is to open the hood and mask underneath the the hood near the edges and along the engine bay near the wipers to give you a good clean mask.

Here's the truck fully masked off using drop cloth and newspaper ready for the first coat.

First coat applied. Key is not to overdue it on the first coat.

Shot of the 3rd coat.

Shot of the 6th coat.

And finished product...few coats later.

In summary it's still a little early to tell as it needs to properly dry. It was hard to get a good even coat on such a large surface. I was standing on a ice chest on the front trying to cover the entire area but also standing on the sides to change up the direction of the strokes. I'm just glad I was able to get a good clean break on the lines when I removed all the tape. Overall though really pleased with the look and anxious to see how it holds up.
I'll let it cure for a bit then take it out for some better photos to share.

Enthusiast III
Did you sand the paint prior to applying? And did you remove tape right away or let dry a bit?
Oh no sanding at all. Plasti-dip is made so you can pull it off if you don't like or want to change. On the last coat you ensure the edges are wet and pull up right away. I
Sent from my iPhone using OB Talk
Enthusiast III

Fantastic write up highlighted by your eye candy pics. Love those Rovers. Keep pics coming of your adventures with the truck.
Glad to know the prefab stickers do not cover the sloped edges of the hood, I had been looking at options. Would love to see some additional pics of your handywork. Curious how the hood looks I'm the sun.
Love the entire build.
Love the entire build.

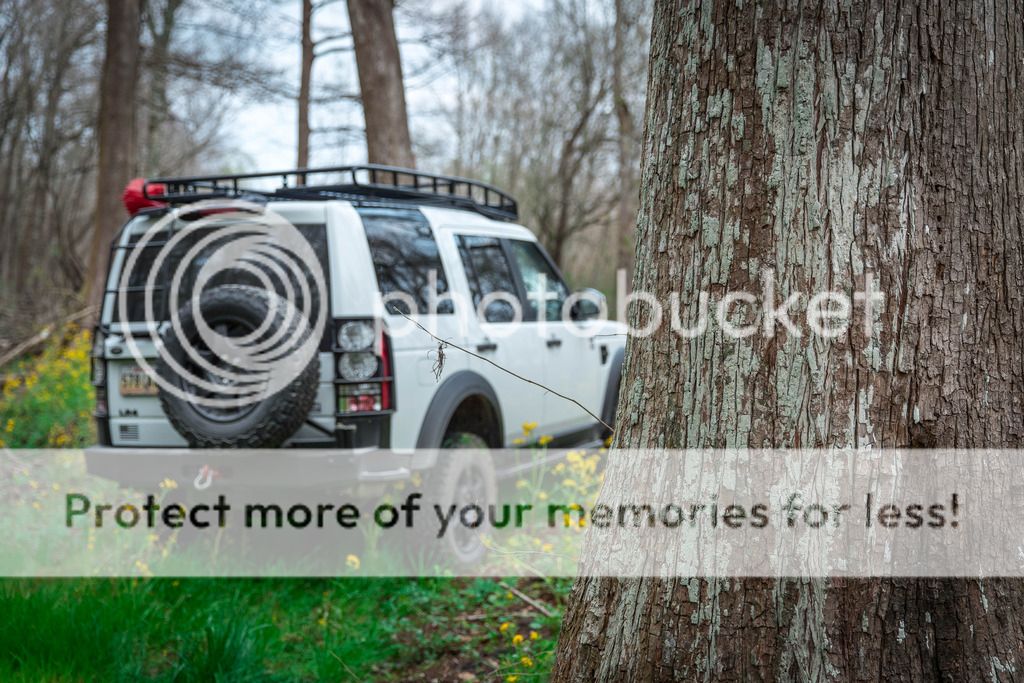
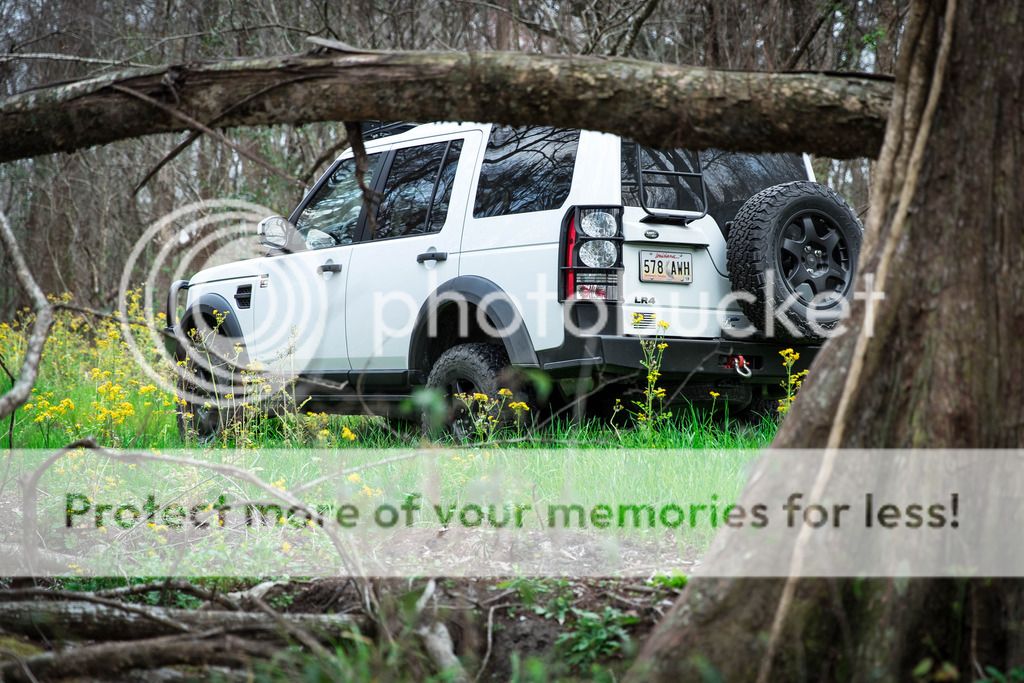
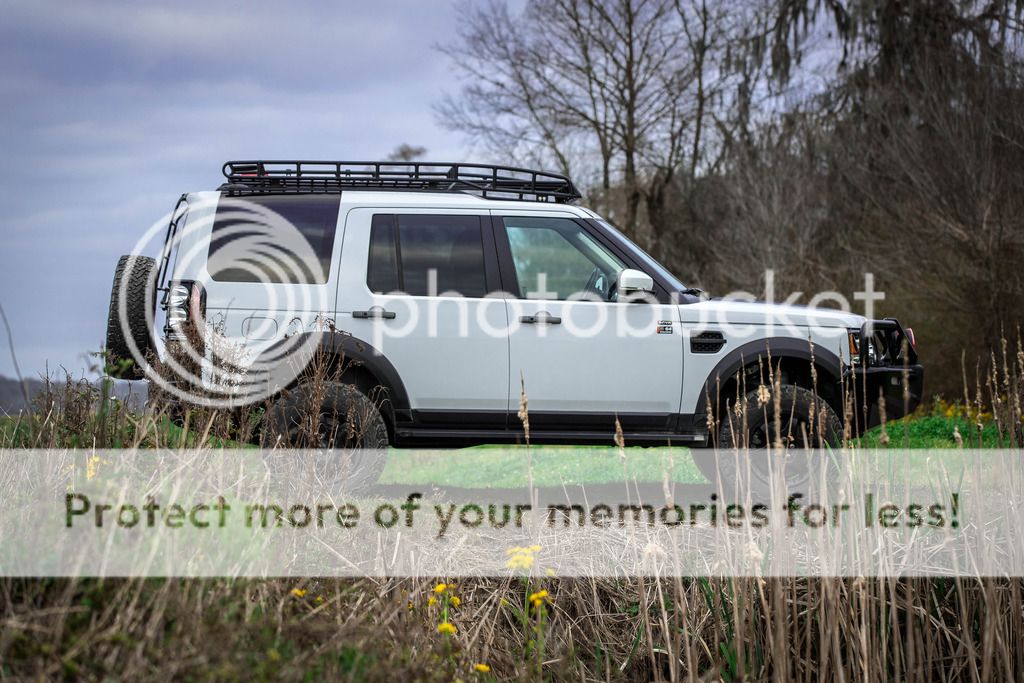
Took the truck in the back for a little spin and some shots. Loving the look and results on the hood.


Member II
Sweetest LR4 I've ever seen, by a mile
I completely agree and I have an LR4. Chris' LR4 tops the list!!!!
Enthusiast III
@gulfstreamchris would love to see a couple of pics of the hood. I'm considering following in your footsteps.
Sent from my iPhone using OB Talk
Sent from my iPhone using OB Talk


Great job @gulfstreamchris. If you want an update on my snorkel fiasco, you can follow it HERE. Today was better, no faults. I'll post a thread about it on here in a bit.
