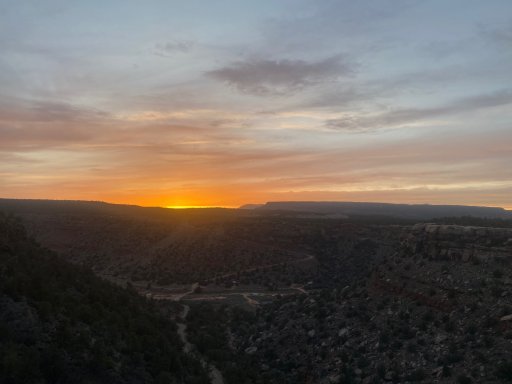
Well, it's been quite awhile since I posted any updates here. Seems like life got in the way of working on the truck the last few years. I bought a house in 2018 so most of my time and funds went to that project. The Raven has mostly stayed the same and I have just enjoyed getting out and exploring, camping, skiing, hiking, etc... instead of working on it further. Guess that is really the end goal, doesn't matter how much work you do on the rig if you never get out and enjoy it! Had some great adventures, including Death Valley National Park (and skiing Telescope Peak), a couple trips to the Utah desert, and many trips exploring the mountains around SW Montana. So far this year is looking even more busy, I moved to a new town to be with my Girlfriend late last year, we are getting married this summer, and I just bought a cabin. However, despite that (or maybe because of that) the Raven is seeing some changes!
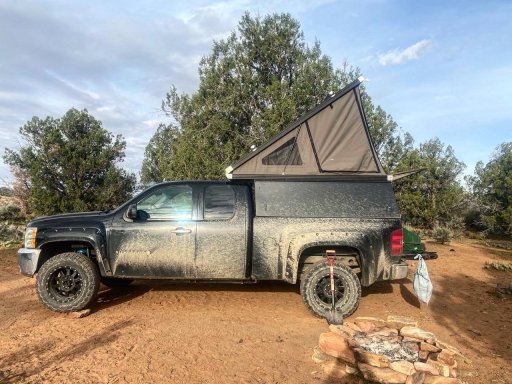
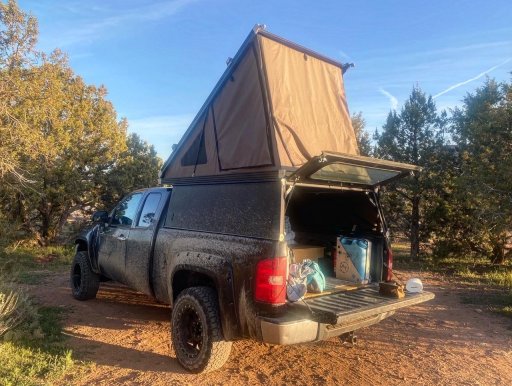
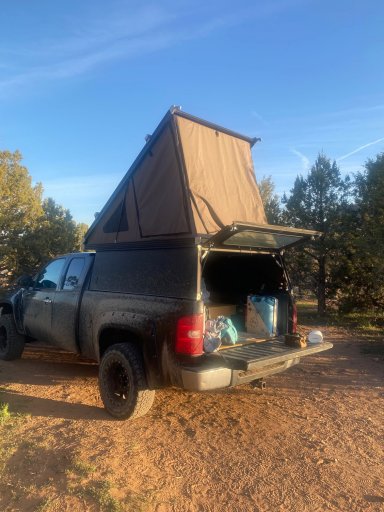
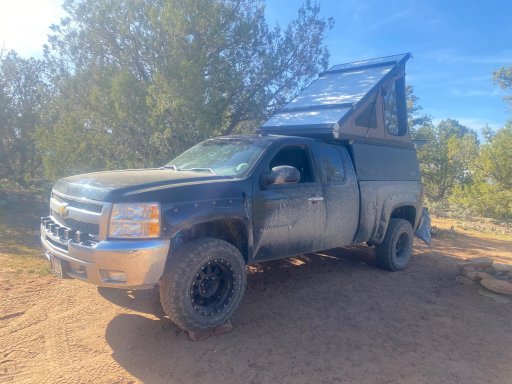
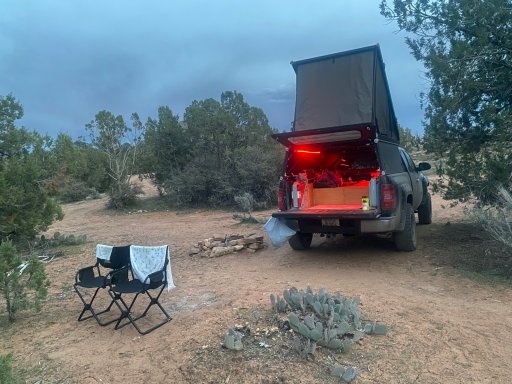
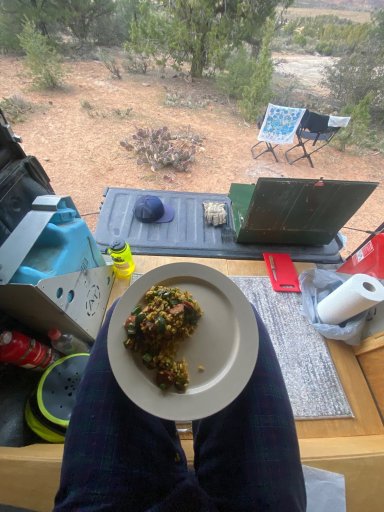
Last year I finally pulled the trigger and put in a down payment for a GFC topper! I have eyed them for years and finally decided it was time. I got it installed last November, and although I had intentions to get out and try it sooner it never happened (due to life and Montana winter weather...). My girlfriend and I spent a long weekend around Zion a couple weekends ago and put it through its first real trip. So far I am loving it, definitely have some things to tweak in my setup, but I am enjoying the additional space. I am really looking forward to using the inside space more to get out of incliment weather (one of the main reasons I upgraded from the original topper system).
First, a couple pictures on the way down the street to get the GFC installed. Was funny seeing the rig so bare, hadn't been without a topper since I first bought it, and definitely had never seen the Raven with all the suspension upgrades and no topper.
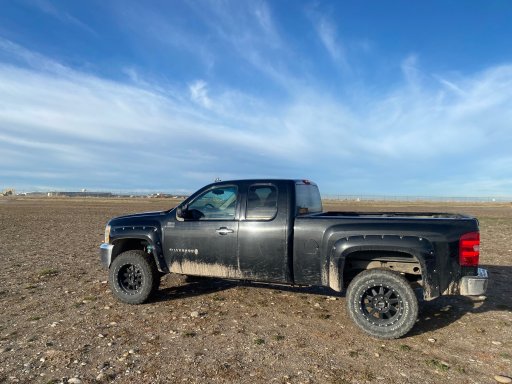
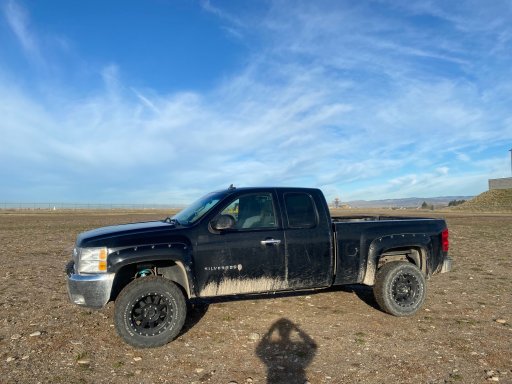
The Raven on the way out of the GFC shop!
![Raven_GFC[2648].jpg](/forums/data/attachments/227/227765-e89d33d6e817f5fddf210848e935acc1.jpg)
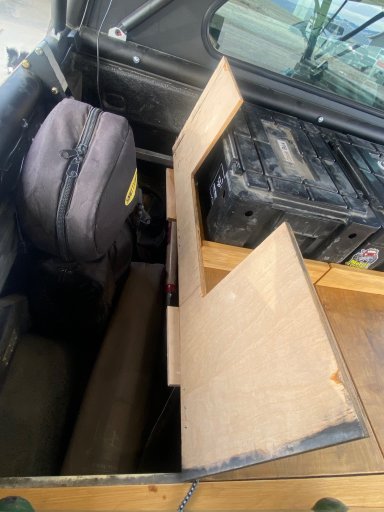
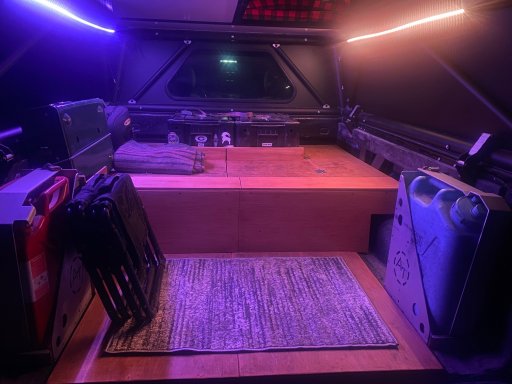
At first, I just put my original deck set up that I had made for the original topper back in. However, after opening the tent up and hanging out inside for a bit, I decided that it would be nice to have a little extra standing room at the back of the bed. Additionally, I wasn't sure that I wanted everything under the deck any longer. One of my goals for the GFC build out is to have everything easily accessible while inside the camper when the weather is bad. I also want to be able to move everything easily so I can be outside cooking and relaxing when the weather is nice. So, I removed the back half of my original decking system. I made a small extension of the original forward decking area to cover all of my jack and equipment, added a cubby cabinet to serve as a temporary platform for the stove, and took the opportunity to sand down and stain all of the decking.
The decking rebuild in progress:
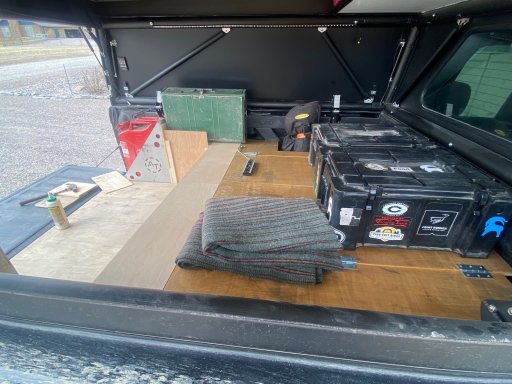
And all completed:
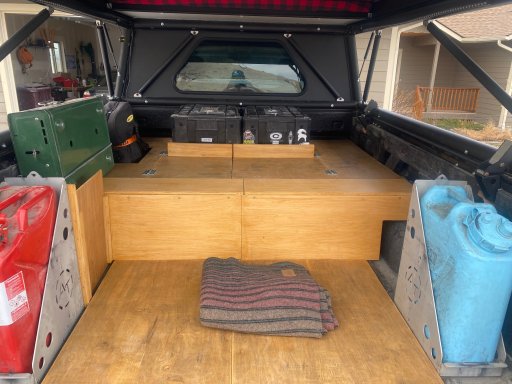
One of the great things about the GFC is the side panel access. I took advantage of this and added hinged hatches on either side of the forward decking to more easily access my tools and gear. On the passenger side is my chainsaw and some tools, the dirvers side currently holds the CO2 tank, tools, and a camp table.
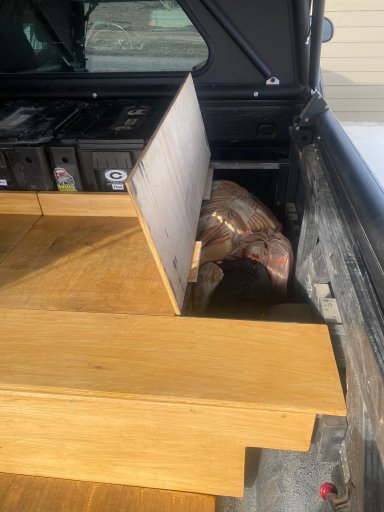
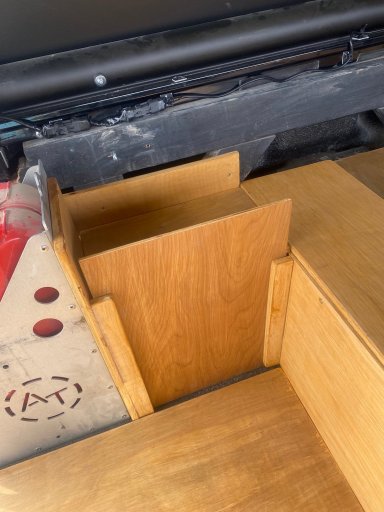
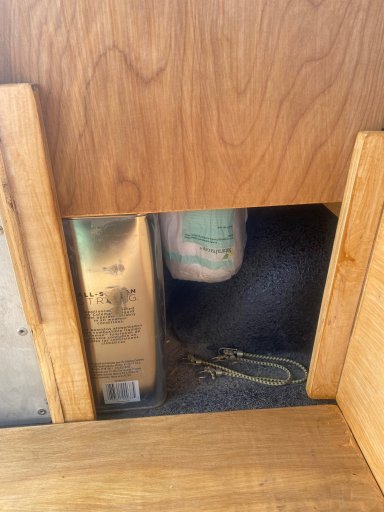
I made a cubby with sliding door behind the fuel jerry can. This currently is serving as a place to store the cook stove while driving, as well as a place to store the necessities such as extra fuel for the stove and TP...
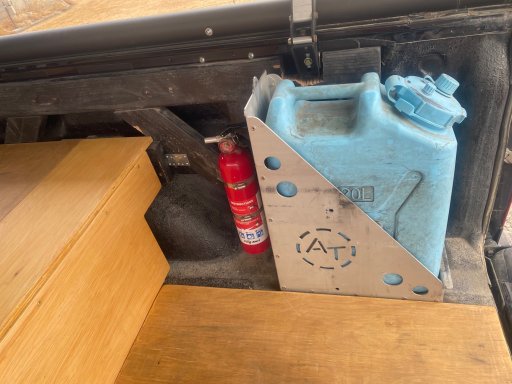
Moved the fire extinguisher slightly, same place but a different mounting location which is much better now than the original version:
For lighting, I looked around at several options. I found at least one kit made for GFCs, but it was prohibitively expensive, especially when you can get cheap LEDs on Amazon for a fraction of the price... I ended up getting a cheap lighting kit for underneath of cars. I made some mistakes installing it and it has been a bit of a hack-job project, but it has come together pretty well overall. It has several different color options, some are unnecessary for camping lights, but the red, orange, and white are perfect. I currently have the remote attached to the side panel with velcro. That way I can turn it on or off easily if I am grabbing things out of the back. If we go up to bed and have the sleeping platform closed, we take the remote up with us and can easily turn it on or off from there. I put two strings of lights on either side of the lower portion of the topper, and two strings along the roof of the tent. This gives us light no matter what configuration the camper is in.


![Raven_GFC[2648].jpg](/forums/data/attachments/227/227765-e89d33d6e817f5fddf210848e935acc1.jpg)


