Did they come welded ? The ones I found on Dark Crow were just a kit and unwelded or painted.
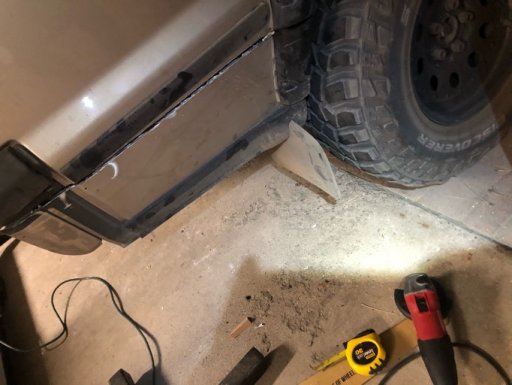
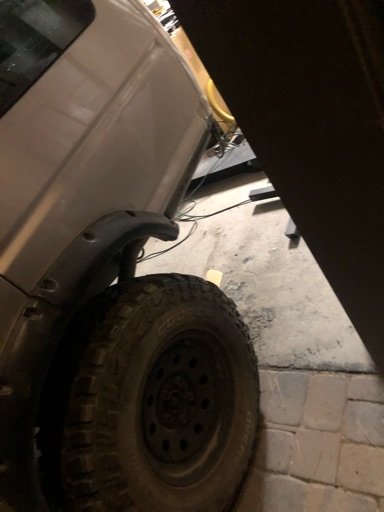
Yep, they come fully welded (pic below), but not painted. You gotta do that yourself.

Did they come welded ? The ones I found on Dark Crow were just a kit and unwelded or painted.

Member III
16986
If you don't mind telling me, how much did they cost including shipping. I cant find a price on the site I looked and they don't offer fully welded ready to go sliders. What web site did you use ?View attachment 124497
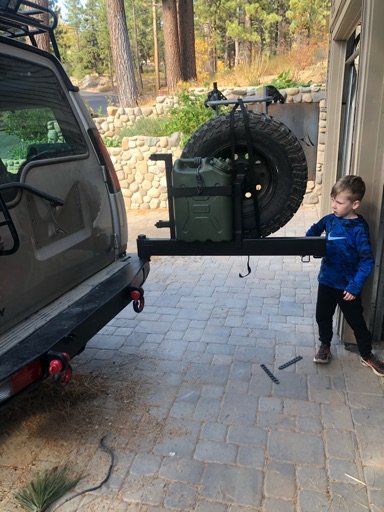
New sliders from Dark Crow Designs just showed up! Amped to get these primed and raptor lined and on.
$685 for the sliders, $145 in shipping from Ohio out here to California. I didn't use a website - i think he only has a facebook site and i'm not on there. I had seen good reviews on other forums and called him and did it all via phone and paypal. Good dude. If you're looking for other smaller shops, check out Casey's Custom out of Montana. I'm getting a new rear bumper from there now and I think he does sliders too.If you don't mind telling me, how much did they cost including shipping. I cant find a price on the site I looked and they don't offer fully welded ready to go sliders. What web site did you use ?
Member III
16986
Thanks for the this info. These sliders are fairly complicated to build compared to any other vehicle I have seen, so they dont come cheap from anyone. Because of free shipping I think I will probably stick with lucky 8. I may start with just the rocker panel slider at + - $500 and have my local guy add the nurf bars at a later date. I might even build that part myself since I have a pipe bender and welders.$685 for the sliders, $145 in shipping from Ohio out here to California. I didn't use a website - i think he only has a facebook site and i'm not on there. I had seen good reviews on other forums and called him and did it all via phone and paypal. Good dude. If you're looking for other smaller shops, check out Casey's Custom out of Montana. I'm getting a new rear bumper from there now and I think he does sliders too.


Member III
16986
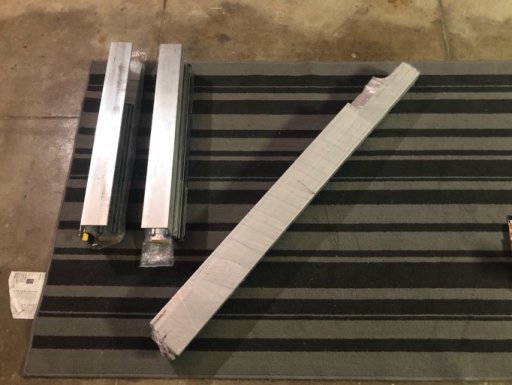
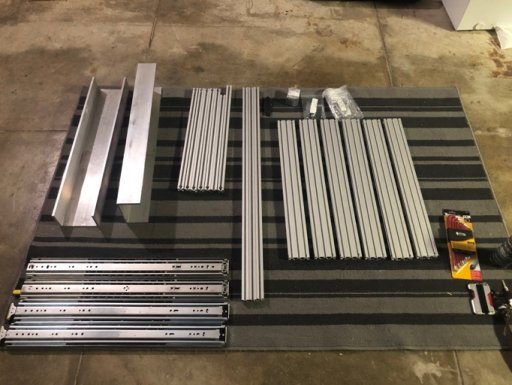
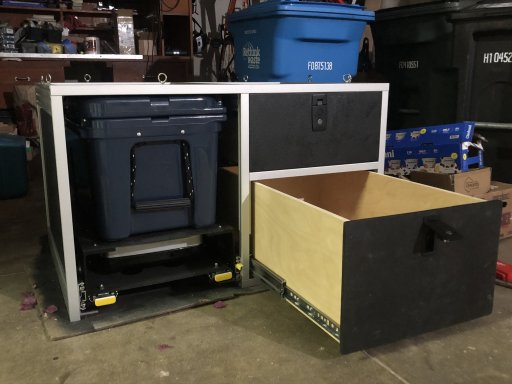
It's all a puzzle to me. Did they send good assembly directions. Who was your supplier ? Where did the design come from ?80/20, aluminum channel for cooler / stove slide combo, and drawer slides showed up!
Got the counter bores in the wrong places in a few spots. Need to fix that and then start attaching the slides and making the platform and “cubby” for the stove. Still waiting on a few parts with this delayed shipping..,
It's all a puzzle to me. Did they send good assembly directions. Who was your supplier ? Where did the design come from ?
Member III
16986
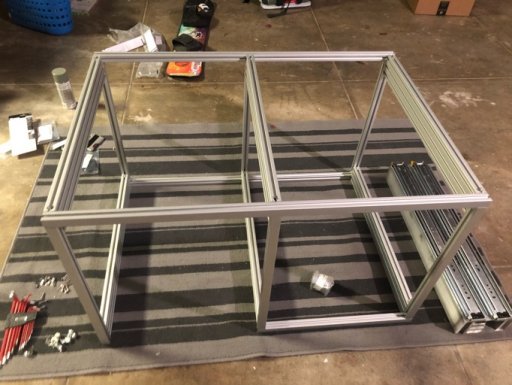
As always you are doing an extortionary job on all of this build. Wish I could hang out and help when you need more than two hands.I measured about 400 times and designed it over and over again on paper about 20 times. Loosely based on what I’d seen from goose gear. I ordered the aluminum extrusion from 80/20, the aluminum channel and sheets from onlinemetals and the slides from accuride and woodworkers express. I’ll be getting the drawers from drawer depot or something like that.
When I ordered the aluminum extrusion, you can have them do machining services. I just had 4 or 5 of the counterbores for the anchor fasteners it in the wrong place. So I’ll have to pop down to a machine shop to get those done real quick.
Hope to have the whole thing done by next weekend.


Member III
16986
Like um, couldnt afford um but got some Lucky8 ones for under $6 bills.Yep, they come fully welded (pic below), but not painted. You gotta do that yourself.
View attachment 151593
Member III
16986
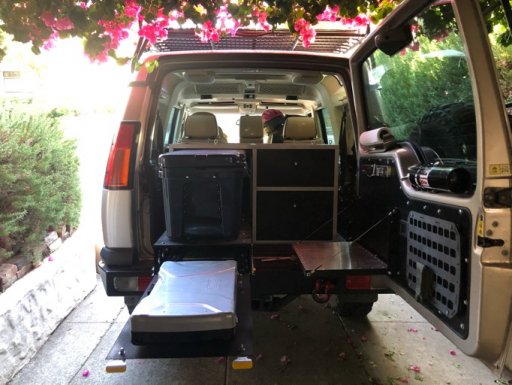
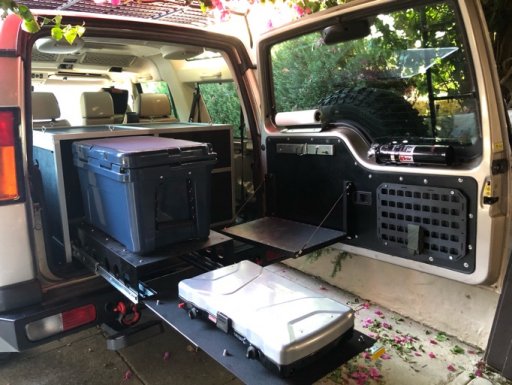
Very nice, did you build the door unit yourself. Did you post a page on it yet ?Ok, here’s the drawer system finally mounted up in the truck with stuff:
Very nice, did you build the door unit yourself. Did you post a page on it yet ?