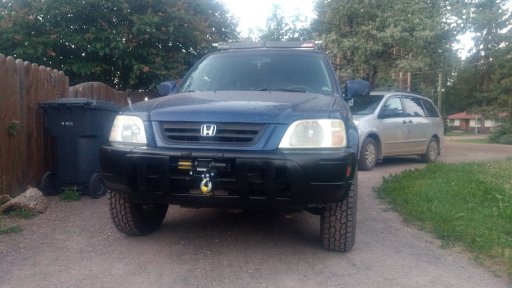
1999 Honda CR-V - "Ganbaru"

  • HTML tutorial

CR-Venturer

Rank VI
Launch Member

Traveler III

3,372
Ardrossan, AB, Canada
First Name
Jas
Last Name
Spr
Member #

16340

I'm almost dead center of the province, near Smithers. We moved here last October 31st, but I used to live in the LMD, and I grew up in North Van. When I first got the CR-V, I was living in Chilliwack, so I know a lot of the trails around there, East and West Harrison, and Fraser Canyon.
 

EastVanGuy

Rank I

Enthusiast I

231
British Columbia, Canada
First Name
Guy
Last Name
Moody
In skimming over this thread, I realized that I neglected to mention and show one of the most critical mods I've made to the CR-V!

Namely, two 10,000lb rated recovery hooks bolted into the rear "frame rails" of the unibody:
View attachment 201599
View attachment 201600
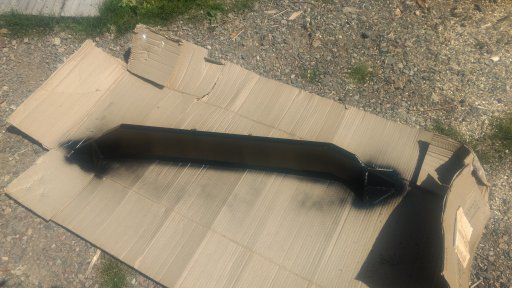
These are bolted into the holes where a hitch receiver would be mounted. If I ever need recovery or need to tow or snatch someone, I use a bridle linked between them to attach the strap. This is to spread the load between the two points instead of relying on only one. The white goop is sealant i added to ensure it didn't rust. I also sprayed the holes with paint, as I had to widen them slightly to fit the bolts.

If you have a hitch receiver, you just need to get a shackle mount to insert into it. Never recover off a tow ball! In my opinion, a 2" hitch receiver would be preferable to what I have here, however once again the budget intervened. These were like $15 at princess auto for the pair, while the hitch receiver was a couple hundred at least.

I have used these recovery points before, and they have held up just fine, but as I mentioned, if you have the cash, the 2" hitch receiver with a shackle mount is a better option for ultility, and is probably marginally better overall, as it spreads between three points, since it bolts into the tiedown point in the middle under the tub.
Fortunately I have the 2" hitch. I have bike racks, and I have a carrier cage that over the years has stood me in well. I used to put some 50cc scooters I had on the carrier rack for holidays. Now I have a motor
 

CR-Venturer

Rank VI
Launch Member

Traveler III

3,372
Ardrossan, AB, Canada
First Name
Jas
Last Name
Spr
Member #

16340

CR-Venturer is a lot farther north. I am in Vancouver, so I can almost see your house from mine :)

Yeah, an open border would be nice. Getting back to normal would be nice. I can see the light at the end of the tunnel and when it is done I will happily be heading to the interior (currently we are supposed to limit travel in the province) and when it is clear, south too.
I'm pretty sure that regional travel restriction ended on May Long Weekend.

Even if it didn't, it's unconstitutional BS with zero scientific basis or justification and should therefore be ignored in any case.
 
  • Like
Reactions: MBDSRD1

CR-Venturer

Rank VI
Launch Member

Traveler III

3,372
Ardrossan, AB, Canada
First Name
Jas
Last Name
Spr
Member #

16340

EastVanGuy

Rank I

Enthusiast I

231
British Columbia, Canada
First Name
Guy
Last Name
Moody
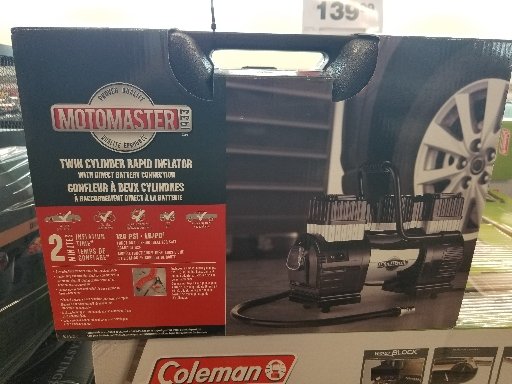
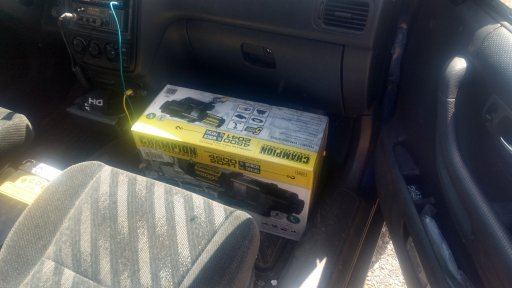
Good idea. I was in there yesterday too and didn't think of this. Right now I am at Canadian tire picking up an air compressor. $100 but good reviews and 1.58 cfm so decent flow.
 

Attachments

EastVanGuy

Rank I

Enthusiast I

231
British Columbia, Canada
First Name
Guy
Last Name
Moody
Also realized my earlier post was truncated. I have a motorcycle carrier and way down my list is a small dirt bike to throw on the back. They are never as cheap as I want them to be though.
 

CR-Venturer

Rank VI
Launch Member

Traveler III

3,372
Ardrossan, AB, Canada
First Name
Jas
Last Name
Spr
Member #

16340

Nice! My adventure buddy who has a 2015 Taco uses that exact compressor. He's had good service from it, so should serve very well.

My advice is to grab yourself an air-down tool as well. I went for a long time without one and dang was I impressed when I finally bought one. 4wd Parts in langley carries them, or you can get them on amazon or wherever. I have the Smittybilt one and it's fantastic.
 

CR-Venturer

Rank VI
Launch Member

Traveler III

3,372
Ardrossan, AB, Canada
First Name
Jas
Last Name
Spr
Member #

16340

Looks exciting! Did you consider a portable winch as a solution? I am wondering which winch would work well when ..... wrequired.
I considered all kinds of different ideas lol

I've seen some footage of a guy in Ontario who mounted a 3000lb winch upside down on the factory bumper core winching himself out of a pretty deep, nasty, steep bog hole with no issues. This setup is going to be significantly stronger than that, and although a little short of the "1.5xGVRW" formula, I reasoned that on a lightweight unibody there's some merit to the notion that the winch is going to fail before tearing the car apart lol
 

CR-Venturer

Rank VI
Launch Member

Traveler III

3,372
Ardrossan, AB, Canada
First Name
Jas
Last Name
Spr
Member #

16340

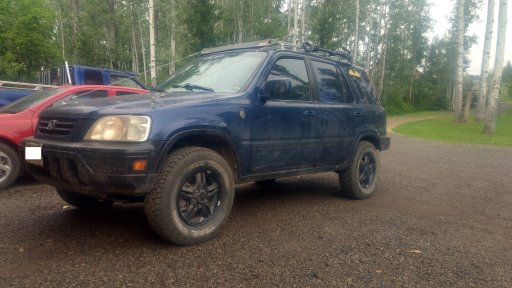
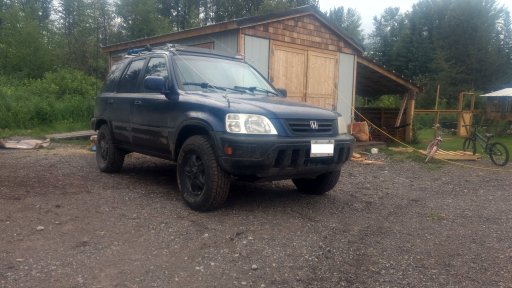
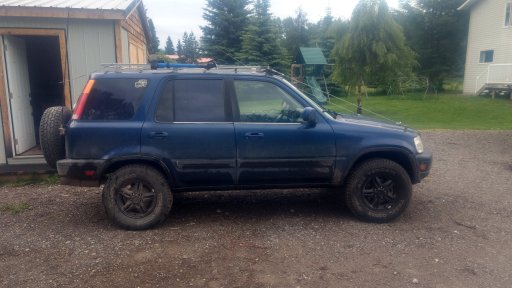
New shoes on:
Stance1.jpg
Stance2.jpg
Stance3.jpg
stance4.jpg
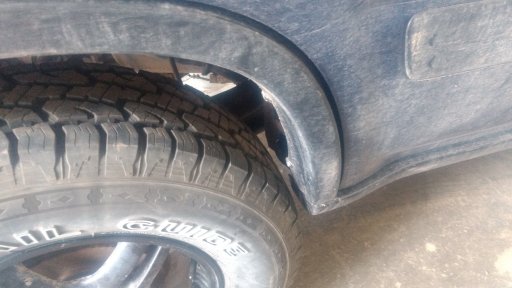
It's a little tight, but under normal driving, it doesn't rub. I think more bashing with the BFH and possibly a spacer on the trailing arm pivot to move that tire back a bit. Overall very happy.

I also went out to the bush and did a little hill climb to test out how much power and torque I lost from the bigger tires. I would say it's only barely noticeable, perhaps the slightest difference, but I for sure would never go any bigger than this size on this vehicle.
 
Last edited:
  • Like
Reactions: MBDSRD1

EastVanGuy

Rank I

Enthusiast I

231
British Columbia, Canada
First Name
Guy
Last Name
Moody
Hey it looks great! Not sure how I missed this post.

What tire size did you put on? I think you said but I cannot find where, sorry.

I didn't notice much power difference with the 215/75r15s that I put on. I think you were going a bit bigger. However, I haven't been out to test mine out yet. In the process of sorting out an alignment I discovered a couple of torn front CV boots and a torn rear trailing arm bushing. I got that all fixed at a shop. The front axels didn't look too hard to replace, but the rear trailing arm bushing looks like a real challenge for a backyard mechanic with no mechanic skills.

I meant to head up Squamish valley yesterday with my daughter but work got in the way. Had to placate myself by organizing gear to make getting away fast and seamless so next window I get I can go at a moment's notice.

Meanwhile, around town I get more than a few people saying that it looks great - I am very happy with the lift and tires from that point of view anyway.

Kind of the opposite to Red Green - if women don't find you handy, they should at least find you handsome.
 

CR-Venturer

Rank VI
Launch Member

Traveler III

3,372
Ardrossan, AB, Canada
First Name
Jas
Last Name
Spr
Member #

16340

Hey it looks great! Not sure how I missed this post.

What tire size did you put on? I think you said but I cannot find where, sorry.

I didn't notice much power difference with the 215/75r15s that I put on. I think you were going a bit bigger. However, I haven't been out to test mine out yet. In the process of sorting out an alignment I discovered a couple of torn front CV boots and a torn rear trailing arm bushing. I got that all fixed at a shop. The front axels didn't look too hard to replace, but the rear trailing arm bushing looks like a real challenge for a backyard mechanic with no mechanic skills.

I meant to head up Squamish valley yesterday with my daughter but work got in the way. Had to placate myself by organizing gear to make getting away fast and seamless so next window I get I can go at a moment's notice.

Meanwhile, around town I get more than a few people saying that it looks great - I am very happy with the lift and tires from that point of view anyway.

Kind of the opposite to Red Green - if women don't find you handy, they should at least find you handsome.
I went with 235/75/15 on the stock alloy wheels. It doesn't rub under normal driving, but it's tight. I'm probably going to massage the wheel wells in the back and probably put a spacer on the trailing arm pivot to make a bit more room. There's a slight loss of power with these tires, but nothing too serious. I surely would never go any bigger.
 

CR-Venturer

Rank VI
Launch Member

Traveler III

3,372
Ardrossan, AB, Canada
First Name
Jas
Last Name
Spr
Member #

16340

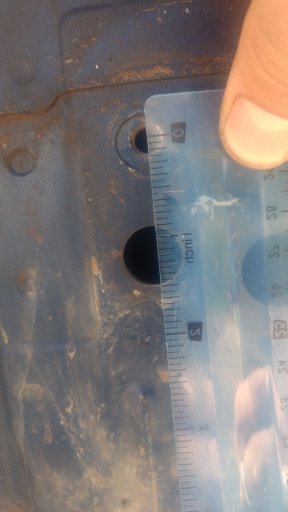
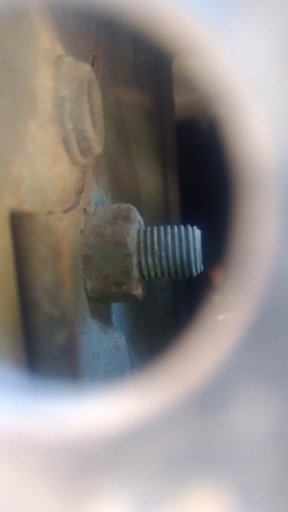
Did the first trial fit today, and I was absolutely stoked to find out that the vehicle has a 1/2 hole from the factory that sits in just about the perfect spot, AND which perfectly lines up with the big fat bolt at the top of the factory tow plates:
holes.jpg
bolt.jpg

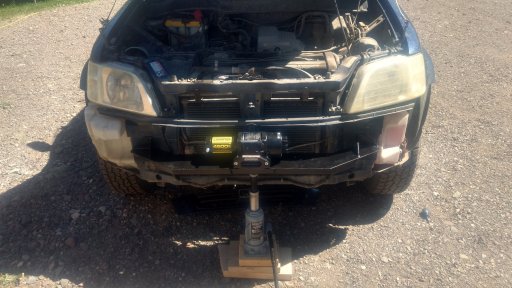
Amazingly, the bolt holes for the four bolts that originally held the bumper core on were almost perfectly aligned. The bottom two were perfect, but the top two needed a bit of filing to make them work. Still, got it bolted up:
winch bare.jpg

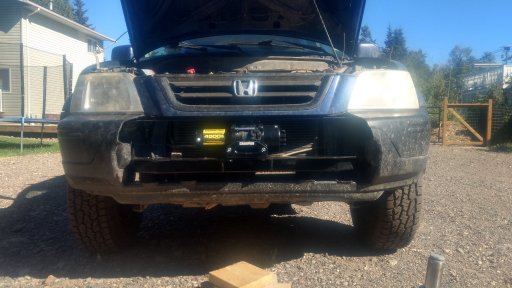
I'm not too happy with the cut I did on the bumper skin. Having said that, it was already cracked in a couple of places anyway, so I'll go to the wrecker and get another one. I have a good idea where to cut it this time to make it look way better, and leave more of the original skin on:
bumper cut.jpg

For now, it's just a poser winch lol But soon I'll get it all fully bolted and tied into the frame rails, a new skin cut that shrouds it more, and of course get the wiring all done.
 

CR-Venturer

Rank VI
Launch Member

Traveler III

3,372
Ardrossan, AB, Canada
First Name
Jas
Last Name
Spr
Member #

16340

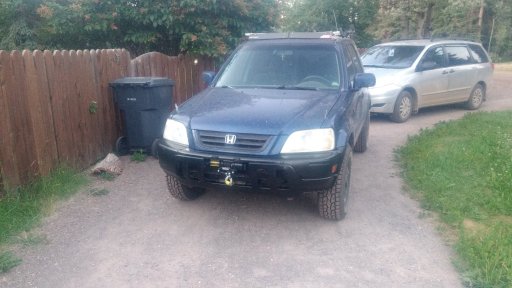
Well, got everything wired up, the synthetic rope tensioned on the spool, and the bumper (re)finished. Rockauto wanted to charge me $750 for shipping a $58 bumper skin, Lordco wanted $450 for one, and the two local wreckers wanted $100 and $200 respectively, so I decided that drifter's stitches were the way to go. Actually turned out pretty cool, if I may say so. Would have been better if I had cut it this way in the first place, but oh well, live and learn.
winch done 2.jpg
Winch done.jpg
I've done some more research into the construction of the unibody on the CR-V, and I'm reasonably confident in this mounting solution just relying on the 4 high tensile M8 bolts into the front of the frame rails. Those pieces are fairly substantial and are welded quite thoroughly. Having said that, I will probably go ahead with my plan to reinforce the mount by tying into the frame rails through the top bolt that holds the recovery points on, but I just haven't yet been able to find the right bolts yet to make it work. It's a matter of being 98% confident now, whereas when I add the eye bolts in I'll be 100%. I wouldn't be sweating using this current configuration unless I was pretty savagely bogged, which I never have been.

Tomorrow, the skid plate goes back on with washers in place to accommodate the 1/4 inch engine drop. I also need to rig up a flip up license plate solution to allow access to the winch.
 
  • Love
Reactions: Downs