• Guest, we are migrating the site today. There may be interruption of service.
  • HTML tutorial

The EH-2 Expedition Hauler by 410XCO

Cappy410

Rank V
Founder 500
Launch Member

Advocate II

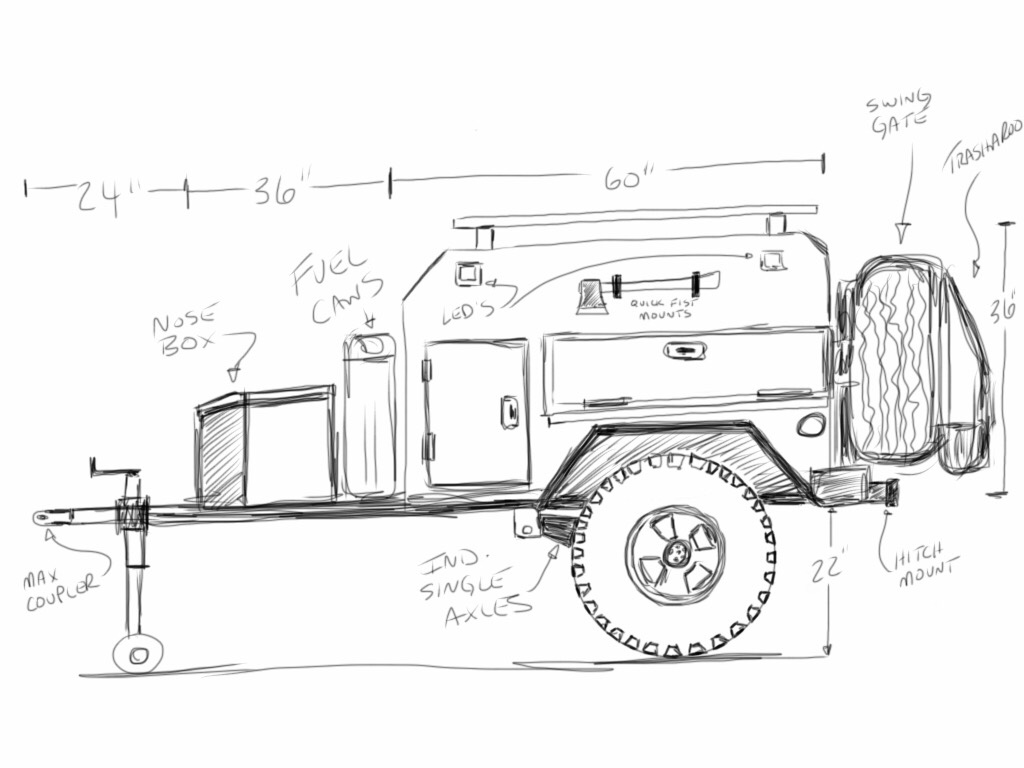
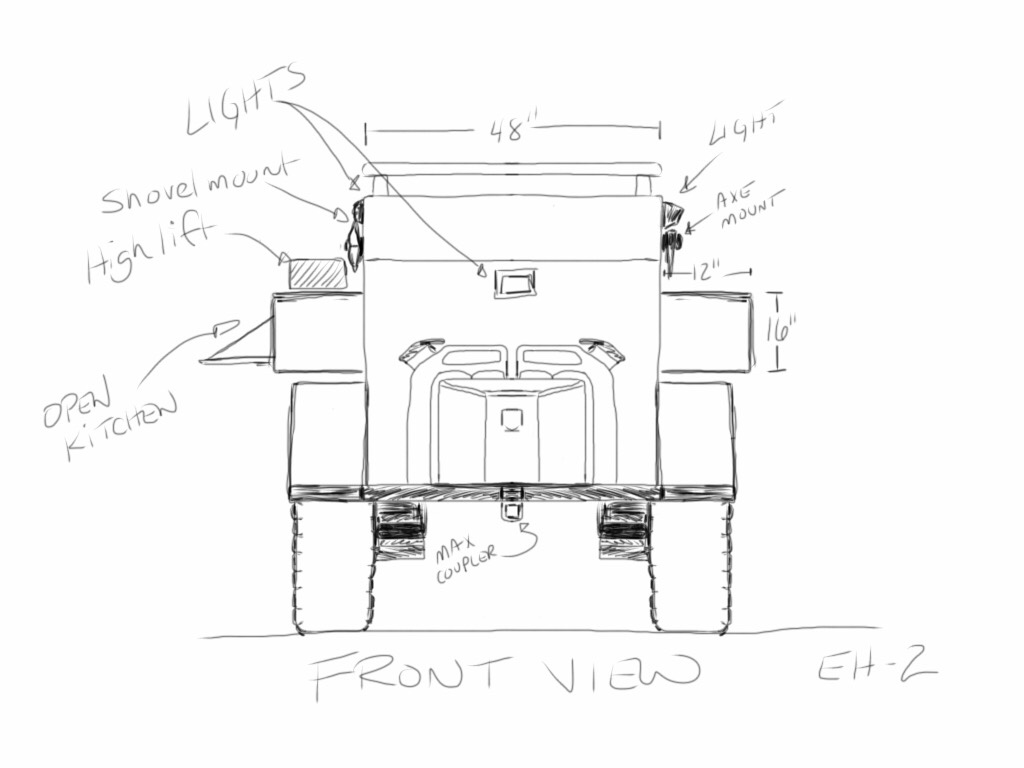
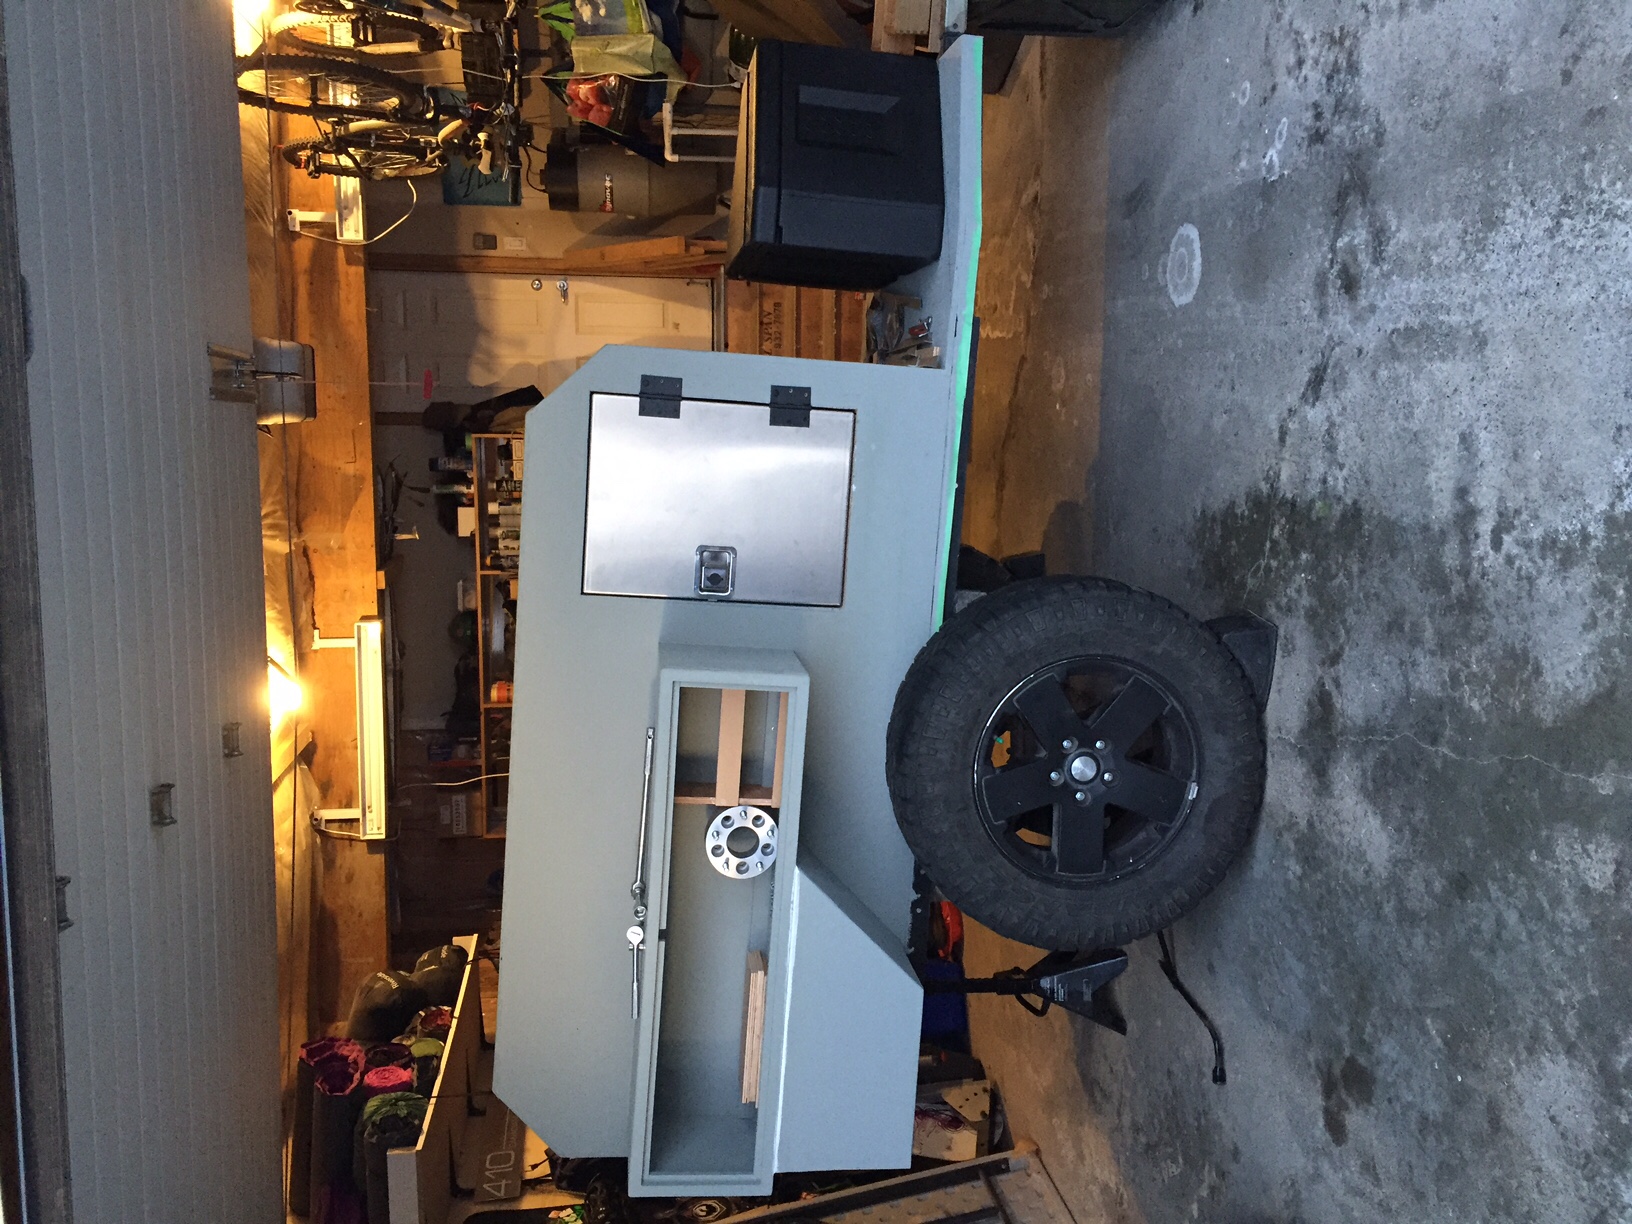
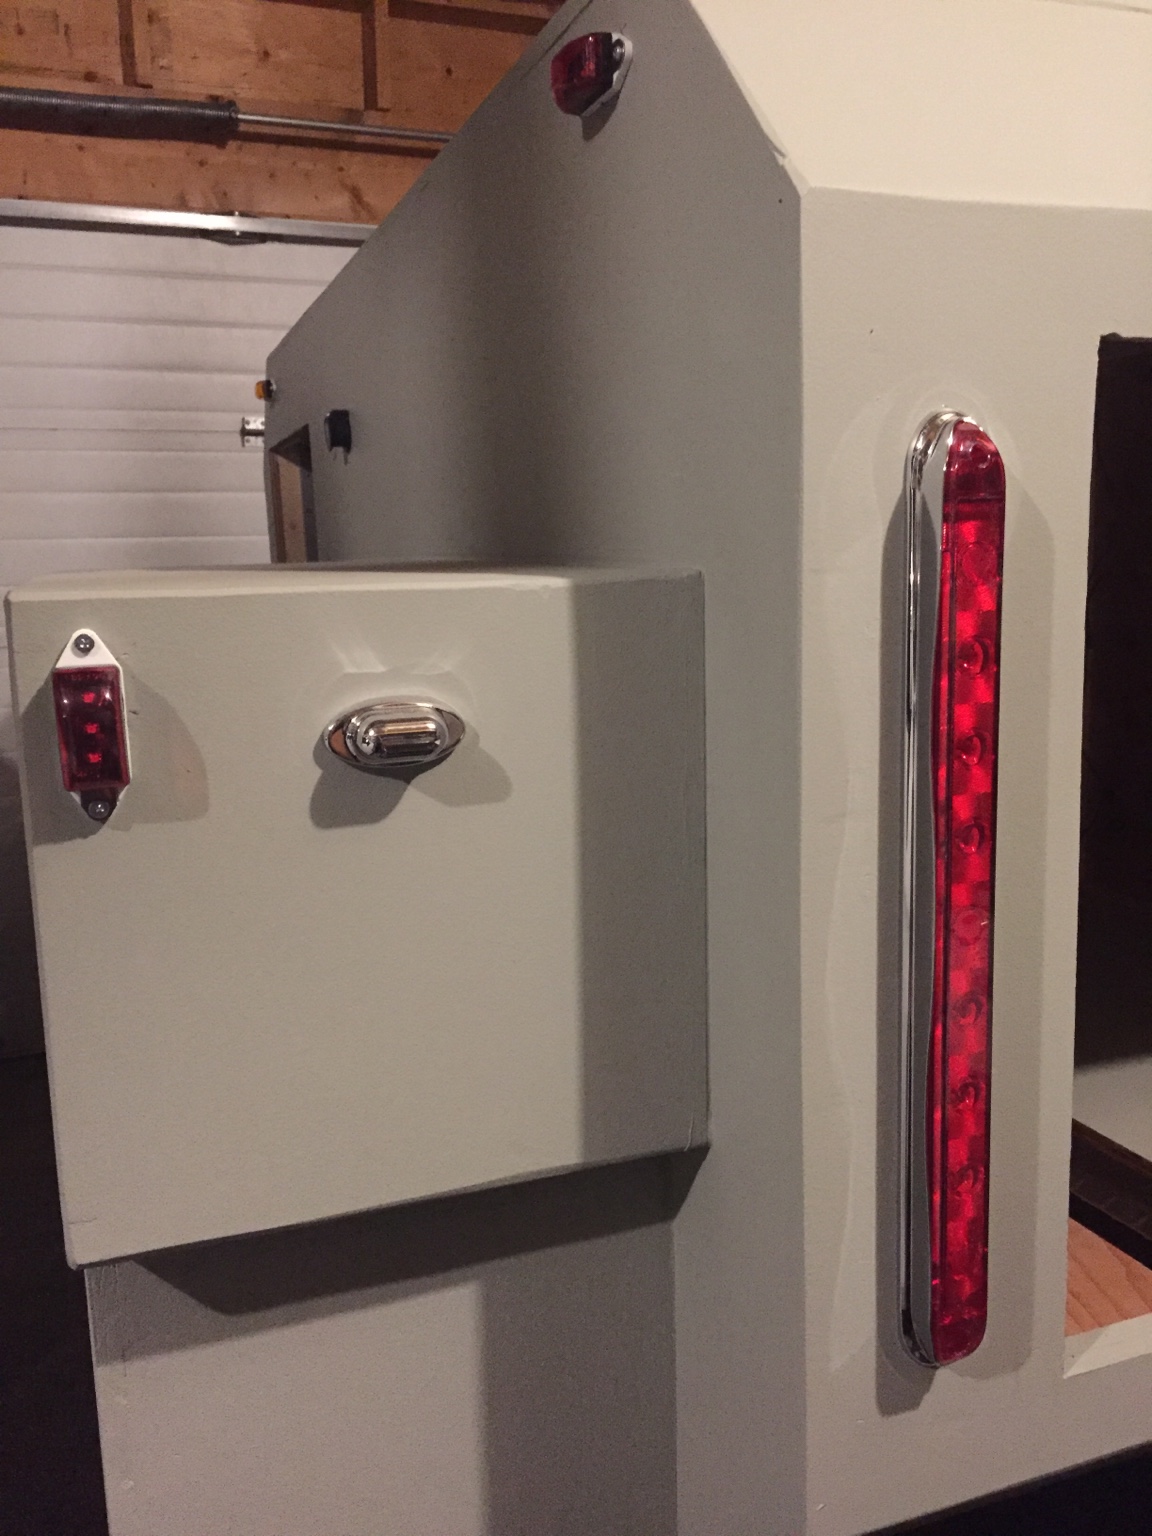
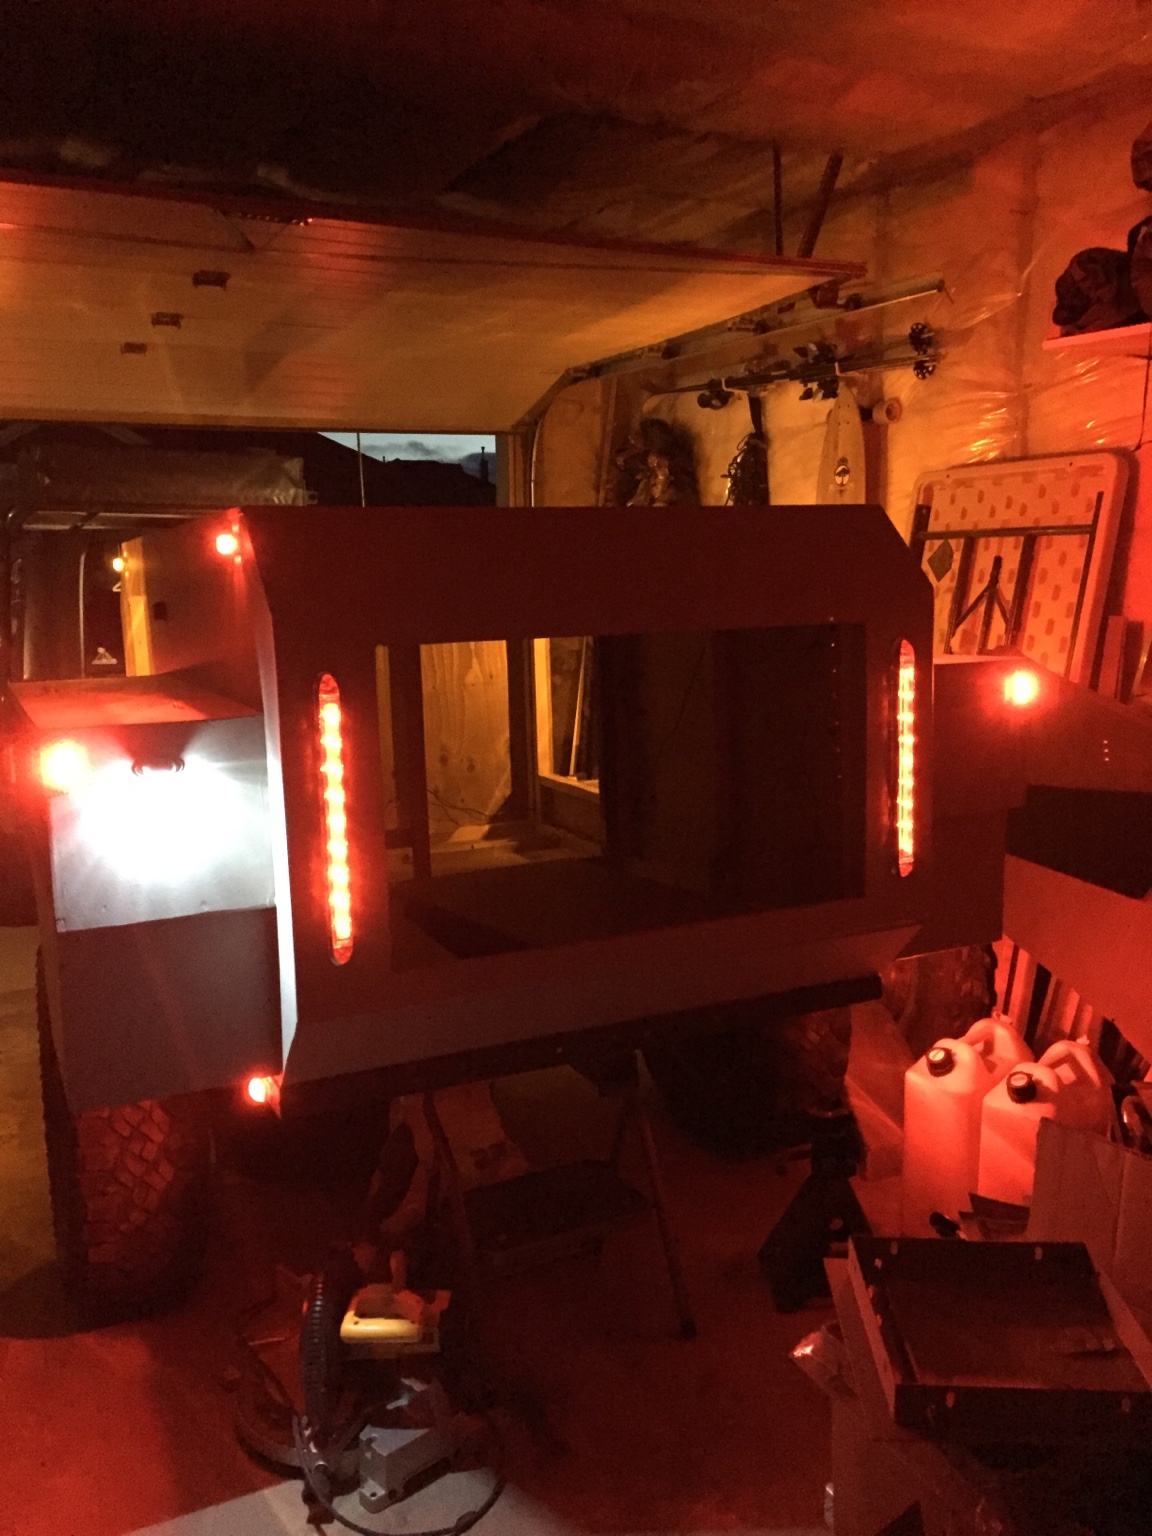
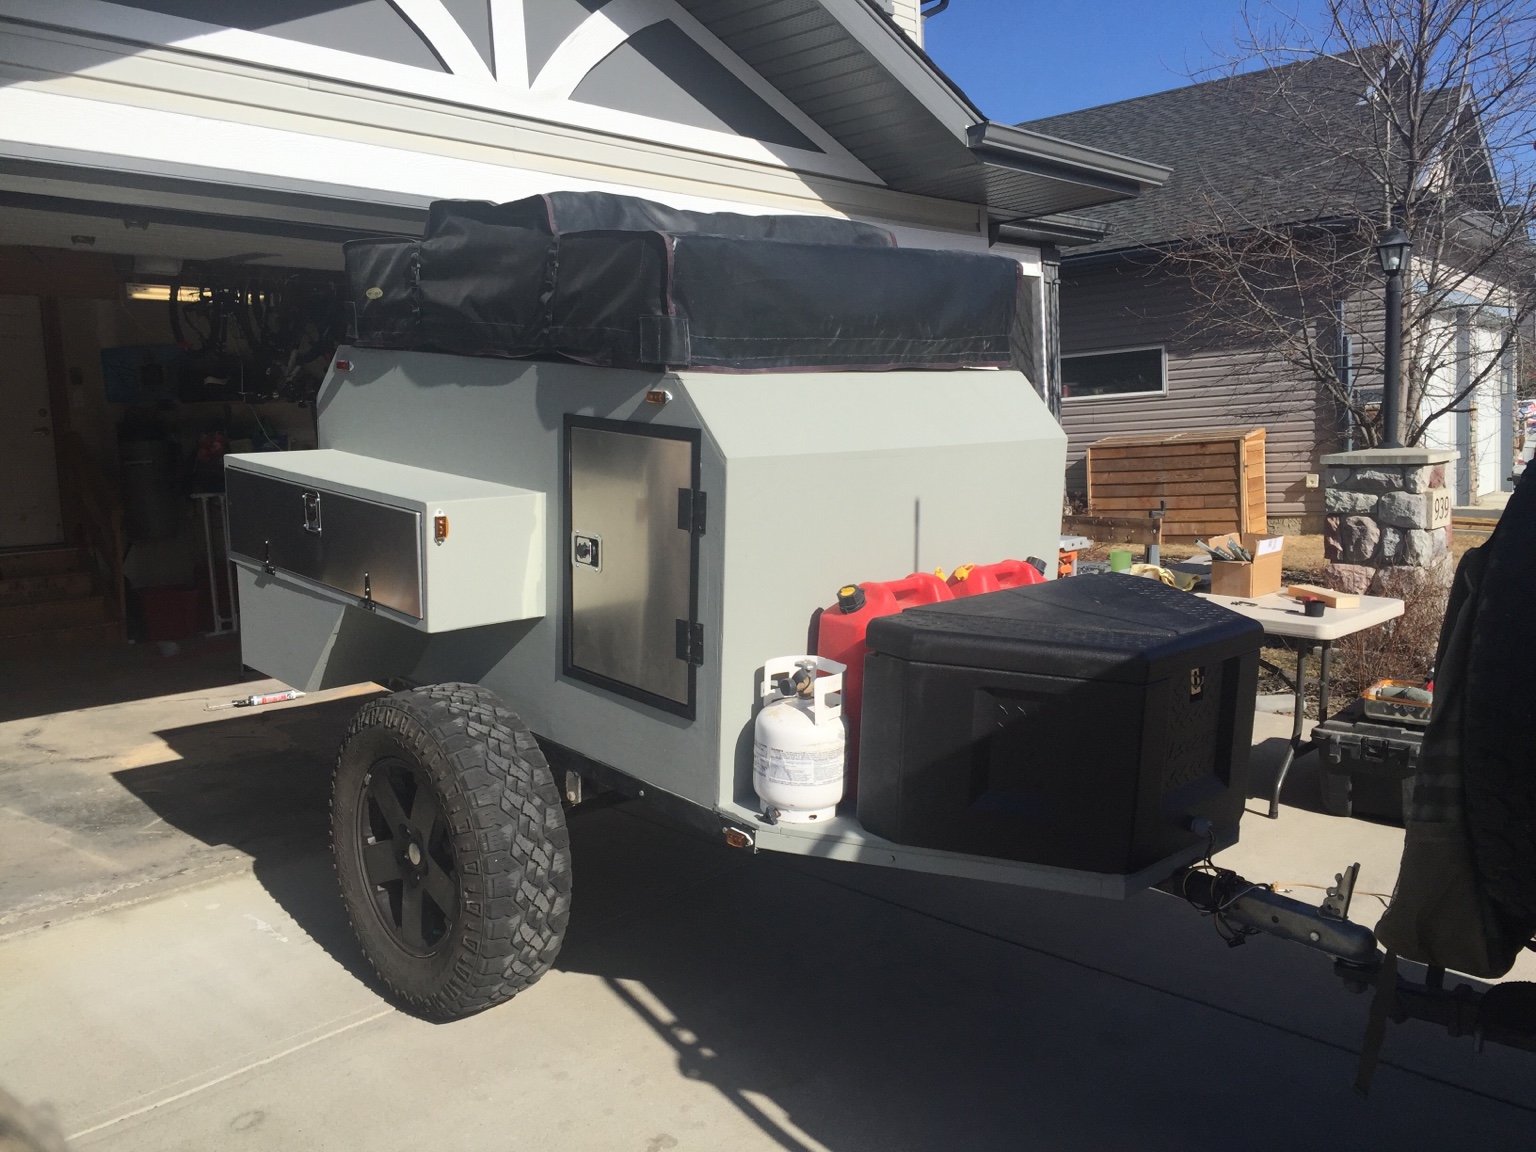
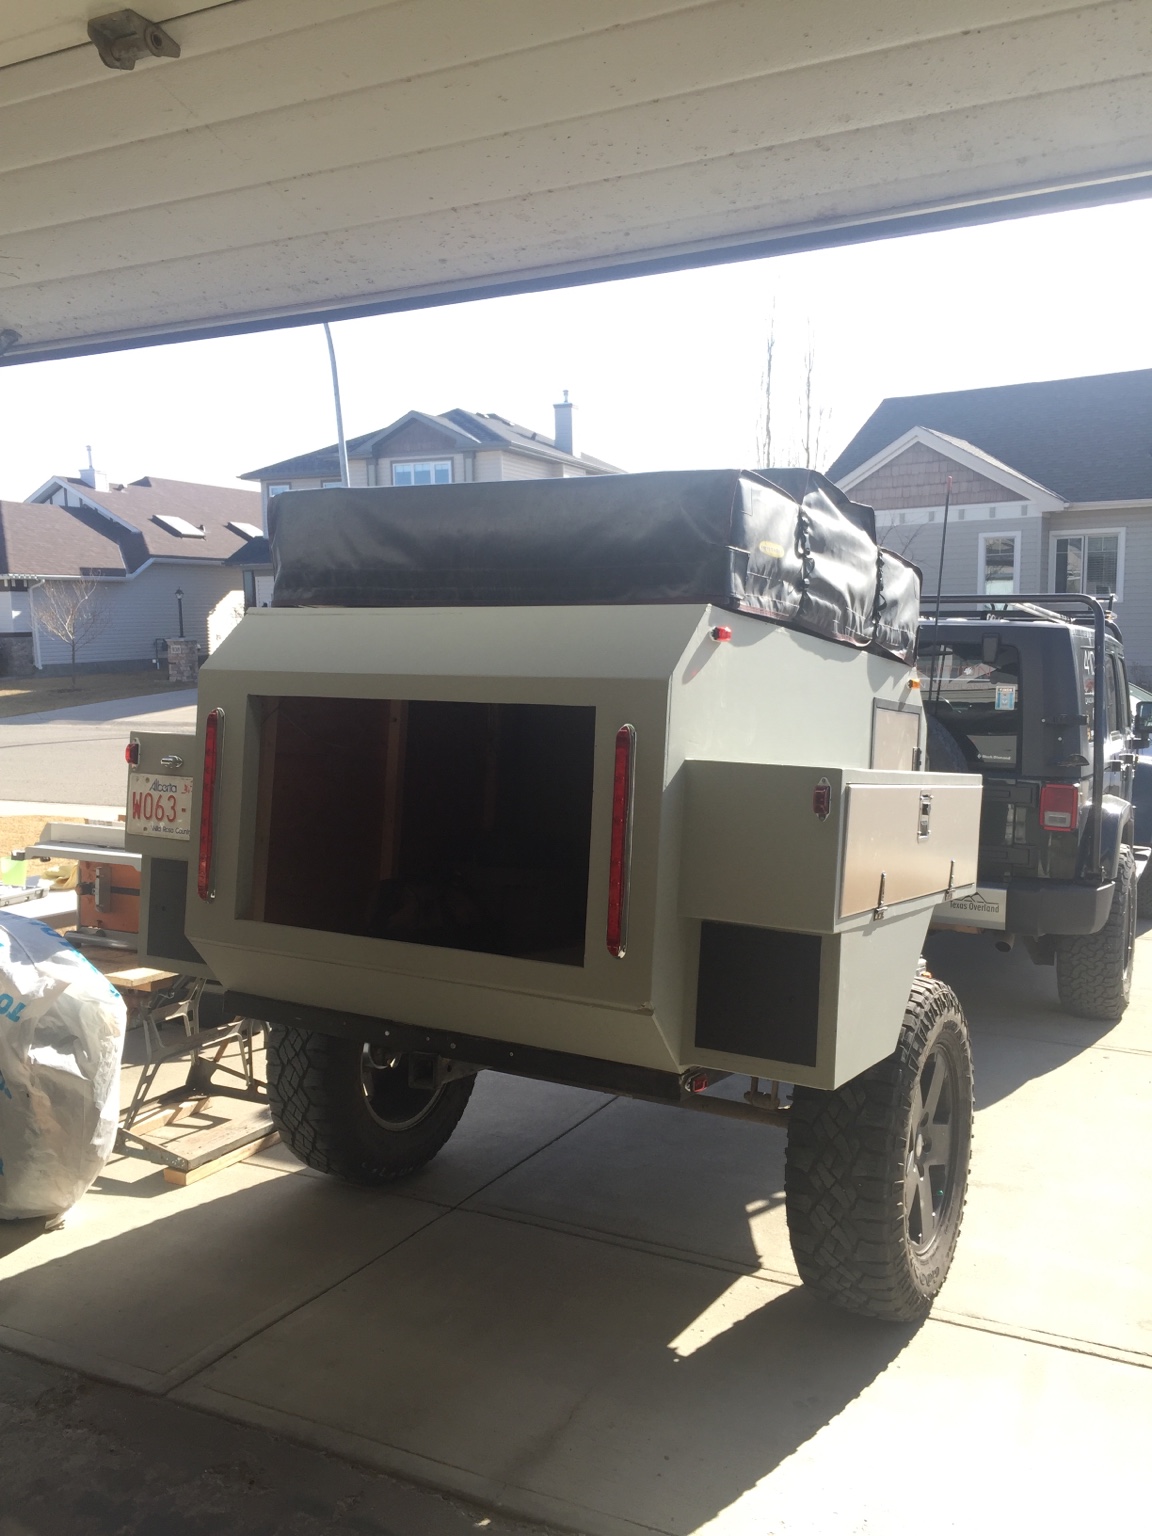
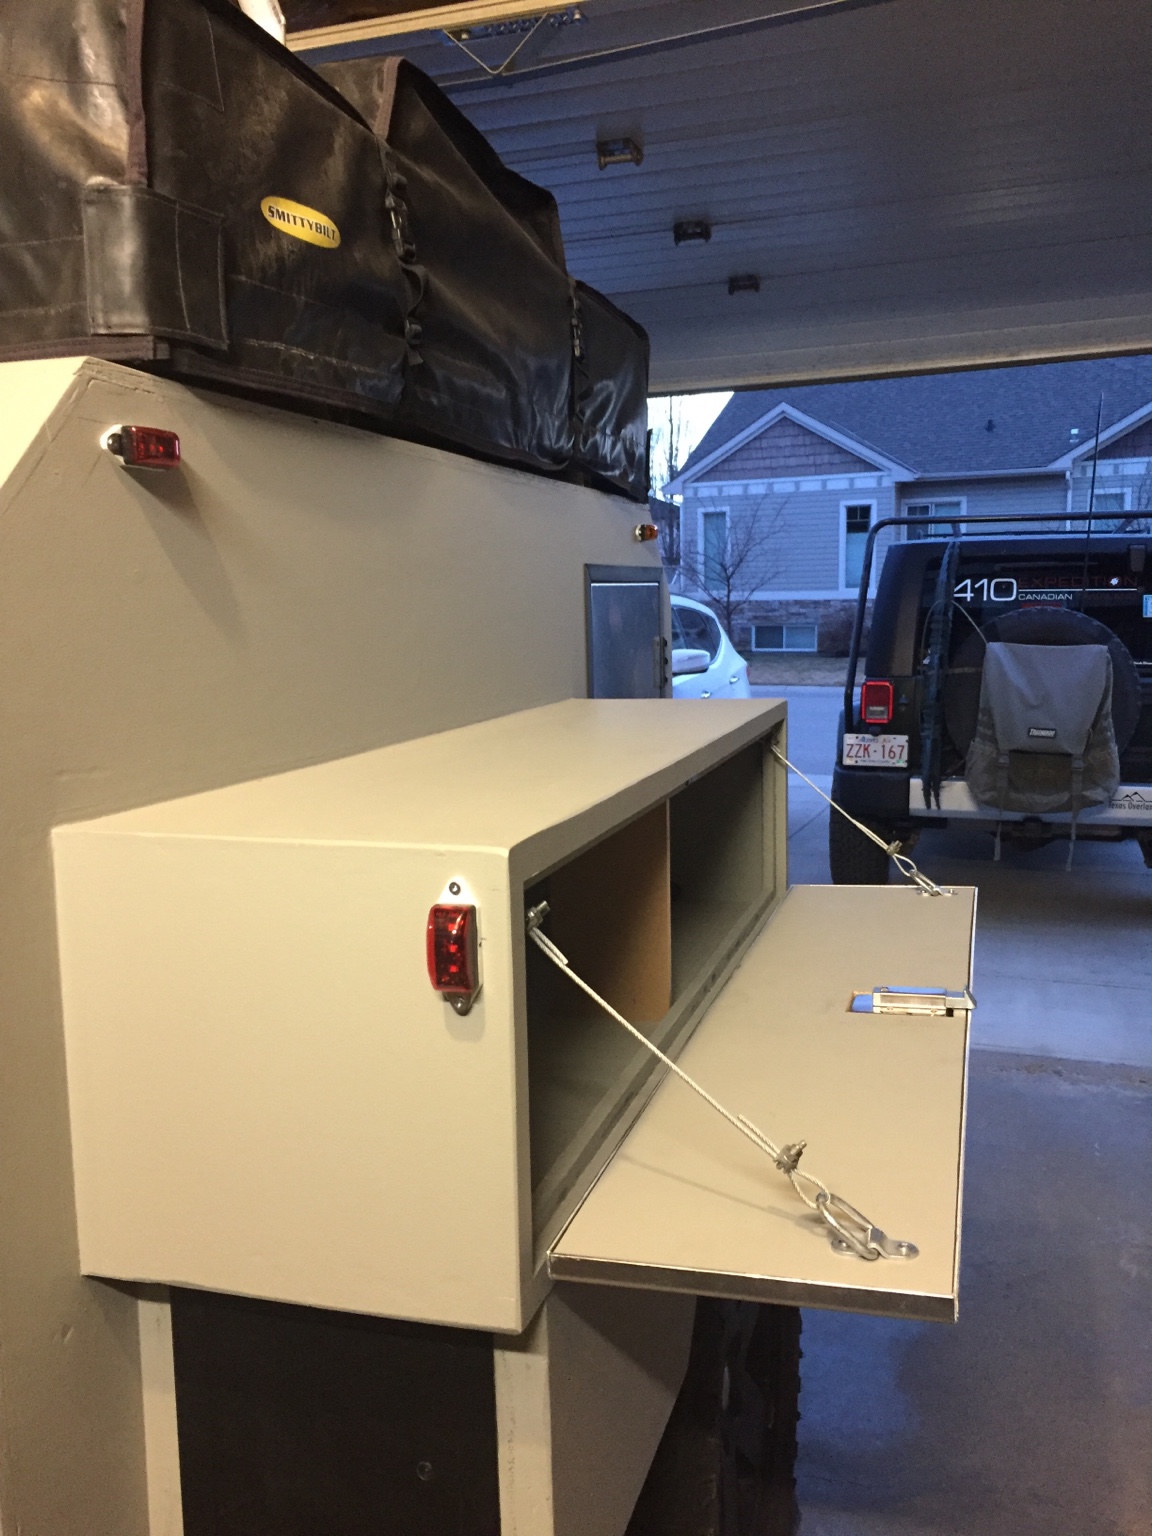
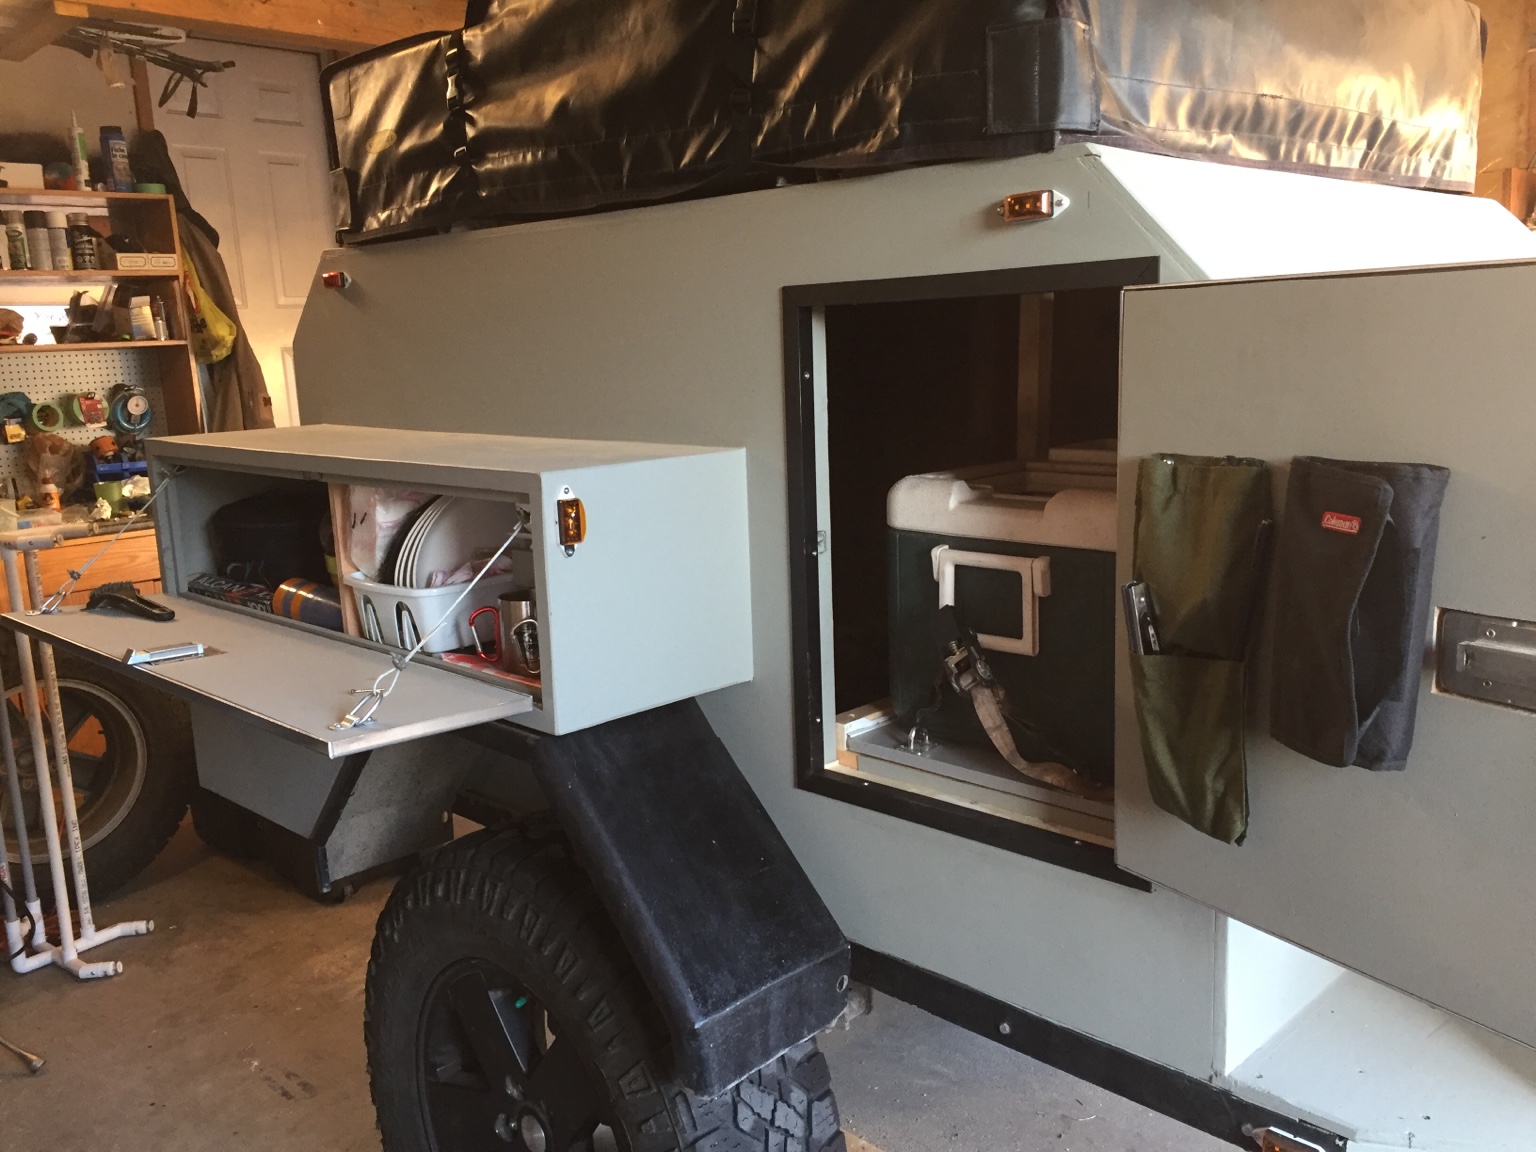
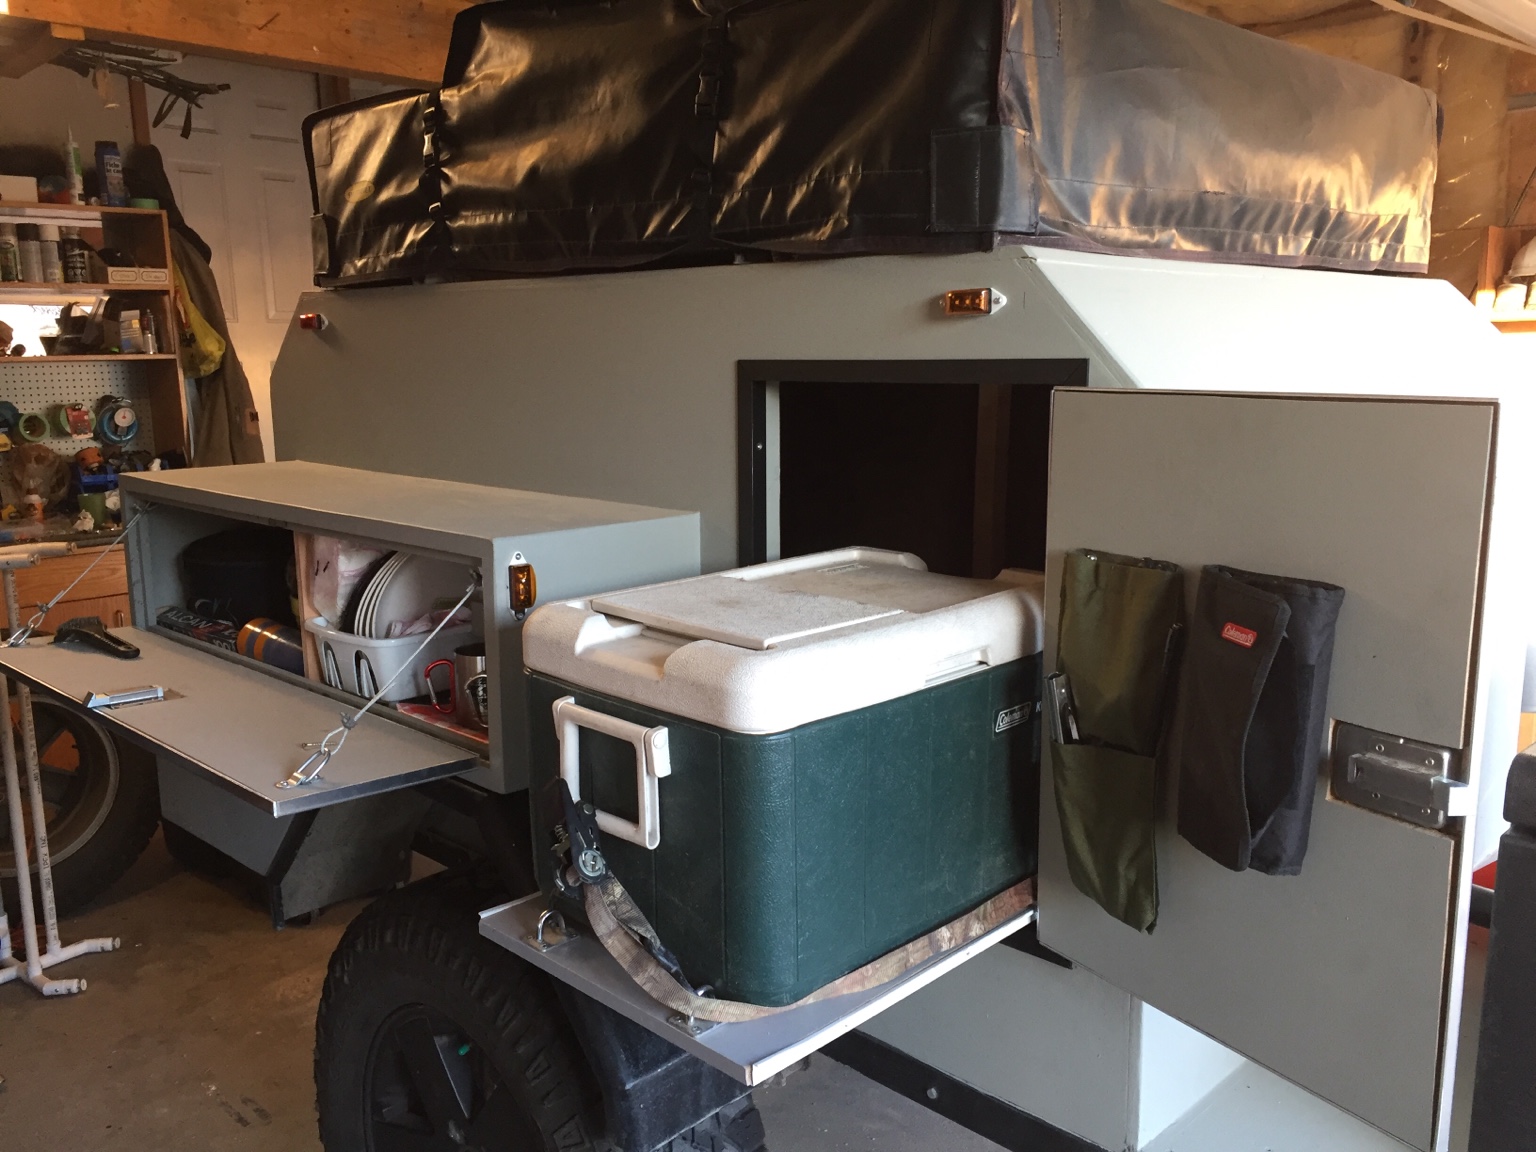
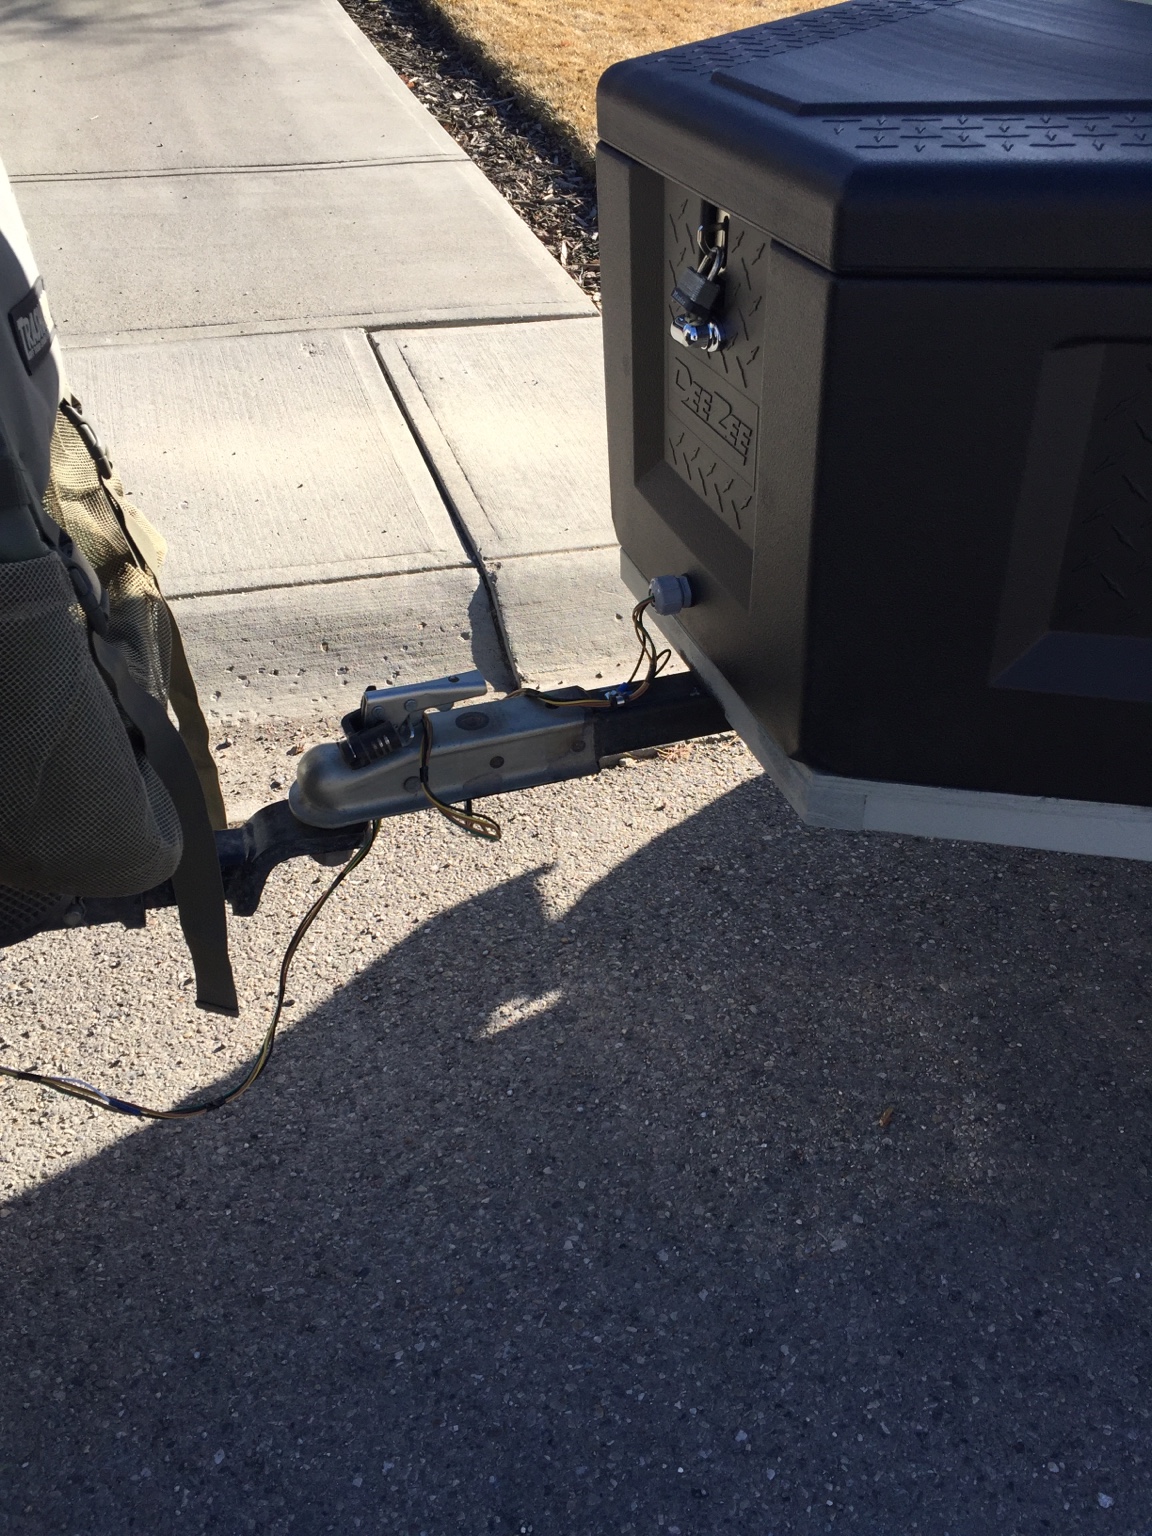
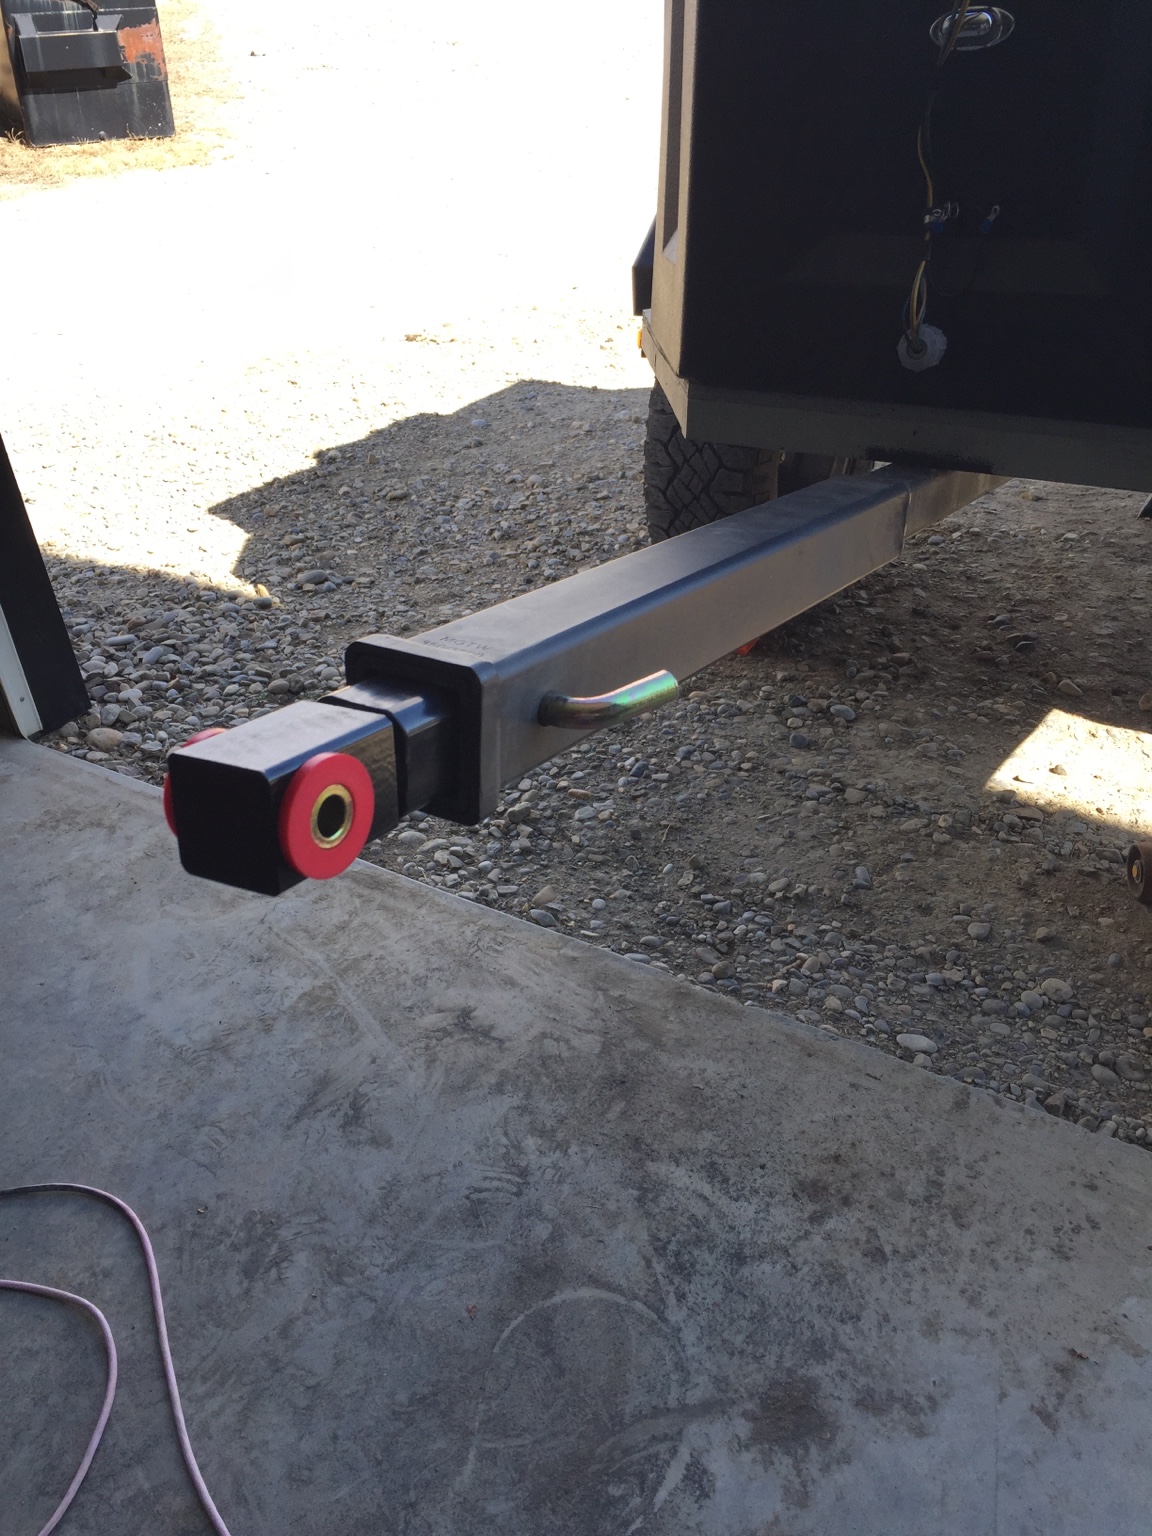
With the increase mileage on my JK and the lack of fuel economy, it was time to build a full overland trailer. You see, my JK is my daily driver and having the RTT on the rack does not help. I've been thinking of a complete rebuild on the current offroad trailer I had which followed me to Utah, The Yukon and Alaska. Having the wife join me on our big YK/AK trip, she determined that the trailer was not practical. So, with some input (yes, she can come up with great ideas from time to time) it was back to the drawing board.
 

Cappy410

Rank V
Founder 500
Launch Member

Advocate II

The plan was to rebuild the trailer using the existing chassis and build a completely new box with lots of practical features. I had to decide what material to use at a reasonable budget. Aluminum was my preference but the cost way too high. Then I found Crezon plywood which is used for highway signs and has a high tolerence to moisture and a 20 year life span. Plus, plywood is so much easier to work with, especially if you make a mistake. The layout was laid out using 5 sheets of 5/8" 4x8 sheets. Each sheet was used to its maximum with very little wastage.
 

Cappy410

Rank V
Founder 500
Launch Member

Advocate II


The chassis is 6 feet long by 4 feet wide. The idea was to make the box 36" high to allow enough height to walk under the roof top tent when it's open and low enough when it's Park in the garage. I wanted 2 side doors to allow for a fridge slide out and drawers on the other side. In addition, I added 2 side boxes for the kitchen on the passenger side and a living quarters in the annex side.
 

Cappy410

Rank V
Founder 500
Launch Member

Advocate II

My paint choice was Battleship Grey with black trim. The old military tires were to come off and my stock JK wheels and Duratracs to fit on. I had to order Hub spacers in order to fit the 5 on 5 bolt pattern from 5 on 4.5 plus I needed the wheels to come out 2". I found the hub spacers on eBay.
 

Cappy410

Rank V
Founder 500
Launch Member

Advocate II


I purchased all the LED lights and wiring from Princess Auto for around $200 Cdn. The nose box is a black poly Dee-Zee angle box. I chose poly to keep the weight down plus it was half the cost of a checker plated box.
 

Cappy410

Rank V
Founder 500
Launch Member

Advocate II


Next, It was time to check the final height with the RTT. You see, I gained an extra 2" of height with the Duratracs so I had to make sure I could get the EH2 in the garage. Wow! That was close, only 1 inch to spare.

I purchased 2 Watts metal access panels and painted them flat black and install them in the rear bottom accessory boxes. There I can put unwanted items like muddy boots, Jeep care kit like fluids and parts.
 

Cappy410

Rank V
Founder 500
Launch Member

Advocate II


I added aviation cables to the side box doors to use as a counter.

I then found I checker plated tool box lid that worked great as a rear door. A couple coats of flat black paint and it was installed.

I then built the fridge slide out and added a couple Velcro pouches on the door with kitchen accessories and utensils.
 

Graeman

Rank V
Launch Member

Off-Road Ranger I

That is a pretty cool setup. Have you installed a propane bottle to cook with on the inside of the trailer? Or does your stove run off of other fuel?
 

Cappy410

Rank V
Founder 500
Launch Member

Advocate II

That is a pretty cool setup. Have you installed a propane bottle to cook with on the inside of the trailer? Or does your stove run off of other fuel?
The propane bottle will be mounted in the front next to the nose box. I'm still working out the details for the stove.
 

toxicity_27

US MidWest Region Member Rep
Launch Member

Member II

Watched the videos on YouTube over the last couple of weeks. Really enjoyed following along on the build, and really made me want a trailer! Nice work Cappy!
 
Top