What Did You Do With Your Rig Today?
- Thread starter iamout
- Start date

Pioneer II
- 8,178
- First Name
- DALE
- Last Name
- FOLLETTE
- Member #
-
23055
- Ham/GMRS Callsign
- KJ7JDA
- Service Branch
- US Army CWO (Ret)
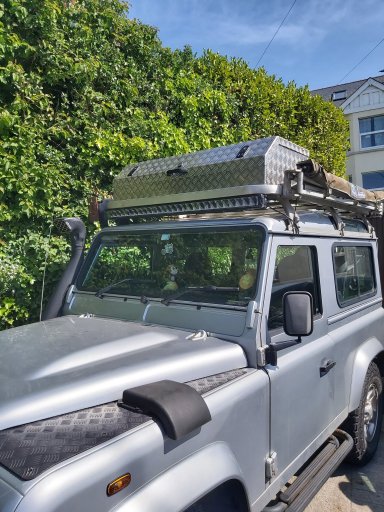
That looks great!Had an aluminium storage box made so fitted it this afternoon and loaded it with some of the items in the back of my 90. It ptobably wont stay up top all the time but i wantView attachment 154428 to see how the vehicle handles first.

Member III
- 2,771
- First Name
- Rolando
- Last Name
- Nispiros
- Member #
-
17011
- Ham/GMRS Callsign
- KN6JJS
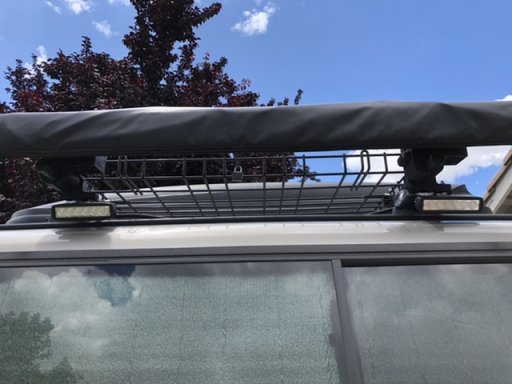
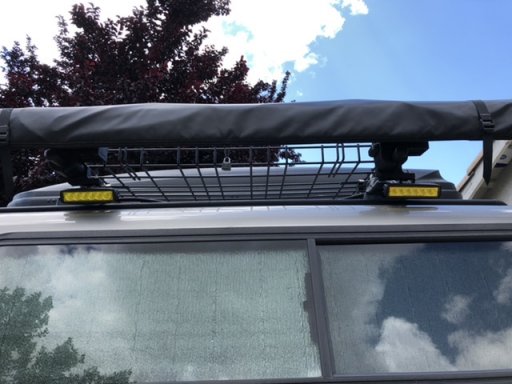
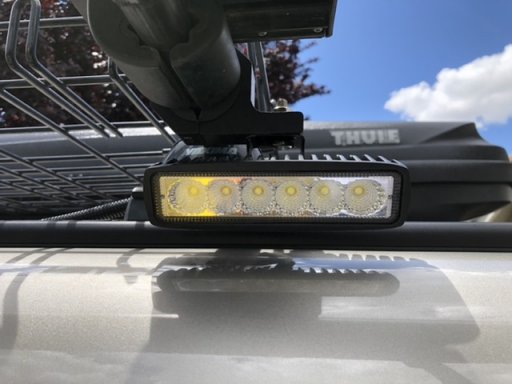
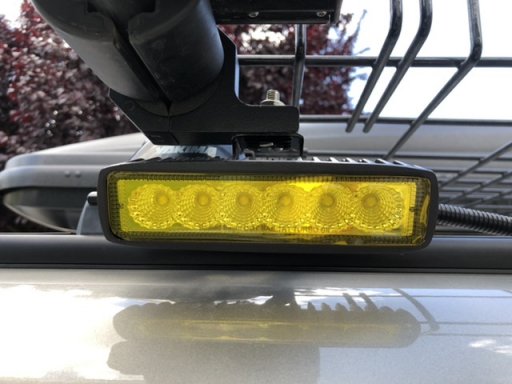
Cool thanks!I use some of the cheap lights I got from Walmart on sale. they work just as good as the $100 plus lights. I am using them off my spod. gotta see how long they will last.

Traveler III
USStrongman
Rank V

Influencer II
Gorgeous rigGot to use the truck for truck things. Do you really need to use a 50 year old 5/4Ton truck to move firewood across the yard? No probably not. Is it fun to do? Yep!

Traveler II
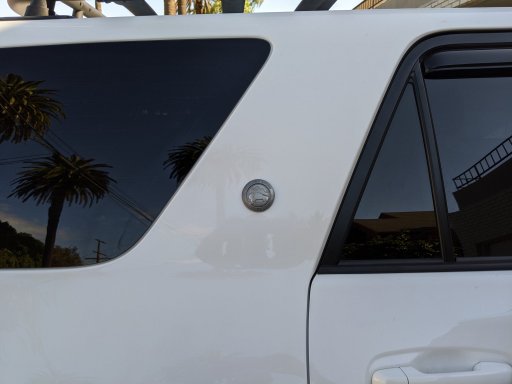
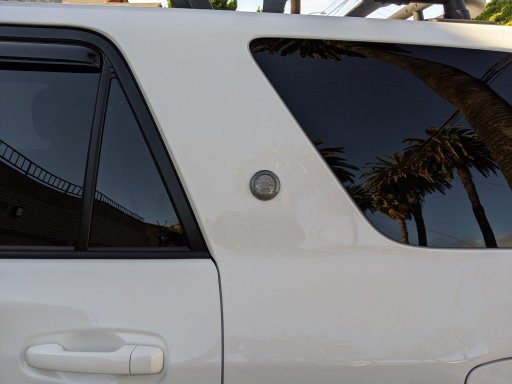
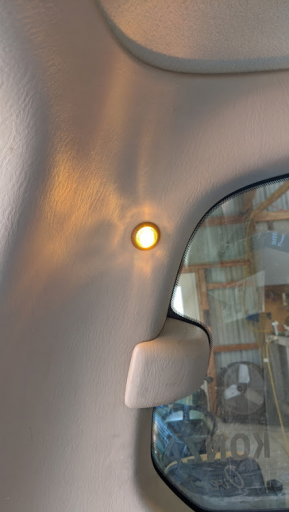
Filled the hole in the rear trim left from removing the 3rd row seat belts with amber LED trailer clearance lights. The lights are switched in the back and provide a nice gentle light in the rear cargo area. These will be nice for having some light in the cargo area without totally wrecking my night vision.


Enthusiast III

Member III
- 2,771
- First Name
- Rolando
- Last Name
- Nispiros
- Member #
-
17011
- Ham/GMRS Callsign
- KN6JJS

Enthusiast III
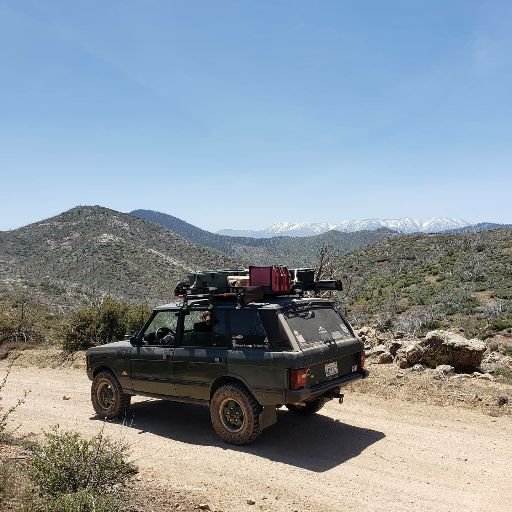
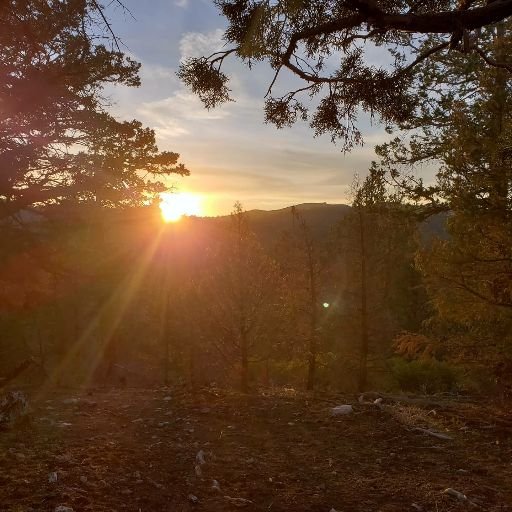
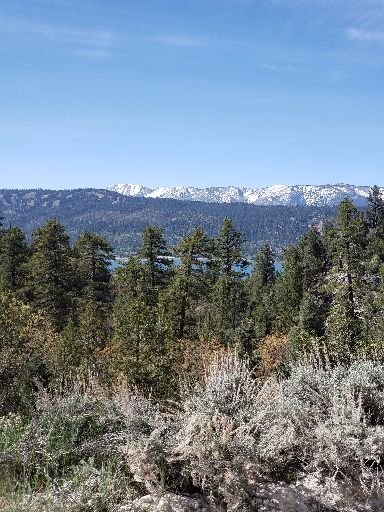
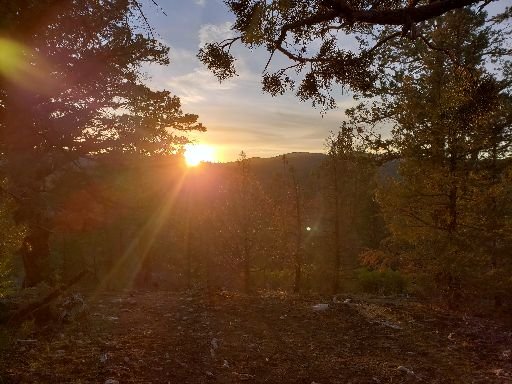
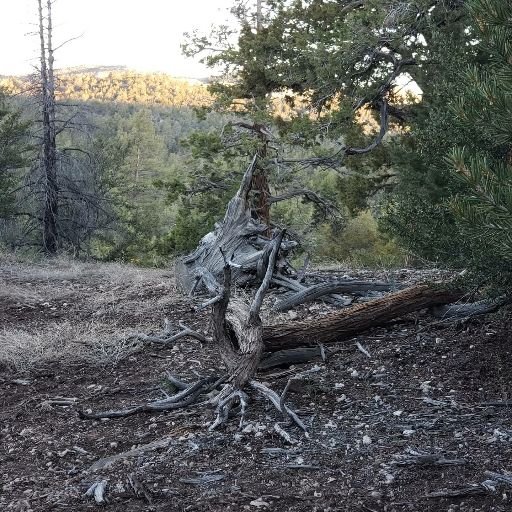
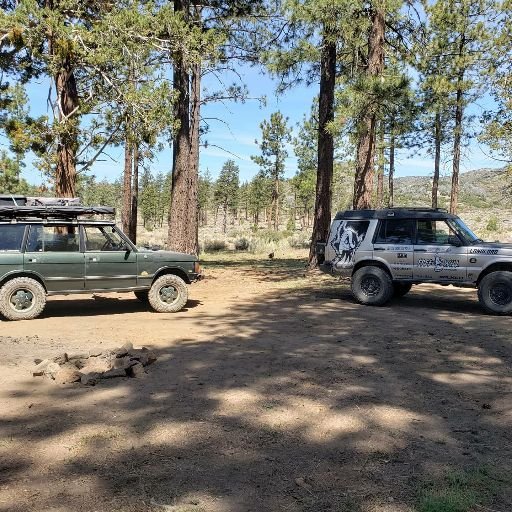
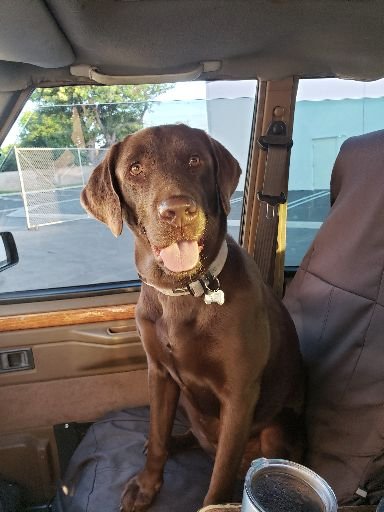
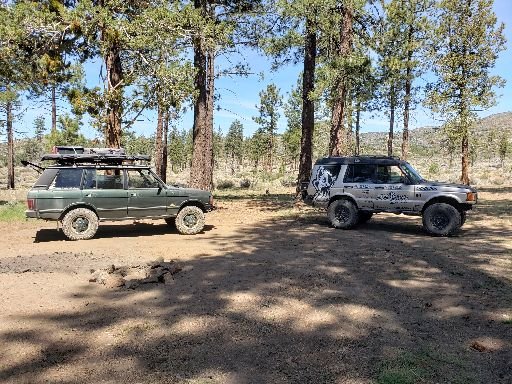
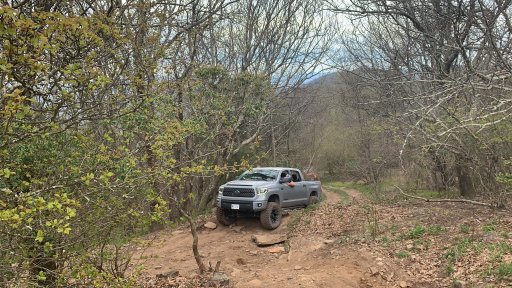
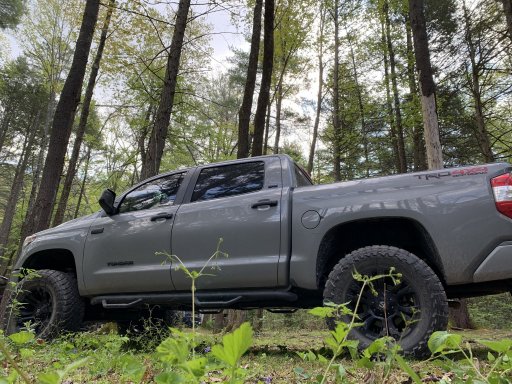
Hit the trails with Foxy Brown and had a great night in the woods
Attachments
-
58 KB Views: 30
-
59.4 KB Views: 24
-
63.2 KB Views: 24
-
49.4 KB Views: 26
-
20.3 KB Views: 25
-
101.1 KB Views: 25
-
98.5 KB Views: 26
-
86.7 KB Views: 26
-
36.9 KB Views: 27
-
82.5 KB Views: 28

Member I
Flagpole Knob
Attachments
-
997.9 KB Views: 54
-
962.4 KB Views: 30
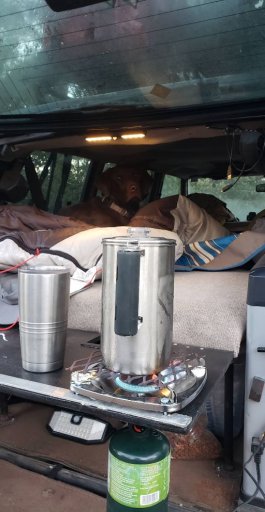
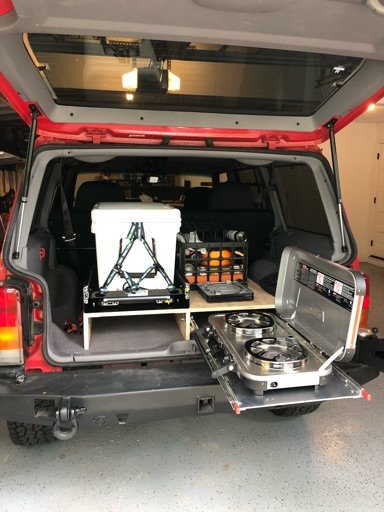
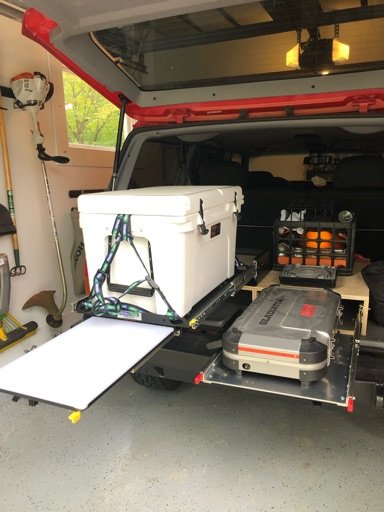
Finished v1.0 of my camp kitchen in the back of my XJ. Final piece was a solid sheet of 3/16” aluminum for a pull out table/cooking area. Working on a tire carrier-mounted DIY flip down table, but that will be bonus space. Swapping gas for water rotopax - gas is headed to the roof....wait I have more to do?!?
Attachments
-
69.5 KB Views: 27
-
63.5 KB Views: 27

Pioneer II
- 8,178
- First Name
- DALE
- Last Name
- FOLLETTE
- Member #
-
23055
- Ham/GMRS Callsign
- KJ7JDA
- Service Branch
- US Army CWO (Ret)
Nice Looking Stove! Nice Set up!Finished v1.0 of my camp kitchen in the back of my XJ. Final piece was a solid sheet of 3/16” aluminum for a pull out table/cooking area. Working on a tire carrier-mounted DIY flip down table, but that will be bonus space. Swapping gas for water rotopax - gas is headed to the roof....wait I have more to do?!?

Enthusiast III
Today I had the pleasure of rebuilding the starter solenoid for the 2nd time in less than 3 months on my 2018 4runner. Turns out the starter on these rigs don't like deep water crossings. First time I did it it took about 4-5 hours to complete this operation. Today I was under 2 hours so at least I'm getting better at it.

Pioneer II
- 8,178
- First Name
- DALE
- Last Name
- FOLLETTE
- Member #
-
23055
- Ham/GMRS Callsign
- KJ7JDA
- Service Branch
- US Army CWO (Ret)
Bummer. But, at least you cut your time in half!Today I had the pleasure of rebuilding the starter solenoid for the 2nd time in less than 3 months on my 2018 4runner. Turns out the starter on these rigs don't like deep water crossings. First time I did it it took about 4-5 hours to complete this operation. Today I was under 2 hours so at least I'm getting better at it.

Enthusiast III
I was looking to see if there was a way to seal off the solenoid to water while I had it apart the first time but there is no real way to seal off the "pop out" side that pushes the gear that engages the flywheel. First time I pulled it apart there was a clump of dried up mud that was preventing the contacts to connect. This time there was moisture but no mud so I'm curious what stopped it from making contact.Bummer. But, at least you cut your time in half!Today I had the pleasure of rebuilding the starter solenoid for the 2nd time in less than 3 months on my 2018 4runner. Turns out the starter on these rigs don't like deep water crossings. First time I did it it took about 4-5 hours to complete this operation. Today I was under 2 hours so at least I'm getting better at it.

Pioneer II
- 8,178
- First Name
- DALE
- Last Name
- FOLLETTE
- Member #
-
23055
- Ham/GMRS Callsign
- KJ7JDA
- Service Branch
- US Army CWO (Ret)
Ya got me there. Unless it's a matter of sealing up the connection with some non-hardening silicone. Not familiar enough with your rig.I was looking to see if there was a way to seal off the solenoid to water while I had it apart the first time but there is no real way to seal off the "pop out" side that pushes the gear that engages the flywheel. First time I pulled it apart there was a clump of dried up mud that was preventing the contacts to connect. This time there was moisture but no mud so I'm curious what stopped it from making contact.

Enthusiast III
I'm throwing this out there with the understanding that I have never taken a starter apart and therefore have no idea how it looks inside. With that said, MG Chemicals makes a conformal coating that can be applied to electronics, or any electrical connection, and make it waterproof. I wonder if something like that would work? I've used it on hobby electronics and it works like a charm. Stinks to high hell but works well. The link below is what I used but they have many different products.I was looking to see if there was a way to seal off the solenoid to water while I had it apart the first time but there is no real way to seal off the "pop out" side that pushes the gear that engages the flywheel. First time I pulled it apart there was a clump of dried up mud that was preventing the contacts to connect. This time there was moisture but no mud so I'm curious what stopped it from making contact.

422B - Silicone Modified Conformal Coating
422B is a 1-part, acrylic-silicone blend conformal coating that cures to a durable, flexible and smooth finish. It is easy to apply and can be handled in only 8 minutes. It may be removed with appropriate strippers, or soldered through for repair or rework.

Pioneer II
- 8,178
- First Name
- DALE
- Last Name
- FOLLETTE
- Member #
-
23055
- Ham/GMRS Callsign
- KJ7JDA
- Service Branch
- US Army CWO (Ret)
Nice! Yes, silicone is the stuff!I'm throwing this out there with the understanding that I have never taken a starter apart and therefore have no idea how it looks inside. With that said, MG Chemicals makes a conformal coating that can be applied to electronics, or any electrical connection, and make it waterproof. I wonder if something like that would work? I've used it on hobby electronics and it works like a charm. Stinks to high hell but works well. The link below is what I used but they have many different products.

422B - Silicone Modified Conformal Coating
422B is a 1-part, acrylic-silicone blend conformal coating that cures to a durable, flexible and smooth finish. It is easy to apply and can be handled in only 8 minutes. It may be removed with appropriate strippers, or soldered through for repair or rework.www.mgchemicals.com

Enthusiast III
One of the great things about this coating is that it is UV reactant so you can use a blacklight on it to ensure that you've got everything covered. They also sell this stuff in spray form.Nice! Yes, silicone is the stuff!

