
Member III
Agree. Nice modVery cool Mod.....

Member III
Agree. Nice modVery cool Mod.....

Member III
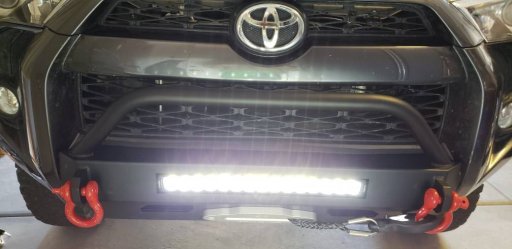
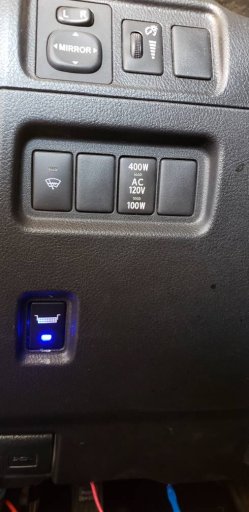
It's official... this mod is off the wish list. Lights are now working.So RESPECT goes out to all you car folk and do-it-yourselfers that work on your Rigs. I think I'll stick to doing things to the interior of the rig from now on. This was the most nerve wracking much less boo-boo inducing install I've done. My hats off to all of you do things like this for a living. However, the bumper, light bar and winch are installed. I still need to hook the switch for light bar though....tomorrow. View attachment 72964

Educator I
12989
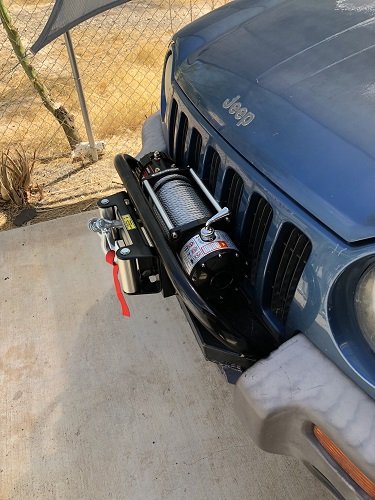
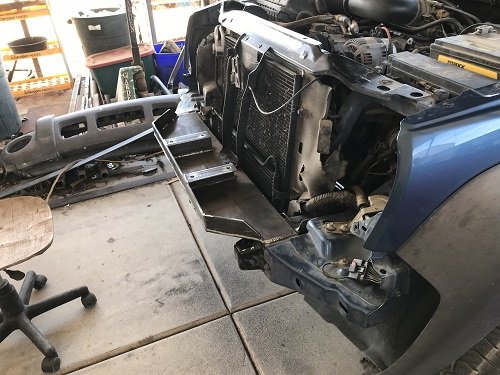
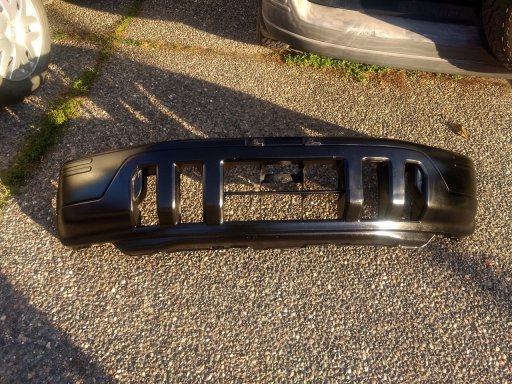
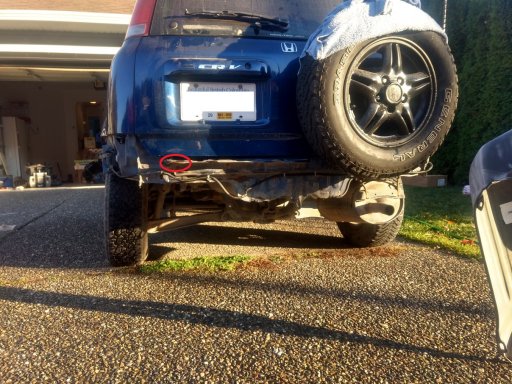
Took my bumper skin off to be painted tomorrow. Got me thinking about how to mount a winch.
View attachment 73322

Traveler III
Yeah, that's basically exactly what I was thinking. There's already an opening in the stock bumper, as you can see, which is perfect for a winch placement, probably combined with a flip up license plate. A guy on youtube just braced the factory crash bar and mounted a winch upside down on it. Worked like a charm.Get a fab guy and do a direct to frame type custom, something like mine:
View attachment 73365 View attachment 73366

Enthusiast III

Expedition Master I
13728
Looks greatIt's official... this mod is off the wish list. Lights are now working.View attachment 73362View attachment 73363

Enthusiast III

Member III
Installed my new frontrunner drop down tailgate table! View attachment 66007
Just ordered the Front Runner Drop Down Table. It is on backorder due to ship mid to late November. What did you finish the plywood with and how was the install?Installed my new frontrunner drop down tailgate table! View attachment 66007

Traveler III

Influencer II
The plywood is clear coated by them but they forgot to sand it down after, so I sanded it and it seems to be OK for now, smooth surface and rounded the edges. It was nearly raw cut and coated.Just ordered the Front Runner Drop Down Table. It is on backorder due to ship mid to late November. What did you finish the plywood with and how was the install?

Pathfinder I

Enthusiast III

Traveler III

Member III
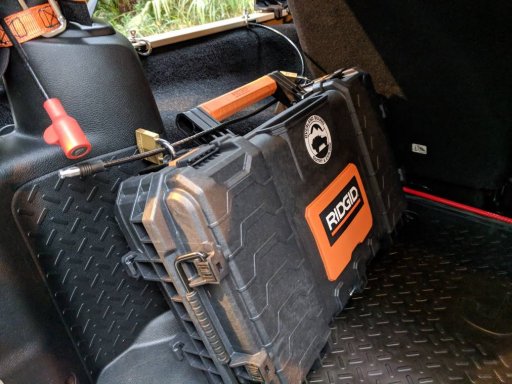
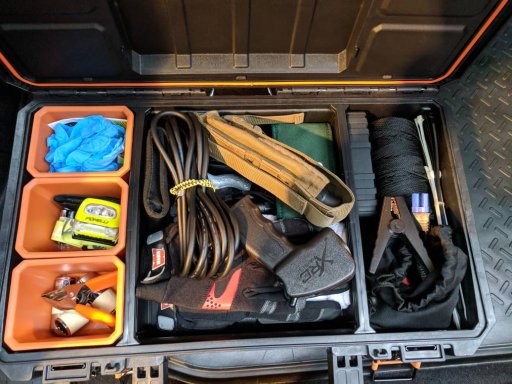
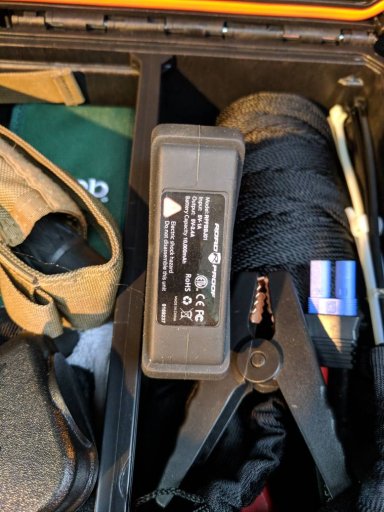
I like the idea of your roadside safety kit. I was looking at how to possibly store my winch gear...now that I have a winch.Today was focused on the small (satisfying) things. Started with a roadside safety kit:
- Rigid 22" box
- winch gear
- jump start battery box
- misc. cable ties, gloves, headlamp, sockets, etc
Then a little detailing:
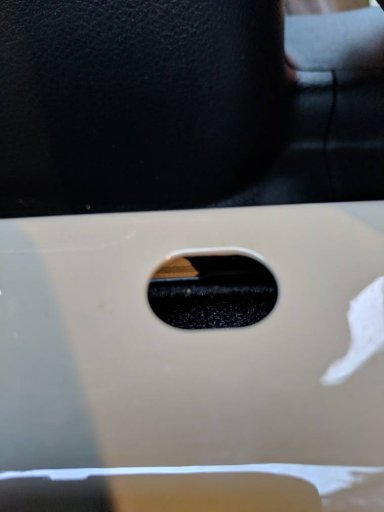
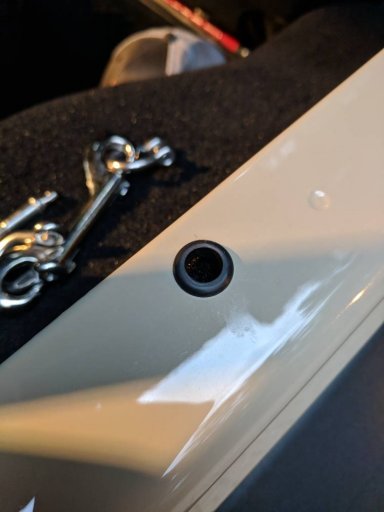
- .5" grommets for the rounds
- 1" grommets for the ovals
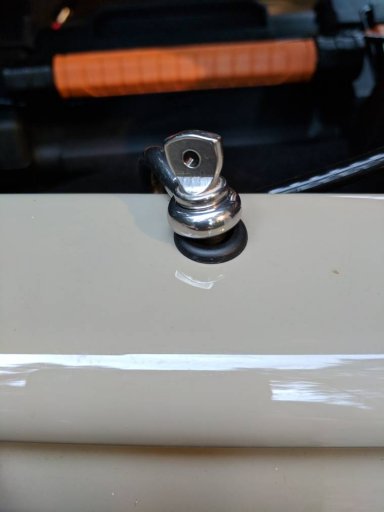
- 1.5" stainless steel d-rings / clips
For all the JKU's , these are the holes running along the back wall. I was getting paint chips from tie-downs and the grommets solved the problem.
I also locked the roadside kit down with an extra Yakima bike cable to prevent any "dash theft". Won't stop a determined thief, but what will with a soft top.
Last, I plastidipped all the hinges. I have previously plastidipped all the chrome trim to keep everything looking clean.
Good day!View attachment 73631View attachment 73632View attachment 73633View attachment 73634View attachment 73635View attachment 73636View attachment 73637View attachment 73638

Pathfinder I
The Rigid 22 is a good balance of size and watertight. If you use the organization boxes (orange) then you lose/waste about 50% storage capacity due to the lid operating as a containment. However, with a little effort, that part is removable if/when you need the extra space. It seems to be pretty indestructible as well.I like the idea of your roadside safety kit. I was looking at how to possibly store my winch gear...now that I have a winch.

Pathfinder I
Nice job. I’m all about those details.Finished painting all the trim except the rocker panel protectors. Those I decided to remove and paint separately, because they go under quite a ways, and they're especially dirty.
View attachment 73643 View attachment 73644
Going to let everything dry a bit, and then I might be able to put the bumpers back on tonight.
Awesome! Thank you for the info.The plywood is clear coated by them but they forgot to sand it down after, so I sanded it and it seems to be OK for now, smooth surface and rounded the edges. It was nearly raw cut and coated.
Installation is no problem just make sure the slide out sits not to high. The provided nuts are crap, get some rivet nuts / nutserts and don't use their nuts.
The lower left hole (hinge side) will most likely be in the reinforcement of the tailgate and will be harder to drill, besides that measure twice and so on a second pair of hands will help at some points.
Nice and Semper Fi!Put new warn hub lock on my 79 Jimmy, but whenni ran to the auto parts i spotted this super cool rig. Land Rover 109View attachment 73639View attachment 73640View attachment 73641View attachment 73642View attachment 73645
