

Enthusiast III
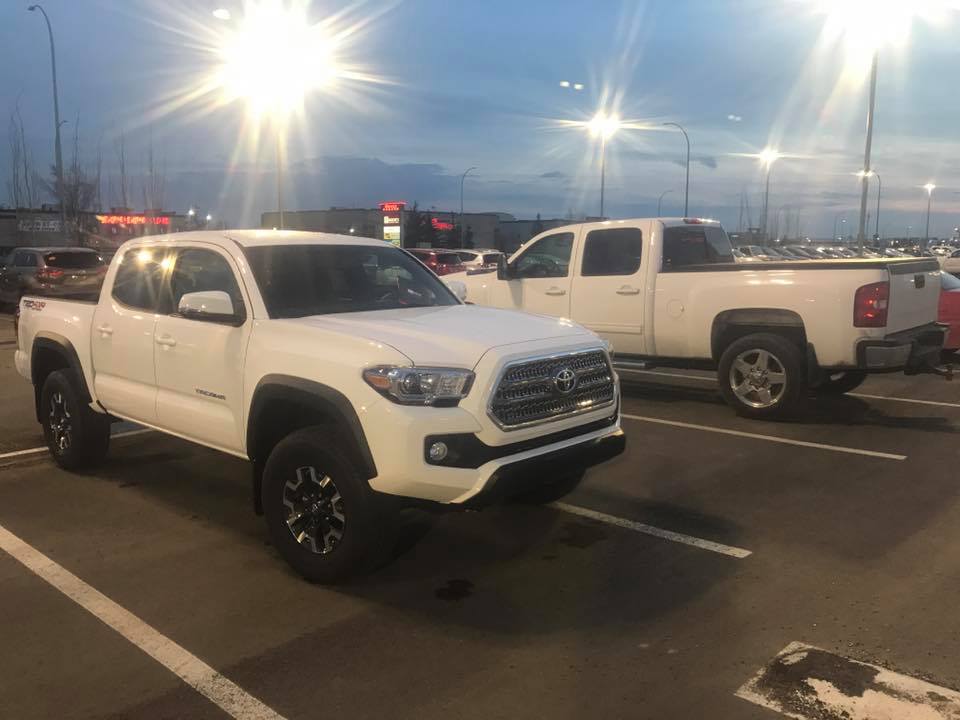
Started out with a regular old TRD off-road. Traded in the 2011 2500HD (in the background)
Went on a few longer road trips and stated to think about the up coming camping season and how to best utilize the tacoma platform on the CHEAP. The main criteria for the build are:
-MONEY
-Cant put anything in the cab (dog life)
-has to go from daily driven to out of the city in 30 min
-Basics for now
-Generator
-3~4~5 bins
-cooler
-expandability
-easy add bike if trip allows
-the only tools I have where I am is a skill saw and a drill
This was the main concept drawing, obviously I had underestimated how short 5ft is

After the first mock up it stated to look like it was possible weight always being a factor, and 5ft bed is really short...
After a quick trip to the Home Depot and a very loaded tacoma (I bought way to much wood). I started to build.
With the trusty co-captain.

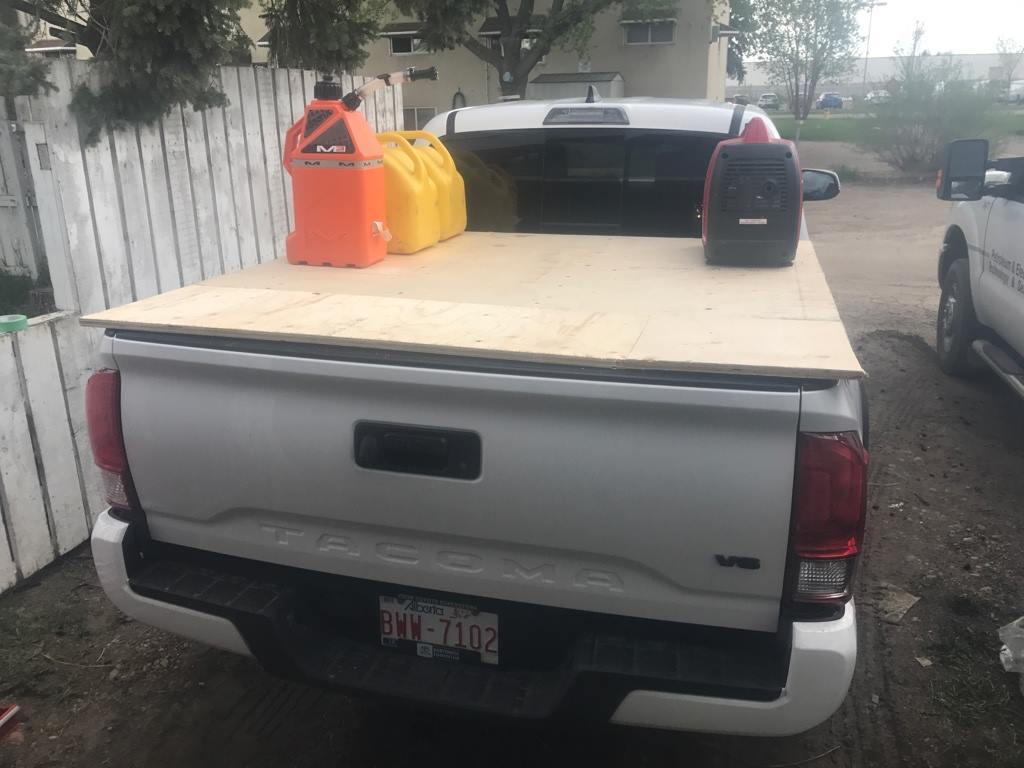
after 7~ hours i had a product that was mainly ready

then the test fit

this is also a good point to note Princess Auto had this hitch mount bike holder on sale 50% off. I found out why but it will be good enough for a few years to come.

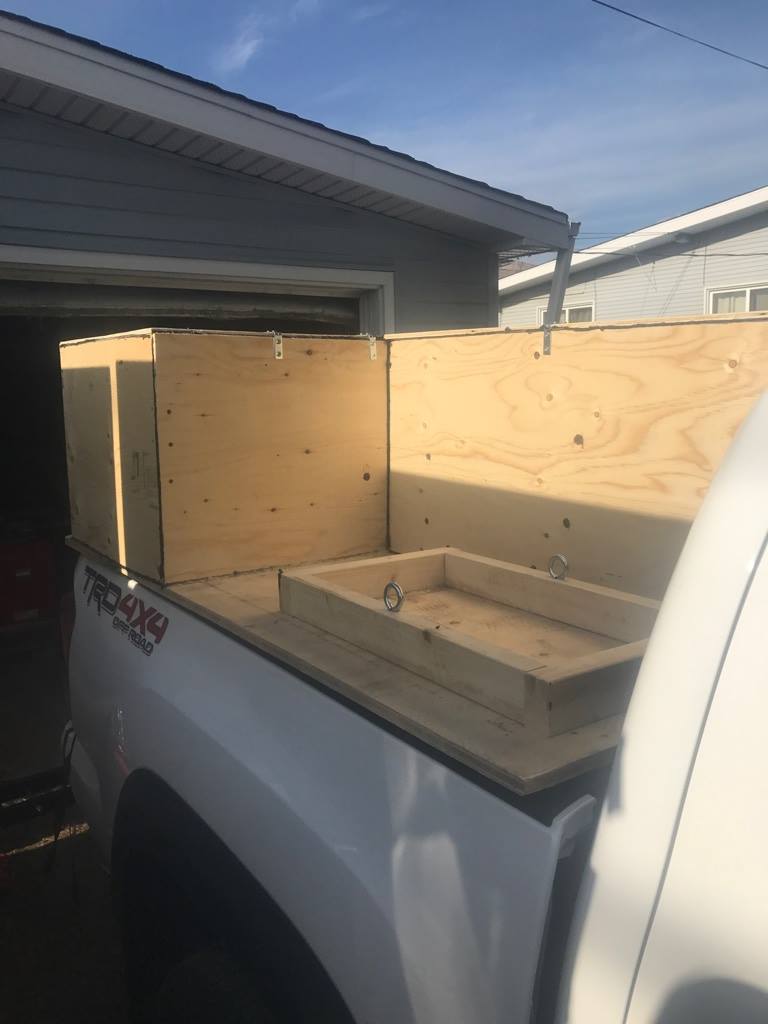
After the test fit it came off the truck removed the doors and hardware, added the tie down eyelets on the underside and added the upper slots for the jerry cans (these ones have diesel in them for my other truck). Added the generator mount and tie-downs and built the over box to keep the weather off of it. and one more final test fit.

took it off then paint. I went with a texturized deck paint with LOTS of added black for a deep deep black that hopefully wont fade.
who ever said to do your first coat of paint with a roller is crazy! There is just to many inconsistencies with plywood. So after the fist coat I went back and patched up all the wood still showing and did a second coat used almost exactly one gal. waited to dry.............. Then slid it back on the truck and tied it down. loaded the bike up and went to get gas, AKA take pictures in a well lit area


RIDE HEIGHT
It is defiantly sagging but not as much as I thought it would have. A quick fix for next pay day, firestone airbags.
Stock 3 Ft
with topper 35 1/8
with topper and bike 34 3/8
COST (CAD)
Wood: $100
Hardware: $30
Paint: $50
Bike Rack: $89.99
AFTER THOUGHTS
Its cheap and functional, looks ok. Its defiantly V1 but without a table saw it is what it is. Its also an easy platform to expand on. Next time Aluminum for sure.
**YES I know I'm missing my badges but I wanna get them perfect**
Went on a few longer road trips and stated to think about the up coming camping season and how to best utilize the tacoma platform on the CHEAP. The main criteria for the build are:
-MONEY
-Cant put anything in the cab (dog life)
-has to go from daily driven to out of the city in 30 min
-Basics for now
-Generator
-3~4~5 bins
-cooler
-expandability
-easy add bike if trip allows
-the only tools I have where I am is a skill saw and a drill
This was the main concept drawing, obviously I had underestimated how short 5ft is
After the first mock up it stated to look like it was possible weight always being a factor, and 5ft bed is really short...
After a quick trip to the Home Depot and a very loaded tacoma (I bought way to much wood). I started to build.
With the trusty co-captain.
after 7~ hours i had a product that was mainly ready
then the test fit
this is also a good point to note Princess Auto had this hitch mount bike holder on sale 50% off. I found out why but it will be good enough for a few years to come.
After the test fit it came off the truck removed the doors and hardware, added the tie down eyelets on the underside and added the upper slots for the jerry cans (these ones have diesel in them for my other truck). Added the generator mount and tie-downs and built the over box to keep the weather off of it. and one more final test fit.
took it off then paint. I went with a texturized deck paint with LOTS of added black for a deep deep black that hopefully wont fade.
who ever said to do your first coat of paint with a roller is crazy! There is just to many inconsistencies with plywood. So after the fist coat I went back and patched up all the wood still showing and did a second coat used almost exactly one gal. waited to dry.............. Then slid it back on the truck and tied it down. loaded the bike up and went to get gas, AKA take pictures in a well lit area
RIDE HEIGHT
It is defiantly sagging but not as much as I thought it would have. A quick fix for next pay day, firestone airbags.
Stock 3 Ft
with topper 35 1/8
with topper and bike 34 3/8
COST (CAD)
Wood: $100
Hardware: $30
Paint: $50
Bike Rack: $89.99
AFTER THOUGHTS
Its cheap and functional, looks ok. Its defiantly V1 but without a table saw it is what it is. Its also an easy platform to expand on. Next time Aluminum for sure.
**YES I know I'm missing my badges but I wanna get them perfect**


