Enthusiast III
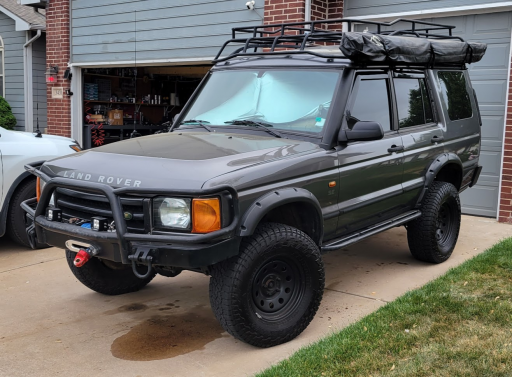
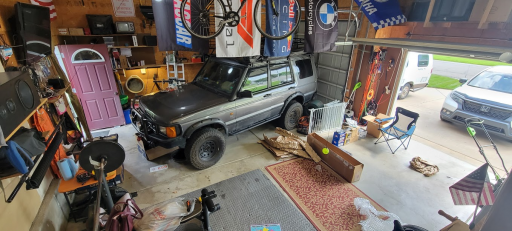
For some time I've craved having a more purpose built vehicle, I started with a Sierra years back before I knew about OB and kinda did my own thing. Came across this, got a lot of ideas but also learned that platform didn't have a lot of aftermarket support nor did I have a real good wheelbase/size for some of the areas I want to explore. I've since gotten much more into two-wheel exploration and run a BMW F800GSA but still had a hankering for the primary vehicle to be purpose-built. Enter, the '01 Land Rover Discovery. She isn't named yet. She's been a bit neglected but it's time to restore her back to her former glory. I picked this up for $7k w/ 150k on the odo, little rust, perhaps a bit high but considering the additions it was less work I needed to pump into it with aftermarket parts at retail value and my focus pivoted to maintenance/restoration efforts.
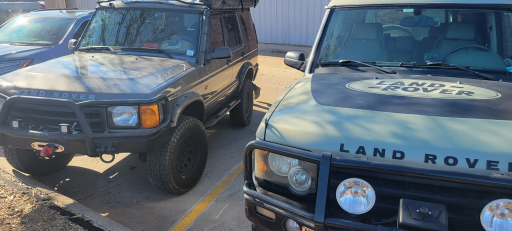
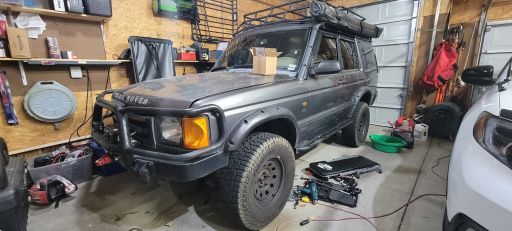
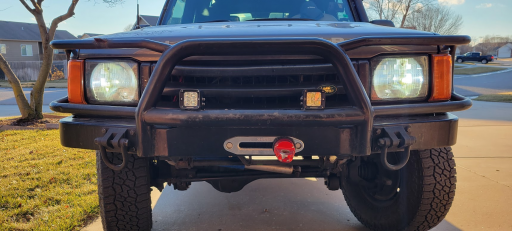
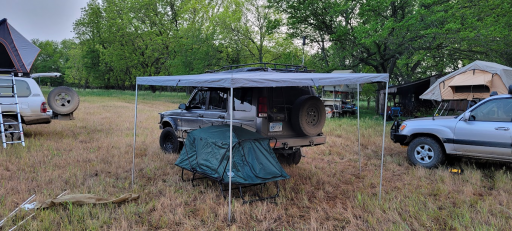
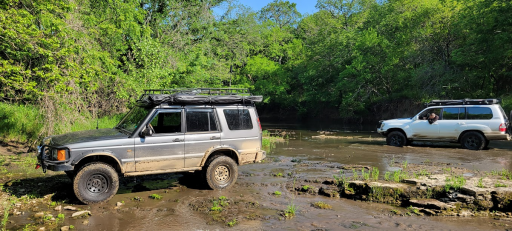
Now to the goods. Mine is on the left, and a buddy of mine (Ron) is on the right. He's been an LR aficionado for years, they've owned them since new in '99 and currently own two. He's been my go-to for local support and ran with me to Oklahoma (pictured here) to pick this one up. A true gent of the Overland community here in Kansas and has assisted me with tons of knowledge and hands-on work thus far.
At time of purchase, it came to me with...
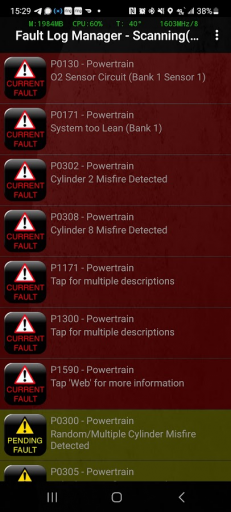
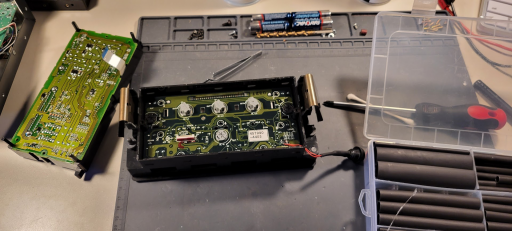
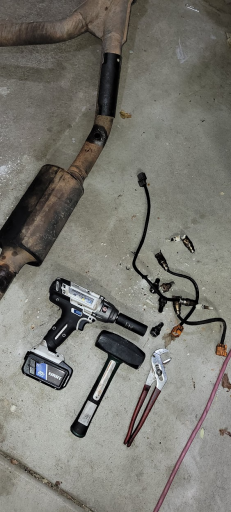
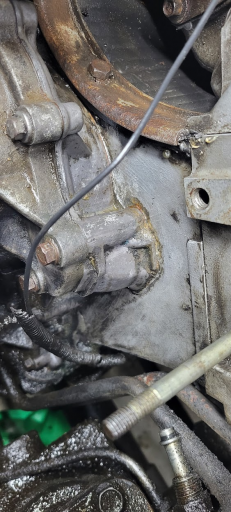
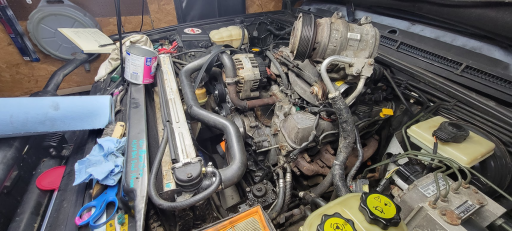
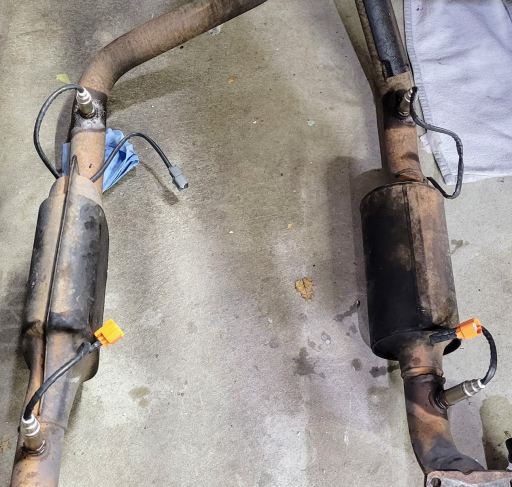
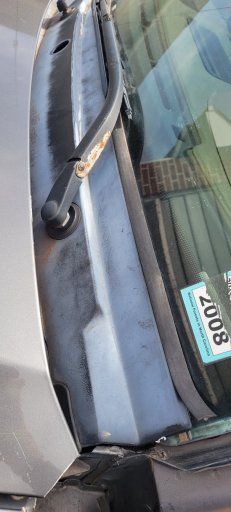
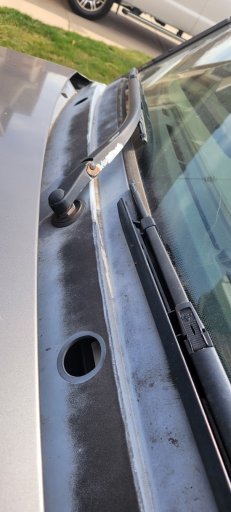
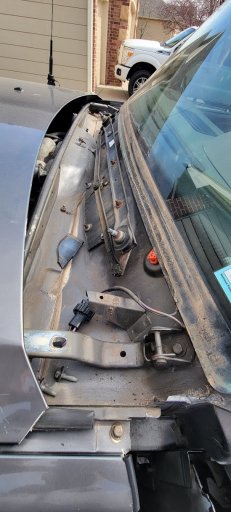
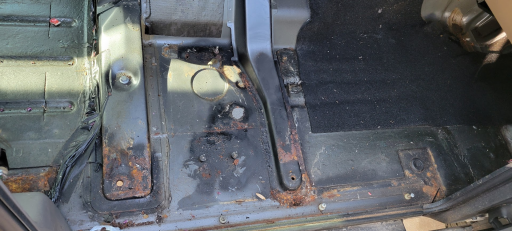
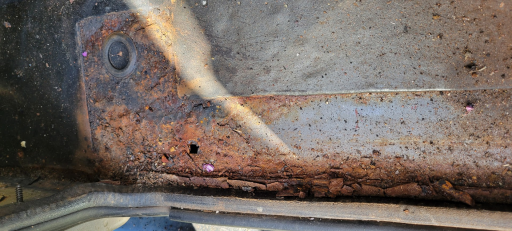
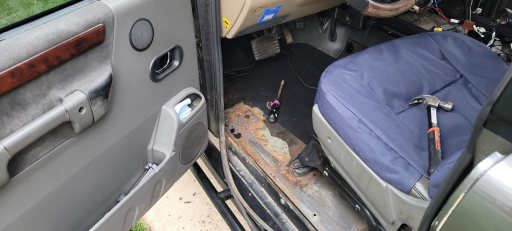
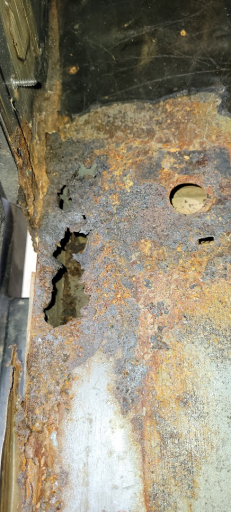
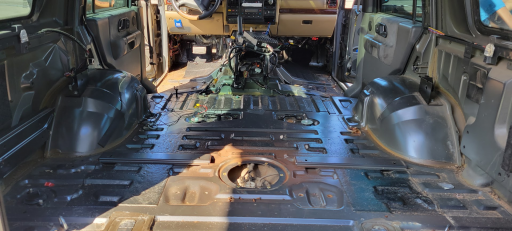
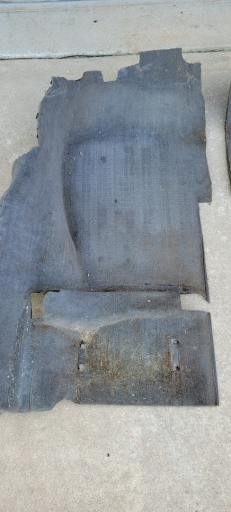
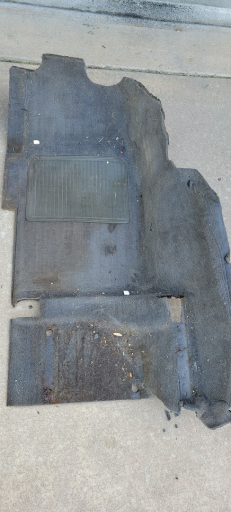
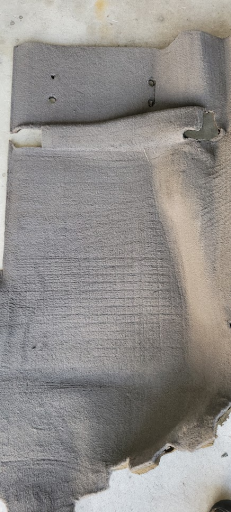
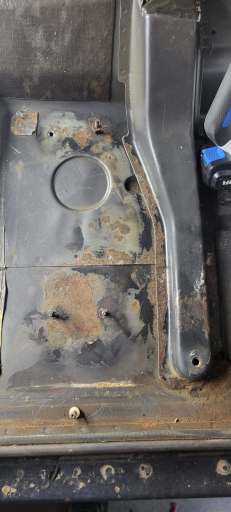
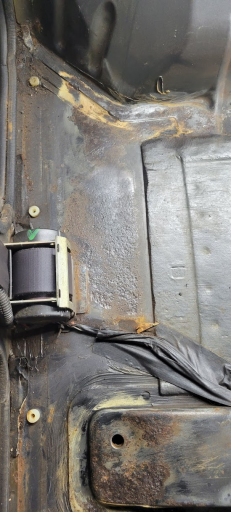
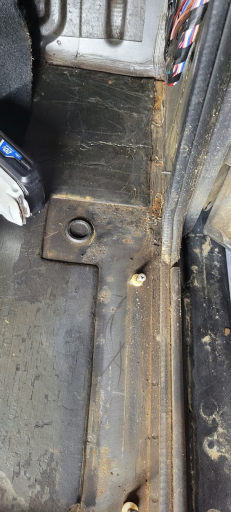
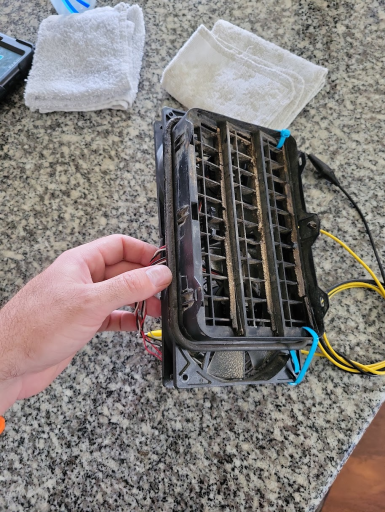
I've owned it for a little over a week so there's still much to do, focusing on tackling drivetrain issues and catching maintenance back up. I'll update here with the progress thus far.
Now to the goods. Mine is on the left, and a buddy of mine (Ron) is on the right. He's been an LR aficionado for years, they've owned them since new in '99 and currently own two. He's been my go-to for local support and ran with me to Oklahoma (pictured here) to pick this one up. A true gent of the Overland community here in Kansas and has assisted me with tons of knowledge and hands-on work thus far.
At time of purchase, it came to me with...
- Steel front bumper w/ factory brush-guard/headlight guards welded - looks alright from a distance and is plenty functional, some blemishes up close that I'll resolve later
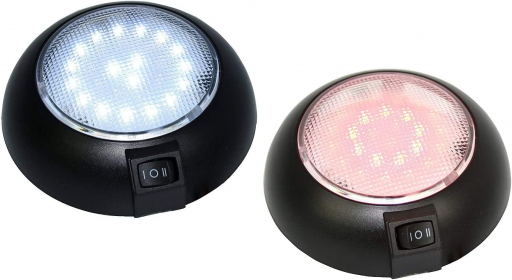
- Sylvania LED cube lights
- X-Bull 13k winch w/ synthetic rope
- 3" Terrafirma Lift front/rear
- Terrafirma fender flares
- Rock sliders
- Steelie wheels
- Falken Wildpeak A/Ts, 75% tread remains
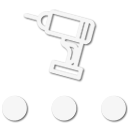
- 270 Batwing awning
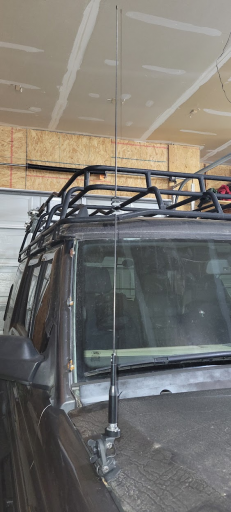
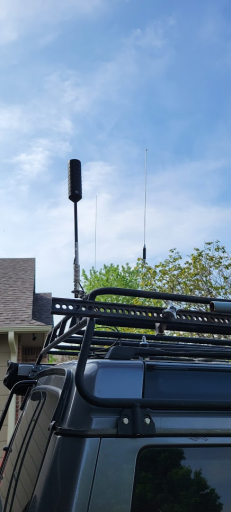
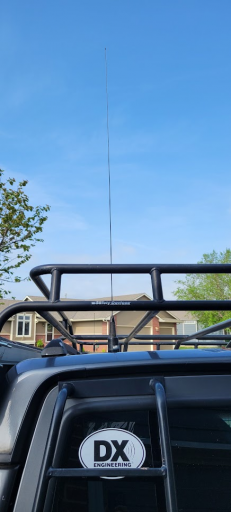
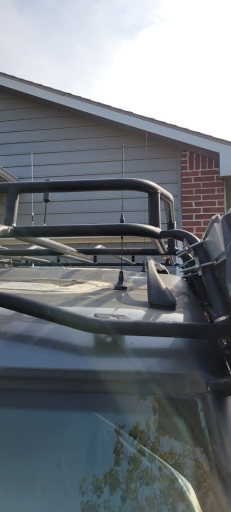
- Safety Devices Disco2 roof rack (evidently these are spendy, nice it came with)
- Rear steel bumper
- Hi-lift jack
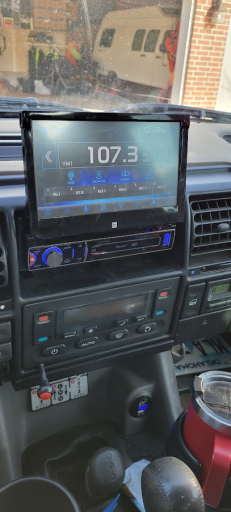
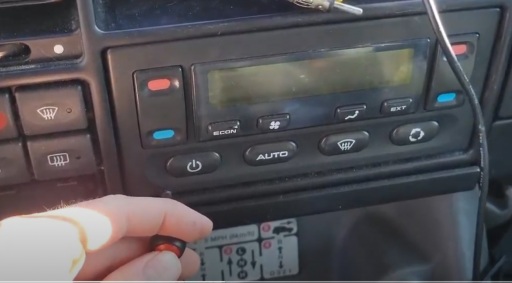
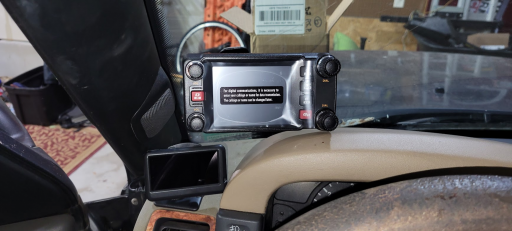
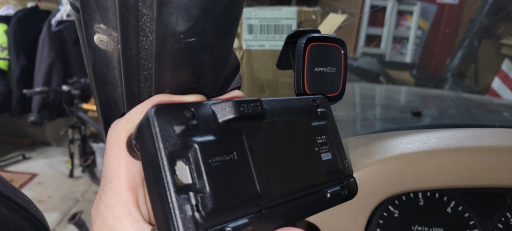
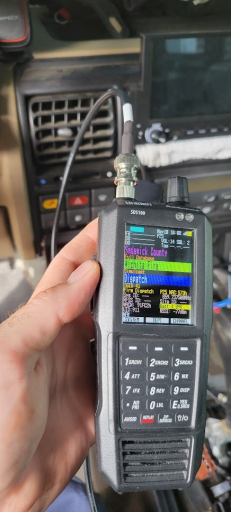
- Aftermarket head-unit w/ Bluetooth and reverse cam input (older, but works)
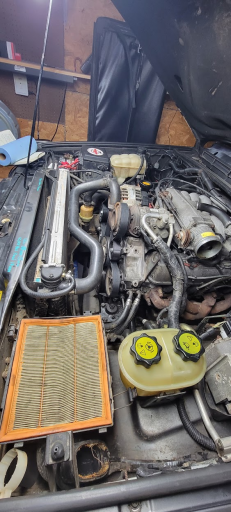
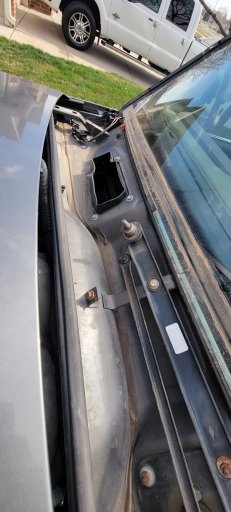
- DIY PVC Snorkel that's been disconnected at the airbox
I've owned it for a little over a week so there's still much to do, focusing on tackling drivetrain issues and catching maintenance back up. I'll update here with the progress thus far.
Last edited: