Rath's Trailer Build - First Test Pull Done!

  • HTML tutorial

Rath

Rank IV
Launch Member

Member III

1,116
Manitoba, Canada
First Name
Rath
Last Name
Adventures
Member #

22095

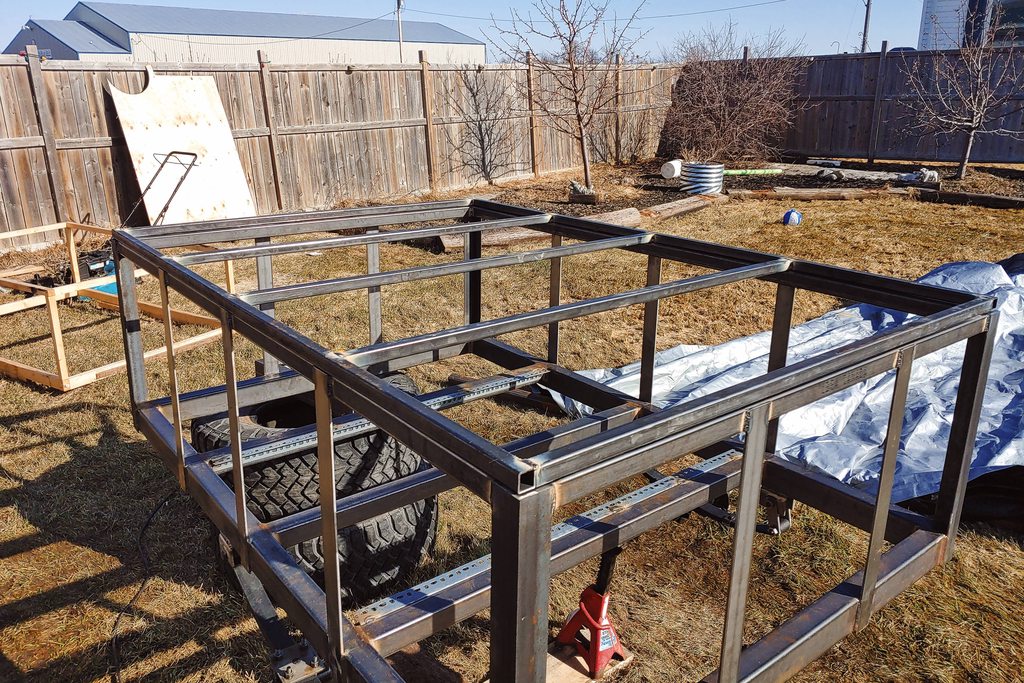
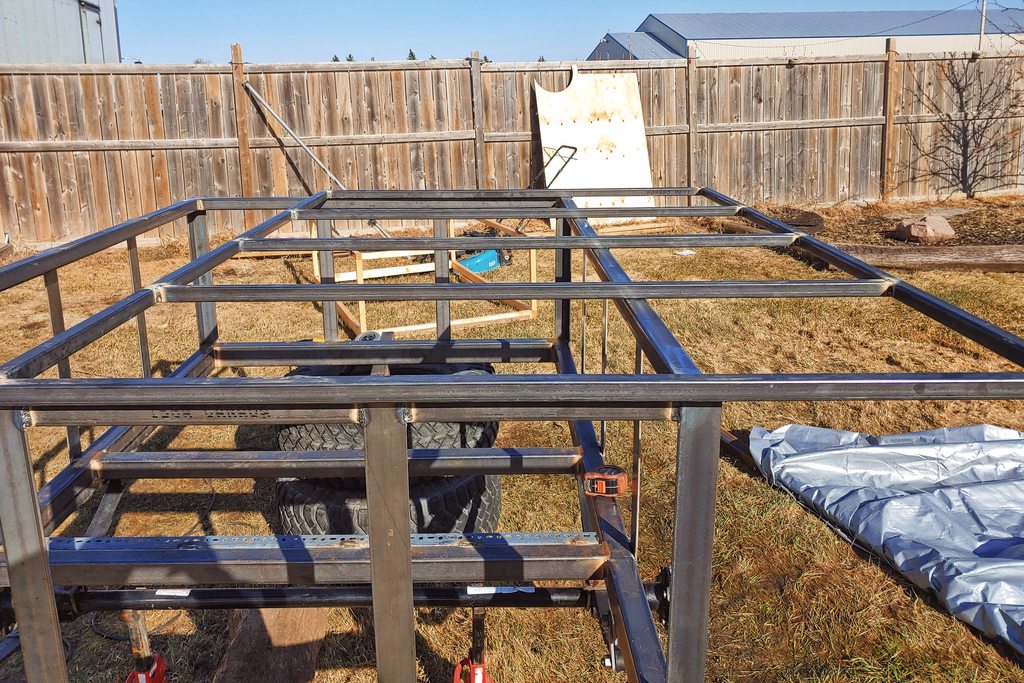
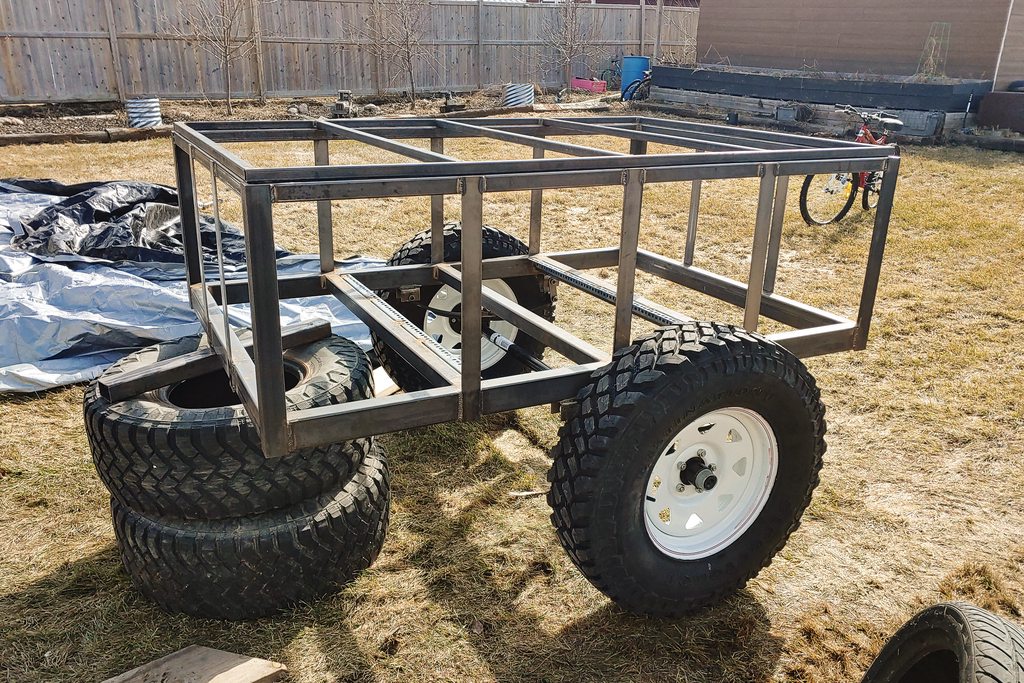
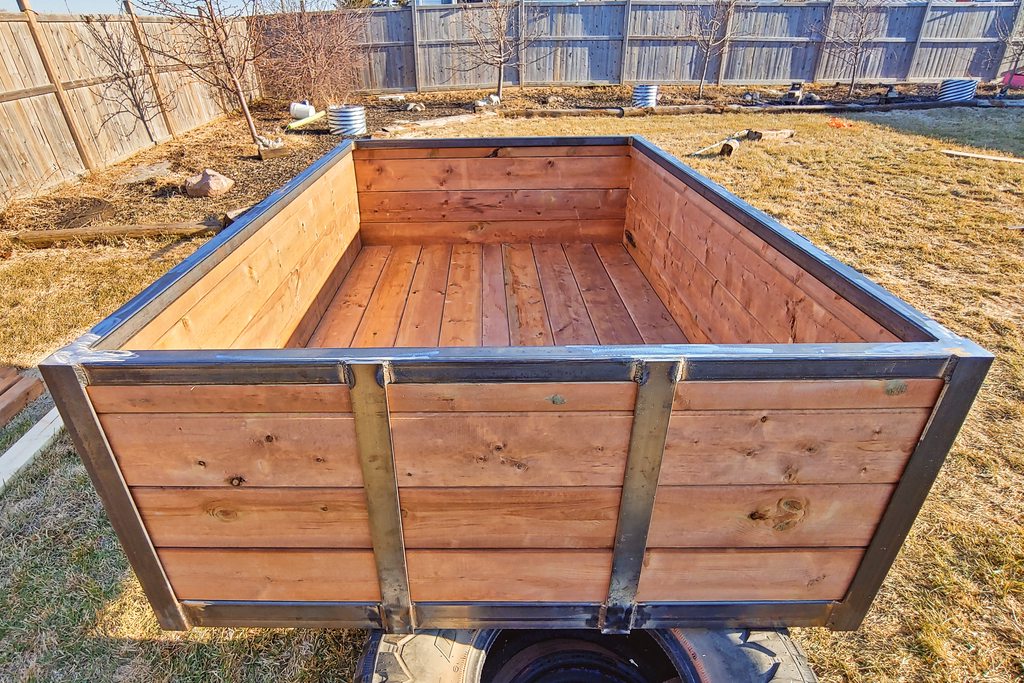
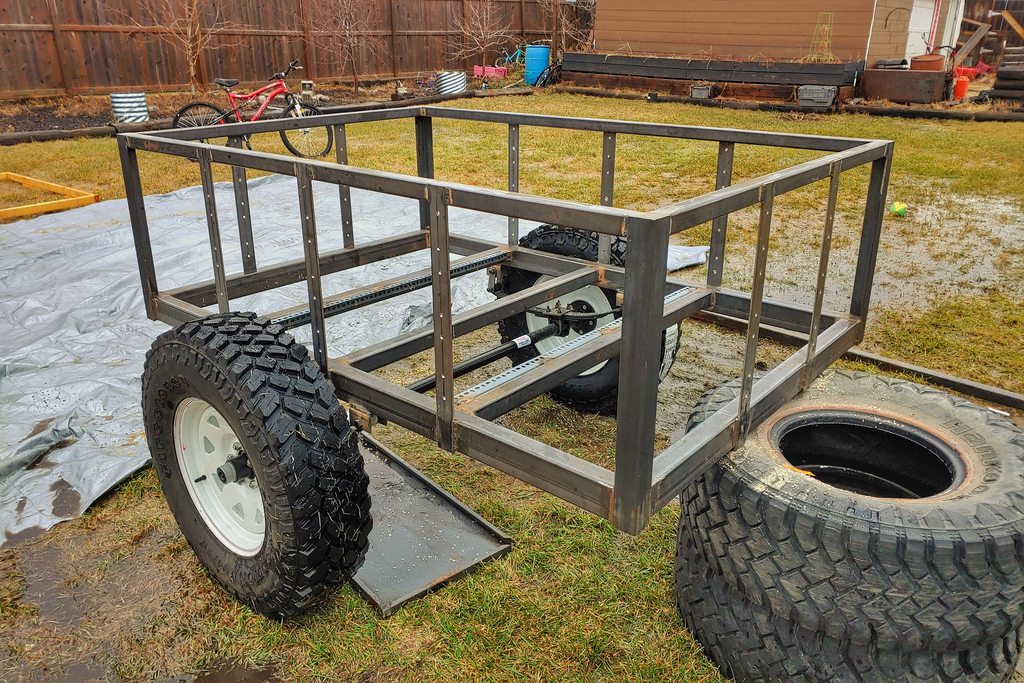
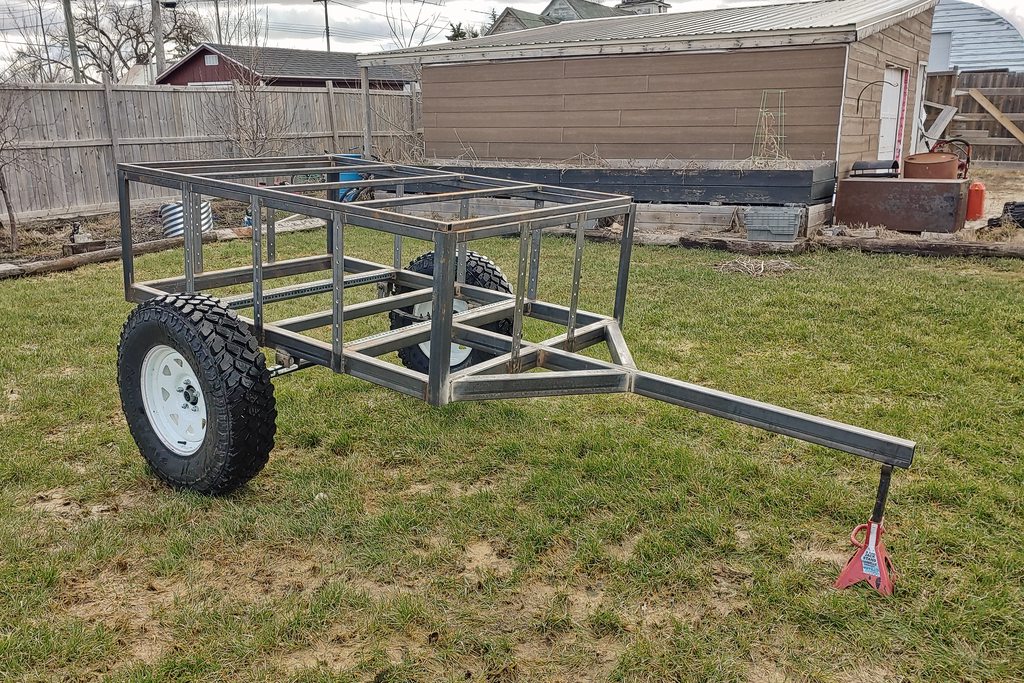
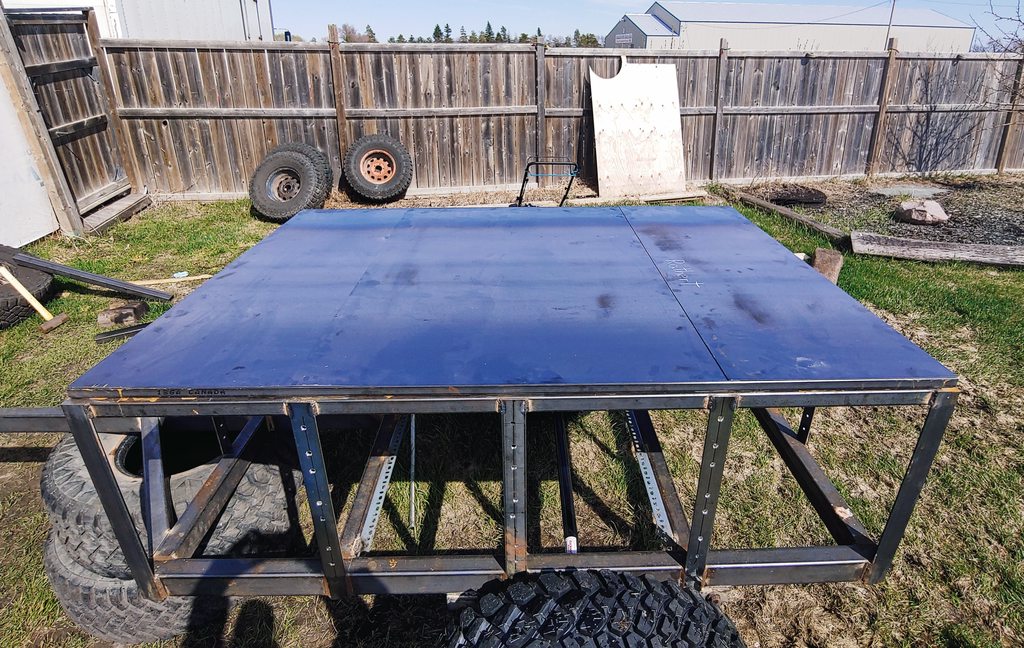
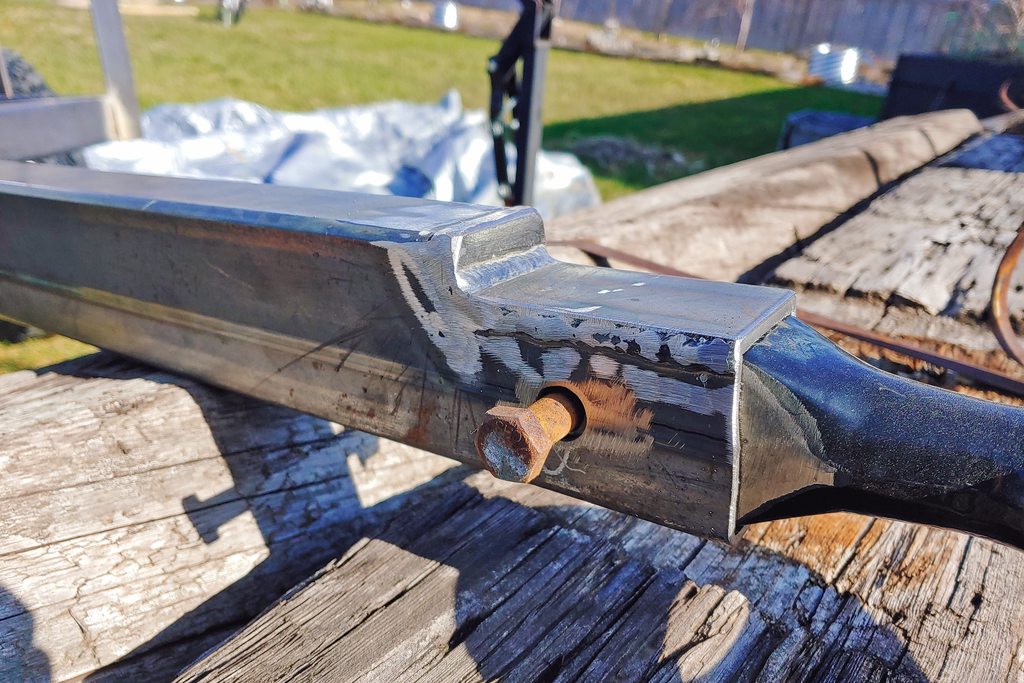
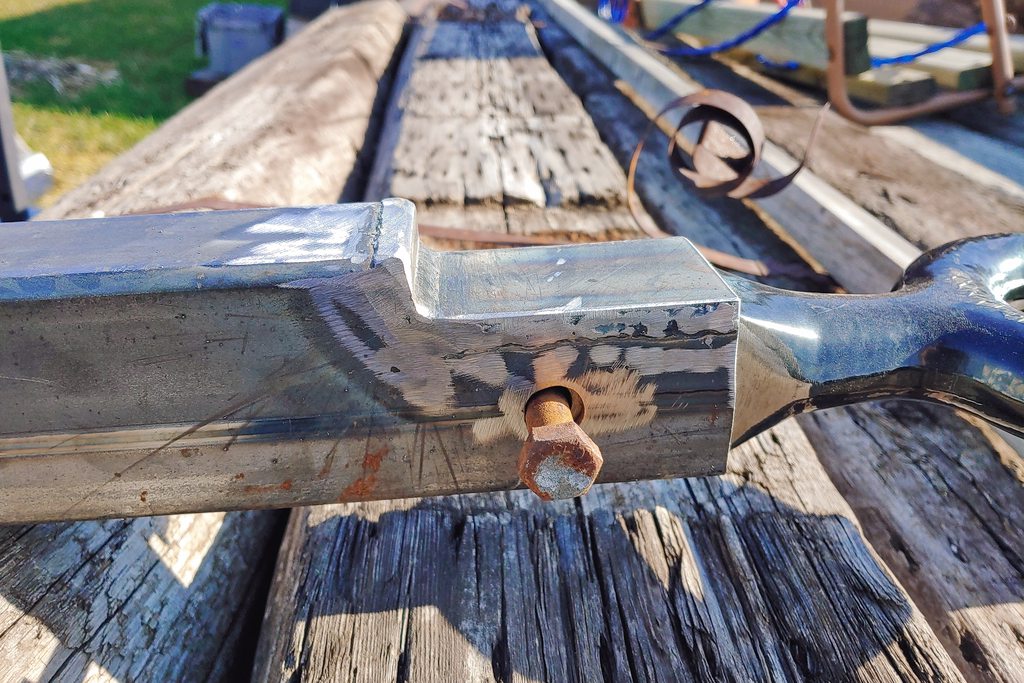
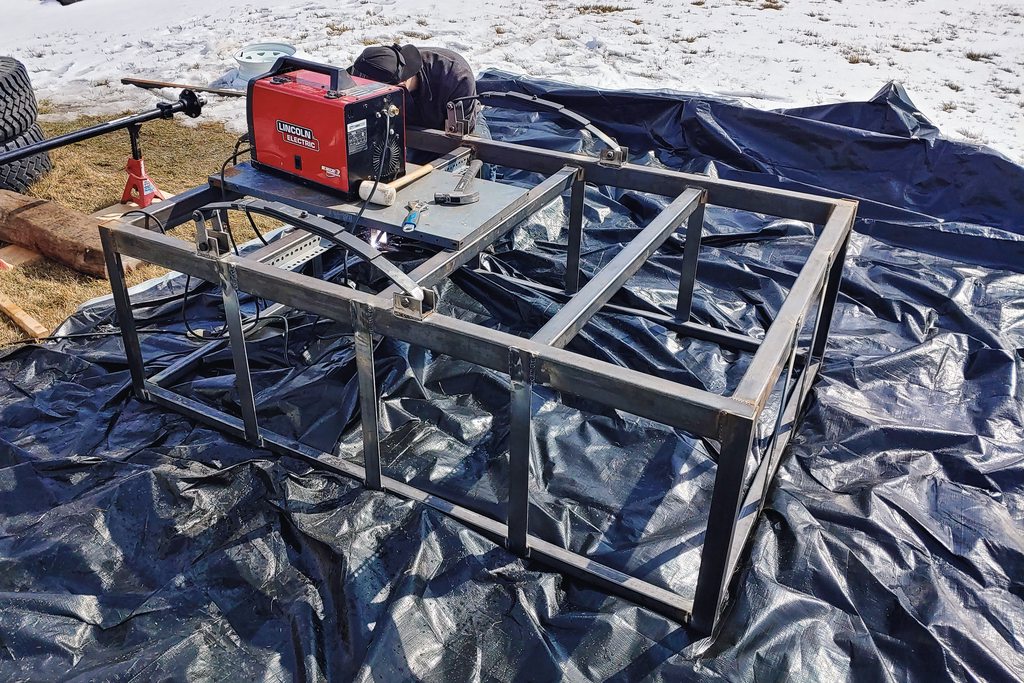
Welded on some old shelving angle pieces, this will give me something to bolt the wood to


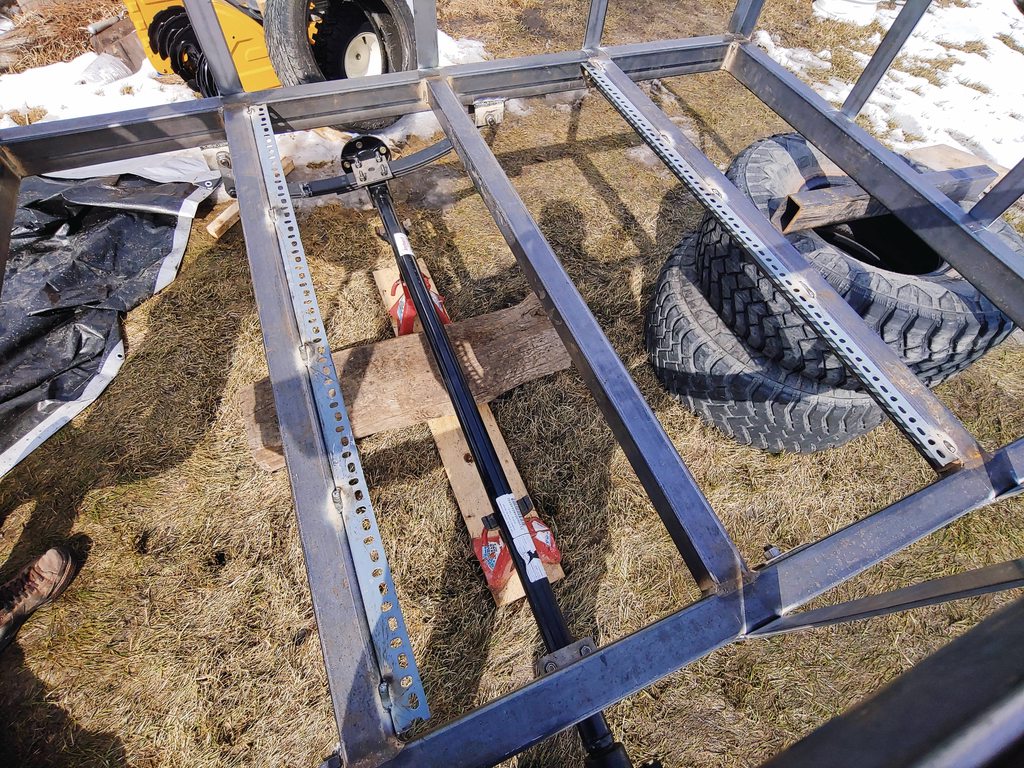
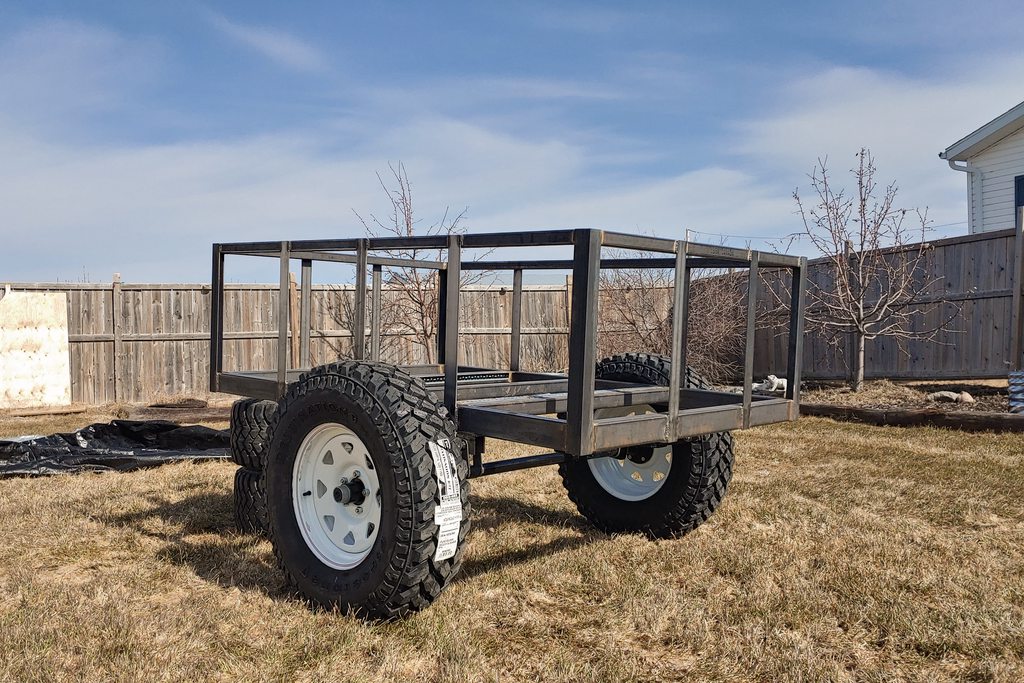
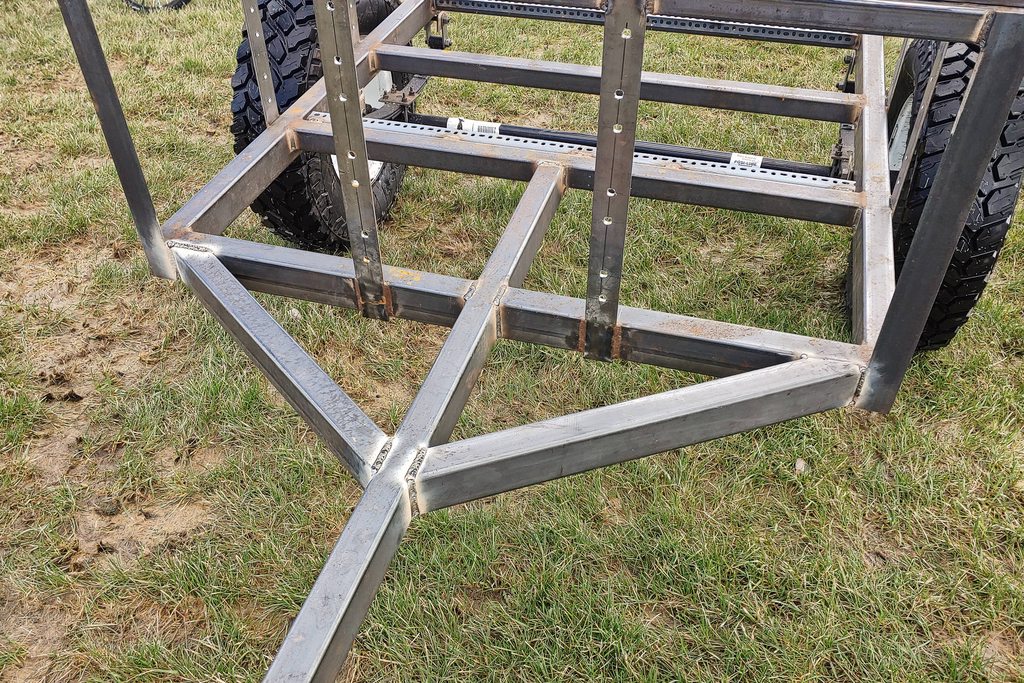
flipped the trailer over and finished up the welding underneath as well


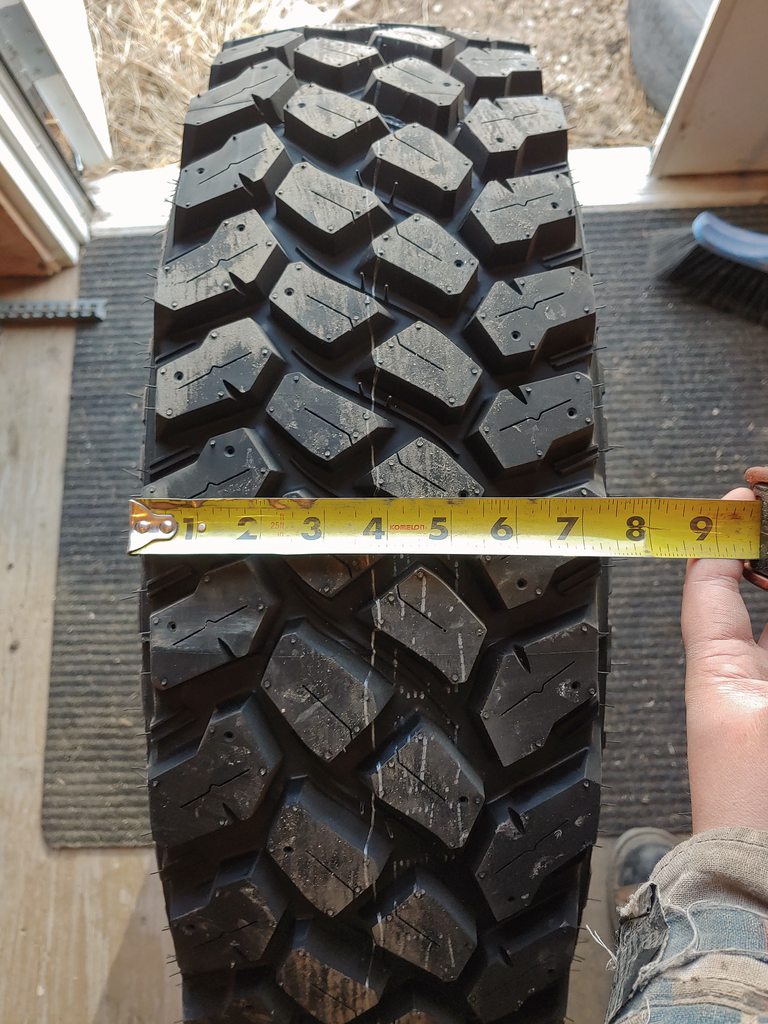
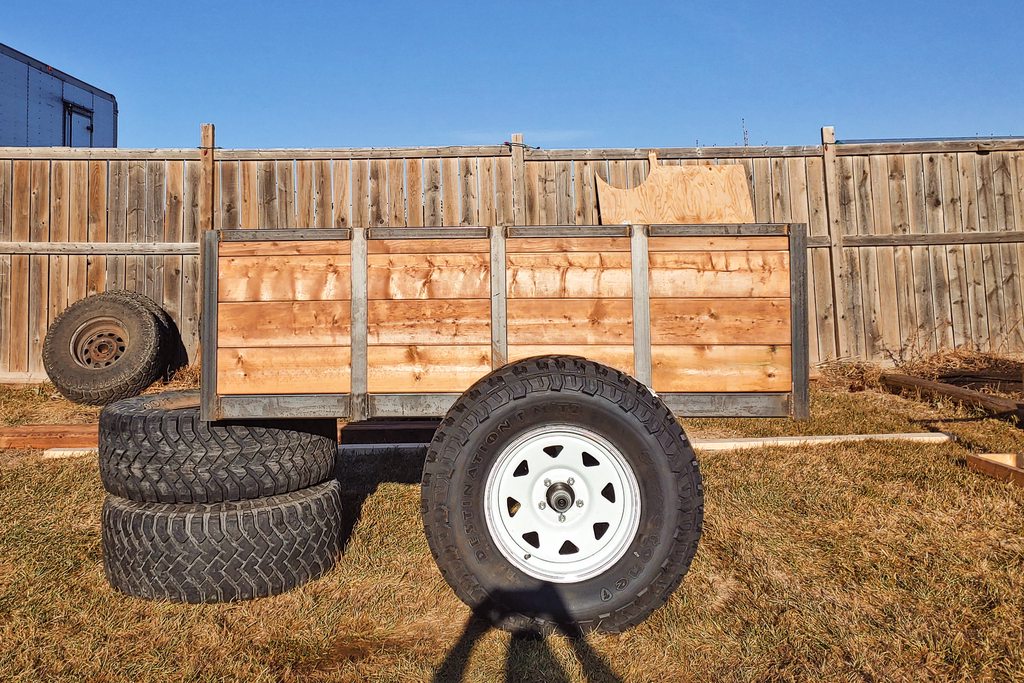
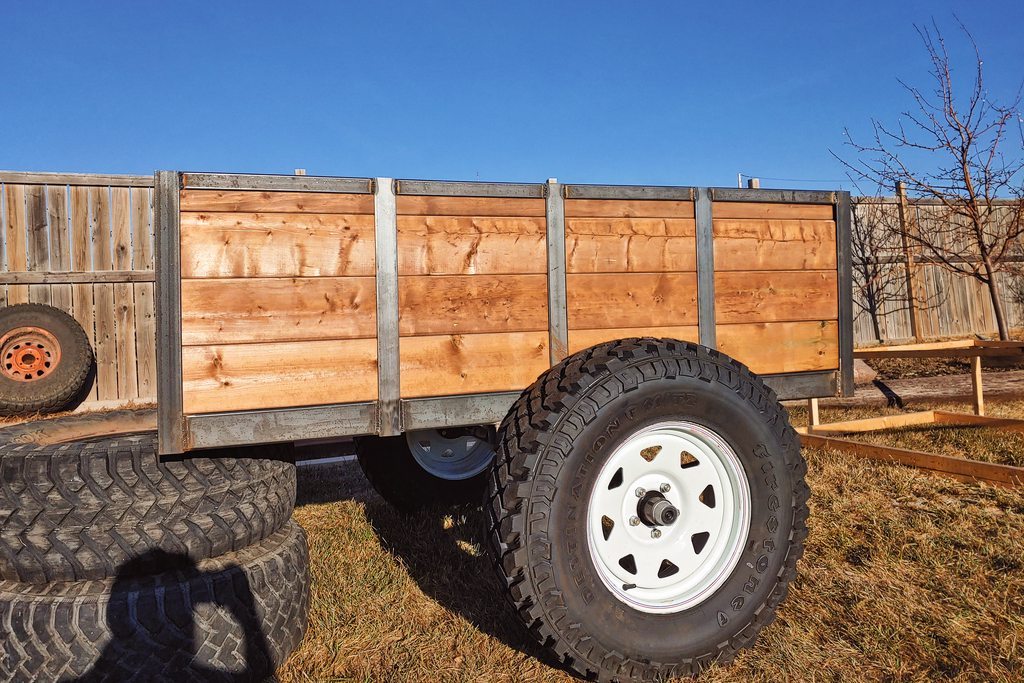
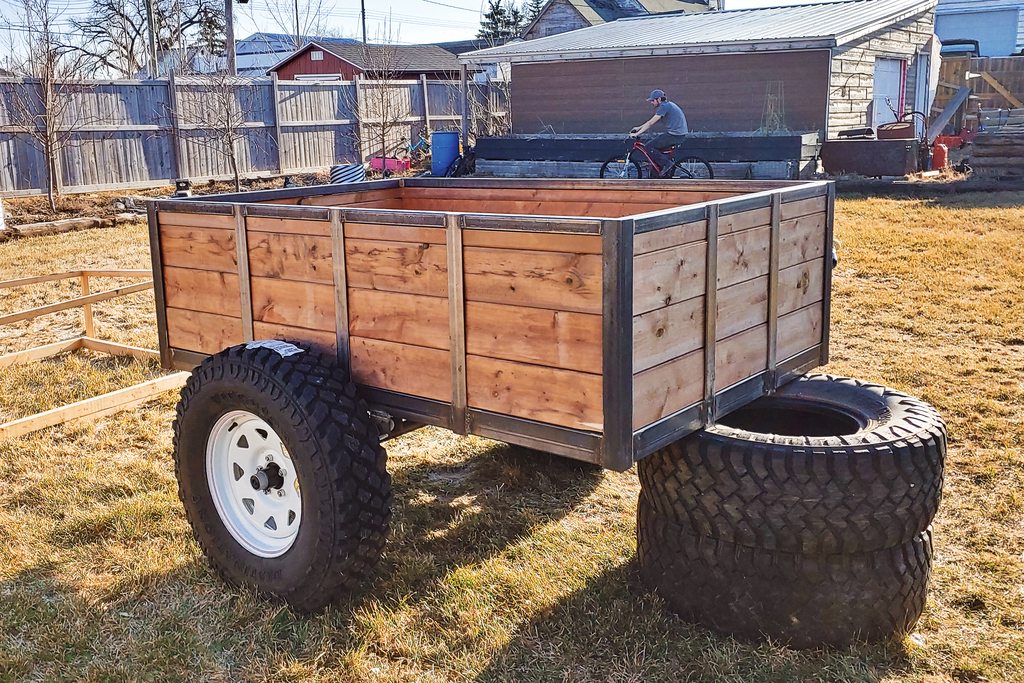
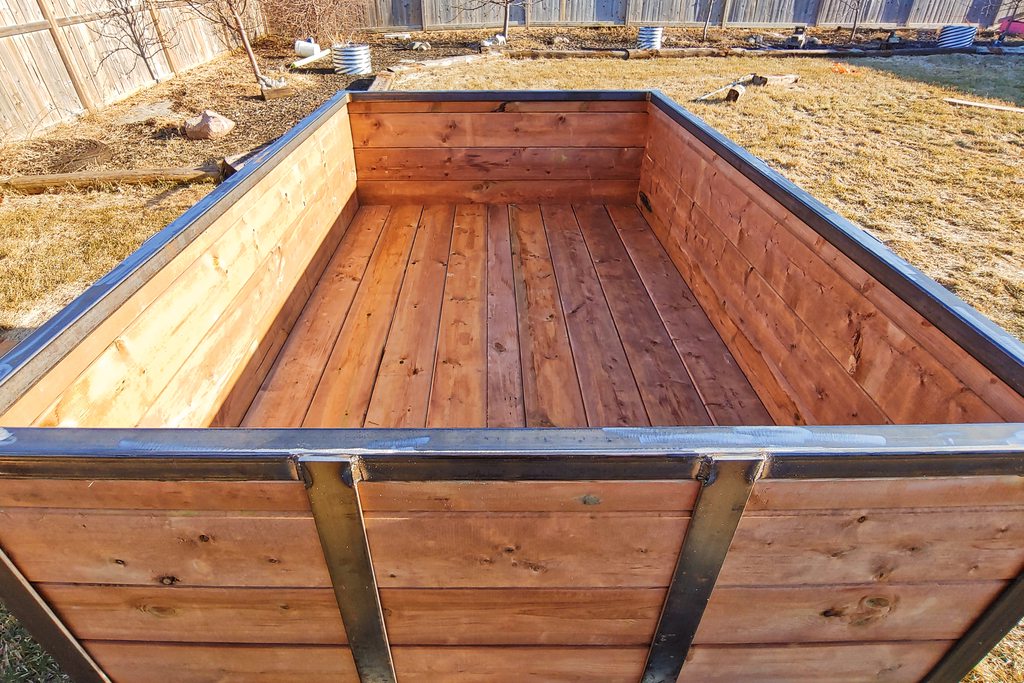
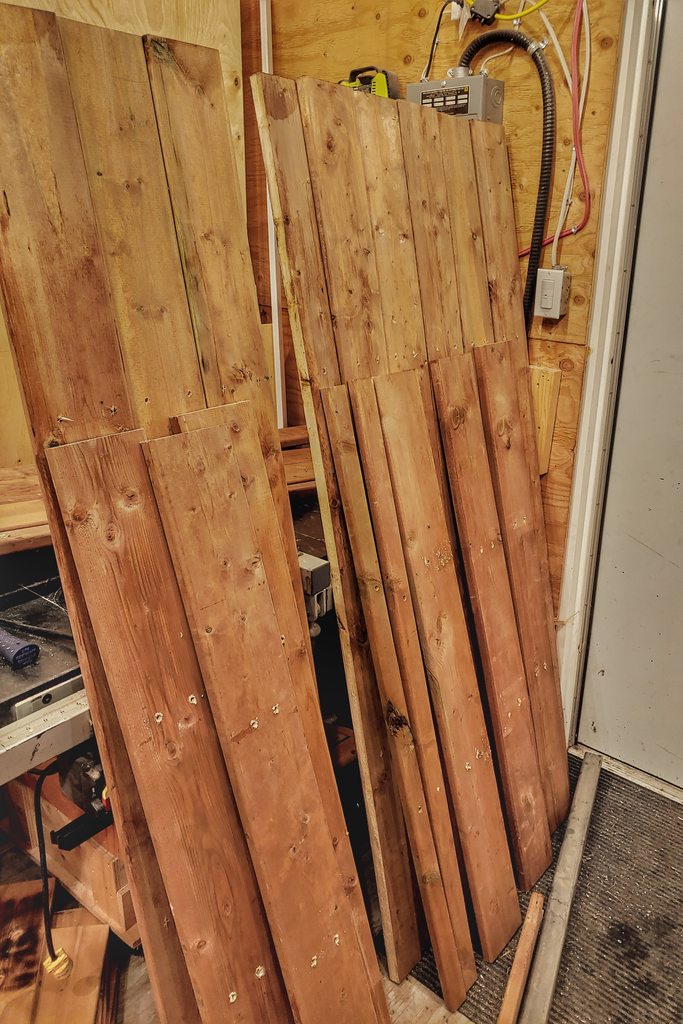
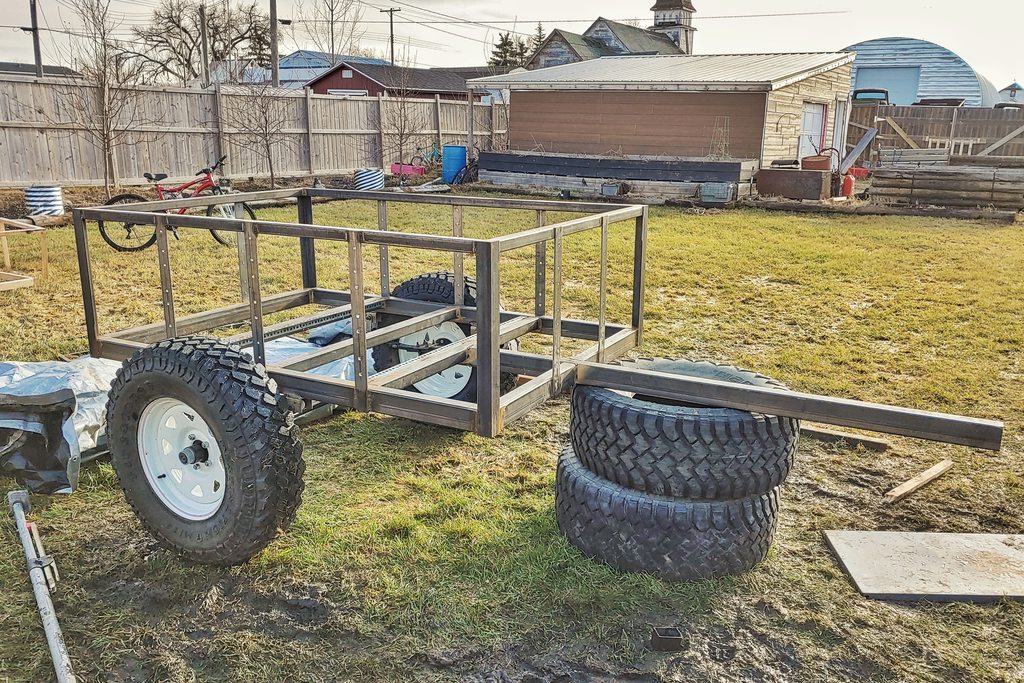
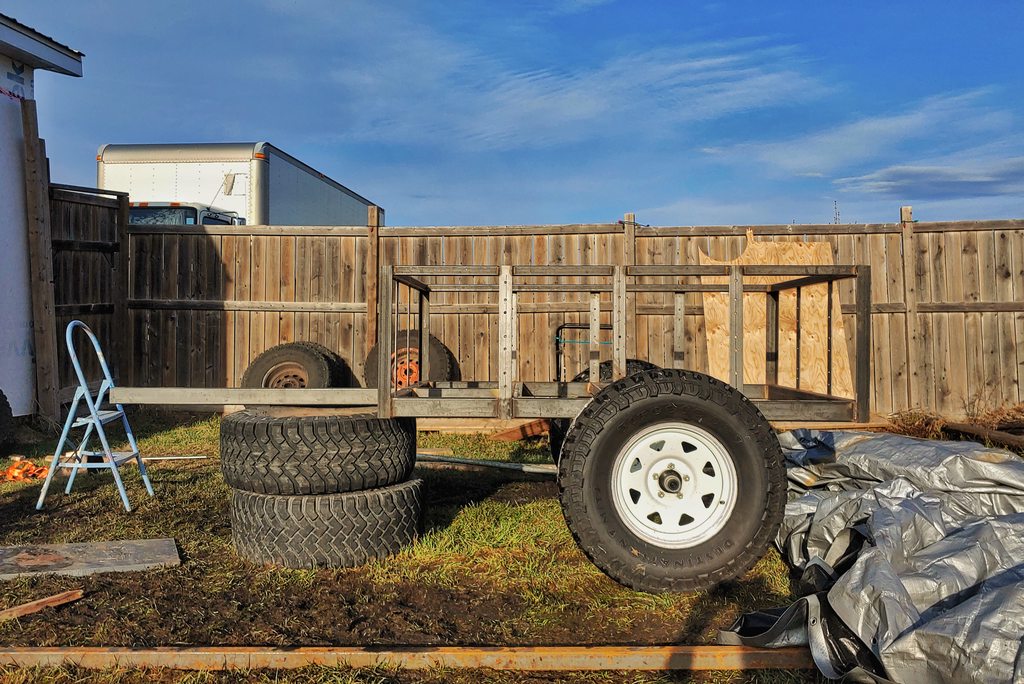
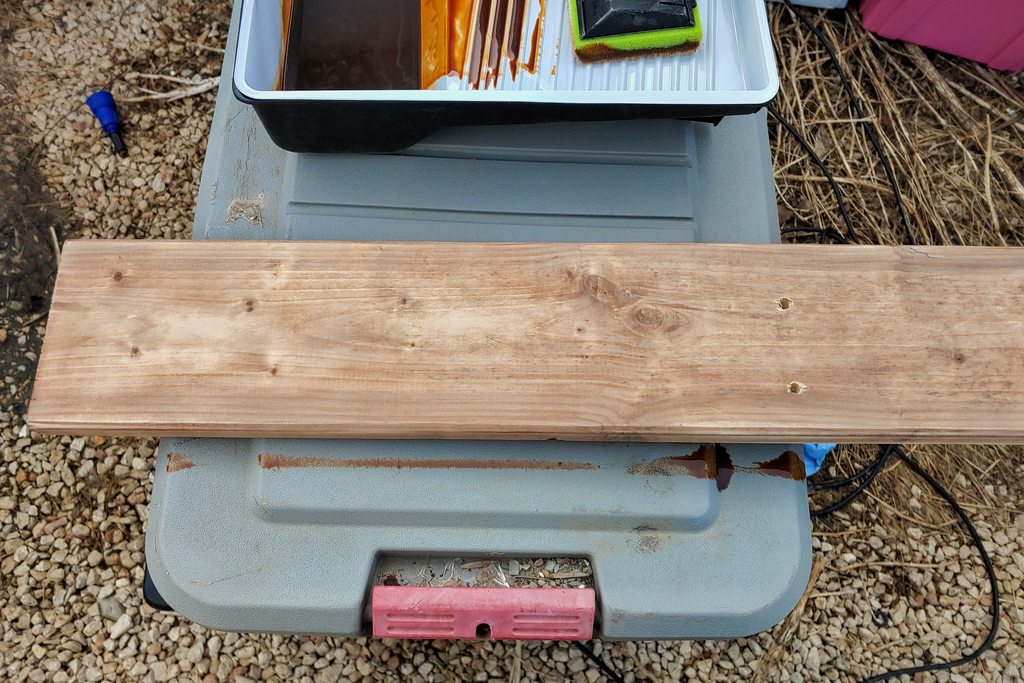
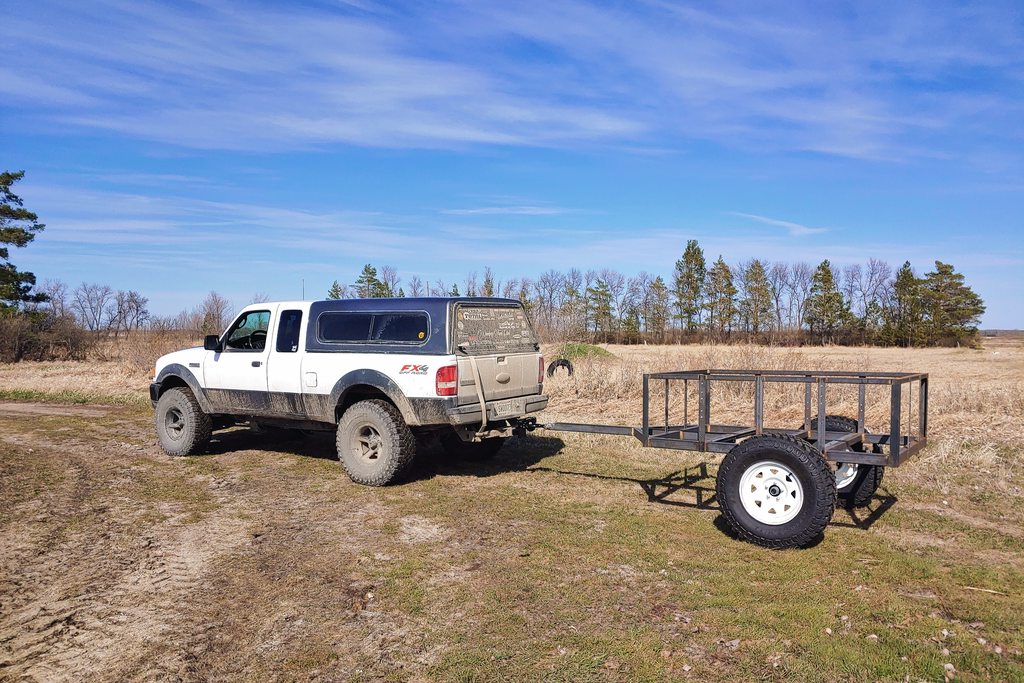
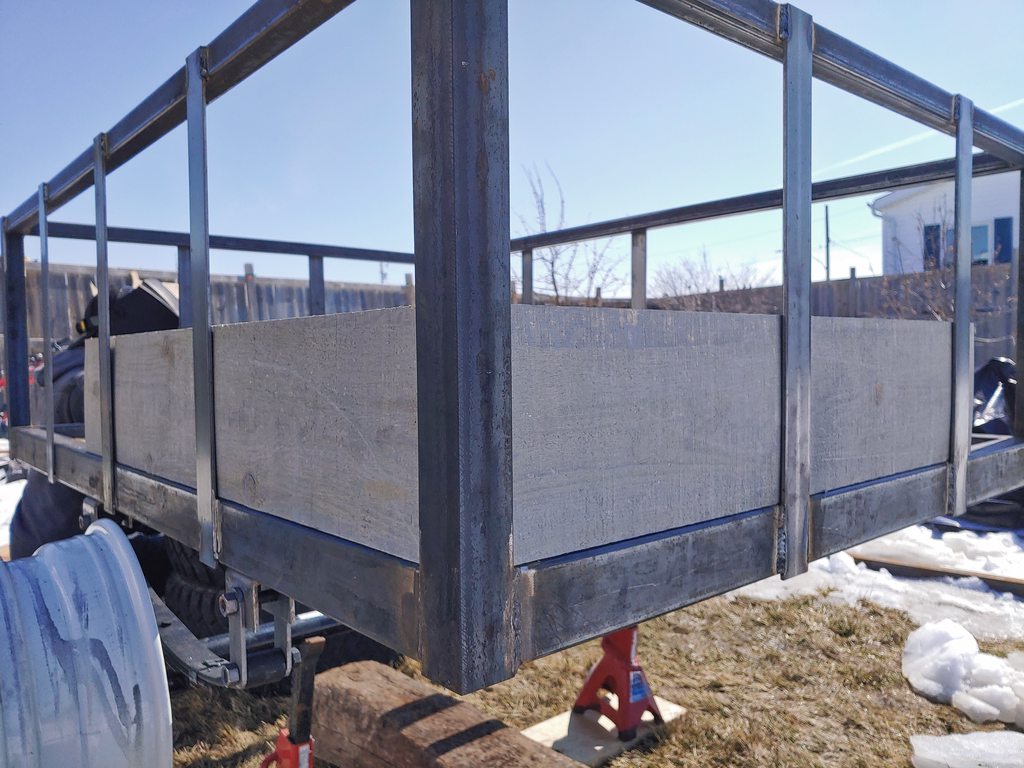
tossed some scrap wood in to get a lil visual. these are 8" wide, I'll be using 6" wide, however.
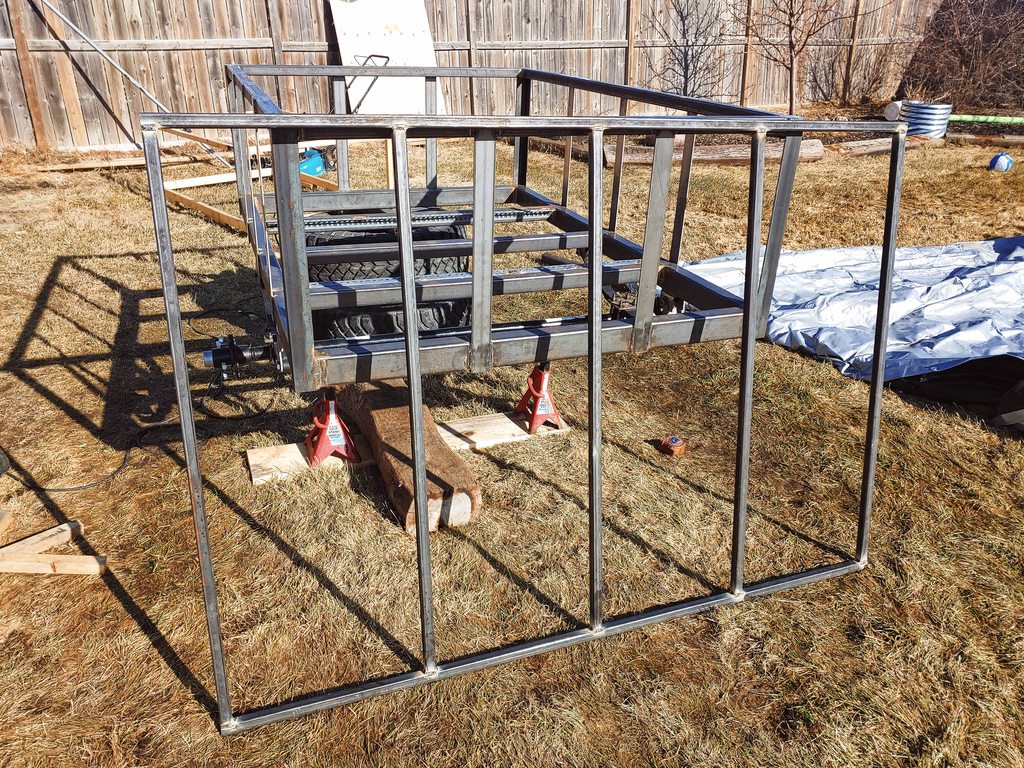
 

smritte

Rank V
Launch Member

Member III

2,827
Ontario California
First Name
Scott
Last Name
SMR
Member #

8846

Ham/GMRS Callsign
KO6BI
Your getting there. Looking good. Are you going to have a rear or side access?
My metal yards are closed so I'm on hold with mine.
 

Rath

Rank IV
Launch Member

Member III

1,116
Manitoba, Canada
First Name
Rath
Last Name
Adventures
Member #

22095

as of right now not planning on any side openings. in the future I am thinking about making a tailgate at the back, and sectioning off a spot for fit a slide out drawer for a cooler/fridge. but after getting it at ride height with the jackstands, it's super easy to reach over the sides and get anything in or out. so for simplicities sake, solid sides for now and just the top will have a lid.

I actually need to get steel for the tongue still though. luckily I get steel through one of my customers who are still open so no issues getting steel luckily.
 
  • Like
Reactions: smritte

Roam Wild Overland

Rank IV
Launch Member

Contributor I

1,402
Halifax, NS
Member #

10918

as of right now not planning on any side openings. in the future I am thinking about making a tailgate at the back, and sectioning off a spot for fit a slide out drawer for a cooler/fridge. but after getting it at ride height with the jackstands, it's super easy to reach over the sides and get anything in or out. so for simplicities sake, solid sides for now and just the top will have a lid.

I actually need to get steel for the tongue still though. luckily I get steel through one of my customers who are still open so no issues getting steel luckily.
Looking good. What do you have planned for the tongue? Are you going to just do a single drawbar out for the hitch, or have a platform with additional ability to carry gear or a enclosed box? Seems your platform will be pretty flexible to modify as you want in the future.
 

smritte

Rank V
Launch Member

Member III

2,827
Ontario California
First Name
Scott
Last Name
SMR
Member #

8846

Ham/GMRS Callsign
KO6BI
If you don't have an idea for plugging the open ends on your lid, I use the end caps from rod iron. Hammer them in with a mallet. Cheap, easy and look good.
 

Rath

Rank IV
Launch Member

Member III

1,116
Manitoba, Canada
First Name
Rath
Last Name
Adventures
Member #

22095

good call! didnt even think about that, was just gonna spray some expanding foam in there. your idea is much better.
 

Rath

Rank IV
Launch Member

Member III

1,116
Manitoba, Canada
First Name
Rath
Last Name
Adventures
Member #

22095

ordered tires today, picked em up, and mounted them!

I didn't want to wait till next week for my brother in law to mount them at his work (tire shop) so I went to town with a 12" mini crowbar and got the job done in the shed. then tossed them on! still need balancing, obviously, but I wanted to get clearance measurements.

size are 235/85r16, wheels are 16x6 0 offset.


compared to a set of worn 33x12.5x15


Rath

Rank IV
Launch Member

Member III

1,116
Manitoba, Canada
First Name
Rath
Last Name
Adventures
Member #

22095

ordering all the wood and hardware today for pickup hopefully tomorrow, given current situation it's pickup only so hopefully they pick straight boards.
 

Rath

Rank IV
Launch Member

Member III

1,116
Manitoba, Canada
First Name
Rath
Last Name
Adventures
Member #

22095

no massive update yet, I will be picking up all my wood/hardware tomorrow morning, evenings/weekend will be spent cutting to length and staining it. hopefully.... it's supposed to rain.

aside from that. a while back I bought a lunette ring that was on a 2" hitch bar thing (does it have a word?) so it would be removable and if I wanted I could switch the trailer to something else easily.
the original plan was to use 2.5" 1/4" wall tube for the trailer tongue. but today I realized with the way the lunette ring hitch was made, it was super close to sliding inside a scrap piece of 2x3 .125 wall tube I had. one side is flat, and is much too large to fit in 2" tube however the other side was angled, like a triangle. I didn't take a pic before grinding, but what I did was grind down the angled sides so they were flat, and fit very tightly inside the 2x3 tube. (obviously with a large gap on one end) so the tongue will be a little under 6 feet of 2x3 material, that goes back to the first crossmember. I will add triangles of more 2x3 from the corners of the trailer, to the tongue. this should be plenty strong in the end.


this ground downside had a slight "triangle" shape to it, that made it wide enough originally for a 2" receiver.


You can kinda see in this photo, how it was "triangled" to make up the width. so it really wasnt much work to grind it flat.

 
Last edited:

Rath

Rank IV
Launch Member

Member III

1,116
Manitoba, Canada
First Name
Rath
Last Name
Adventures
Member #

22095

Alrighty, a bit of a decent update today! Wood was picked up this morning, tongue steel was picked up this afternoon. only material items I still need to get are fenders. which I may have an idea for.


onto the update. The wood! Managed to pick it up this morning, preordered on Tuesday night so that was pretty quick turn around considering all they do now is pick up orders.
got home around 3:30 PM and got to work measuring, cutting, ripping, fitting, and only messed up the measurement on one cut, but it ended up working out anyways.

I went with pressure treated deck boards, I will be lightly sanding them down and applying a "penetrating oil" stain to them. Onto the photos! the main reason anyone ever comes to a "build" thread.


Rath

Rank IV
Launch Member

Member III

1,116
Manitoba, Canada
First Name
Rath
Last Name
Adventures
Member #

22095

more progress. Got all the holes drilled for the bolts. that was.... fun. 70 holes through 3/16" material. thats around 13" of material if my math is right.

wood is now back off the trailer, marked for positions, and in the shed drying out. tomorrow I will be sanding it very lightly in prep for the penetrating oil stain to be applied. depending on time, I may get the tongue welded in as well.


Had to lift it up, and prop it up to drill the floor holes. don't try this at home lmao


and wood out, holes in


Rath

Rank IV
Launch Member

Member III

1,116
Manitoba, Canada
First Name
Rath
Last Name
Adventures
Member #

22095

alrighty, main part of the tongue is on. still have to do the angle pieces coming off it. but we're getting there!

also sanded down all the wood today, likely stain tomorrow if the weather is nice enough.


  • Like
Reactions: Roam Wild Overland

Rath

Rank IV
Launch Member

Member III

1,116
Manitoba, Canada
First Name
Rath
Last Name
Adventures
Member #

22095

few more things showed up today. including wheel spacers and lights! tossed the spacers on so there's now no more rubbing!

also got the wood stained today, mostly. still have to do the other side but I'm really happy with the colour it turned out

before and after spacers


yes, I know some people don't like spacers. We're not gonna get into that lol. I have had this brand on a vehicle before, a vehicle much heavier than this trailer, and have had zero issues so we're gonna be fine.

and the wood, before and after the stain. Which is actually a penetrating oil, but its easier to call it stain lol


  • Like
Reactions: smritte

Rath

Rank IV
Launch Member

Member III

1,116
Manitoba, Canada
First Name
Rath
Last Name
Adventures
Member #

22095

started working on the tongue more today, getting the pintle ring situation started.


I'll be welding flat steel to cover the cut area. I will also be adding some extra metal around it before, and after the pin, just to add some strenth there.


also grabbed some sheet for the lid. likely going to rivet these on

 
  • Like
Reactions: Roam Wild Overland

Rath

Rank IV
Launch Member

Member III

1,116
Manitoba, Canada
First Name
Rath
Last Name
Adventures
Member #

22095

Got the end of the tongue plated up, and there is zero slop at all in the pintle ring now! Perfection. I am still going to run a strap around the entire thing for added strength.


But, that was done enough for me to get it hooked up to the truck for a little test pull! Mainly testing things like how it tracks, handles bumps, make sure it pulls good etc. It was a successful test pull. here are some photos.


Testing the jack knifing capabilities. I'm super happy with this.


And of course, had to test the off road capabilities (as best I could with staying right near home, anyways)