Pajero Gen 4 in Norway (aka Montero - 2014 model)

  • HTML tutorial

Gravel Seeker

Rank IV
Launch Member

Enthusiast III

1,116
Moss, Norway
First Name
Thomas
Last Name
Rebnord
Member #

24937

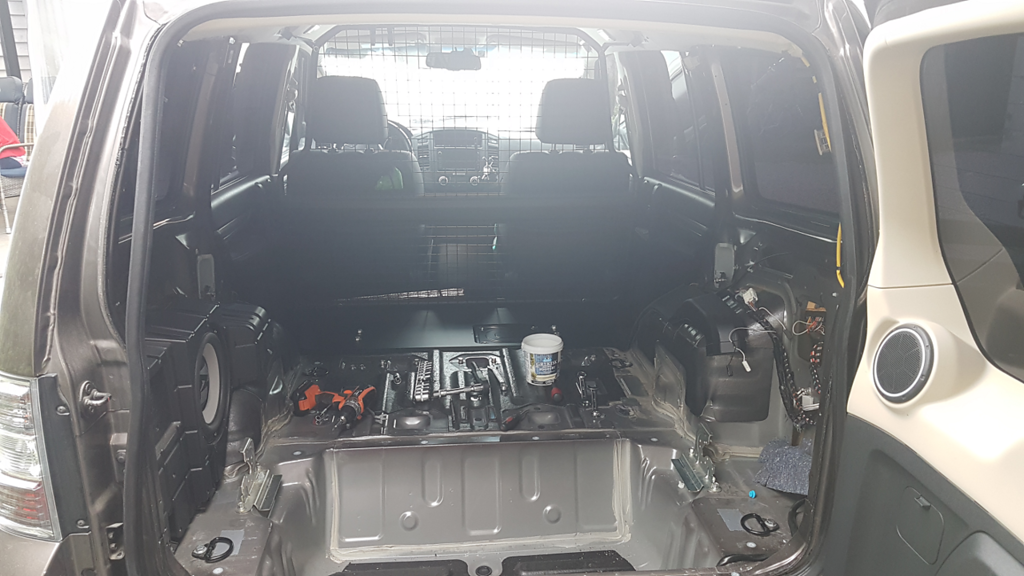
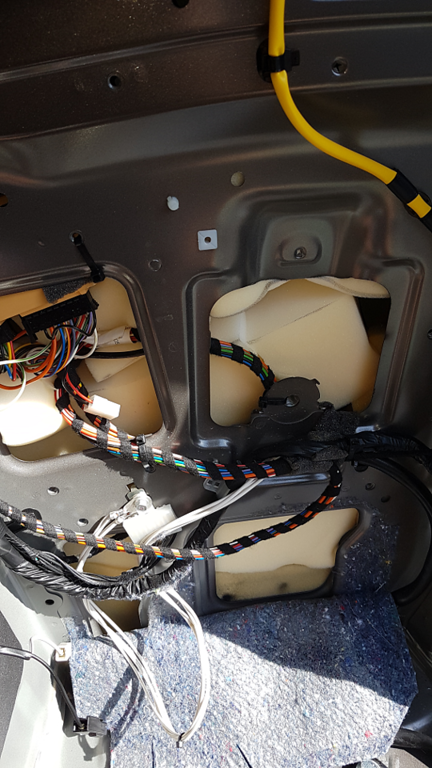
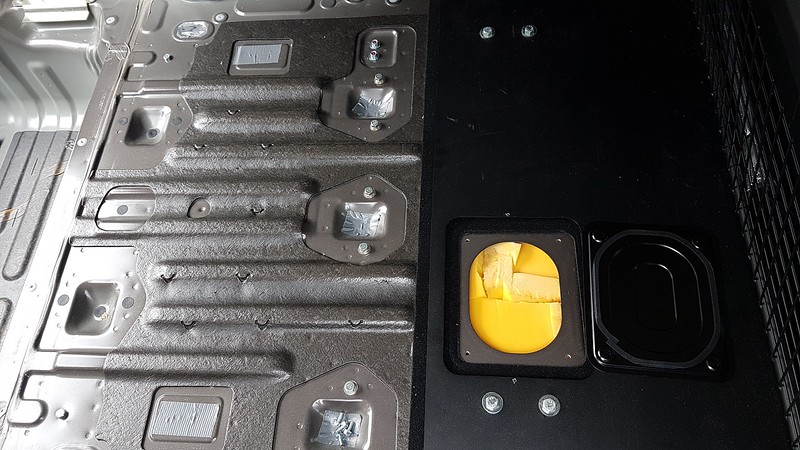
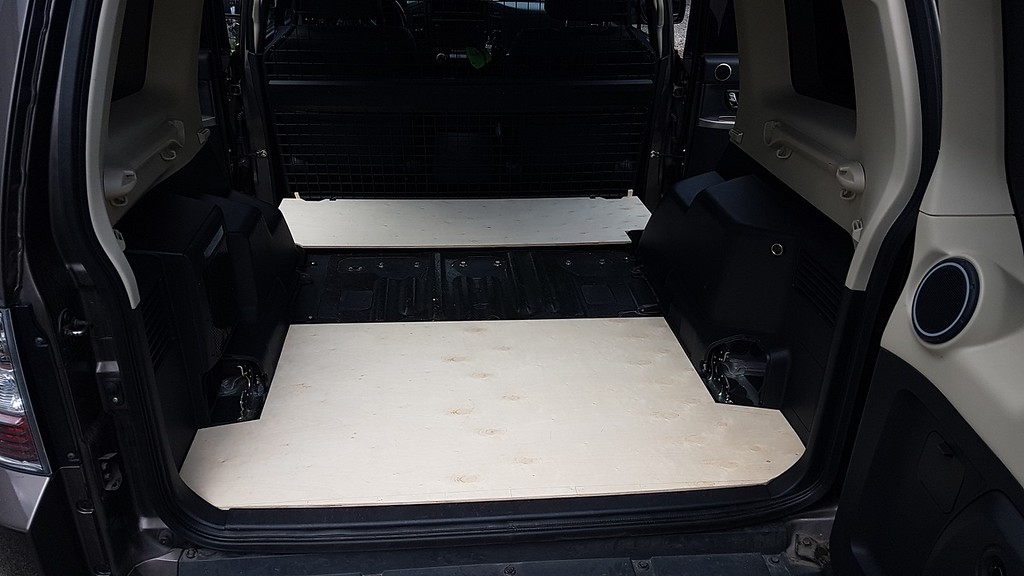
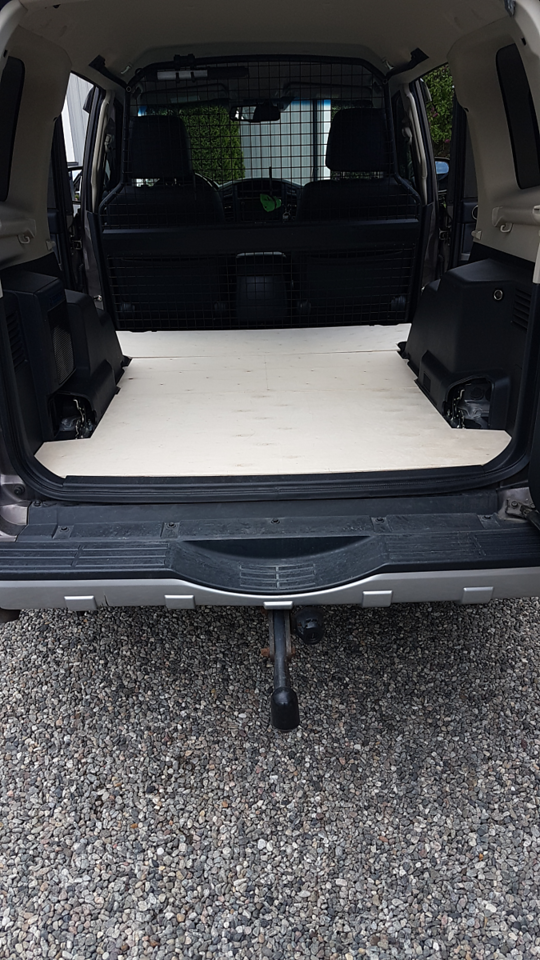
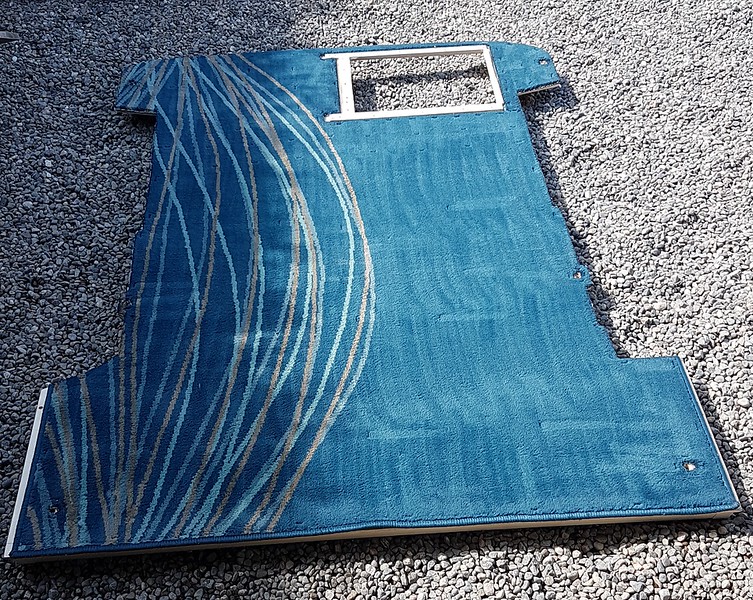
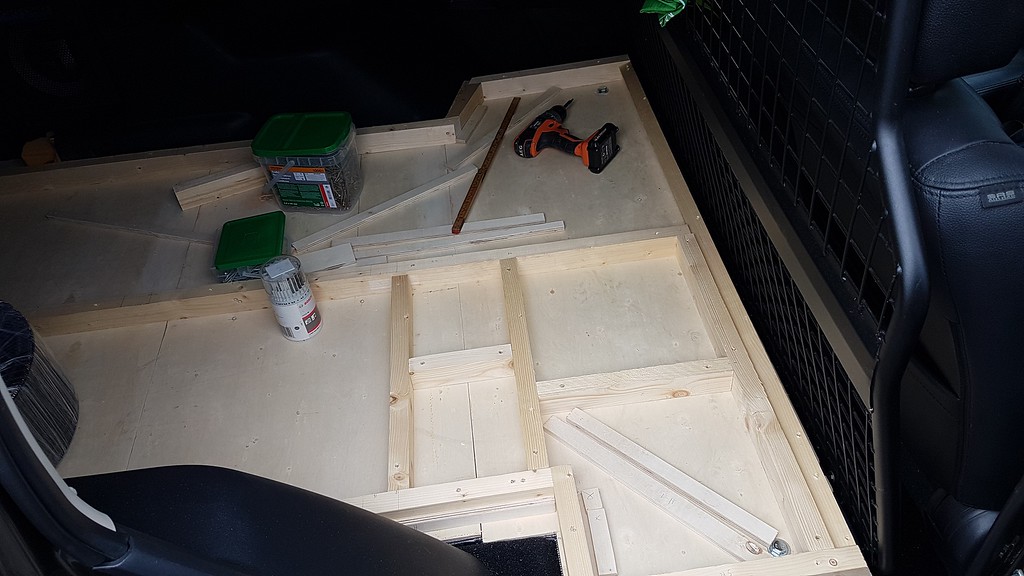
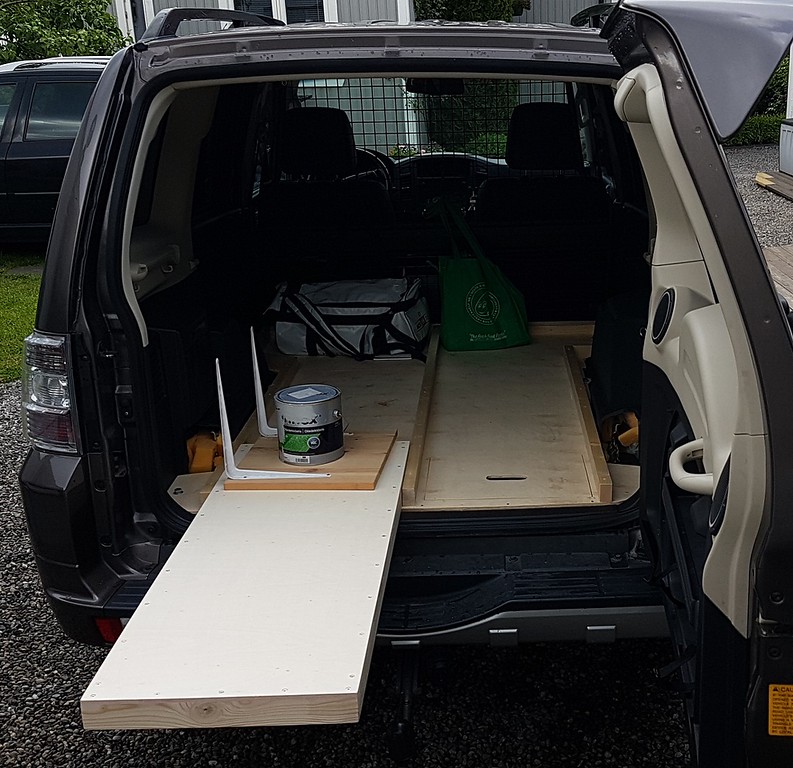
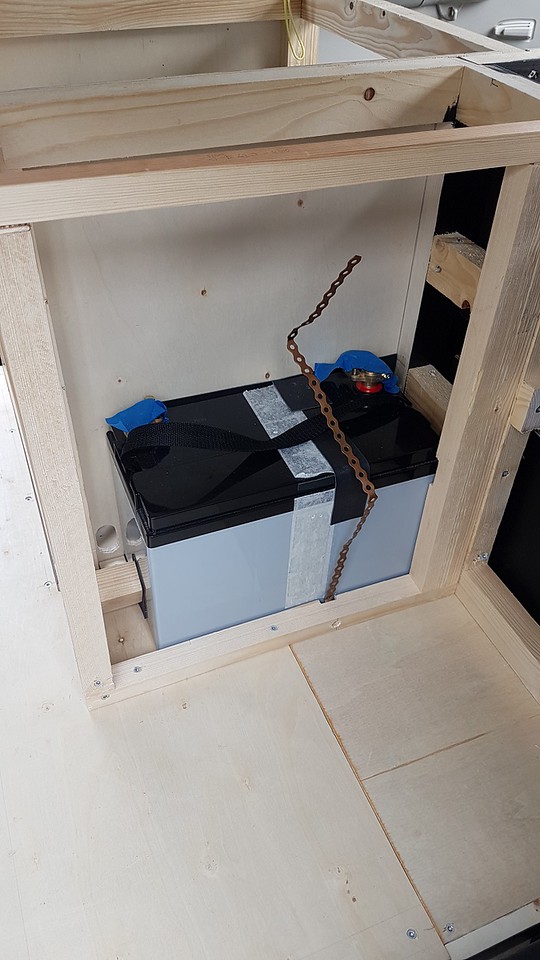
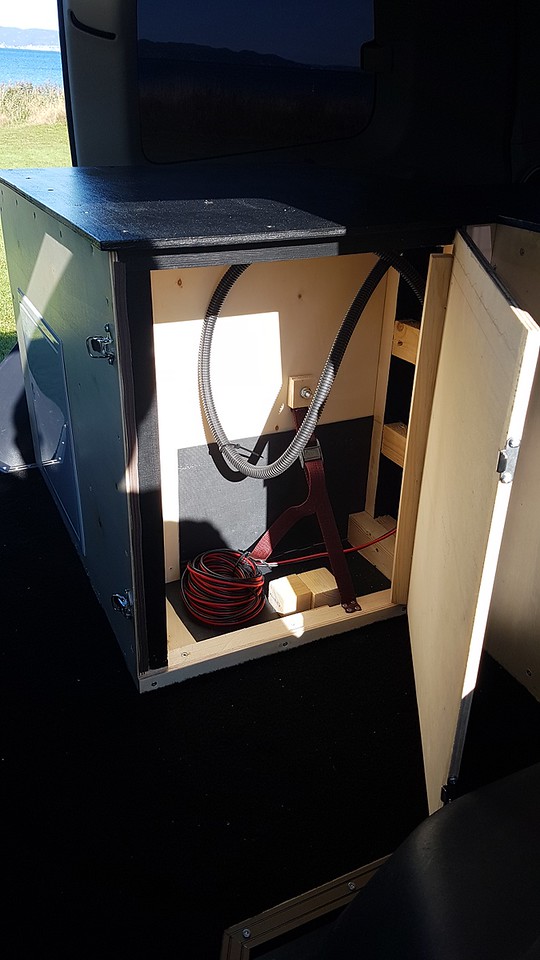
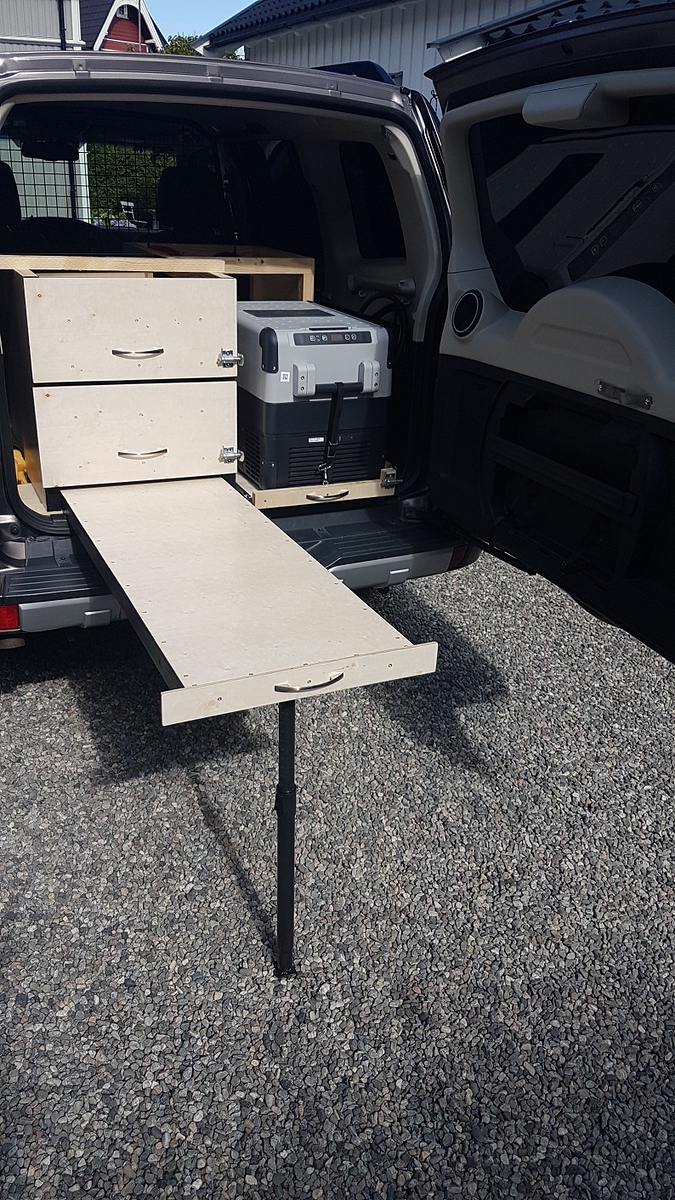
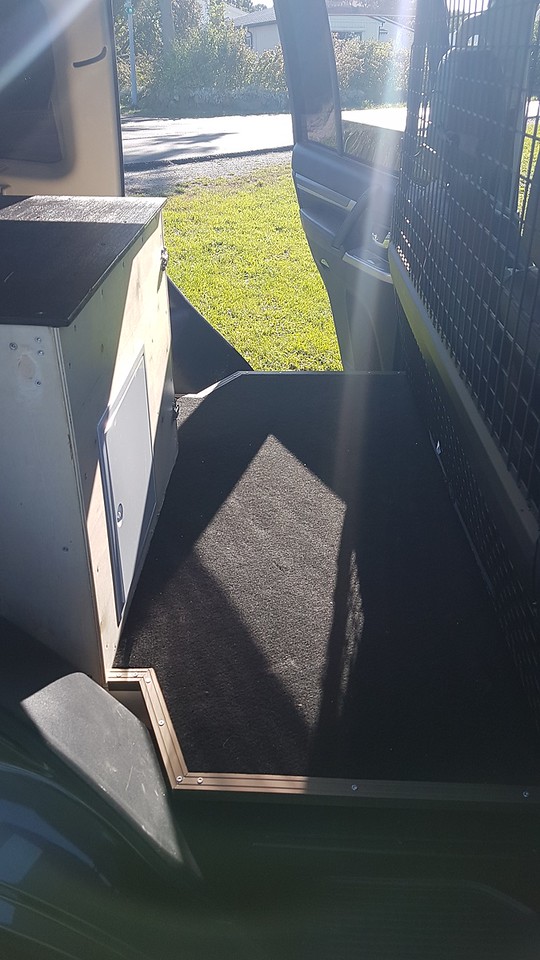
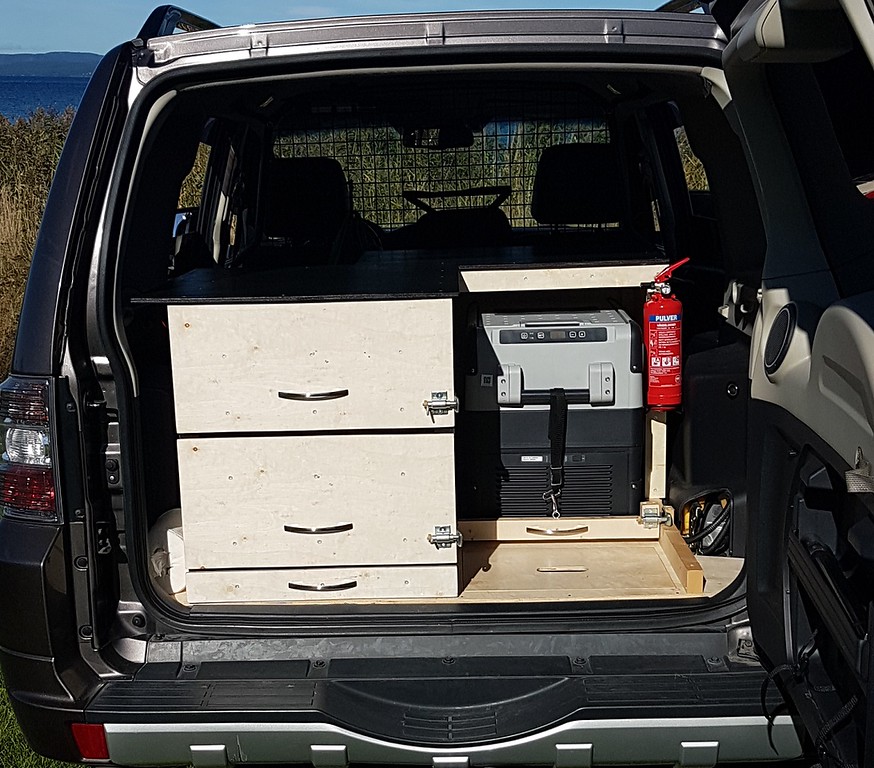
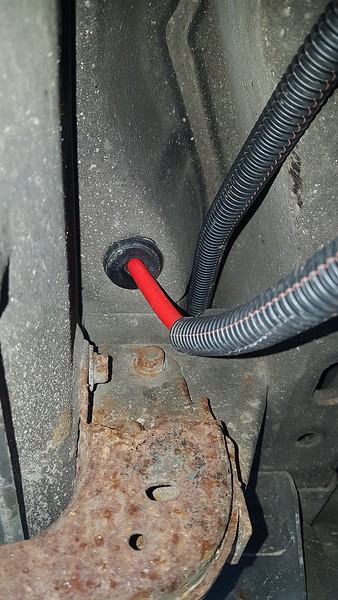
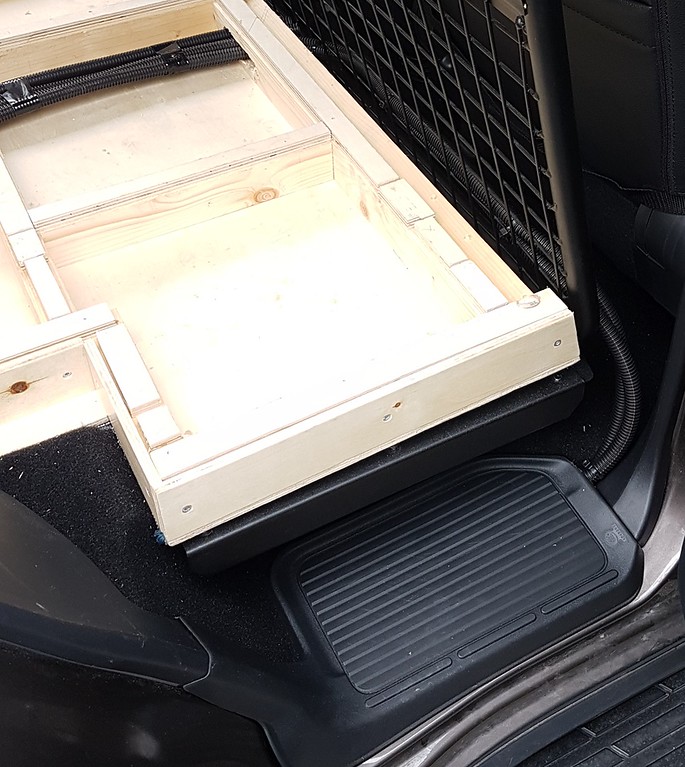
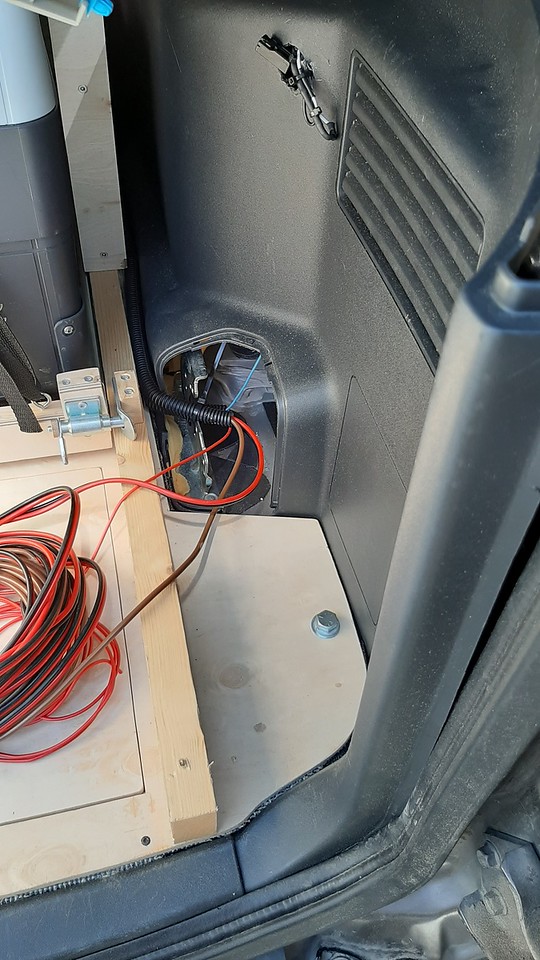
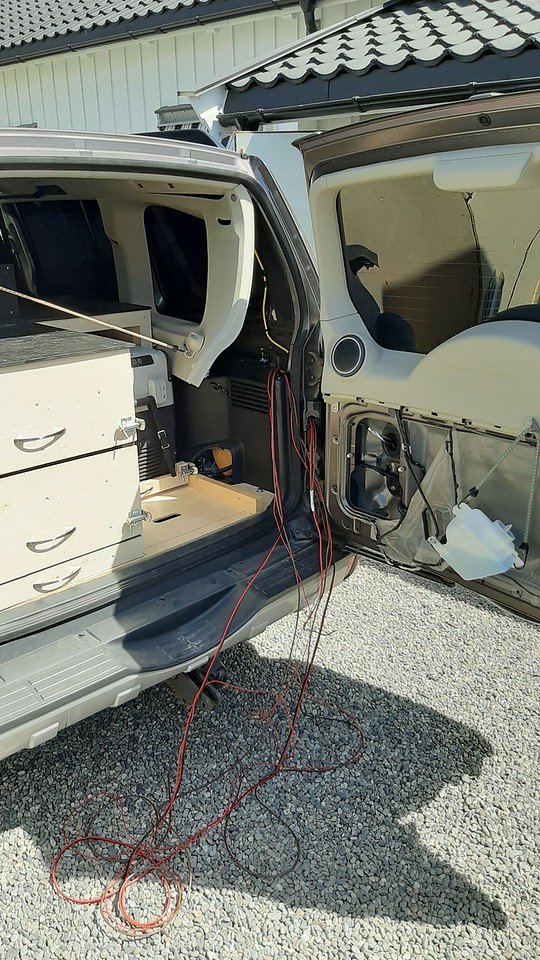
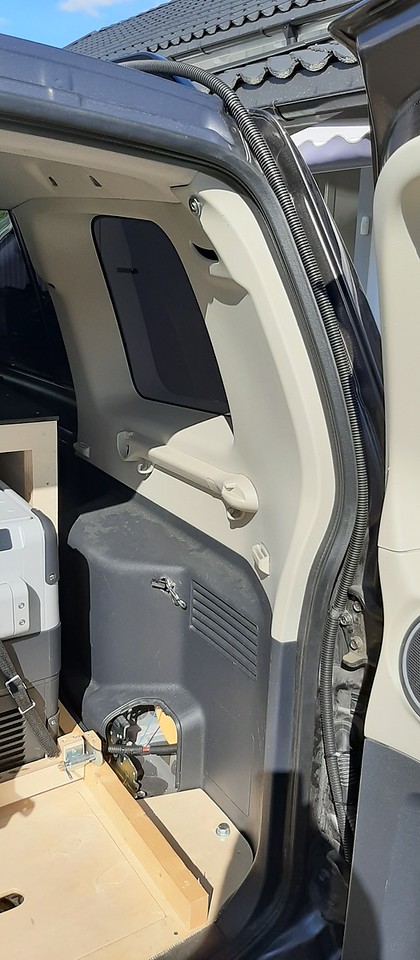
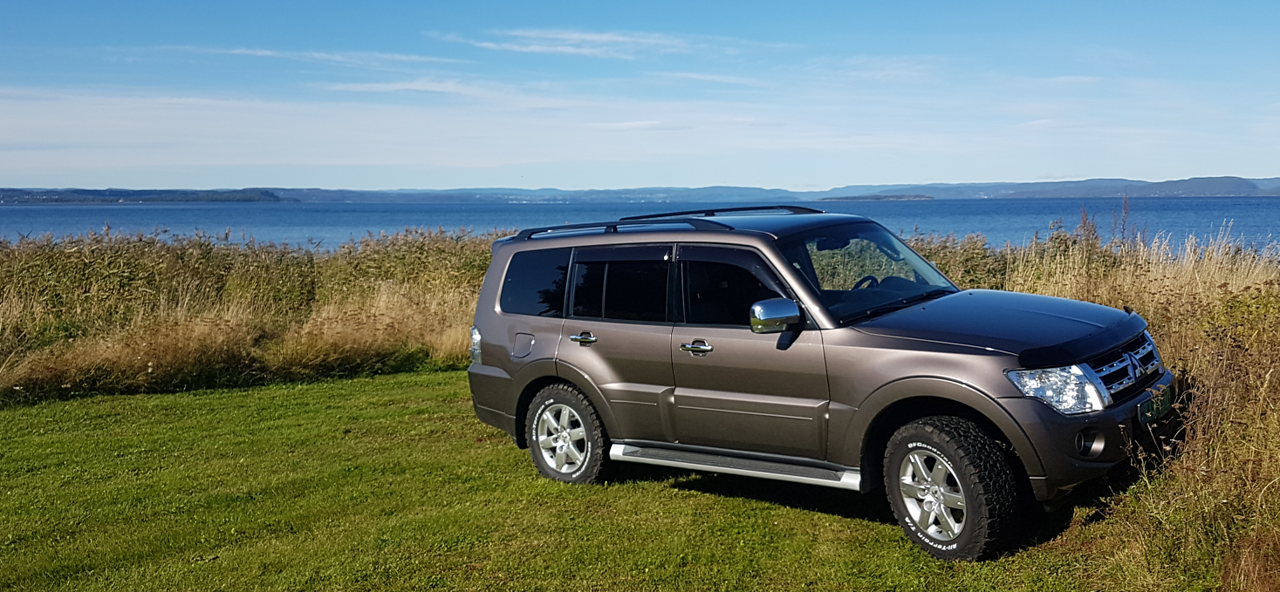
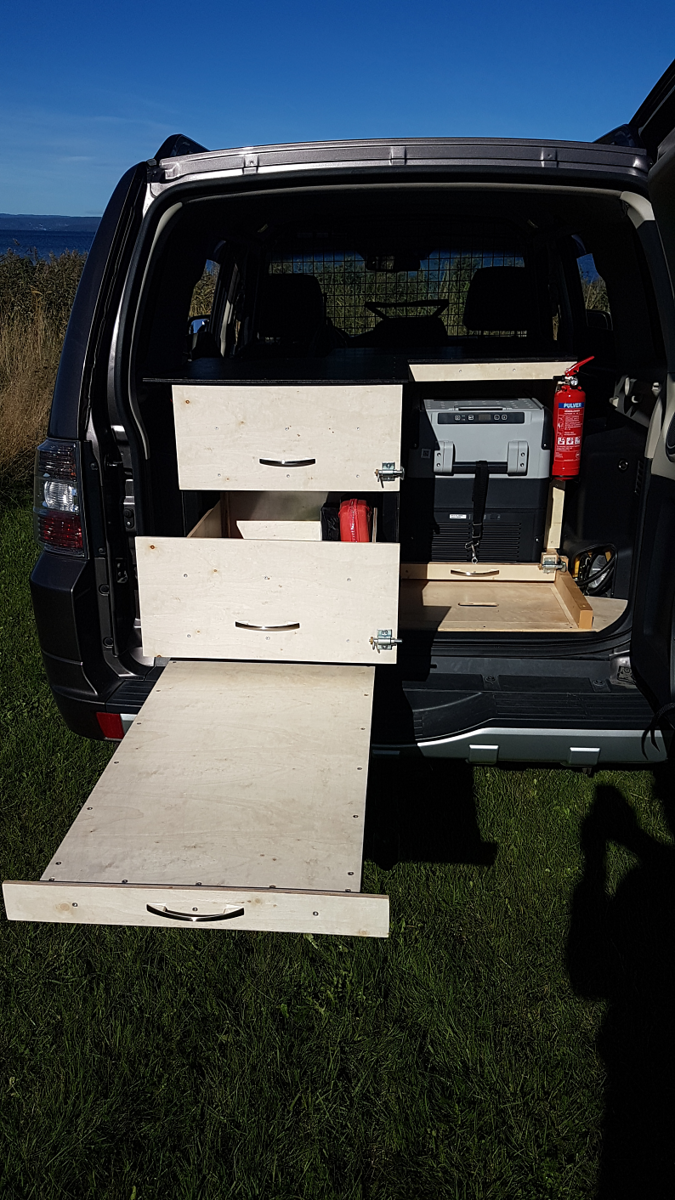
I picked up a 2014 Pajero IV (4) this spring with 90.000kms on the clock and spent the summer starting to build it. Did some sound proofing of the cargo area and built a storage system for it.
It's not done yet because 1) I was designing as I was building and 2) I changed the initial design idea about a 100 times :tearsofjoy: and 3) I spent the whole of July overlanding on my motorbike down through Europe. Turned around when I got to Dubrovnik.
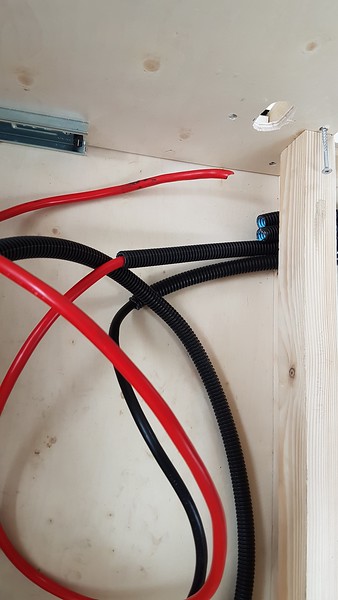
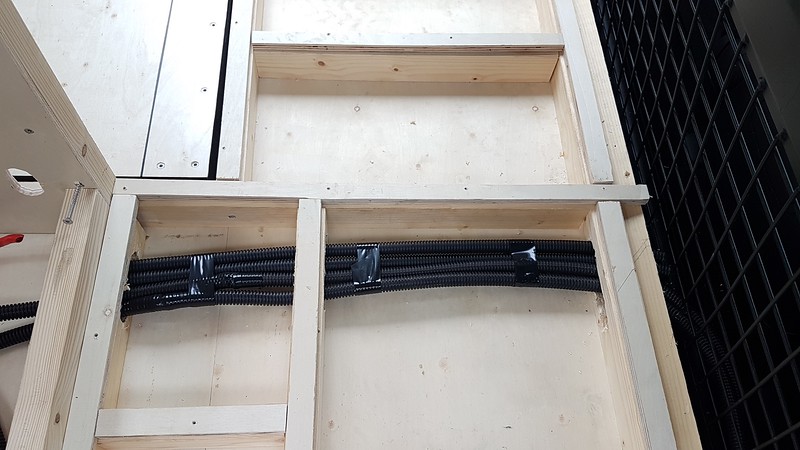
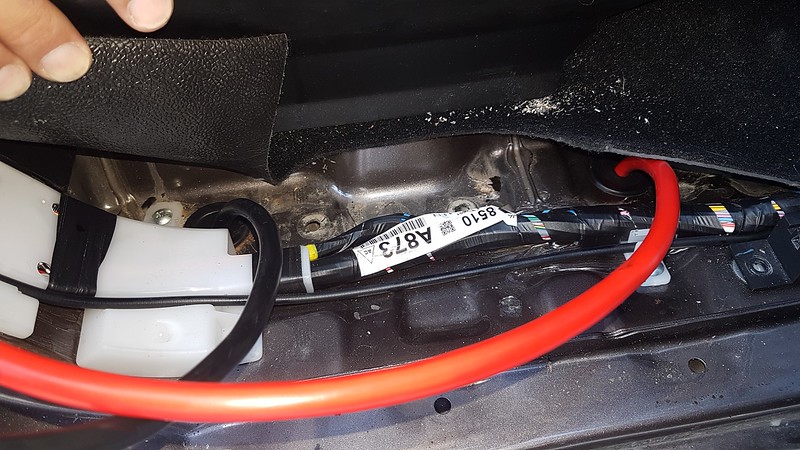
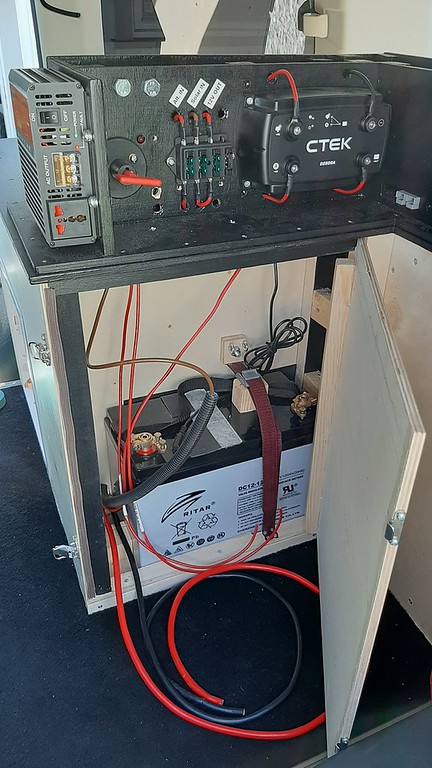
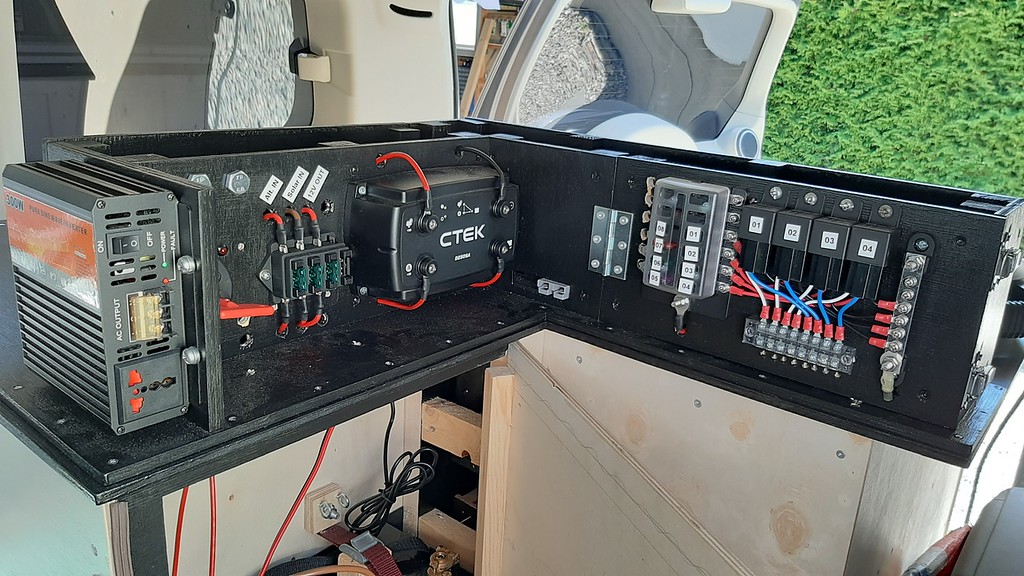
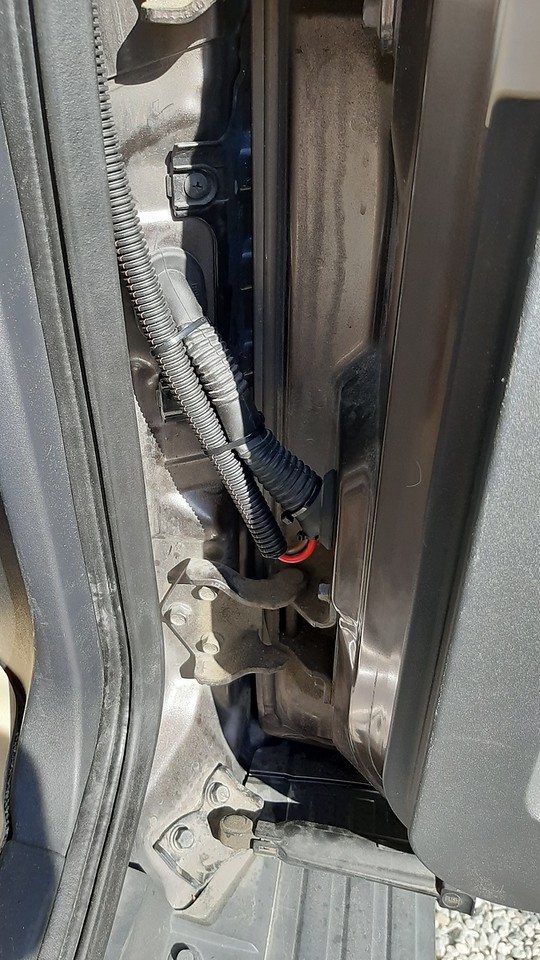
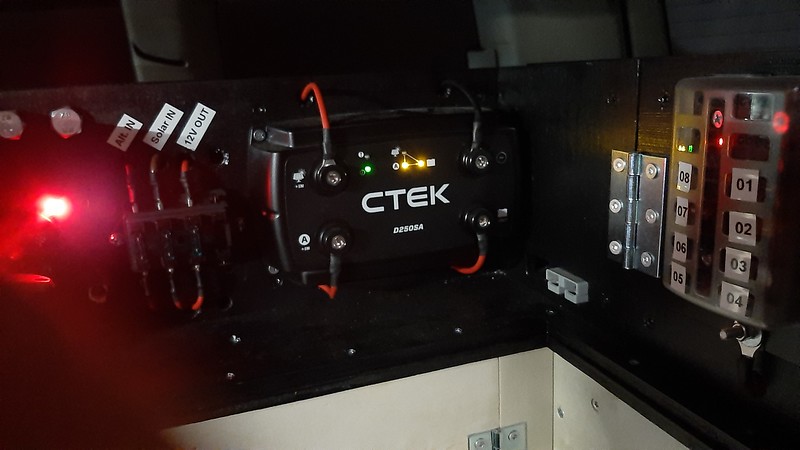
I've yet to begin on teh 12V system, but most everything is sourced and just waiting for spring so I can continue building.
Am 95% set on roof top tent, but having a hard time deciding whether to get a hard shell or a soft top one. Been looking at the iKamper hardshell Skycamp 2.0 and the Gordigear Expedition plus soft top. I can get a complete soft top, awning and tent room and have $800 to spare over an iKamper, but like the idea of pop up.

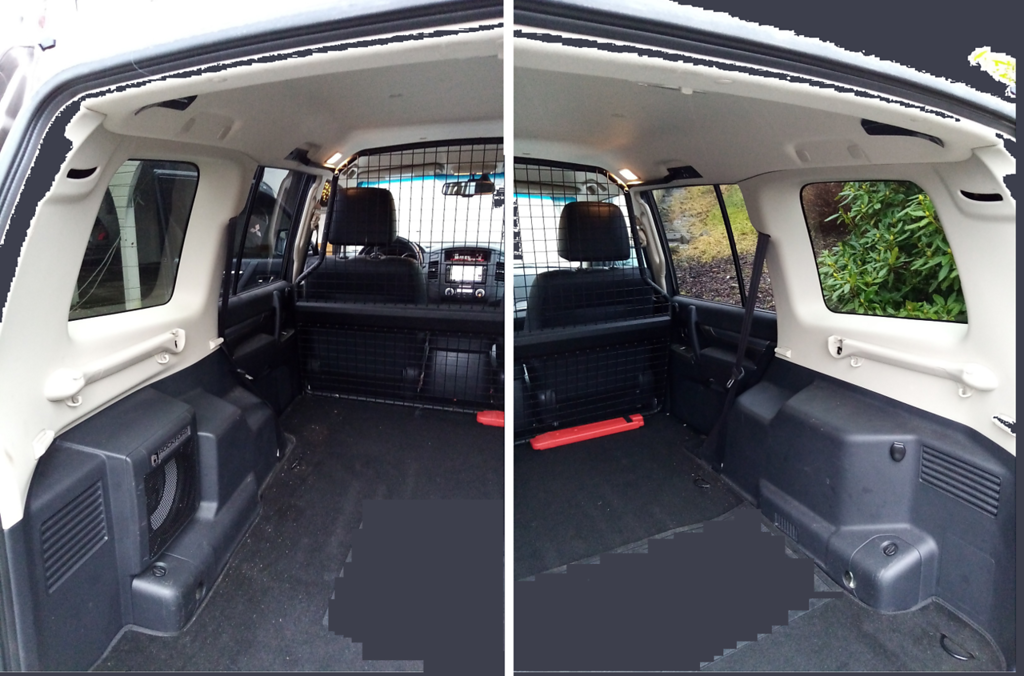
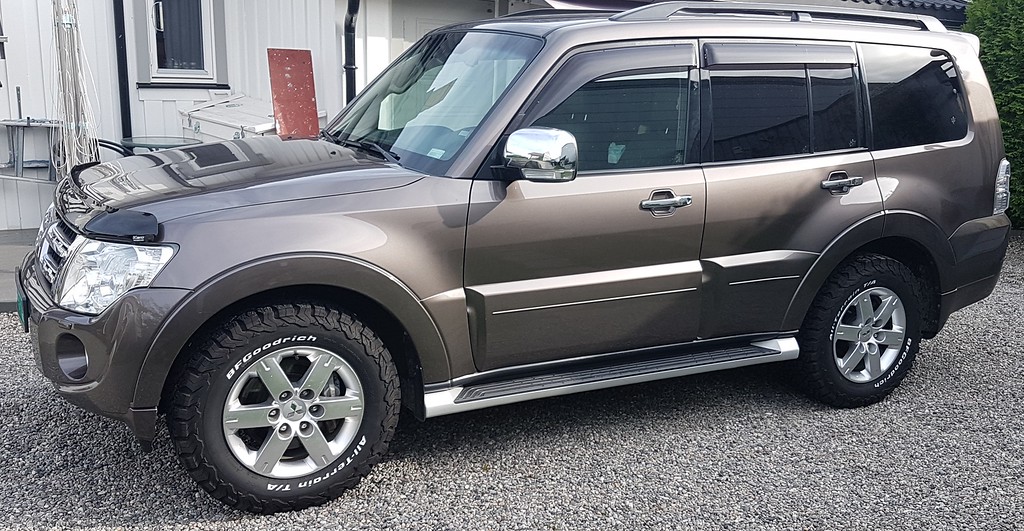
It's the highest of the three trim levels we get here (Instyle+), but it's a "green plater" which means it's registered as a two seater commercial van and came without seat rows two and three and instead has a flat floor and a fixed cargo barrier behind the front seats.
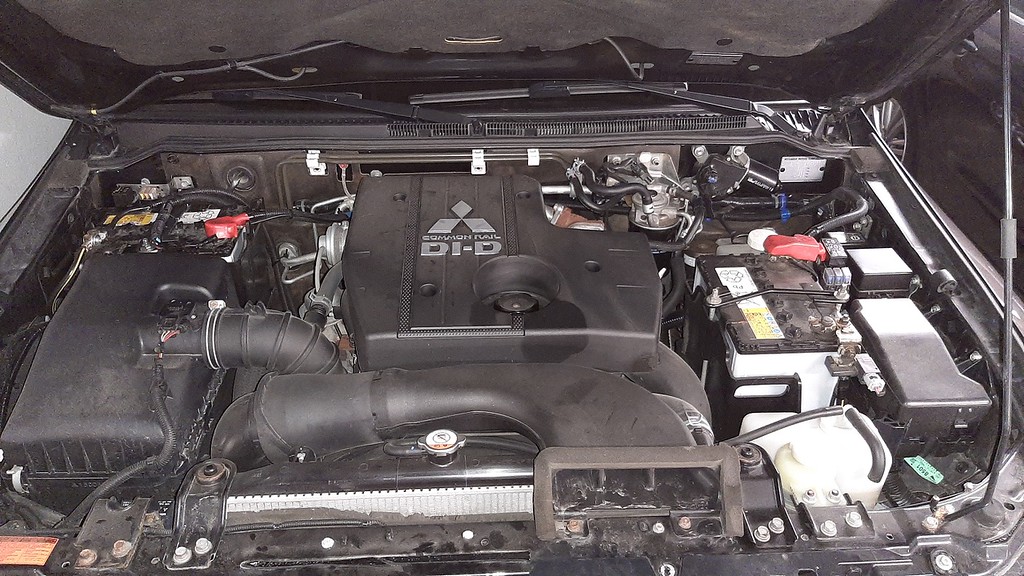
All trim levels here have the same drive train:
3.2 ltr inline 4 common rail diesel (Euro 5). 200hp in 2014 (190hp in 2019) 450nm torque AFAIR.
5 speed auto w/ manual override.
Super Select II 4WD system (2H, 4H, 4HLc and 4LLc)
Factory rear e-locker.
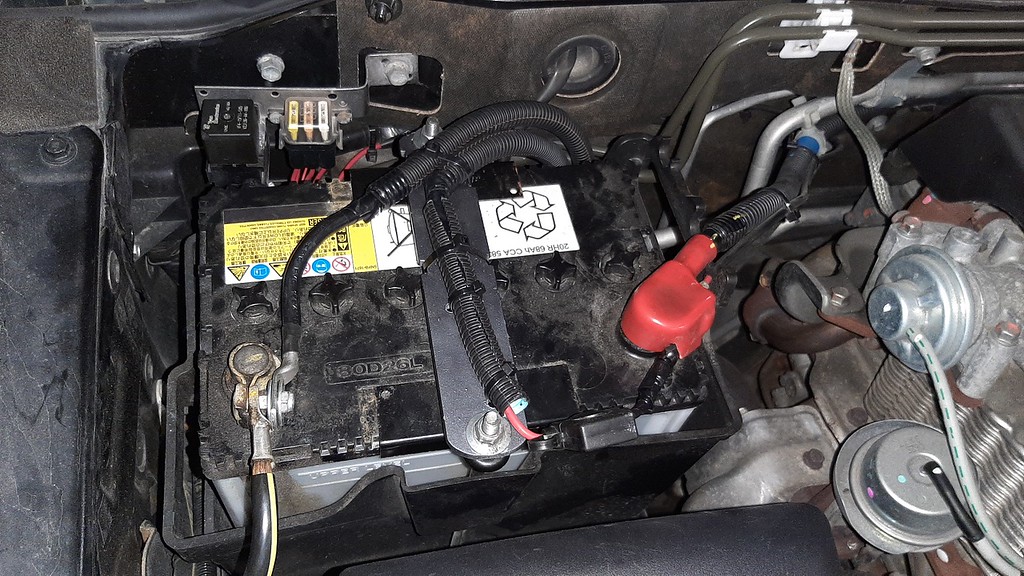
Factory dual cranking batteries.

Green plate: saves you roughly 40% on the registration tax, so about $35-40.000 in this particular case. Moving the barrier triggers the full tax + a fine of $25.000.

As for vehicle upgrades;
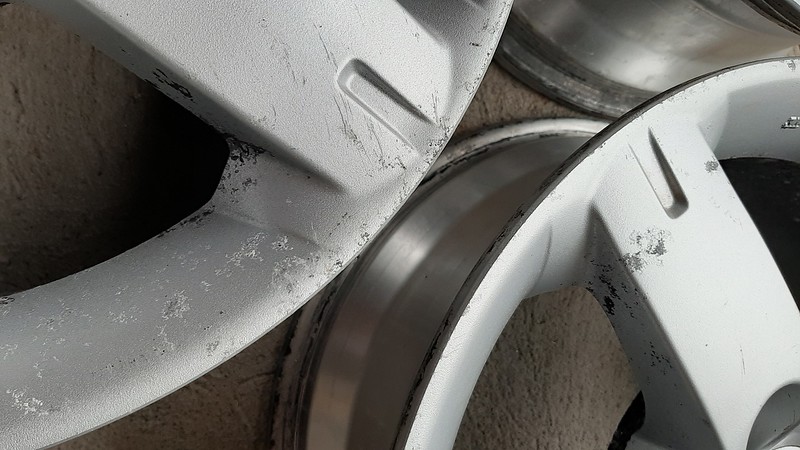
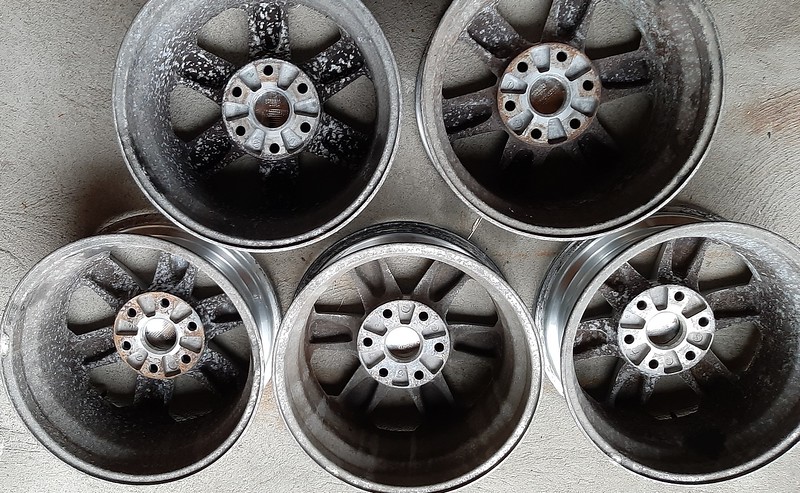
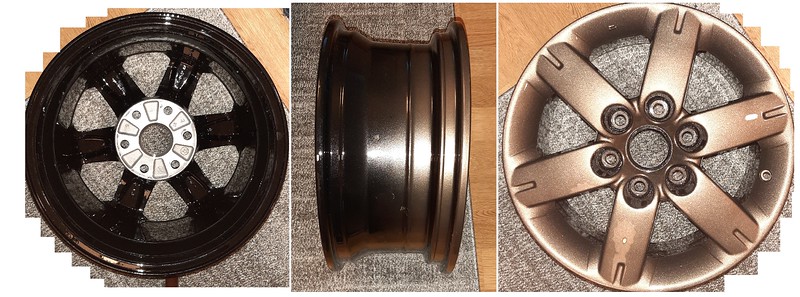
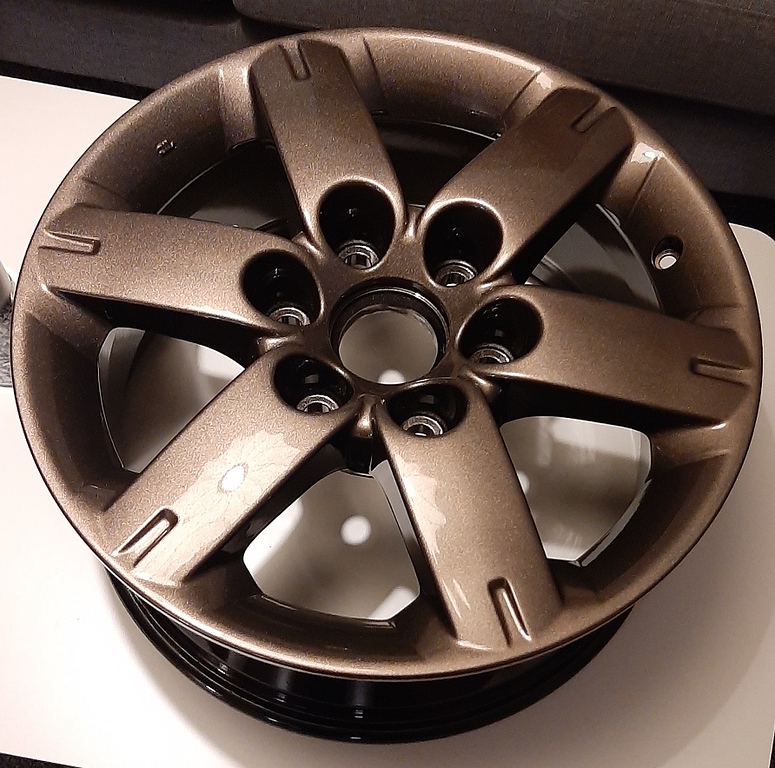
I found a set of lightly used BFG KO2's on Gen 3 rims (17") for sale so jumped at that. The Gen 4 has 18" as standard, but 17" just clear the calipers.
I got a snorkel for it. Impulse purchase. Terrified of drilling a hole in the fender and instructions were really bad. Found instructions for the Safari snorkel and the Spanish Bravo brand snorkel looks very similar to the Safari, but the Safari instructions are for right hand drive cars and the layout under the hood is not the same on left hand drive. Theres an extra battery where one is supposed the window washer bottle to for straters. Not sure what I'll do with it, maybe it's just end up as another waste of money in my garage.
Looking into lift, but afaik there's only one lift kit that has TÜV approval and can legally be installed here and that's Old Man Emu. I've rea varying reports re: OME quality.
Metal bumpers are not legal otherwise I'd get a winch mounted on that for sure.
Thinking of getting a hidden winch mount and budget winch since I'll be travelling alone mostly, but not decided.
Offroading isn't really legal very many places in western Europe and though I plan on going to Iceland and Portugal I don't really know how many mods are really needed. Wading depth from factory is 700mm so not that bad.

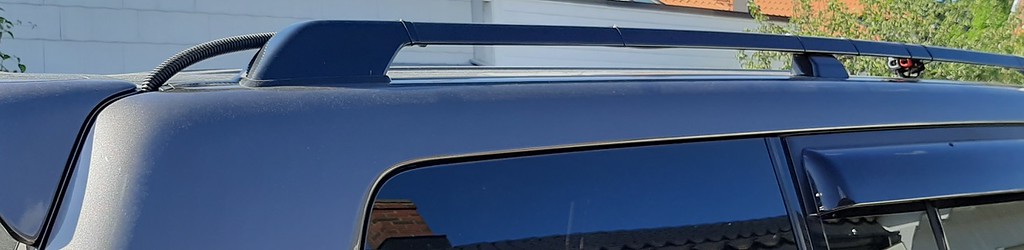
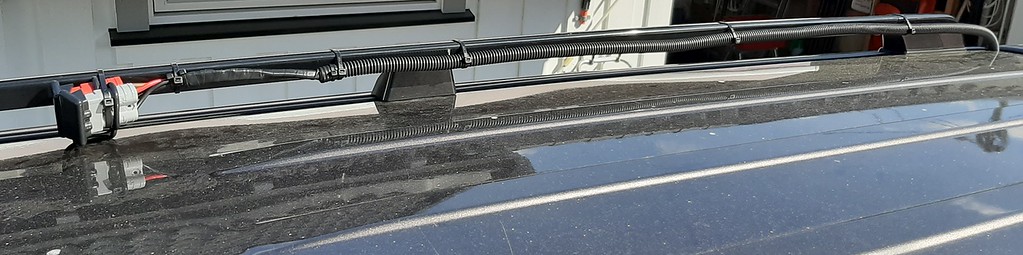
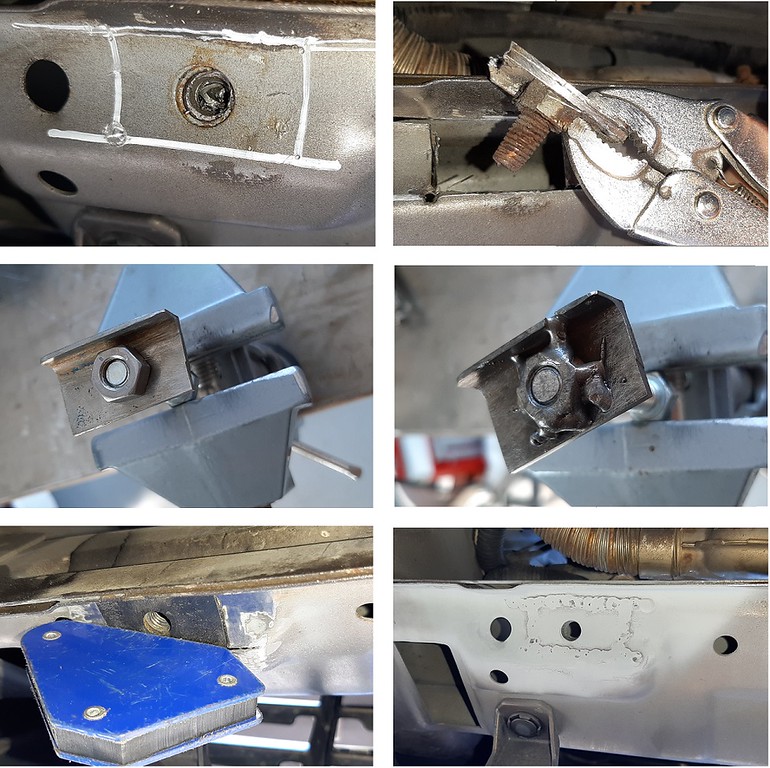
Here are a couple of pics. More to come


Last edited:

Gravel Seeker

Rank IV
Launch Member

Enthusiast III

1,116
Moss, Norway
First Name
Thomas
Last Name
Rebnord
Member #

24937

Good looking pajero you got there! god to see im not the only one building on a pajero in norway. if you end up not using the snorkel i might buy it of you :)
Thanks!
Nah.... I've had the car for a year now and think the worst "silk gloves era" is over so ready to drill holes to fit the snorkel. Drilling the A-pillar is the biggest mental challenge for me, you can replace a fender in worst case. You don't happen to know if a snorkel is compatible with the "EU approval" do you?

Did you lift yours or plan to? I'd like to get the Dobinson kit from Nomax, but when I asked them they said none of their kits are TÜV approved, so BG Nor and OME it has to be, AFAIK.
 

Gravel Seeker

Rank IV
Launch Member

Enthusiast III

1,116
Moss, Norway
First Name
Thomas
Last Name
Rebnord
Member #

24937

Nice Paj, its the only vehicle i considered apart from a Land Rover.
Thanks!
I've always loved Pajero's. My first car was a 1986 gen 1 shorty with the 2,6 petrol, but it had issues and I knew nothing about cars so got rid of it.
Now 25 yrs later we've come full circle.

Toured Australia 2005/2006 on my bike (650 Dakar) and plan to go back. Been thinking about buying a gen 4 Pajero there and either just keep it in Oz for future trips or sell it again when I leave.
 

Gravel Seeker

Rank IV
Launch Member

Enthusiast III

1,116
Moss, Norway
First Name
Thomas
Last Name
Rebnord
Member #

24937

I wish they still had them in the US. I feel like it would sell well.
Reports are no one is going to get them soon. They still sell them in Norway as 2020 models, but reports from Australia at least is that the regular Pajero or Montero if you will, has been discontinued in favor of the Pajero Sport (aka Challenger) that shares a platform with the L200 pick up truck (aka Triton).
Think it's the engine and emissions that is the problem.
 

Gravel Seeker

Rank IV
Launch Member

Enthusiast III

1,116
Moss, Norway
First Name
Thomas
Last Name
Rebnord
Member #

24937

Might as well continue this story
Keep in mind this is a budget build.

SOUNDPROOFING

The green plated or commercial vans come without rear seats (both rows) and has a cargo barrier between the front two seats and the cargo area. You can't (legally) move the barrier.
This picture is something I just found online and not my actual car, but it shows the cargo area.


With the carpet and interior plastic trim removed it was time to attempting to soundproof it as much as possible.


I bought some self adhesive rubber mat (turned out the glue wasn't the best) and I cut up a foam matress and filled every void I could find and reach


There are a surprising number of holes in the floor and since they've removed the seats they had to plug the holes. I use the term plug very loosly. Duct tape will apparently do. They had "missed" a few spots so I went over and made sure all holes were covered with duct tape and put sound proofing rubber mat over all areas of bare metal.
I discovered evidence of a bit of muddy water undeneath the inner plastic fender trim from the right hand fender area, and discovered the factory had missed target when seam sealing plates of the chassis but I cleaned it well and sealed it before bolting shit back together.


Gravel Seeker

Rank IV
Launch Member

Enthusiast III

1,116
Moss, Norway
First Name
Thomas
Last Name
Rebnord
Member #

24937

STORAGE

I probably spent close to a week just measuring and making cardboard templates for the floor. Because of the width (wider than a sheet of plywood) and wheel wells I figured it was better to cut the plywood in whole sections widthwise. This dictated how I had to proceed so I cut out the front and back pieces first


Before measuring and cutting the center piece


It was kind of fiddly since I wanted to use the seat belt mounts in the floor to secure the plywood floor to. Otherwise I could just cut it straight down the sides.
The seat belt mounts use imperial threaded bolts for some reason and the old bolts weren't long enough once I had the floor ready.

After I had connected the three pieces of the floor I cut out a hole for the third row seat-well. I put in some foam insulation in the well before fitting the plastic tub back in. It's a snug fit. Figured it's useful storage. I can't use the mounting point for the bottle jack anymore, but that shouldn't be a problem as the jack(s) will be part of my recovery gear that'll be stored elsewhere. I've seen others use the tub to locate their battery or onboard water storage. Currently I just store some tools there.

I then found a carpet I had laying around and cut it to fit the underside of the plywood floor. The idea is further soundproofing as well as taking away any chance of the floor rattling.
So this is the underside of the floor before I mounted it. 6 bolts secure it to the car.


To fit a slide out table/ bench and to run wiring, the floor is double


The power and ground/ earth runs from the second cranking battery, underneth the car ans up through two rubber grommets in the floor where the "step" is right inside the right hand side rear door. The cables are routed forward to behind the center concol between the front seats adn then back through the conduit to where I will have the deep cycle battery.


It's a 120Ah AGM that will be charged through a CTEK 250SA (the lithium SE hadn't been released yet when I bought mine). I also have a 120W solar panel that I plan on mounting on the roof as a wind deflector for the roof top tent.


I made two drawers and a slide out table as well as a fridge slide. I couldn't find locking sliders so had to make something up for that. They only lock in atm, but I might have to address that this summer when work resumes. The support leg isn't really necessary unless the bench is extended all the way. I like to repurpose and found an old vacuum hose tube. It's the right length, but I welded a bolt to the bottom to make it adjustable for uneven ground.


I used the original carpet from the cargo area to carpet the front of the storage area. For access to the rear of the fridge and the wires coming up from under the floor and to the battery I just got an inspection hatch.


There are som minor stuff left, like fitting tie down points and stuff liek that, but I'm pretty happy with the storage as it turned out. There's still plenty of room for various boxes and totes. I might build a "second story" to this for shelving, but that remains to be seen.
Electrical is still to come, and I'll continue that as soon as possible in a month or two probably.


Gravel Seeker

Rank IV
Launch Member

Enthusiast III

1,116
Moss, Norway
First Name
Thomas
Last Name
Rebnord
Member #

24937

EXTERIOR

So far I've only sourced wheels for it. It came with 18" rims from factory and the PO had fitted studless winter tires on a set of 17". I picked up a set of 4 used BFG AT KO2's on gen 3 Pajero 17"s and am looking for a 5th rim for the spare, but they're pretty hard to find.

I have the snorkel that I'll fit and also bought a little lightbar for it. Not sure if I'll mount it in the grill or on the roof.
Also bought a full-length set of belly protection.
For now I've decided against a winch as the rules for bar work is so strict here (bull bars are illegal basically), so I'd need a hidden winch mount.
Thinking of upgrading the side steps to slider tubes with steps instead. Partly for protection, but mostly for looks.

I'm looking at lift kits, but AFAIK the only one that is legal is the Old Man Emu kit with 40mm front and 50mm rear lift. It's an overlander, not a rock crawler and with the belly protection I don't think I'll need more so not concerned about that, but actually sourcing it is harder as it's never in stock at the one place that sells it here (and I need the TÛV documentation they provide with the kit).


Gravel Seeker

Rank IV
Launch Member

Enthusiast III

1,116
Moss, Norway
First Name
Thomas
Last Name
Rebnord
Member #

24937

Very slowly we're getting somewhere.

The Pajero comes with two cranking batteries up here. The LHS is the main and there's a second one on the RHS.
(There's only one engine available here and that's the 3,2 liter commonrail diesel. The 2014 makes 200hp. The 2020 has been detuned to 190hp for some reason).


A made a bracket that goes on top of the battery mount.


Cables are in conduit down against the torpedo wall, under the floor and comes up through two grommets in the RHS rear passenger door step


From there again in conduit in front of the cargo barrier to the center of the car before I pullet it through the double floor and into the fridge compartement. From there it passes up to the electrical box I made


That wired up, I pulled conduit with cables to the rear door hinge
1x solar IN
1x ground for solar and roof lights
1x power to roof flood/ camping lights
1x power to flood/ camping light on rear door
1x source switched power for DCDC charger (no. 15). I connected that to the power for the 12V siggy outlet on the rear inner fender

Using a piece of conduit I was able to feed the wires through the three layers of sheet metal that that makes up the back wall of the vehicle to the hose-grommet where the rear door wiring goes through


I used conduit again to feed the cables up onto the roof. This idea is 100% stolen from @DENMONKEY over at YouTube


It worked out exceeding my wildest expectations. Taking the inner trim off and getting it back on without damage is something I fear :grin:

The cables were capped with Andersson plugs. A common theme throughout the build is red Andersson = solar IN and grey ones are power out.
The conduit is temporarily zip tied in place untill I get the solar panel brackets made up. And before I do that I have to source the roof top tent.
I think the installation turned out very clean and low profile.


Insert fuses to make system "live" and she's-a-charging :sunglasses:

 
Last edited:
  • Like
Reactions: EXPO_D1

Gravel Seeker

Rank IV
Launch Member

Enthusiast III

1,116
Moss, Norway
First Name
Thomas
Last Name
Rebnord
Member #

24937

Bought a 4- piece set of skid plates for the vehicle. When I went to remove the stock front engine protection one of the bolts snapped. Had a bitch of a time getting the broken stud out and in the end broke a drillbit inside the broken stud.
No alternative left than to cut and weld a little. I'm very novice when it comes to welding....
A special shout out to Norwegian road authorities for the over use of salt and whatever crap they mix into the slush they cover the roads with from October through April
:dizave
:boid
:loco

A day of eff-ups to say the least; I started out drilling a hole thinking I'd use the Fein vibration saw to cut out a nice square. That didn't work. The Fein would've taken all day at the very least. So I went with the multitool - the humble angle grinder. Difficult to use for small accurate cuts in confined places. Did two cuts, then retirieved the Dremel. Shoulve used the Dremel the whole time.
Then I tipped the welding cart over dragging it through the gravel from the garage to the car. Trying to save the welder, the gas bottle securing chain came off and the bottle fell off the cart and broke the hose. In my haste and confusion I then forgot to switch the gas back on before I startet welding. I'd never welded on anything that wasn't below me, so didn't understand what was wrong. Adjusted wire speed and voltage several times but it kept welding funny. It was the very last spot weld that I remembered the gas. At that point I was so fed up I just sanded it back and painted. It's held up for now, but it's only been a month. I'll inspect regularly.

 
  • Like
Reactions: Loanrangie

Gravel Seeker

Rank IV
Launch Member

Enthusiast III

1,116
Moss, Norway
First Name
Thomas
Last Name
Rebnord
Member #

24937

Sometimes shit happens and you just get on the best you can.
The welding and new captive nut still worked just fine in November last I was under there and removed the front bash plate, but we're well into salt-season now so I just have to wait until spring to see how it's held up. Getting paint inside the chassis rail to rust proof the backside of the welded in piece was let's say difficult. Ended up getting a can of chassis rustproof and dumped half the can in all the holes I could find. Hopefully some of it hit the bare metal :laughing:
 

Gravel Seeker

Rank IV
Launch Member

Enthusiast III

1,116
Moss, Norway
First Name
Thomas
Last Name
Rebnord
Member #

24937

After searcing for 15 months I finally found someone selling a single rim to match my set of 17"s from a 2005 gen 3 Pajero. Was going to get it for €75. Once there I decided to buy all 5 rims the guy had. €200. Figured I'd then have 9 identical rims for summer (AT) and winter (studless) wheels. The 5 new rims showed their age after 15 or so years of use and salt.

On a whim I had them refurbished. €175 per rim. That includes check of roundness (these were good), chemical stripping of old paint and corrosion as well as repair of scratches and dents, before powder coat.
The old silver ones will now become the winter rims and these five refurbished ones will sport ATs in the summer. Can't wait till spring so I can change them over :grinning:
So all up €215 per rim. Cheaper than new ones and AFAIK Mitsubishi don't sell bronze rims :sunglasses:


leeloo

Rank V
Launch Member

Advocate I

1,778
Luxembourg
First Name
Mihai
Last Name
Doros
Member #

19403

Nice. You don't see many Pajero builds, it is a rare vehicle.


I saw your post regarding the sidesteps. For looks, ok, but the main reason is protection. On my Hilux, the first thing I ever hit was not the engine skid plate or other bits, but the rocksliders, and this happened during my second time out offroading in it. Basicaly they paid for themselves on day one, you how expensive is in Europe to repair a damaged panel..
That would be high on my list as protection for the vehicle..
There is a big list of con's against softshell RTT. Main things is they are a pain to pack, worse than ground tents. The only advantage what so ever vs ground tent is that you are off the ground. Some people like that.
A good compromise seems to be the Skycamper that offers the space of a soft shell RTT with the easy of use of a Hardshell, but I never seen it how hard it is to deploy or pack in bad weather..
For me the way to go for an RTT is a hard-shell . Otherwise you are better off with some ground tents or swags..
But they are more expensive.
This is just my opinion, as I had all 3 options..
 

Gravel Seeker

Rank IV
Launch Member

Enthusiast III

1,116
Moss, Norway
First Name
Thomas
Last Name
Rebnord
Member #

24937

Nice. You don't see many Pajero builds, it is a rare vehicle.
Well overlanding in general isn't very big if you look at the whole picture, then out of all overlanders how many are what make and model. I've not seen many Pajero's no, but since I'm building a tourer I wanted the comfort :blush:
There are quite a few Pajero's in general here in Norway because of our registration rules regarding commercial vans (converted to 2-seaters like mine(green rego plate)). The Patrol has not been sold in Norway since the 90s, so the only real option to the Pajero is the Land Cruiser (Prado), but those come with a premium brand name price tag, so alot of people choose the Pajero. Also not entirely sure if the LC can pull 3500kg with 140kg ball weight.

Found a test from 2011, Pajero €88.000 (€50K as a van), LC €94K and €65 as a van)
Pajero 2010
619 sold
9 on white plates (7 seats)

LC 2010
985 sold
124 on white plates


I saw your post regarding the sidesteps. For looks, ok, but the main reason is protection. On my Hilux, the first thing I ever hit was not the engine skid plate or other bits, but the rocksliders, and this happened during my second time out offroading in it. Basicaly they paid for themselves on day one, you how expensive is in Europe to repair a damaged panel..
That would be high on my list as protection for the vehicle..
I am building sliders when the weather wams up.

There is a big list of con's against softshell RTT. Main things is they are a pain to pack, worse than ground tents. The only advantage what so ever vs ground tent is that you are off the ground. Some people like that.
A good compromise seems to be the Skycamper that offers the space of a soft shell RTT with the easy of use of a Hardshell, but I never seen it how hard it is to deploy or pack in bad weather..
For me the way to go for an RTT is a hard-shell . Otherwise you are better off with some ground tents or swags..
But they are more expensive.
This is just my opinion, as I had all 3 options..
Bought a RTT in December. Was going to order from Gordigear in Germany, but ended up buying a "Norwegian" tent. Mostly because it's so much easier if something goes wrong with it.
And I did get the flip over soft shell type :laughing:
For the climate I live in I have a hard time trusting a vedge or pop up hard shell tent offers the same weather protection, but I could be wrong. Price wise there's a summers worth of diesel difference too.
I was briefly looking at the iKamper, and wanted the mini in flat black, but they didn't have any. And they wanted €3600 + 200 freight for the full size, which I though was too much.
 

leeloo

Rank V
Launch Member

Advocate I

1,778
Luxembourg
First Name
Mihai
Last Name
Doros
Member #

19403

A good hardshell you can use even in 80 km/h wind, you just park with your nose towards it, and it just pops open..
A rainy morning with a bit of wind while you pack a softshell is enough to ruin a bit the mood.. but yes, price is a big factor. Hardshells, even after all this years are still very expensive.

I had a harshell, but my kid grew up and we no longer fit in it. So I had to sell it and find something else. Since no hardshell was big enough for the 3 of us, I went back to the ground, but I got some aussie swags, at least they are fast to pack and you can leave the bedding inside just like in an RTT.
Good luck with the build. Looking good so far. :)
 
  • Like
Reactions: Gravel Seeker