Traveler I
now that I've had time to work some of the kinks out of my rig, I figure it's time to make a build thread. This isn't my first subaru build, but decided to go auto with this one. Having the auto tranny has helped considerably allow my small, under torque engine get me over hills and obstacles I couldn't in my previous manual rig. I started off with a 99 Subaru Impreza Outback Sport with 100k miles for $650. View attachment 40607
My previous rig (the Warback) is in the background.View attachment 40608
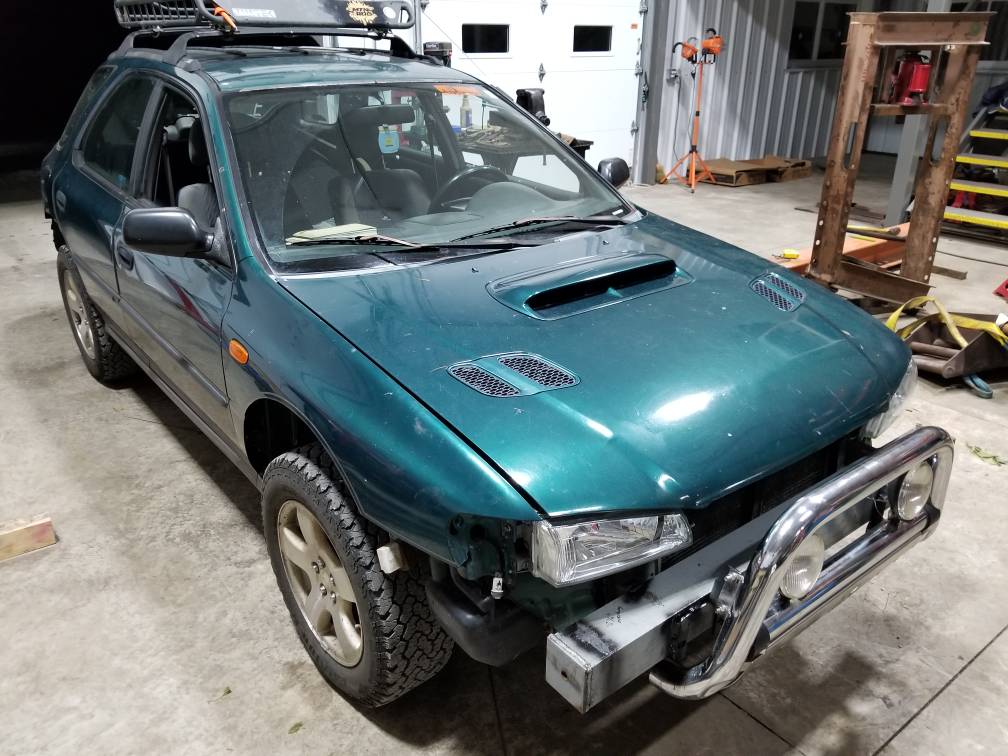
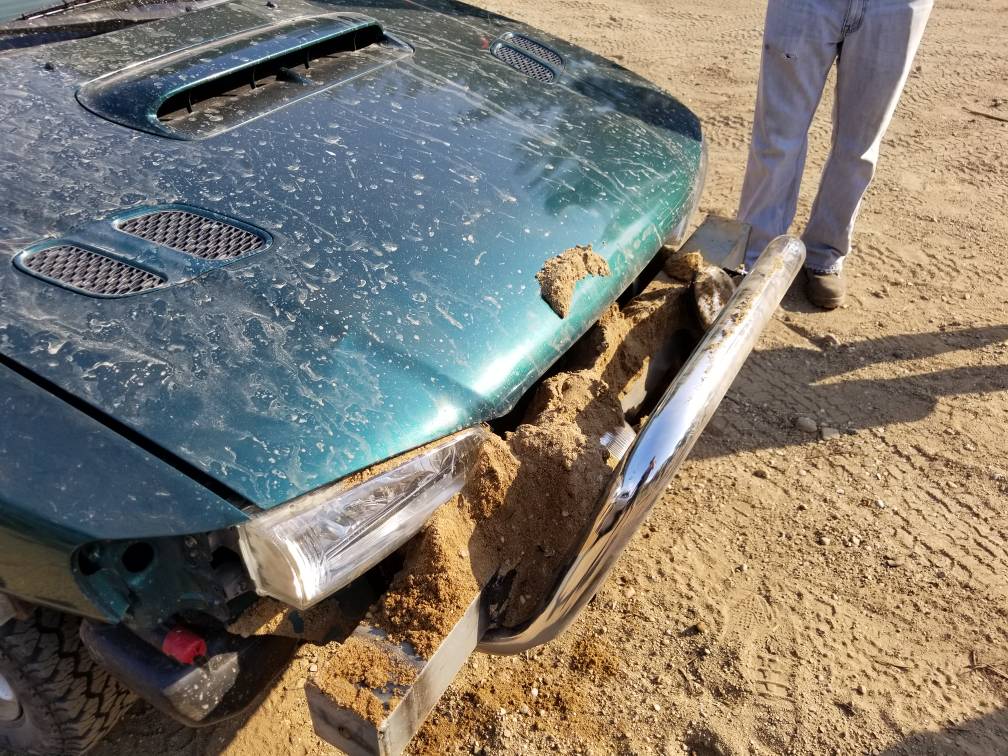
Car ran very rough and hadn't been driven in a few years. There was considerable amounts of rust on the undercarriage, but the unibody was solid. So then I got to work tearing everything apart to see what was needed. Note that there was no front steel bumper underneath the cover when I removed it.View attachment 40609 View attachment 40610
View attachment 40611
Rear subframe was rotted much more than I originally thought. Everything else was workable. Decided to see just how cheap I could keep this build to help encourage others interested in building a Subaru. Off to the salvage yard I ran and picked up these parts: 99 Forester rear subframe $75, 98-02 Forester front struts $60, 98-02 Forester rear trailing arm bracket $10, 03-08 Forester Rear struts $60, 98-02 Forester front lower control arm bushings $25.
Front struts installed for 2" liftView attachment 40612
Cutting away arches to fit tiresView attachment 40614
rear struts for 2.5" lift along with new rear brake lines that I broke. not pictured is the forester trailing arm brackets which help recenter the wheels after a lift.View attachment 40616
Rear subframe took the longest. here's tear down, comparison, and installed with a coating of bedliner. Gas mask was the only way to keep all the rust out of my eyes and mouth View attachment 40619 View attachment 40620 View attachment 40621 View attachment 40622
Then all that was left was to put everything else back on
View attachment 40623
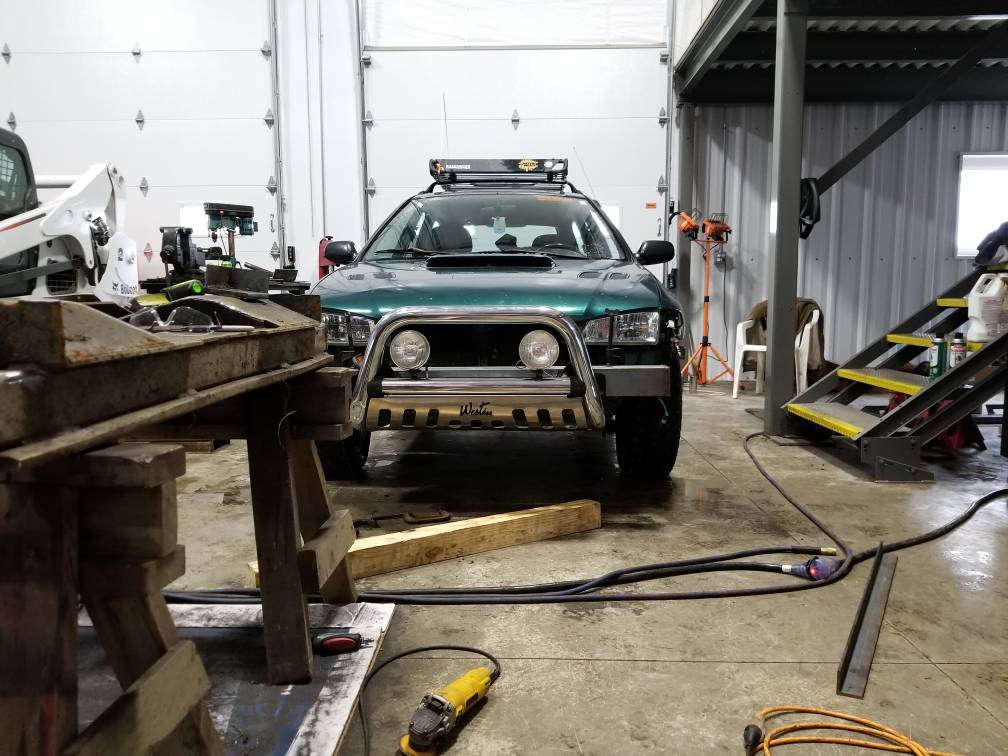
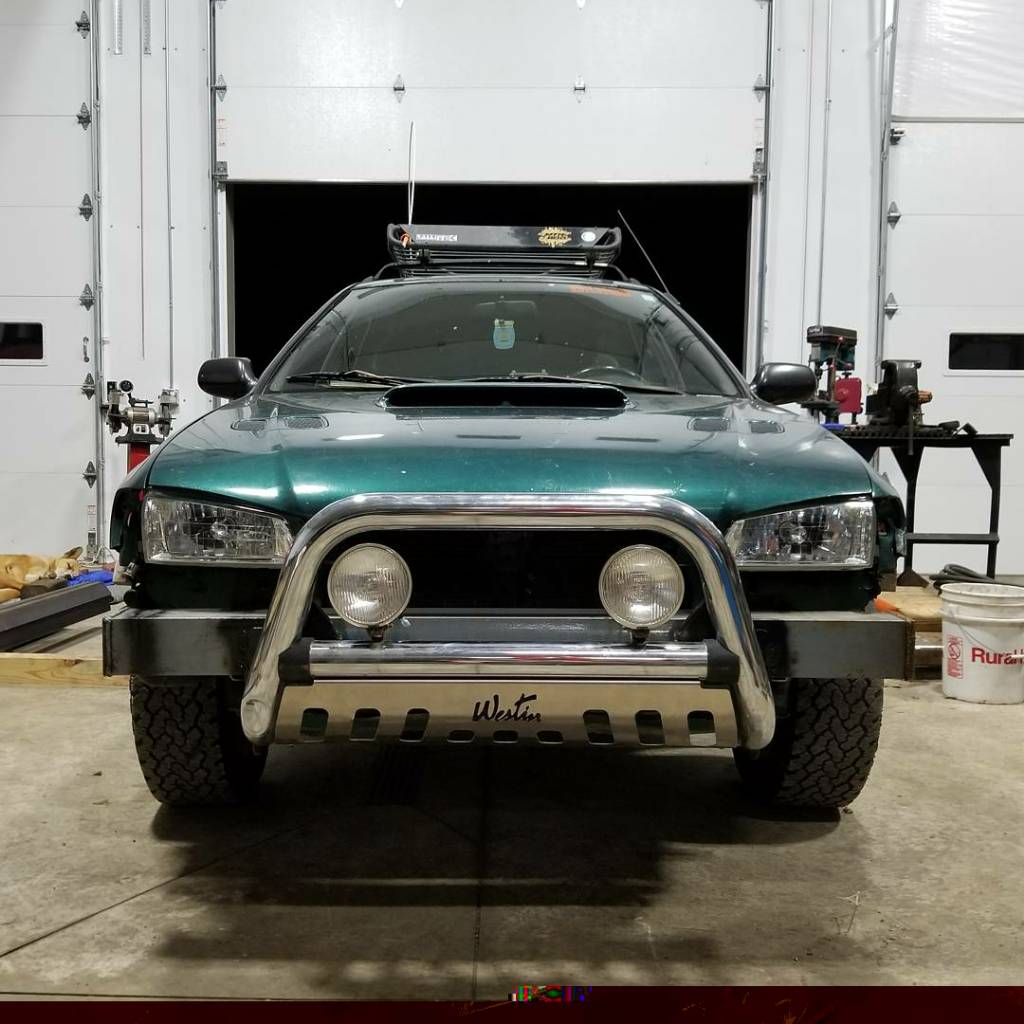
This was all just to prepare to get it roadworthy. I knew I'd still need a front bumper to even be legal, so on to another buddy's shop.
My previous rig (the Warback) is in the background.View attachment 40608
Car ran very rough and hadn't been driven in a few years. There was considerable amounts of rust on the undercarriage, but the unibody was solid. So then I got to work tearing everything apart to see what was needed. Note that there was no front steel bumper underneath the cover when I removed it.View attachment 40609 View attachment 40610
View attachment 40611
Rear subframe was rotted much more than I originally thought. Everything else was workable. Decided to see just how cheap I could keep this build to help encourage others interested in building a Subaru. Off to the salvage yard I ran and picked up these parts: 99 Forester rear subframe $75, 98-02 Forester front struts $60, 98-02 Forester rear trailing arm bracket $10, 03-08 Forester Rear struts $60, 98-02 Forester front lower control arm bushings $25.
Front struts installed for 2" liftView attachment 40612
Cutting away arches to fit tiresView attachment 40614
rear struts for 2.5" lift along with new rear brake lines that I broke. not pictured is the forester trailing arm brackets which help recenter the wheels after a lift.View attachment 40616
Rear subframe took the longest. here's tear down, comparison, and installed with a coating of bedliner. Gas mask was the only way to keep all the rust out of my eyes and mouth View attachment 40619 View attachment 40620 View attachment 40621 View attachment 40622
Then all that was left was to put everything else back on
View attachment 40623
This was all just to prepare to get it roadworthy. I knew I'd still need a front bumper to even be legal, so on to another buddy's shop.