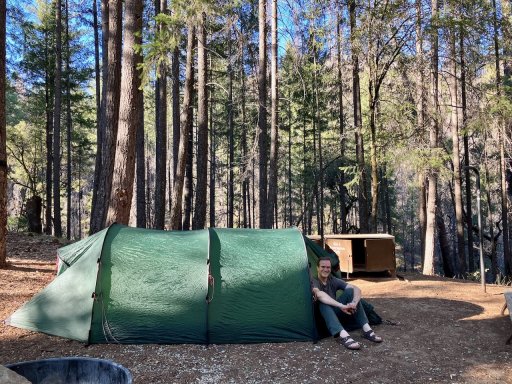
We've been camping with our vehicles for a few years and we made basically every mistake in the book. We underestimated our desire for quick and easy setup, we overestimated our willingness to compromise for either less cost or higher comfort, we bought stuff we didn't need and still have a whole bunch of things we will never need.
So, this time, we hope to get it closer to what we consider "right" for us. This is a very personal opinion, it deviates significantly from many other builds on the same platform, and is taking us forever to finish. I started a build thread on the Gladiator forum nine months ago, when we decided we needed to change something.
The build thread here will be a recap of the most important things we learned along the way (so far), it won't be as detailed as the very detailed one on the other forum, I will summarize a lot of things, but maybe somebody here can learn a little piece here and there from our own experiences.
It will take a while for me to write these, but most of the work has been done over the mentioned last nine months and we are in the final phase of finishing our build to use from this year on.
So, I hope you'll enjoy this and maybe get some information from it.
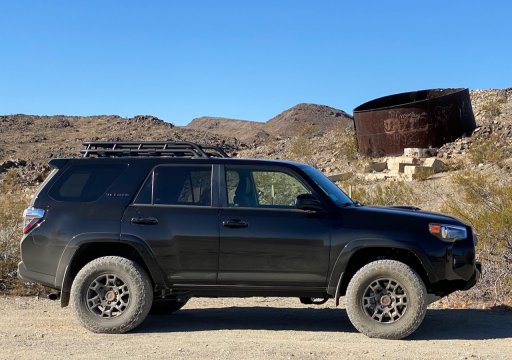
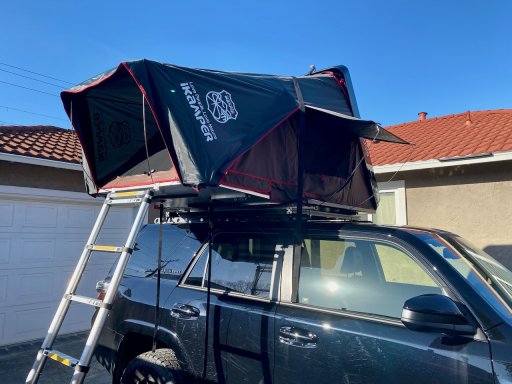
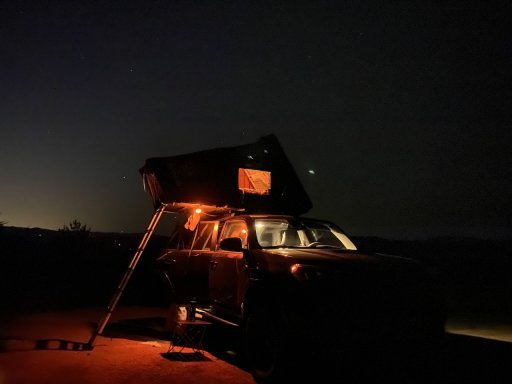
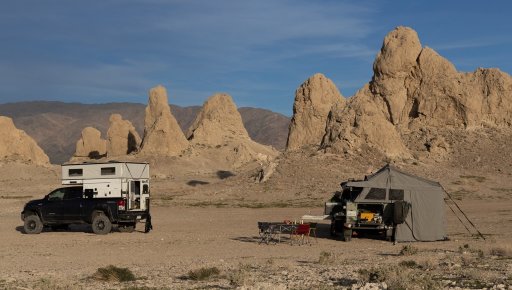
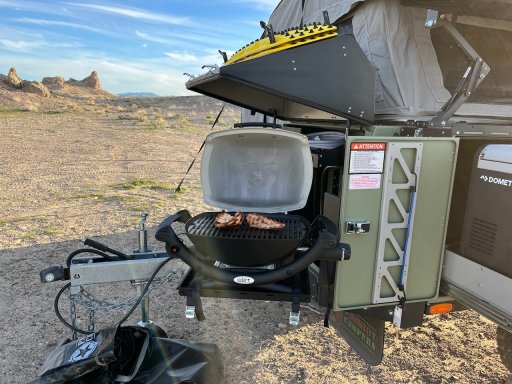
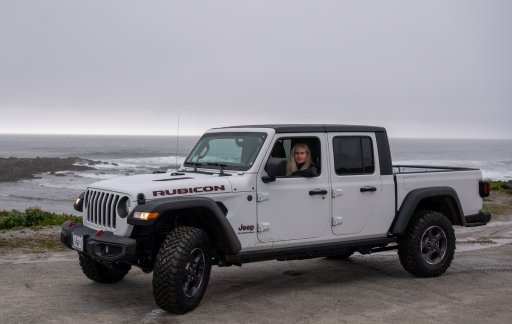
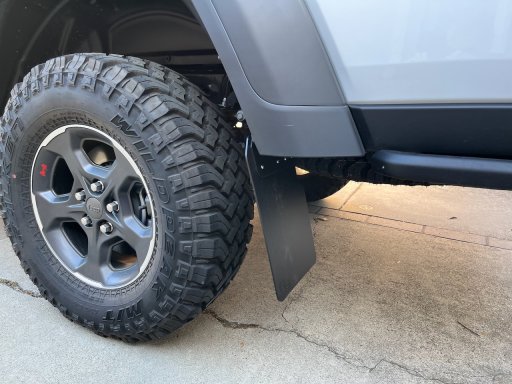
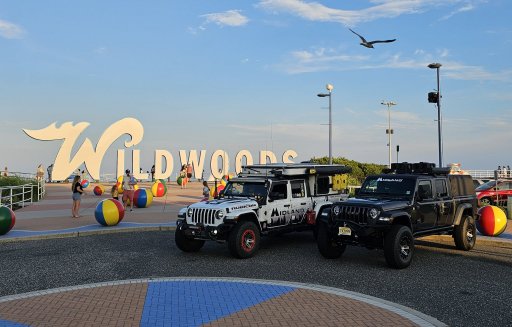
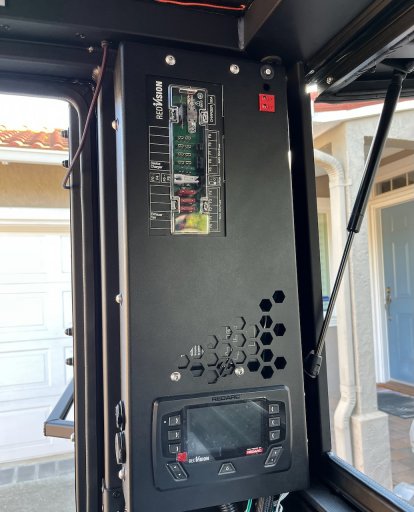
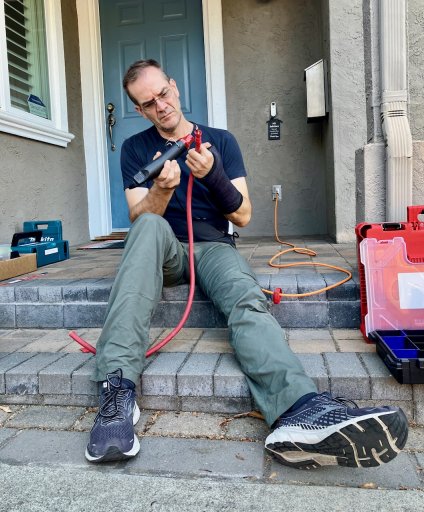
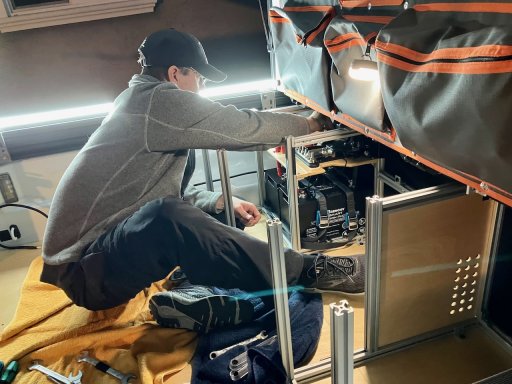
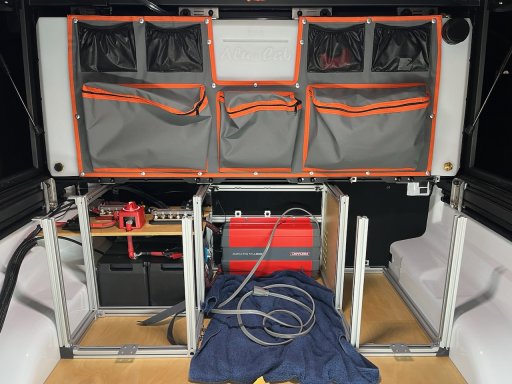
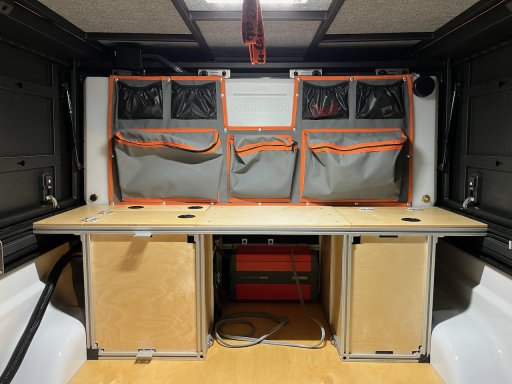
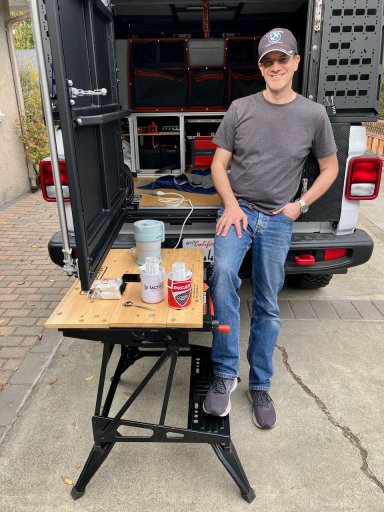
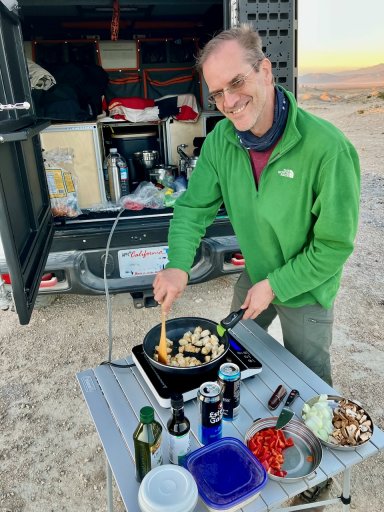
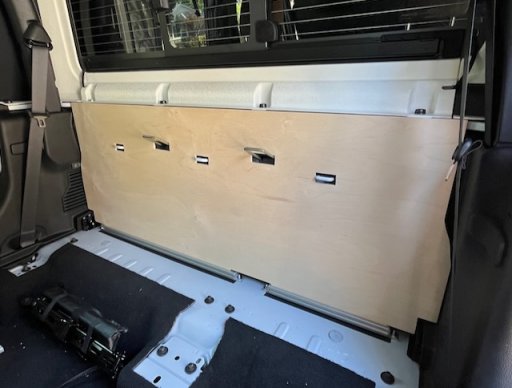
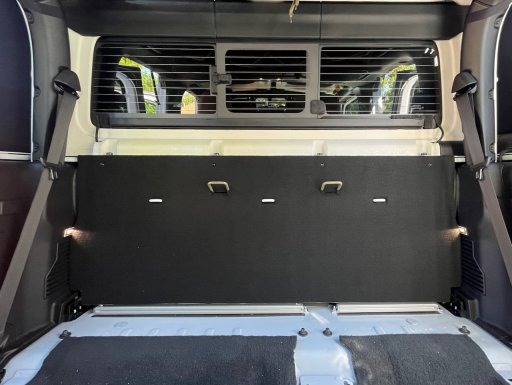
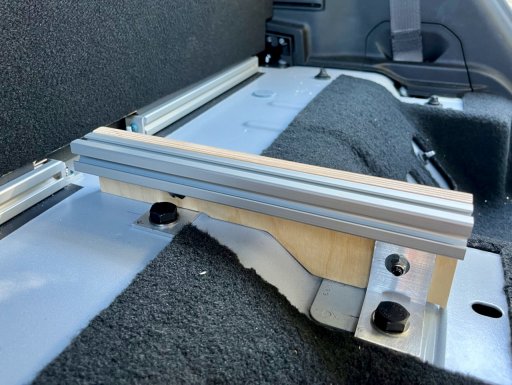
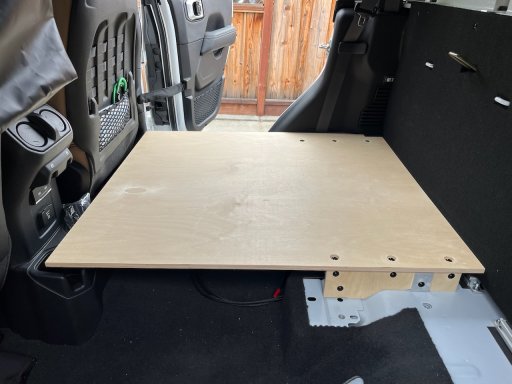
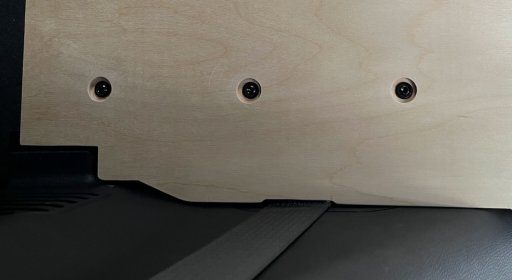
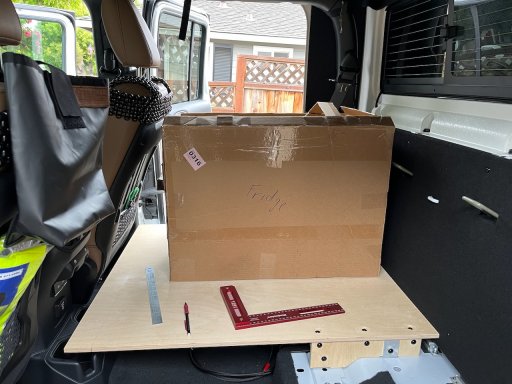
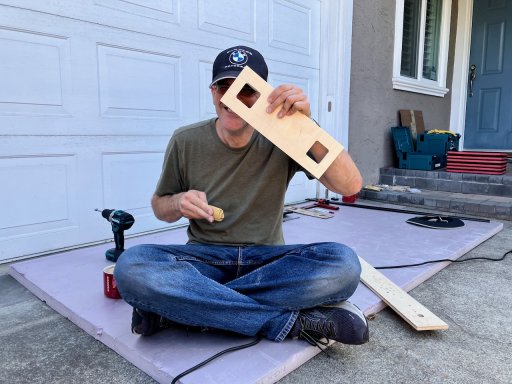
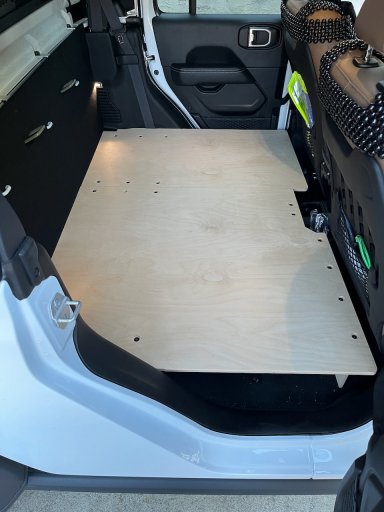
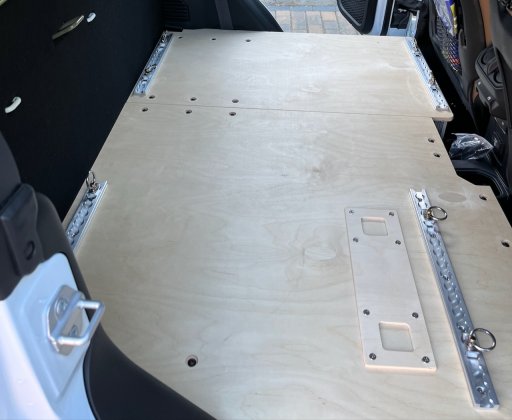
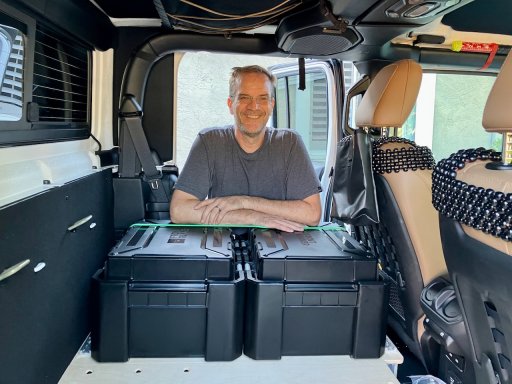
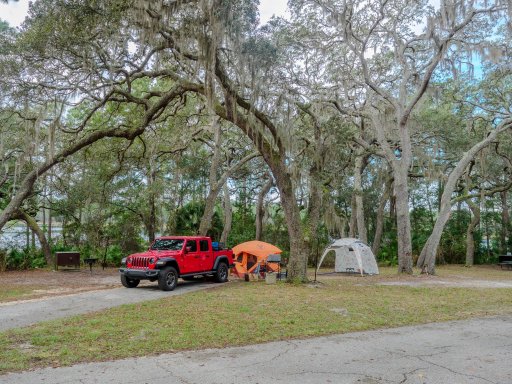
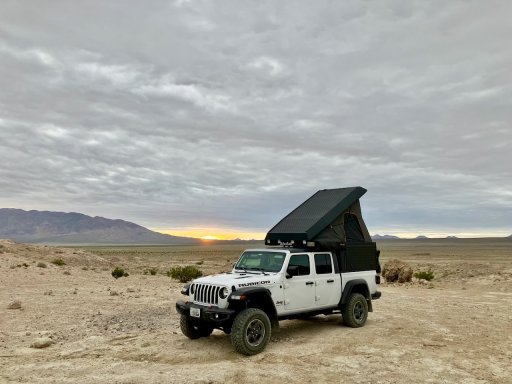
Here's a teaser of the current state of the rig this thread is about:
So, this time, we hope to get it closer to what we consider "right" for us. This is a very personal opinion, it deviates significantly from many other builds on the same platform, and is taking us forever to finish. I started a build thread on the Gladiator forum nine months ago, when we decided we needed to change something.
The build thread here will be a recap of the most important things we learned along the way (so far), it won't be as detailed as the very detailed one on the other forum, I will summarize a lot of things, but maybe somebody here can learn a little piece here and there from our own experiences.
It will take a while for me to write these, but most of the work has been done over the mentioned last nine months and we are in the final phase of finishing our build to use from this year on.
So, I hope you'll enjoy this and maybe get some information from it.
Here's a teaser of the current state of the rig this thread is about:
Last edited: