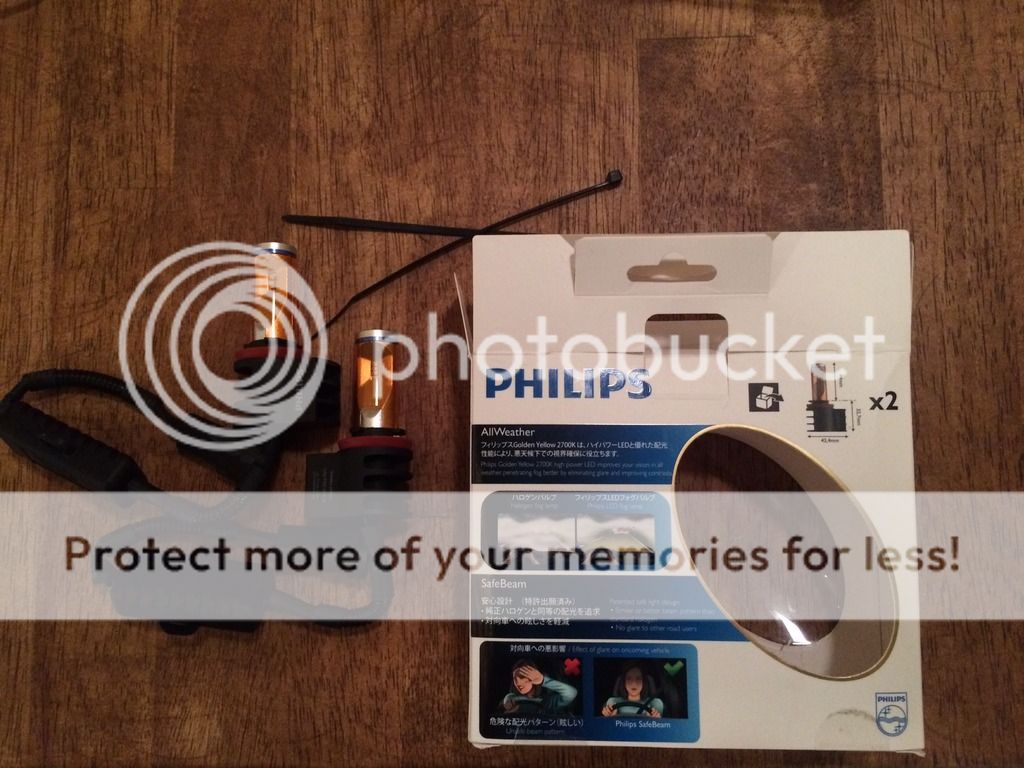
I wanted to upgrade the stock halogen bulbs to an LED bulb following the HID upgrade. After working with Steve from Xenon Depot, I ended up with the Philips Yellow LED Fog Bulb. Although I wanted initially to match the color of the HID’s better with the white version of the bulbs, I had to remember that while matching lights look cool, fog lights are a functional tool when driving in adverse conditions as they help to cut through whatever is in front of you. The yellower lens helps to provide the best light temperature to cut through the debris on the road to light up road markers and lane lines.
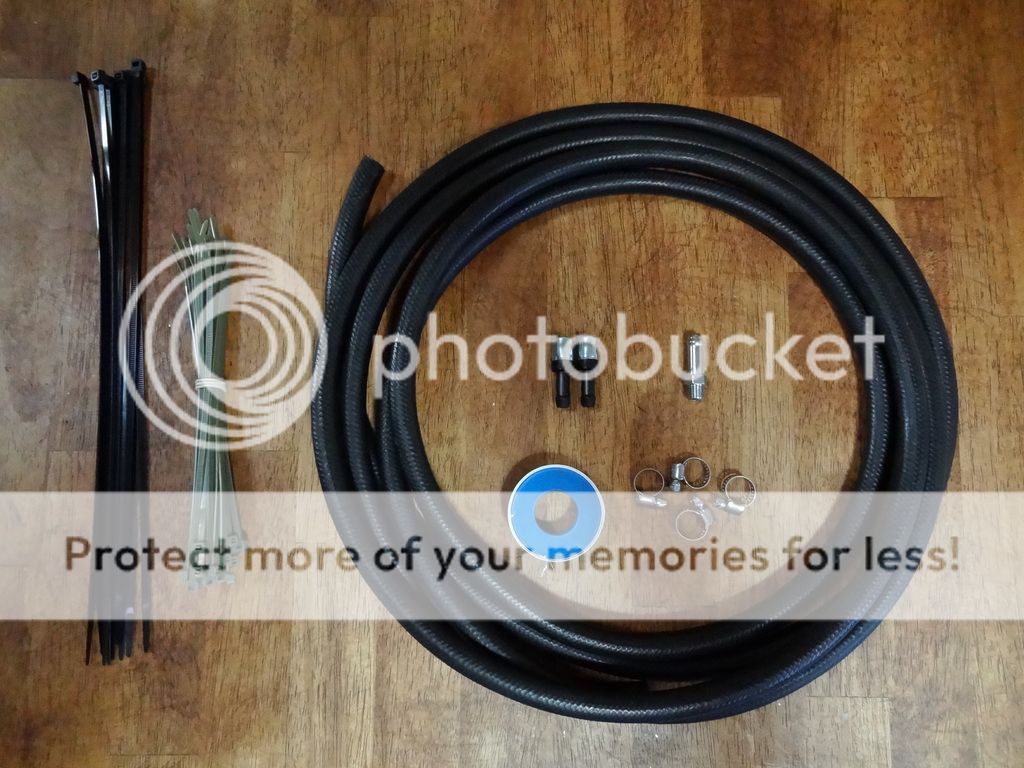
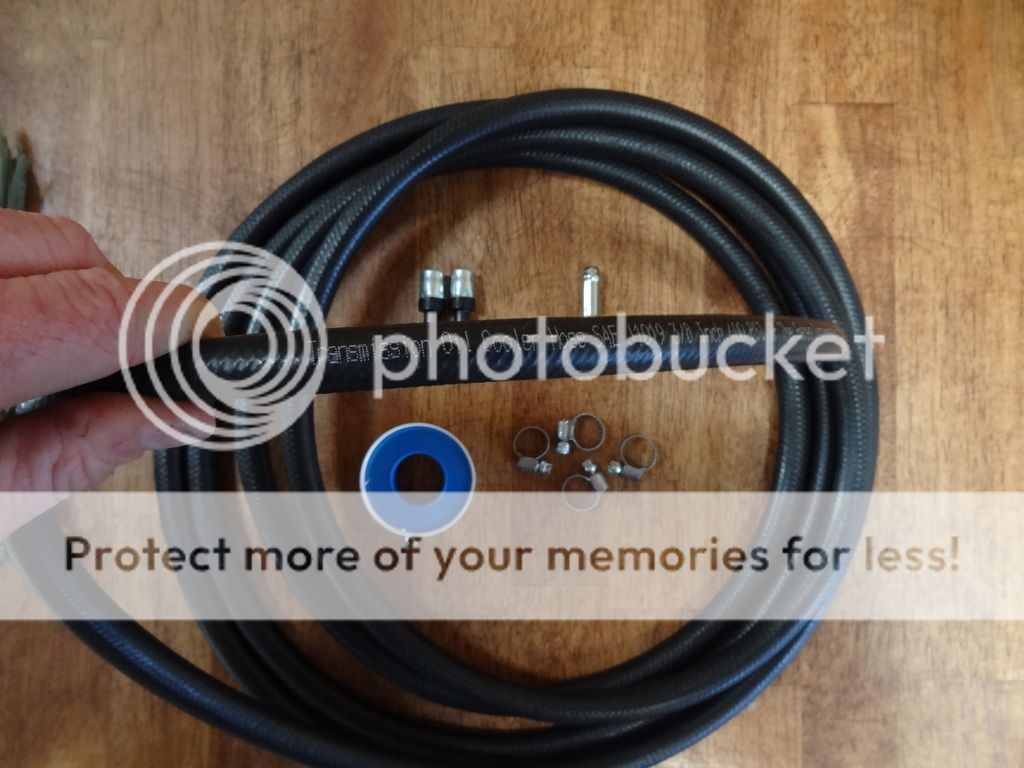
Parts Used:
-Yellow Philips LED fog lights
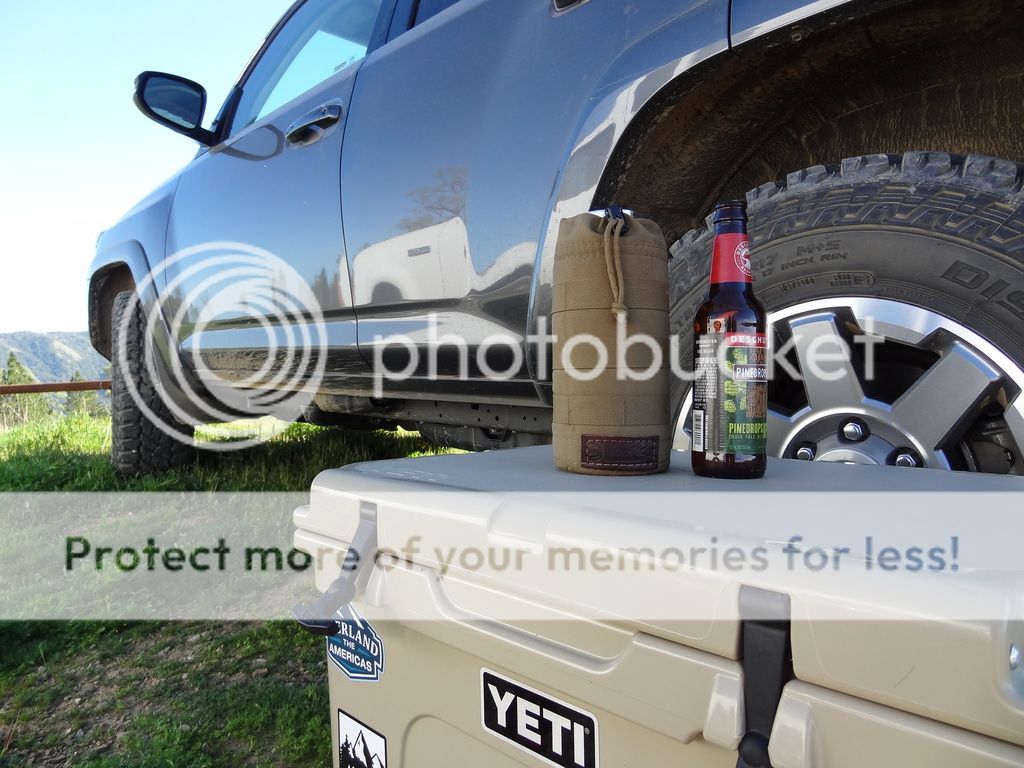
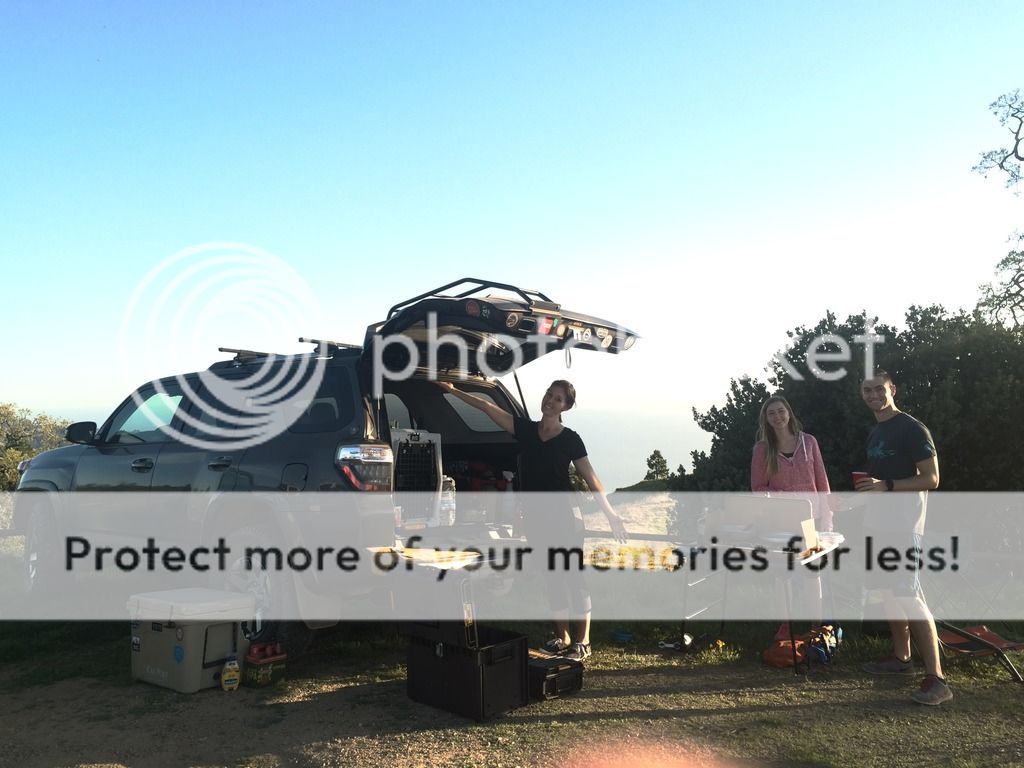
-Lagunitas IPA
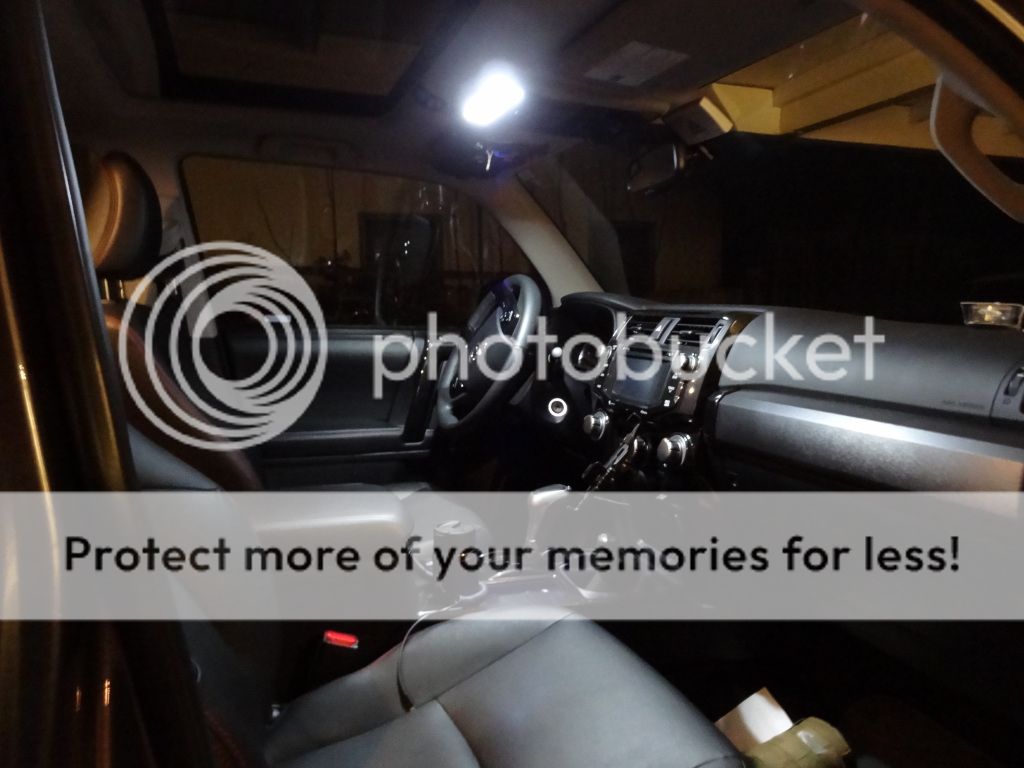
Lights out of the box
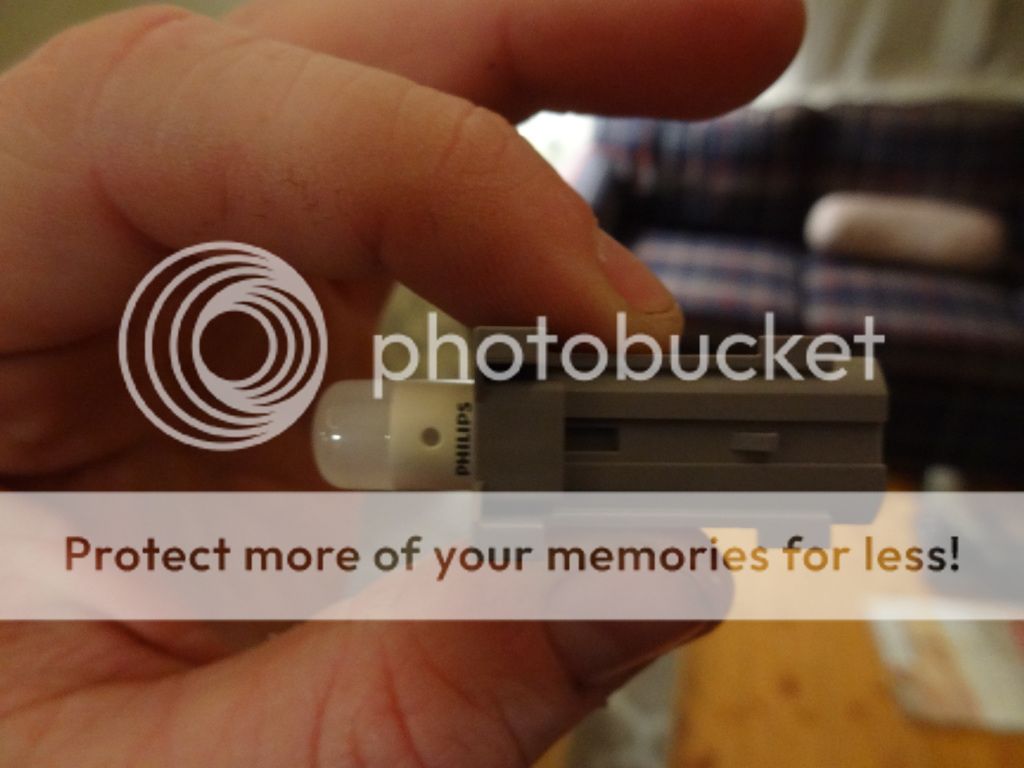
Yellow plastic film over the diodes. The bulb has a nice heavy feel to it and seems to be made with quality in mind.

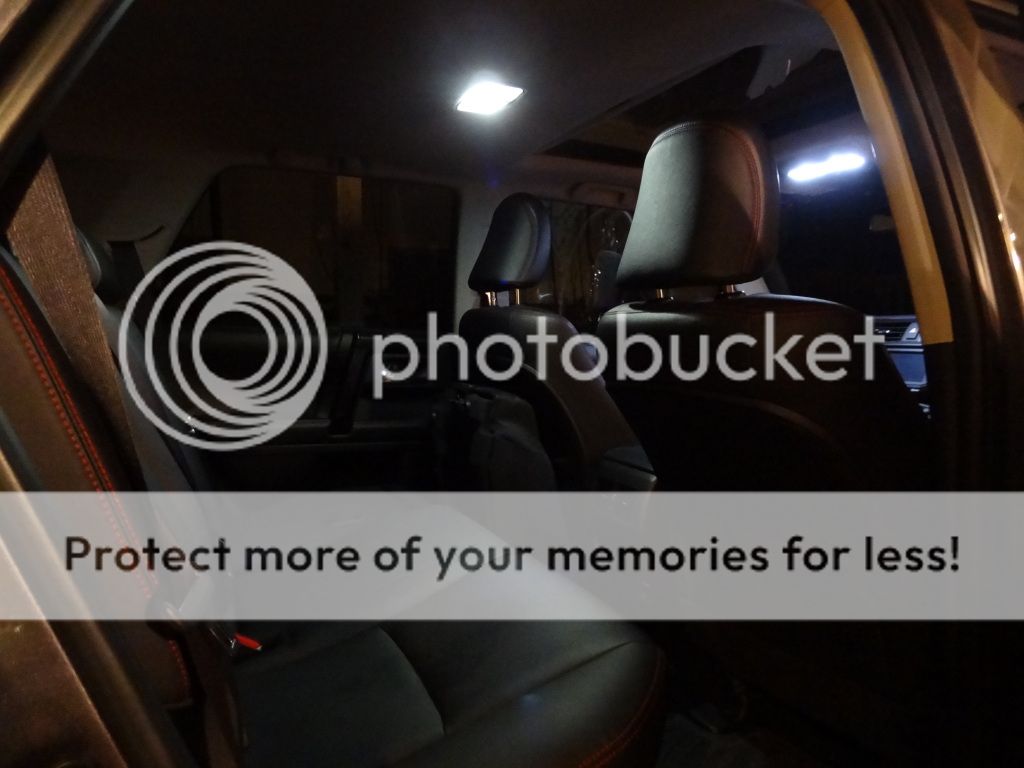
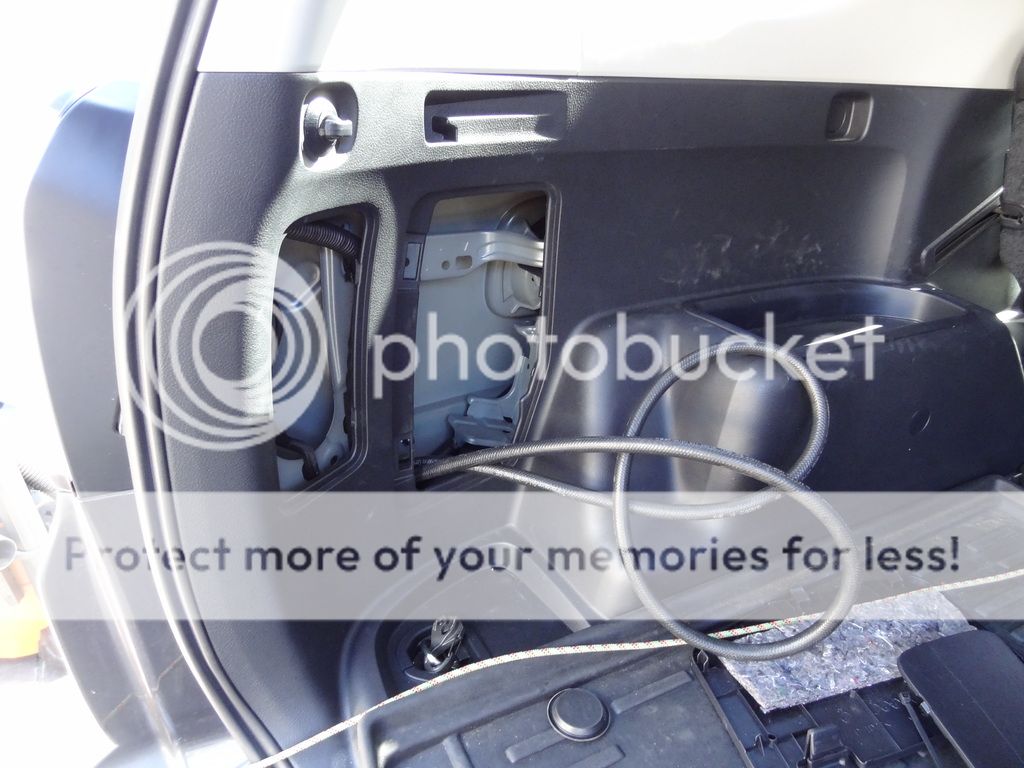
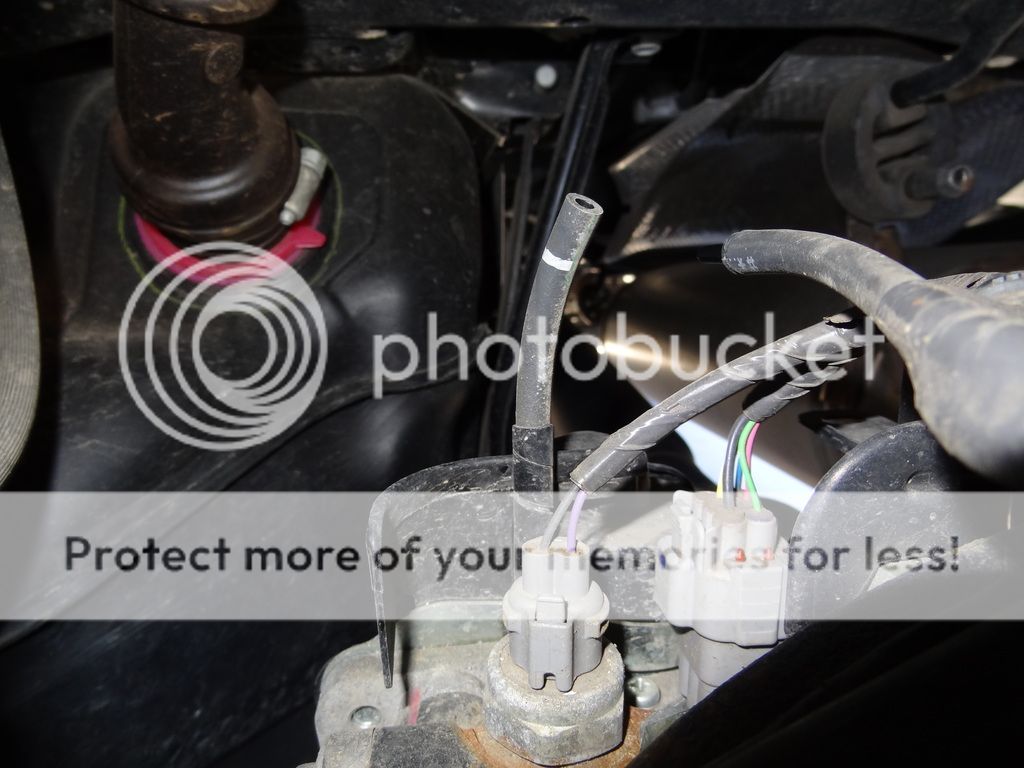
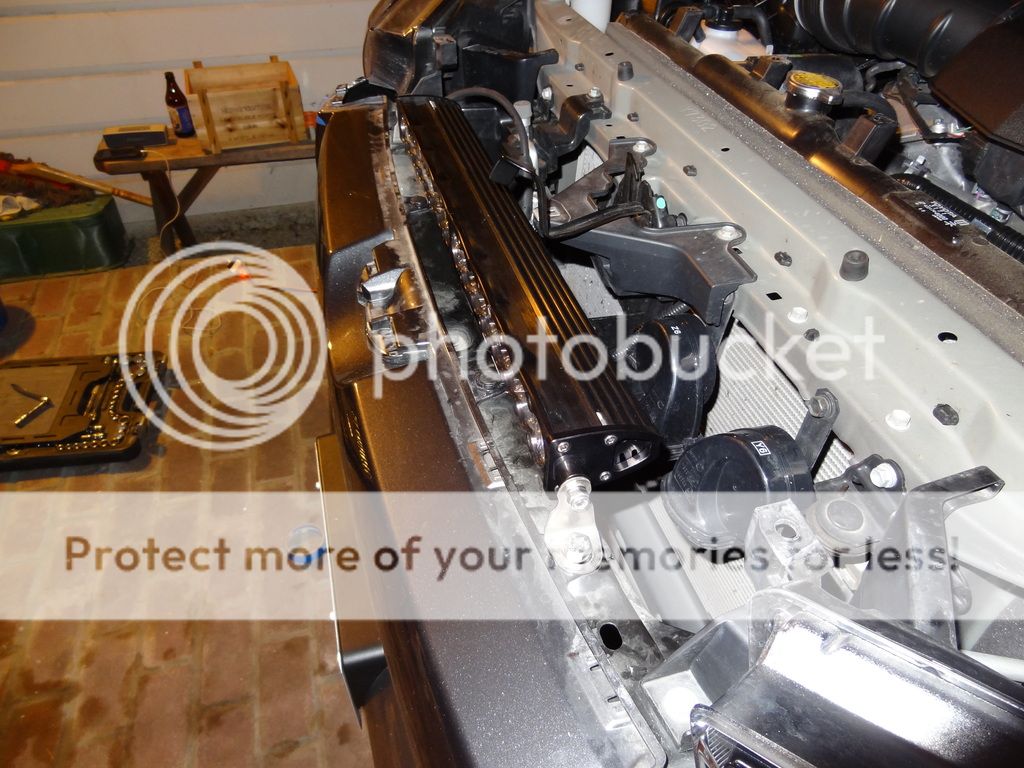
Driver’s side
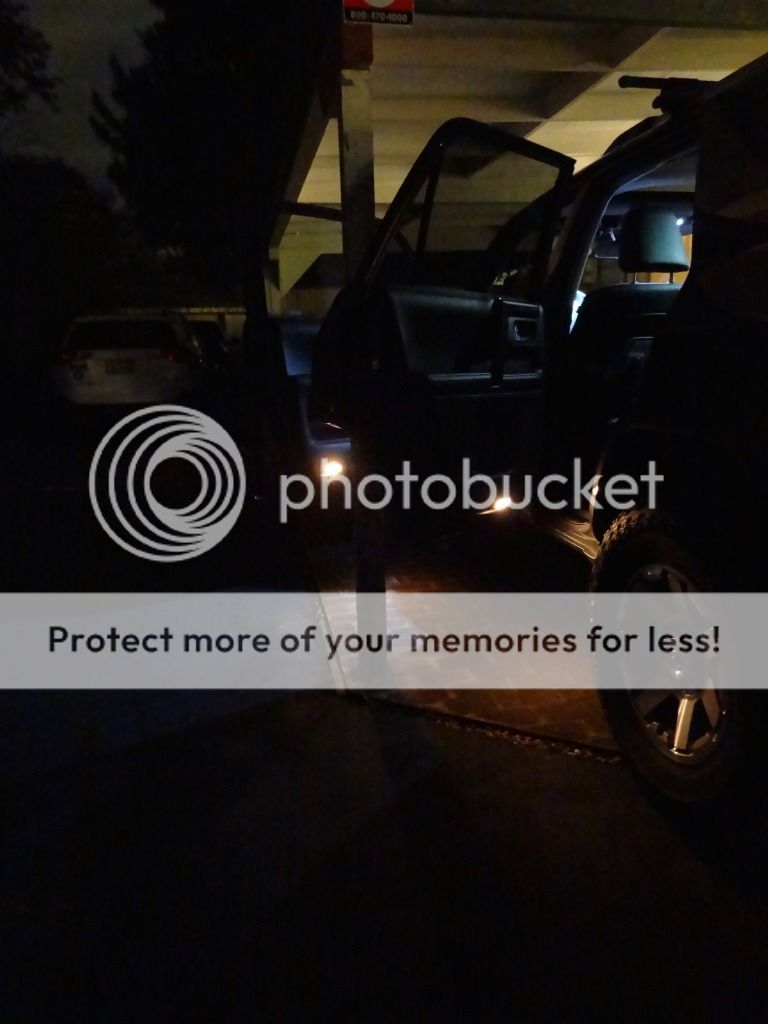
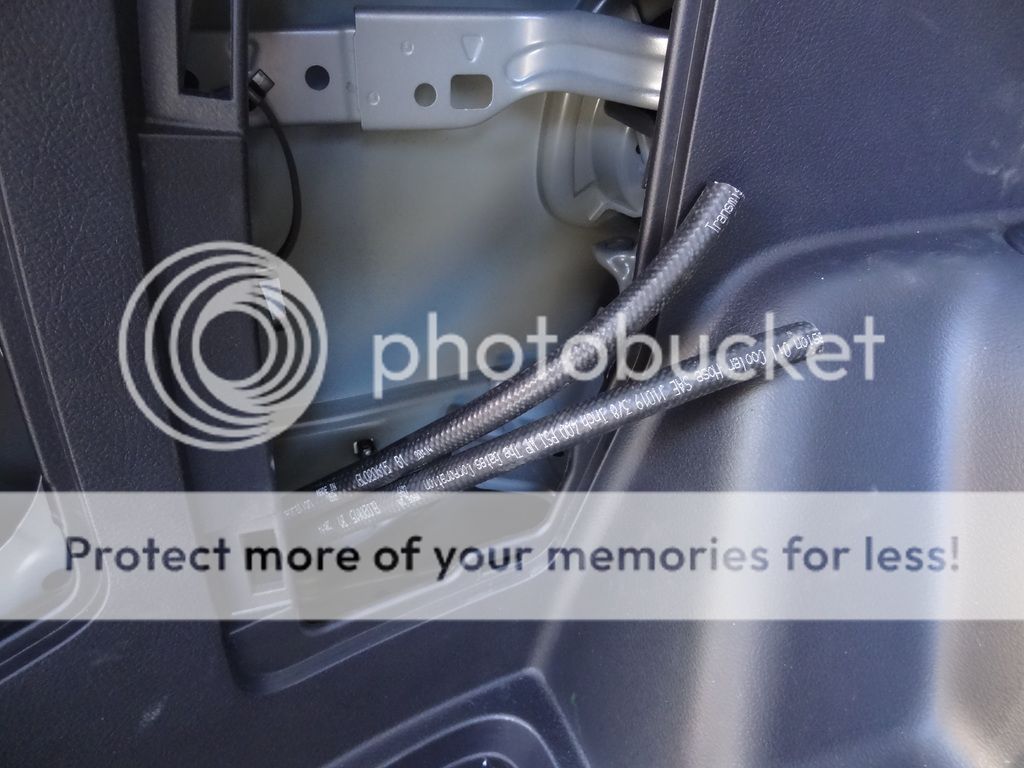
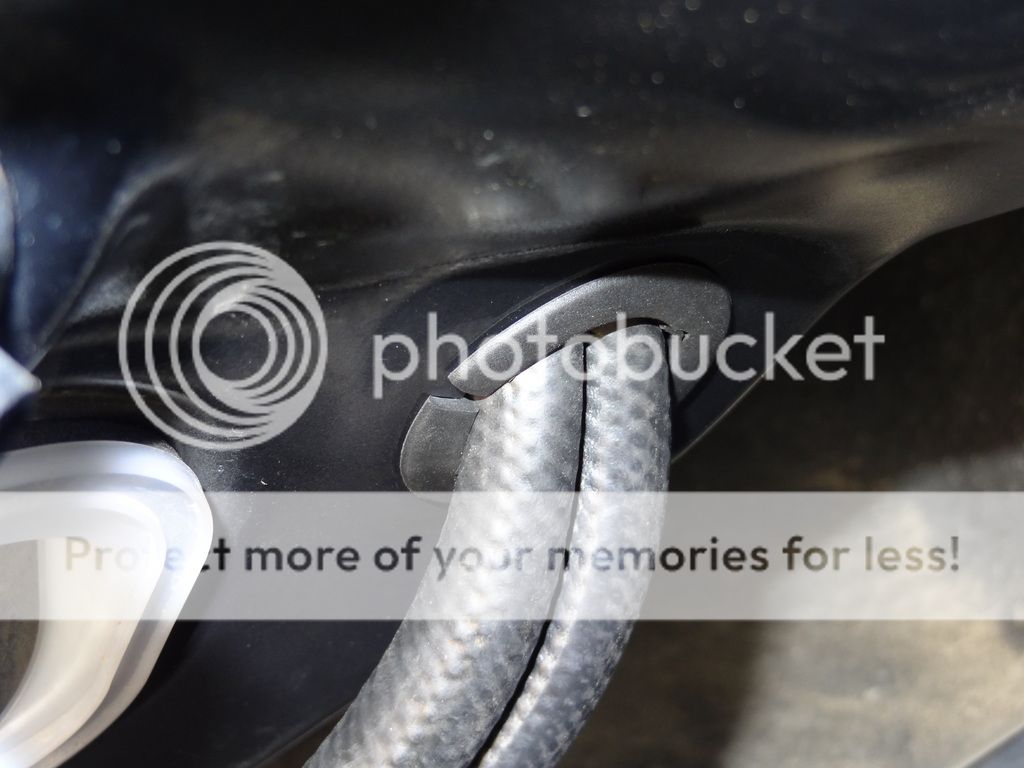
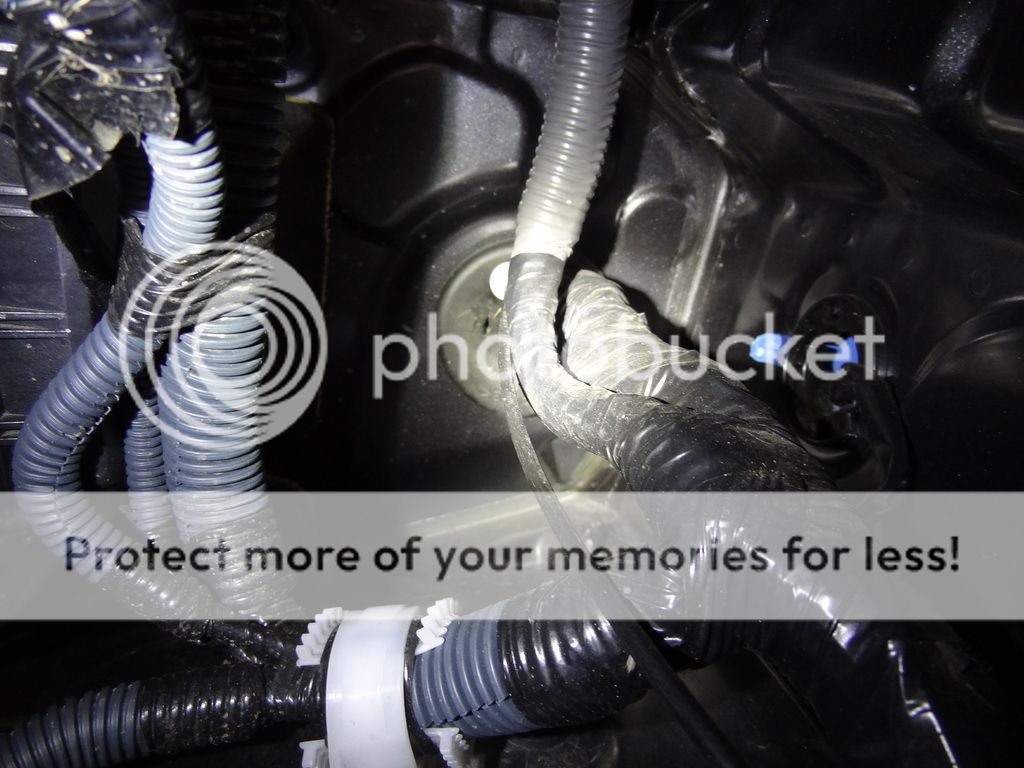
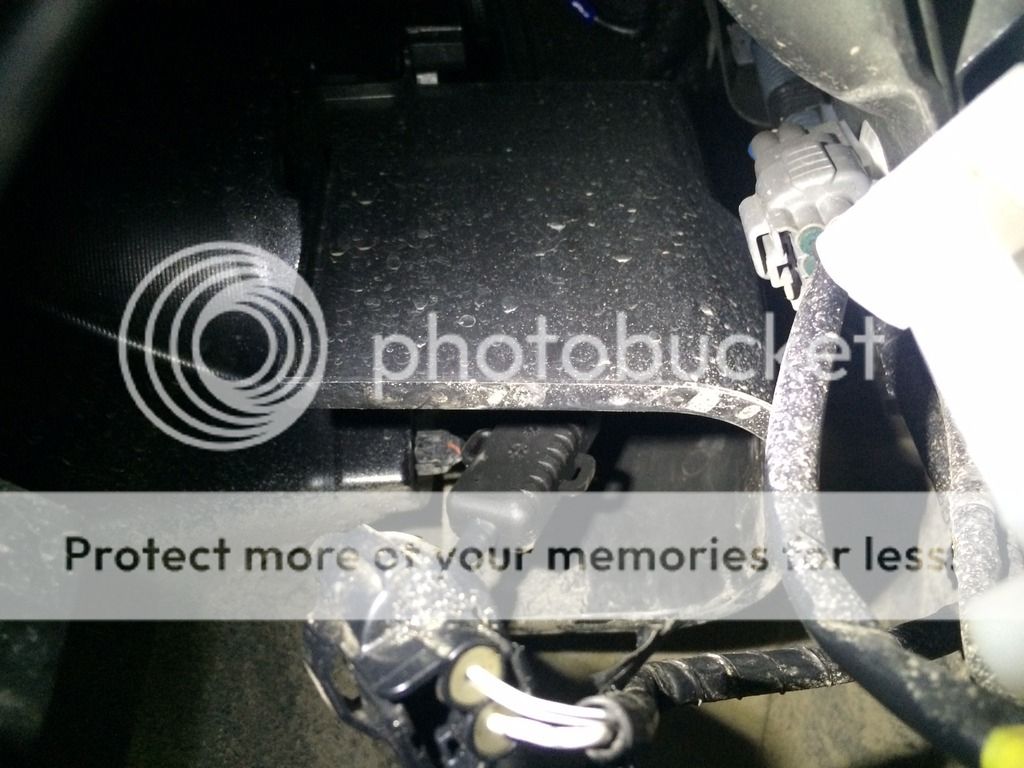
Fog lamp from below. In order to remove the bulb, you need to unplug the harness from the bulb to clear the plastic “stopper” piece on the housing. Turns counter clock-wise to remove
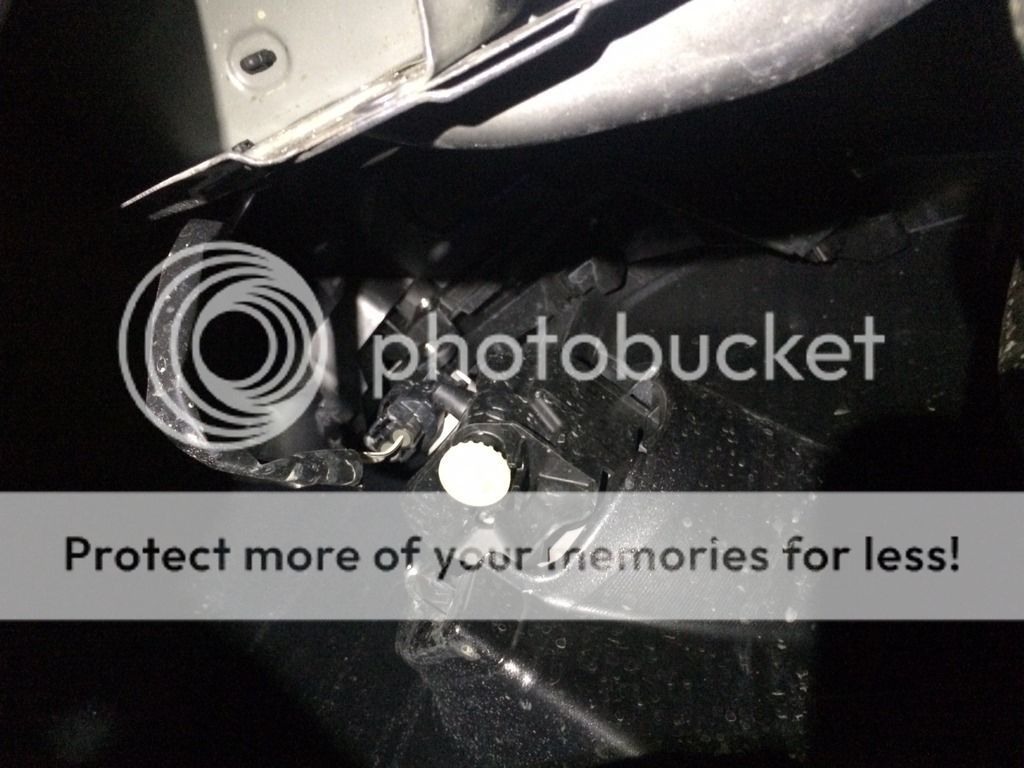
Harness un-hooked to clear the bulb.
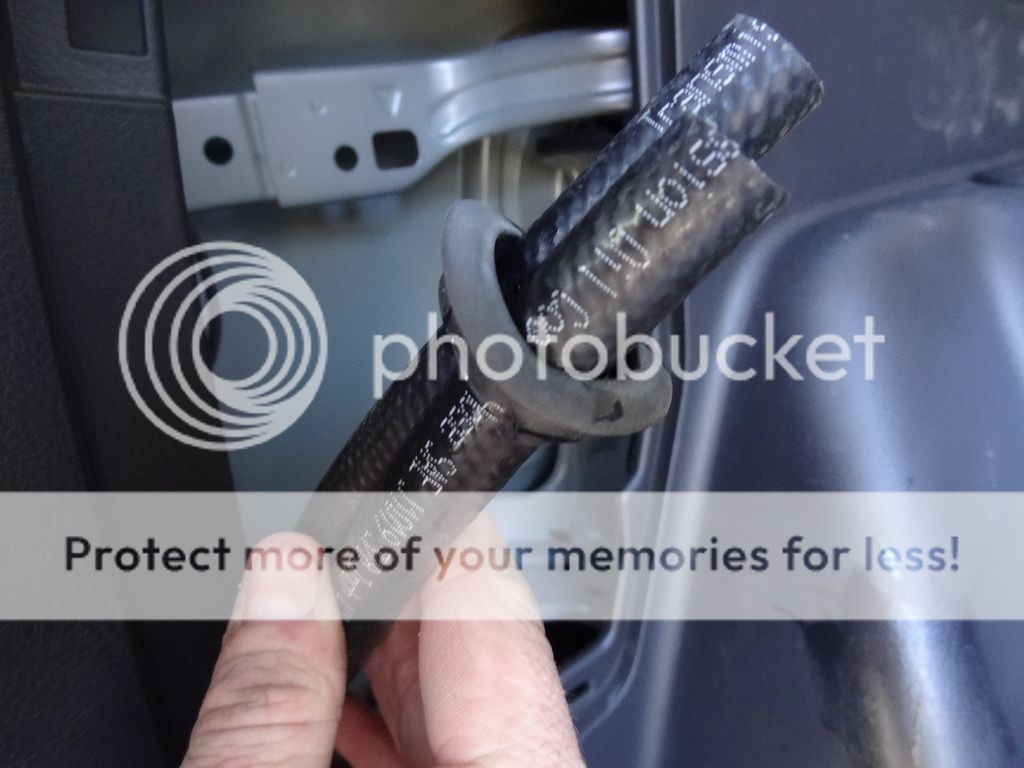
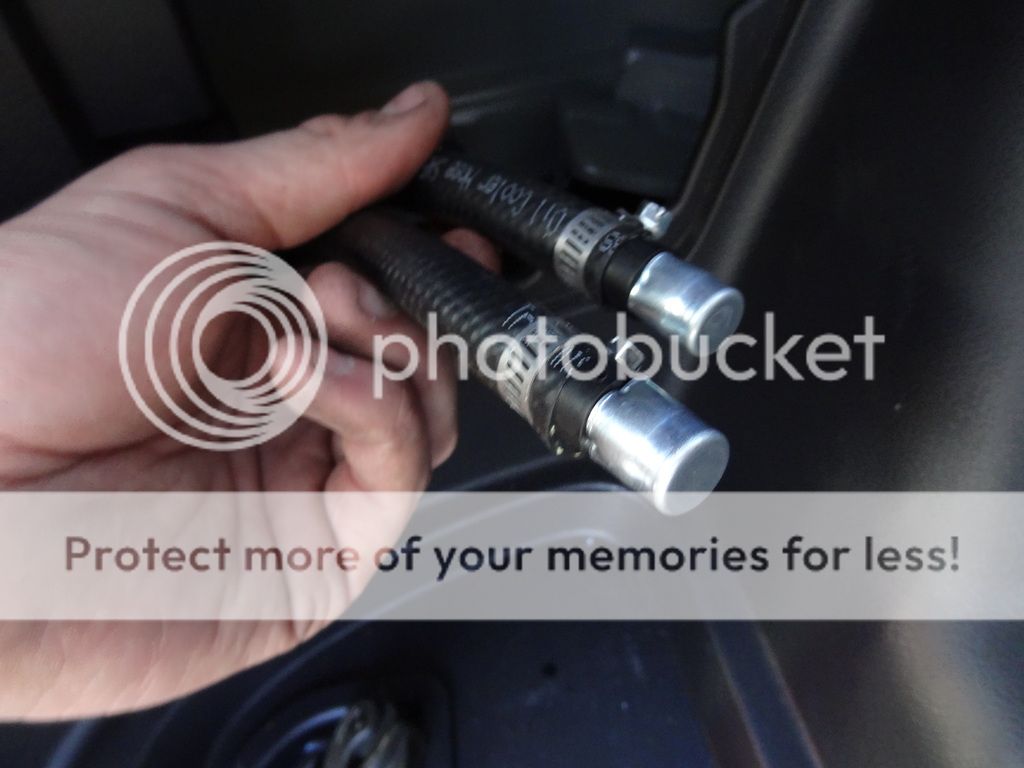
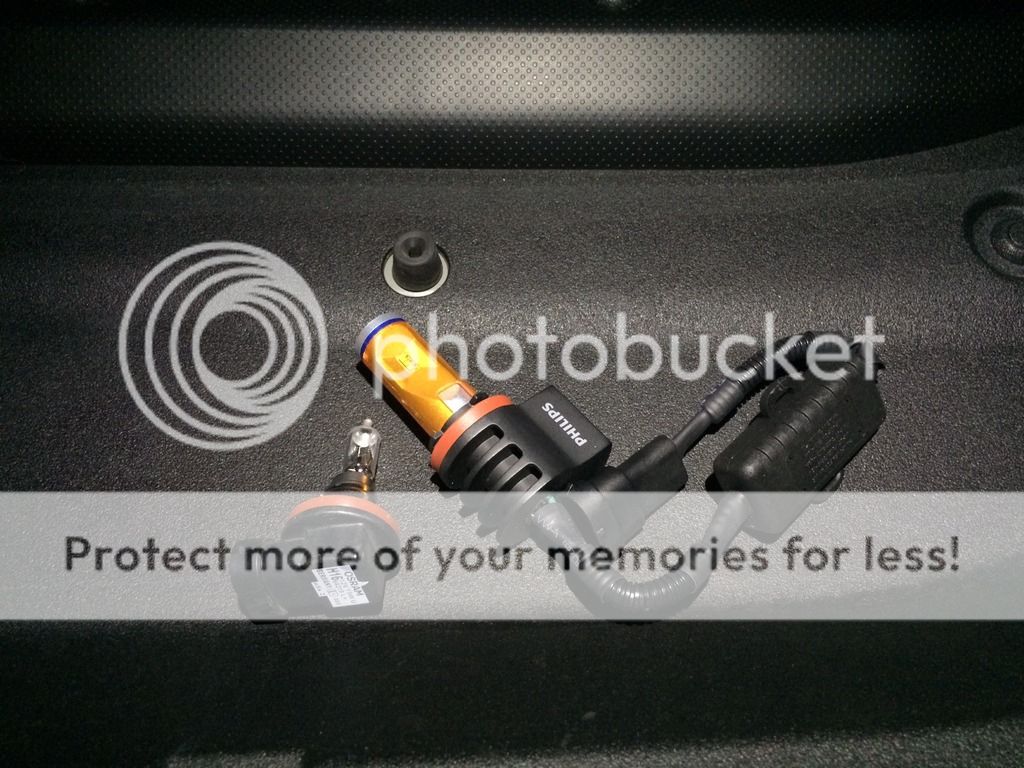
Old vs. new. The new bulb is larger, but will fit. You will need to come in as straight as possible to make it work well. The bulb is very well designed in that it clears the plastic “stopper” perfectly.
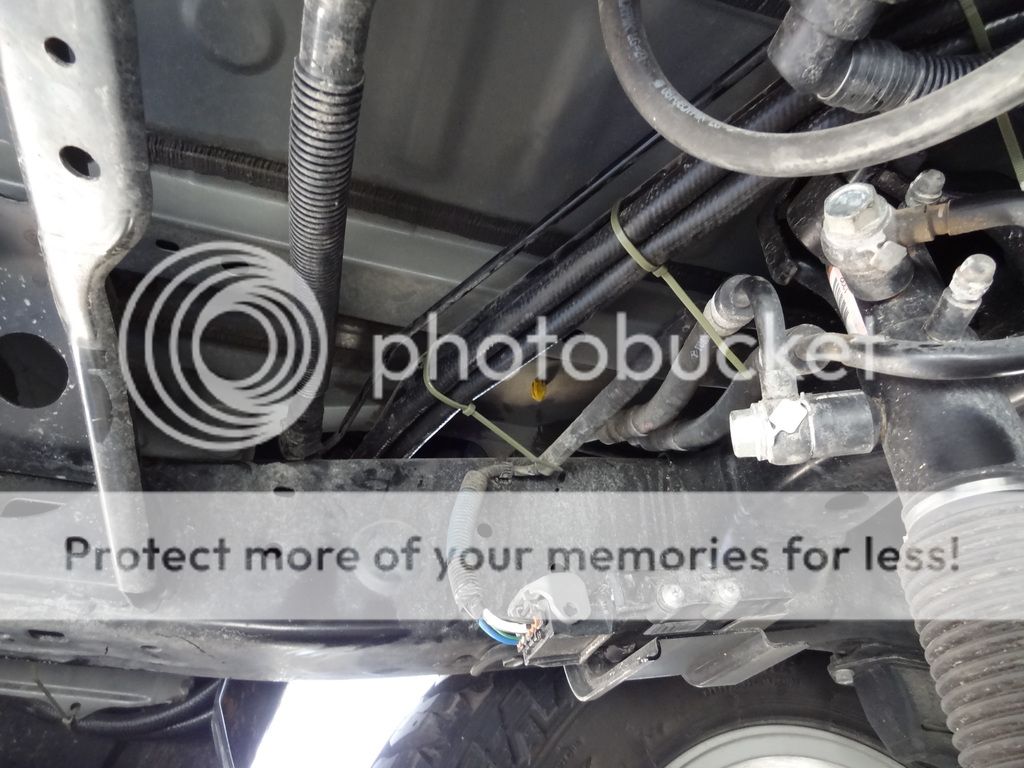
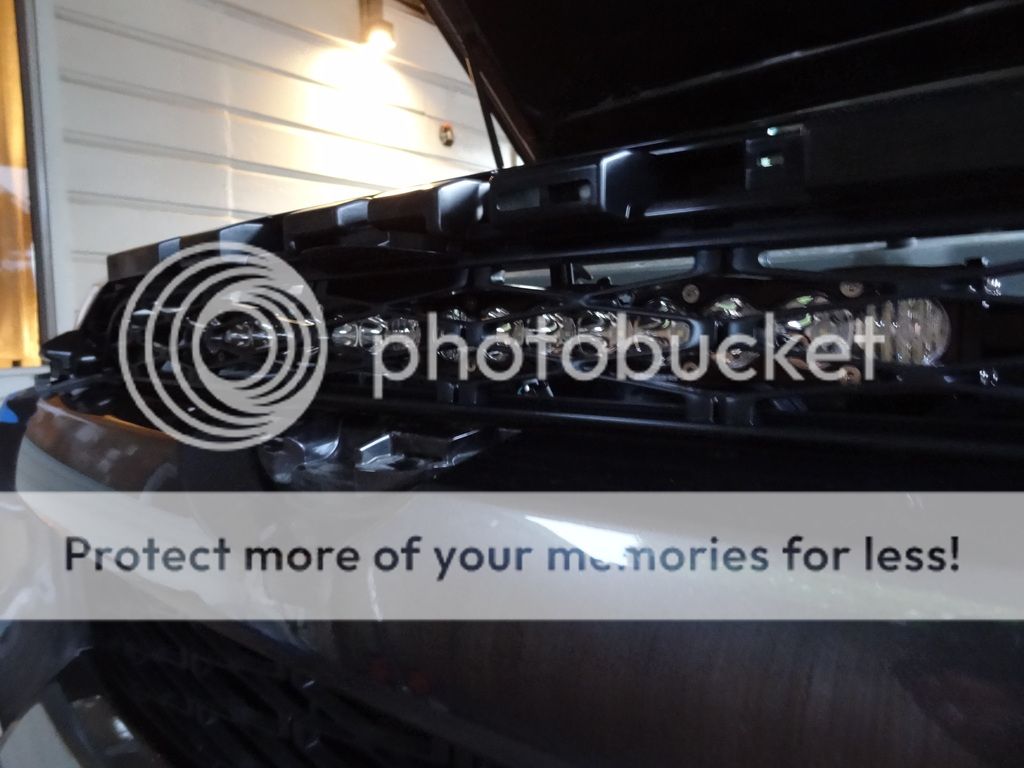
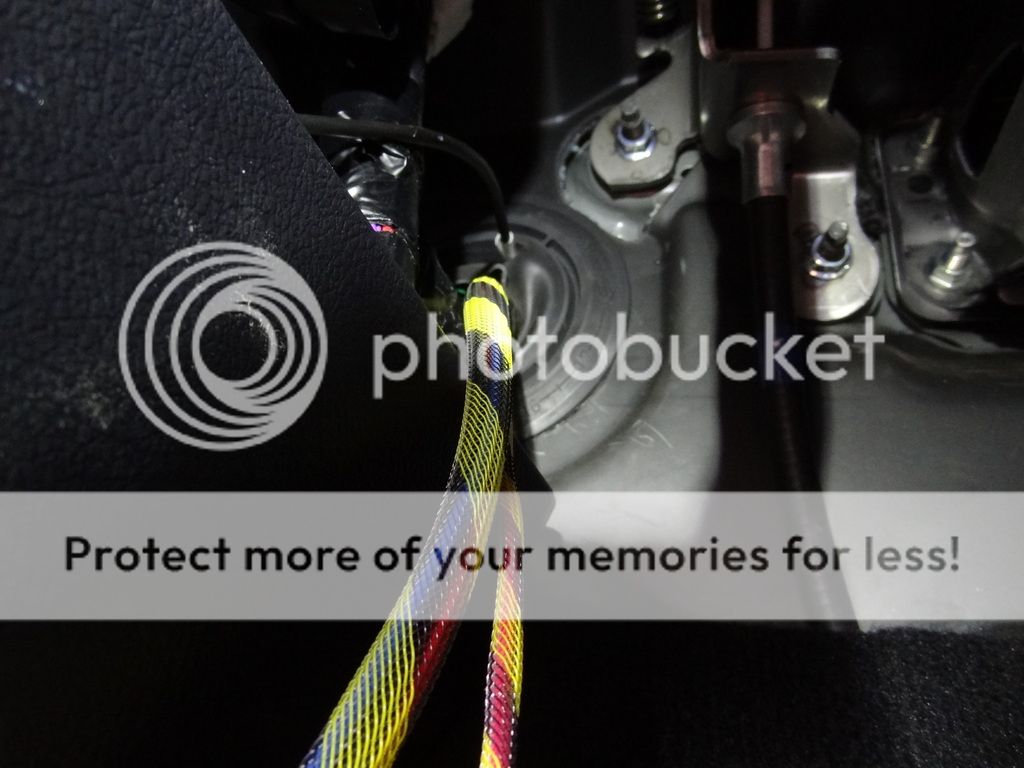
New LED installed. I used the supplied zip tie to tie the wires to the sheet metal in the top of the photo.
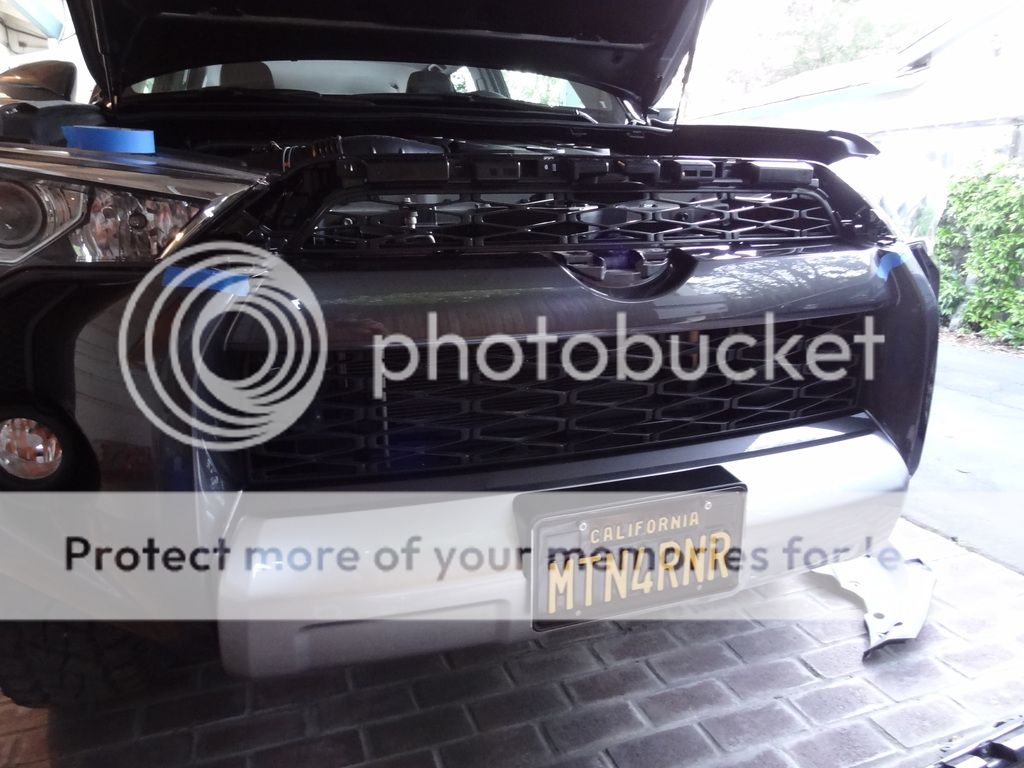
 DONE
DONE
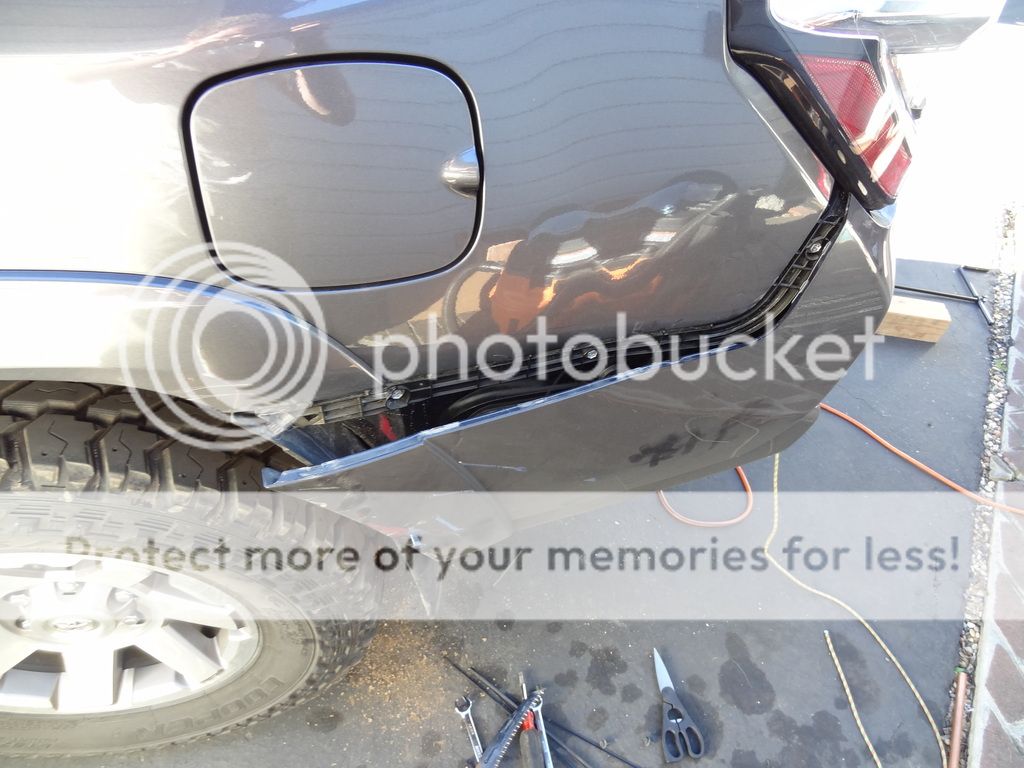
Passenger’s side
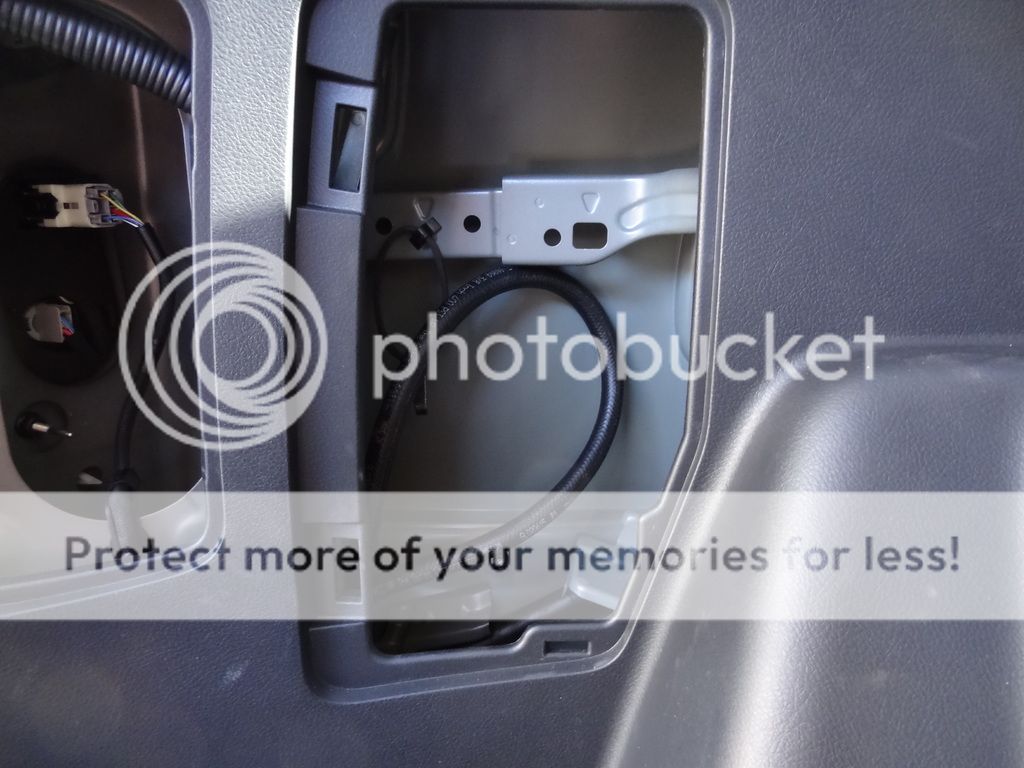
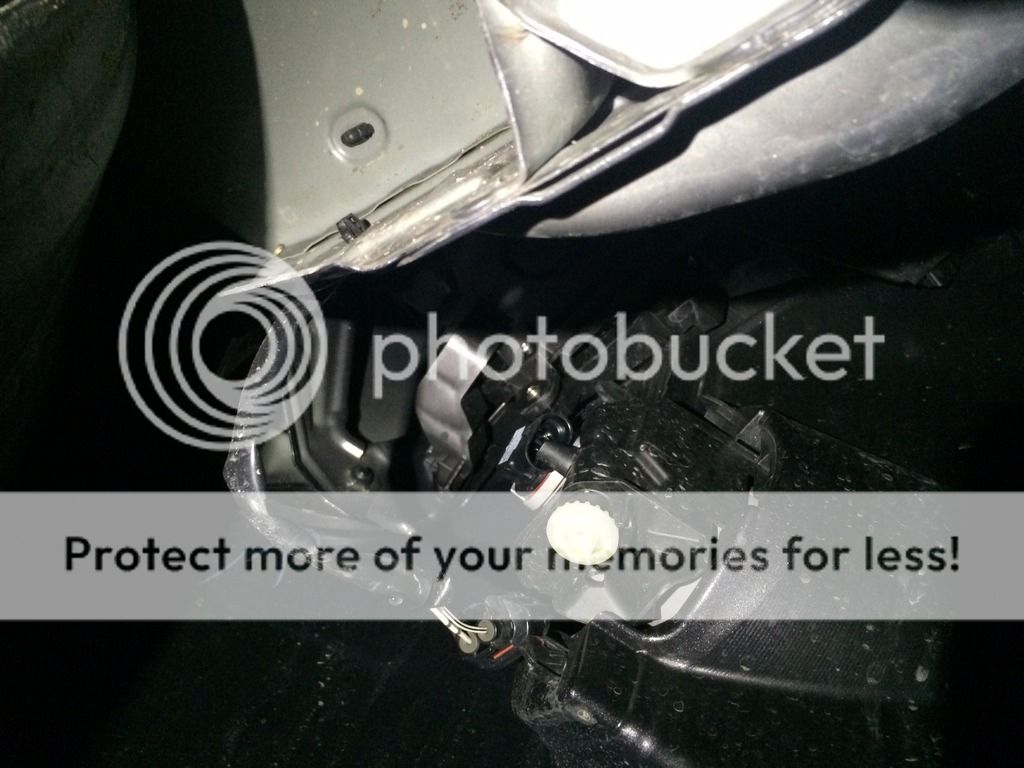
The passenger’s side has a plastic shroud surrounding the bulb. Same process, unclip the harness, turn the bulb counter clock-wise, remove.

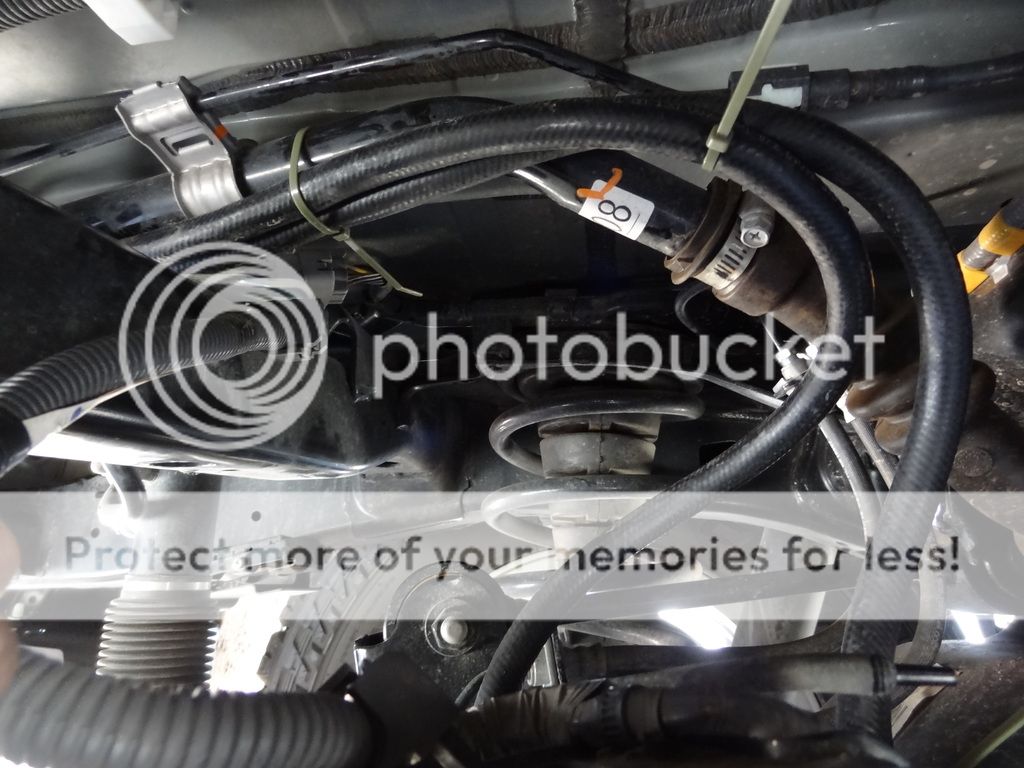
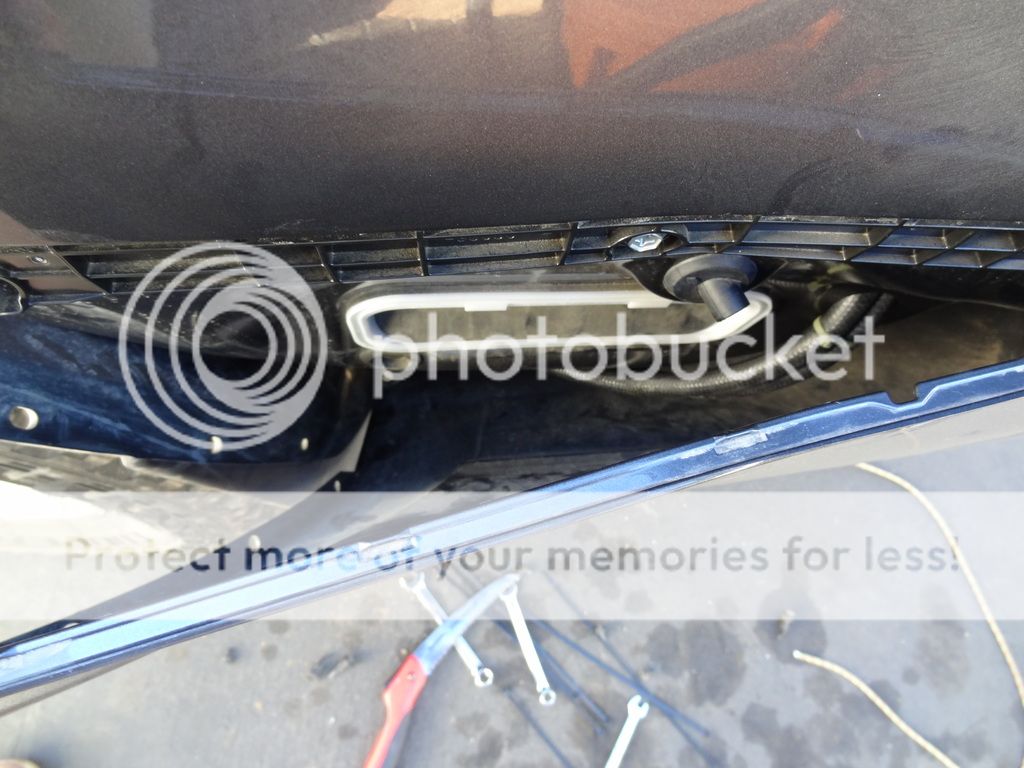
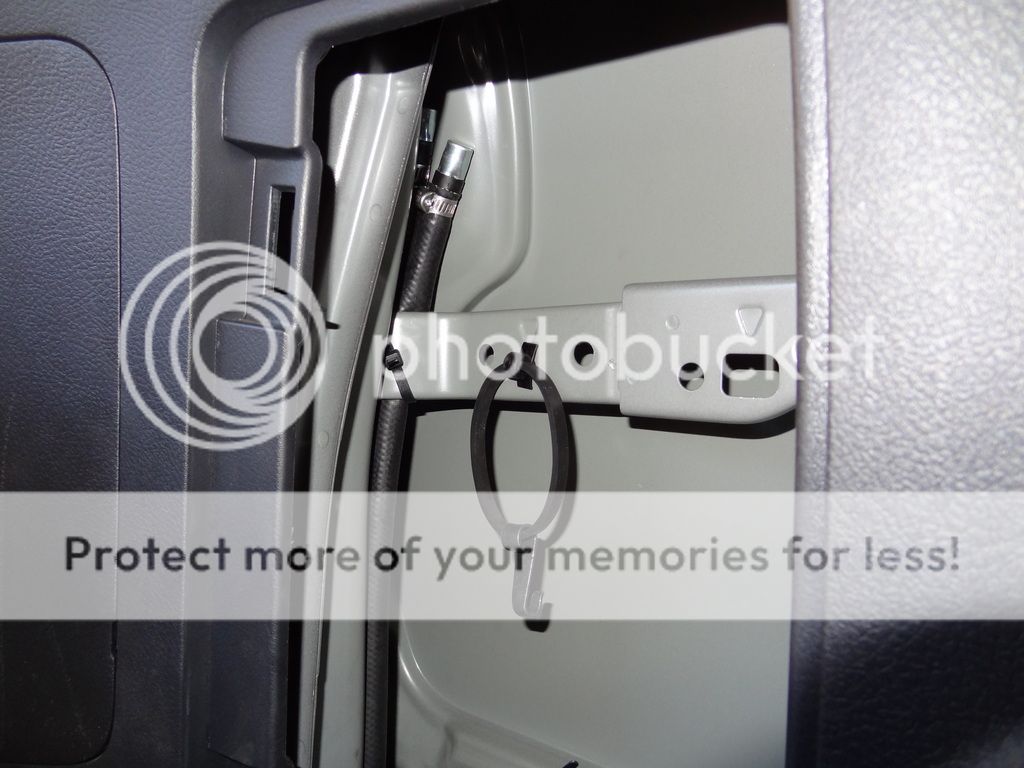
New LED installed. The trick with getting this one in, because the bulb is larger, and the shroud is on, is to hold the outer part of the bulb, the metal base, between two fingers at a 90º angle. Hold it so the heat dissipator is facing down. Reach up and get the tip of the bulb into the housing hole. Then you can resituate to twist the bulb into the appropriate position. The bulb will line up at the 4 o’clock position, and will lock in in the 8 o’clock position. Patience is your friend with this one. I used the supplied zip tie to secure the wire to the stock washer fluid hose shown on the right of the photo.
DONE
Before and After
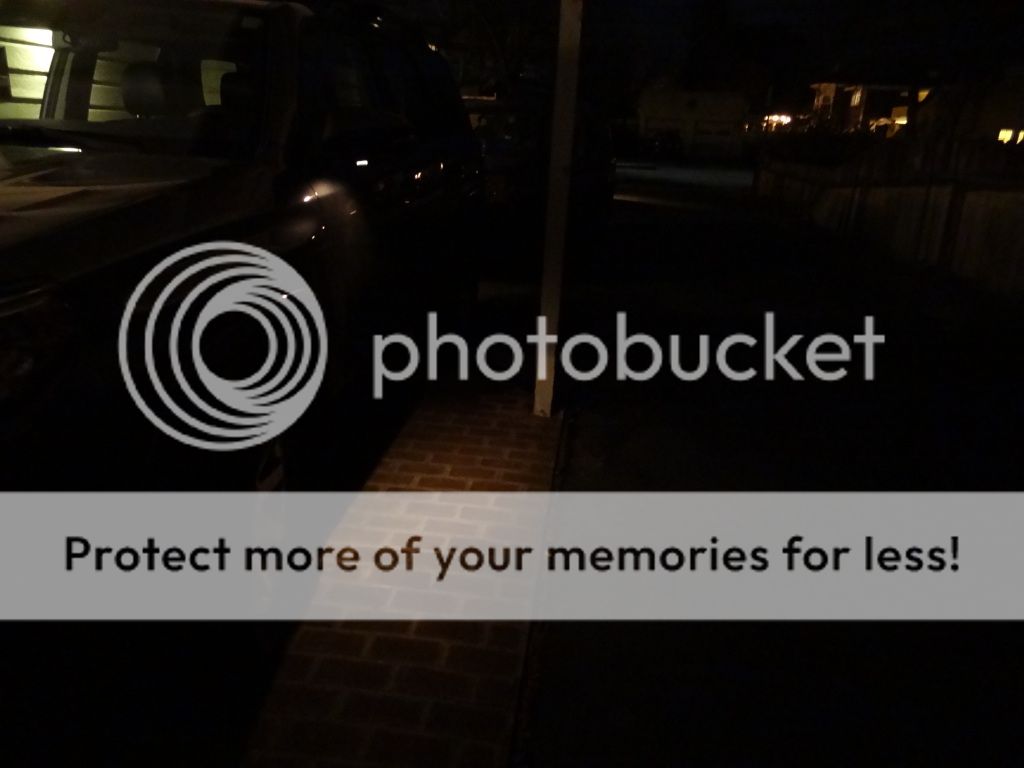
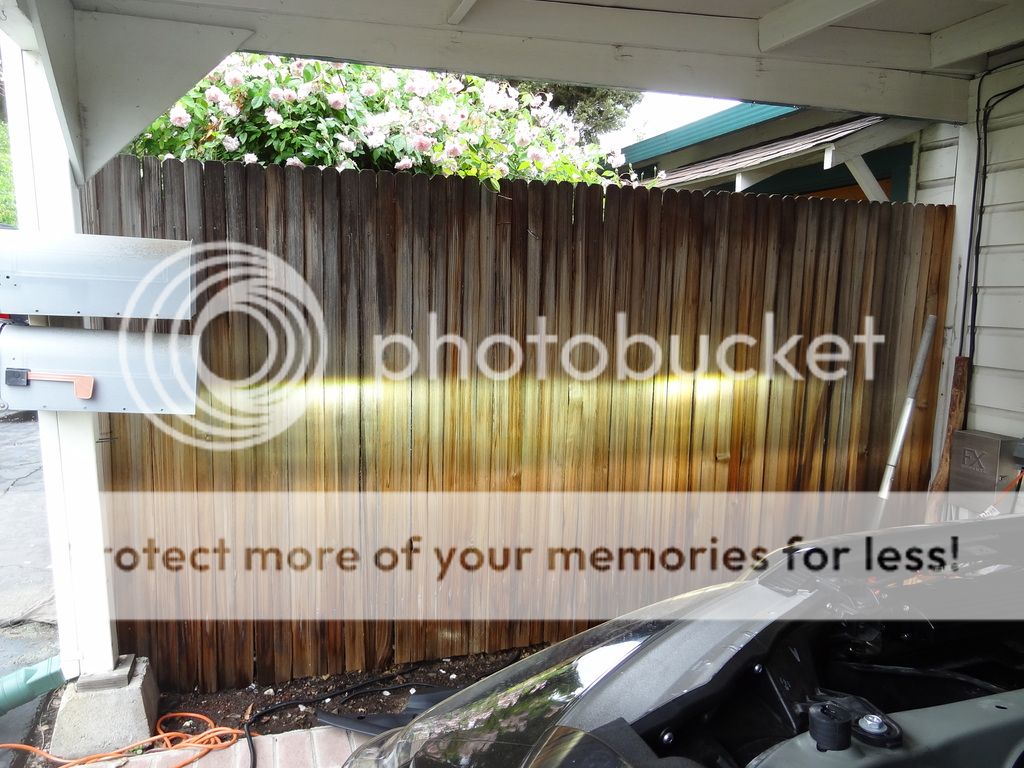
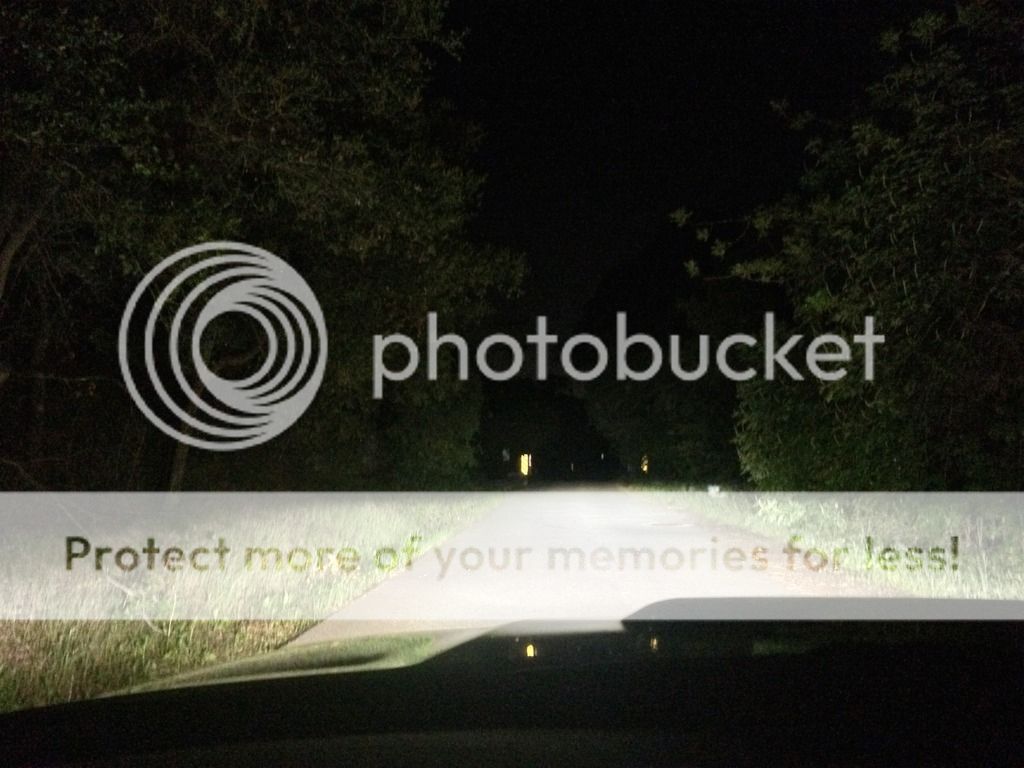
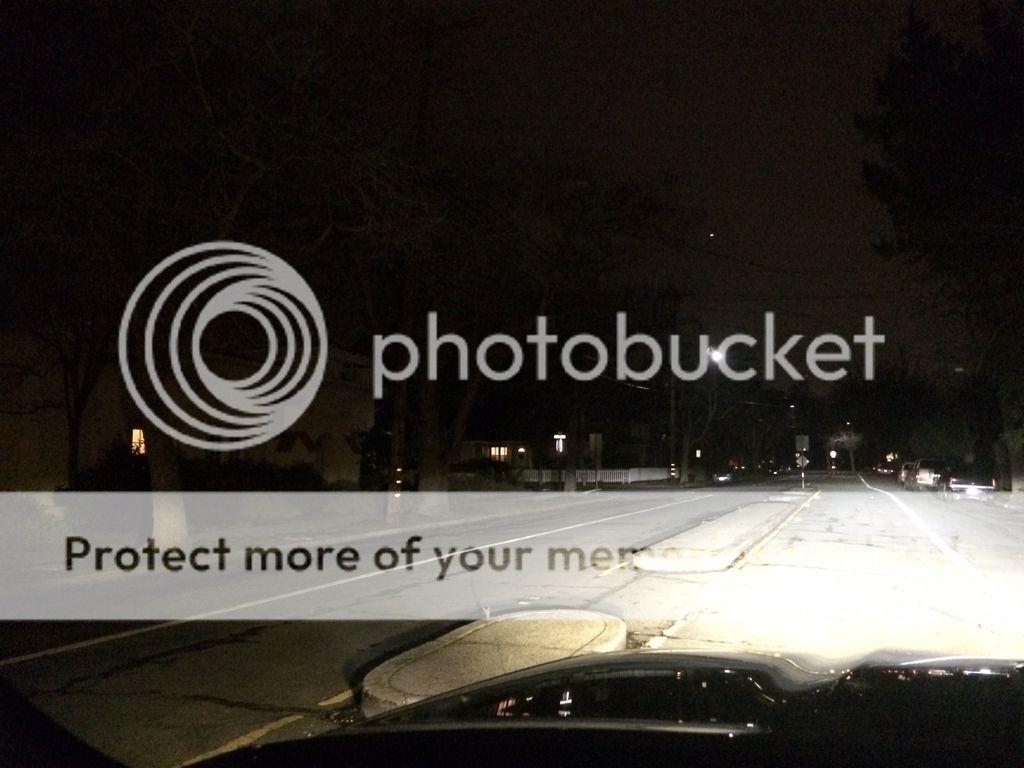
Low beam HIDs
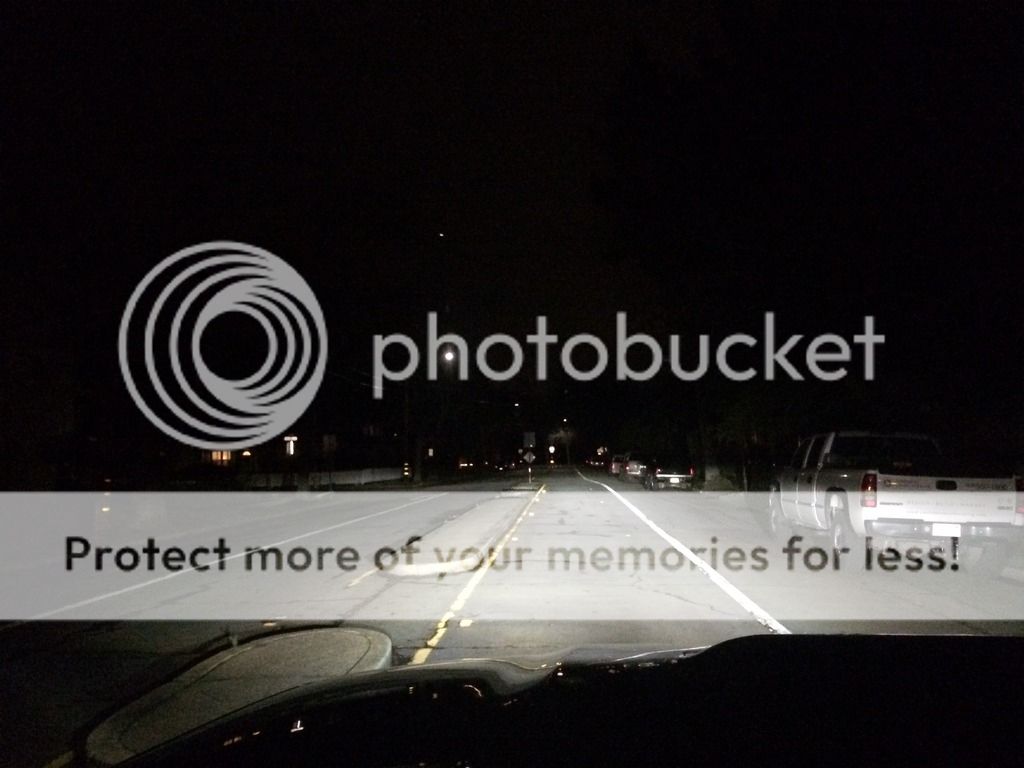
Low beam HID’s with stock fogs
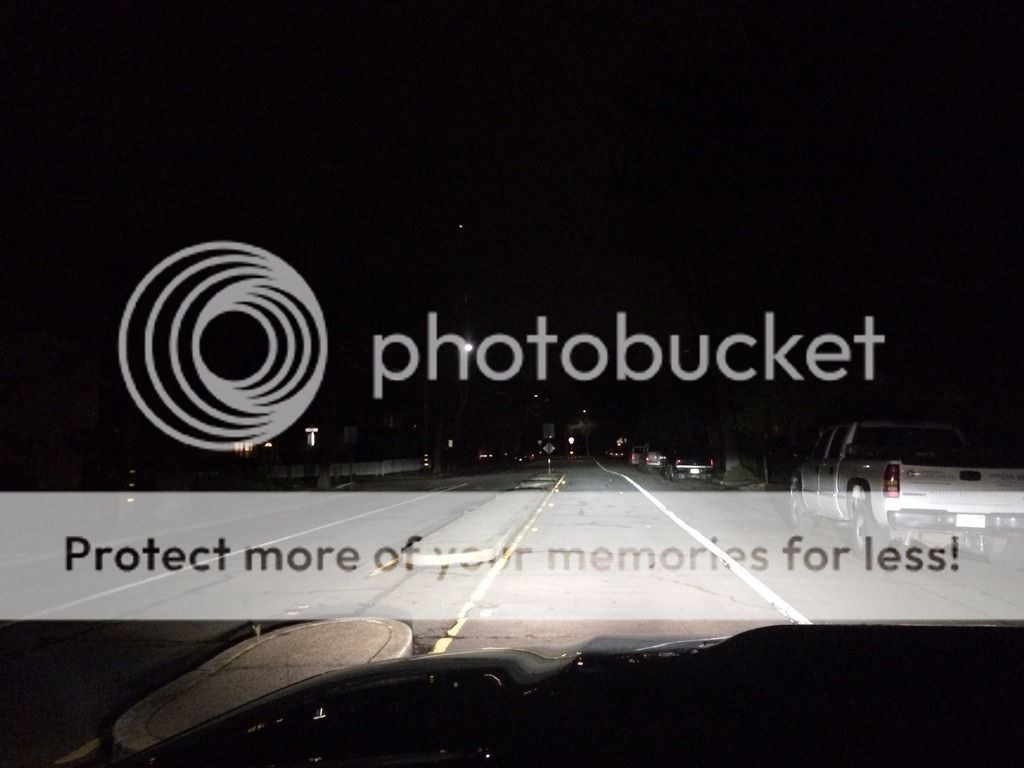
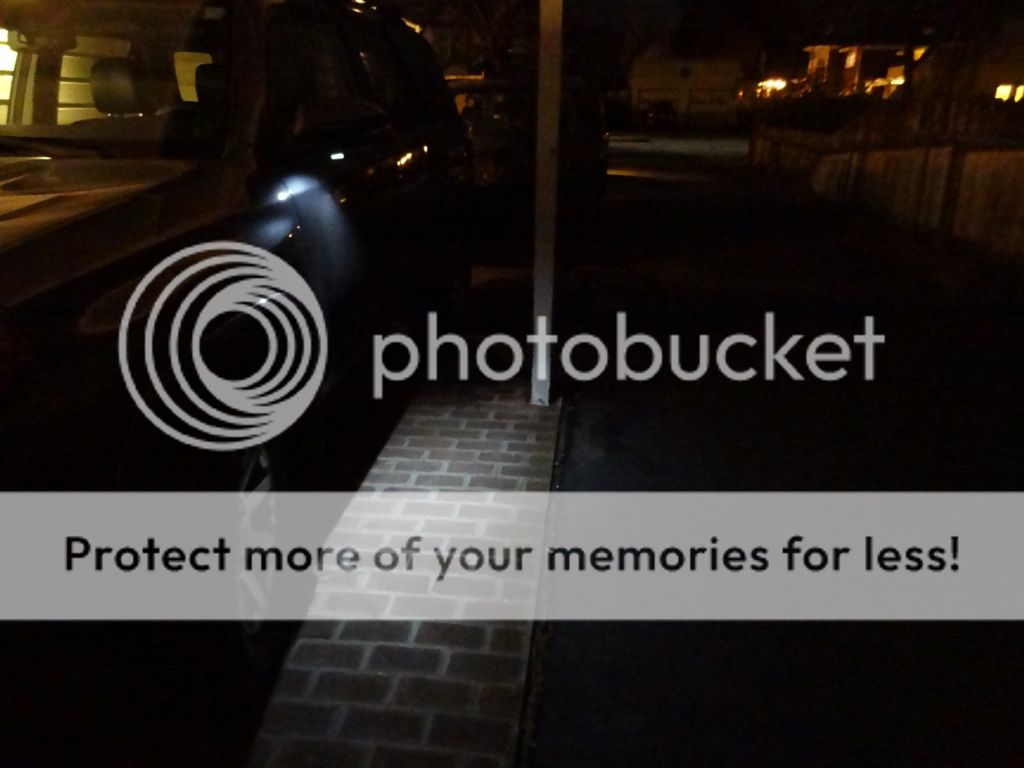
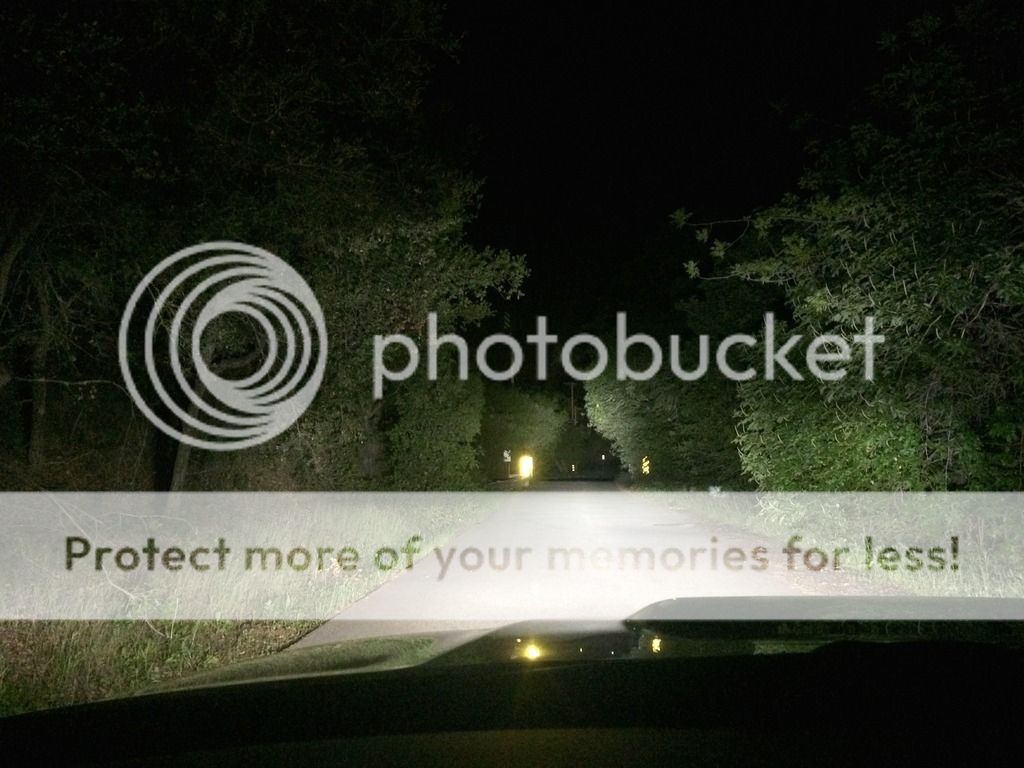
Low beam HID’s with Philips Yellow LEDs

Here’s a really nice change though. The side visibility from the new fogs is greatly increased.
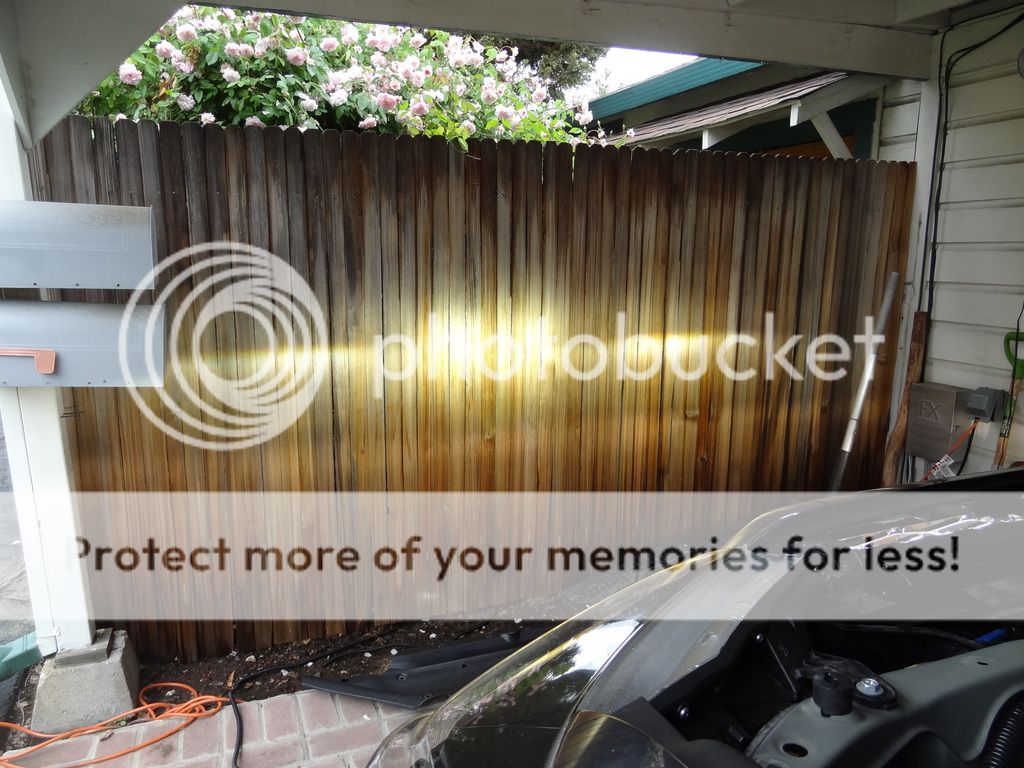
Low beam HIDs
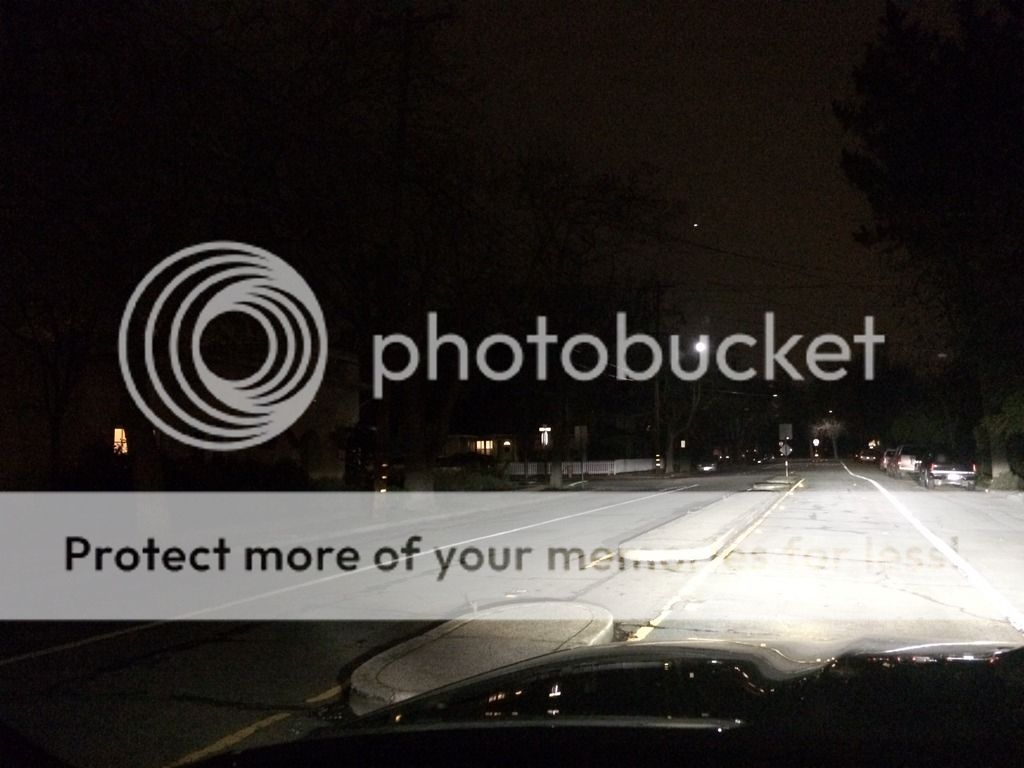
Low beam HID’s with Philips Yellow LEDs
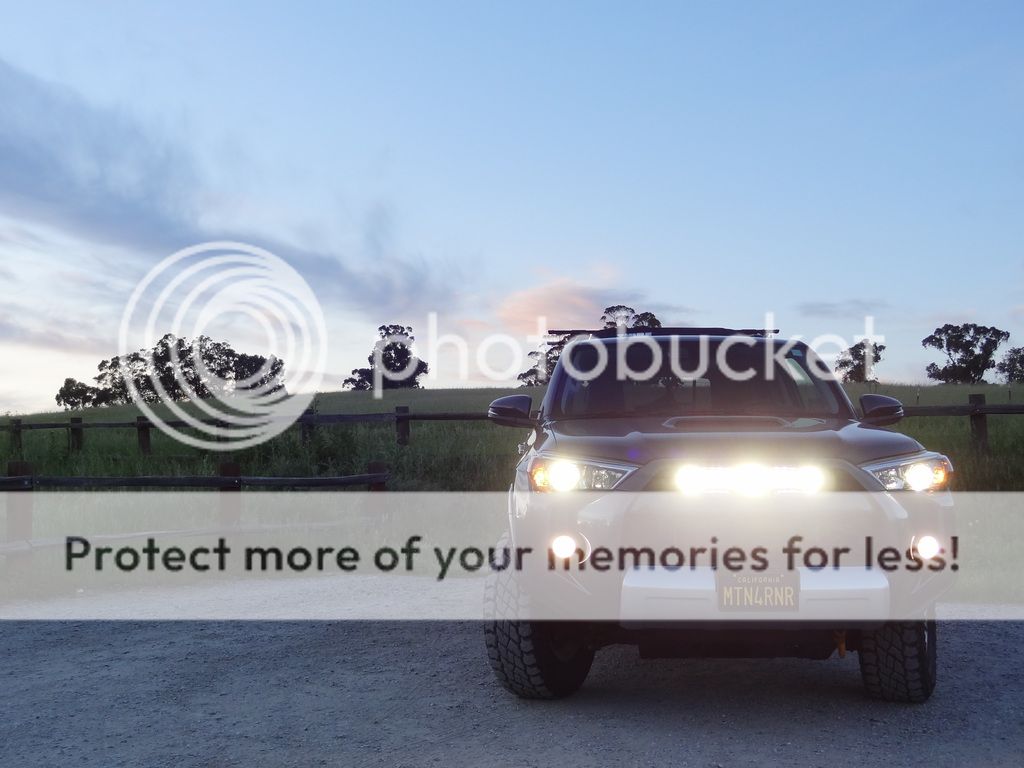
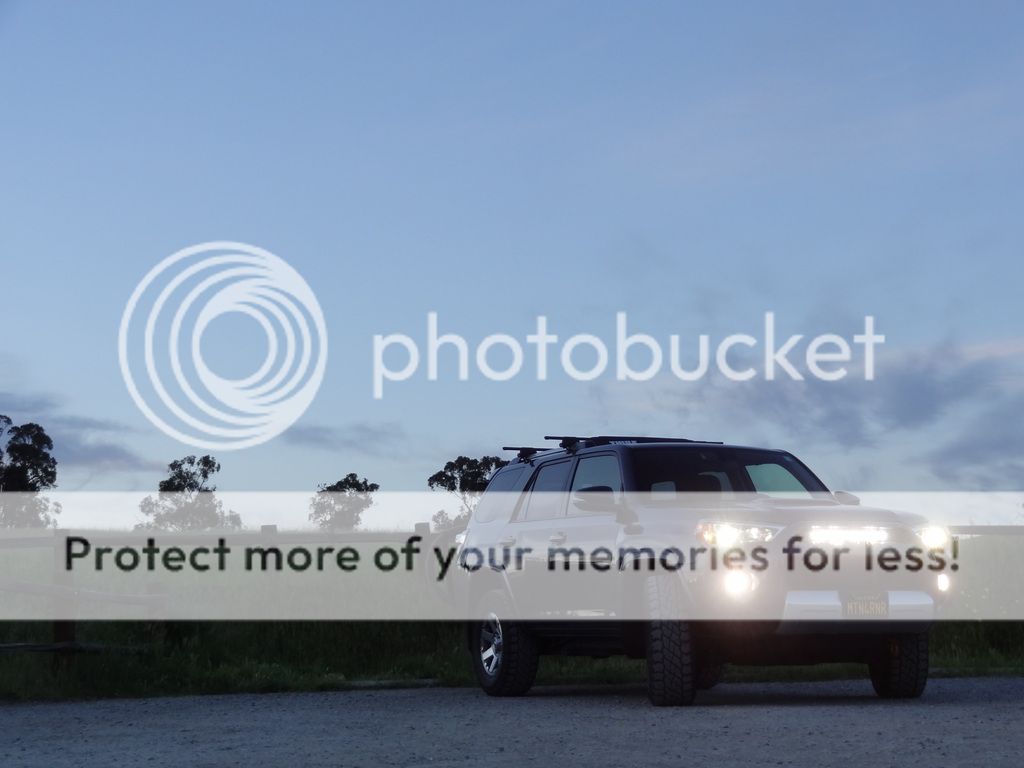
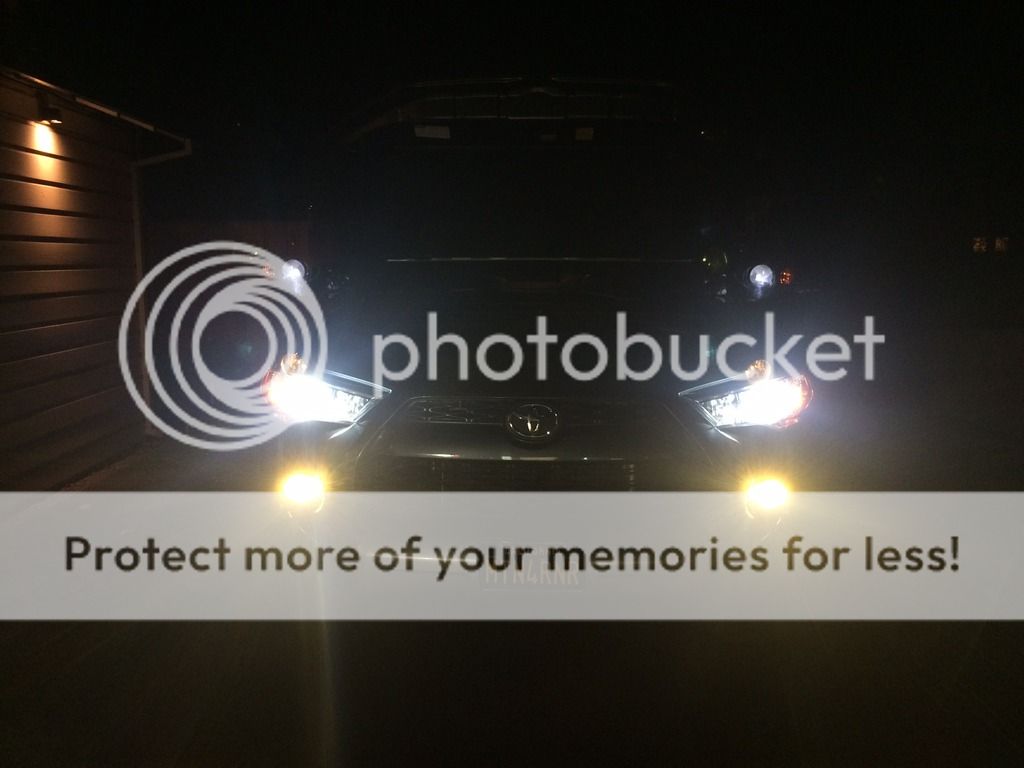
Left fog stock. Right fog Philips Yellow LED

Left and right fogs Philips Yellow LEDs
Impressions
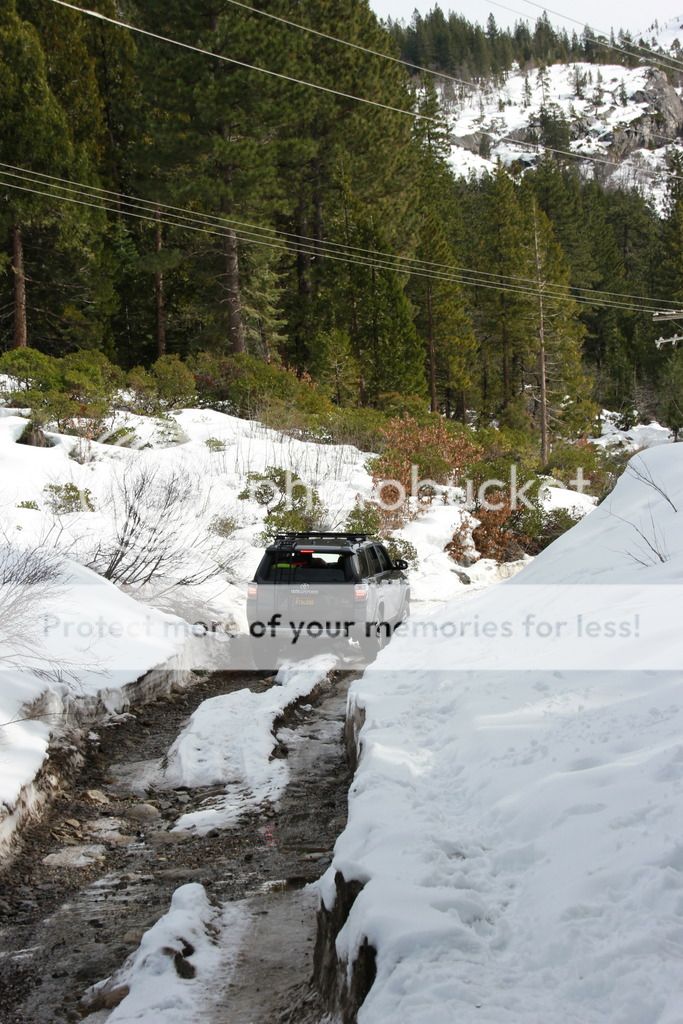
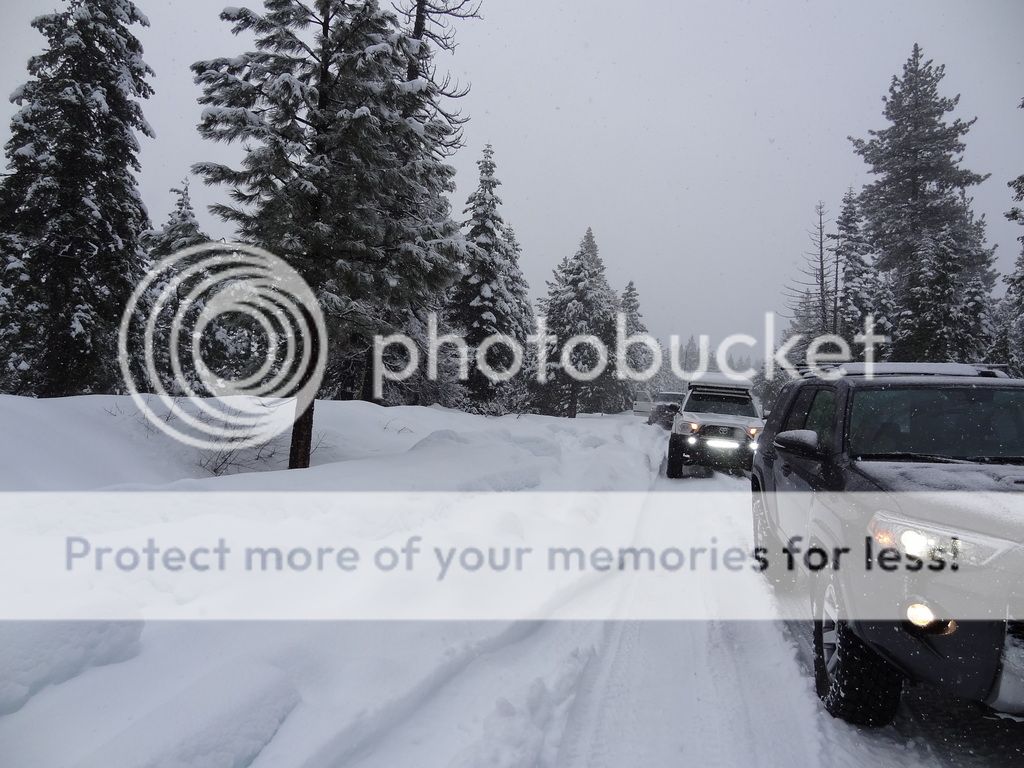
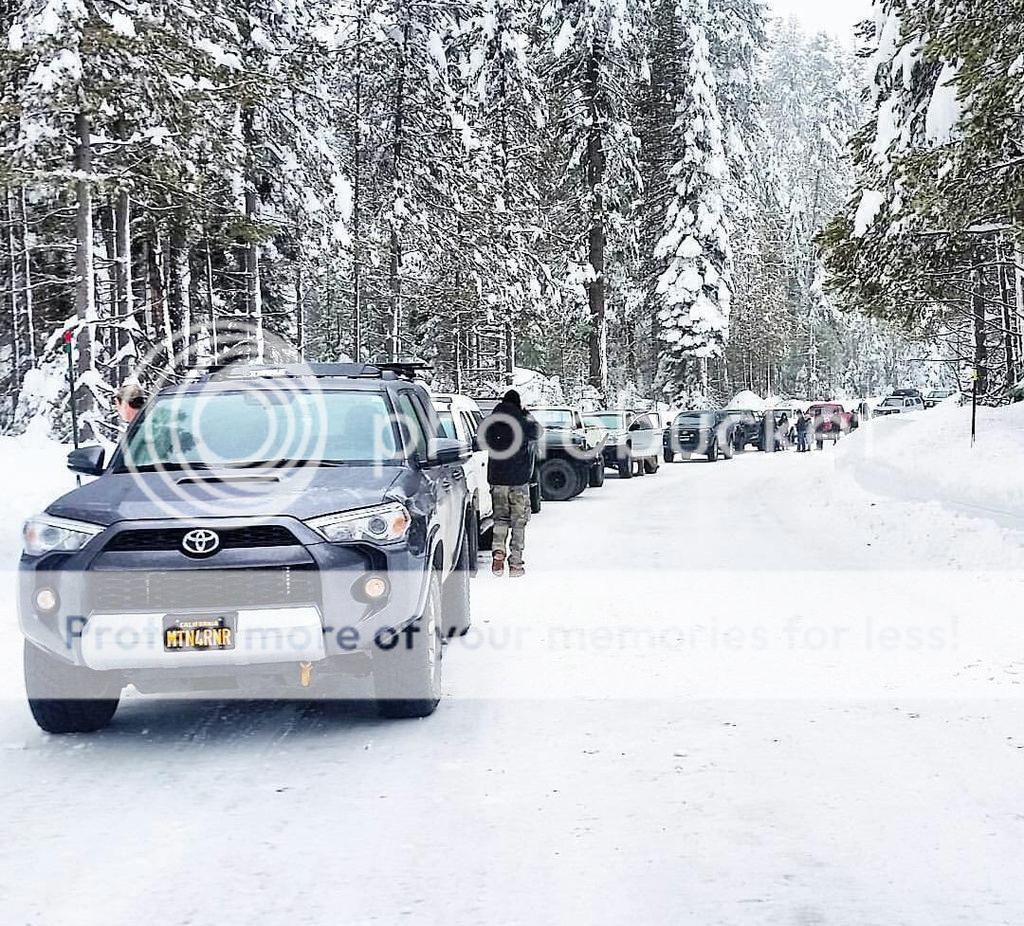
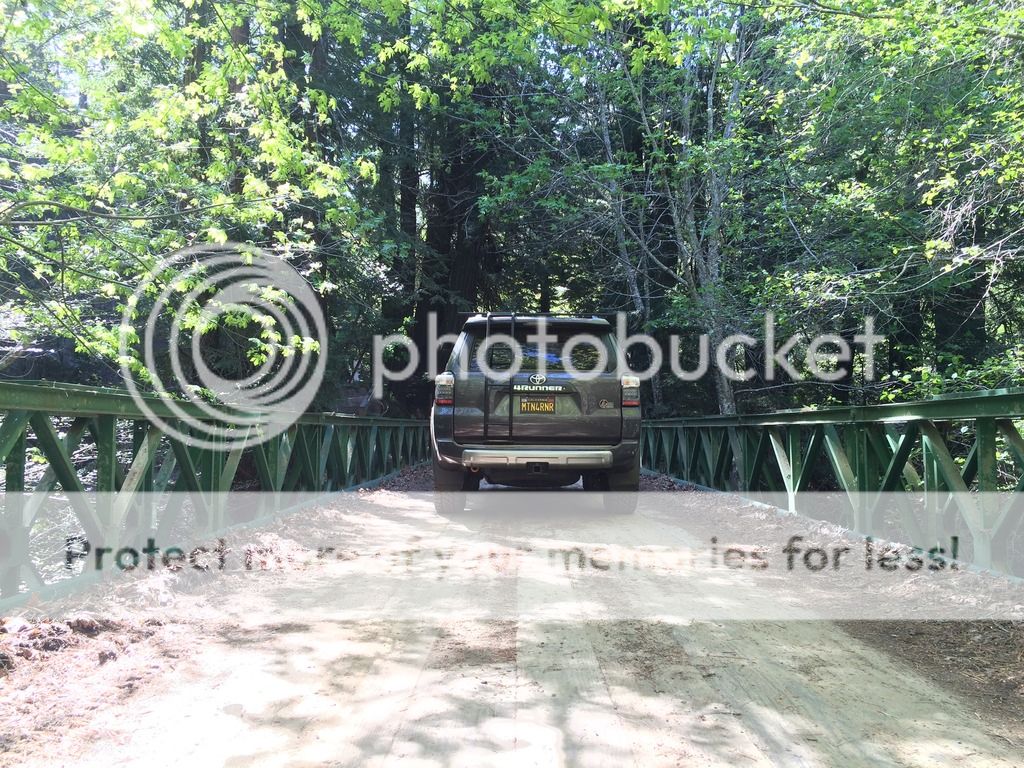
I installed them last week and spent some time in the mountains over the weekend to test them out. In the rain and snow I encountered, the new bulbs put out enough light to make lane markers and the road easier to see. Much better than not having them on, and still better than the stock halogens. I will say that they are not as yellow as some of the guys running the yellow film on the stock fogs, but I think that the light delivered is better than a more pure yellow light. Function over form. I am pleased with the improved output of the stock fog housings with the upgraded LEDs. If I end up wanting or needing more light, I can add an amber LED light behind the lower grill for when visibility is very low.
Thanks to Steve at Xenon Depot for the product assistance.
More to come…
Yellow plastic film over the diodes. The bulb has a nice heavy feel to it and seems to be made with quality in mind.
Driver’s side
Fog lamp from below. In order to remove the bulb, you need to unplug the harness from the bulb to clear the plastic “stopper” piece on the housing. Turns counter clock-wise to remove
Harness un-hooked to clear the bulb.
Old vs. new. The new bulb is larger, but will fit. You will need to come in as straight as possible to make it work well. The bulb is very well designed in that it clears the plastic “stopper” perfectly.
New LED installed. I used the supplied zip tie to tie the wires to the sheet metal in the top of the photo.
Passenger’s side
The passenger’s side has a plastic shroud surrounding the bulb. Same process, unclip the harness, turn the bulb counter clock-wise, remove.
New LED installed. The trick with getting this one in, because the bulb is larger, and the shroud is on, is to hold the outer part of the bulb, the metal base, between two fingers at a 90º angle. Hold it so the heat dissipator is facing down. Reach up and get the tip of the bulb into the housing hole. Then you can resituate to twist the bulb into the appropriate position. The bulb will line up at the 4 o’clock position, and will lock in in the 8 o’clock position. Patience is your friend with this one. I used the supplied zip tie to secure the wire to the stock washer fluid hose shown on the right of the photo.
DONE
Before and After
Low beam HIDs
Low beam HID’s with stock fogs
Low beam HID’s with Philips Yellow LEDs
Here’s a really nice change though. The side visibility from the new fogs is greatly increased.
Low beam HIDs
Low beam HID’s with Philips Yellow LEDs
Left fog stock. Right fog Philips Yellow LED
Left and right fogs Philips Yellow LEDs
Impressions
I installed them last week and spent some time in the mountains over the weekend to test them out. In the rain and snow I encountered, the new bulbs put out enough light to make lane markers and the road easier to see. Much better than not having them on, and still better than the stock halogens. I will say that they are not as yellow as some of the guys running the yellow film on the stock fogs, but I think that the light delivered is better than a more pure yellow light. Function over form. I am pleased with the improved output of the stock fog housings with the upgraded LEDs. If I end up wanting or needing more light, I can add an amber LED light behind the lower grill for when visibility is very low.
Thanks to Steve at Xenon Depot for the product assistance.
More to come…