Build Thread: 2001 Land Cruiser

  • HTML tutorial

stough77

Rank II

Advocate II

417
Greetings everyone. Here's my go at a very modest, but practical build thread. The vehicle is a 2001 Land Cruiser purchased with 144,500 on the odometer. There has only been one previous owner who took care of the truck almost as meticulously as I would have. It's been fun reading thru build threads on all types of vehicles and I have taken away a lot of valuable information for my LC already in just 4 short months of ownership.

No need to list the factory specs as they're everywhere, but as purchased the vehicle was completely stock. This is my 4th Toyota truck (90' p/u, 04' Tacoma 4x4, 07' Tacoma 4x4). The natural progression, with a family to consider, from truck to station wagon was easily justifiable. I'm kinda of a big Toyota fan for obvious reasons, but do appreciate all cars & trucks. The vehicle was purchased for mild overlanding, but with the hope to someday push the boundaries of what I know. Residing in Southern California we frequent Borrego and Ocotillo as well as Mojave and Death Valley.

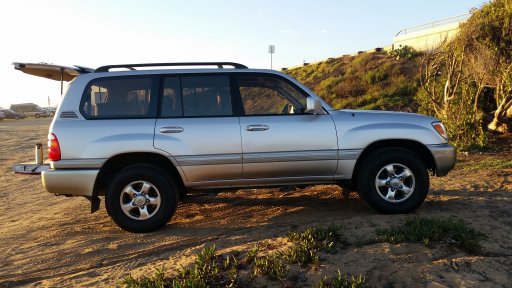
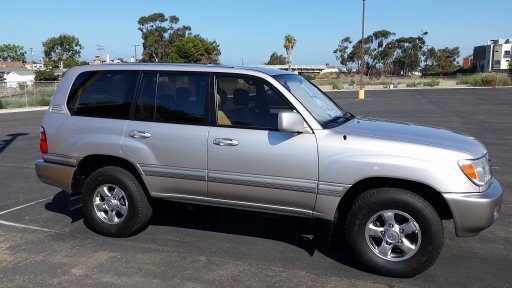
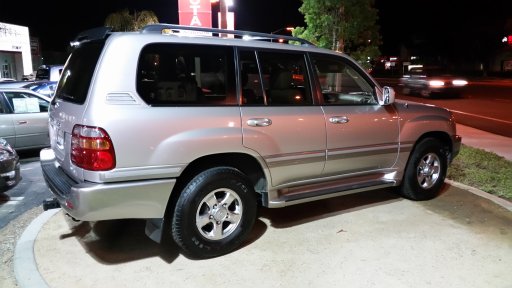
Here is a picture of the LC the night I went to check it out. It was purchased the following day:
20150921_213556.jpg
 
Last edited:

stough77

Rank II

Advocate II

417
The first and to me most obvious modification was to remove the running boards. They did serve a purpose and certainly saved the paint on the doors. To keep the paint preserved I purchased factory front mud guards ($115 for mud guards and hardware). I'm all for a little desert pin striping, but If I can protect the paint and body, I will. Here's a picture with the running boards removed and mud guards installed:20151009_175749.jpg
 
  • Like
Reactions: NorthStar96

Tim

Rank VI
Launch Member

Influencer II

4,750
Oxford, UK
First Name
Tim
Last Name
Lunn
Member #

0671

Nice rig! I think companies like 3M do a clear paint protection film that helps too.
 
  • Like
Reactions: stough77

WCO_Ryan

Rank V
Launch Member

Pathfinder I

2,741
Napa ca
First Name
Ryan
Last Name
Hackett
Member #

0914

Great looking rig! just starting doing some minor upgrades to mine. looking forward to seeing your progress!!
 
  • Like
Reactions: stough77

stough77

Rank II

Advocate II

417
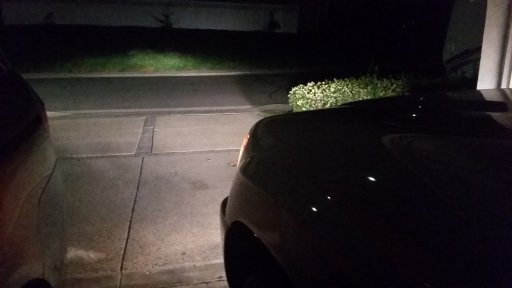
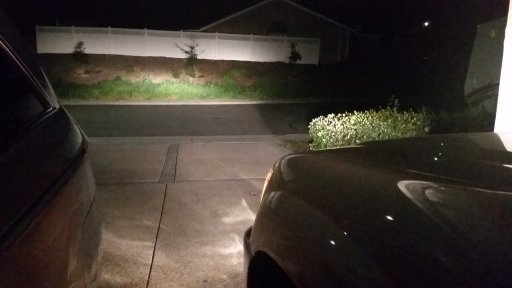
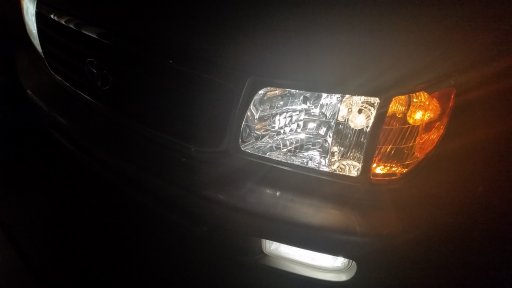
Mod #2 was also simple; swapping out the stock low beam and fog lights for some Philips Crystal Vision Ultra's. Cost was $16.29 for a pair, at that price I decided to buy two pairs (the 9006 bulb works for the fogs and the low beams). By comparison my nearest Pep Boys were selling the same pair of bulbs for $49.99... Amazon can be hard to compete with most of the time. In past vehicles I have used higher wattage PIAA and Hella bulbs, but for the price they just didn't last long enough. Taking my brother's recommendation the LC got the more economical bulbs and I am happy with the upgrade. I haven't tested them off highway but I'm confident they'll work great. A future project related to the lighting will certainly be polishing the fog lamp lenses.

Lows & fogs
lights.jpg

High (stock high beam bulb, Philips low beam)
Lights high beam.jpg

Front
Lights front.jpg
 
Last edited:
  • Like
Reactions: Tim

WCO_Ryan

Rank V
Launch Member

Pathfinder I

2,741
Napa ca
First Name
Ryan
Last Name
Hackett
Member #

0914

Looks great! Off to amazon to find my own :)

Sent from my SM-G925V using Tapatalk
 

stough77

Rank II

Advocate II

417
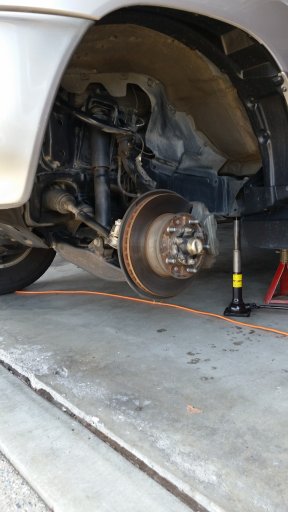
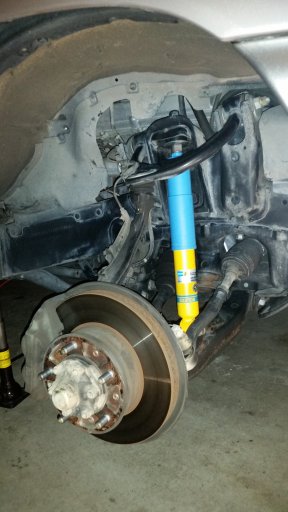
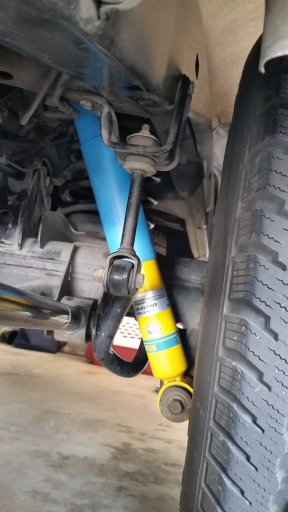
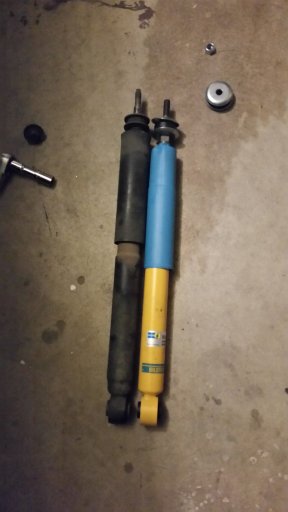
Mod #3: Shocks. The stock Tokicos which were most certainly the original shocks actually performed acceptional for their age, but they were well beyond their service life and some replacements were in order. A full suspension package is the obvious choice, but on a budget I opted for the Bilstein 4600 series (part #24-027397 (Front) #24-027403(Rear)). Cost was roughly $120 each with shipping (rears were just a little more). Well below any ORW or 4 Wheel Parts stores nearby who all quoted $160 without tax (again, Amazon comes out on top). The stock springs will have to do for now and for my usage they still feel adequate. First impressions were that the LC actually felt like a truck instead of a grocery getter. It stiffened up nicely and body roll was dramatically reduced. The sway bar bushings front and back are still in the "to do" list, but I'm certain once those are complete it will compliment the new shocks well. One interesting thing I discovered was that the Bilsteins were just slightly shorter than the Tokicos.. The side by side picture of the rear kind of illustrates the discovery, although I didn't get out the measuring tape - it seemed nominal...

Front Shock stock.jpg Front Shock installed 2.jpg Rear Shocks.jpg Rear shock length difference.jpg
 
  • Like
Reactions: Tim

stough77

Rank II

Advocate II

417
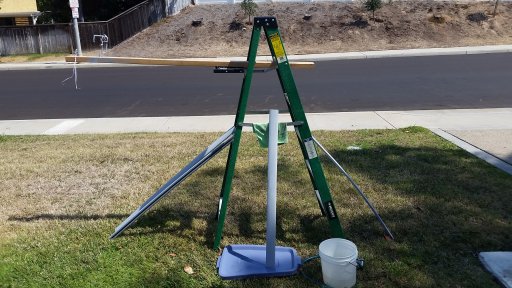
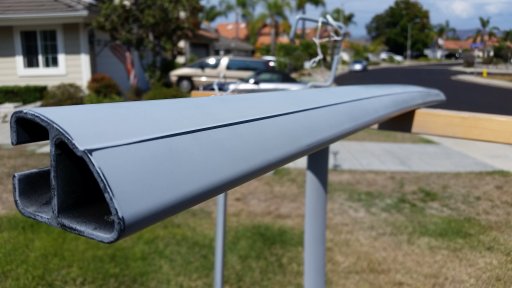
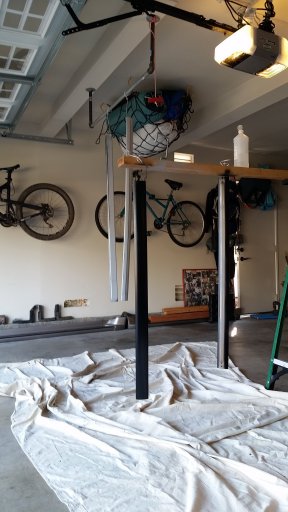
Been light on the mods for a while but I finally got around to removing the factory roof rack in order to re-paint it. Popping the plastic covers off of each of the 4 corners was a bit of a concern as I wasn't sure if they were brittle or not, but it turns out they were in perfect condition just oxidized. Once they popped out I used a T40 Torx bit to unscrew the 8 screws in the roof. Next I disassembled the crossbars and rails from the plastic footings and rail slides (T15 & T20 Bits), and sanded and primed the metal. Once the primer had fully dried I gave the metal some more TLC in the sanding department and then got to painting in my paint booth - aka garage. I plan on painting the plastic covers but need an adhesion promoter first. Looking forward to seeing the finished product. The truck does look clean without the rack and spoiler - very much like the 100 series trucks you see on two wheels in the middle east!
20160816_093343.jpg20160821_143206.jpg 20160821_150805.jpg20160821_162944.jpg
 
  • Like
Reactions: WCO_Ryan

WCO_Ryan

Rank V
Launch Member

Pathfinder I

2,741
Napa ca
First Name
Ryan
Last Name
Hackett
Member #

0914

would it be possible to get a pic of the roof where the front mount bolts on? trying to figure out where to run the wiring for my lights. Thanks!!