
Enthusiast III
Enthusiast III
BOOM!

Enthusiast III
Enthusiast III
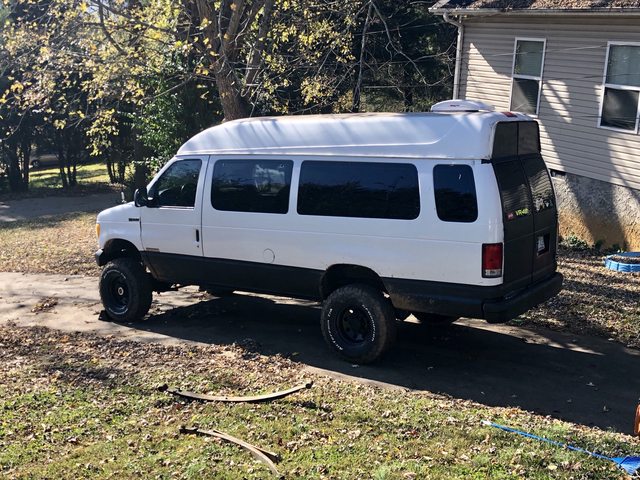
Dig it man, one of my favorite builds so far. I’m a sucker for vans. Hoping to pick up one in the next few months.

Enthusiast III
Holly. $hit. That’s legit!
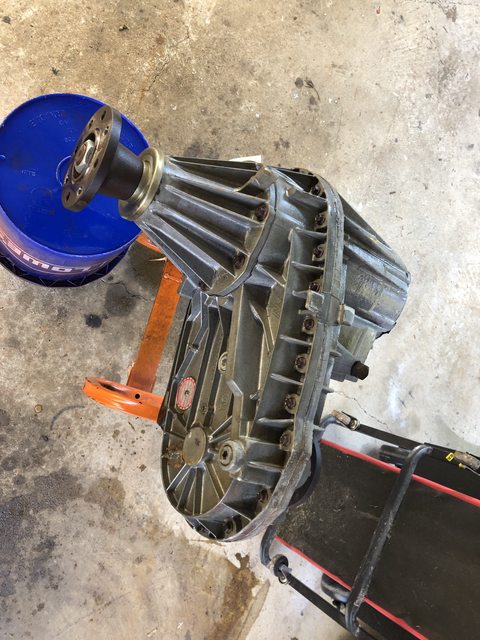
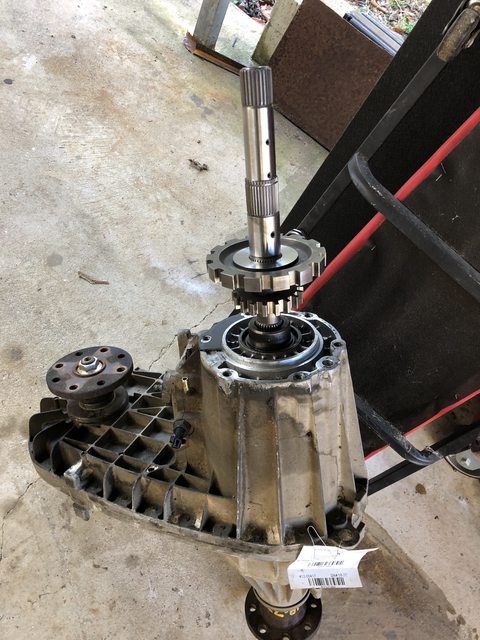
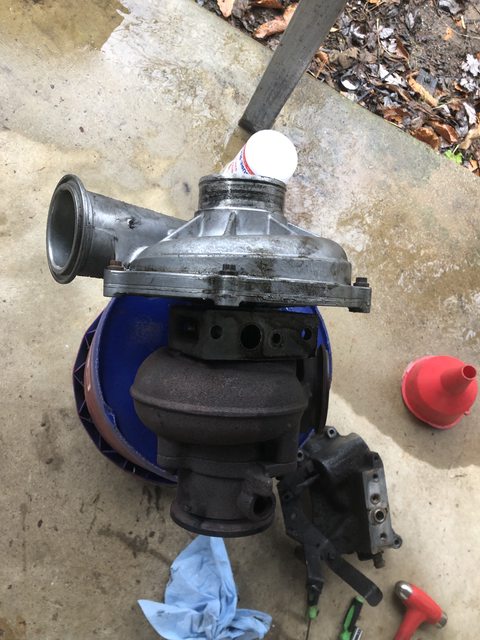
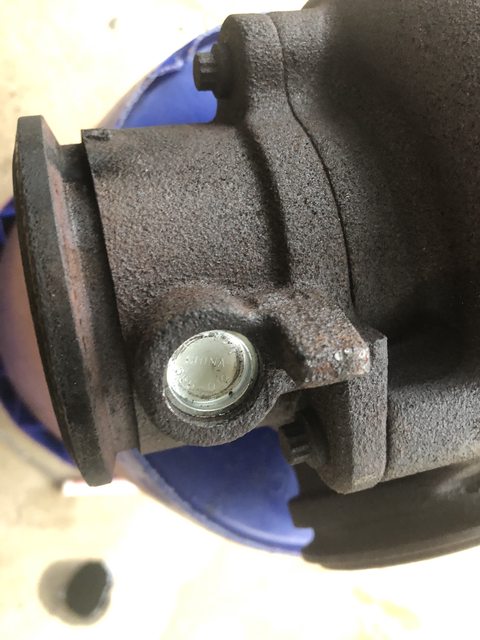
So what did you use for your 4x4 components? I may have missed it in earlier threads... such as front diff and axles... etc..? Looking amazing man!
Enthusiast III
Nice mate. Can’t wait for more updates. Definitely a ton of work but so satisfactory when you complete something on the giant to do list. Ujoint definitely makes some nice parts but damn expensive. I’m seeing the 4” kit is like 7k! Or is that for them to install it!?
Enthusiast III
Enthusiast III
Enthusiast III
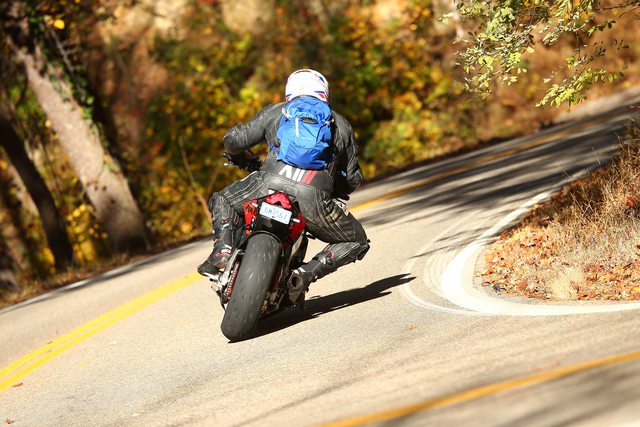
Gonna be a beast once the rear is up loving the Aprilia!
Enthusiast III

Enthusiast III


Traveler III
7082
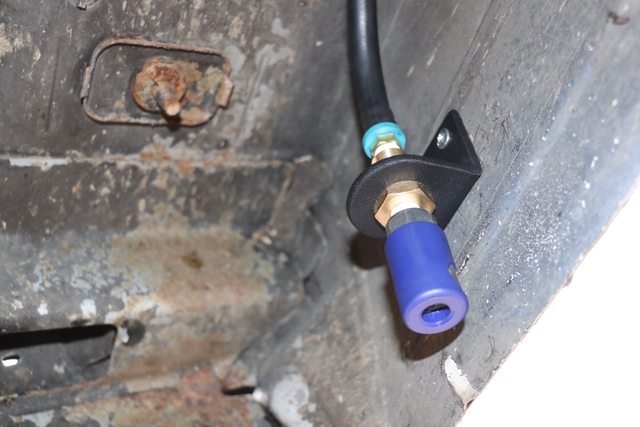
How'd you do that DIY sPOD? I'm looking at alternatives that are easier on the pocket book. Closest thing I've found was from Painless Performance but I'd have to add in the switch panel. Blue Sea also has a fuse block that is desirable but I'd have to add in the switches and relays.I'm guessing that the pressure switch is built in the compressor......
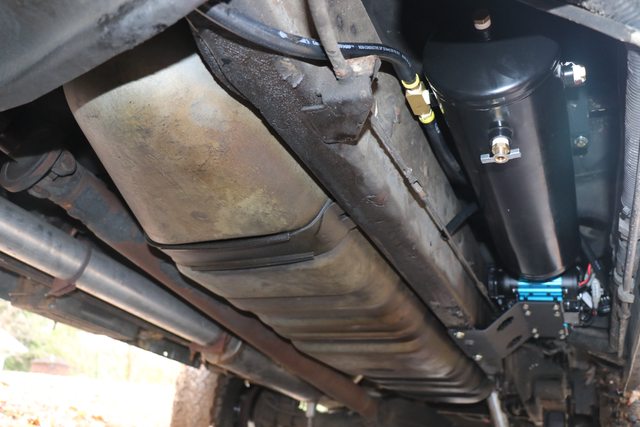
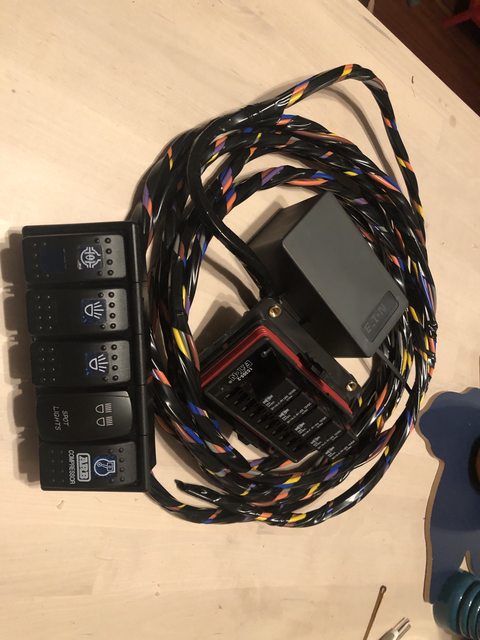
Also, I built a DIY sPOD system.
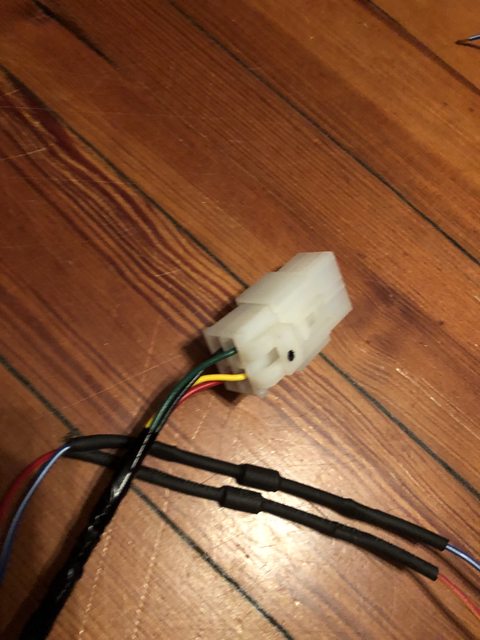
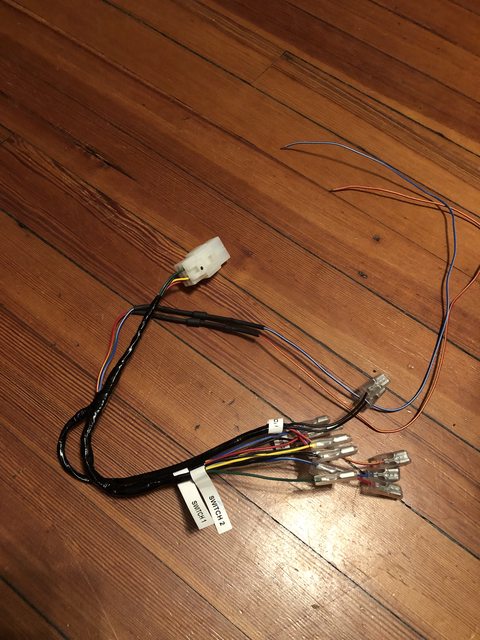
The switch harness for the ARB compressor is crazy. It's a 4 wire plug and all this crap comes out of it:
Since I'm only doing a rear locker, and my own spod, I don't need it.
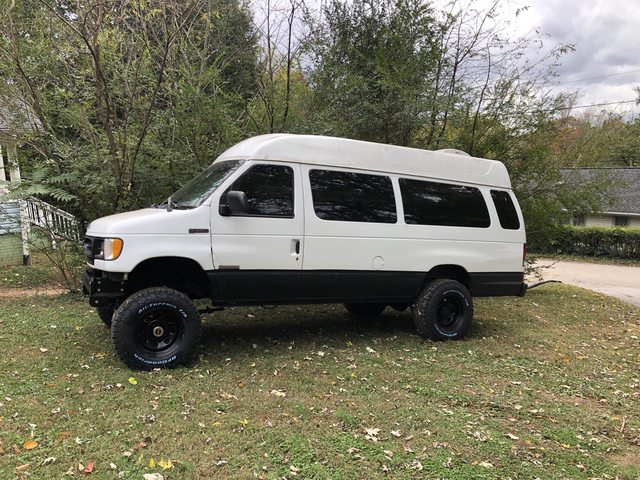
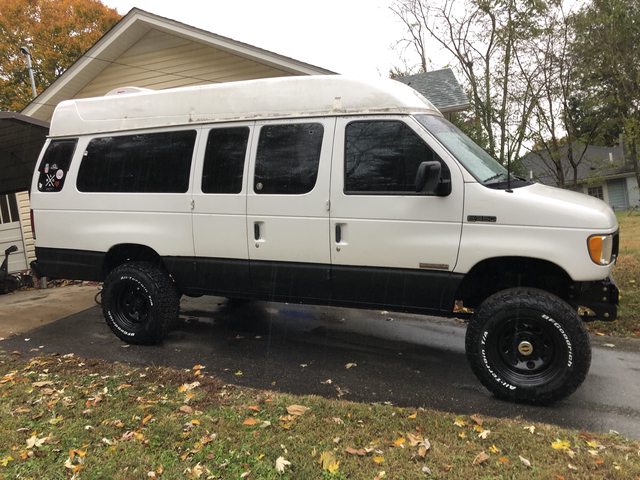
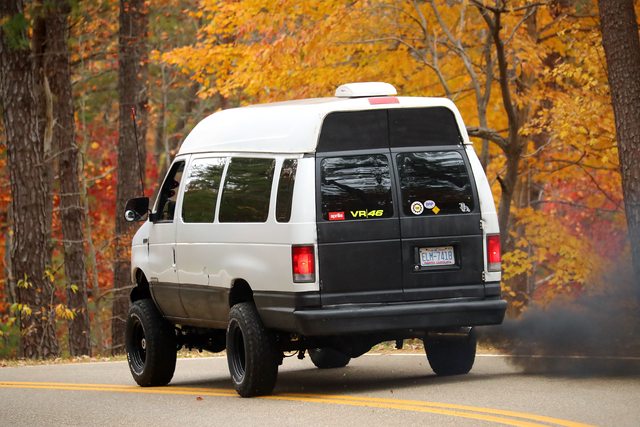
Late night taco run:
Enthusiast III
How'd you do that DIY sPOD? I'm looking at alternatives that are easier on the pocket book. Closest thing I've found was from Painless Performance but I'd have to add in the switch panel. Blue Sea also has a fuse block that is desirable but I'd have to add in the switches and relays.
Enthusiast III


Influencer II


