Well the Recovery Gear Box is finished and installed. It was a fairly easy build with lots of screws and glue used. I opted for 3/4 inch plywood on the outer box so it was strong enough to hold water containers and other stuff on top without flexing.
View attachment 142165 View attachment 142164
After dry fitting and sizing to ensure a proper fit next to the fridge slide, I glued and screwed it together. I left the top undone so I could work on the interior easier when mounting the drawer glides which I bottom mounted. I then started on the actual drawer which was mostly 1/2 inch plywood with the front and back panels made of 3/4 inch ply. Next was aligning and fastening it to the glides.
View attachment 142167 View attachment 142168 View attachment 142169
After testing the weight load, it was fasting eye-bolts to three sides for to the turn buckles to anchor to. It's good not to have a large box bounce around when on the trails.

Next is was wrapping the box in carpet for sound proofing along with the drawer floor.
View attachment 142170 View attachment 142171 View attachment 142172
To finish it up, I added the front drawer face, rope handle and top railing to stop any side sliding. Once this was complete, it was off to the rig for the install.
View attachment 142173 View attachment 142174 View attachment 142175
After a test drive to make sure all was good, I did add a latch so the drawer didn't open going up hills.
View attachment 142264
And now..... this project is officially Done.


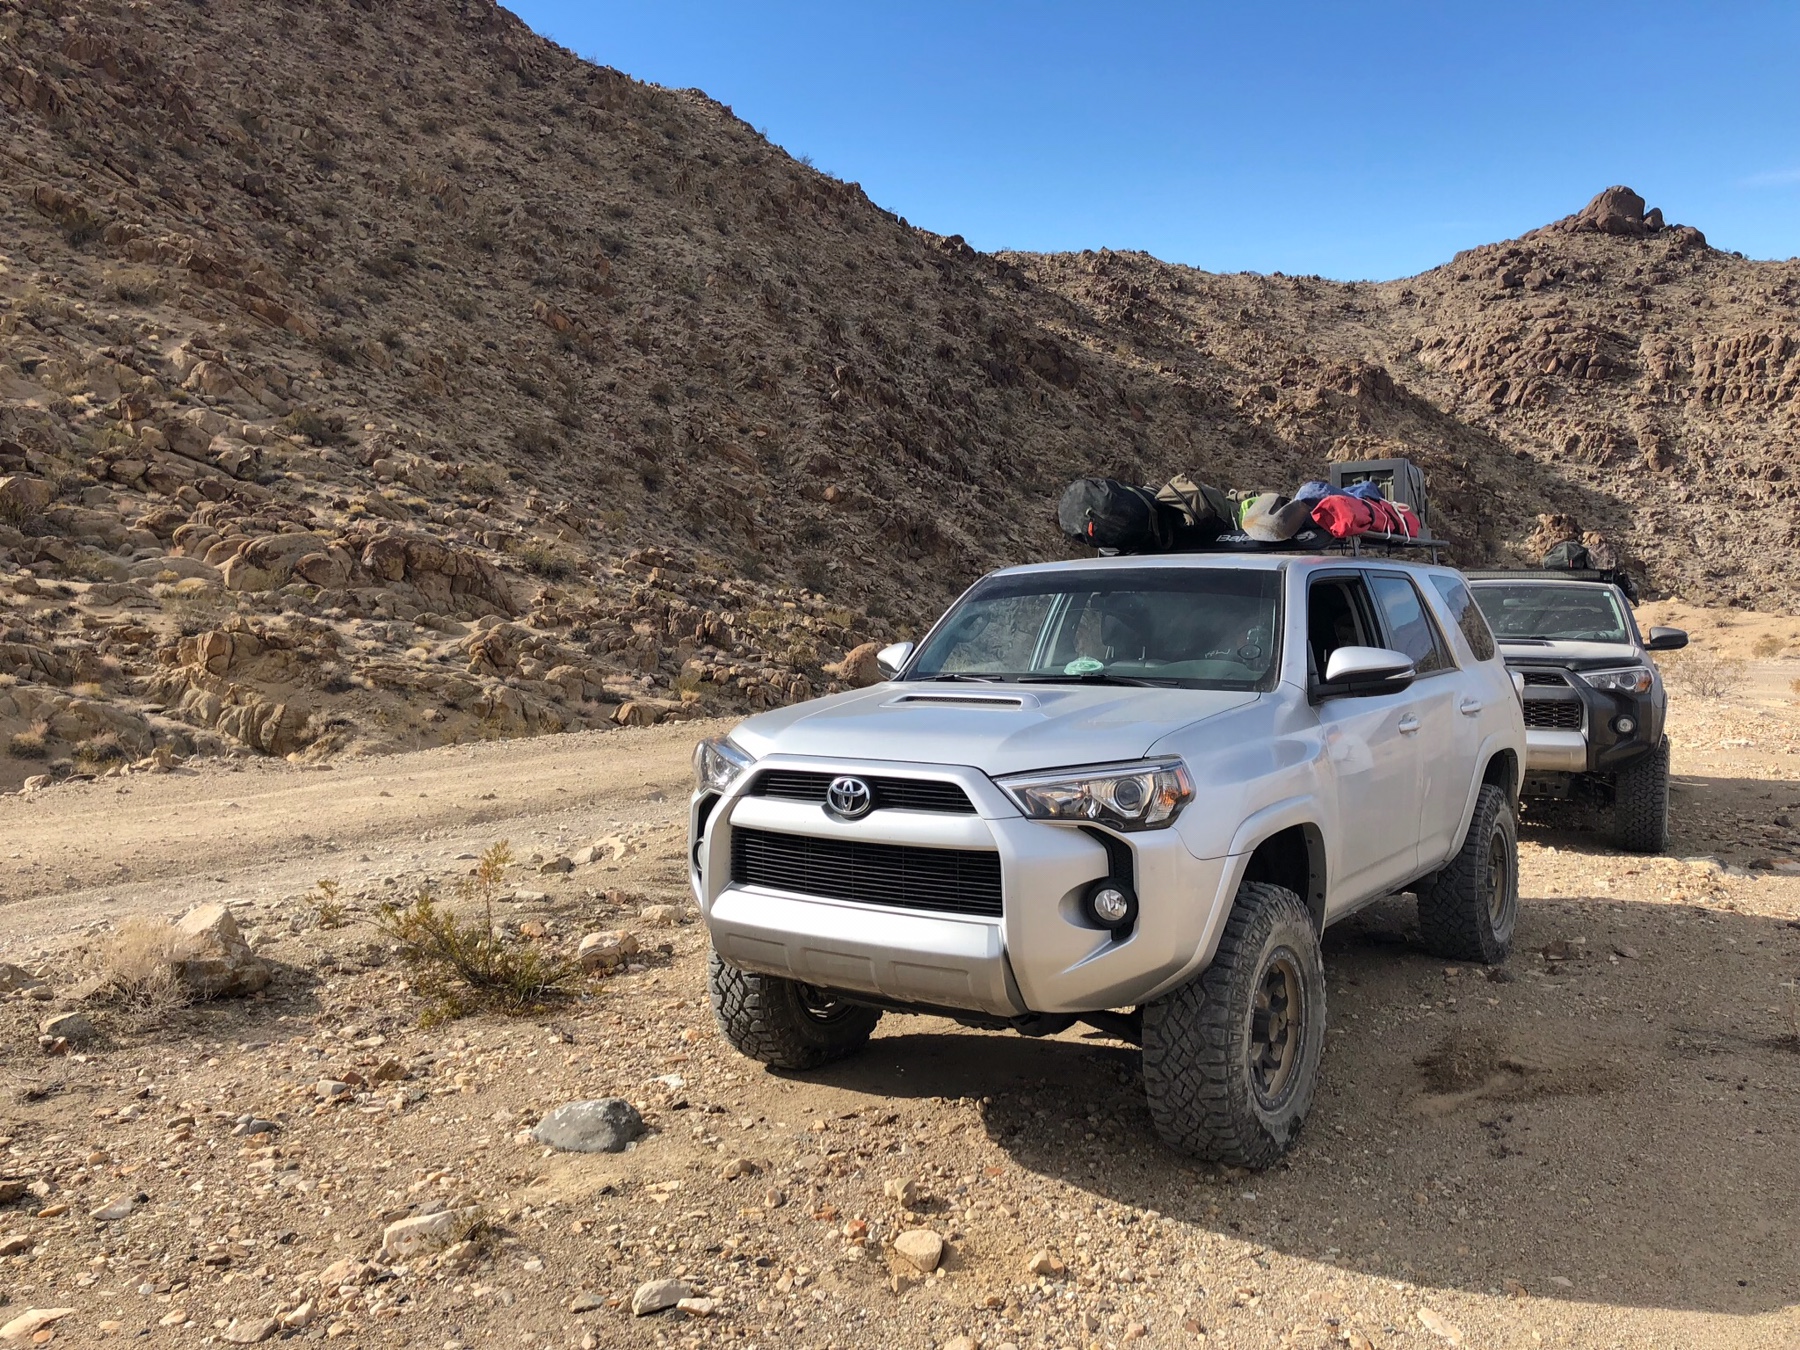


![20200229_095232[8924].jpg](https://www.overlandbound.com/forums/data/attachments/142/142295-20a9ebd27c1b2ed312e2618a65ac58eb.jpg "20200229_095232[8924].jpg")


