The green beast has been with us awhile. Couldn't just completely dump it. Silly sentimental stuff. My kids love the bronco. Lots of good memories and some bad. It did get me to the hospital in time to hear my middle Son's heart beat for the last time and as silly as it may seem to some that has earned it a lot more willingness from me to keep it around in one form or another. We thought about just buying a dodge power wagon. Figured it would handle both our towing and exploration needs. But I wouldn't know what to do with something that nice driving between pine trees. I'd feel bad scratching up a $60,000+ rig.
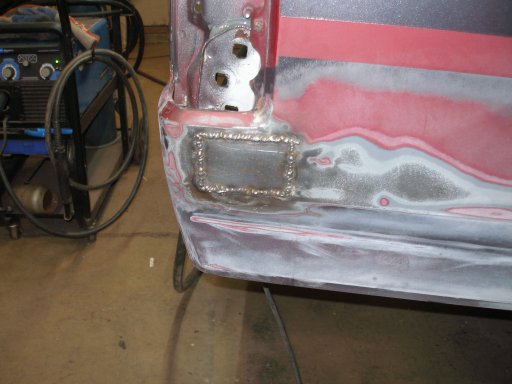
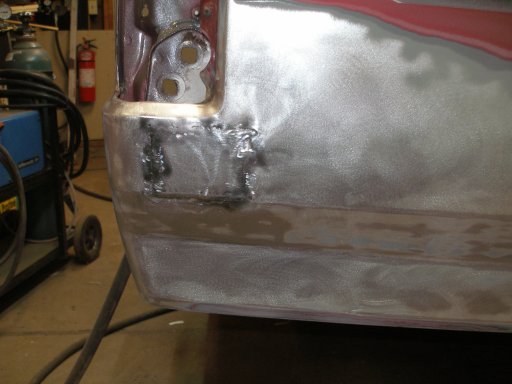
Up here I wish they just used sand still. They started using salt with some other chemicals in it. And the darn stuff destroys cars if you don't keep it cleaned off. It's usually the thinner metal that gets is the worst. Frames normally hold up ok. it just sucks when you have to take suspension parts apart.
I plan to support the floor plates of the roll cage under the body and to the frame. Just haven't done it yet. I probably overthink the roll cage but it has been time consuming to get strength and still leave room to move in and out.
The engine is a 302. Full roller cam and rockers. Torrington bearings on cam plate, flat top pistons, full arp studs for head and mains, bored out a little, fully balanced, oil galley enlarged, If i remember correctly the valves are 2.02 and 1.6, ported and polished, and milled down a little for more compression. With a mild cam it makes about 375 hp. engine was built to handle around 550 hp and then tuned down the cam and intake. The old girl is smooth up to 8500 rpm and likes it.
I had an F-150 with the 300 6 in it. Always liked that engine. It wasn't fast but in never struggled to pull. Wanted to go through it and add a turbo and put it in my current F-250. But for some reason my accountant shot that idea down.