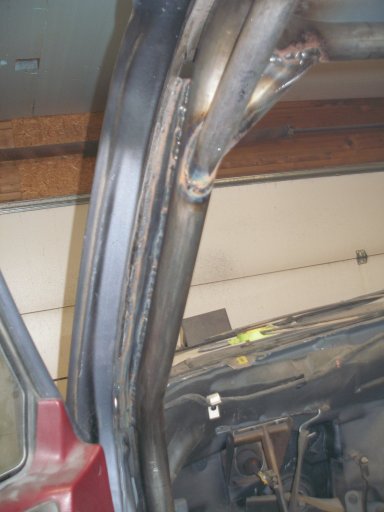
Managed to get a little more done on the cage. I connected the A pillar of the body to the A pillar of the cage.


I Also added some smaller diameter tubing for front gussets. I went smaller to keep it from getting in the way of climbing in and out.
I've been considering adding a corner gusset in the upper portion and then building some brackets or a shelf across the top in front to mount the visors in.


I Also added some smaller diameter tubing for front gussets. I went smaller to keep it from getting in the way of climbing in and out.
I've been considering adding a corner gusset in the upper portion and then building some brackets or a shelf across the top in front to mount the visors in.