1984 Ford Bronco Project

  • HTML tutorial

Enthusiast II

1,250
Hartford, SD
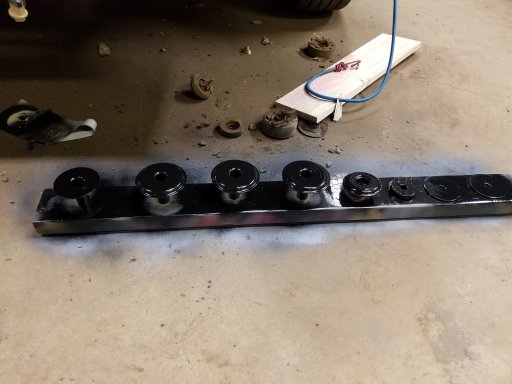
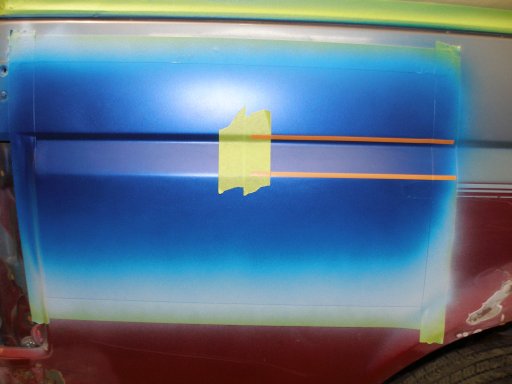
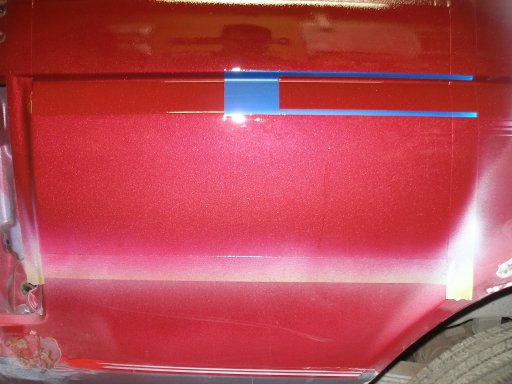
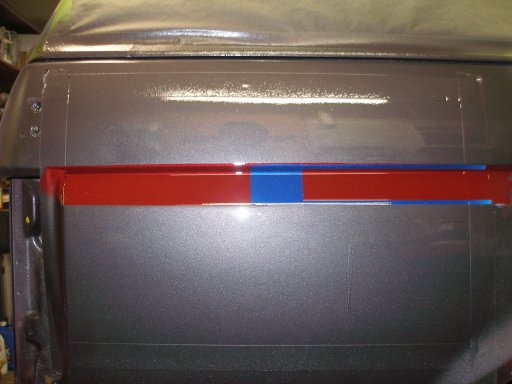
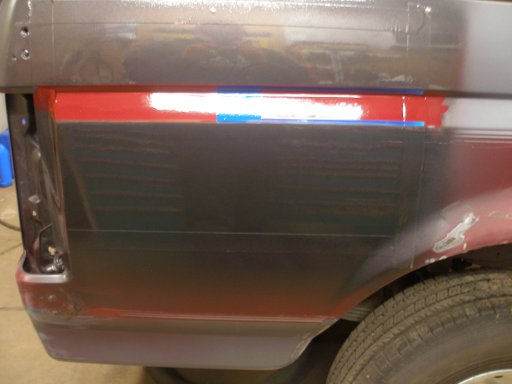
Managed to get the 2 coats of sound deadener down a few days ago. Had to let it dry completely and sprayed the ceramic insulation layer in the back today.

20180913_204359.jpg

20180916_115951.jpg

20180916_115956.jpg
Turned out pretty good. The tin can sound is completely gone. More of a dull thud when you bang on the metal from the other side. So when we get the carpet and everything back in it should be much quieter.
 
  • Like
Reactions: JCWages and Stoked

Enthusiast II

1,250
Hartford, SD
Turns out I have 3 rusted off body mount bolts. So I now have bolts and new body mount bushings ordered. Oh well. I have a few broken seat bolts to remove as well. Hopefully I'll be able to weld nuts on the bolts and work them out.
 

Enthusiast II

1,250
Hartford, SD
Haven't done much on it lately been taking care of some stuff around the house and doing some hunting.

I did get some work done on replacing the body mount bushings with some from energy suspension.
20180928_194157.jpg

I started putting them together only to remember I planed to paint the hardware.

20180929_124051.jpg

I ordered some replacement hardware as well from LMC truck. I primed them with some rattle can primer and painted them all black.

20180929_151006.jpg

Turned out pretty good for spray can work.

20180929_152550.jpg

I have them all installed and torqued down. I have so small spots to fix on the top rear of the body and another small spot and it will hopefully be time to start on the roll cage.
 

Attachments

  • Like
Reactions: JCWages and Jimmy P

Overland California

Rank V
Launch Member

Influencer II

2,335
San Jose, California
Member #

11850

Haven't done much on it lately been taking care of some stuff around the house and doing some hunting.

I did get some work done on replacing the body mount bushings with some from energy suspension.
View attachment 79275

I started putting them together only to remember I planed to paint the hardware.

View attachment 79278

I ordered some replacement hardware as well from LMC truck. I primed them with some rattle can primer and painted them all black.

View attachment 79276

Turned out pretty good for spray can work.

View attachment 79277

I have them all installed and torqued down. I have so small spots to fix on the top rear of the body and another small spot and it will hopefully be time to start on the roll cage.
Looks good! How much did all of that body mount hardware from LMC run you? I couldn't get their catalog to work for me when I was shopping around for new mount hardware.
 

Enthusiast II

1,250
Hartford, SD
Looks good! How much did all of that body mount hardware from LMC run you? I couldn't get their catalog to work for me when I was shopping around for new mount hardware.
I can look but I believe a little over $230. Not cheep but better than trying to clean up my nasty falling apart stuff. If you get it I'd skip the bolts for the middle 3 mounts all they send is some grade 8 regular bolts you can buy at any hardware store. But the ones for the core support and rear mounts are the factory style ones. Also I used energy suspension mounts that I ordered through work.
 
Last edited:
  • Like
Reactions: Overland California

Enthusiast II

1,250
Hartford, SD
The top corners before the fiberglass top are prone to cracking over time on these. Turns out I have some to repair on the drivers side and a least a small rust spot to repair on the passengers side.

P1010003.JPG

Rust on the Passenger side. When I pulled to top back I found a crack in the seam which is likely the cause here.

P1010010.JPG

Also found a crack in the door jam.

P1010020.JPG
 

Attachments

Last edited:
  • Like
Reactions: Jimmy P

Enthusiast II

1,250
Hartford, SD
The drivers side is worse and looks to have been replaced at one point.

P1010006.JPG

When I took the top off you could see that the previous replacement panel wasn't fitted the best.

P1019896.JPG

Rust on the back side. I cut an access panel on the inside.

P1010029.JPG

I was told once that to stop cracks like this you need to drill a hole at the ends of the crack before you weld them up. I'ts supposed to help stop the crack. I guess we'll see.

P1019900.JPG

Then I cleaned up the area and tried to flatten it out a bit. I also got rid of the lip that was catching derbies and moisture between the cab and the top.

P1019903.JPG

Then it was time for a series of spot welds to hold it all together.

P1019905.JPG

P1019906.JPG

Next I'll have to smooth it out. Also I plan to clean up from the backside and reinforce it a little perhaps.
 

Enthusiast II

1,250
Hartford, SD
You can barley see them but there is a small crack just above the seam. Unfortuanatly I may have to replace a small section to get rid of the rust on this side.

P1019895.JPG

I cut another access hole on the passenger side. so I could get in and clean it all up and then reinforce it.

P1010030.JPG

Cleaned the paint off around the crack in the door jam and drilled the hole. I also started cleaning up the rusty spot. Might have to grind a little.

P1019899.JPG
 
  • Like
Reactions: Jimmy P

Enthusiast II

1,250
Hartford, SD
I had brought home some paint to do some spray outs of the paint ideas we had. So I decided to test in on the quarter panel so we could see it more full size.
This is the factory colors.
P1010002.JPG

Taped, sanded and primed.

P1010019.JPG

We picked the main color we wanted. but I wanted to try some ideas for a stripe down the body line. Originally we thought just the dark grey and red for the stripe. But my daughter wondered what it would look like with some blue too.

So the experiment begins. First a coat of the blue metallic.

P1010024.JPG

Added some tape for the blue test.

P1010031.JPG

And now the red.

P1010034.JPG

Removed the tape. And let it dry so I could tape the body line off and spray the grey.

P1010037.JPG

The grey sprayed on.

P1010039.JPG

P1010042.JPG

Tape removed and now for some clear coat.

P1010043.JPG P1010044.JPG

P1010045.JPG
Dried and tape removed.

P1010046.JPG

My daughter wanted the blue so her little brother has a color on the bronco too. I like her idea but not sure I like the way it looks. Both the wife and I think the grey and red looks better than the one with the blue. So I might have to come up with another way to include something for her little brother.
 

Attachments

Enthusiast II

1,250
Hartford, SD
Finally got a little more time in the garage. I made some reinforcement pieces to put in the B pillars. I thought I had some photos of them when I was making them but Apparently not.
P1019914.JPG

That is the divers side. They are welded to 3 sides of each panel so it should be less likely to crack again.

After the drivers side fought me a bit on getting it to fit flush. I did the passenger side in 2 pieces. I welded the one side on after I had the main piece in place.

P1019910.JPG

It worked out much better that way. Unfortunately I didn't notice I welded too much at once or had the welder up too high. It definitely had good penetration.

P1019912.JPG

P1019909.JPG

I have some work to do to smooth that out again. Oh well. I also found some problems with the drip rail that I'm debating on how to fix. A hot rod building friend says to just cut them off and smooth it out. Not sure if I want to do that. But it's going to be about -20 tomorrow and -30 the next so I'm turning the heat off in the garage for a few days. Should be able to make a decision by then.
 
  • Like
Reactions: Jimmy P

Enthusiast II

1,250
Hartford, SD
Got a little more work done this week. Decided to just cut the drip rails off and figure something out. Drivers side cut off and the seem welded up.

P1019895 (2).JPG

So I ended up with a big gap at the top of the door so I picked up some metal rod and positioned it to fill the gap. I kept it out a little farther than the door to keep a little bit of an edge.

P1019899 (2).JPG

With the rod all welded it. It went pretty smooth for a first try. Took some time but no major problems.

P1019902 (2).JPG

And finally after some grinding and sanding I have it mostly smoothed out. I'll have to do some fine tuning after primer but not too bad.

P1019906 (2).JPG

P1019907 (2).JPG
 
  • Like
Reactions: Jimmy P

Enthusiast II

1,250
Hartford, SD
And the passenger side went a lot quicker. Cut off and seam welded and ground down.

P1019908 (2).JPG

Rod welded it and smoothed out.

P1019910 (2).JPG

And a couple after some sanding.

P1019918.JPG

P1019919.JPG

All in all it was a fun modification that really served no purpose other than to remove some rust. Now I guess it's time to get back to replacing a little bit of rusty structural metal in the back.
 
  • Like
Reactions: Jimmy P

Enthusiast II

1,250
Hartford, SD
Started repairing some more on the passenger rear corner below the tailgate.

P1010001.JPG

Removing some metal looking for the solid stuff.

P1019915.JPG

Had to cut away another layer of metal.

P1019917.JPG

Finally seems I made it to solid metal. I started cleaning things up but this is as far as I got that night. It was time to put kids to bed.
 
  • Like
Reactions: Camp_Llama

AmericaMike

Rank V
Launch Member

Enthusiast III

1,798
Iowa
Member #

13695

Keep it up. I had to replace and fix everything on my truck except the firewall. It’s so worth it in the end.
 

Enthusiast II

1,250
Hartford, SD
I got the rust cut out of the rear corner removed and cleaned up. I then sprayed it with weld thru primer since I won't be able to completely access the back side.

P1019895.JPG

The replacement piece all cut to fit. Sure am glad a picked up a plasma cutter a couple years back.

P1019897.JPG

Clamped in place with the back side coated in seam sealer. And ready to weld in.

P1019899.JPG

First layer back in place.

P1019901.JPG

And prepped for the next layer of metal to go back in.

P1019904.JPG
 

Enthusiast II

1,250
Hartford, SD
The first 2 pieces of this section back in. I had to remove them to get access to the rusty metal behind them.

P1019906.JPG

Another replacement piece fitted and welded. I decided to put holes in the one side for access to push some seam sealer in.

P1019907.JPG

Cleaned up and ready.

P1019908.JPG

It looks like a mess but in is covered by the tailgate and rear bumper so no big deal. Now on to the rust around where the spare tire carrier bolts on.
P1019909.JPG