Building, Driving and Adventuring the MTN4RNR

  • HTML tutorial

MTN4RNR

Rank V
Launch Member

Advocate II

1,750
Bay Area, CA
Member #

0614

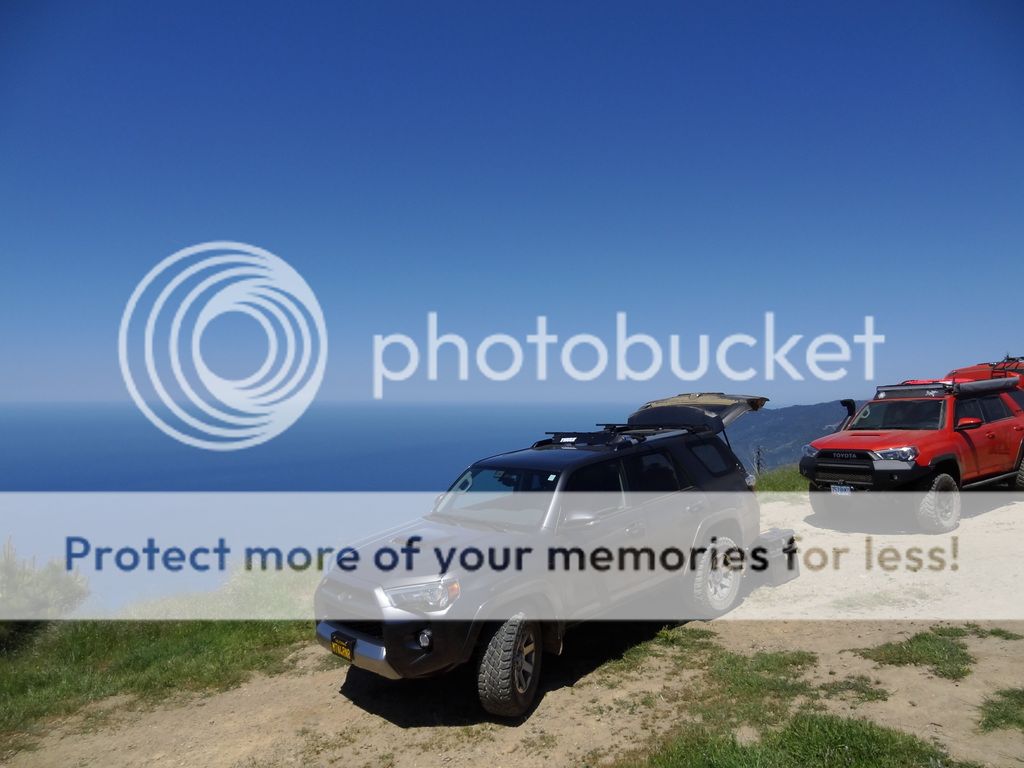
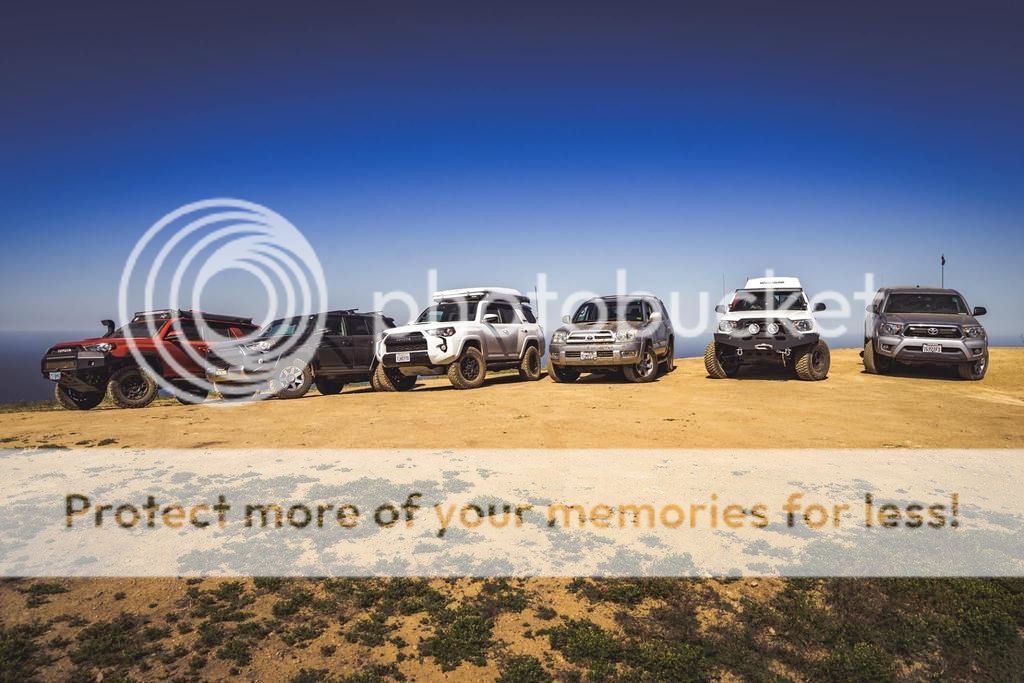
This weekend I went with v_man and jAndyMendo (Expo) to Hollister Hills SVRA in Hollister, CA. We wanted to have a fun day to cruise the trails, and see what our rigs were capable of. v_man has his very well built 1990 4Runner, and jAndyMendo with his 2014 Tacoma TRD OR. Both with sliders, lifts and bigger tires than my 4Runner, along with a whole lot more. But we were all in it for the same reason, a fun day on the dirt.

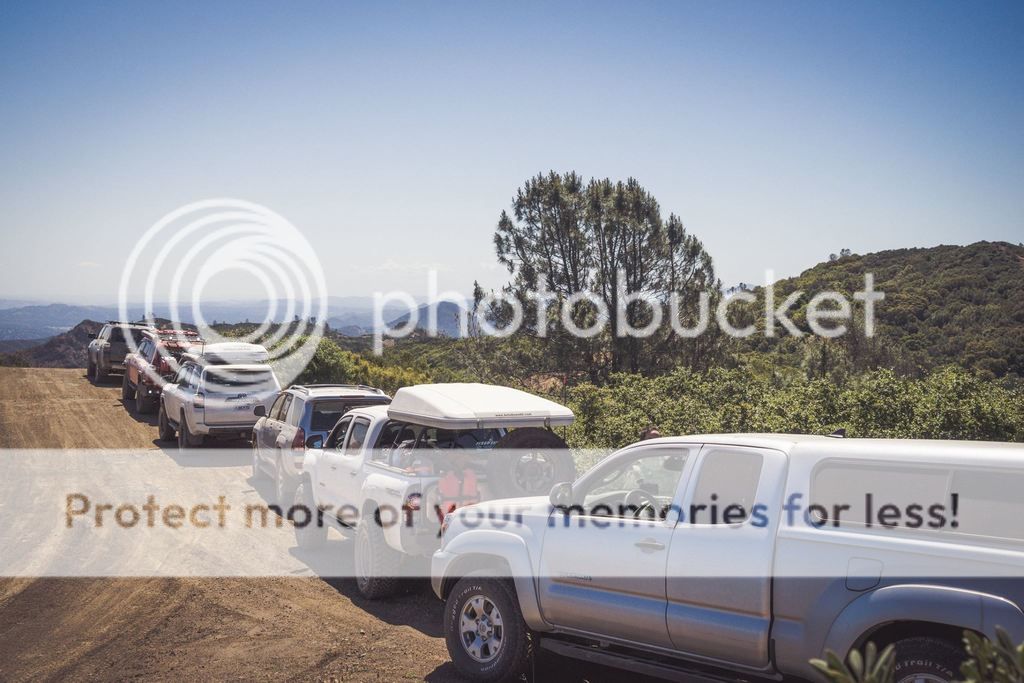
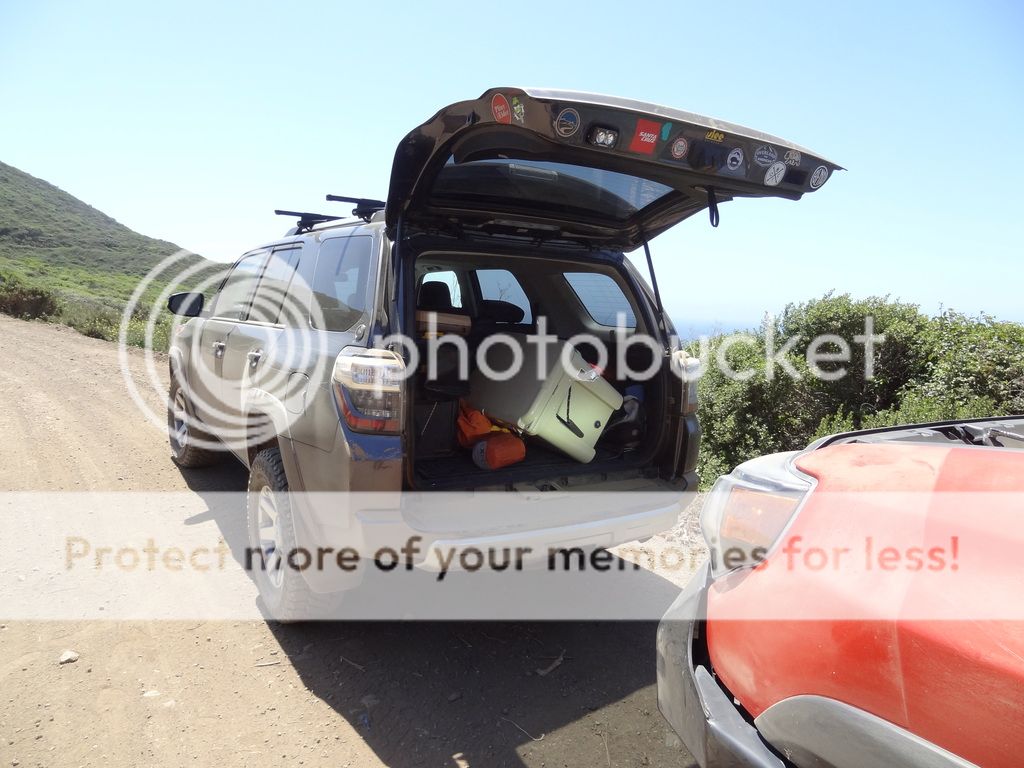
Air down at the gate.


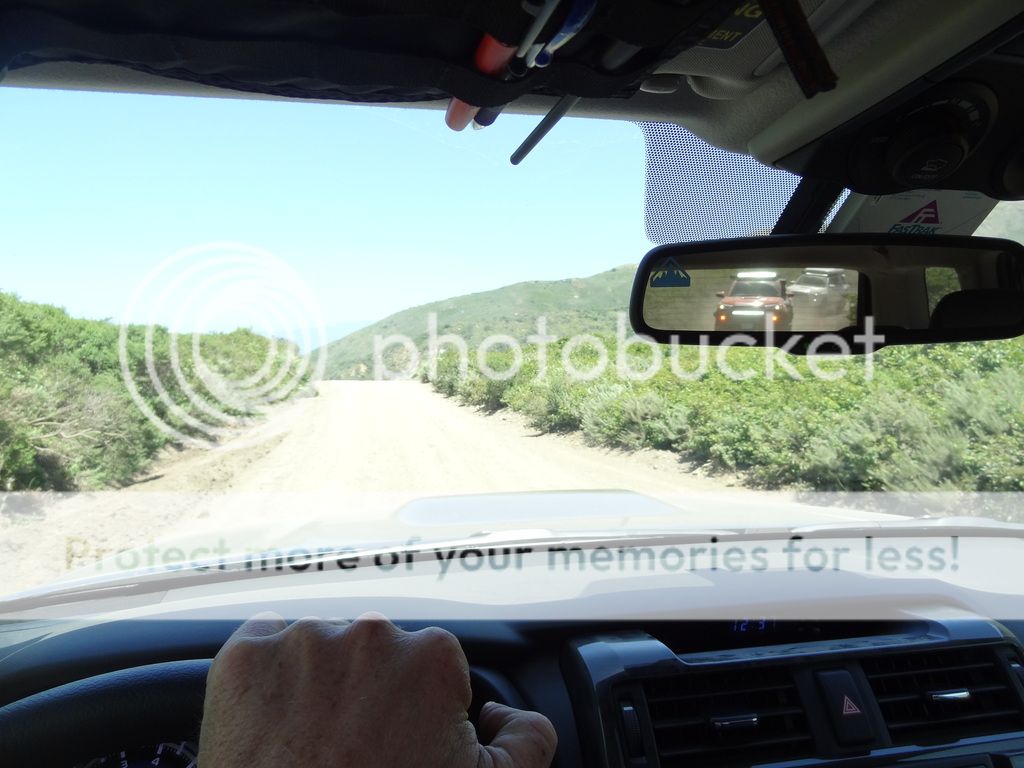
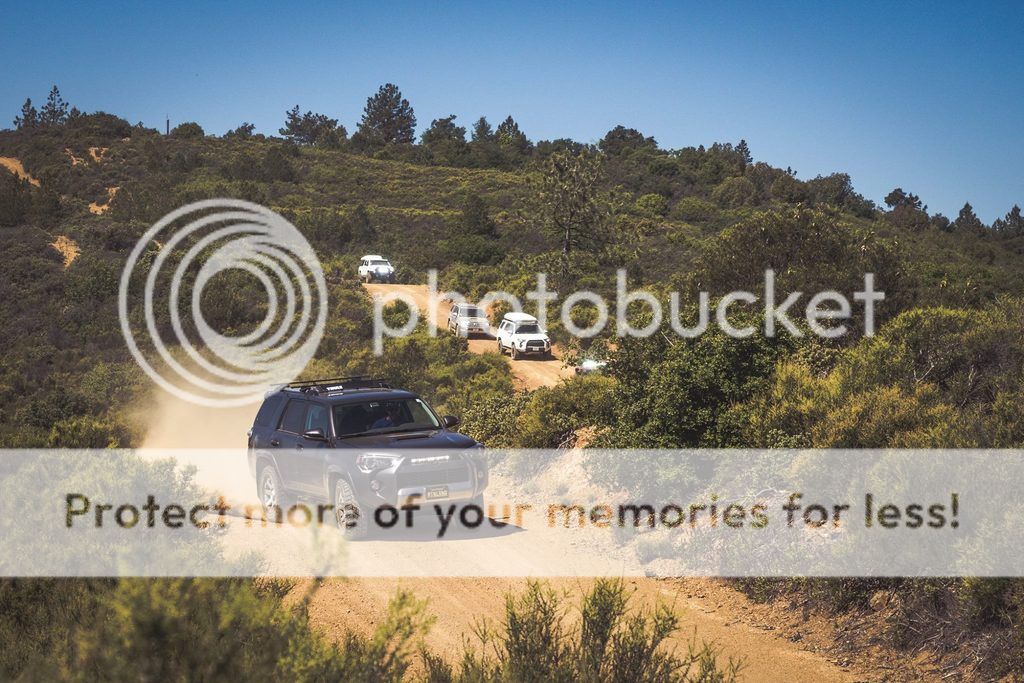
We started the Bonanza Gulch trail that led us to the south property line.


We then hit the top of the McCrayZ obstacle course and stopped to watch a number of OR specific vehicles tackle the course.


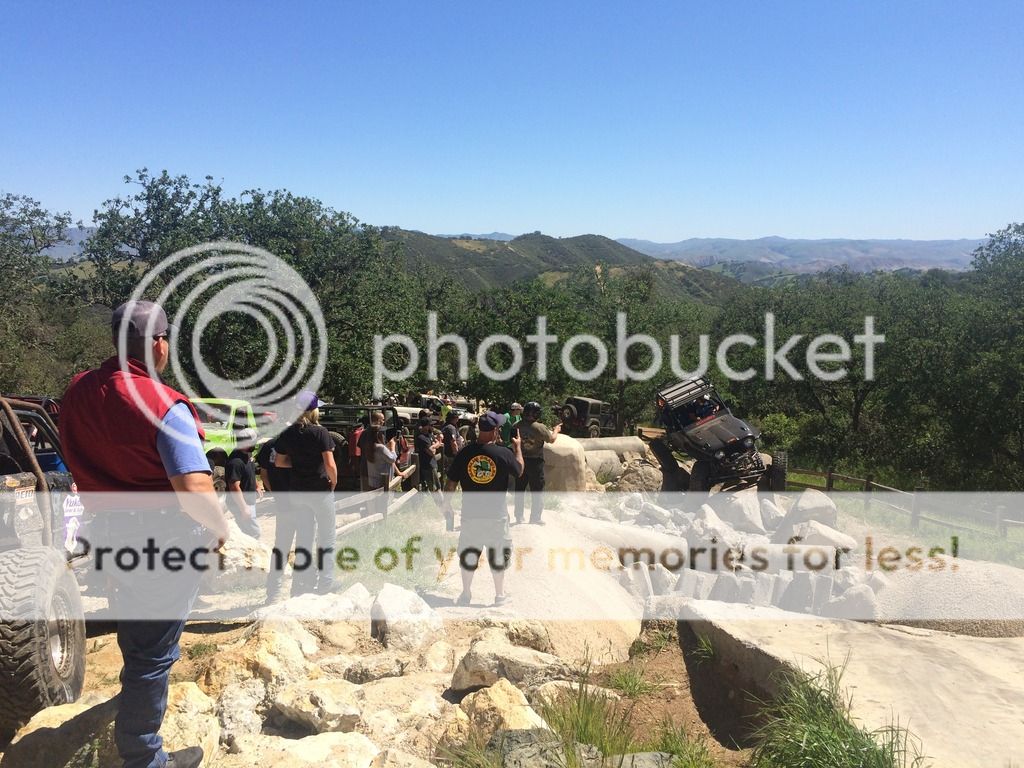
After a bit of cringing, cheering, and observing, we headed on down the trail and wound up at the base of Truck Hill. v_man headed up first to check for ruts or washouts at the top at my request. He radioed that all was good and to head uphill! For any that have been it's impressively steep, but we didn't have any problems.

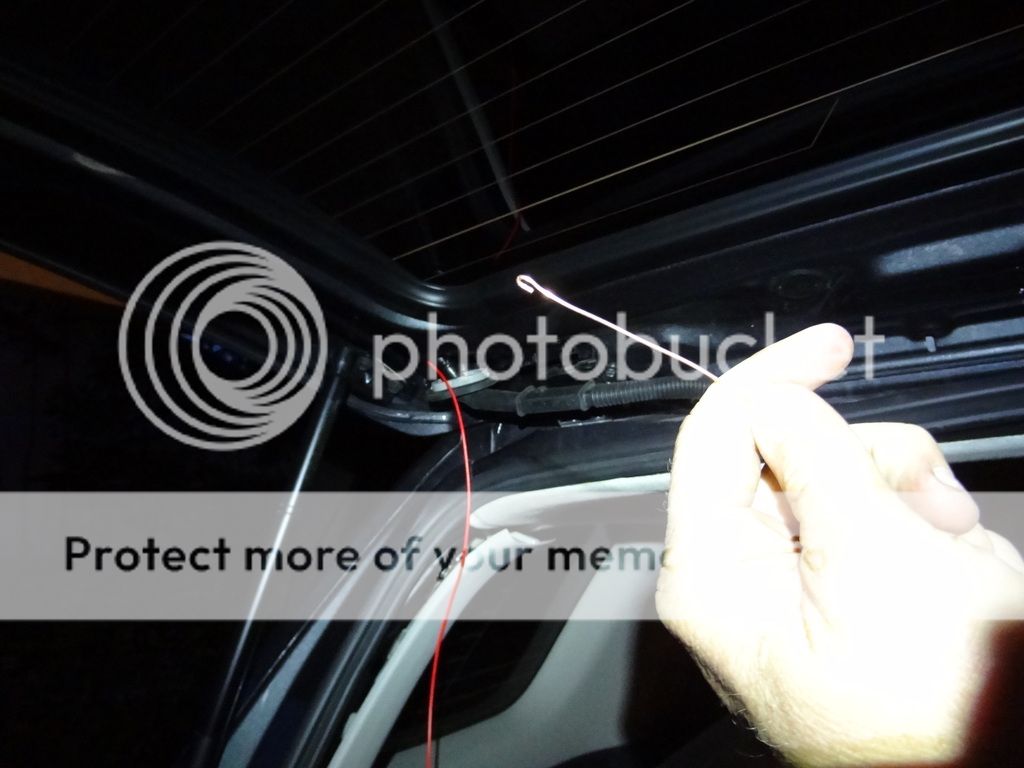
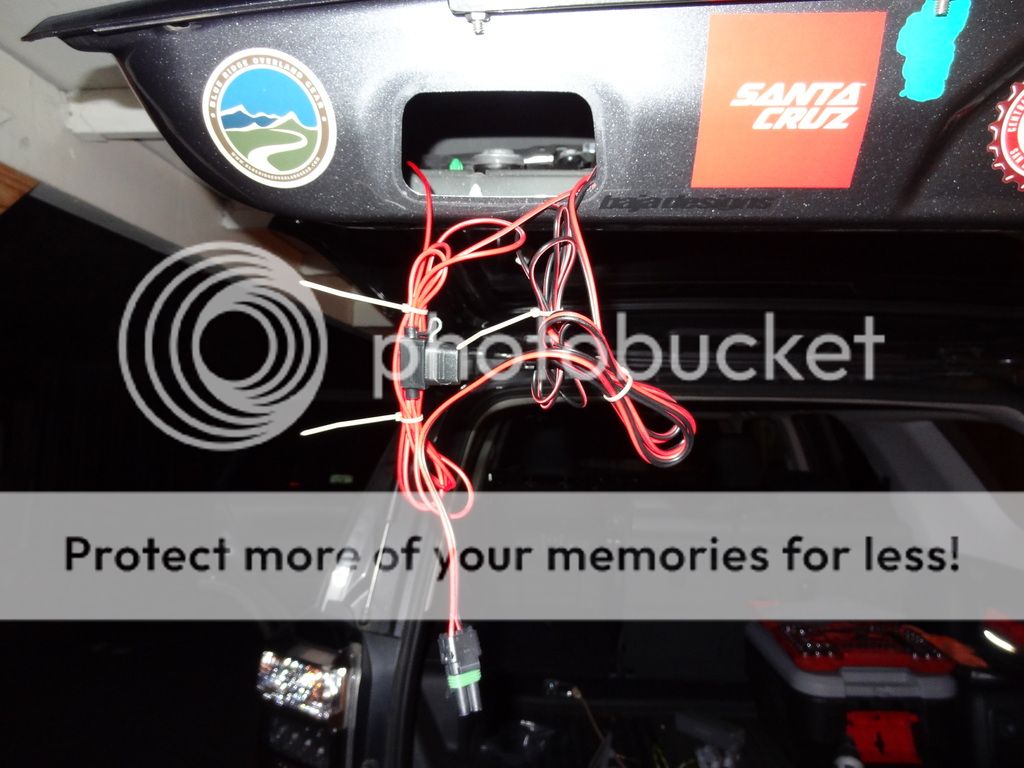
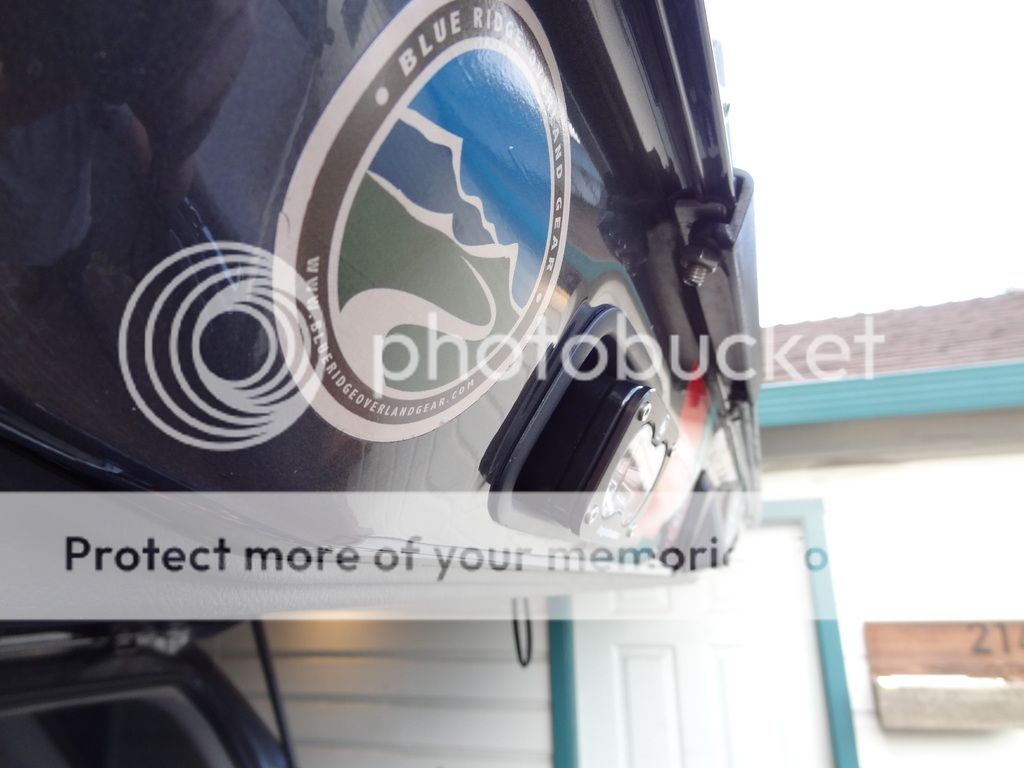
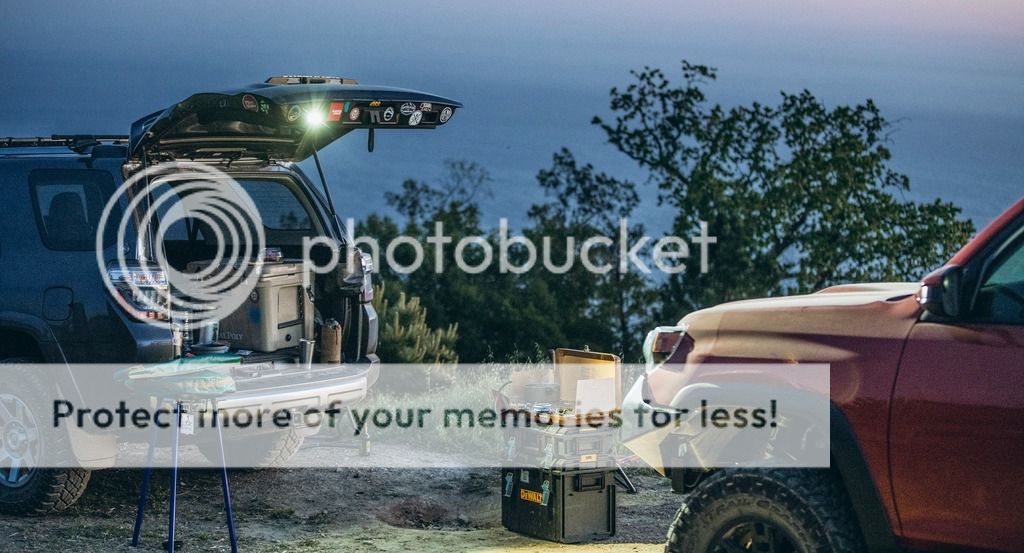
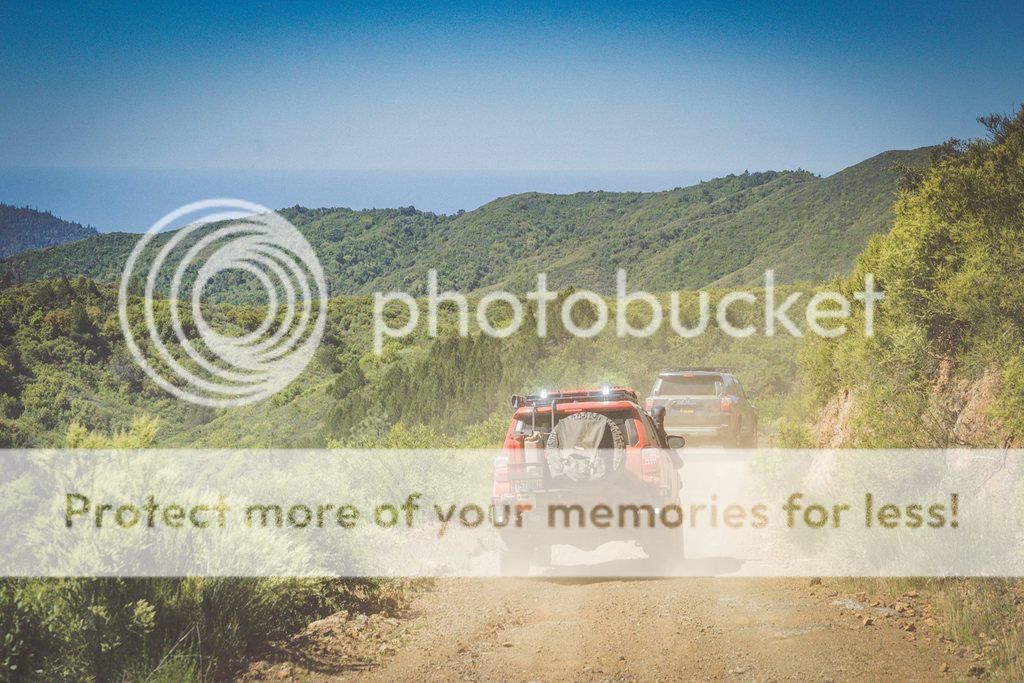
Because light bar...


From Truck Hill we moved along the West Trail to a quarry area where we had some fun on rocks. The other two were making quick work of the rocks in the area. I definitely found the stock skids a few times, although the damage was kept to scrapes and dents. Lesson learned in this area: a lift will help, and sliders are definitely a good thing to have. And a good spotter


v_man then showed us what big tires can do


See part 2 of 2 below
 
  • Like
Reactions: Steve

MTN4RNR

Rank V
Launch Member

Advocate II

1,750
Bay Area, CA
Member #

0614


We then moved on to the obstacle course area where v_man found some rocks, a rock found Andy's valve stem, I made a lot of noise learning the concrete steps, we found a group of 3rd gens with bigger tires than v_man, and dog had no idea how to not slide around both in and out of the kennel!


The Coopers stuffed in a fun wash out


Then up to Hector Heights Overlook. I feel the need to cock a wheel in the air to compensate for my lack of lift...


Then, trailed down to another hill, drove to the top, and then to the exit. We loaded up, aired up and headed home.


It was a great day of driving, observing, and learning. I can clearly see where having a lift, along with a good set of sliders (and skids eventually) will greatly improve the already awesome capabilities of my 4Runner. Getting to know what I can and can't reasonably do on the trail is a great thing to know. Also, knowing where I can both improve on my driving skills and add on to the 4Runner will go a long way for me in the near future.

More to come...​
 
  • Like
Reactions: Steve

MTN4RNR

Rank V
Launch Member

Advocate II

1,750
Bay Area, CA
Member #

0614

Seems many people have rear facing lights on their roof racks, which are great for lighting pretty much everything behind you... Unless you have the hatch open. To solve this, I installed a Baja Designs S2 Pro LED light in the driver side hand hold of the hatch. I will post a full install write up as soon as I can, but for now, here are some photos. The flood pattern works great, and the light output is ridiculously awesome. Just in time for camping this weekend
:sunglasses:


More to come...
 

MTN4RNR

Rank V
Launch Member

Advocate II

1,750
Bay Area, CA
Member #

0614

Seems many people have rear facing lights on their roof racks, which are great for lighting pretty much everything behind you... Unless you have the hatch open. To solve this, I installed a Baja Designs S2 Pro LED light in the driver side hand hold of the hatch. I first took a look at the specs, and made a paper model of the light to test the theory, and knowing that it was very close, I ordered the light to find out first hand. Considering that the light would be used to illuminate a large area I ordered the flood pattern lens and it works great. The light output is ridiculously awesome. Thankfully, this was a short install and I get it finished just in time for camping this weekend! The S2 does not require a relay, so all I had to do was run a hot wire from the battery to the hatch, and then modify both plastic hand hold pieces to make the light and the switch fit.

Parts used:

- Baja Designs S2 Pro Flood/work LED light
- Wiring harness from Baja Designs [/URL]
- Drill of choice
- Milwaukee #9 step drill bit
- Stainless Steel mounting hardware
- Flexo PET wire sheathing
- Shrink wrap
- Heat gun
- Weather resistant butt connectors
- Dielectric grease
- 16 ga. wire
- Electrical tape
- Wire coat hanger
- Standard paint can opener
- 16” thin copper wire
- Zip ties
-Uinta Brewing Detour DIPA

Install:
Start by removing the interior hatch cover. Start with removing the lights, then the center knock out, then the pull strap. Then remove the plastic hand holds on the outside of the hatch. I found the perfect tool to remove these is a standard paint can opener. Insert at the top, then lever up to pop the plastic hand hold out of the hatch.


Here is the piece (1 of 2) that will house the light and the switch on opposite sides of the hatch.


Remove the interior hatch panel by using the center “punch out” hole to pull down on the panel, releasing it from it’s plastic clips. The interior window seal at the top requires you to rotate the hatch panel down, and then push towards the interior of the car to release it from the hatch.


I started running the hot wire from the back because I had more clearance to go through the rubber “grommet” that connects the hatch to the main body of the car unless I wanted to drop the whole head liner out, which I didn’t want to do. I started by pulling the grommet out of the hatch so that the hole was open. I then fed the wire from the hand hold hole up to the top of the hatch using a straightened wire coat hanger to allow me to push it through. Once the wire/hanger was visible, I pulled it through the top of the hatch.


I then poked a small hole in the rubber grommet, just big enough to fit a small copper wire through as a pull wire. The copper wire was thin enough to get through, but sturdy enough to allow it to be pushed through the grommet. I looped the end to keep it from hanging up on any wiring or the grommet itself.


[note the tight clearance for the headliner below]


Once through, I wrapped the hot wire around the copper wire and pulled it through.


I then pulled enough wiring through the hatch/grommet to get me to the front of the vehicle, and started my way forwards. First, I pulled the weather stripping for the rear door off, and routed the wire down the driver’s side of the rear hatch area to the floor.


Then, up under the floor mat in the cargo area to the back seat.


See 2 of 3 below
 

MTN4RNR

Rank V
Launch Member

Advocate II

1,750
Bay Area, CA
Member #

0614

Under the driver’s side door trim.


And through the firewall grommet I used for the grille light bar install using the same copper pull wire technique.


Once in the engine bay, I pulled enough wiring through plus 12” to reach the battery. I then cut and installed the same Flexo wrap used in the other light bar install over the wire to protect it in the engine bay. Shrink wrap on both sides, and a water tight battery connector on the end.


I then pulled the slack 12” back through the firewall so the Flexo extended from the driver footwell into the engine bay. I tucked all wires away, reinstalled all paneling and wrapped up that portion of the install. I left the wire disconnected from the battery for obvious reasons.

At the back of the hatch, I started by installing the switch on the passenger side hand hold using a step drill to create the hole for the round weather resistant switch.


I then took the wiring harness through both holes, attached the hot wire from the battery to the positive wire on the harness, and routed the negative wire from the harness through a factory grommet and onto a factory hatch bolt.


Hooked up the switch wires as it came, and reinstalled the hand hold on the passenger side, with the switch.


Pulled the slack out of the wiring harness and used zip ties to clean everything up.


[Daytime!]

I then used the step drill to hone out the mounting hole for the light, and the hole for the light wire to come inside the hatch.


Because I wasn’t going to be able to secure the bolt inside the hand hold due to the light blocking it once in place, I used a rubber washer to allow the bolt to have enough traction to allow me to tighten without causing the bolt to simply spin. For this reason, I also opt’d away from the supplied nylon lock nut and favored a jam nut set up because it would put less rotational force on the bolt (eliminating spin and allowing it to tighten). To get the light wire through the hole I dirlled, I removed the provided deutsch connector, fed through and reinstalled it.


I zip tied all bound wires to a support inside the hatch to eliminate any rattling or clatter from the hatch.


Plugged it in, and reinstalled the hand hold with the light into the hatch!


It does stick out of the hand hold because of the mounting bracket, but it clears the bumper when the hatch is shut, and that was all I needed!


See 3 of 3 below
 

MTN4RNR

Rank V
Launch Member

Advocate II

1,750
Bay Area, CA
Member #

0614

Now for some installed photos.


Switch lights when on.


S8 in the grille, S2 in the hatch.


Impressions
I am very pleased with the outcome of the light installation. It covers all of the requirements for my install, and the light output is awesome. This is the perfect addition to the 4Runner for anyone who spends time behind the truck at night, working, camping, or whatever. The quality of the Baja Designs light is top notch and it puts out a lot of light for it’s compact size, and in the right place with the work/flood lens. I finished this just in time for a dispersed camping trip, and will post updated photos when I come back!

More to come…​
 

Steve

lost again...
Founder 500
Launch Member

Traveler III

4,312
Lorain County, OH, USA
First Name
Steve
Last Name
None
Member #

202

Very nice install tutorial! I'll be using a lot of these when I start adding additional lighting to my 4Runner. One thing I plan to do is run a pair of heavy wires (fused) from the battery to a terminal block somewhere in the rear to run any lights and accessories.

The next time you need to tighten a blind fastener like this, take a Dremel tool and cut a slot in the end of the bolt. You can then use a slotted screw driver to keep it from turning as you tighten the nut. Alternately, on a bolt that is large enough, you can grind two flats for a wrench on the ends of the thread.


Thanks for another great instructional posting!
 

Crispy

Rank VI
Launch Member

Influencer II

3,921
Redmond, OR, USA
First Name
Nick
Last Name
Crisp
Member #

1158

You forgot to tell us the beer used for the installation. :grin:

Now for some installed photos.


Switch lights when on.


S8 in the grille, S2 in the hatch.


Impressions
I am very pleased with the outcome of the light installation. It covers all of the requirements for my install, and the light output is awesome. This is the perfect addition to the 4Runner for anyone who spends time behind the truck at night, working, camping, or whatever. The quality of the Baja Designs light is top notch and it puts out a lot of light for it’s compact size, and in the right place with the work/flood lens. I finished this just in time for a dispersed camping trip, and will post updated photos when I come back!

More to come…​
 

MTN4RNR

Rank V
Launch Member

Advocate II

1,750
Bay Area, CA
Member #

0614

Very nice install tutorial! I'll be using a lot of these when I start adding additional lighting to my 4Runner. One thing I plan to do is run a pair of heavy wires (fused) from the battery to a terminal block somewhere in the rear to run any lights and accessories.

The next time you need to tighten a blind fastener like this, take a Dremel tool and cut a slot in the end of the bolt. You can then use a slotted screw driver to keep it from turning as you tighten the nut. Alternately, on a bolt that is large enough, you can grind two flats for a wrench on the ends of the thread.

Thanks for another great instructional posting!
Yeah that is on my list as well. I will probably do a small sub-panel in the spare tire tool area on the driver's side so I can tie hot wires into it.

All great suggestions, I wish I would have seen this before haha. The rubber washer trick worked this time, but I will keep that in mind for future mods!

Thanks, Steve! Always glad to help :)
 
  • Like
Reactions: Steve

MTN4RNR

Rank V
Launch Member

Advocate II

1,750
Bay Area, CA
Member #

0614

This last weekend I ventured down the coast with LawnDart to the Big Sur area where we met up with weeeee and some other Toyota guys from the Bay Area. weeeee got down there late Friday night and dealt with some serious headwinds all night, but thankfully it had all passed over by the time we got down there. Here's a quick photo re-cap [Note: all mentions are from t4r.org]:

LawnDart and I hit Old Coast Road on the way down south because dirt is way more fun than pavement!


Little Sur River Bridge


Damn Central Coast commuter traffic


We were quickly forced to stop to drool for a bit. The radio conversation was "WE'RE PULLING OVER" --- "YUP!"


When we rolled up to camp!


A quick camp set up with the addition of LawnDart's Tembo Tusk Skottle

PC: weeeee


An awesome shot by weeeee of his rig with RTT and ours without


A few sunset photos

What that photo looked like to everyone else... > PC: LawnDart

LawnDart caught the rig in full camping mode, and the hatch light mod in use!

Lighting up LawnDart's rig with the hatch light


Then getting shown up by everyone else's light bars... > PC: LawnDart


Hotel de 4Runner


See 2 of 2 below
 

MTN4RNR

Rank V
Launch Member

Advocate II

1,750
Bay Area, CA
Member #

0614

Morning light from the hotel room


Coffee stand

Time for a second cup of coffee... who put that there?


Packed up camp and headed south down South Coast Ridge Road to connect with Los Burros Road and back to Highway 1 > PC: weeeee


Damned tailgaters...


"I think we can drift this corner..." > PC: weeeee


Things were a bit dusty... LawnDart came prepared with plenty of rear lighting > PC: weeeee


Back down to Highway 1 > PC: weeeee


When we stopped to air up, I noticed that the Yeti was trying to complete an advanced 90º barrel roll


Back on the Highway and headed home!


Stopped for a late lunch and then sat in traffic for 3 hours to get home, but well worth it for the adventure! Thanks to all that were there, and all of the skilled photographers on site to make my photos look like polaroids in comparison. I can't wait for the next adventure.

PC: weeeee


More to come...​
 

MTN4RNR

Rank V
Launch Member

Advocate II

1,750
Bay Area, CA
Member #

0614

I think I know what is next for the MTN4RNR... 3 weeks and counting....


Photos courtesy of bimrunner [T4R]