Building, Driving and Adventuring the MTN4RNR

  • HTML tutorial

MTN4RNR

Rank V
Launch Member

Advocate II

1,750
Bay Area, CA
Member #

0614

I wanted to upgrade the stock halogen bulbs to an LED bulb following the HID upgrade. After working with Steve from Xenon Depot, I ended up with the Philips Yellow LED Fog Bulb. Although I wanted initially to match the color of the HID’s better with the white version of the bulbs, I had to remember that while matching lights look cool, fog lights are a functional tool when driving in adverse conditions as they help to cut through whatever is in front of you. The yellower lens helps to provide the best light temperature to cut through the debris on the road to light up road markers and lane lines.​

Parts Used:
-Yellow Philips LED fog lights
-Lagunitas IPA

Lights out of the box
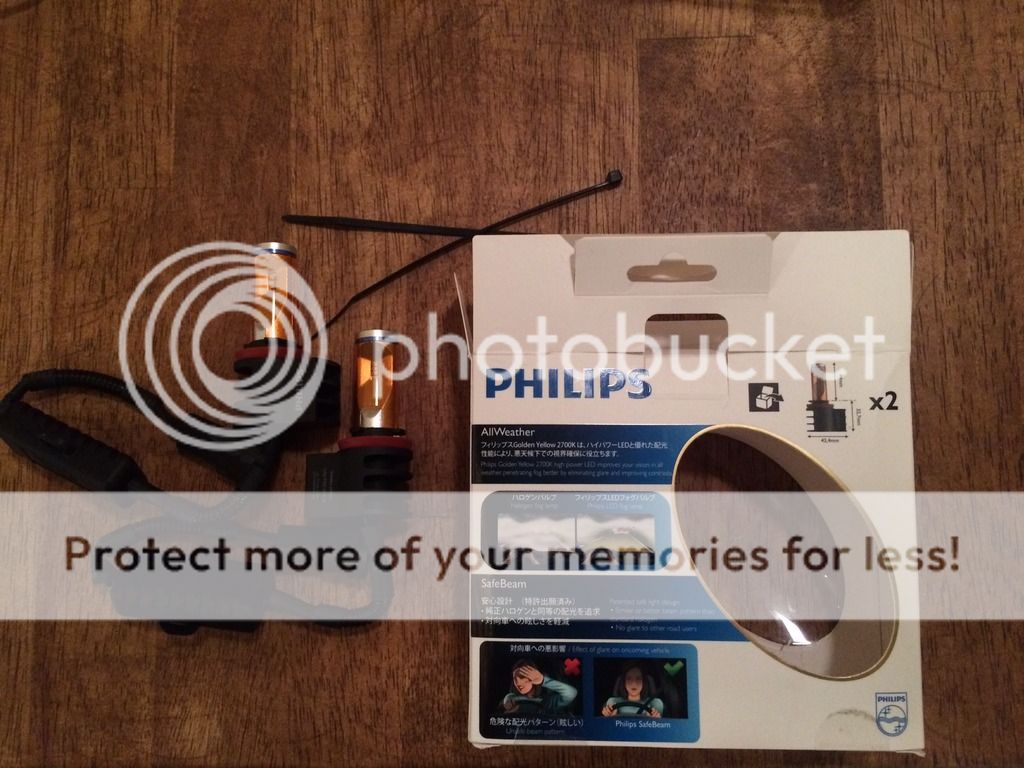

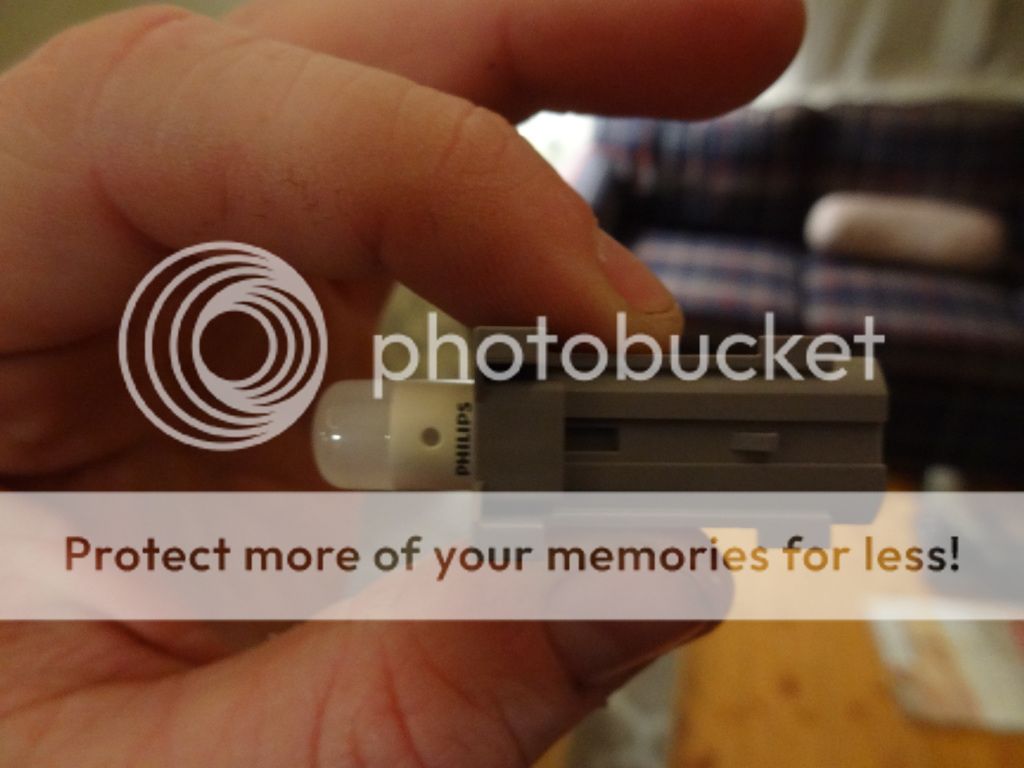
Yellow plastic film over the diodes. The bulb has a nice heavy feel to it and seems to be made with quality in mind.
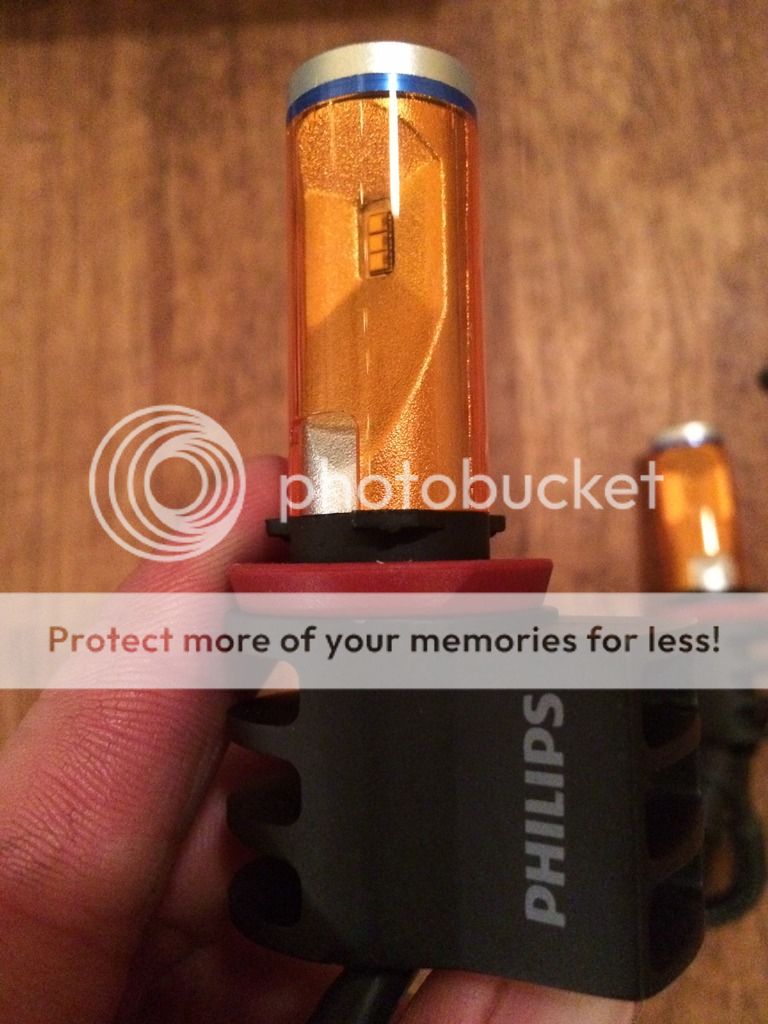

Driver’s side

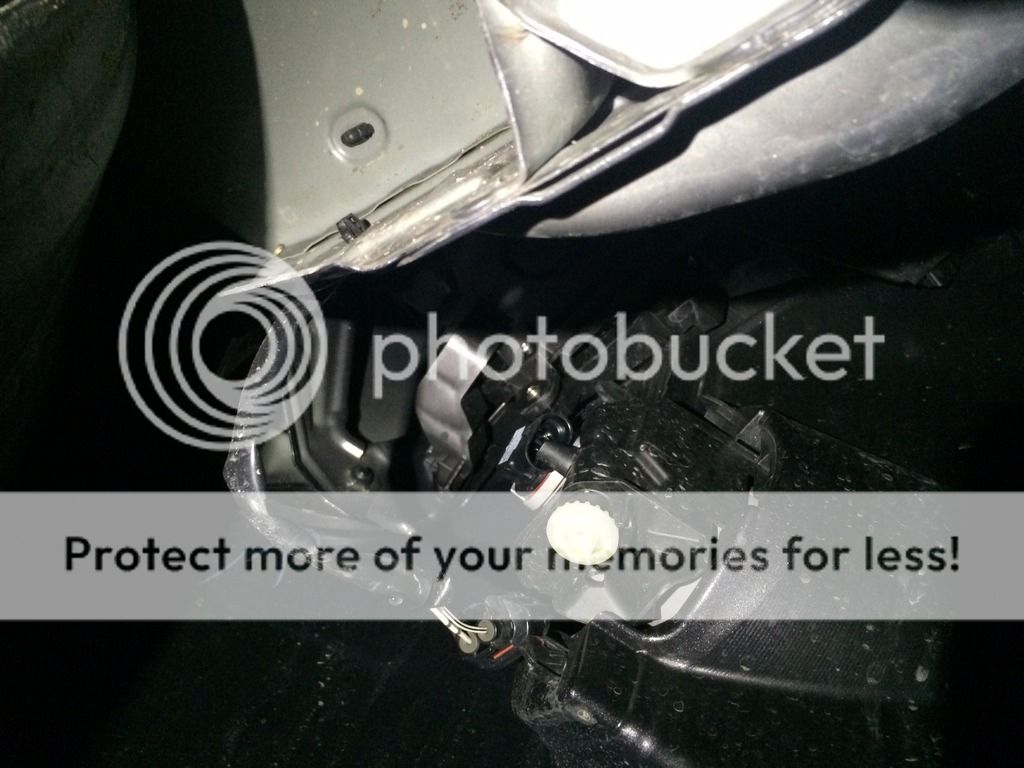
Fog lamp from below. In order to remove the bulb, you need to unplug the harness from the bulb to clear the plastic “stopper” piece on the housing. Turns counter clock-wise to remove
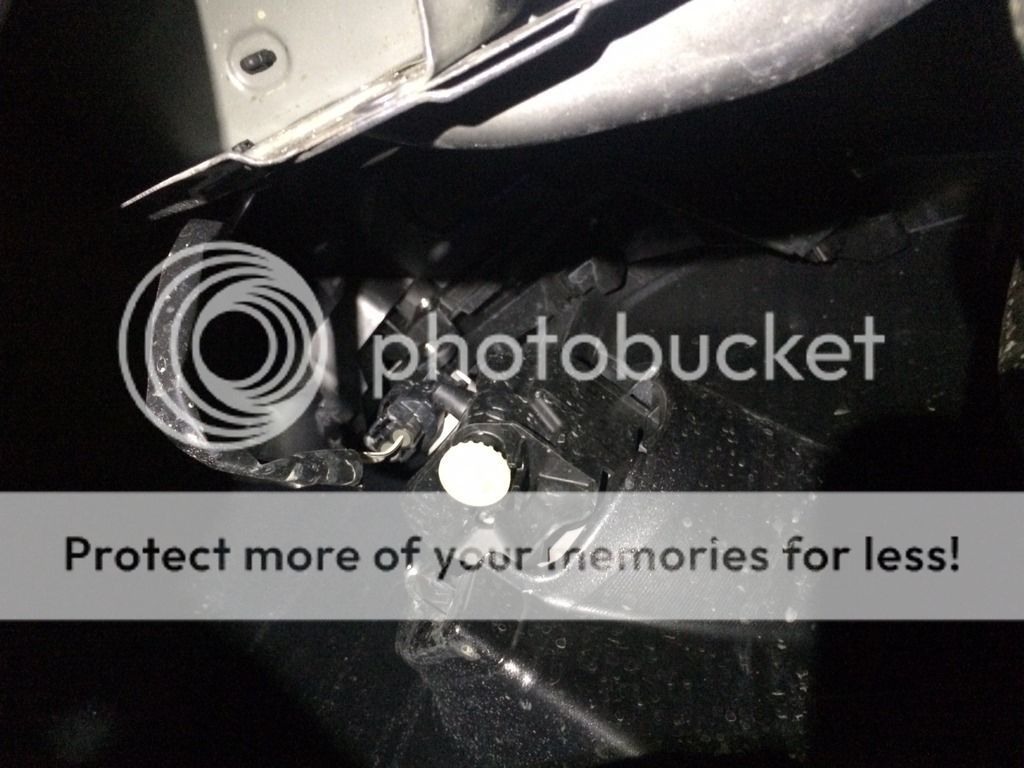
Harness un-hooked to clear the bulb.
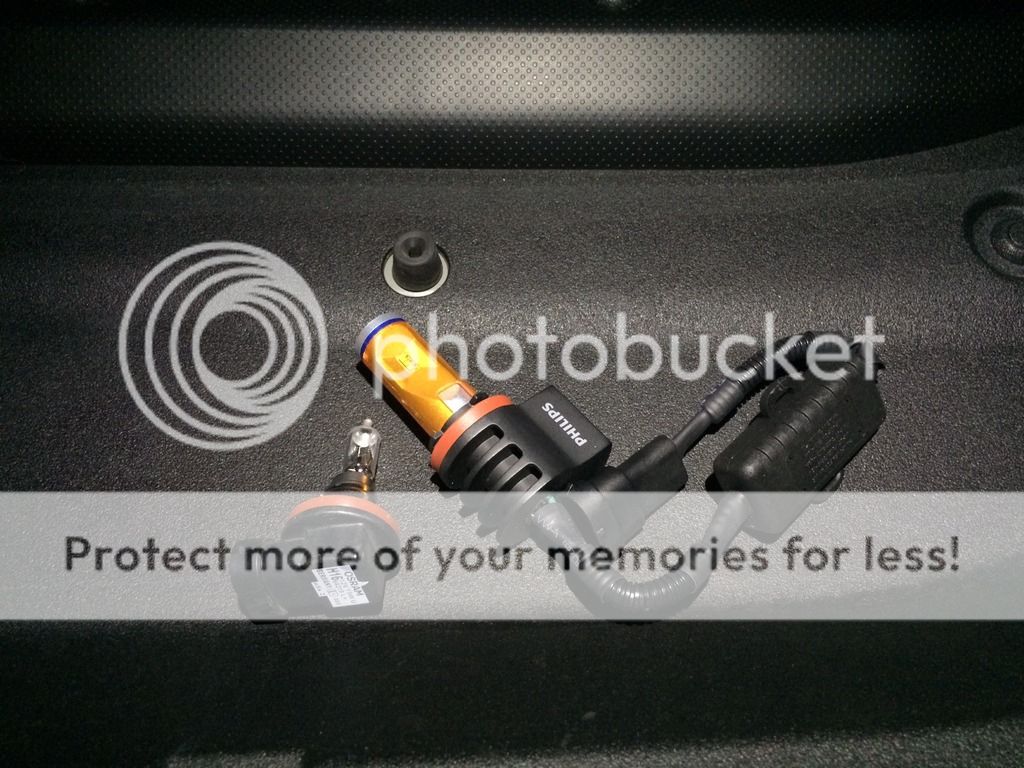
Old vs. new. The new bulb is larger, but will fit. You will need to come in as straight as possible to make it work well. The bulb is very well designed in that it clears the plastic “stopper” perfectly.
New LED installed. I used the supplied zip tie to tie the wires to the sheet metal in the top of the photo.
DONE

Passenger’s side

The passenger’s side has a plastic shroud surrounding the bulb. Same process, unclip the harness, turn the bulb counter clock-wise, remove.

New LED installed. The trick with getting this one in, because the bulb is larger, and the shroud is on, is to hold the outer part of the bulb, the metal base, between two fingers at a 90º angle. Hold it so the heat dissipator is facing down. Reach up and get the tip of the bulb into the housing hole. Then you can resituate to twist the bulb into the appropriate position. The bulb will line up at the 4 o’clock position, and will lock in in the 8 o’clock position. Patience is your friend with this one. I used the supplied zip tie to secure the wire to the stock washer fluid hose shown on the right of the photo.
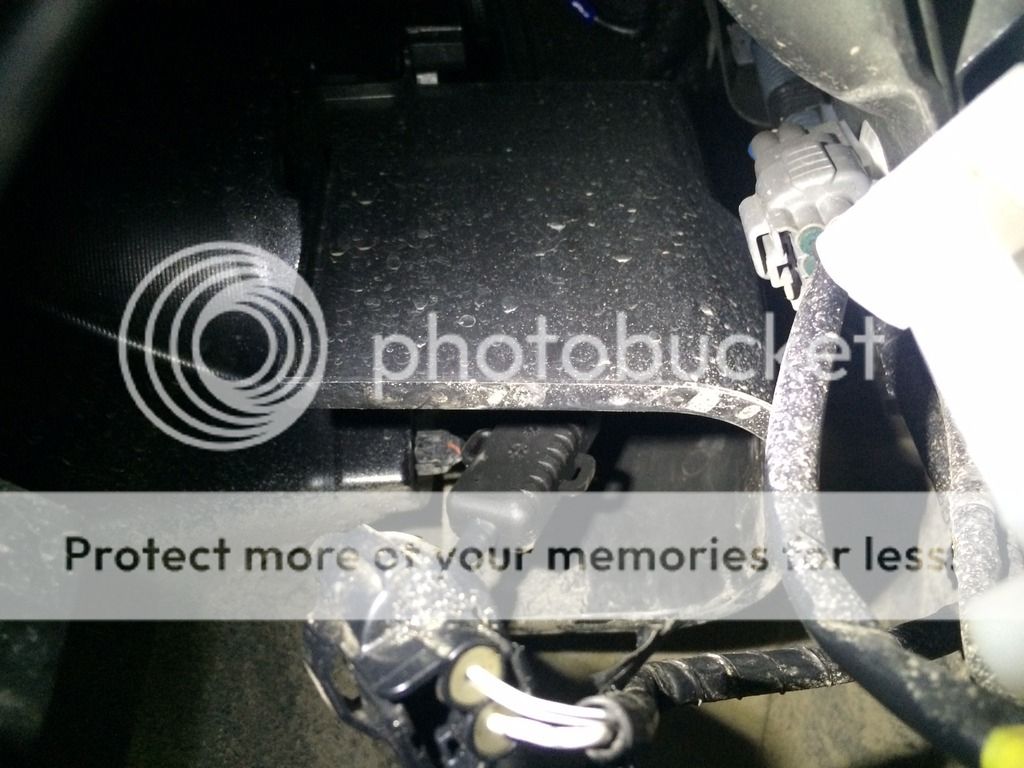
DONE

Before and After
Low beam HIDs
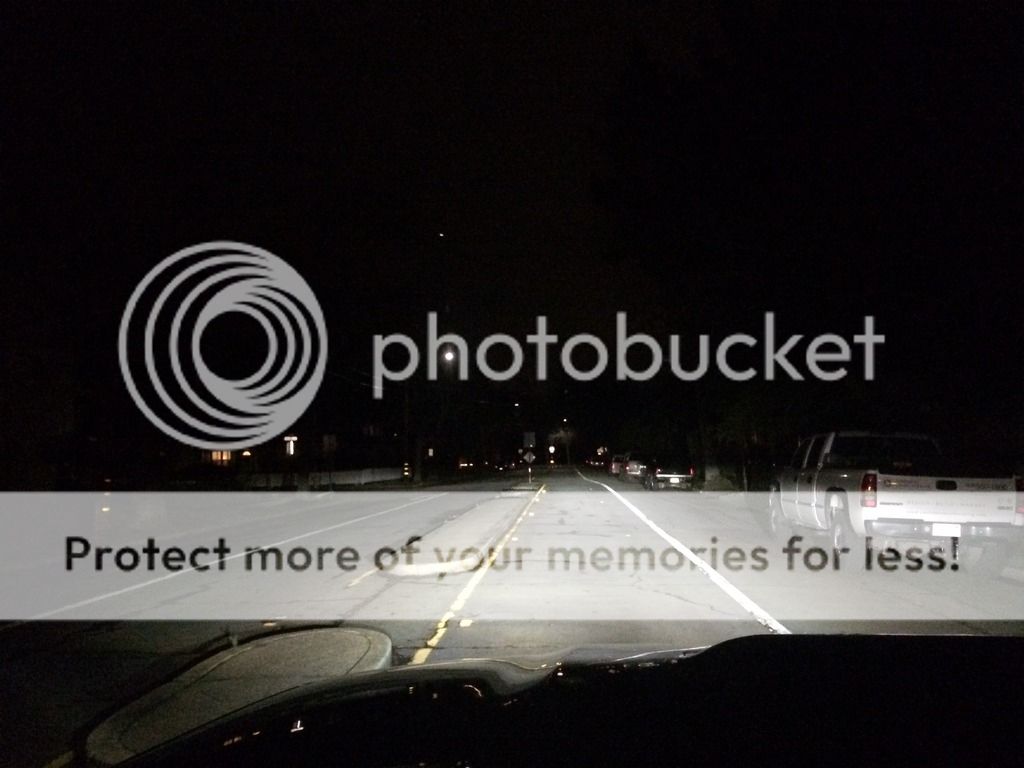
Low beam HID’s with stock fogs
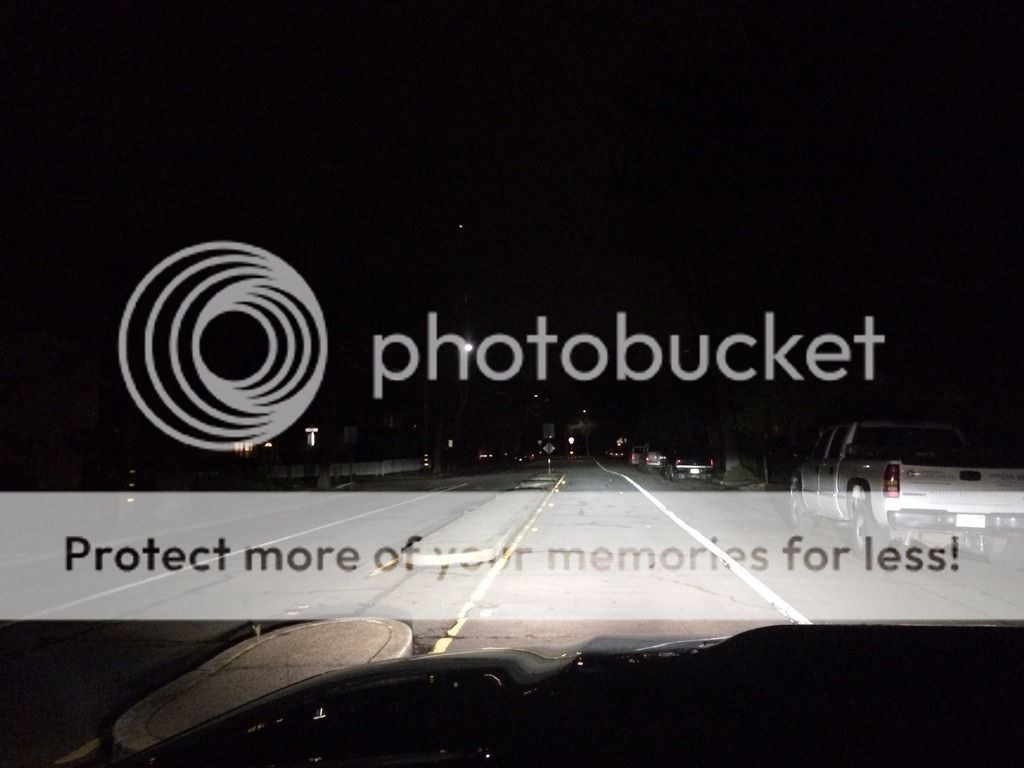
Low beam HID’s with Philips Yellow LEDs

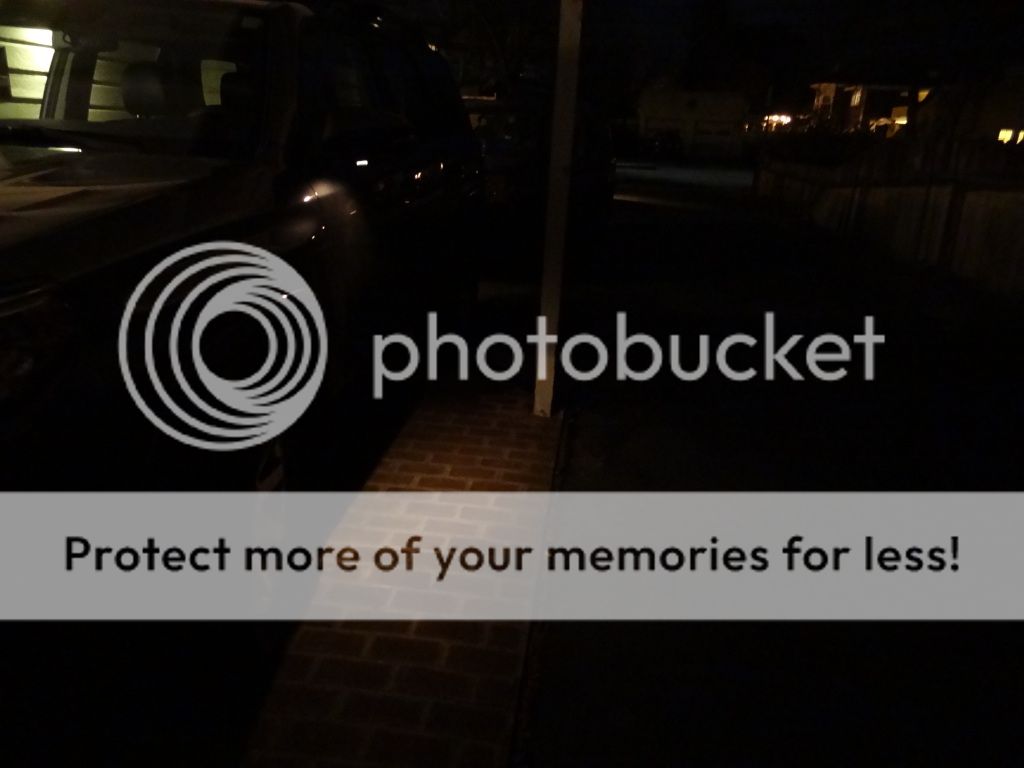
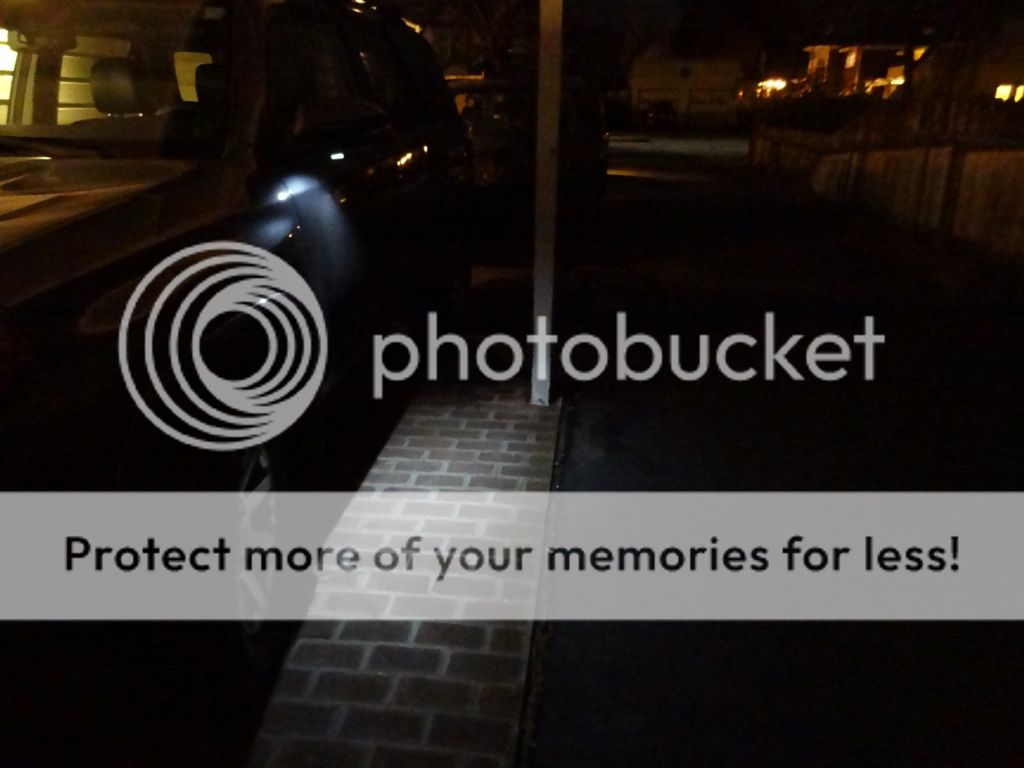
Here’s a really nice change though. The side visibility from the new fogs is greatly increased.

Low beam HIDs
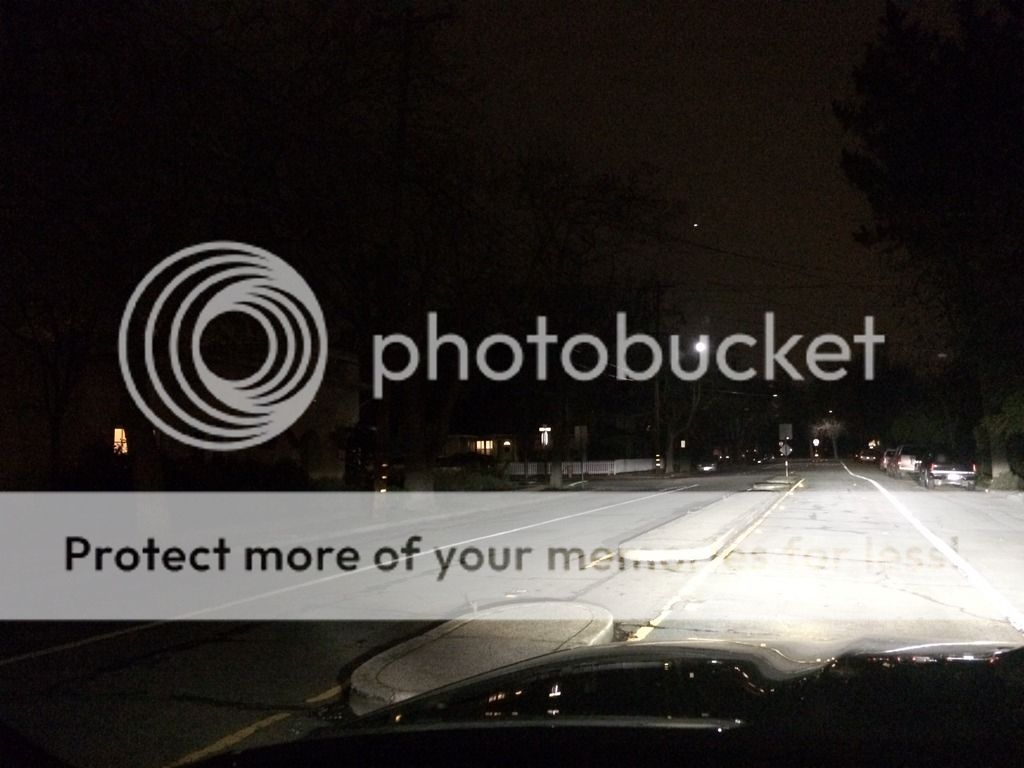
Low beam HID’s with Philips Yellow LEDs
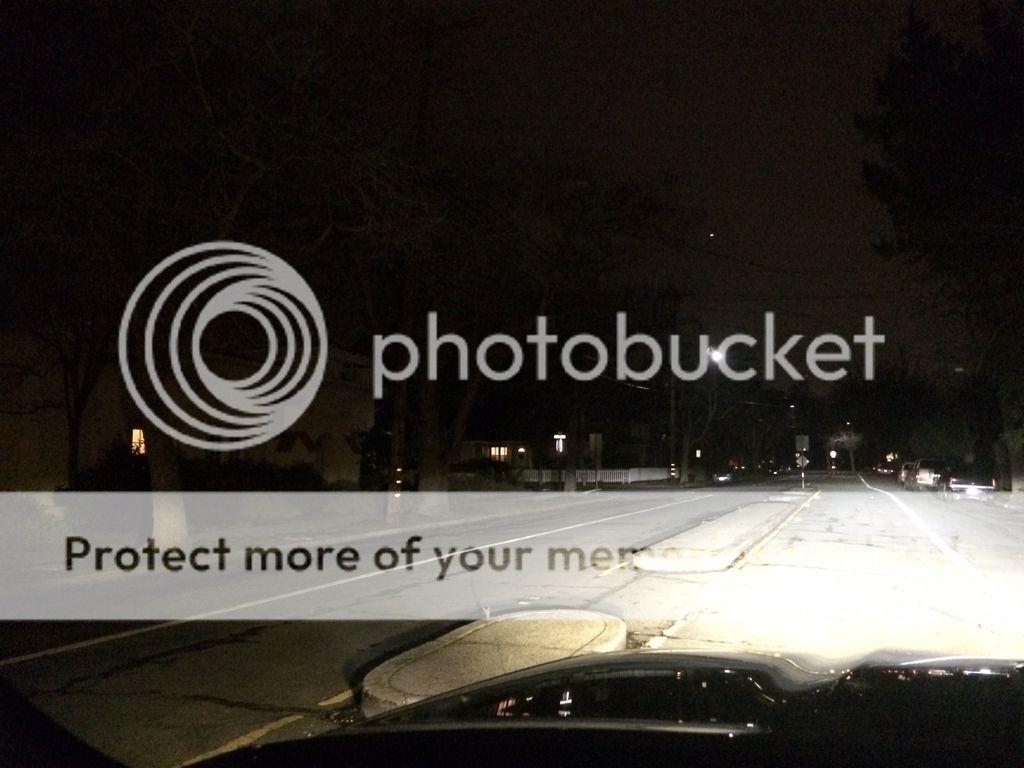
Left fog stock. Right fog Philips Yellow LED

Left and right fogs Philips Yellow LEDs
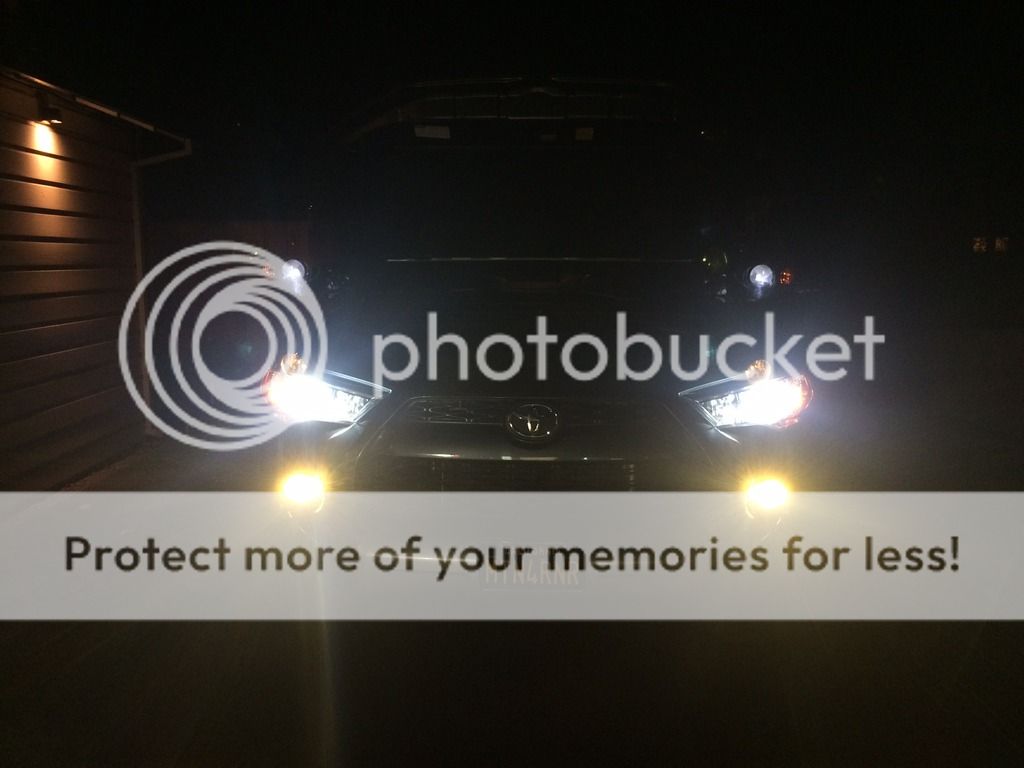

Impressions
I installed them last week and spent some time in the mountains over the weekend to test them out. In the rain and snow I encountered, the new bulbs put out enough light to make lane markers and the road easier to see. Much better than not having them on, and still better than the stock halogens. I will say that they are not as yellow as some of the guys running the yellow film on the stock fogs, but I think that the light delivered is better than a more pure yellow light. Function over form. I am pleased with the improved output of the stock fog housings with the upgraded LEDs. If I end up wanting or needing more light, I can add an amber LED light behind the lower grill for when visibility is very low.

Thanks to Steve at Xenon Depot for the product assistance.

More to come…


  • Like
Reactions: SLO Rob

MTN4RNR

Rank V
Launch Member

Advocate II

1,750
Bay Area, CA
Member #

0614

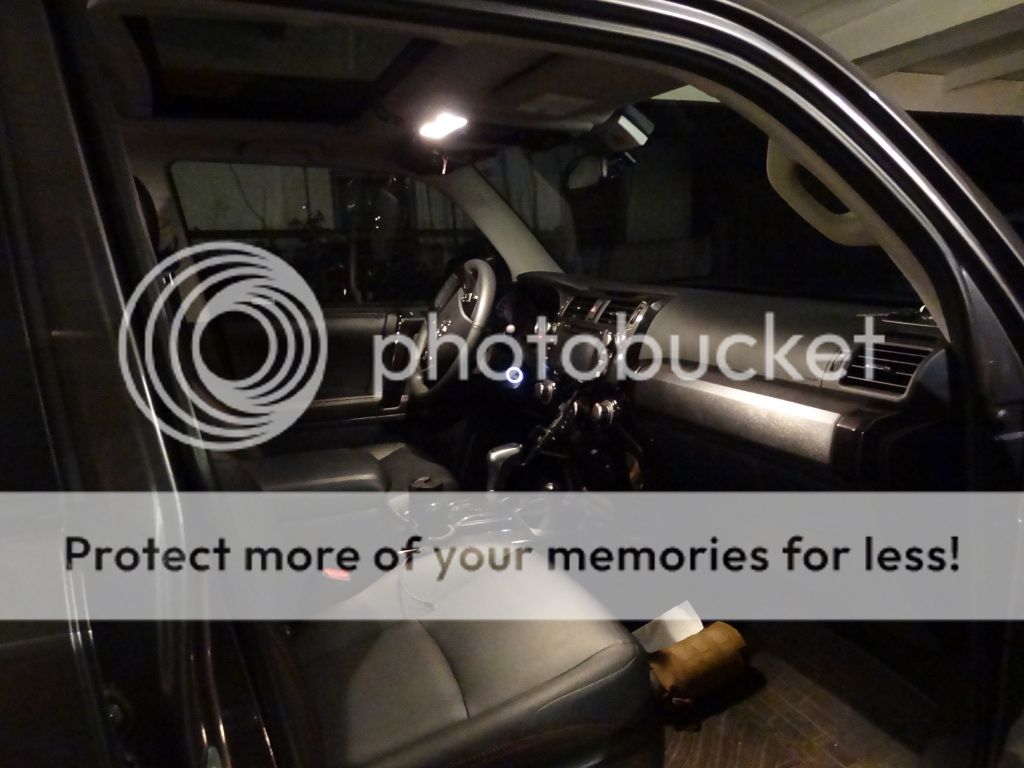
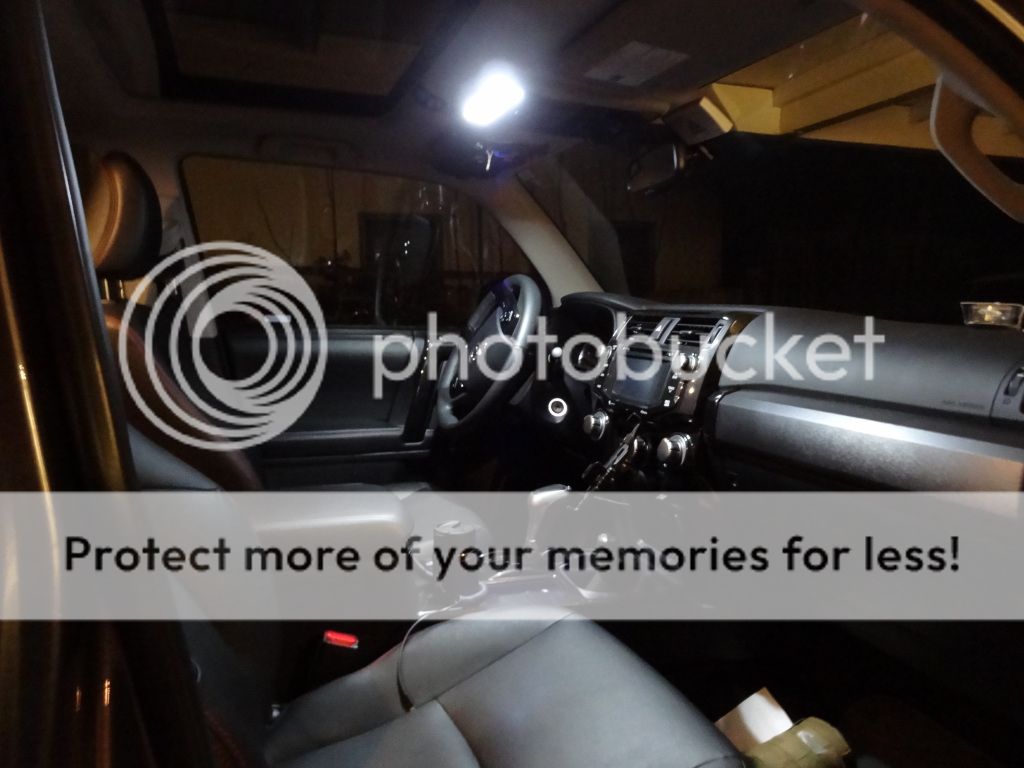
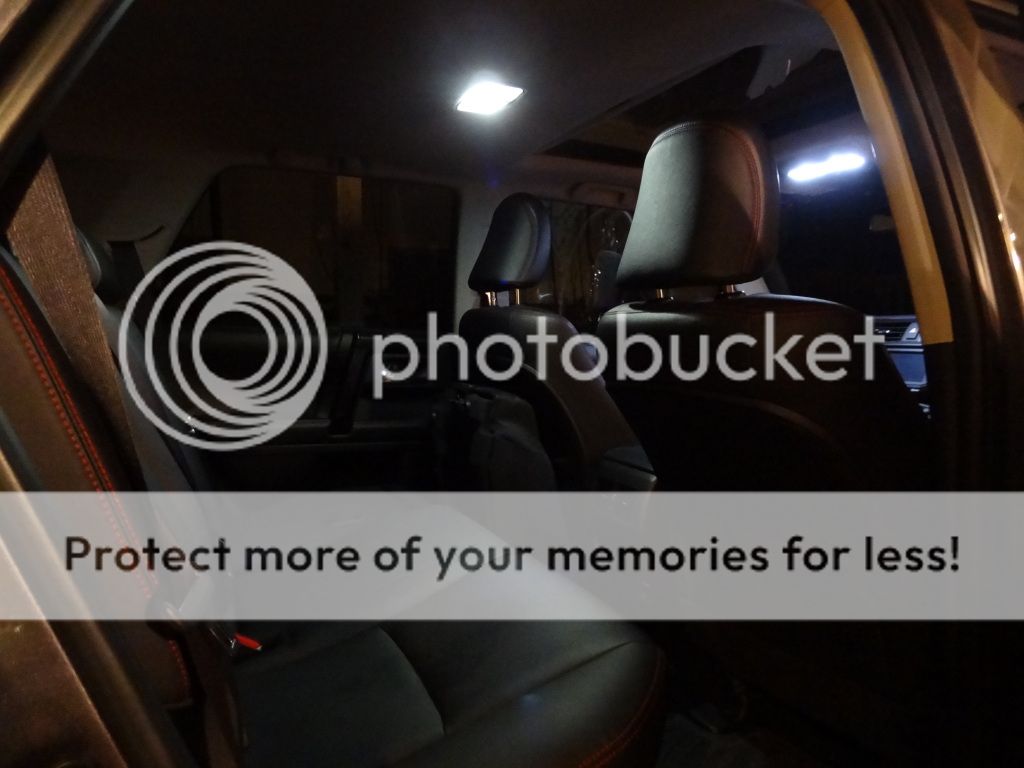
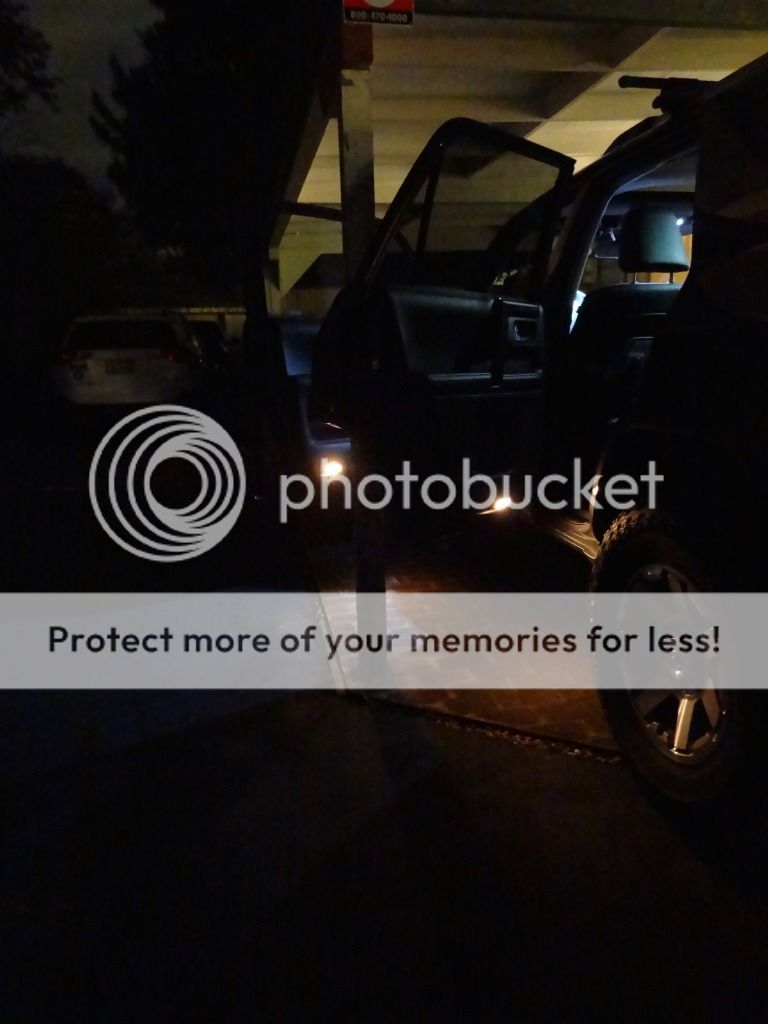
This weekend I completed my stock interior lighting and puddle lamp LED upgrade. All of the bulbs that I have installed so far have been Philips brand, which carry the same light temperature of 6000K, and a 12 year guaranteed warranty. Bulbs were sourced from Xenon Depot.​

Parts used:
- Philips Vision LED 194
- Philips Vision Festoon LED 3022
- Stone Brewing Enjoy By Black IPA


I followed a tutorial from Precision LED on YouTube, which shows how to access all of the stock bulbs.

Map lights before


Map lights after

Dome light before

Dome light after

Door lights before

Philips bulb orientation in housing (so that they work)

Door lights after

Puddle lights before

I followed this thread post to get to the puddle lamp bulbs.
Puddle lights after


Impressions
The 194's are great. Very bright, very well build with an even light distribution. I have been impressed by these, and will continue to use them as my go-to mini wedge. The festoon bulb, as I stated in my rear hatch LED upgrade post, is dimmer than I would have hoped for. The color matches the new lights perfectly though, and I don't think that I have lost any useable light over the halogens. I will give it some time and see how I like the output before deciding if I want anything brighter.

Next (and last) interior lighting upgrade will be an auxiliary led lighting set up for the cargo area.

More to come...
 
  • Like
Reactions: SLO Rob

MTN4RNR

Rank V
Launch Member

Advocate II

1,750
Bay Area, CA
Member #

0614

Installed a previously loved Gobi ladder on the rig this weekend before heading to the snow. Since I bought it used and the supplied adhesive strips were shot, I used 3M extreme fasteners (aka badass Velcro) to secure the ladder top plate and the lower attachment point instead of double sided adhesive. The weight rating is the same as the 3M extreme double sided tape, but this allows me to remove the ladder if I need to by unbolting the lower bracket and pulling it off. So far so good! No flexing or moving while climbing! Three strips, 4" in length on the top plate and a strip that is the width of the ladder on the bottom of the hatch. Because the fasteners are thicker than the standard adhesive, the lower clamp BARELY fits over the hatch lip. Definitely an oh sh*t moment when I thought it wouldn't fit. Whew! I got this in prep for the new full length roof rack, stay tuned for that!


  • Like
Reactions: transworldmoto

MTN4RNR

Rank V
Launch Member

Advocate II

1,750
Bay Area, CA
Member #

0614

After reading of many members of this forum relocating their differential breathers to avoid inevitable milky gear oil, I decided to give it a go. A little cheap insurance later on down the road can't hurt, and if nothing else, I got some good one on one time with the rig, getting to know a little more about her. I have a trail, and thus a locker. So a separate breather for that as well, because overkill. I decided to use the T4R.org standard OEM Toyota front differential (2-way) breathers. Let's get into it:​

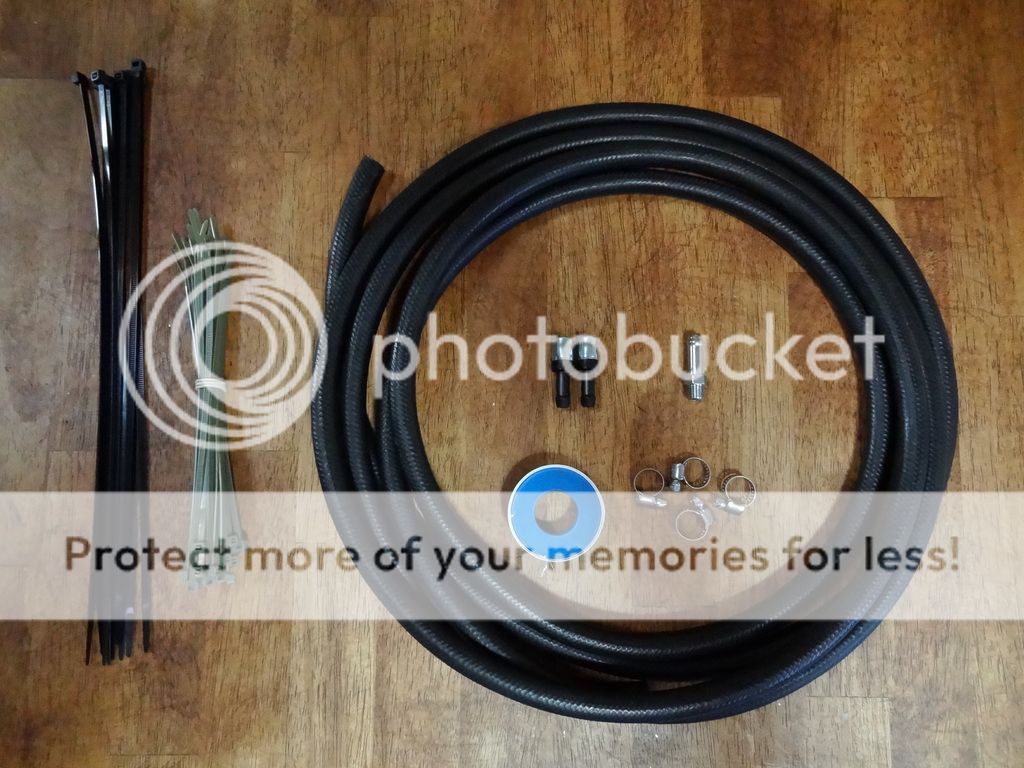
Parts used:
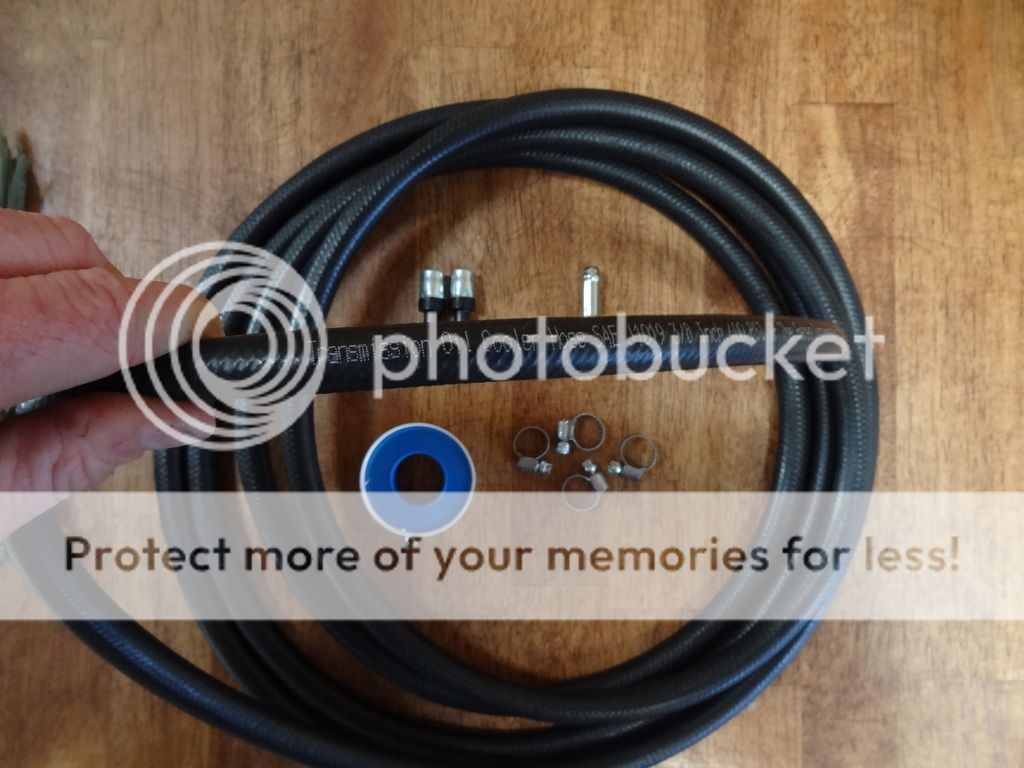
- 14' Transmission oil cooler hose, 3/8"
- Toyota part 90404-51319 (Union)
- Toyota part 90930-03136 (Breathers) (x2)
- Stainless steel hose clamp (x4)
- Enough zip ties to hold it all together
- Teflon tape
- Sierra Nevada Torpedo IPA


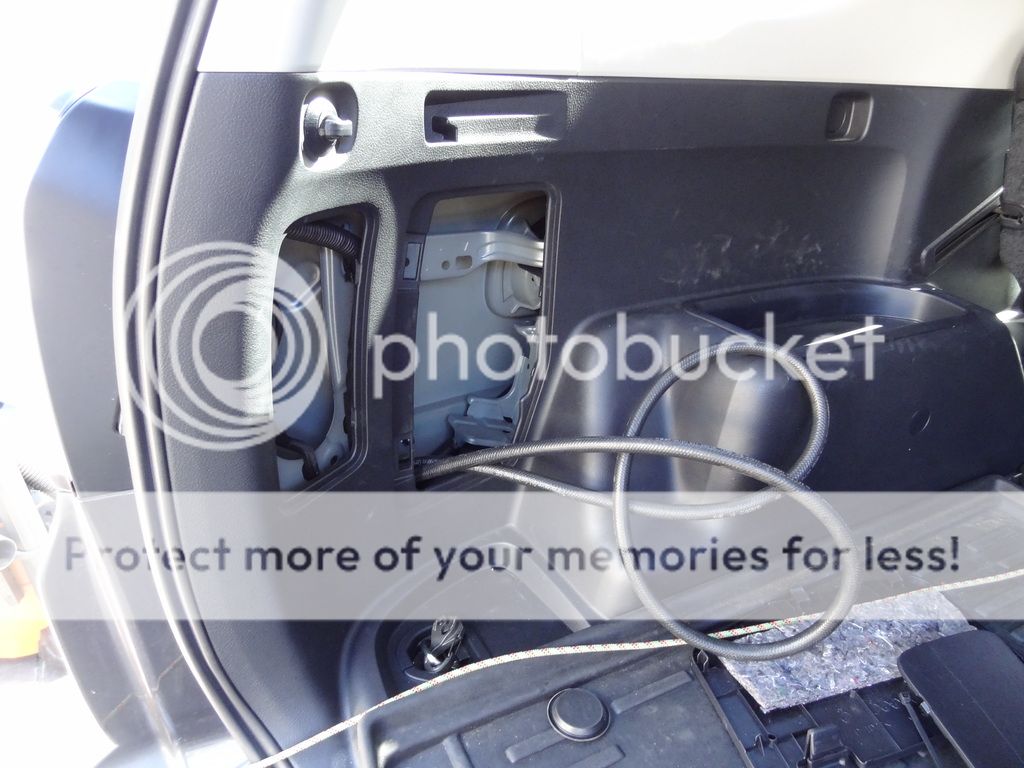
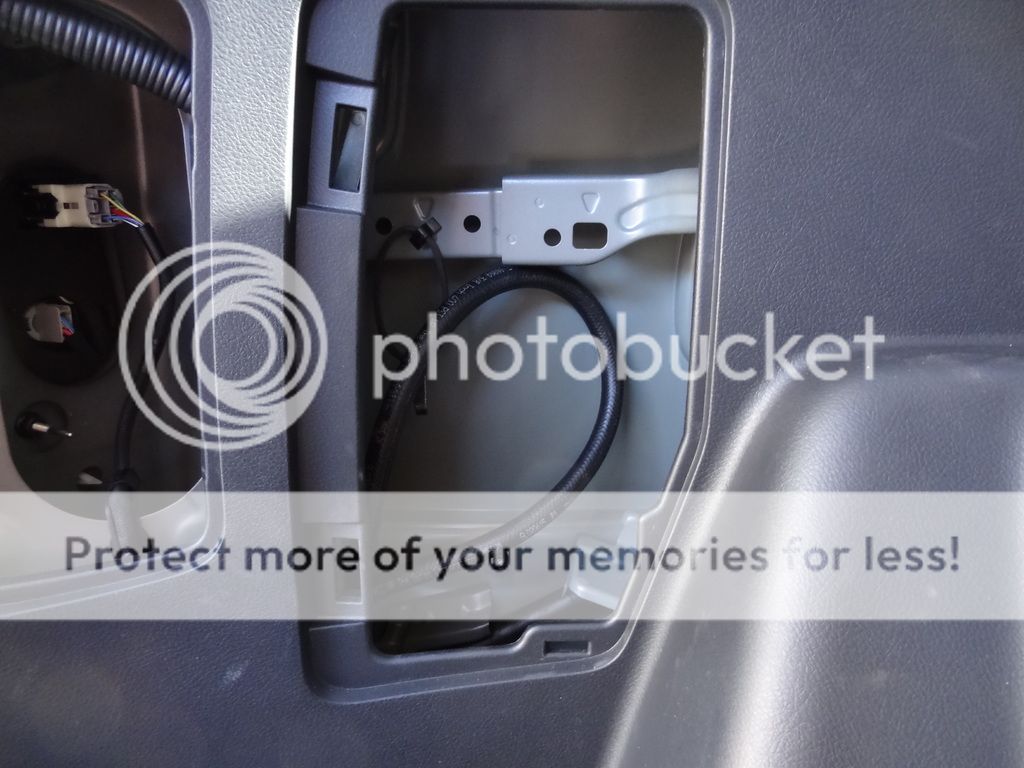
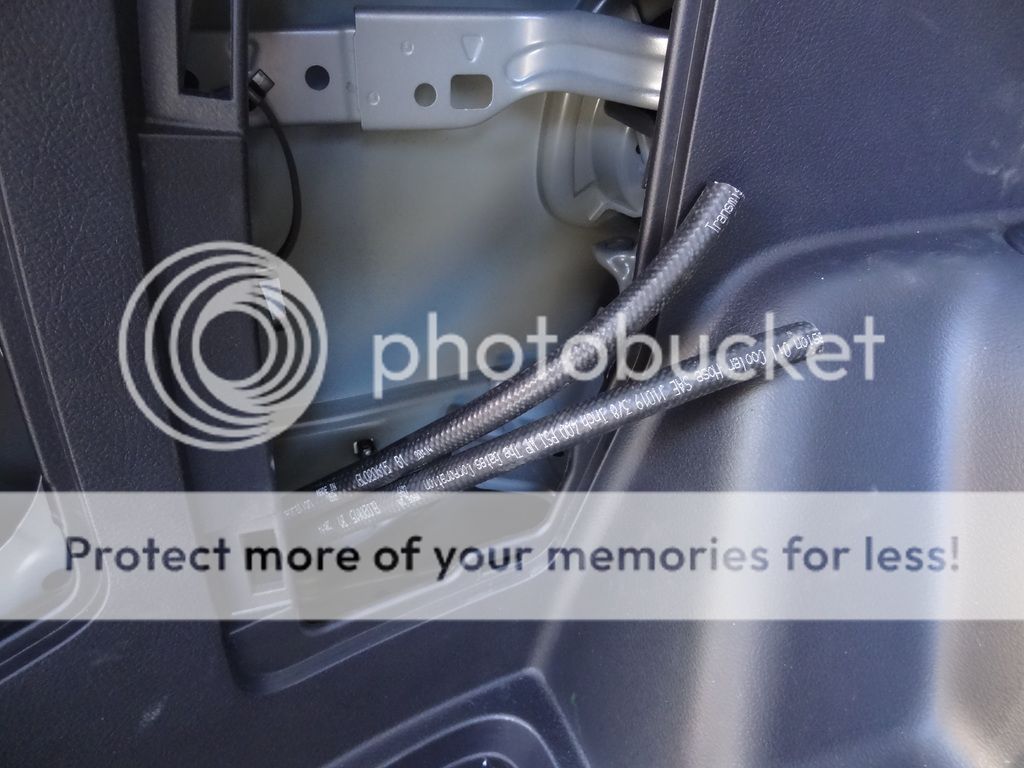
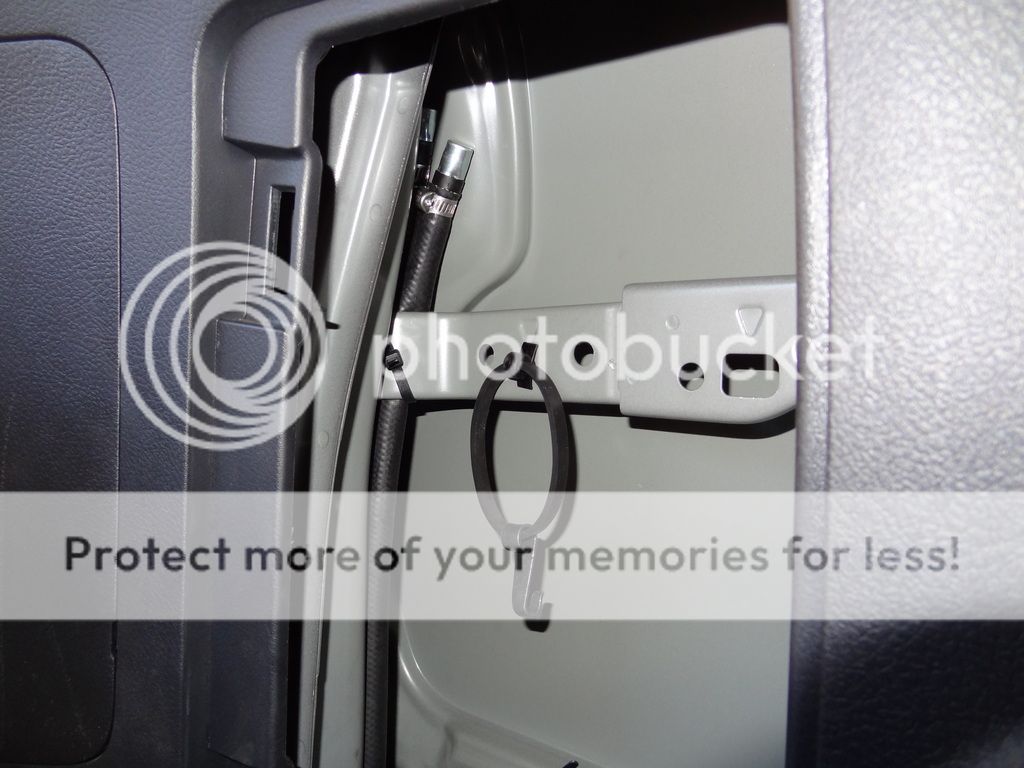
I want the breathers to end up in the jack/tool compartment on the driver's side of the cargo area. I decided to use the same route as a T4R.org member in his write up here. An unused grommet in the cavity below the jack/tool mount. First step was to remove the tools/jack and drop the spare. I located the grommet, removed it and fed my lines through.


I stopped when I had a good loop in the compartment

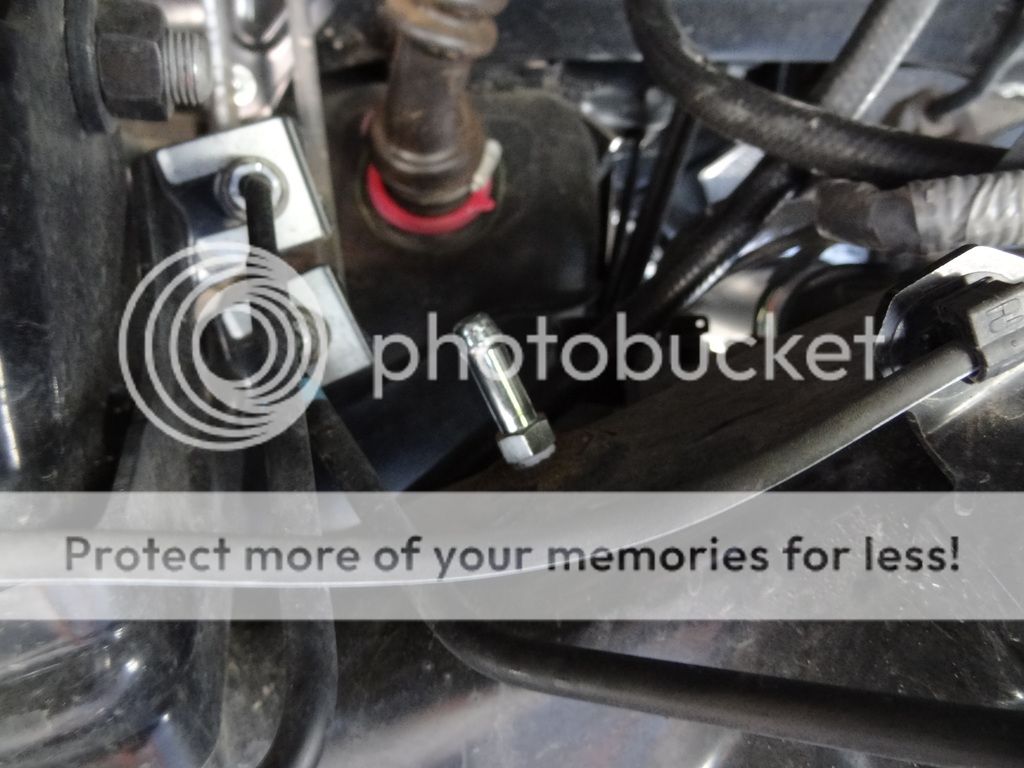
Removed the stock 1-way valve, added some teflon tape to the new nipple and installed it on the rear differential


I then pulled the connector off of the e-locker breather hose, leaving the end exposed

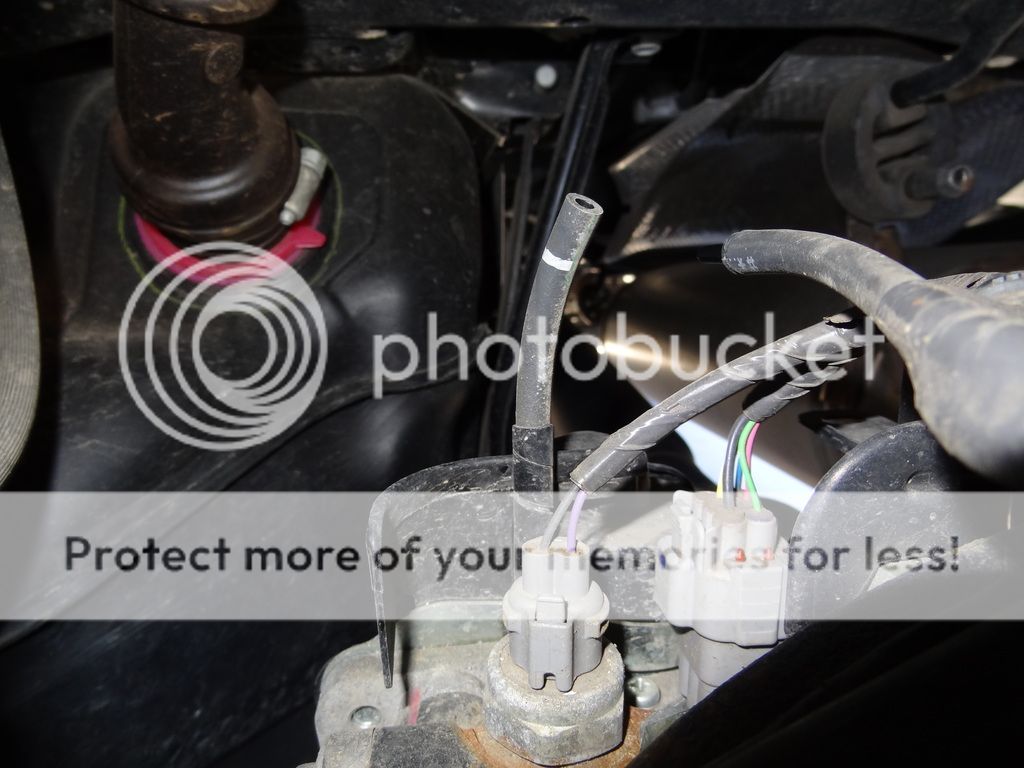
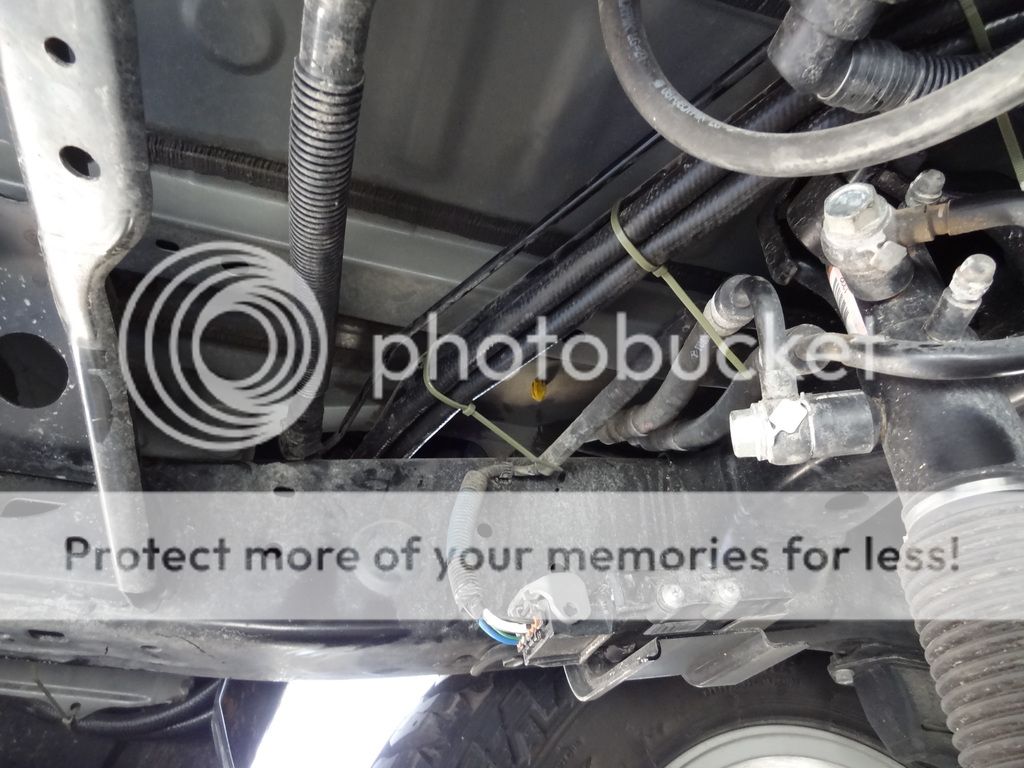
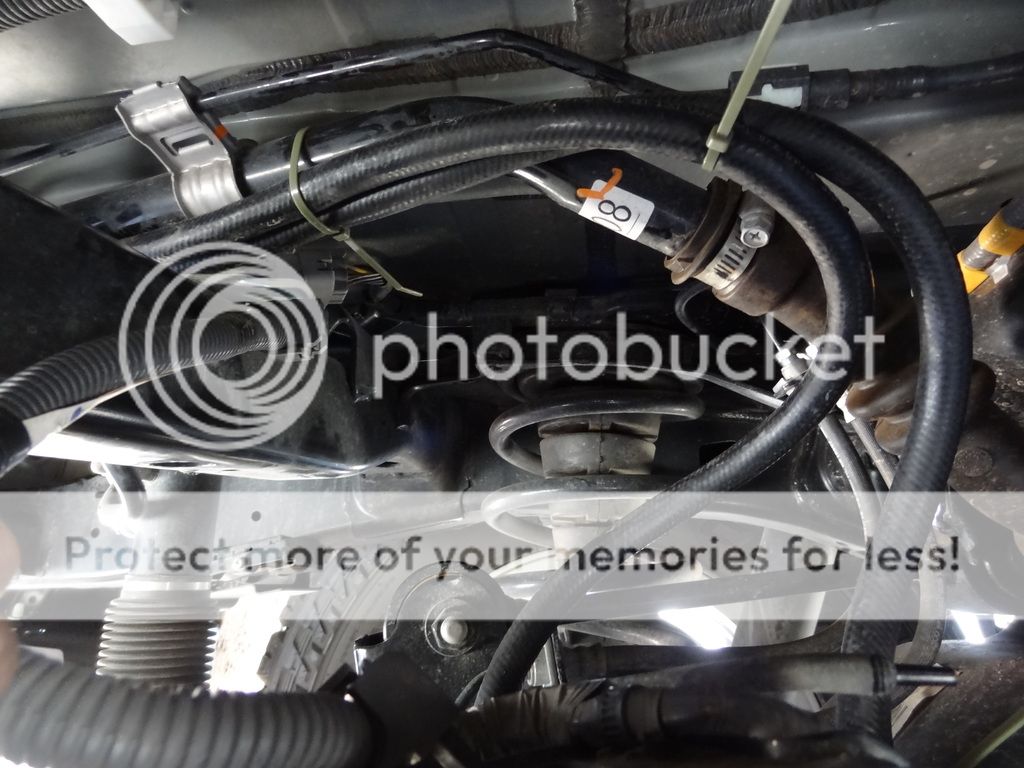
Routed the lines from the fender to the axle along the fuel tank fill line

I left some wiggle room to account for suspension travel

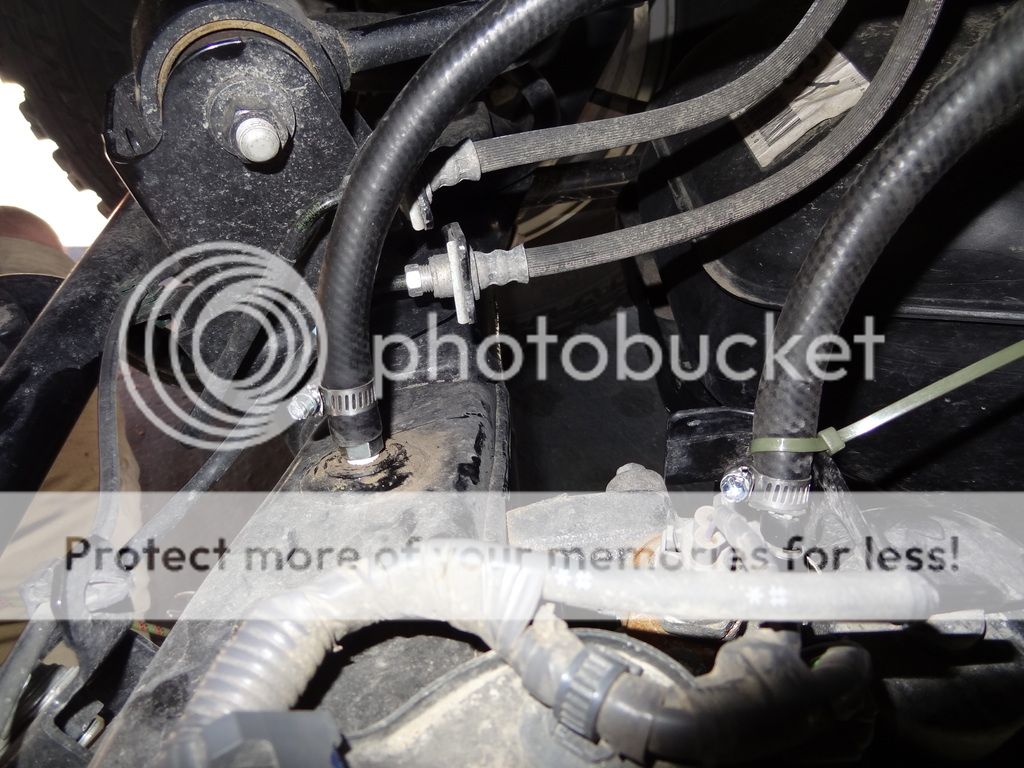
I attached the hose ends to the installed nipple, and the end of the e-locker hose using the hose clamps. The e-locker hose that is attached fits into the new transmission cooler line loosely, but will clamp down with the hose clamp tightly. I used a zip tie on the e-locker line to keep it from moving around too much. Be sure to route away from the exhaust, too close might get a bit toasty.

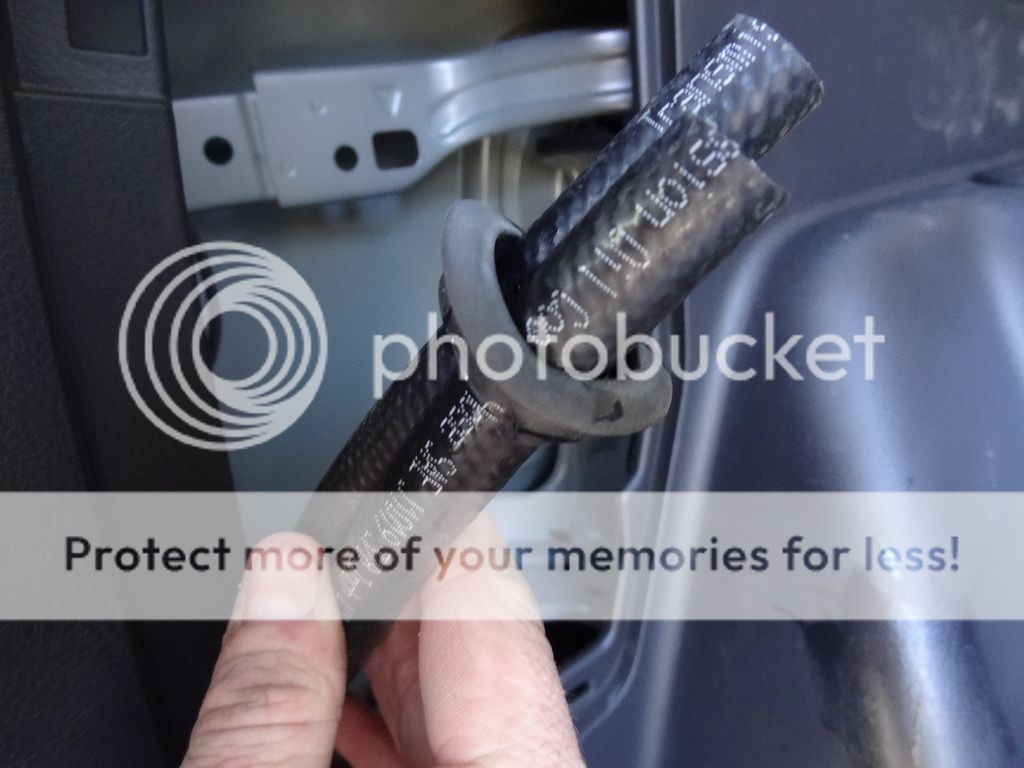
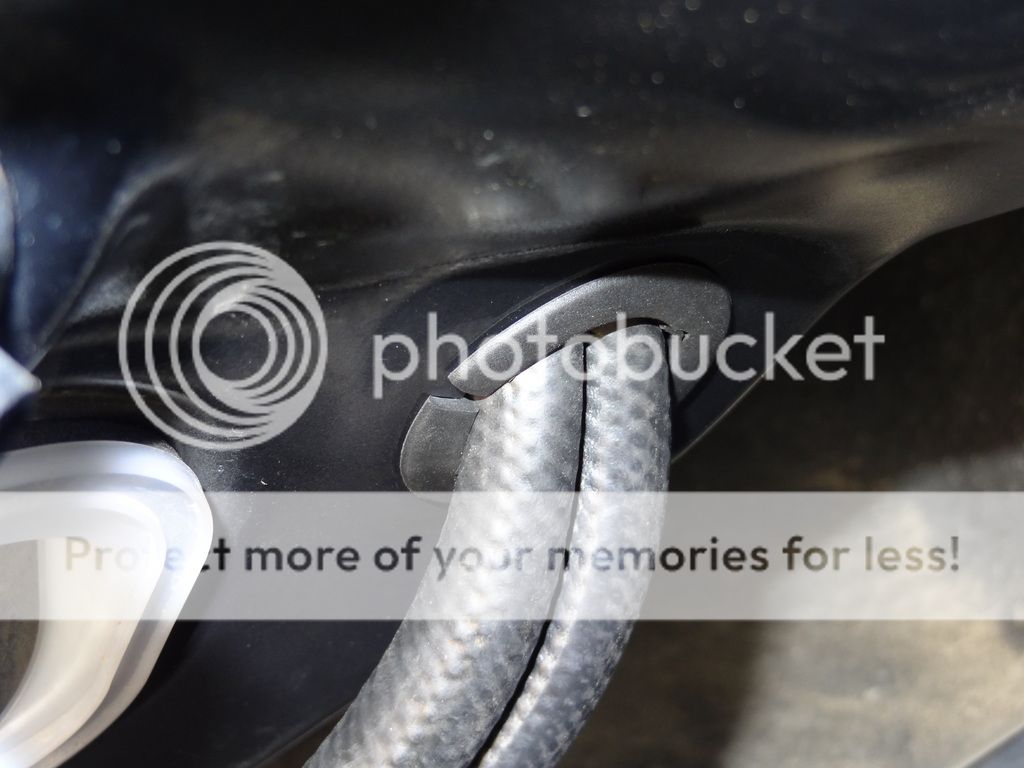
I cut the line in the cargo area, and cut the OEM grommet plug to fit around the lines.


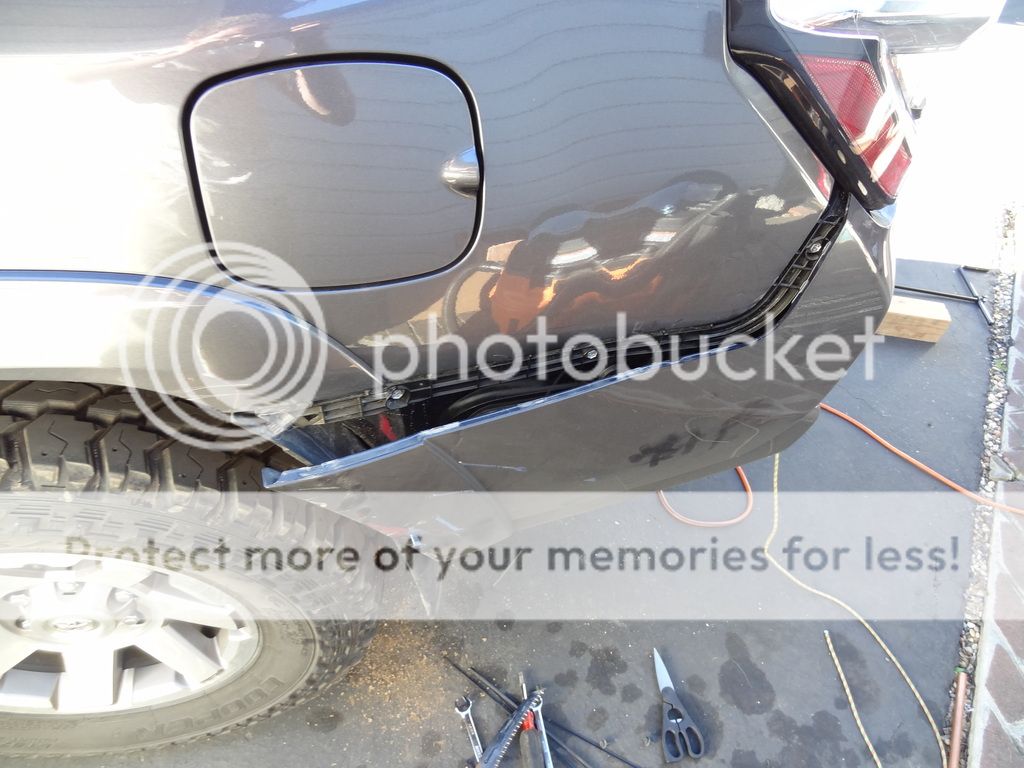
This is where things got a bit sideways. I spent the better part of an hour trying to seat the grommet plug in the hole to no success. I then took the rear fender bumper off to get a better look.


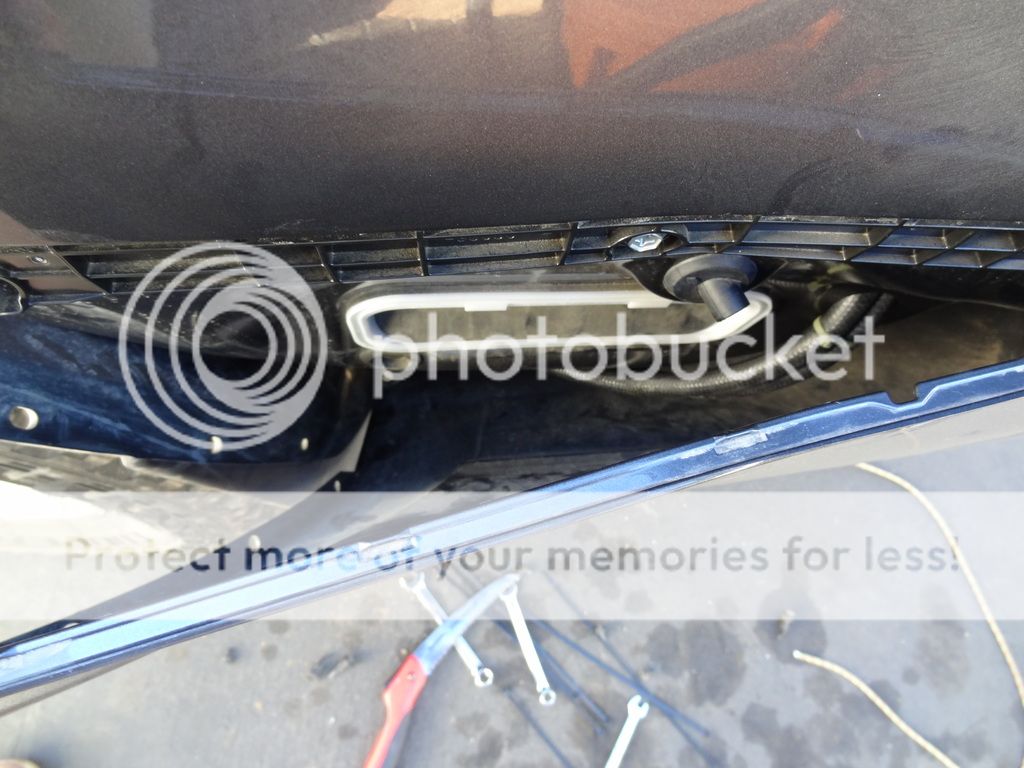
I decided to install the grommet plug from the outside. I cut the plug along the edge, and fit it around the lines. With a bit of soap, I was able to fit it in for a decently sealed fit. Hind sight, don't cut the plug, just remove the bumper edge first and feed from the outside. Done deal.

Install the breather valves on the hoses with hose clamps.

Zip tie the hoses into a spot that is convenient for you.

Reinstall the spare tire, put the jack/tools away, install the covers, finish your beer, done.

Now, to find a creek crossing... More to come...​
 

MTN4RNR

Rank V
Launch Member

Advocate II

1,750
Bay Area, CA
Member #

0614

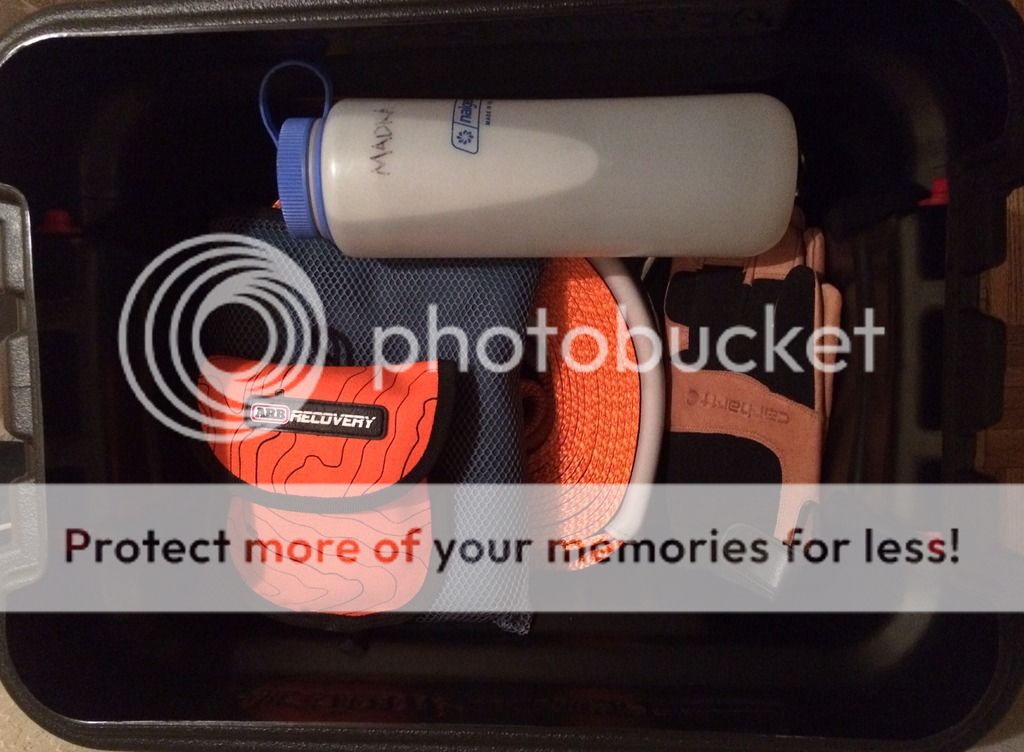
Before the trip to the mountains for Crawl to the Top, I hit the local 4 Wheel Parts to stock up on a few recovery items. Because if I was to get stuck, I at least wanted to have the basics to get myself out. No one wants to be that guy.

Items added:
- ARB E-Z deflator
- ARB 30' 24K lbs. snatch strap
- 4-3/4T shackle, painted school bus yellow because spray paint
- Hitch shackle recovery point I transferred from my old truck
- Gloves
- Towel
- First aid kit

All stowed away in an 8 gallon Action Packer

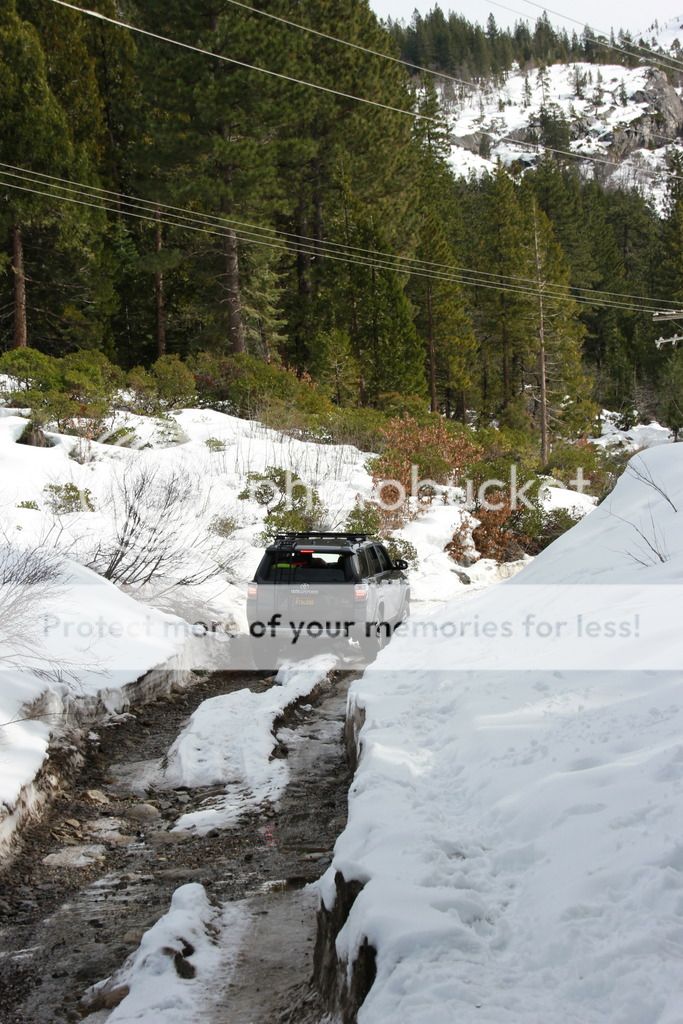
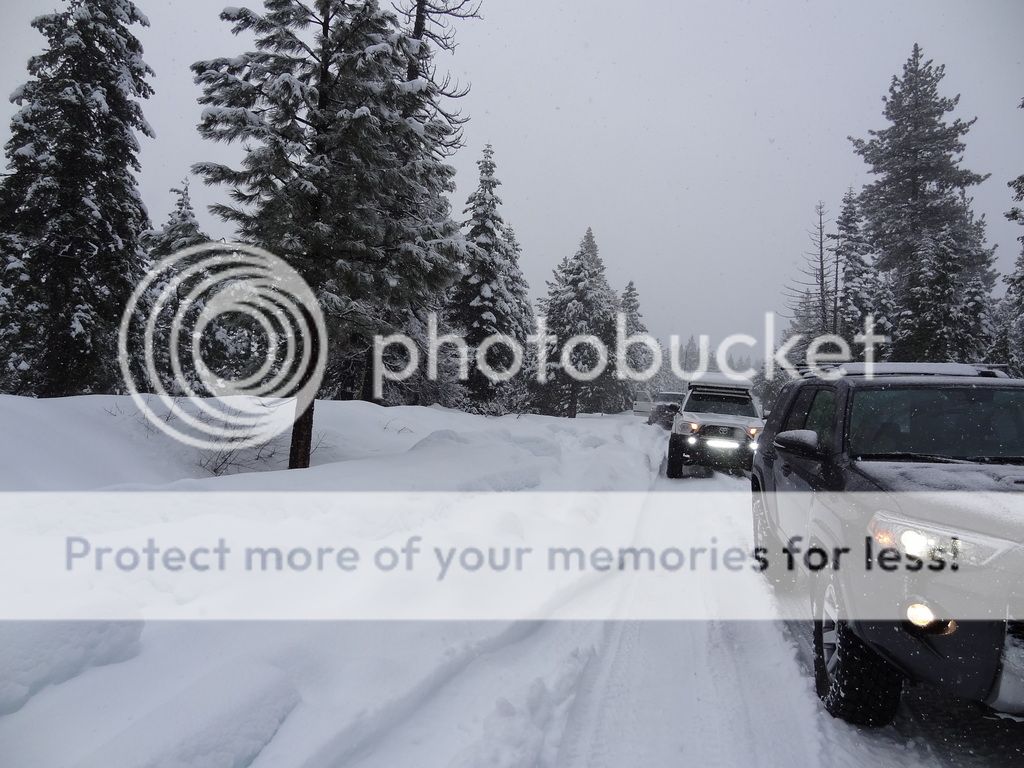
The deflator was amazing when bringing 4 tires from 42psi to 18psi in the snow. I knew it was a good purchase when every other vehicle out of the 60+ that were out there had one. That brings another item to the list, a compressor. What goes down must come back up, and next time a gas station might not be so convenient. The compressor just went up on the list. I didn't have the chance to use the snatch strap this weekend, but it will undoubtedly come in handy at some point.

Another 'recovery' item that I realized I was lacking was a communications system. I had to continuously jump in and out of the truck to check with other people who had radios to see what was going on and that's just annoying. So I am taking it on upon myself to get my HAM radio license and install a unit (TBD) in the 4Runner. Icing on the cake is that the girlfriend wants to get licensed too and have her own radio so we can stay in touch when I am in no cell zones, or if the zombies attack and cells are out of the picture. More on that in a future write up.​
 

MTN4RNR

Rank V
Launch Member

Advocate II

1,750
Bay Area, CA
Member #

0614

relocating the breathers is a good idea! I think ARB sells a kit for that too.
That was an option, and hind sight, I think that would have been the way to go. If I was just doing the rear differential, the way I approached it would have worked perfectly, but with the E-locker and me wanting to run a separate line for it, I should have gone with the ARB. Live and learn!
 
  • Like
Reactions: transworldmoto

transworldmoto

Rank III
Launch Member

Contributor II

528
Member #

0957

Hey, I recognize that awesome ladder! The rig is coming along nicely! So what are we on now, 4 different forums together?
 

MTN4RNR

Rank V
Launch Member

Advocate II

1,750
Bay Area, CA
Member #

0614

Hey, I recognize that awesome ladder! The rig is coming along nicely! So what are we on now, 4 different forums together?
The ladder is indeed awesome! Need the roof rack to complete the transformation! Only bummer is that I noticed due to my use of the fasteners (which work great, by the way) and because they're thicker than the standard adhesive, the hatch mount has rubbed against the roof sheet metal in one spot. Took the OEM paint down to metal I think. Its in the gap between the hatch and the roof, so you can't see it. This weekend's project is to take the ladder off, because I can do that with the fasteners, and grind down the rubbing corner. Then paint the exposed part of the 4R's body with flat black rustoleum. Hopefully that'll be the last of that.

I think 3? Doesn't matter. The more the merrier :grin:
 

transworldmoto

Rank III
Launch Member

Contributor II

528
Member #

0957

Dude, let's count them out and try and add more, haha. Expo Portal, OverlandBound, T4r.org...am I missing any? Doesn't matter, just thought it was funny!

Sorry to hear that. I've been fixing all of the trail pinstriping and little chips/scratches here and there before I trade in, hopefully next Friday. Still need a silver front valance, though, as I had a new front bumper painted and it obviously doesn't come with it.
 

MTN4RNR

Rank V
Launch Member

Advocate II

1,750
Bay Area, CA
Member #

0614

That's about all of them far as I can tell!

No worries, she's my baby, but I'm not naive about things happening haha. I am just glad it's in a place where I will NEVER see it! haha. Otherwise I'd be losing some shit. I wish I could help with the valence, because that would mean I was getting a new bumper!

What's your ETA for the Taco? Bummed you didn't wait for the TRD Pro?
 

transworldmoto

Rank III
Launch Member

Contributor II

528
Member #

0957

Yeah at least it's up on top where you won't see it. Started having second thoughts the other day about getting rid of her, but I've gone too far.

So place an order for one a little over one month ago and was given a delivery window of March (save a few weeks), but we were able to find the same truck at a dealer close by, so they're doing a dealer trade for it this weekend.

Honestly, that truck is legit. It looks great and I love the stance and the offerings, but I'm totally not willing to spend $45k on something I'll be changing. The TRD OR is just fine
 

MTN4RNR

Rank V
Launch Member

Advocate II

1,750
Bay Area, CA
Member #

0614

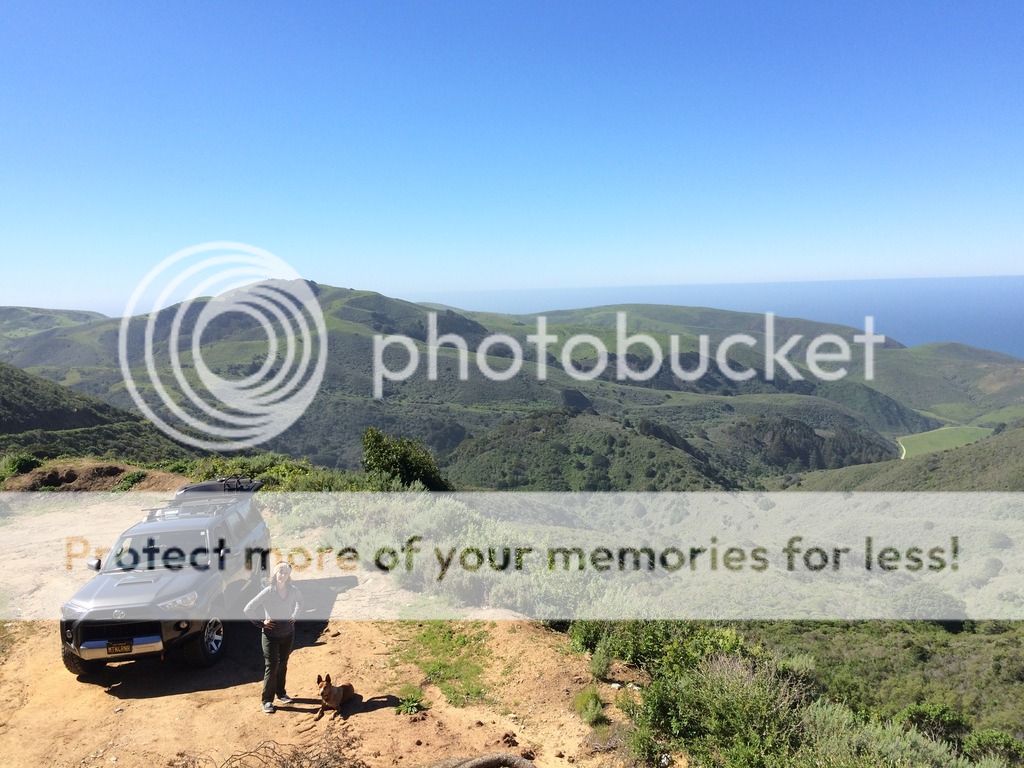
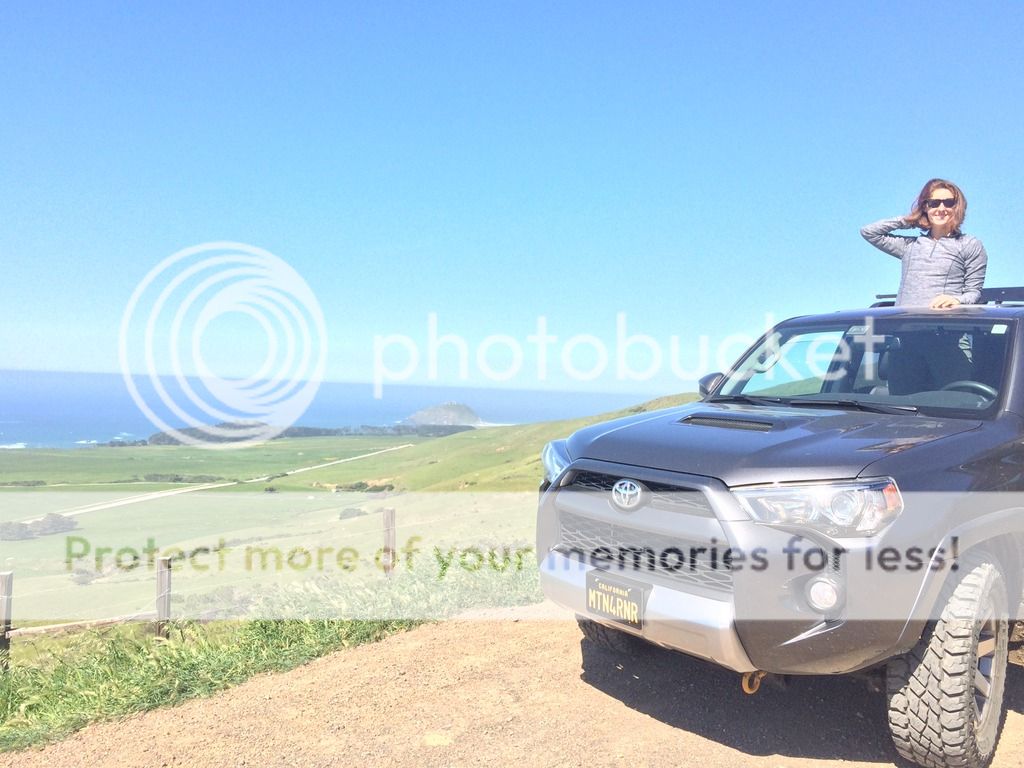
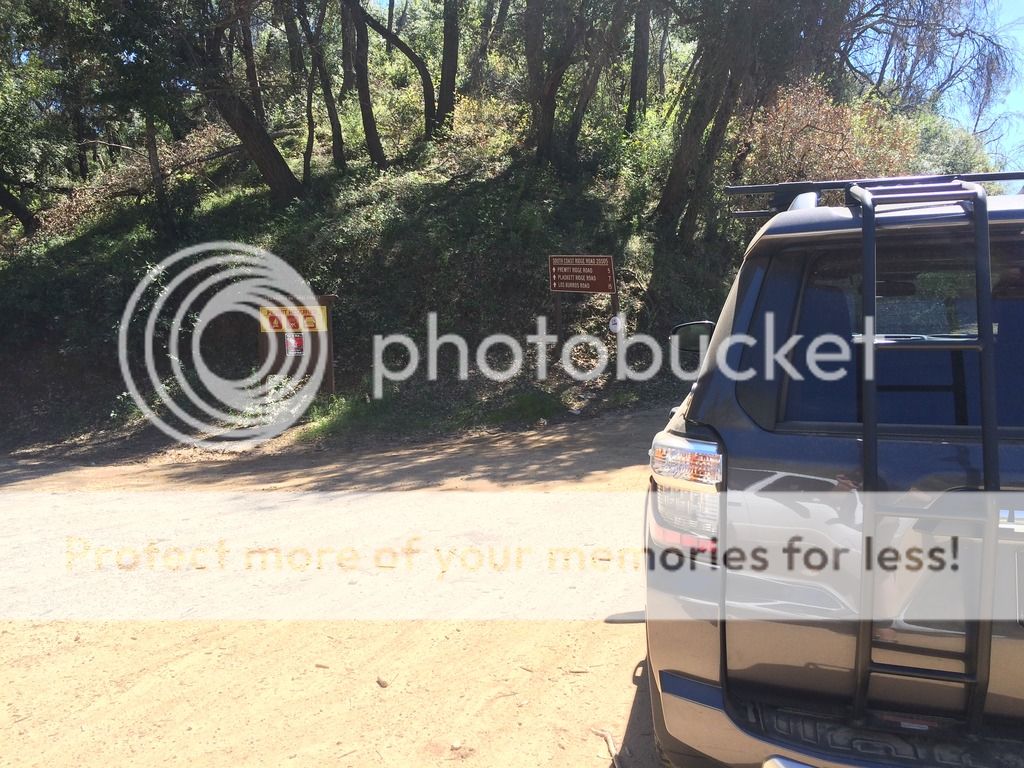
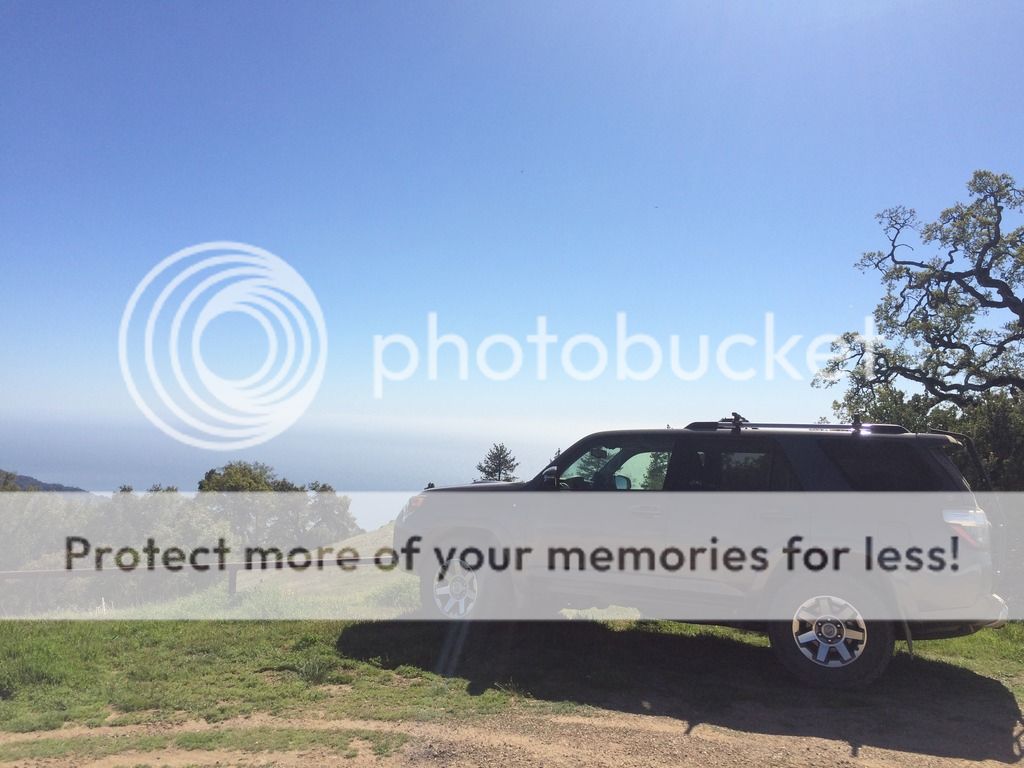
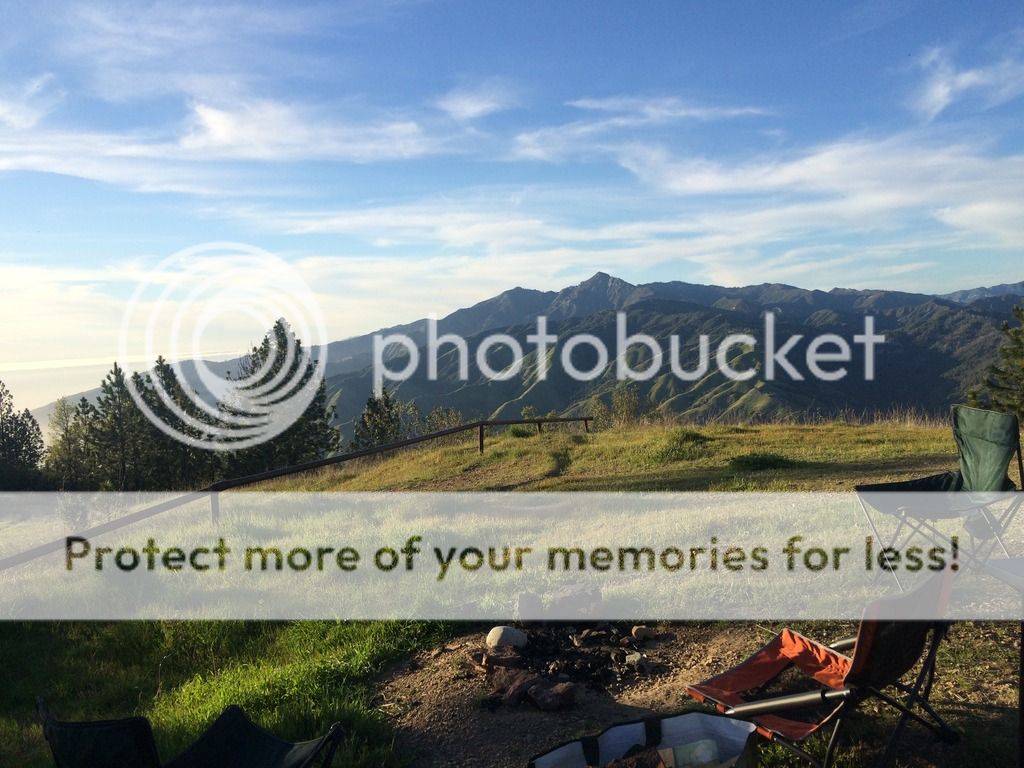
This last weekend, my girlfriend the dog and I took a drive down the central coast of California to meet up with my sister and her boyfriend for some dispersed camping in the Los Padres National Forest, south of Big Sur.

Always a favorite part of the trip


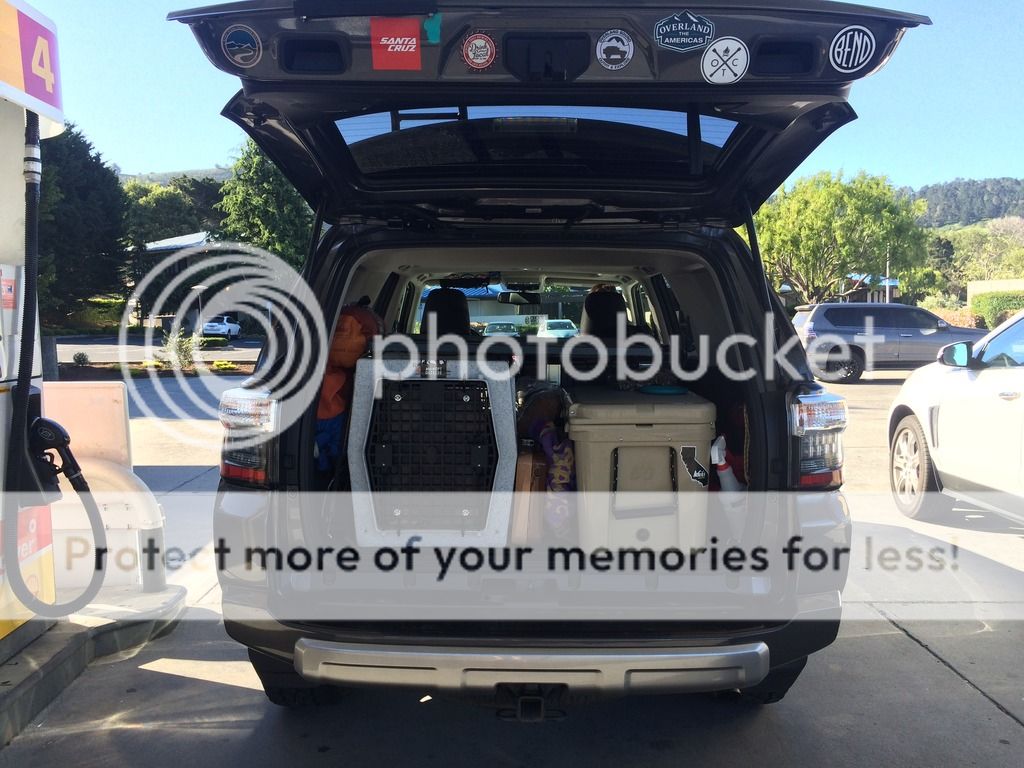
Packed and fueled


Drove south to Old Coast Road, on the north side of the iconic Bixby Bridge (photo is from the road, but I took it a few months back)


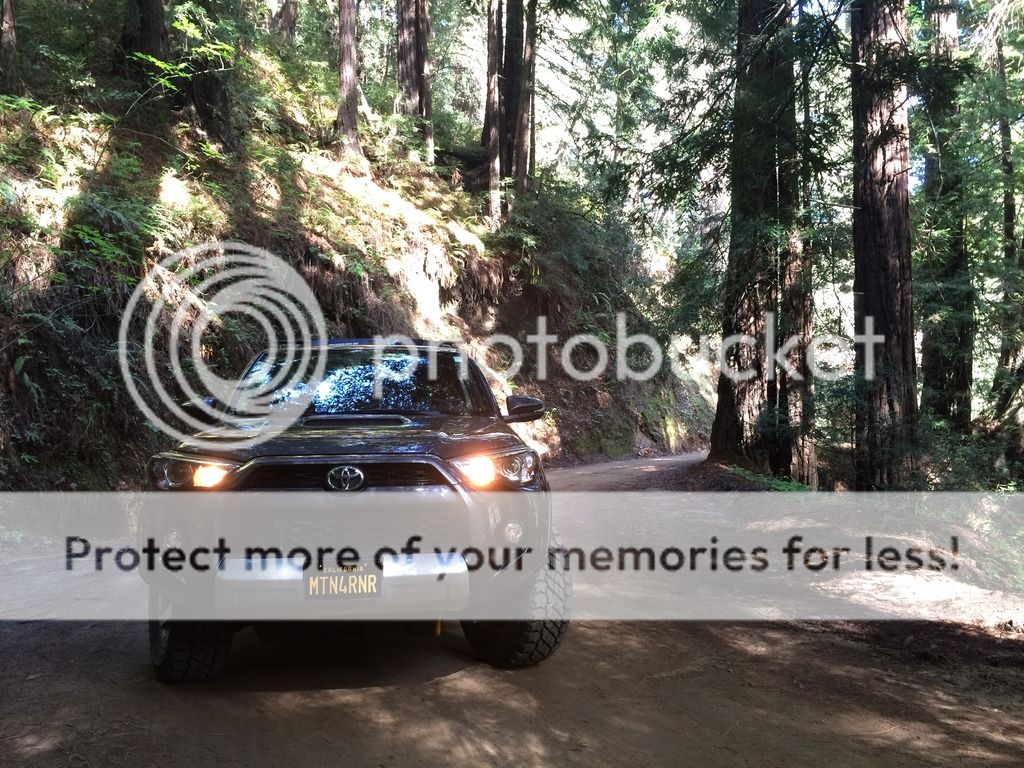
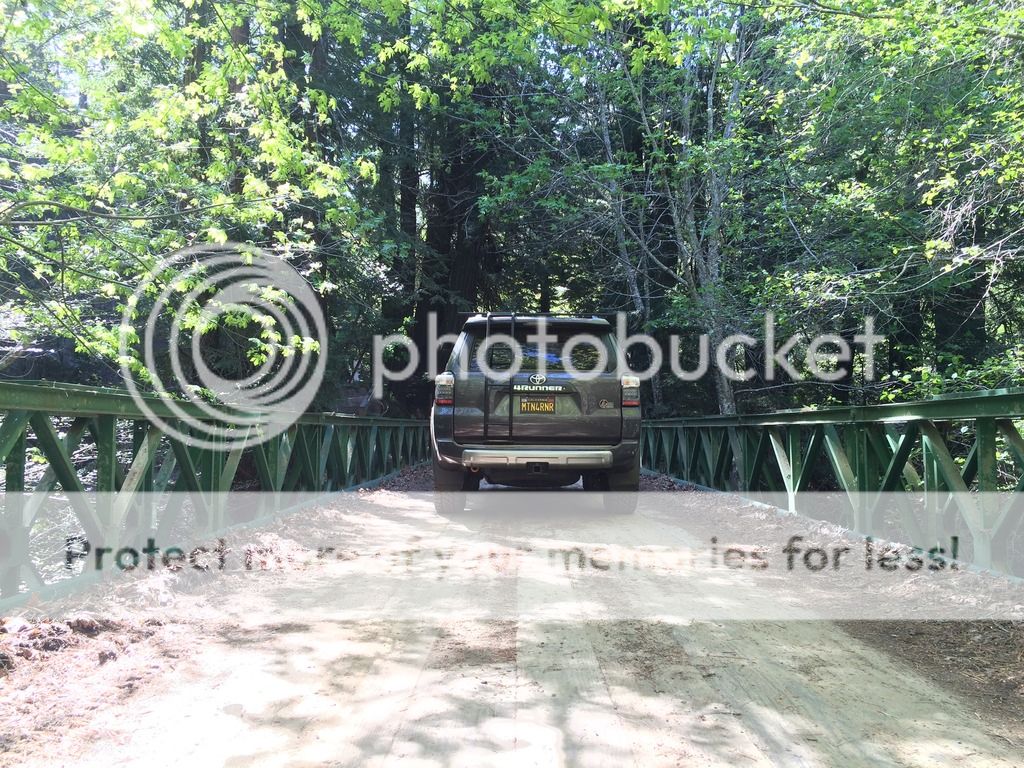
Continuing on, the road winds through the redwoods, along a few creeks, up into the chaparral environment on the high grassy plains, then back down to Highway 1 at Andrew Molera State Beach.


We then met up with the other party and headed down the coast, and up the hill towards our camping site for the night


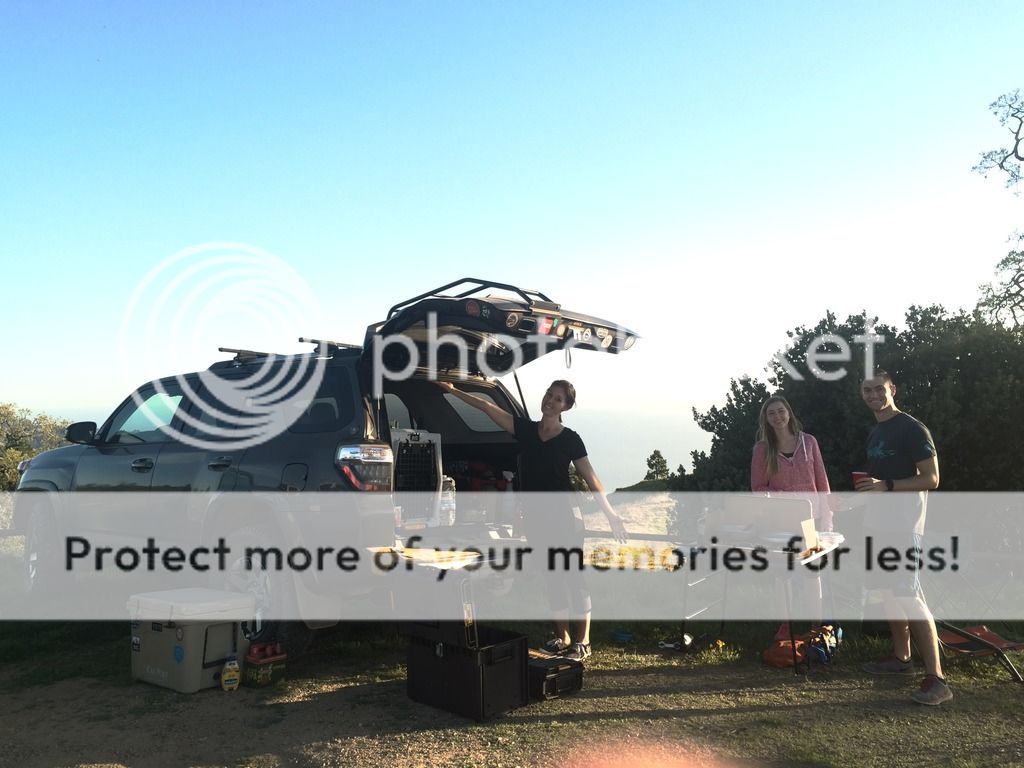
Arriving at the camp site, we found a good spot and set up camp


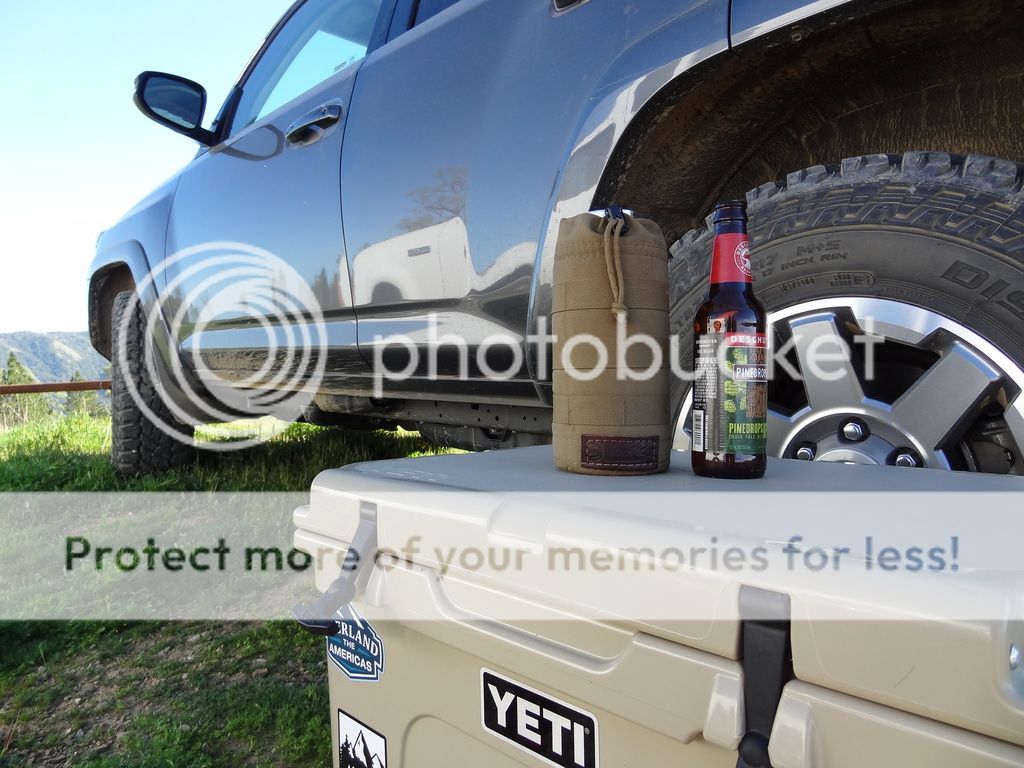
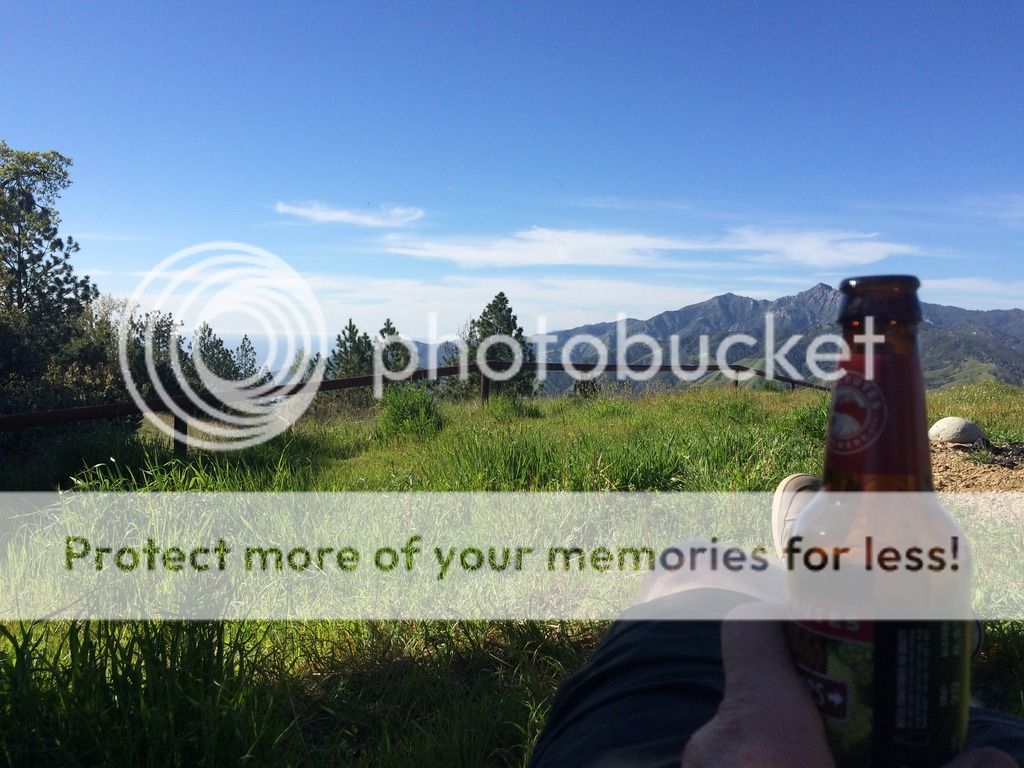
I usually focus on the beer, but the view from the chair was too good...


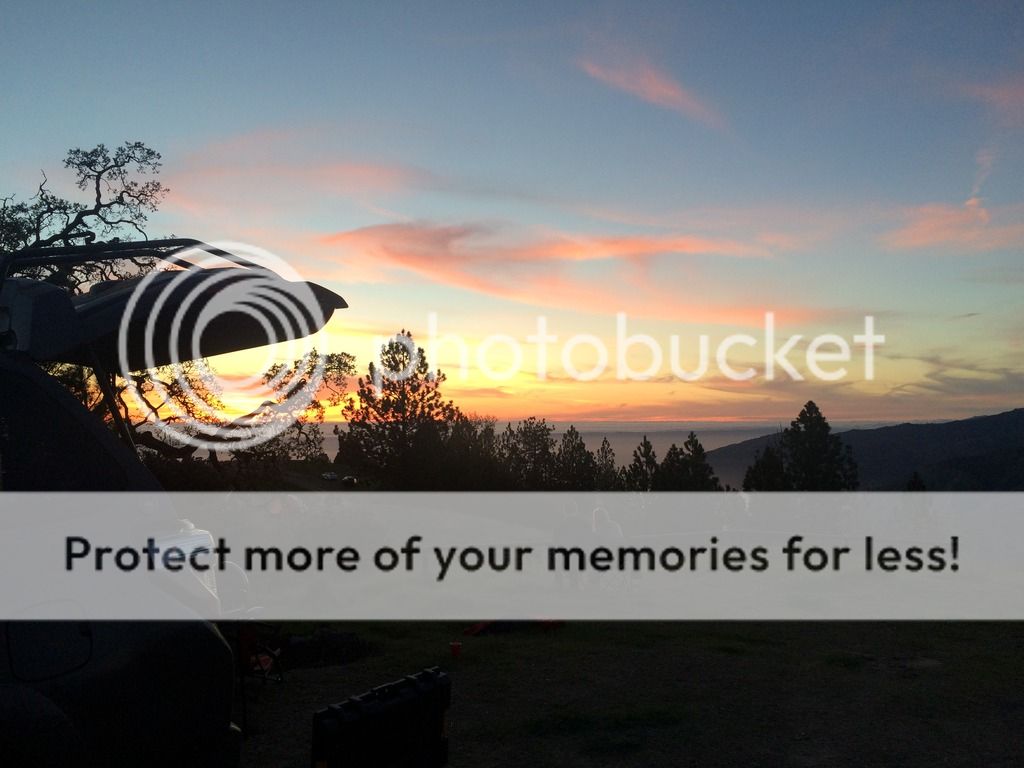
Sunset wasn't bad either


Scouted our camping site for the next trip in the morning


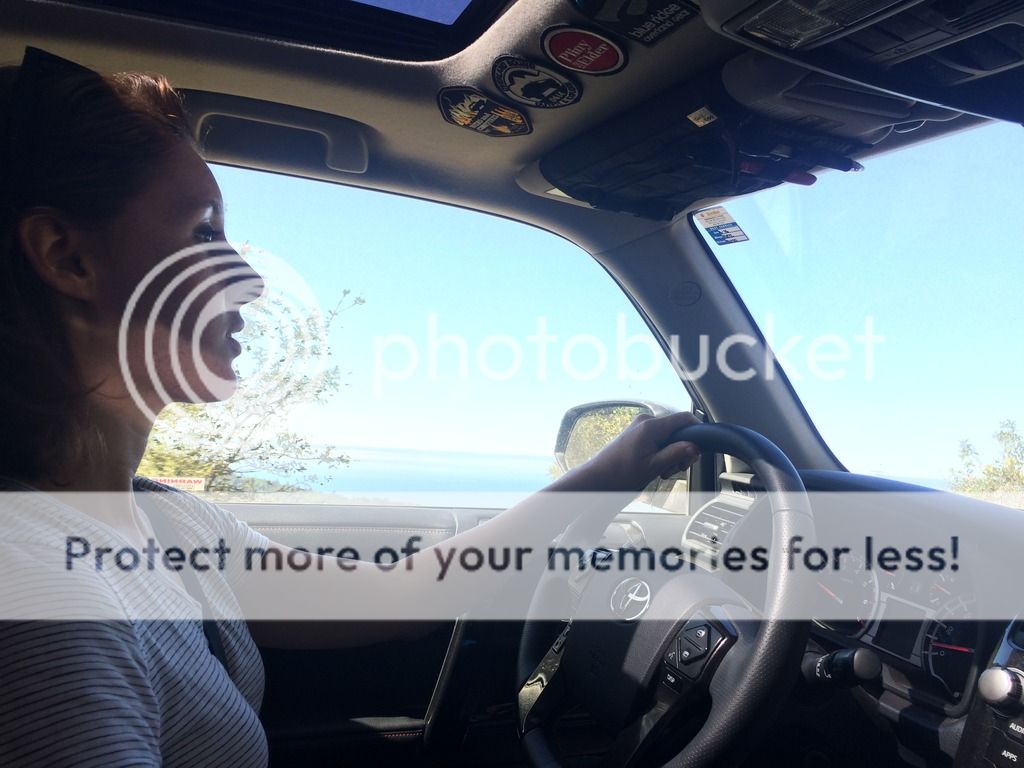
Headed back down the hill, and back home. It was a short, but really awesome little trip. On the way down, I swapped seats and gave an "offroad 101" course to the girlfriend. We went over navigating washboards/ruts/rain channels, speed control, and how to engage the 4wd system. It's really fun knowing that she's up for learning to drive the 4Runner off road.


Until next time...​
 

Lifestyle Overland

Rank VI
Founder 500
Member

Pathfinder II

4,387
United States
First Name
Kevin
Last Name
McCuiston
Member #

0102

Dude, those are simply epic shots! We LOVED the Big Sur area when we visited a few weeks back. Can't wait to return.
 

MTN4RNR

Rank V
Launch Member

Advocate II

1,750
Bay Area, CA
Member #

0614

I have been wanting to add some extra fire power to the lighting arsenal of the 4Runner for a while. After the HID install, I found that the stock halogen high beams didn’t really match the low beam output, or color. And I no longer had the function of being able to ‘flash’ my high beams to be able to signal to other drivers because unless the low beams were on, flashing the stock high beams would cause the HID ballasts to flash as well, which is not good for long term reliability. So, aftermarket light bar it was. I decided on the S8 light bar from Baja Designs because their design is fantastic. Serviceable and exchangeable lenses, great light dispersion with the combo/driving lens, low beam matching 5k light output, and the separately wired amber back-lighting. I wanted a single row, because I wanted to keep it less noticeable. I decided on the upper grille because I wanted to keep it in-line with the headlights, not to block the radiator, and to have the back-lit feature be in the ‘marker light’ position. I bought the LED bar through Apollo Optics .
Switching is controlled by an OEM style switch for now until I add a few more accessories, then I will switch to a consolidated platform (likely a Switch-Pro). Without further delay...​

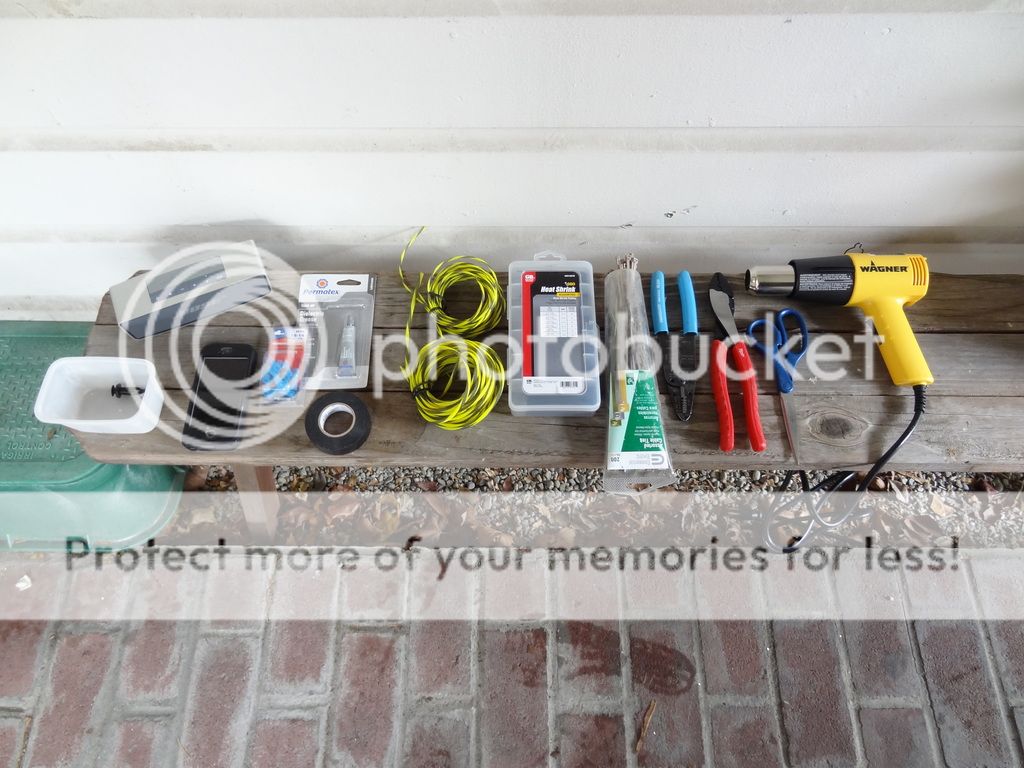
Parts used:
- Baja Designs S8 20” LED bar purchased from Apollo Optics
- Wiring harness from Apollo Optics
- OEM style “Driving Lights” switch from Slee Offroad
- TRD Pro upper grille
- Drill of choice
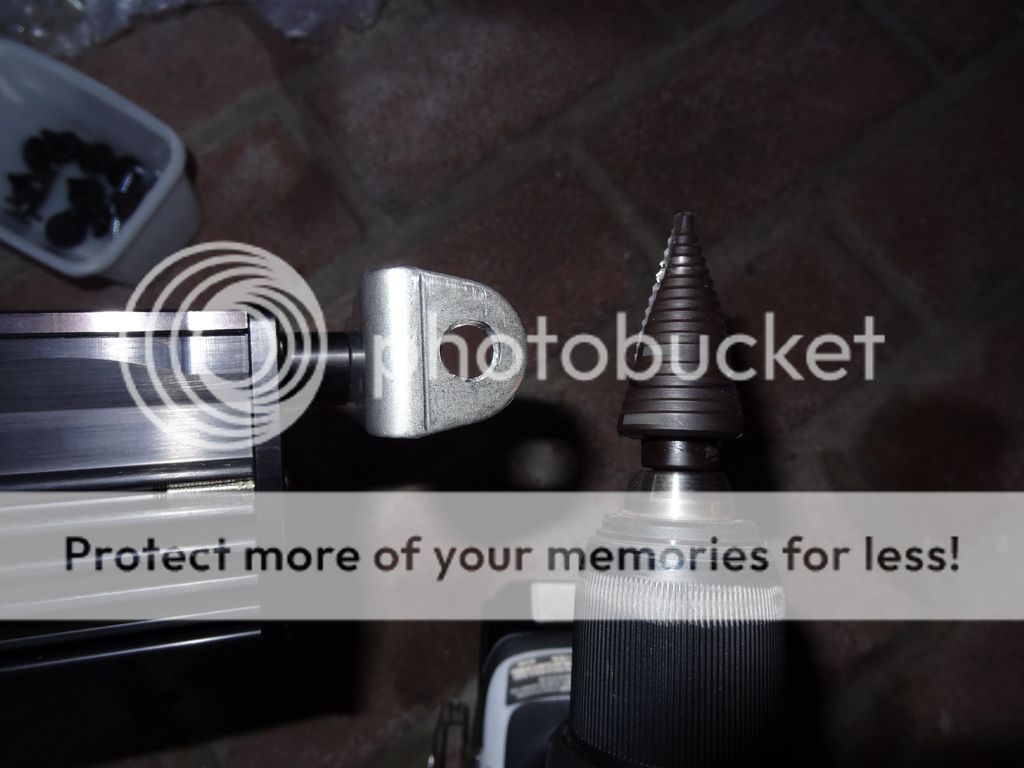
- Milwaukee #9 step drill bit
- Supplied hardware from Baja Designs
- Flexo PET wire sheathing
- Scotch Extreme Fasterners
- Mini-blade Add-a-fuse
- Shrink wrap
- Heat gun
- Weather resistant butt connectors
- Dielectric grease
- 14 ga. wire
- Electrical tape
- Zip ties
- Wire crimpers
- Wire strippers
- Alpine Beer Company - Duet

Install:
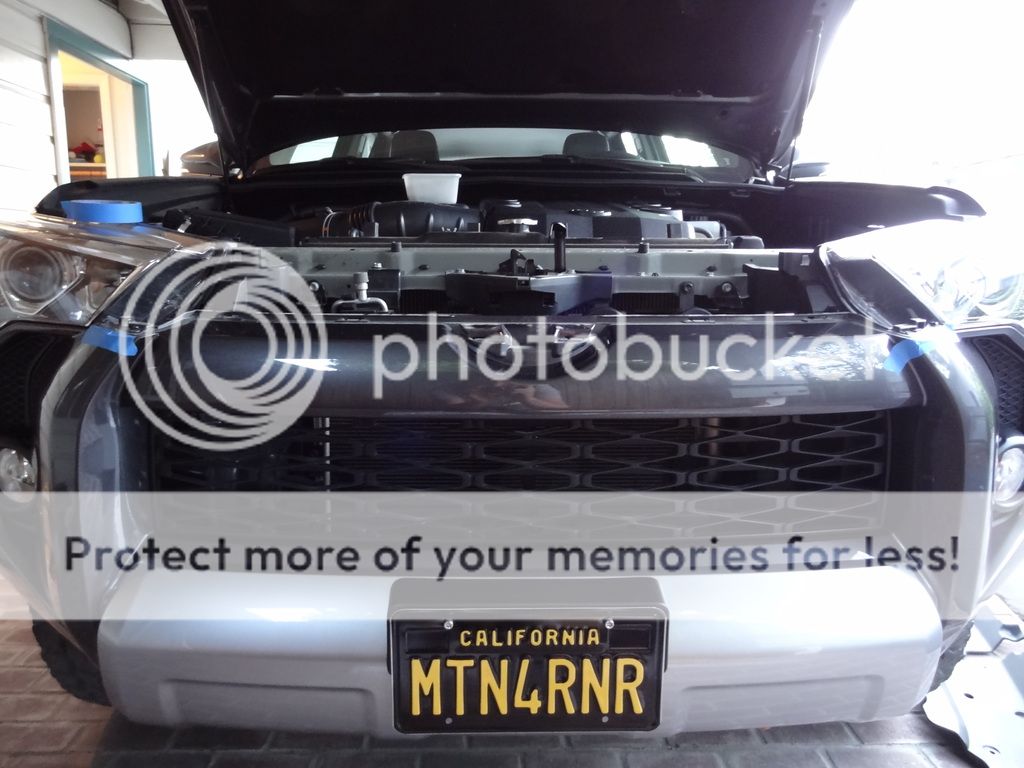
Remove front access cover.

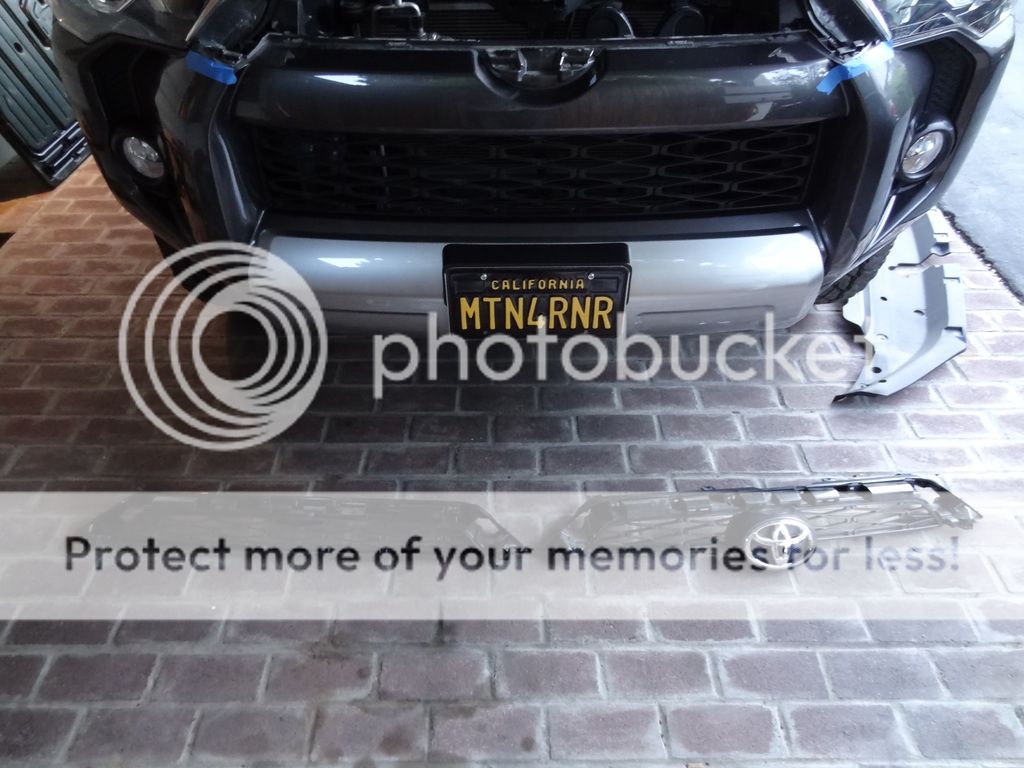
Remove upper grille and bezel. Remove 2 upper plastic clips and pull outwards.

TRD Pro grille vs. Trail/SR5 grille

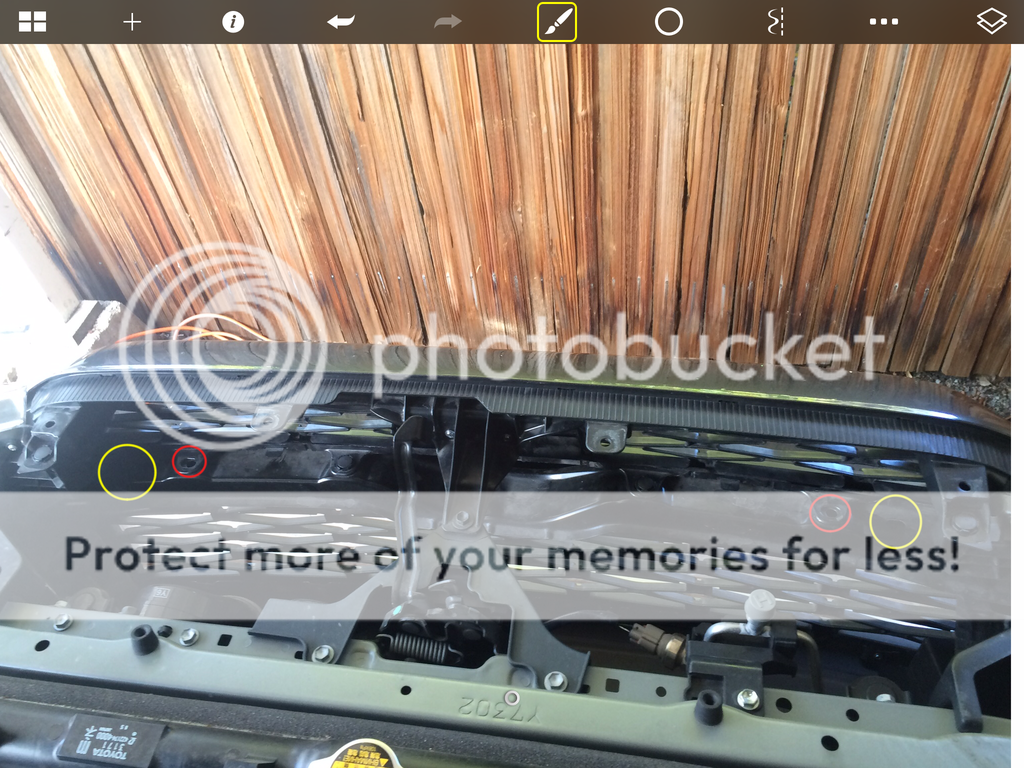
Locate 2 existing stock holes (red) that will line up with brackets provided by Baja. Yellow holes noted could fit a set of the S2 lights from Baja based on measurements, but this is unconfirmed.

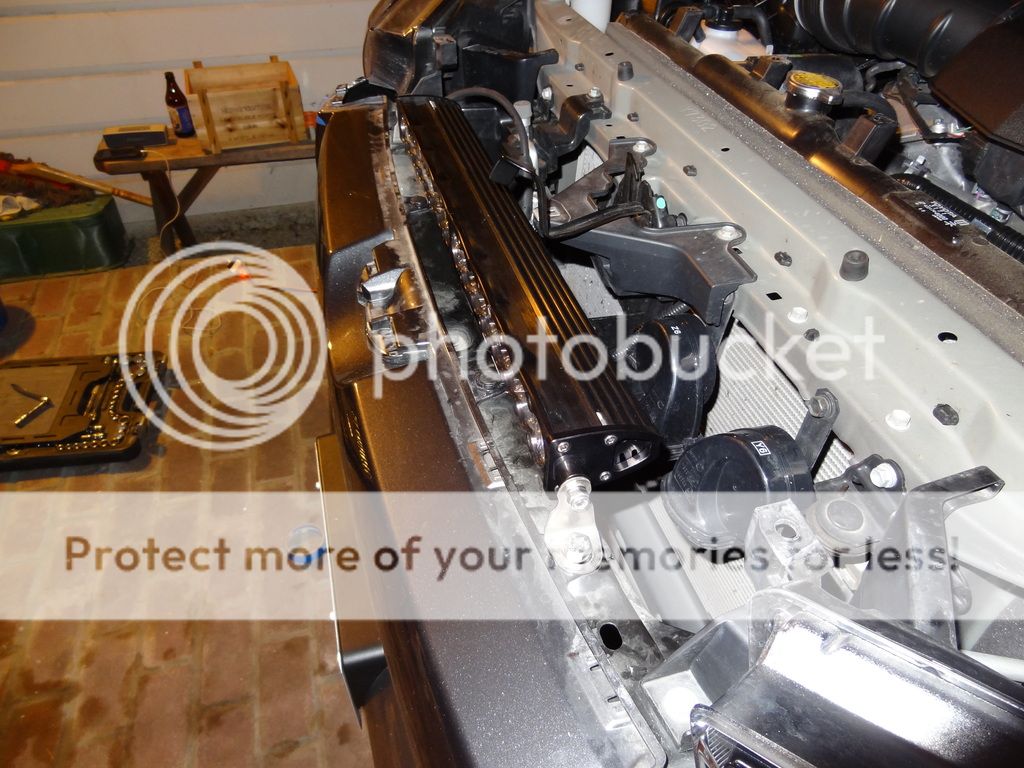
Mock up placement for new LED bar using the stock holes.

Use a step drill to widen the mounting brackets by approximately ¼” per side, and also the holes on the grille support by approximately ⅛” per side. I didn’t measure these, but I would drill and test fit until I could get the bolts to fit through.

LED bar mocked up and bolted in.

LED bar removed, grille mocked up.

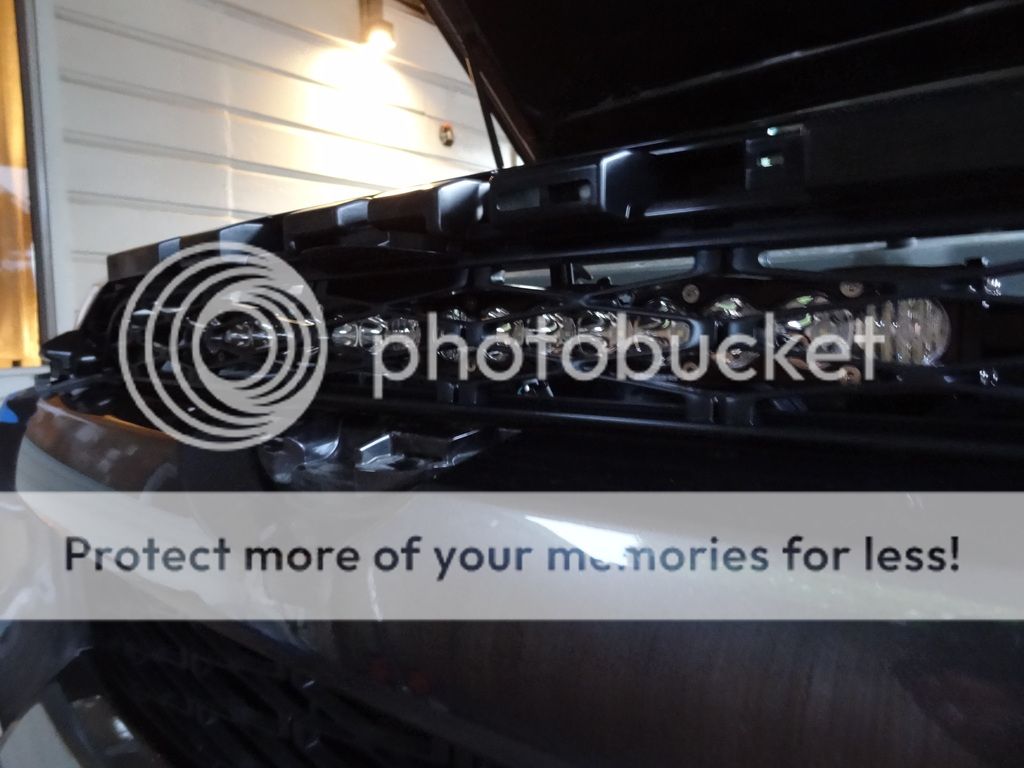
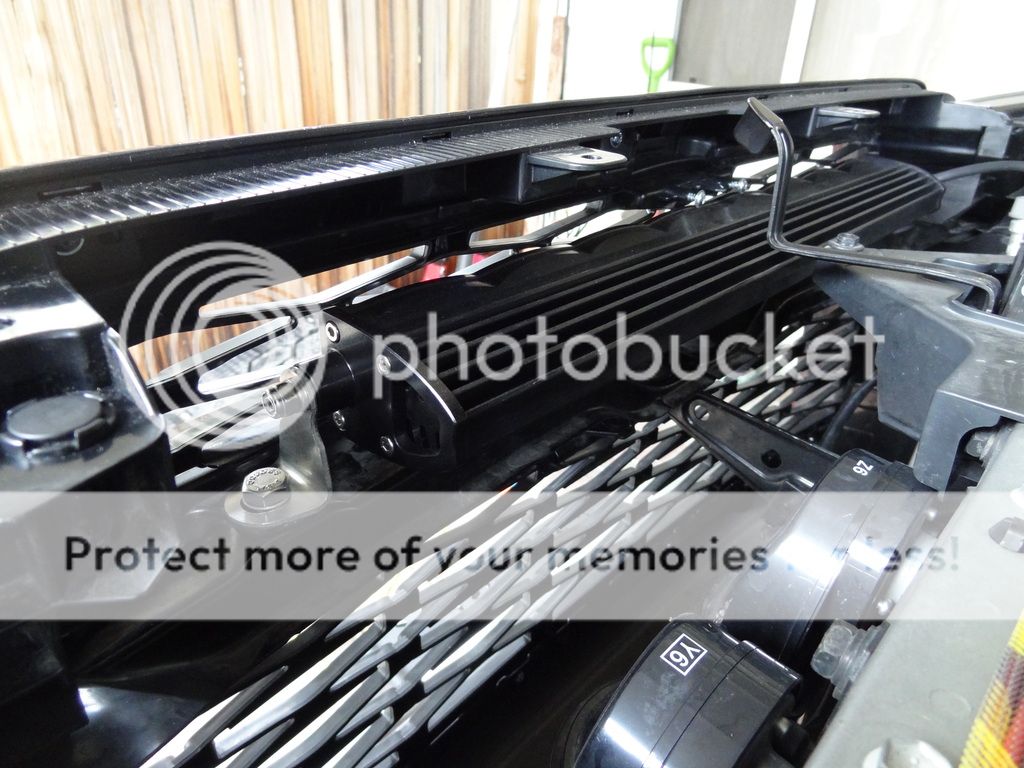
LED bar installed with grille in place.

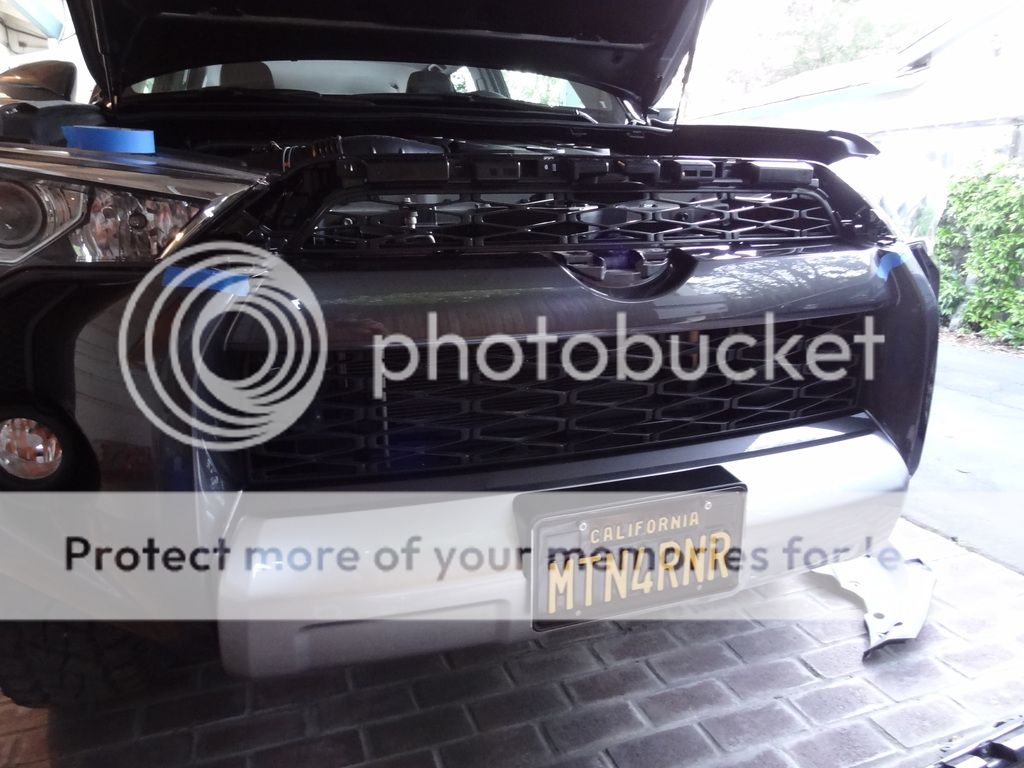
I left the painted bezel off until the install was finalized to reduce any chance of scratching or damaging it.

Bring in the wiring team…

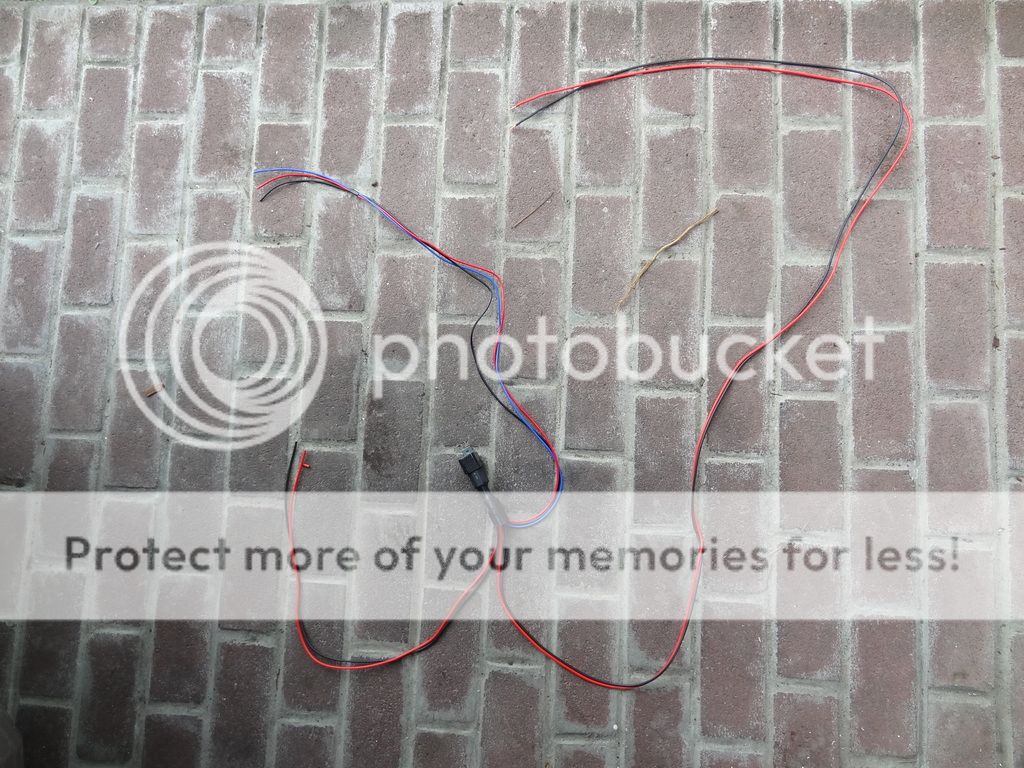
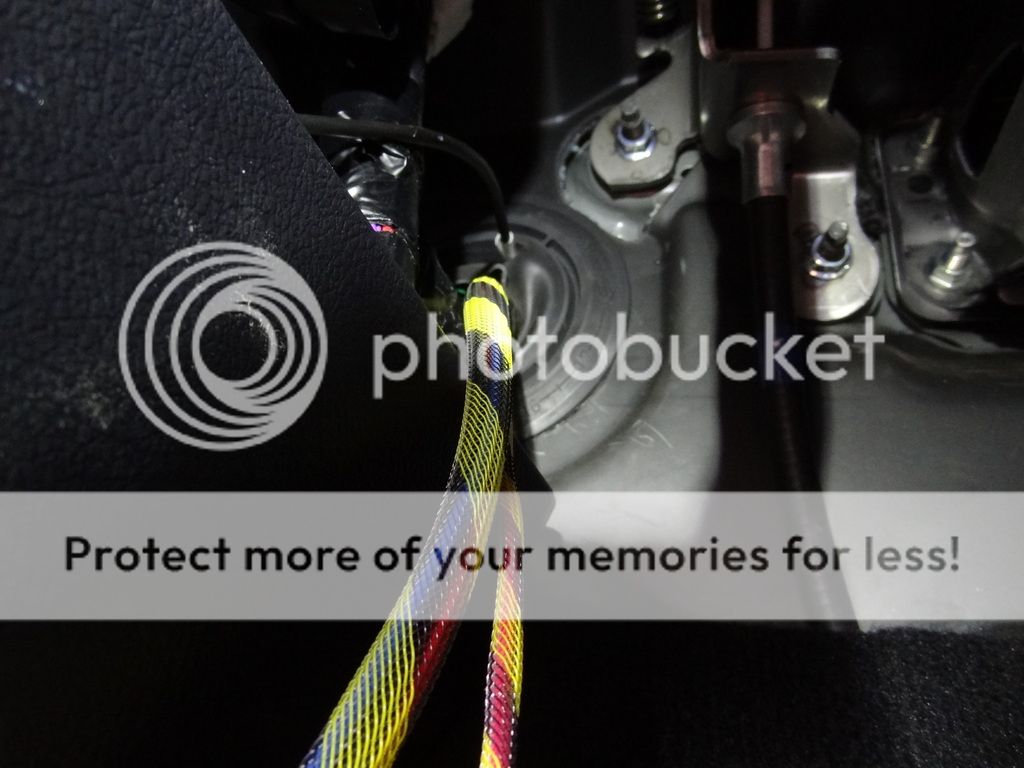
I laid out the wiring harness as I planned on installing it and cut everything to length. I poked a hole in the existing firewall grommet and fed the unsheathed wire through to take a measurement first, then pulled it out and cut. Harness laid out.

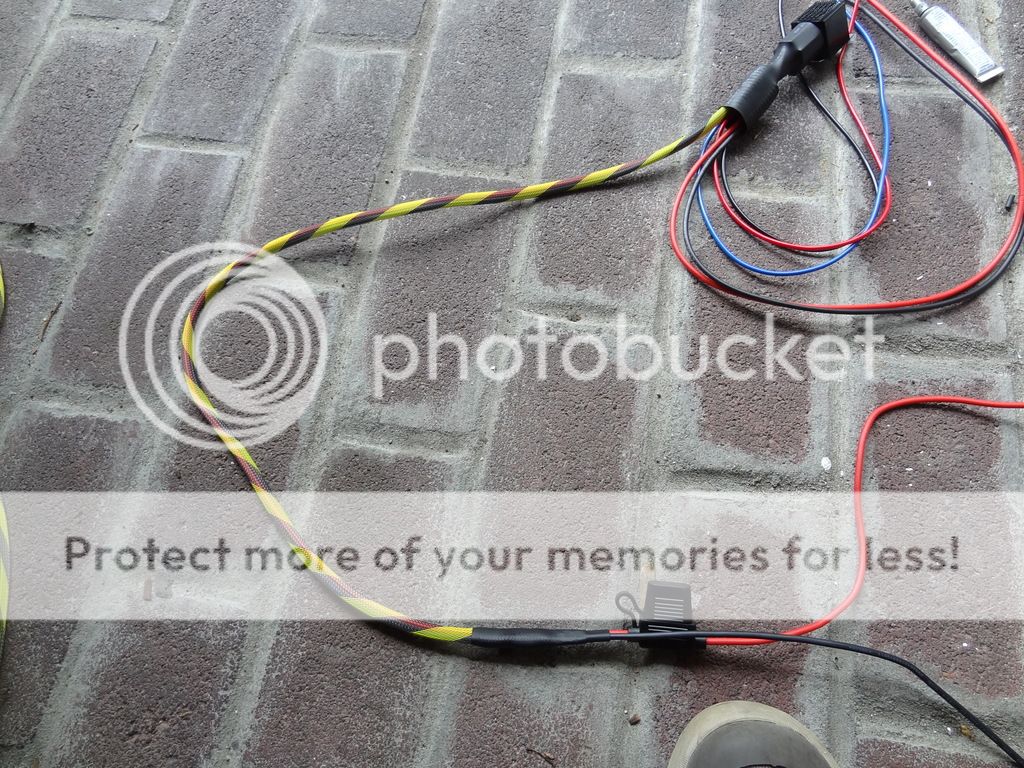
I then wrapped all lines in the Flexo PET sheathing to protect from wear and to consolidate multiple wires into one manageable run.

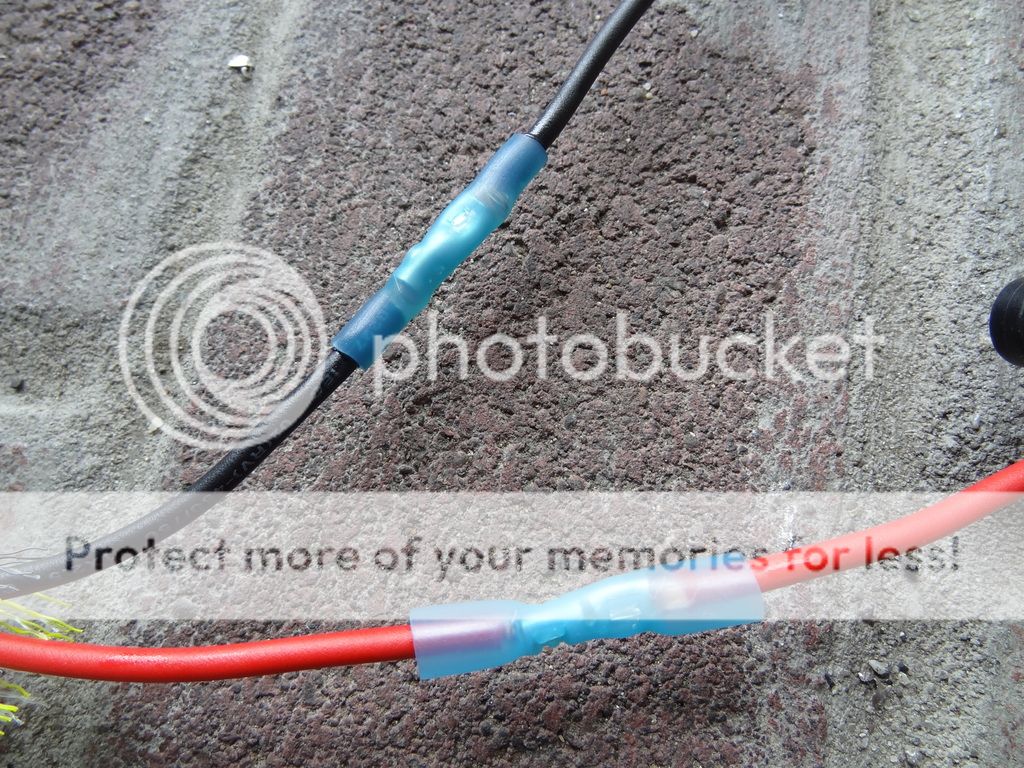
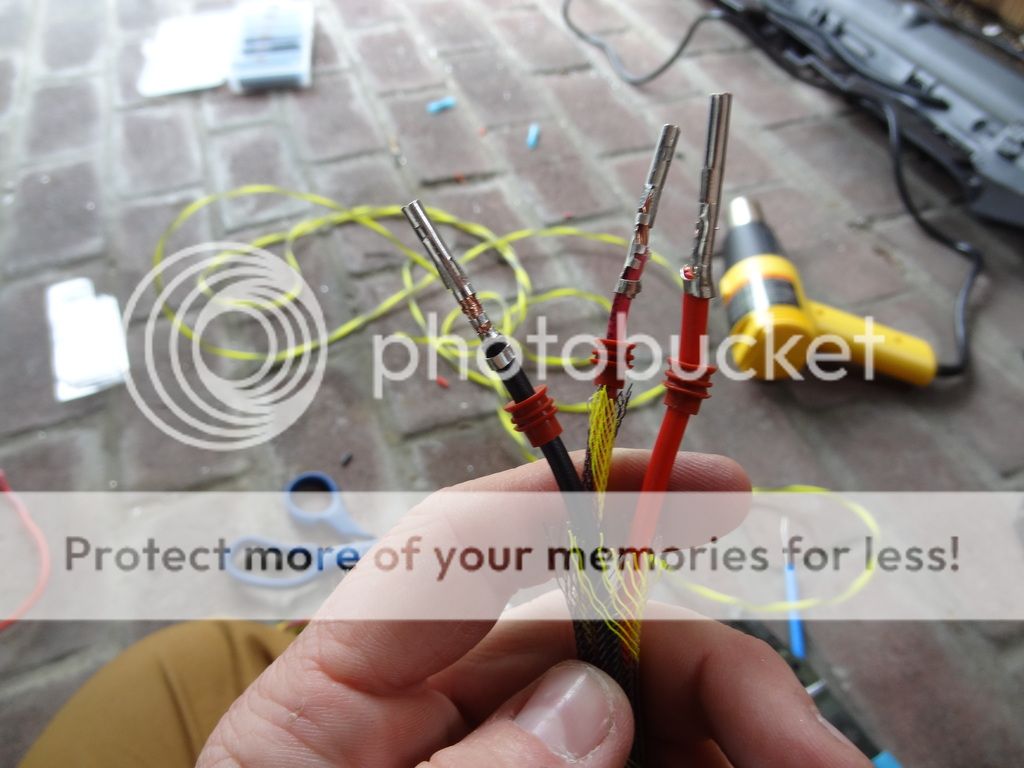
All connections made were with dielectric grease, weather resistant butt connectors, and shrink wrap. Thanks to Antman (T4R) for the advice on how to make a proper connection using proper tools. This shows an un-shrunk (red wire) and a shrunk butt connector (black wire).

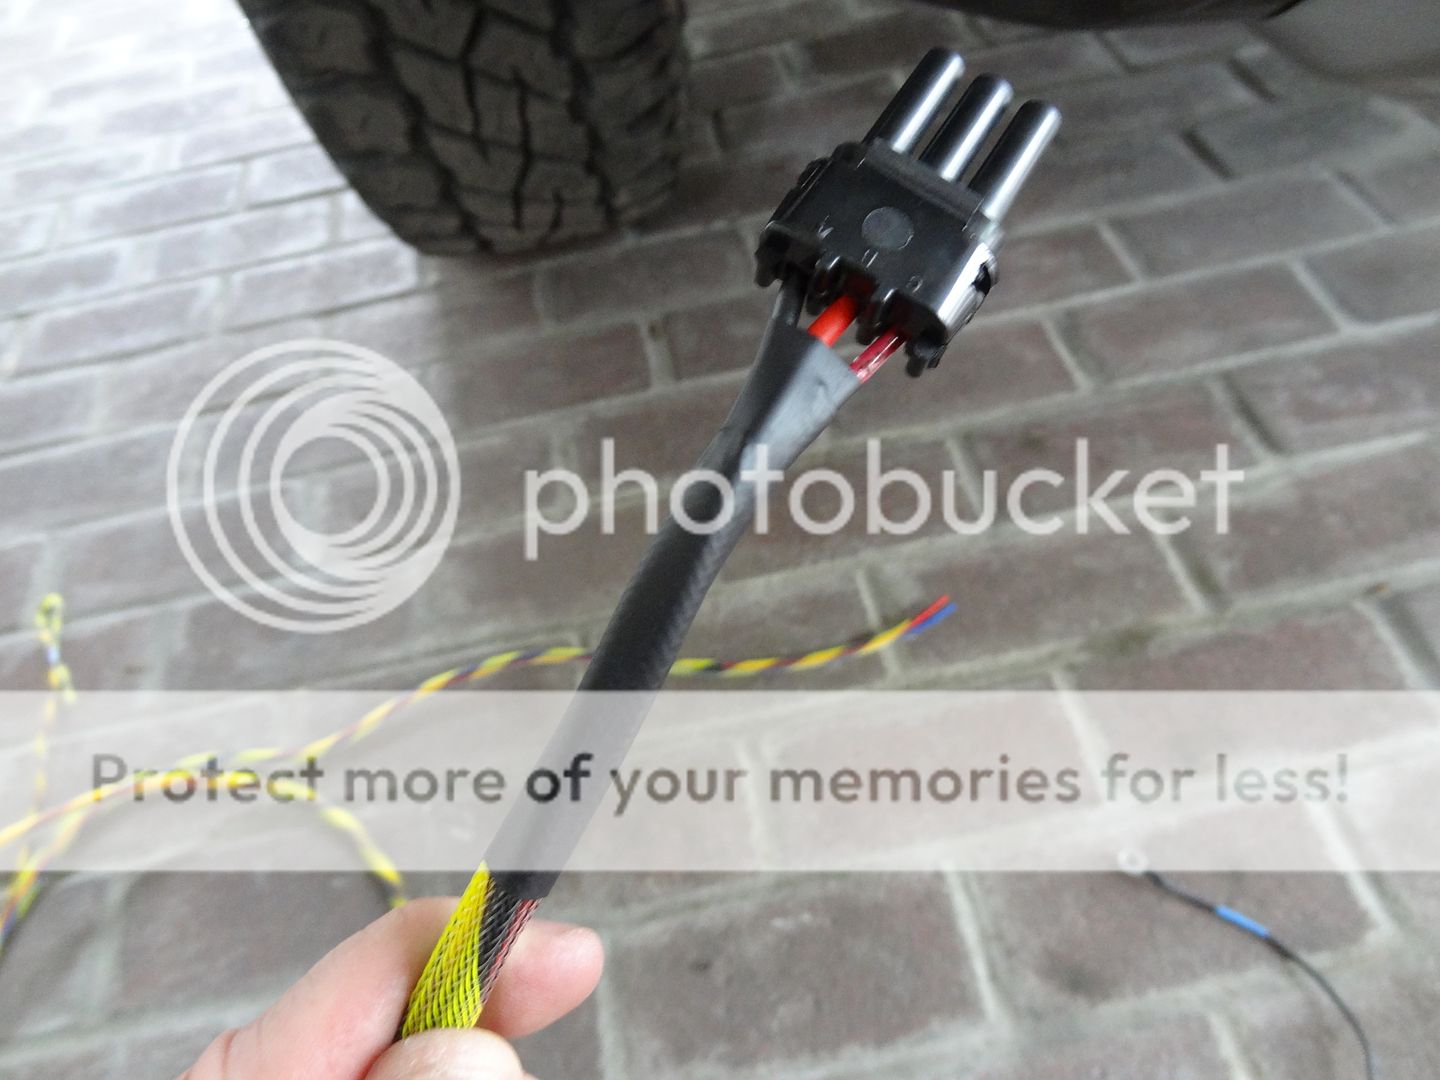
Connectors for the supplied male weather tight connector that comes with the S8 LED bar.

Capped, sheathed, shrunk wrapped.

Laying out all sheathed wires.

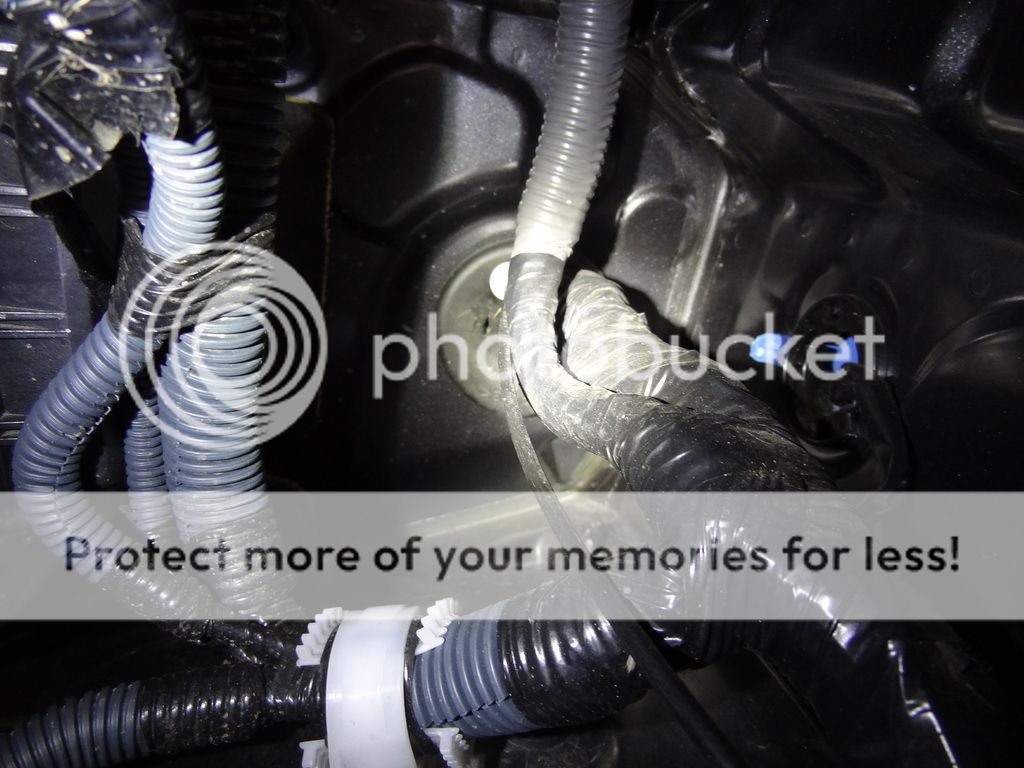
Hole in firewall grommet, and feeding the wires through.


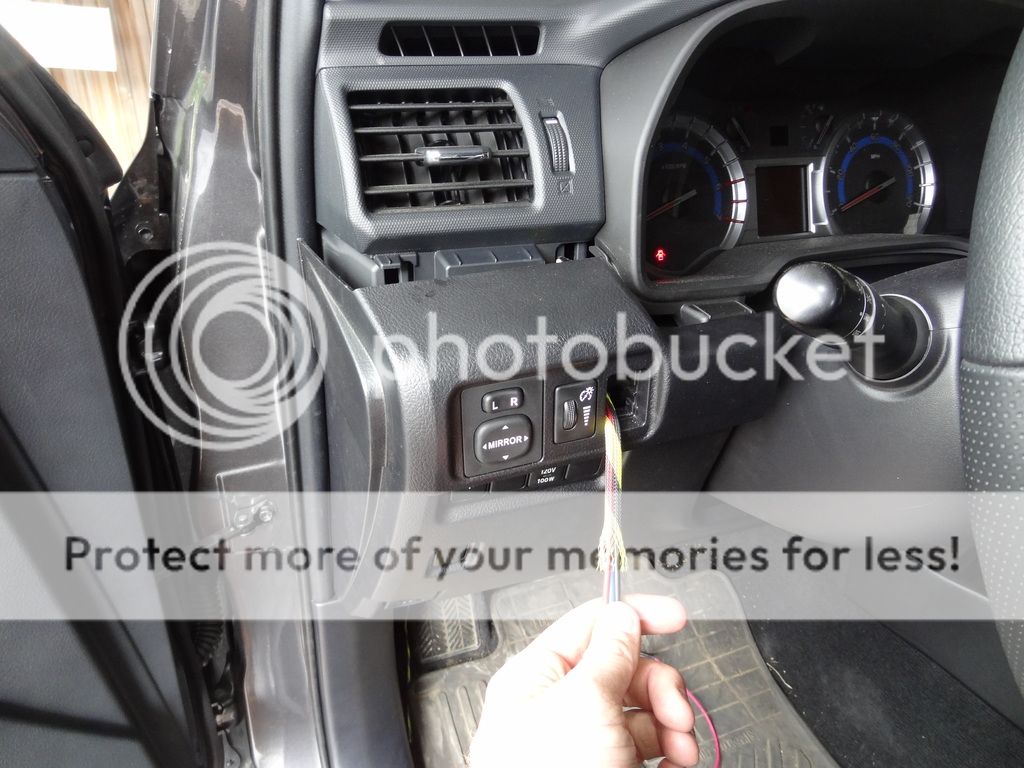
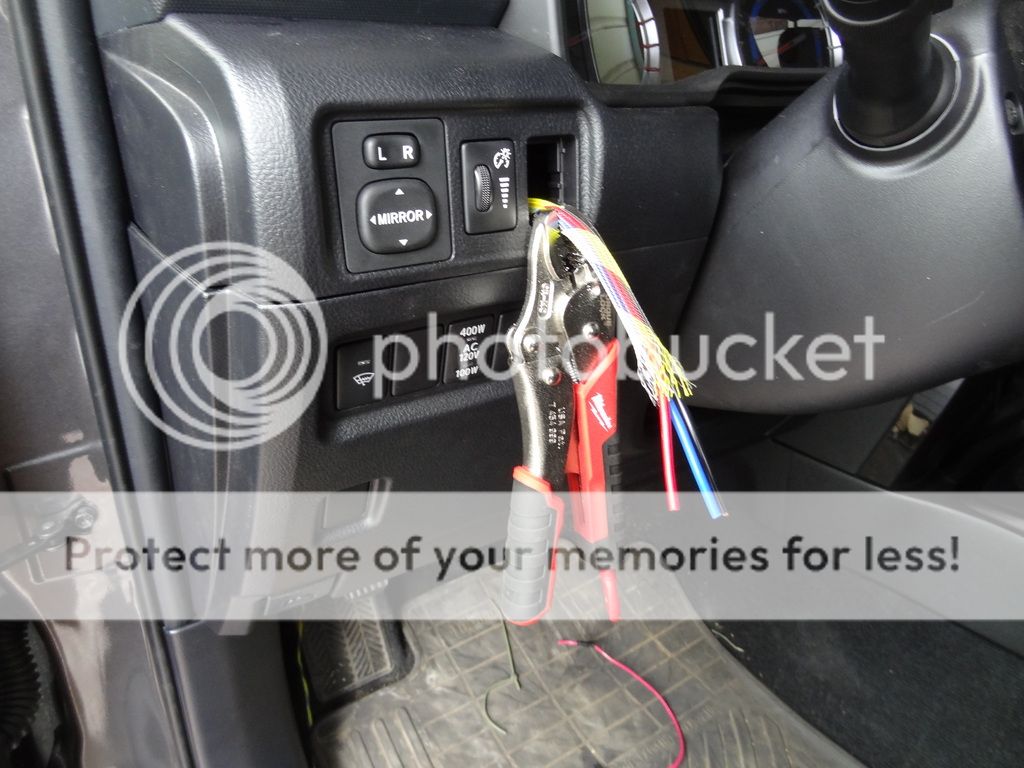
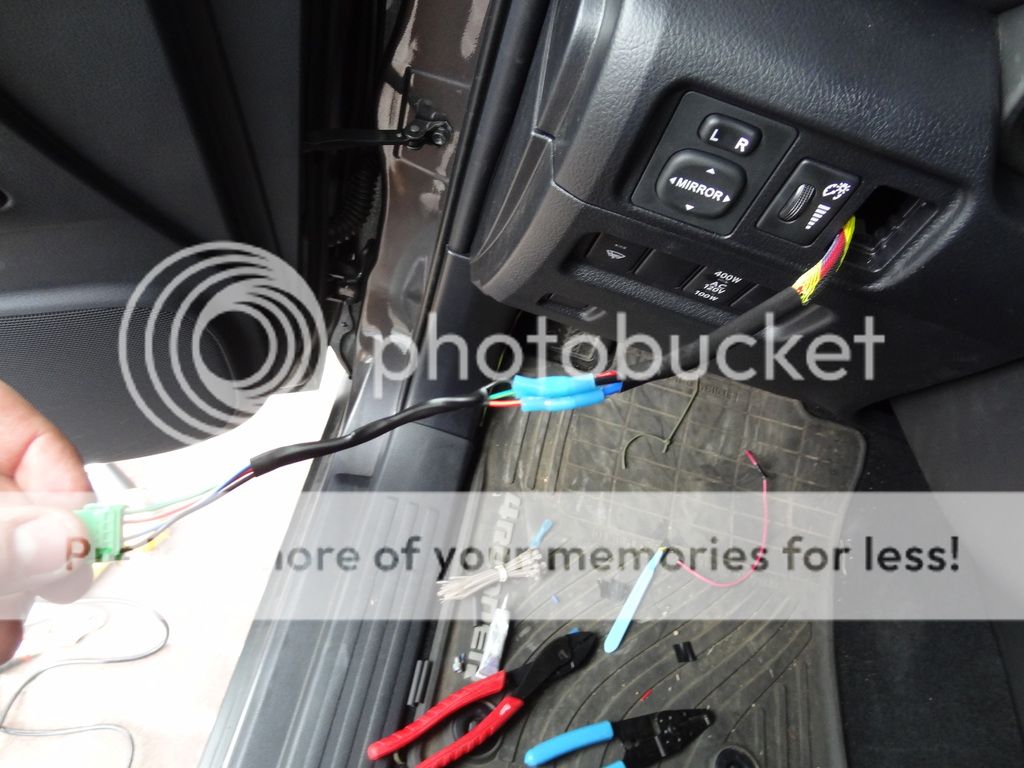
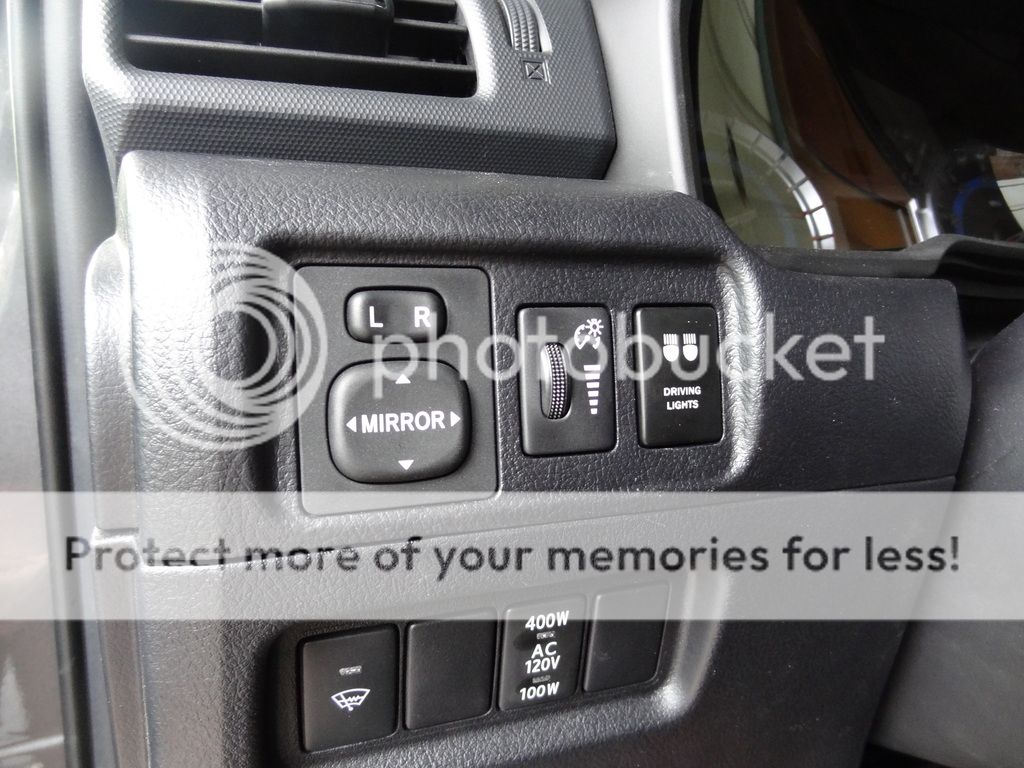
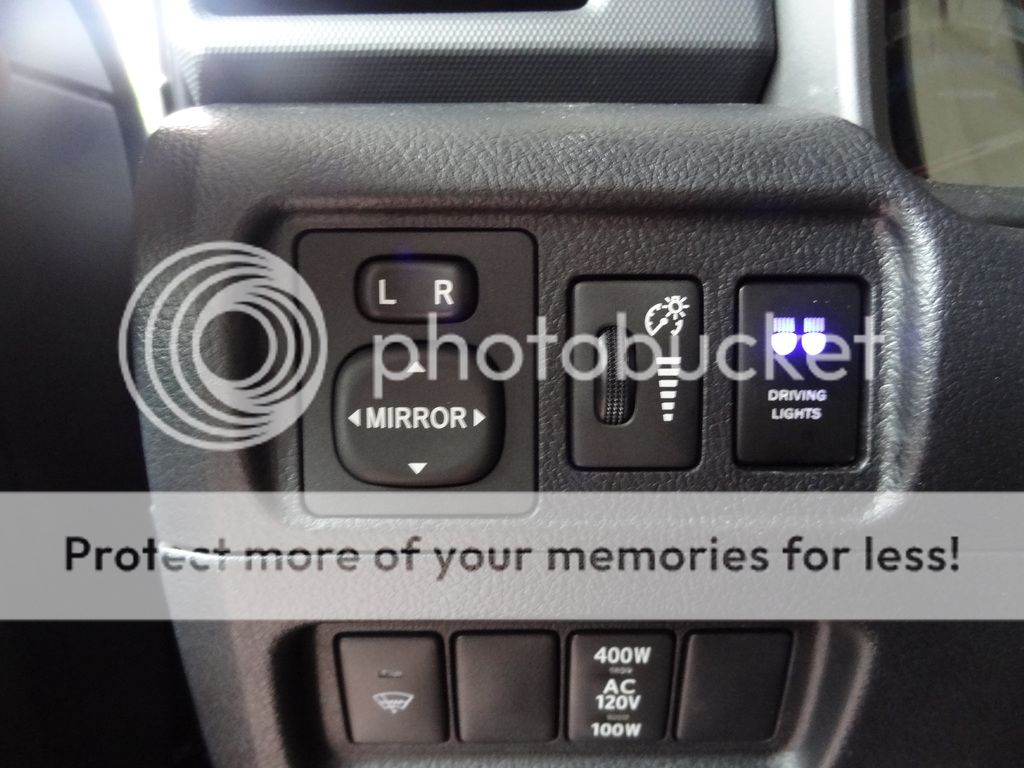
I chose the closest blank spot, and the easiest to turn on/off without looking to install the switch. This upper panel can be removed by pushing on the left side and the ‘top’ and using the tractional force to pull it towards you. Should pop pretty easily, but remember that there are connected wires behind it, so don’t pull too hard. Remove the blank piece by depressing the upper and lower ‘locks’ and pushing it out. Route the wires up through the blank hole. I used the vise-grips to hold the wires in place so they wouldn’t slip through the hole when I wasn’t looking.


See part 2 below
 

MTN4RNR

Rank V
Launch Member

Advocate II

1,750
Bay Area, CA
Member #

0614


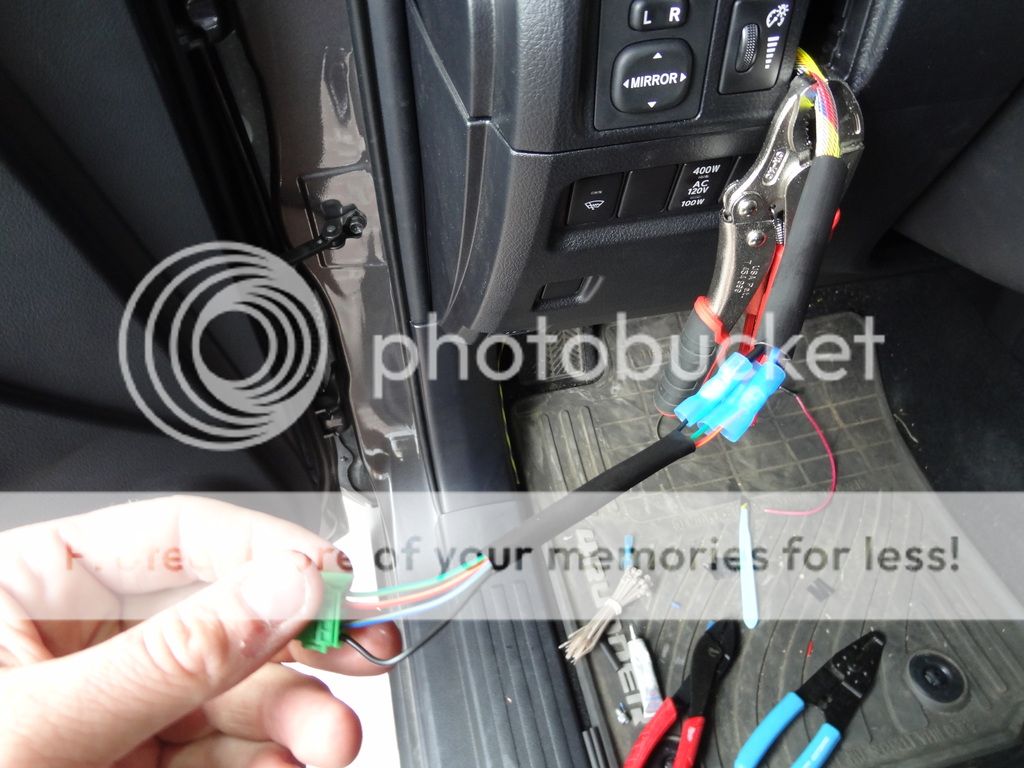
Switch harness wired up to lighting harness. After testing the wires, I wired switch black to harness black, switch red to harness blue, switch green to harness red. This turns on the light when the button is in the on position, and also turns the ‘lights’ indicator on the switch when the light is on. I opt’d not to tie the switch into the dash lights because I plan on installing a Switch Pro at some point, and don’t want to mess with the OEM harness. Plus, not all of the stock switches are lit anyways, so it’s not out of place.


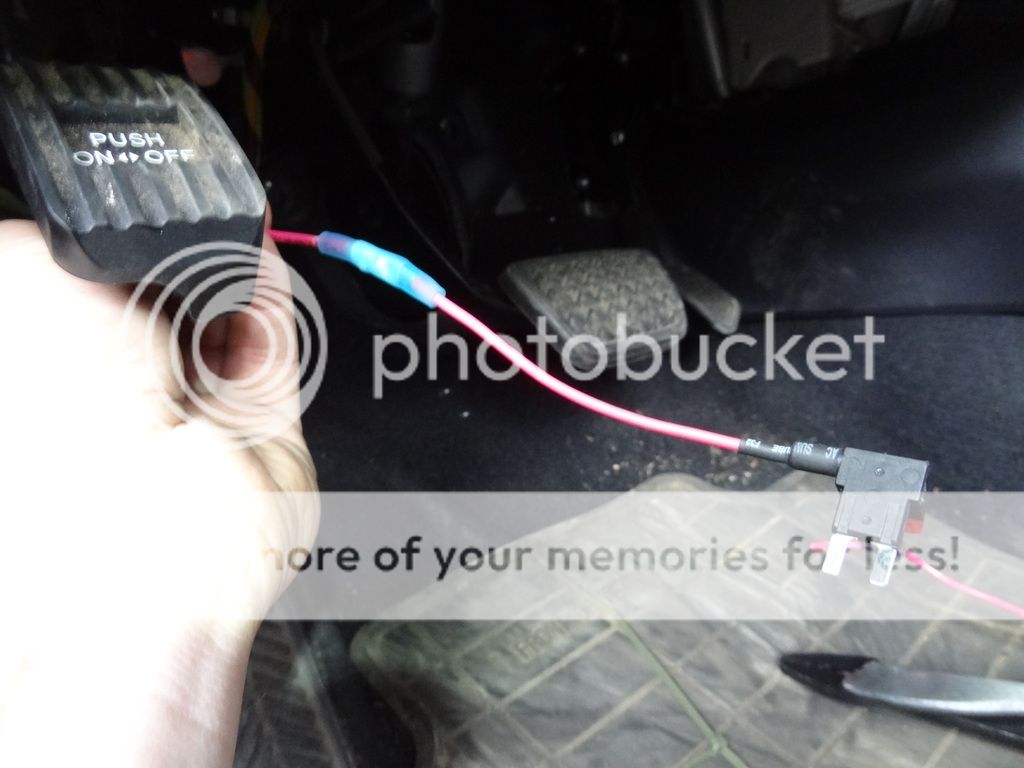
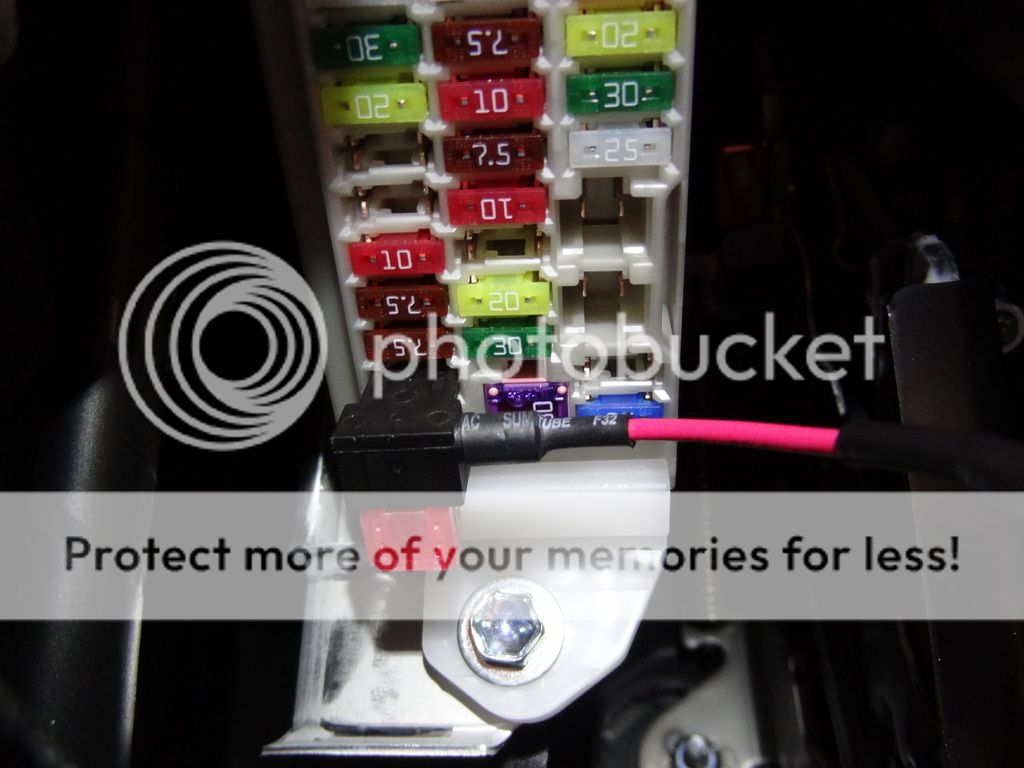
I attached the Add-a-fuse to the wire connected to the amber back-light. I then plugged in 2 10A fuses, and replaced the stock 10A Tail light fuse with the Add-a-fuse. This makes the back-light come on with the parking lights/low beams.


Interior wiring secure and tucked away, back to the engine bay.

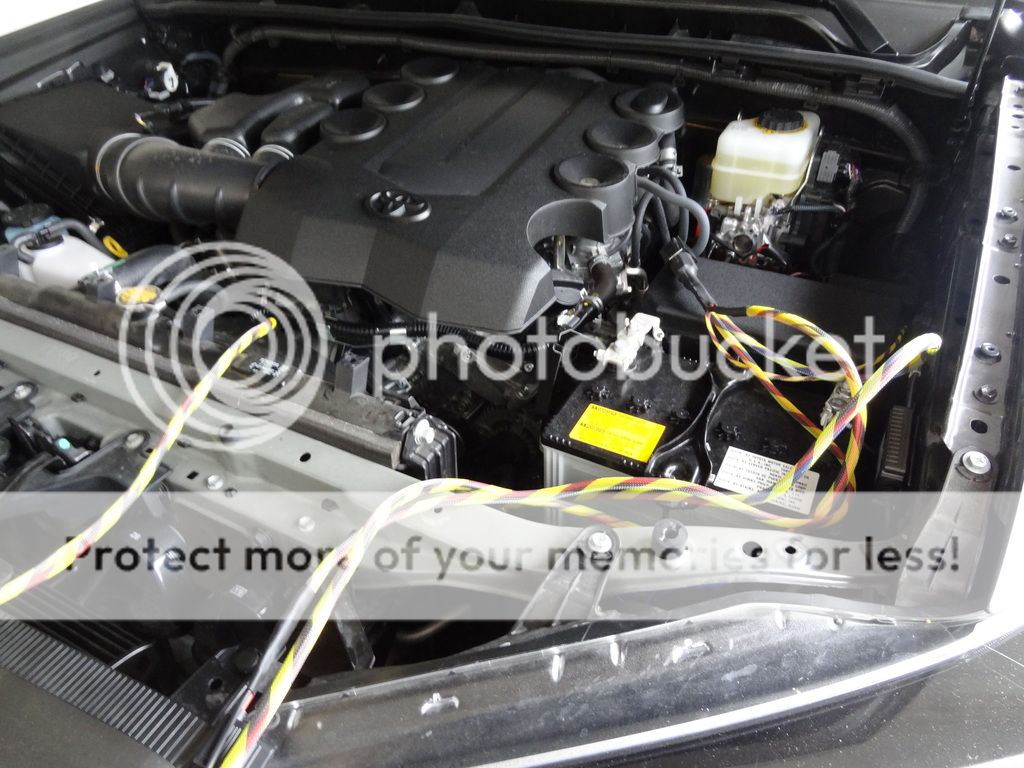
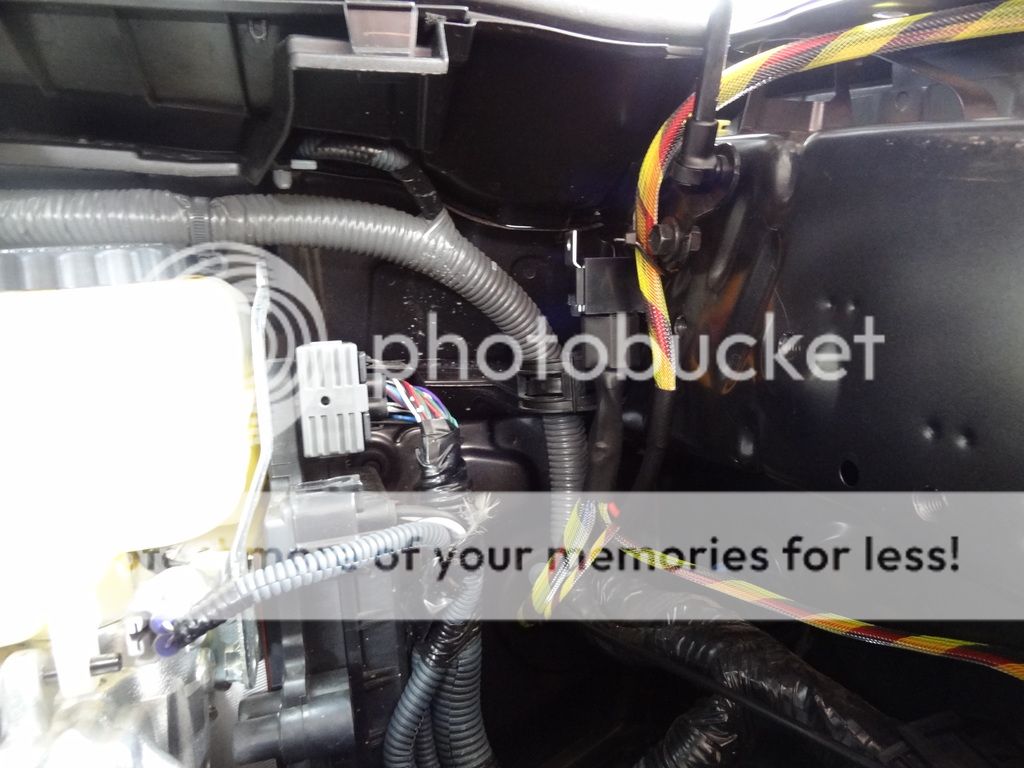
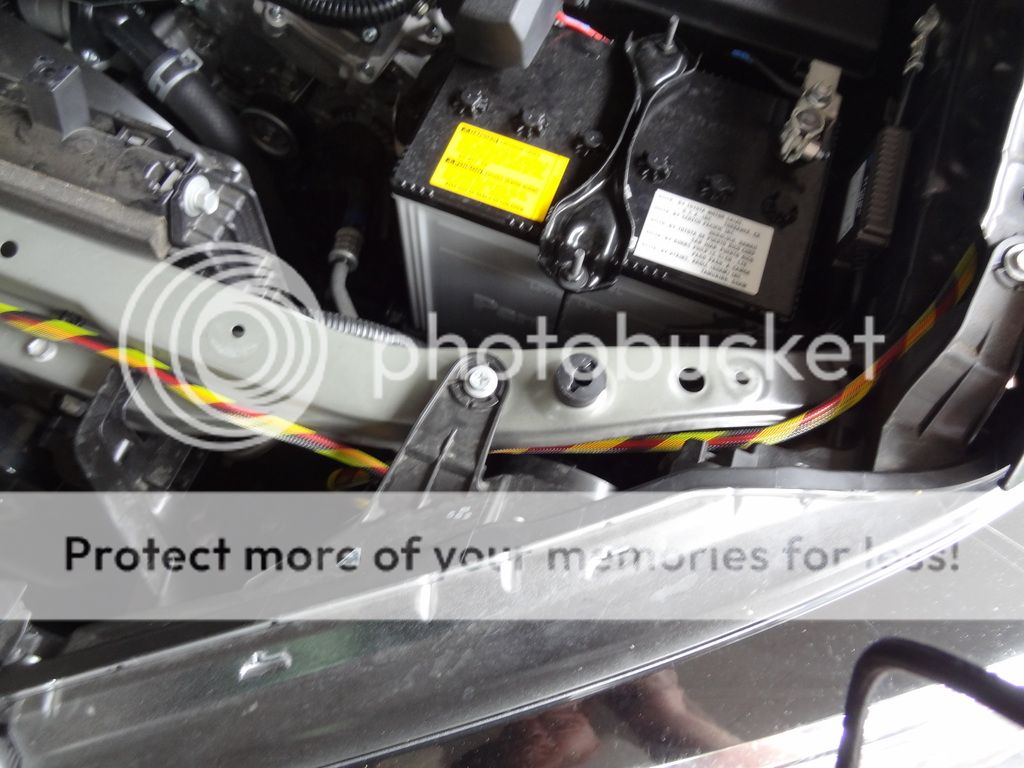
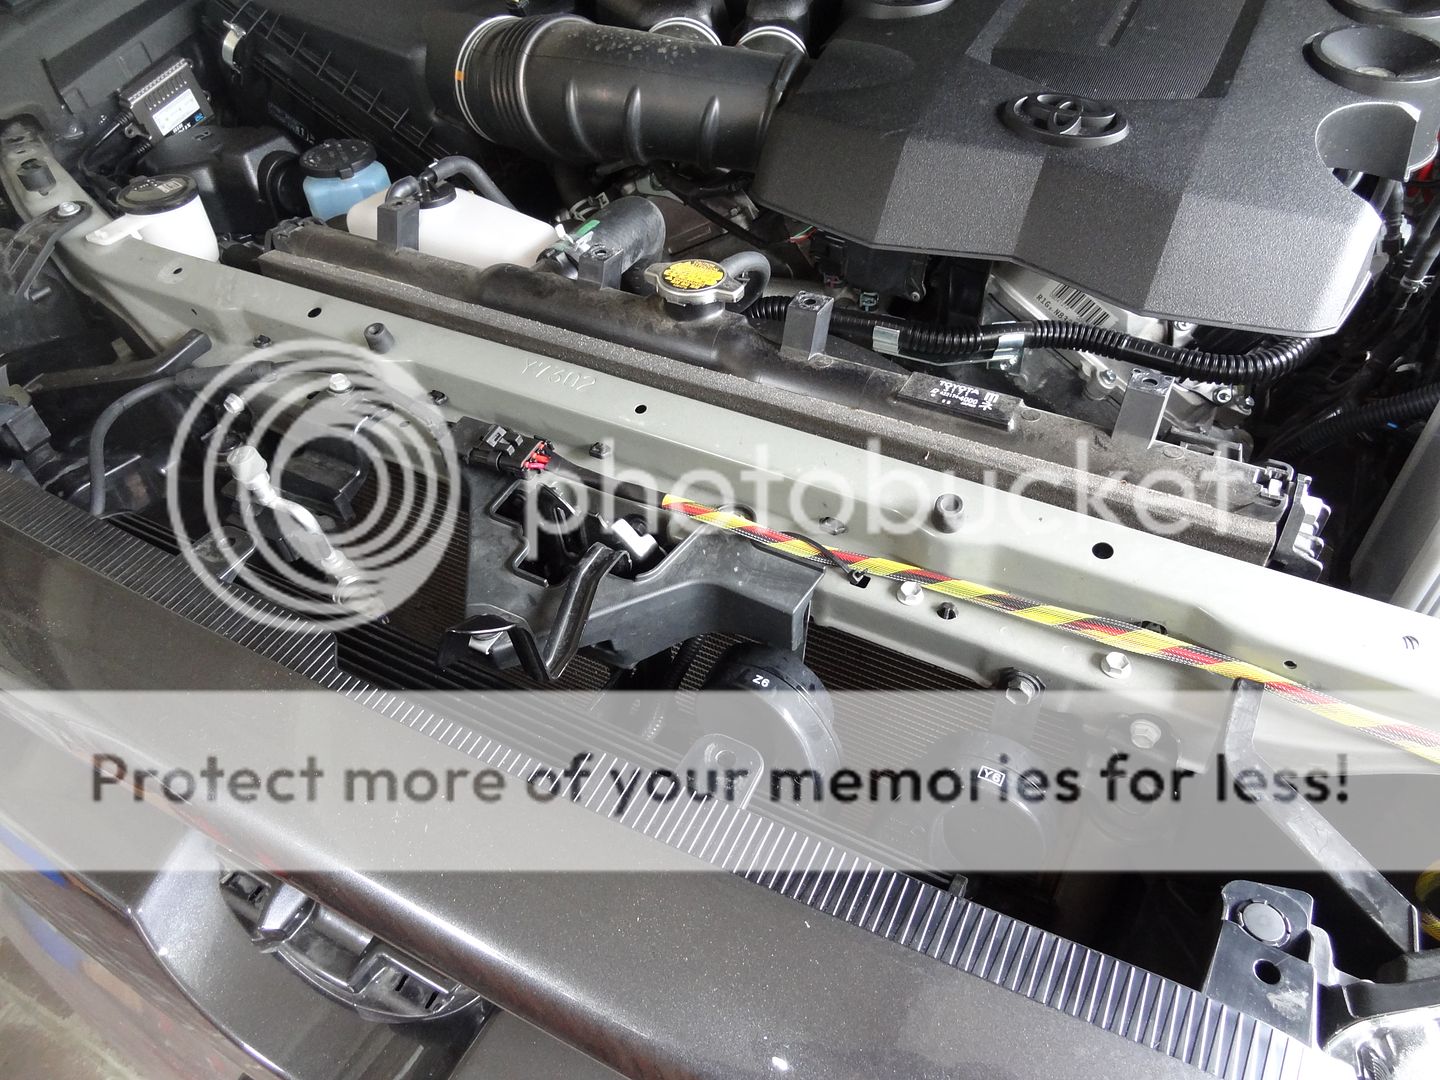
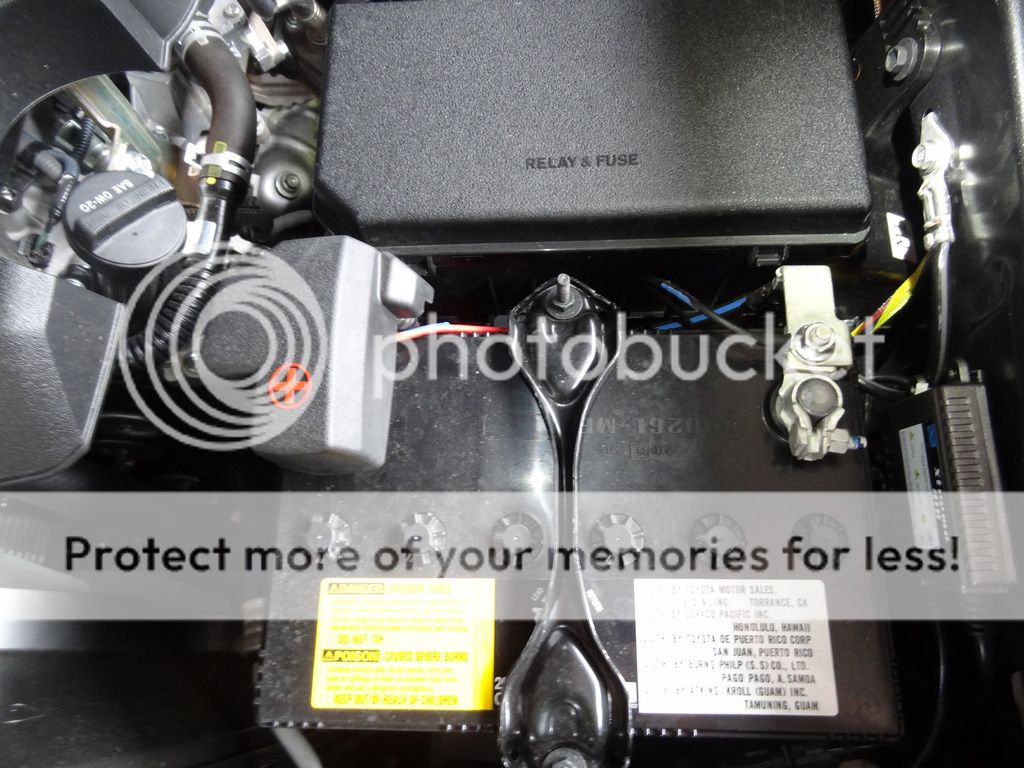
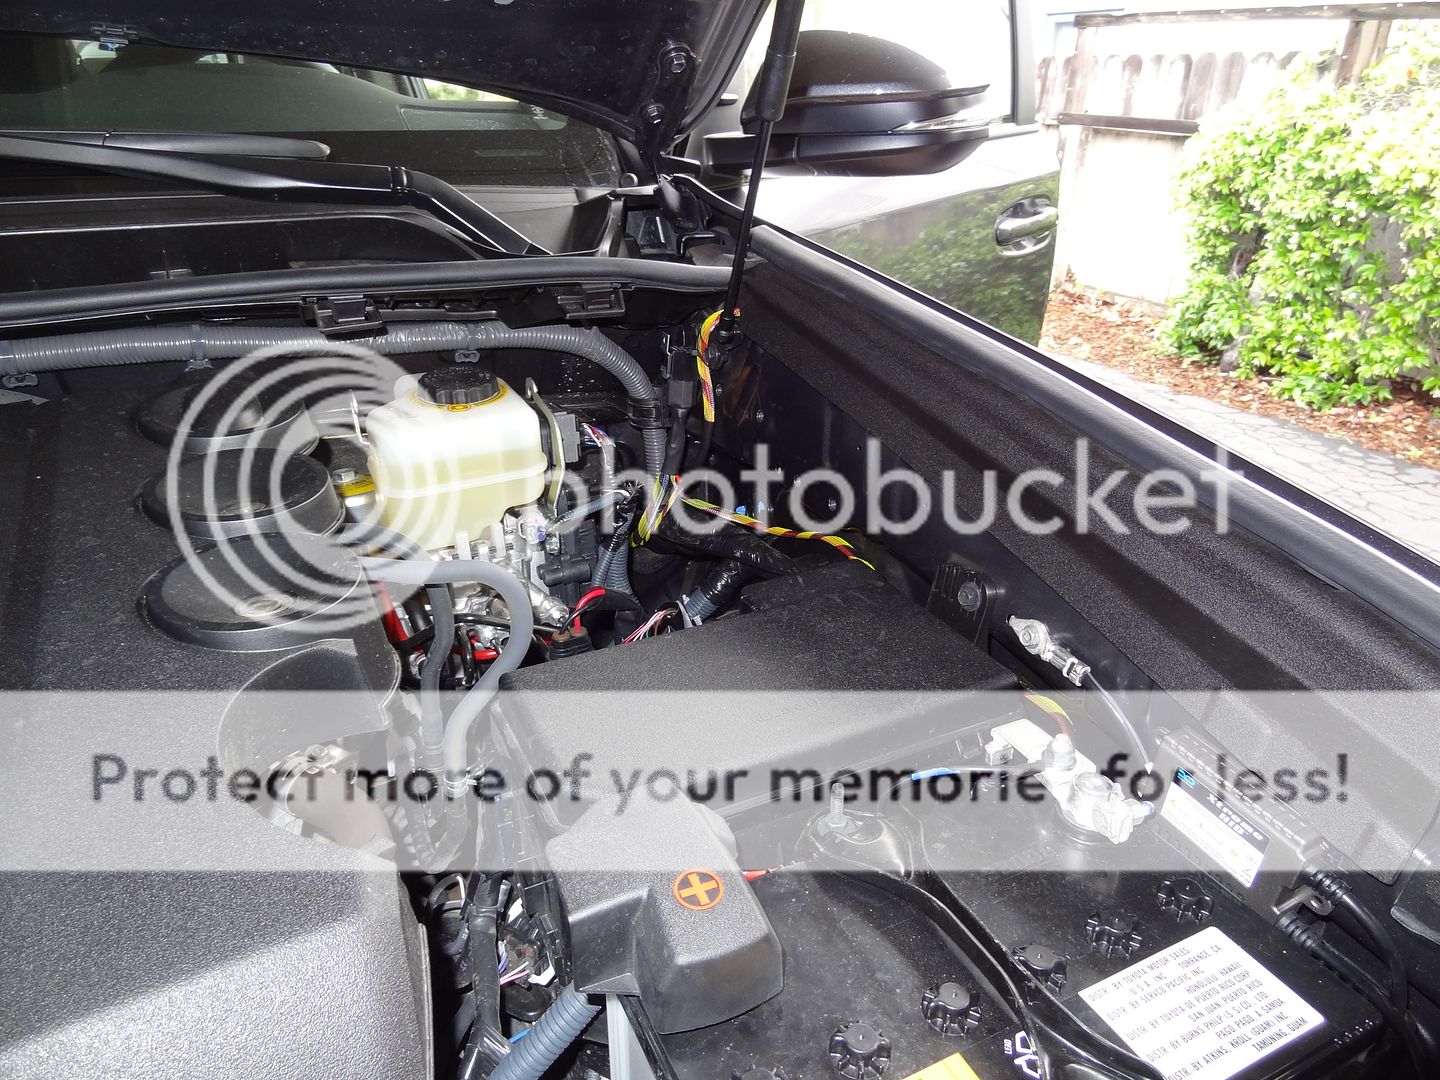
Time to route some wiring. I attached the relay to the fender sheet metal with my favorite double 3M Extreme Fastener to allow for removal if I need to. I then routed the wires to the battery and the LED bar. Battery behind and then between the fuse panel. LED bar on the inner fender channel after removing the plastic covering.


A quick switch test. Off.

On.

Good to go!
Zip ties to hold everything in place. Wiring, DONE!

Light bar, wired and installed behind grille with painted bezel.


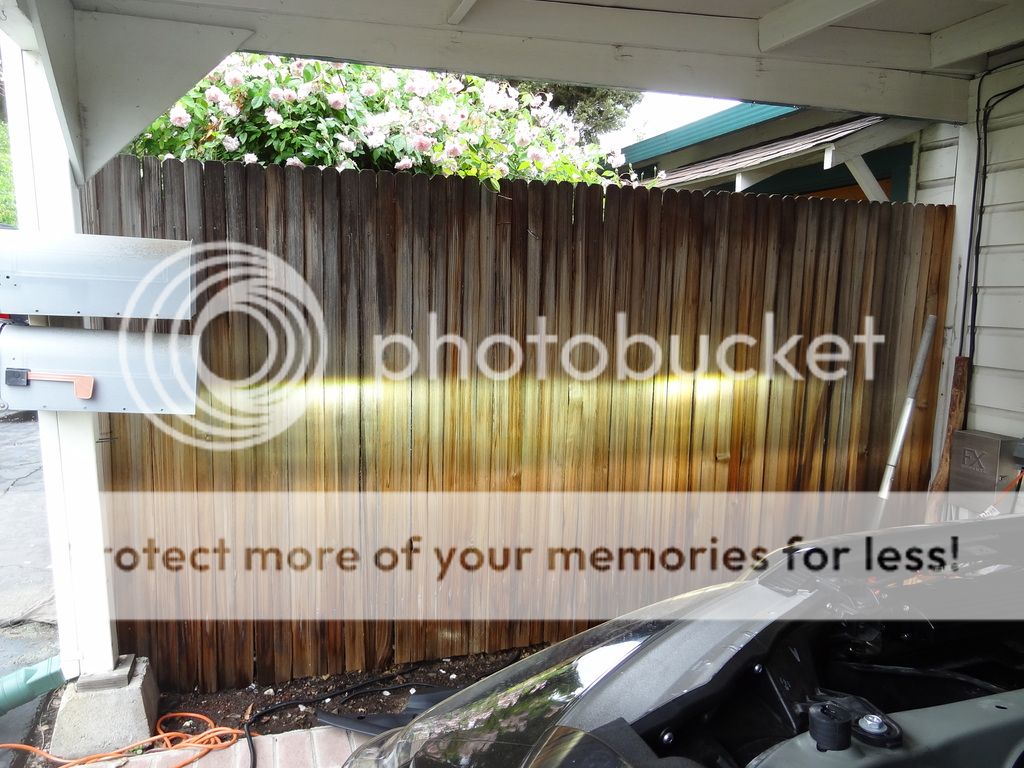
I then turned on the low beams to show the pattern against my rustic back drop to aim the LED bar.

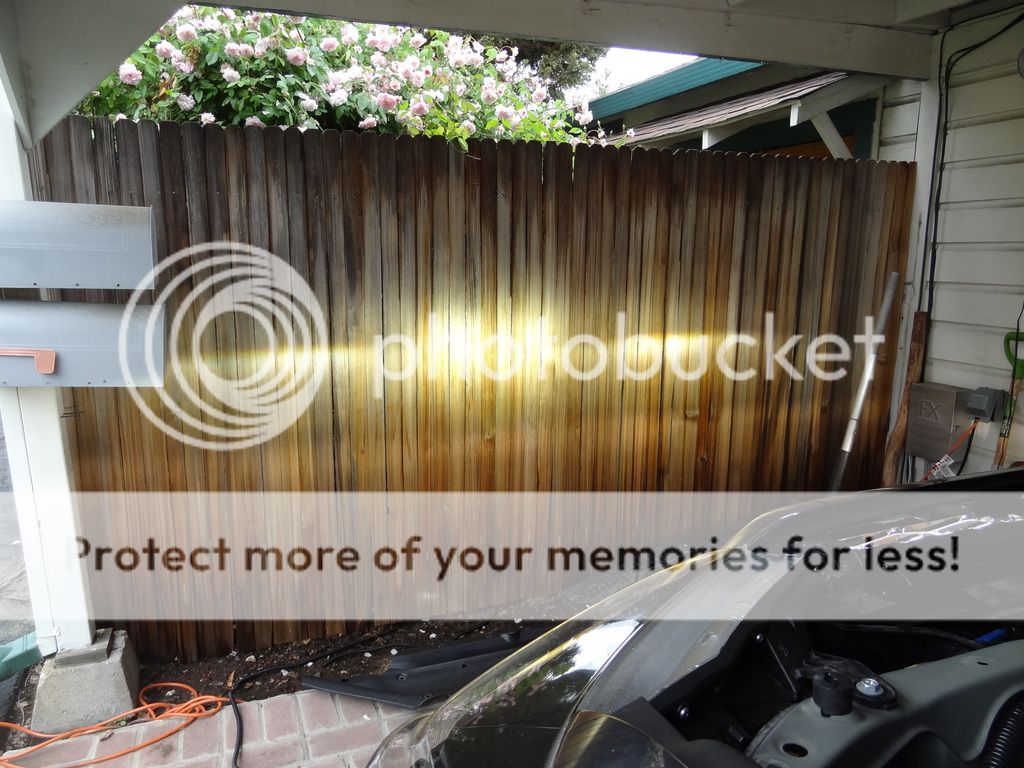
LED bar on, I adjusted the angle so that the middle of the LED bar beam was at the top of the low beam cut off to emulate the high beam pattern.


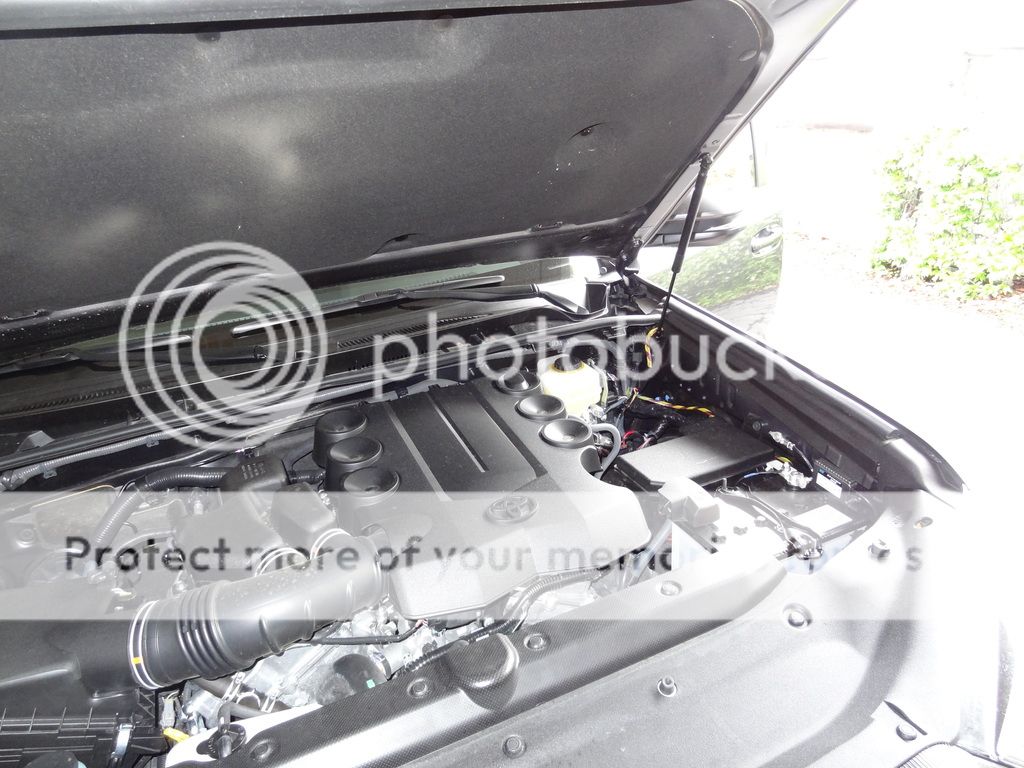
All plastics reinstalled under the hood.


See part 3 below
 
  • Like
Reactions: tom

MTN4RNR

Rank V
Launch Member

Advocate II

1,750
Bay Area, CA
Member #

0614


Now for some comparisons.
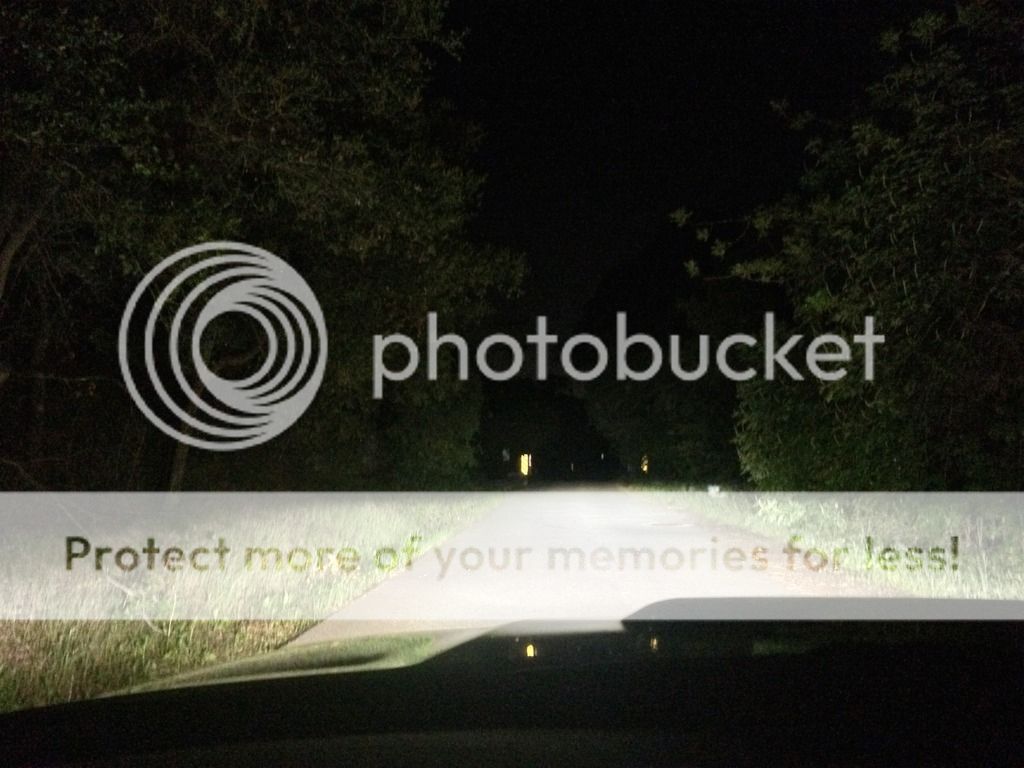
Low beam HID’s and LED fogs.

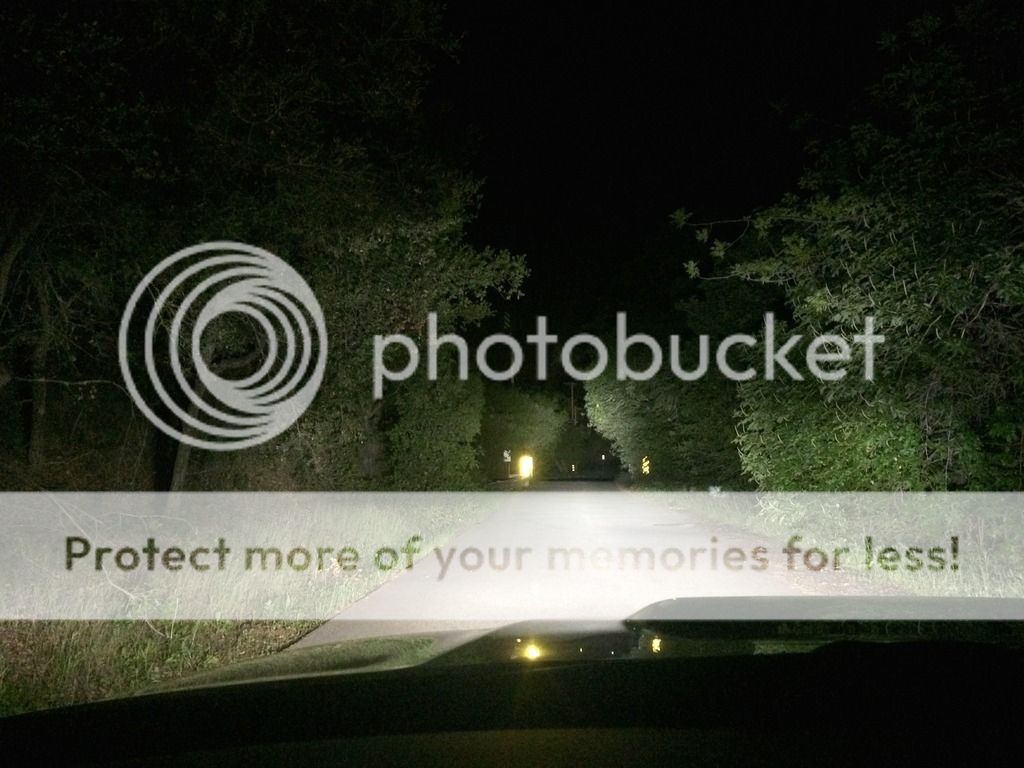
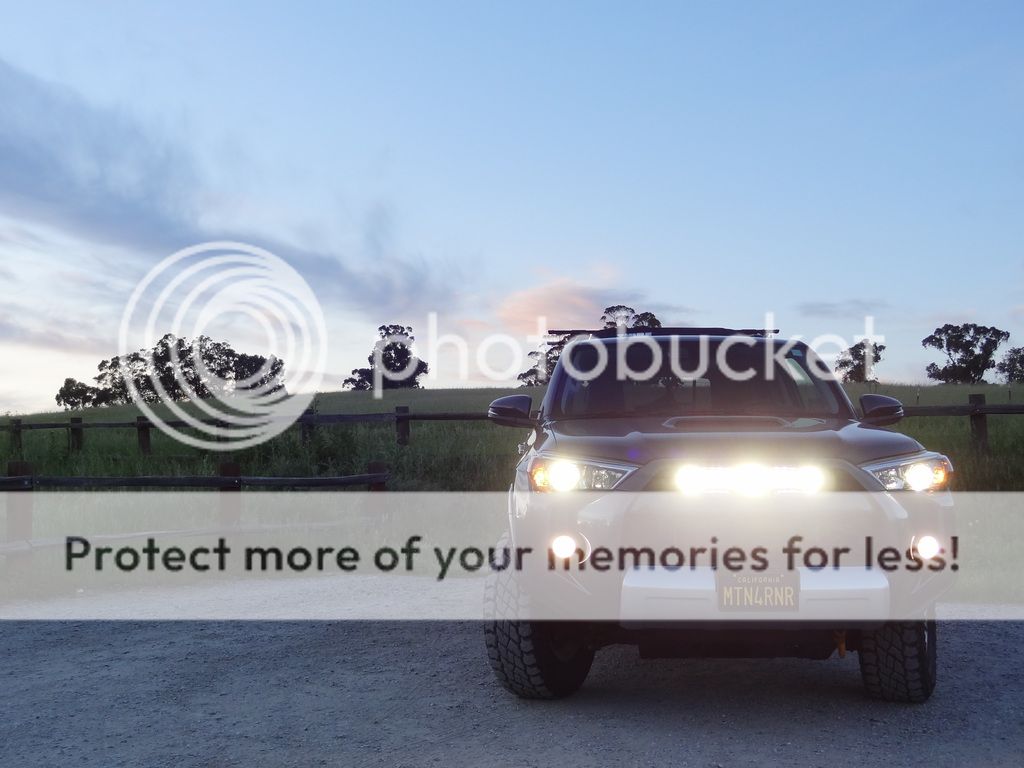
Low beam HID’s, fogs and the S8 LED bar.

Definitely a drastic improvement, and exactly what I was looking for.

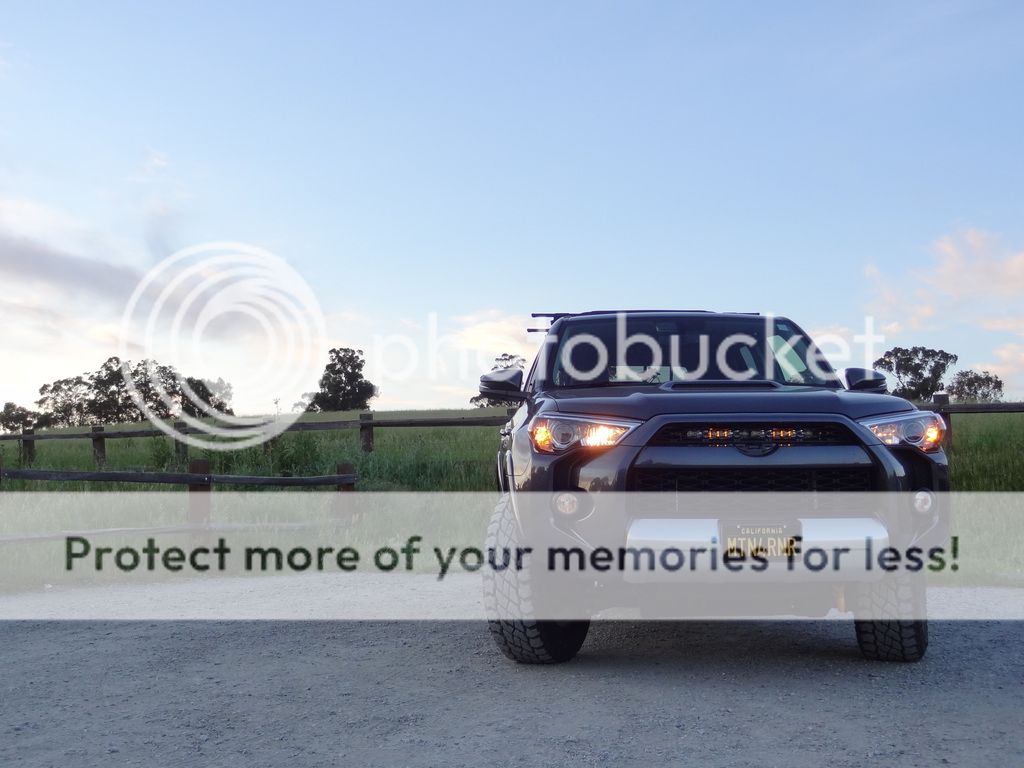
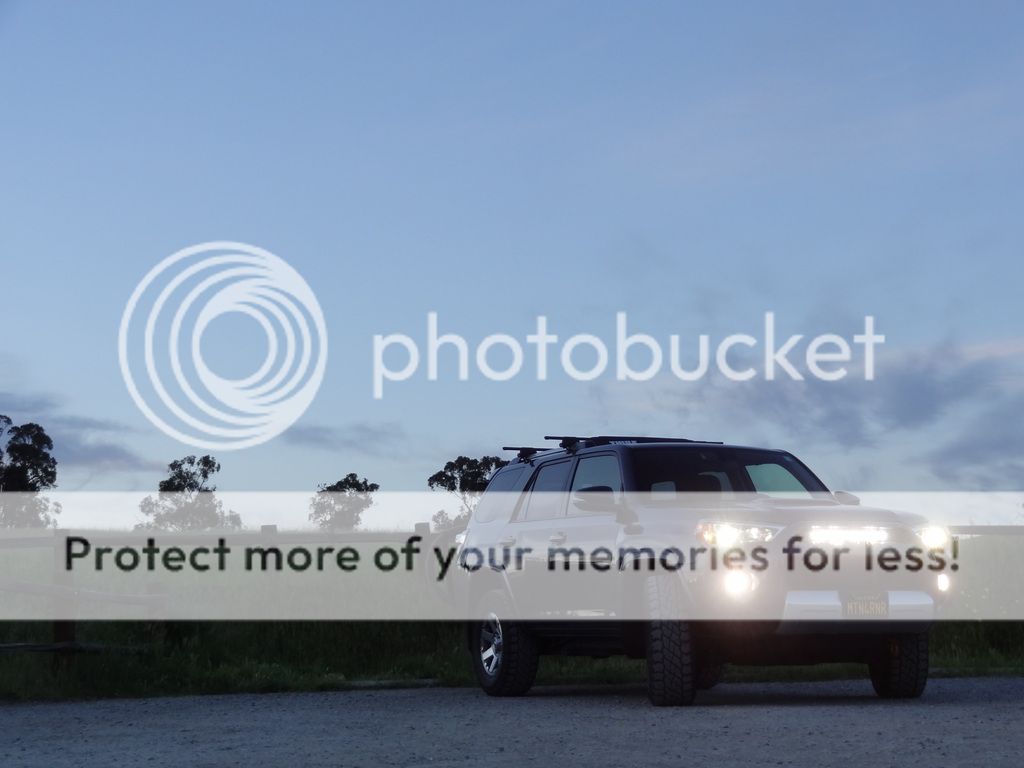
Some head on shots.


I am very pleased with the performance of the 20” S8. It accomplished exactly what I was looking to do, without drawing too much attention to it. Nick at Apollo Optics went above and beyond to make sure that I got what I needed to get the job done. Now all I need to add is the TRD Pro garnish to finish the job, but that can wait until the right opportunity comes along. This definitely won’t be the last Baja Designs light that goes on the 4Runner. Maybe a set of Amber Squadrons in the fog light position.... Hmmmm...

More to come…​
 
  • Like
Reactions: tom