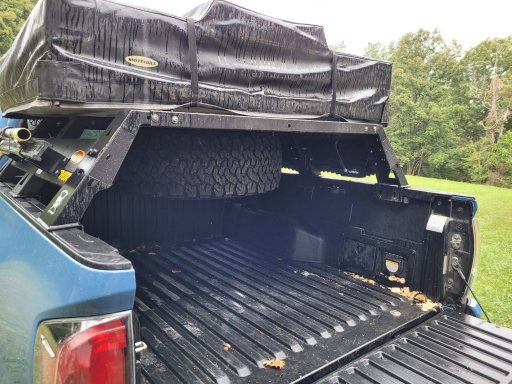
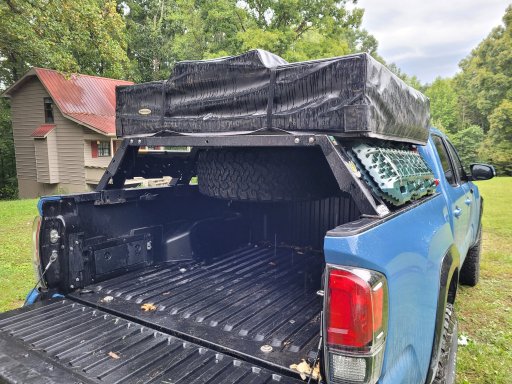
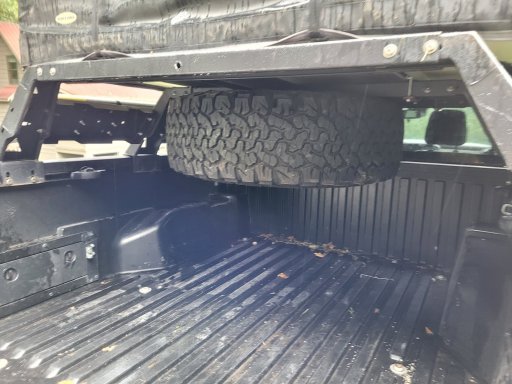
Depending on your rim style underneath you may have a bunch of filler foam to deal with. It’s quite the pain to get off.

Influencer I
29282
Depending on your rim style underneath you may have a bunch of filler foam to deal with. It’s quite the pain to get off.View attachment 241008
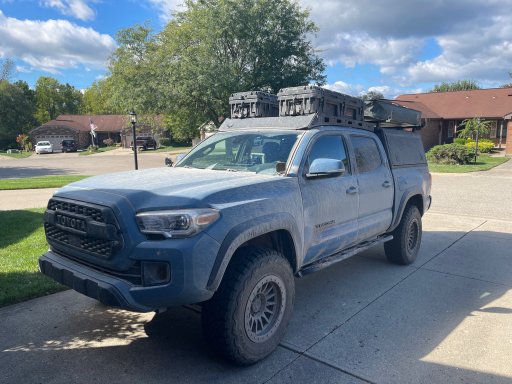
I just Plasti dipped them. Figured they’re gonna get dinged up on the trail.Good to know. What paint did you use? I am so impressed with the look of your rims.

Member III
20468


Explorer I
23711
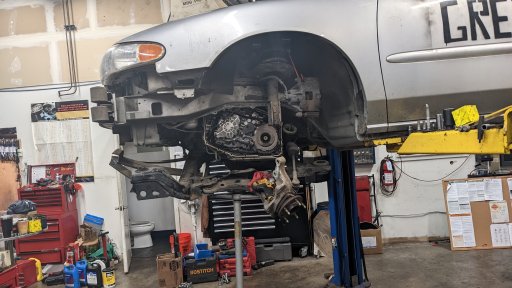
Oof. That sounds like a PITA, but more power to you man! I'm not sure that I would even want to attempt that.So yesterday I finished the transmission assembly. Something that should have taken a few hours took most of the day as I had to backtrack multiple times due to out of spec measurements to add shims or just plain forgetting stuff. In the later part of the day when the temps were pushing 100 the Vaseline, lavender scented....I have the best smelling transmissions around, I was using for assembly lube had turned from semisolid to liquid and while trying to change a shim on the rear bearing spacer I heard a few input shaft bearings hit the bottom of the case. DOH! When I took it apart and went to get more I found the whole jar had turned to liquid. Into the freezer it goes.
Any who, got that finished finally while also taking care of other things around the house and power lifted the transmission and t-case assembly to the floor, around 4pm, where it waited for me until this morning. I got up a little early before having to take kids to school and stabbed the transmission into the bell housing using 2 floor jacks and holding my tongue just right.
At this point, things hit a brick wall. You can install the clutch fork though the top inspection port of the transmission. I tried every trick in the book and the CJ2 and CJ5 forums trying to get it in there short of removing the transmission and bell housing as a whole unit, by their reports it should basically drop in with a little effort.
Sometime around 9pm tonight I decide......hey this is a non OEM part (Crown or Omix from Kaiser Willys), wonder what it looks like compared to the original I took out, the one that even though I took it out of the Jeep a year ago is still floating around on my work bench..............well motherfu........The area where the clutch fulcrum rides is not only deeper but the "wall" on the inside of the fork that it has to clear to seat into the pocket is also much higher than the original fork.
I break out my die grinder and reprofile the area to make it look more like the OEM part and the damn thing practically falls into the place using the string trick from the various forums.
Ugh so close. Went ahead and hooked up the clutch cable and adjusted it, but still have about an hour worth of wrap up to do to drive it again.
View attachment 241272


Enthusiast III

Traveler III

Trail Blazer II
15310
Trail Mechanic III
29878
Enthusiast III
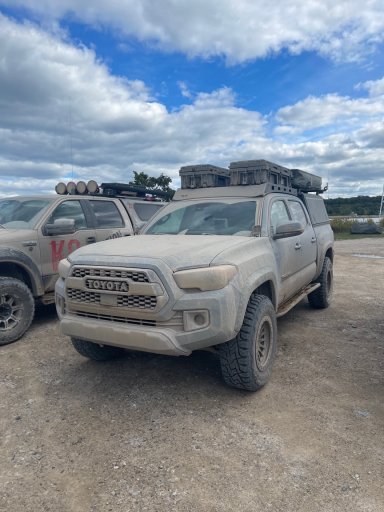
I think we just found the new 2023 Tacoma color called "Awesome"!About 700 miles and 5 days of UP mud, sand and dirt/dust.
Explorer I
23711

Trail Blazer II
15310
I think we just found the new 2023 Tacoma color called "Awesome"!About 700 miles and 5 days of UP mud, sand and dirt/dust.
Member III

Trail Blazer III
28559
Explorer I
23711
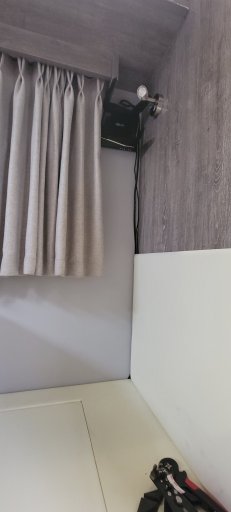
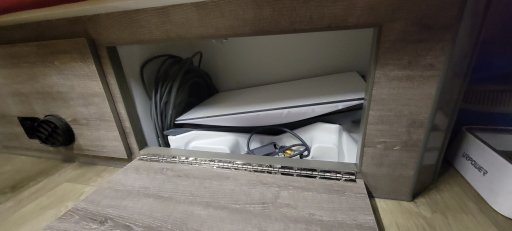
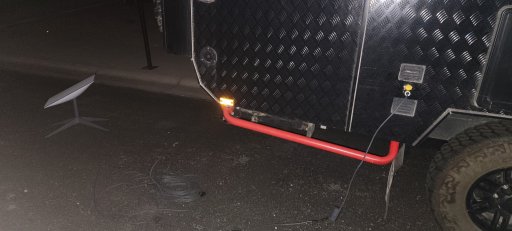
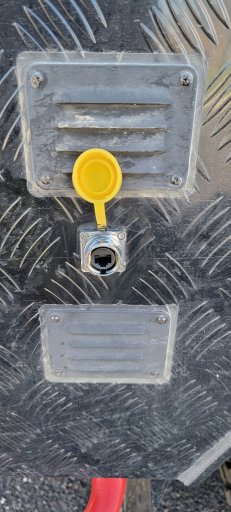
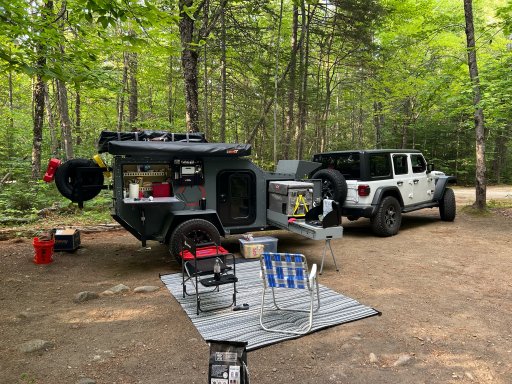
Dishy McFlatface!! Ha! Classic g-rated K12 description!It has been a week long ordeal. I got my Starlink and wanted to run it all off of DC for the trailer. Probably would have been quicker if the first PoE injector wasnt bad. But got the inverter, stepup convertet to 48v and tested to make sure I had dishy power. Dishy McFlatface fits perfect in one of the storage areas, used the shipping packaging so it doest slide around. and last It passes though the outside of the RV with a waterproof connector so im bot running wires through doors or windows. Just need a telescoping pole to mount dishy on. Router hooked up inside and out of the way. going to wait to install the wire runners to make sure thats where I want it.
Explorer I
23711

Creator III
8182
Explorer I
23711
Last night, I went to test the DC-DC charging and trailer lights when hooked up to the Xterra (I've been towing it with the truck).
DC-DC charging wasn't working, but then I decided to pop the hood, and check the breaker.... I forgot to close the breaker switch.
And.... The tail lights work!!
Though the driver's side blinker in the plug on the Xterra is a bit finicky. I'll have to look into what I can do about that. Maybe it's got some dirt in there.